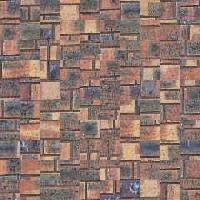
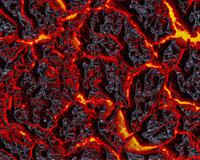
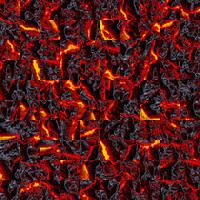
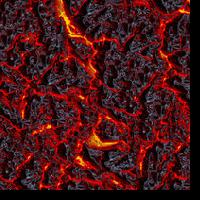
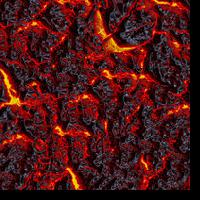
There is a sequence of algorithmic ideas/imporvements proposed by the paper to get to their image quilting algorithm. First they started with taking random patches of size n from a sample texture and placed these in a new image in a "tiling" to create a new example of the texture. However, as you can imagine, the results are not great as choosing a random patches and plcing them next to each other does not describe the texture well. One improvement proposed by the paper was to overlap the patches slightly in the horizontal and vertical directions when placing new patches after selecting the patch to use for the result image. In addition to overlapping the patches, the SSD of the overlapping section (either on the left of the new patch, on top of the new patch, or on the left and the top of the new patch) and the same section on the new patch is used to find a set of "good patches". In other words, we can use the SSD of the overlapping regions to filter out patches which are too different than our image/patches already. The last improvement from the paper deals with the overlapping region. Once the new patch is selected for inputting into the result/output image, extra analysis can be done on the overlapping sections to find the "optimal cut boundary" within this overlapping section. This cut would allow the algorithm to know which part of the overlapping section in the output image is from the previous patches and from the current patch. Below are some results showing the difference between these 3 (random, choose a good patch, choose a good patch + cut optimal boundary) for different texture samples.

The first step in computing the cut boundary is finding the cost (or the SSD) at each point within the overlapping region (can be either on top of current patch if possible [horizontal] or on the left of the current patch if possible [vertical]). Once this is found, the most optimal path (lowest total cost) can be used as the boundary between the two images. The path can then be turned into a binary mask, identifying which part of the overlap should be taken from each image. Then that output is saved as the new patch for the imgae being generated. Below are the vertical and horizontal cut visualizations for the shown patches:
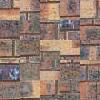
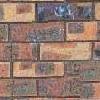
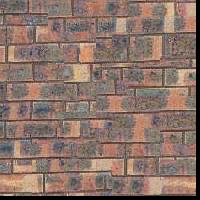
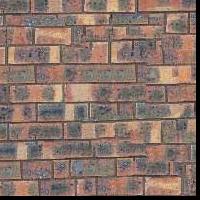
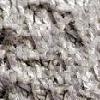
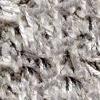
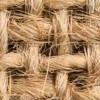
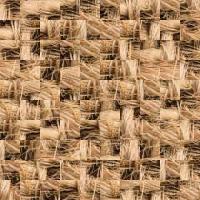
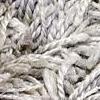
The patches used are below. The left image was the left patch, and the right image was the right patch. Sorry for the blurryness as my patch sizes were 10.


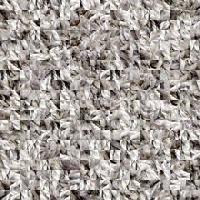
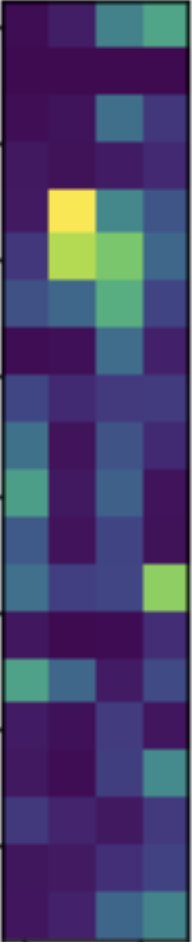
The resulting cost images/loss surface is below. The optimal cost/boundary cut is also included below.

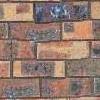
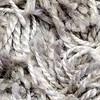
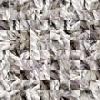
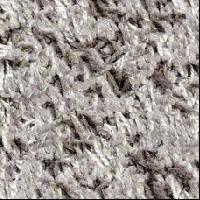
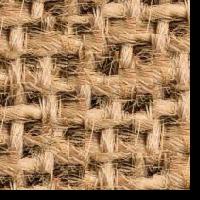
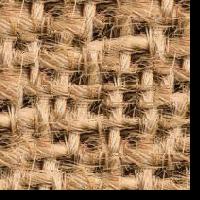
The patches used are below. The left image was the top patch, and the right image was the bottom patch. Sorry for the blurryness as my patch sizes were 10.

The resulting cost images/loss surface is below. The optimal cost/boundary cut is also included below.
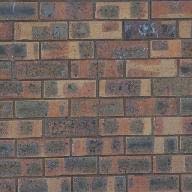
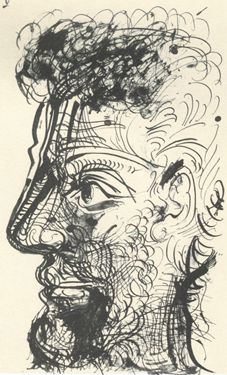
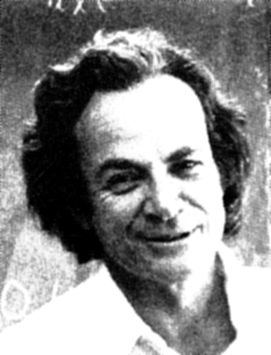
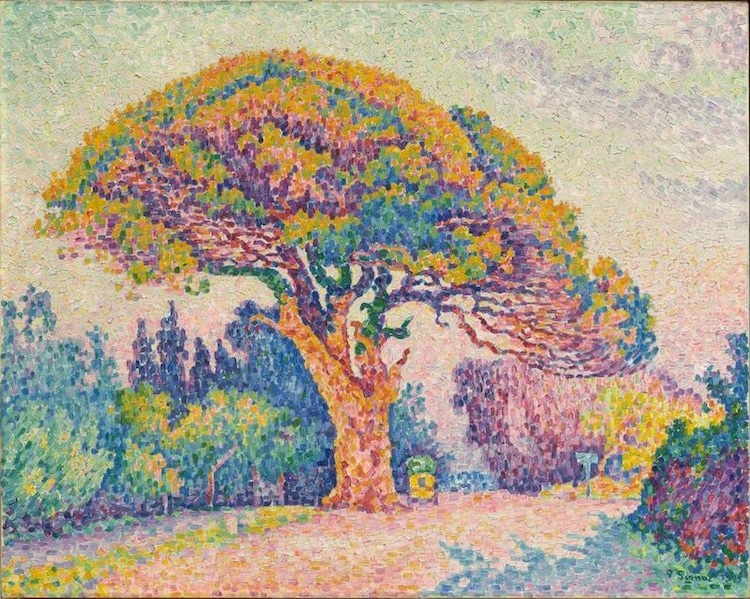
The following is the methodology proposed in the paper to perform texture transfer with the quilt algorithm. First take a sample texture and a sample image you want to input the texture "onto". Like the quilting algorithm, you will start with a random patch from the texture in the top left of the result image. Now we will follow a procedure similar to the "best quilting" method before. However, in addition to using the SSD of the overlap, the patch's respective correspondence maps will also be used for the patch selection process. So, the error for each patch would be a weighted sum of the previously used SSD on the overlap and a metric based on the correspondences maps (such as the difference of means of the patchs in the corr. maps). Repeating this process allows us to select patches such that a sample image is replicated in a certain texture. Below are some results. The sample texture is first, then the content image, then the output of the texture transfer. Both of the results were generated with a patch size of 10.
One of the major issues I was having were choosing patches that were too small or too big for some textures. I found that patch size does not necesarily translate from texture to texture. The detail of the texture can impact how large/small the patch size can be I think. Another thing the texture generation project got me interested in was trying to do something similar like texture generation but through the lens of cellular automata. Not sure if it's too possible but will check it out over break!
I implemented my own code (min_cut and min_cut_helper in my notebook) to do the optimal cut boundary without looking at other sources. I noticed that the paper mentioned that it was able to be done with Dijkstra's so that's how I did it.
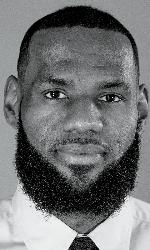
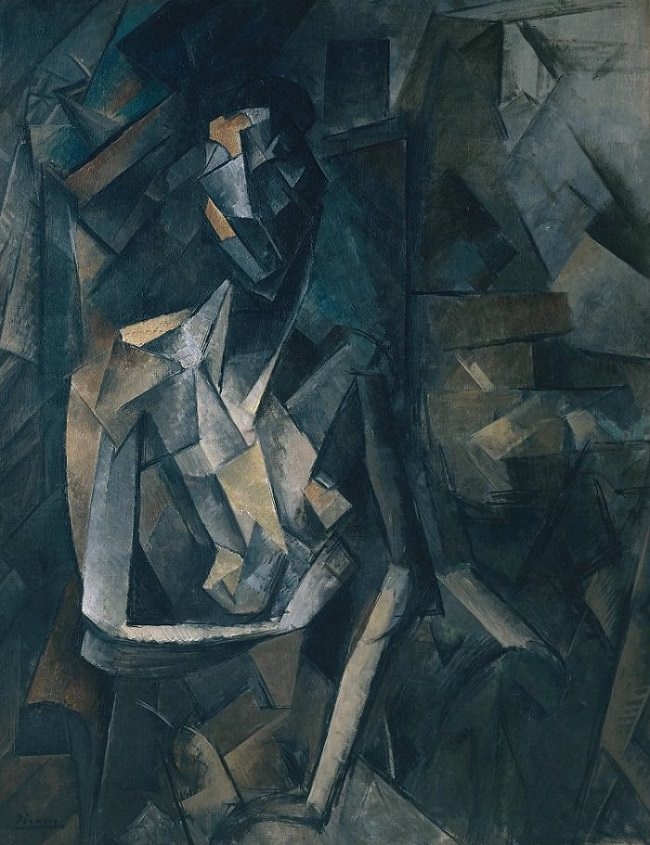
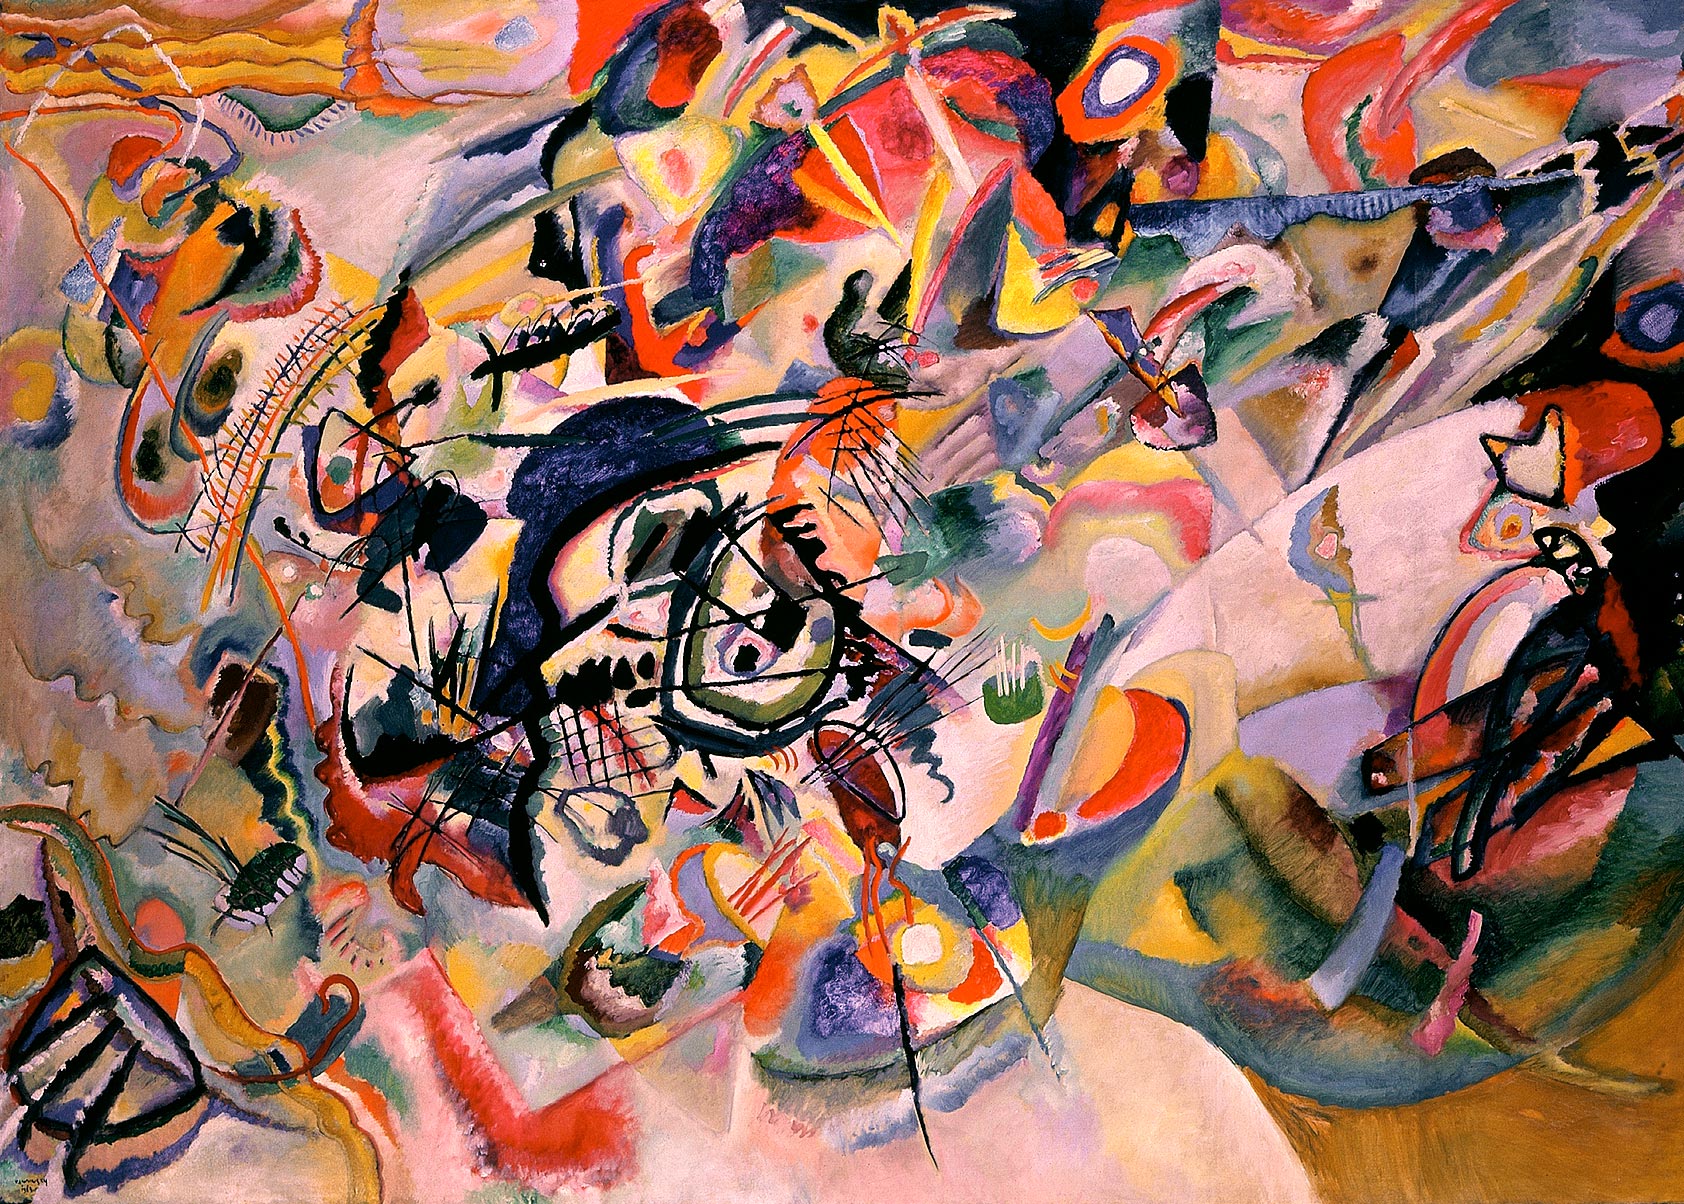
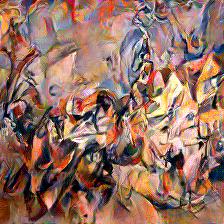
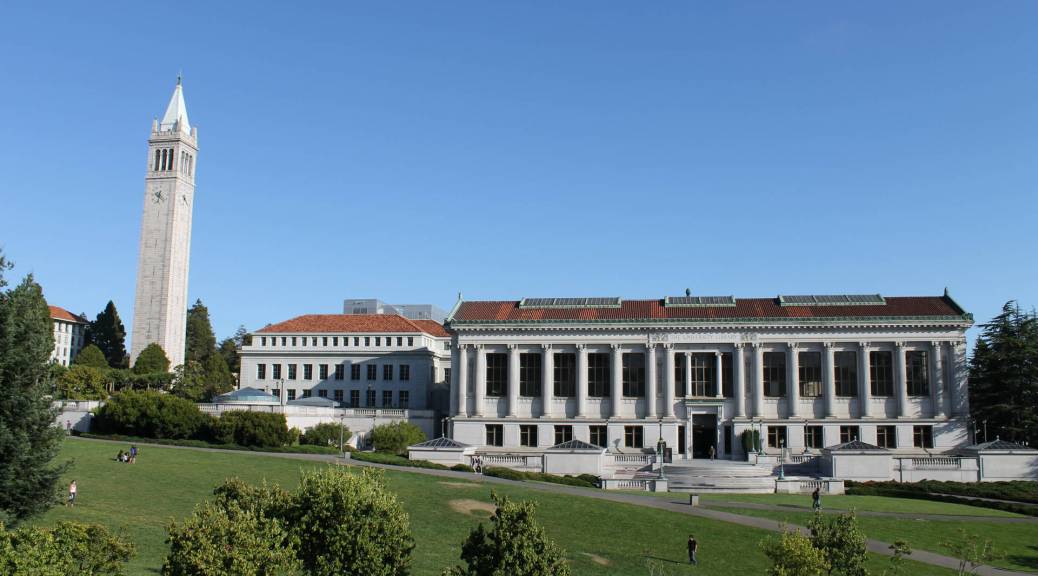
I implemented the paper for the project. Here's a quick explanation of what I did for my implementation. First I loaded in the content and style images. Then I preprocessed them to be square images of size 224 x 224 as I was having difficulty getting clear results with larger images. I took the outputs of VGG19's conv layers as stated in the paper, tracking the different components of the loss (content and style) while pushing the image through the model. When creating the optmizer, I found much more success using the LBFGS optimizer rather than Adam, as my results were much better. To have the optimizer work on the image instead of a model I passed the result image into a list and passed that into the LBFGS optimizer. All of the images were trained with 10000 iterations and a content loss parameter of 1 and a style loss parameter of 10000. They are shown in content image, style image, and result image order. The first set of results are some of the same images ran in the paper. The next set of images were some images I ran which I was interested in seeing.
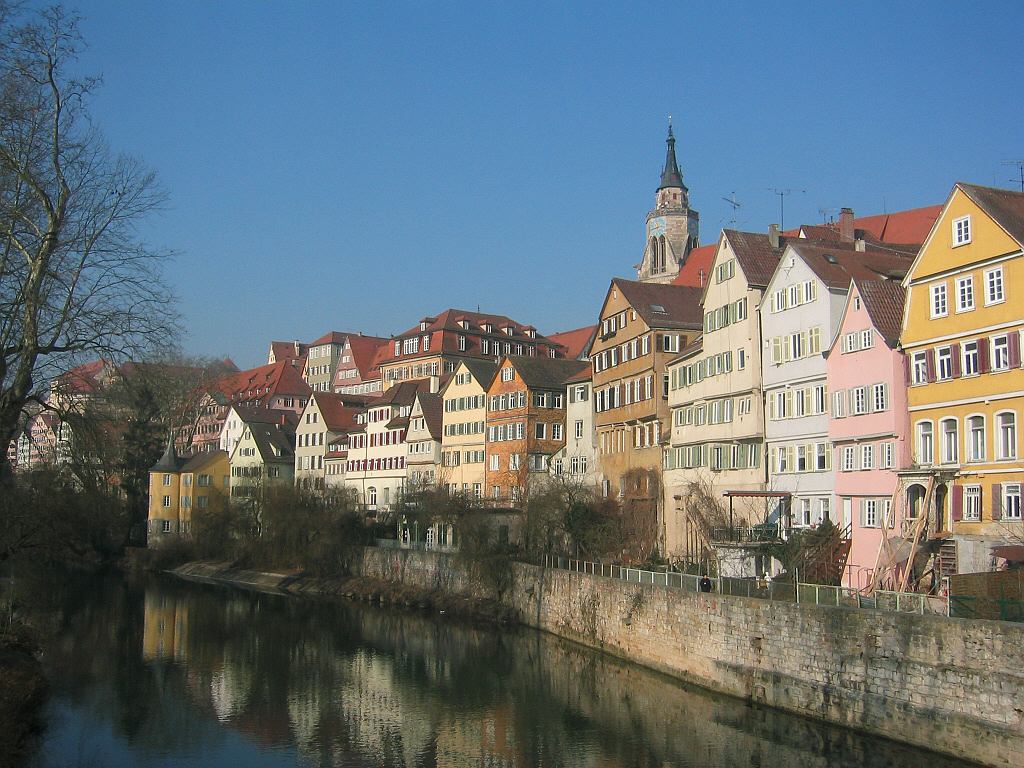
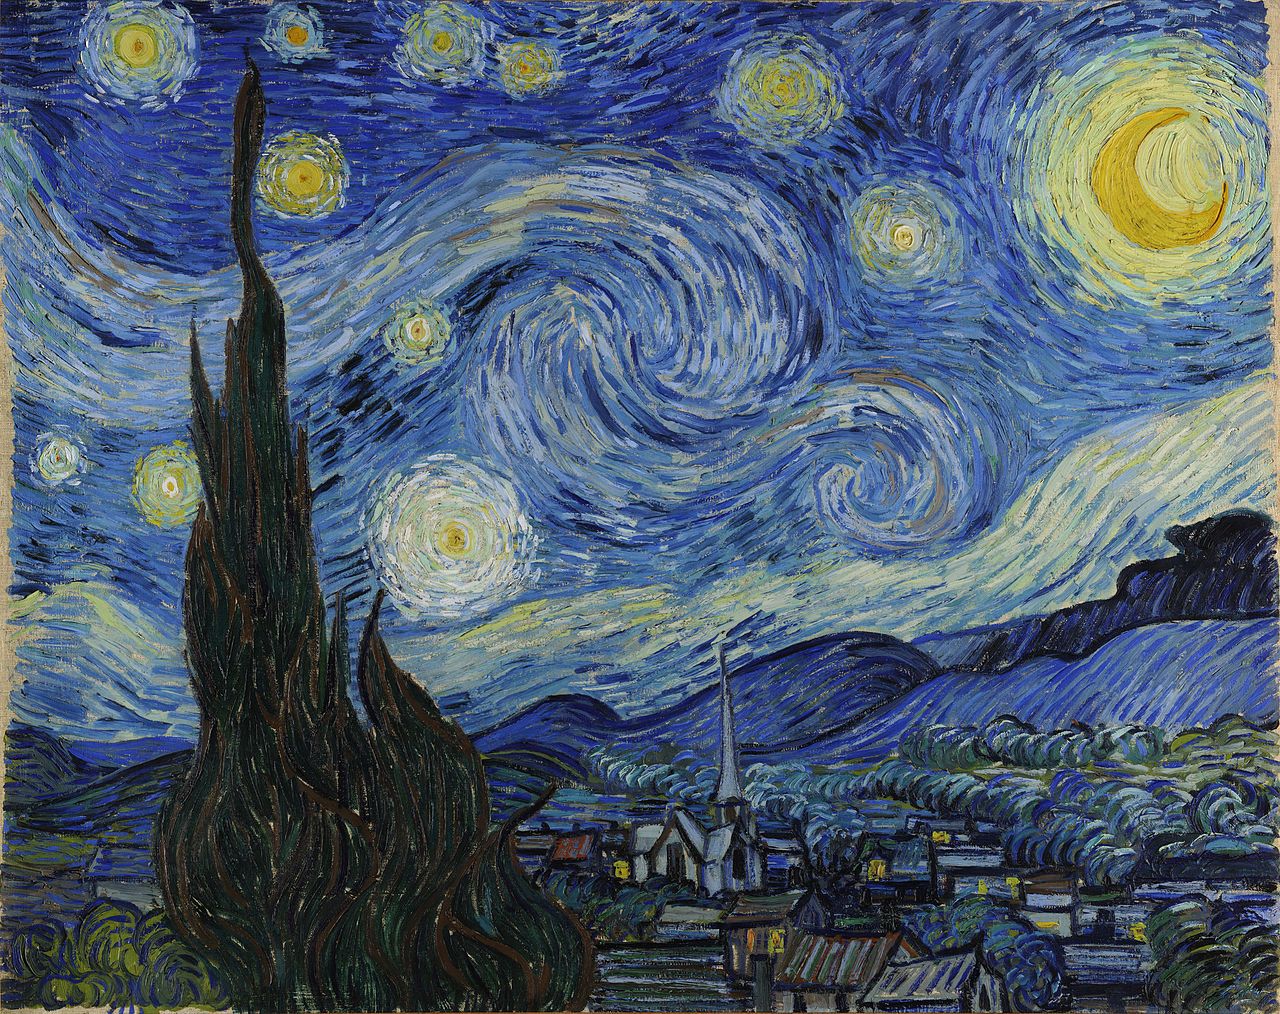
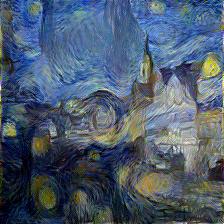
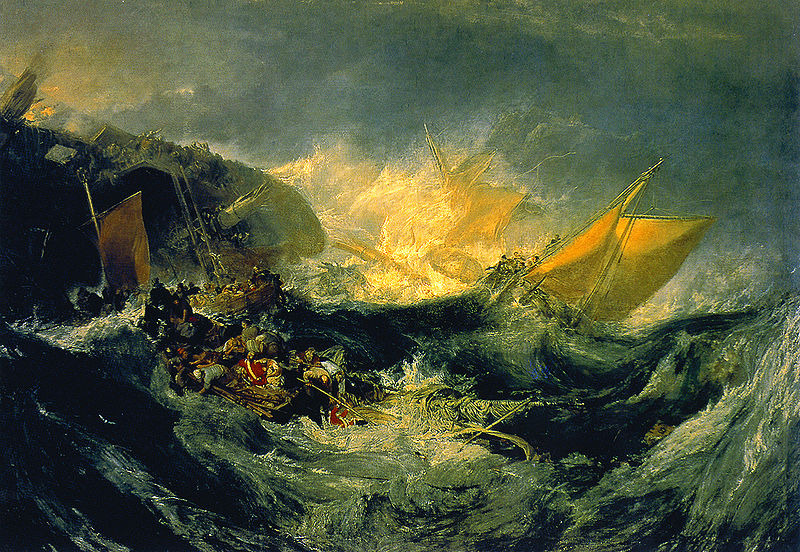
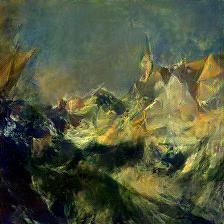
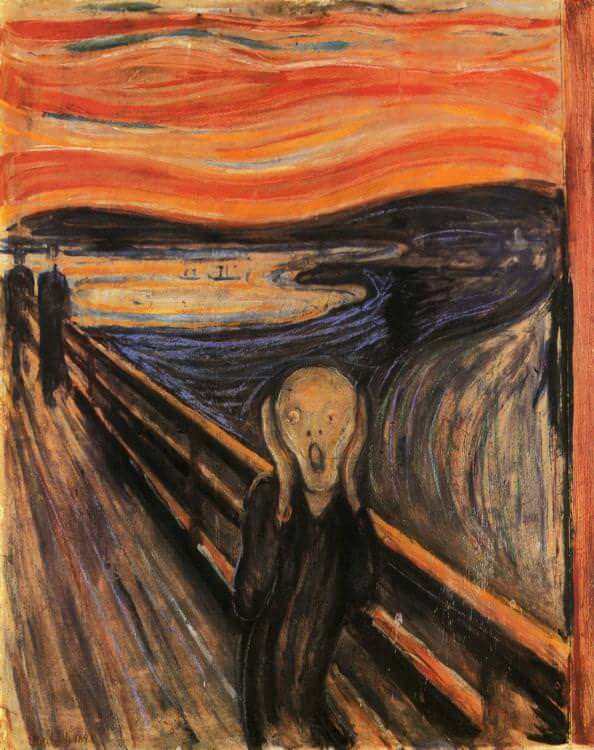
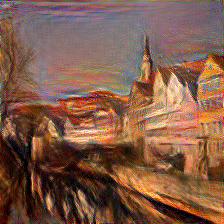

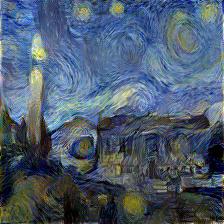
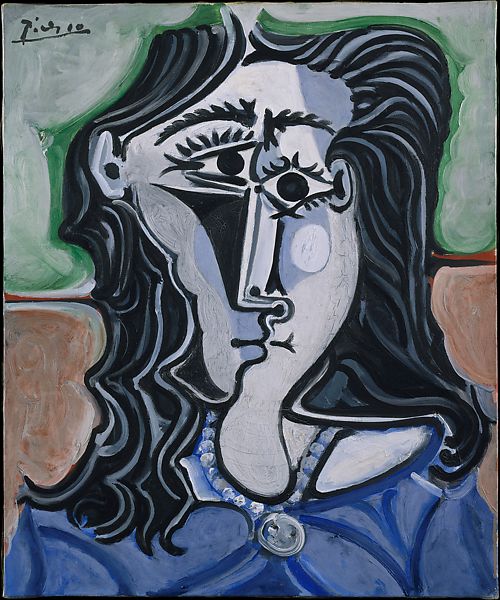
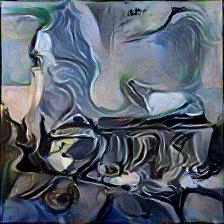
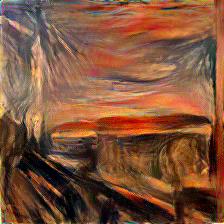
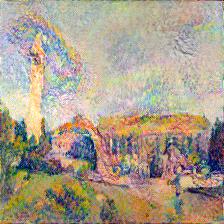
One issue I was having was that I was forgetting to zero_grad my optimizer. This was causing really weird artifacts to be included in my image within a couple iterations and causing nan values within 10 iterations. Ater dealing with this issue, I was having some difficulty with the clarity of the style coming through. However, fixing the images' input sizes and tinkering with the loss weights helped solve this as well. One thing I was wish the techinque would have been able to do was copy the style while keeping the original color in the content image the same (or try to keep it as similar as possible). I also some style images having parts of their images (like the bridge in the scream painting) 'inpainted' into the resulting image. This might be something I work on later over break!