Image Quilting
I start by synthesizing a randomized texture sample.
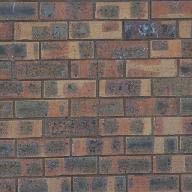
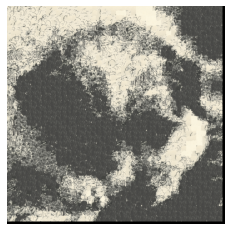
Random Sampling
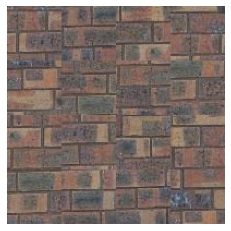
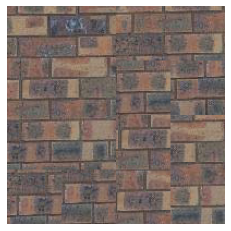
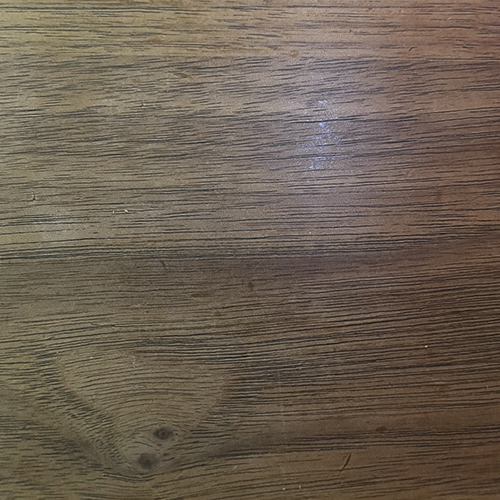
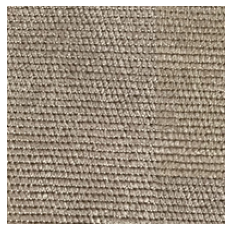
With this first method, I created a texture simply by randomly sampling square patches from a source texture. While this is the simplest method, the results aren't satisfactory - there are boundary inconsistencies, meaning that the boundaries between blocks are clearly noticeable and produces a grid-like image, rather than a seamless texture.
Overlapping Patches
In this next method, I aim to maintain more consistent boundaries between sampled patches. Now, each sampled
patch must, to some extent, match an overlapping region with its neighboring patches. For each patch placement,
I calculate the cost (based on the sum of squared differences, SSD) of the overlapping regions of potential
samples and its neighbors, then choose a random sample whose cost is less than a threshold determined by some
input
tolerance level.
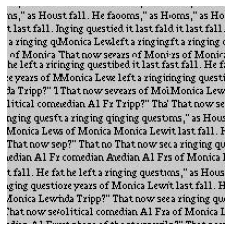
At a very low tolerance level (e.g. 0.001), with the first patch sampled from the upper-left of the source image, this method should produce a partial copy of the source image.
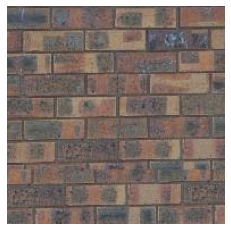
Unfortunately, this method still results in noticeable edges between patches, especially as the tolerance level increases.
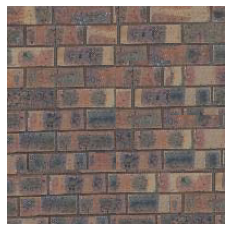
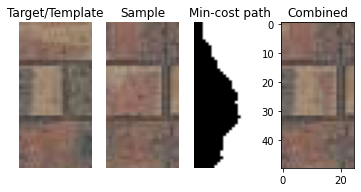
Seam Finding
In order to mitigate the noticeable edges, I incorporate seam finding, where I find the min-cost contiguous path through the overlapping patch region. This is used to define a binary mask that specifies patch placement.


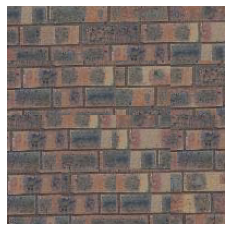
Quilted images:
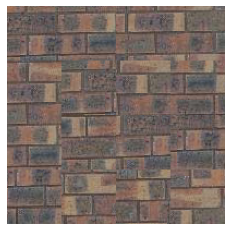
This results in much smoother seams between patches, and less grid-like boundaries.
Method comparisons
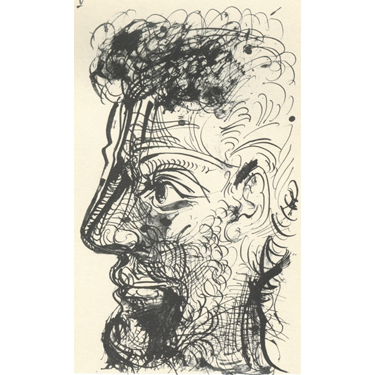
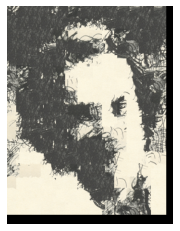
Texture Transfer
Now that I have created randomly synthesized textures, I can build on the previous texture synthesis method to create a texture transfer. Here, the samples are additionally guided by a target correspondence image, with the goal of rendering the target image with texture from another texture image. This is done by simply adding another cost term based on the difference between the sampled source patch and the target patch.
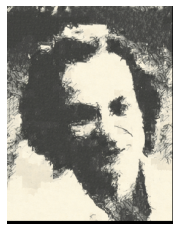
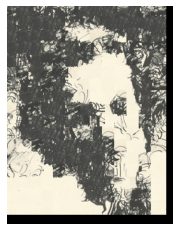

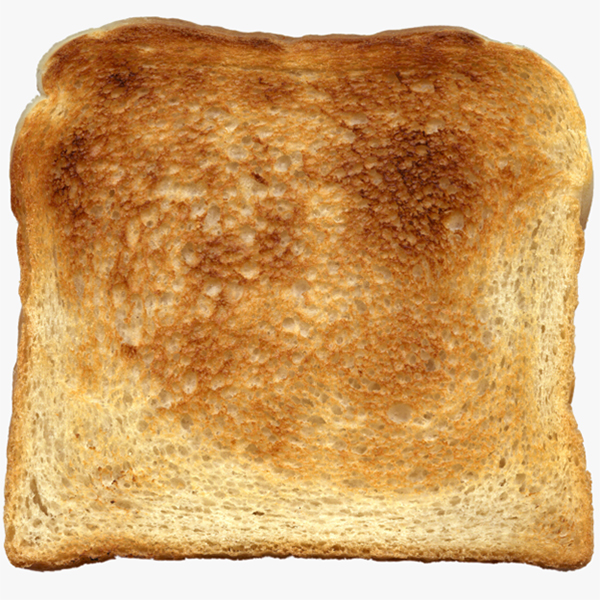
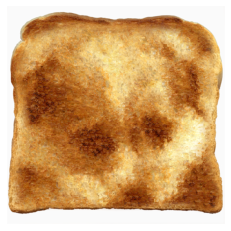
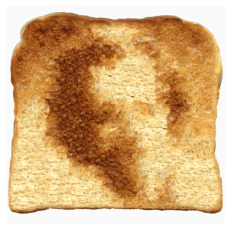
Bells and Whistles
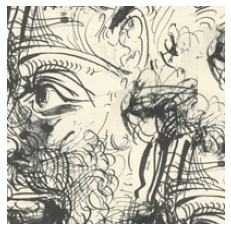
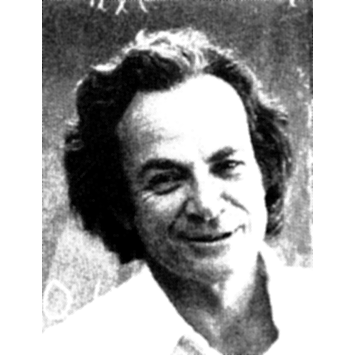
Here, I used a combination of texture transfer and Laplacian pyramid blending to create a face-in-toast image.
Light Field Camera
The Stanford Light Field Archive provides datasets of multiple images taken over a plane orthogonal to the optical axis. These datasets can undergo very simple operations (shifting/averaging) to create interesting results. In this project, I implement Depth Refocusing and Aperture Adjustment.
Depth Refocusing
When the camera moves around, objects that are far away from the camera have much less position variation across images compared to objects that are nearby the camera. By appropriately shifting and averaging the images, we can refocus on objects at different depths.
The dataset provides 289 views on a 17x17 grid. I shift the images around the center-grid image, scaled by an alpha value, then average the images.
The following gifs show image shifts with an alpha range between (-3, 3).

Aperture Adjustment
Averaging a larger number of images mimics a camera with a large aperture, while using fewer images mimacs a
smaller aperture. Thus, to control aperture adjustment, I select images that are r distance from
the center-grid image, where r defines the aperture radius.
The following gifs show image shifts with an aperature radius range between (0, 9).