|
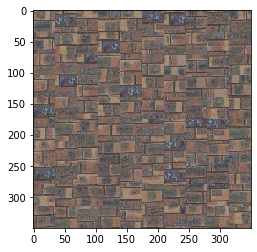
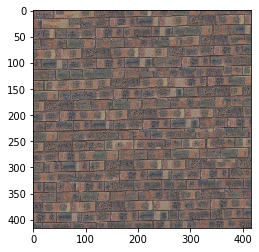
For this part, we randomly sampled patched from small texture image and put them in the final synthesized image. Since we randomly selected patches without considering overlapping cost, they were not mixed naturally. Below is the result synthesized image for brick texture.
|
|
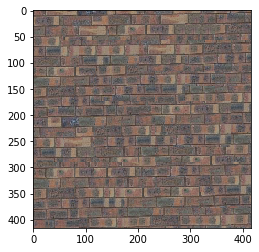
For this part, instead of randomly sampling patches for all template, we do consider minimizing overlapping cost. Firstly, for the upper left corner, we randomly selected patch from texture image. Then, from next templates, we computed overlapping cost (SSD) with existing patch. Then, we selected patches with small overlapping cost (where cost < min_cost*(1+tol)). From these patches, we randomly selected one patch and put them in the output image. Below shows the result synthesized image (better than previous part).
|
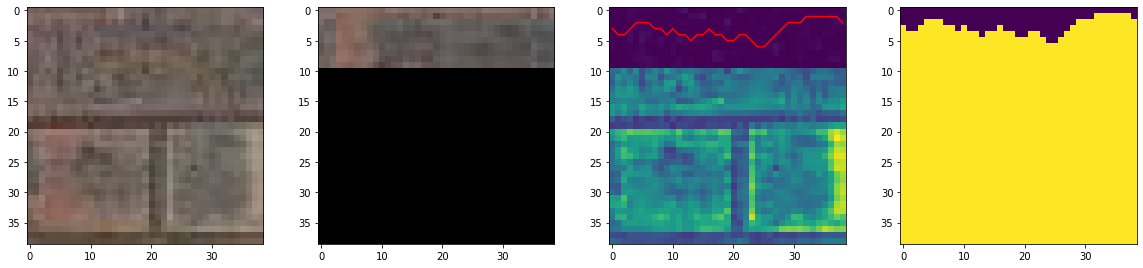
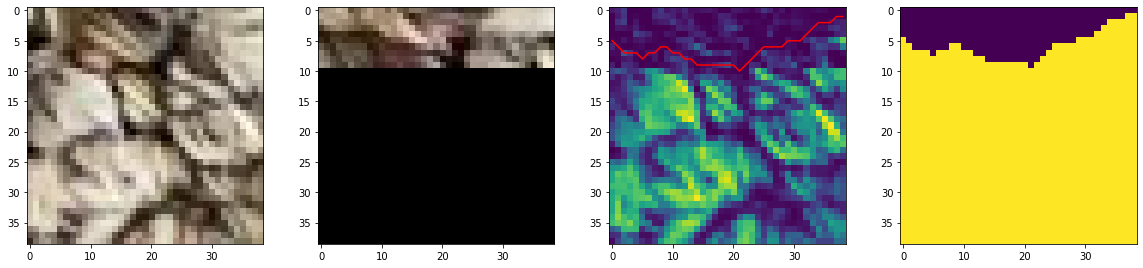
For this part, instead of simply overlapping, we found a minimum cut and produced a mask. This mask is applied to sampled patch, and opposite mask (1-mask) is applied to template. Then, we added these two patches and put them in the output image.
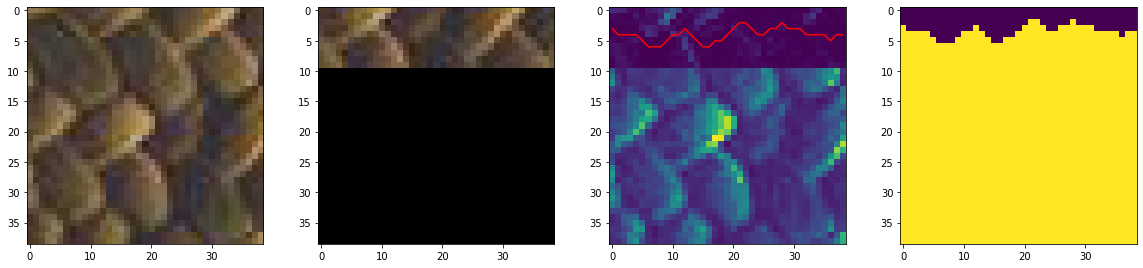
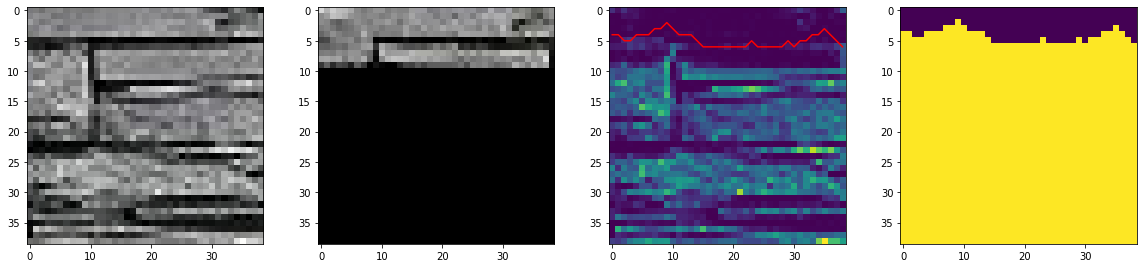
From left, below image represents sampled patch, template, bndcost, and produced mask respectively.
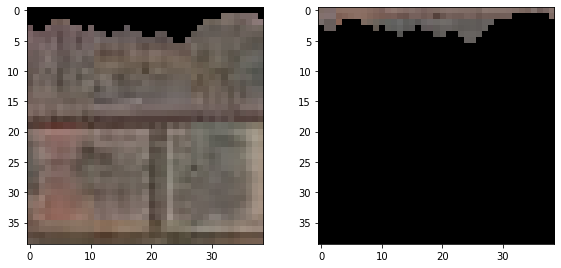
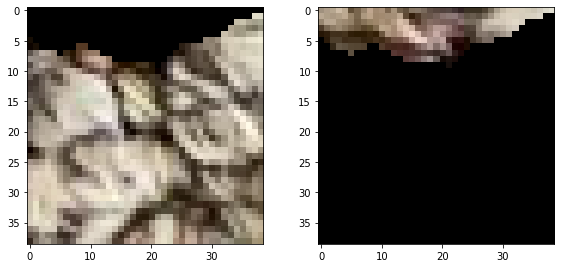
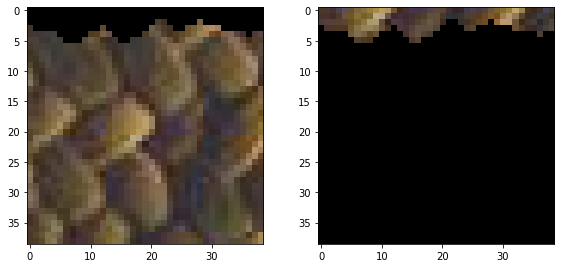
Then, Below image represents two patches that will be added.
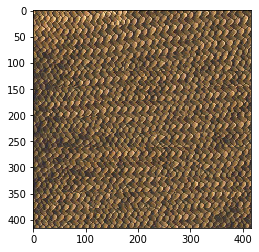
Final synthesized image
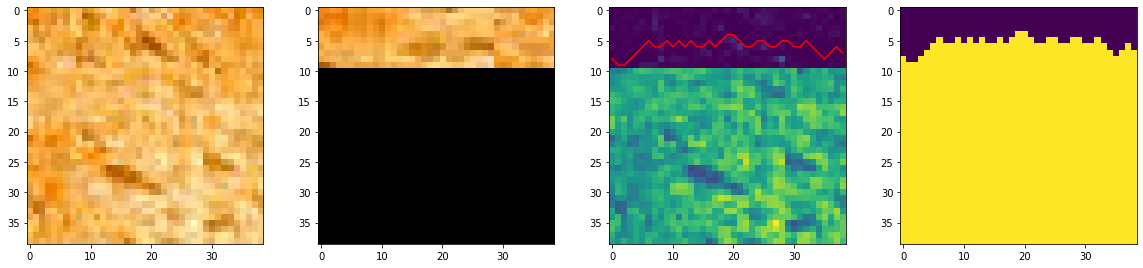
From left, below image represents sampled patch, template, bndcost, and produced mask respectively.
Then, Below image represents two patches that will be added.
Final synthesized image
From left, below image represents sampled patch, template, bndcost, and produced mask respectively.
Then, Below image represents two patches that will be added.
Final synthesized image
From left, below image represents sampled patch, template, bndcost, and produced mask respectively.
Then, Below image represents two patches that will be added.

Final synthesized image
From left, below image represents sampled patch, template, bndcost, and produced mask respectively.
Then, Below image represents two patches that will be added.

Final synthesized image
Now, let's compare three synthesized images for brick texture. We can see the quality of synthesis is getting better as we go right.
|
Random Sampling
|
Overlapping Patches
|
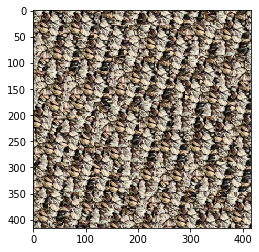
Seam Finding
|
Final part is texture transfer. For texture transfer, there is one more thing to consider from seam finding. Instead of only considering overlapping cost, we also need to consider corresponding cost, which is a cost between target patch and texture image. When we are computing final cost, we set alpha to weight overlapping cost and correspoding cost differently (or same if alpha is 0.5). Then, we added two weighted costs to compute final cost. Below shows examples of texture transfer.
|
Original Feynman 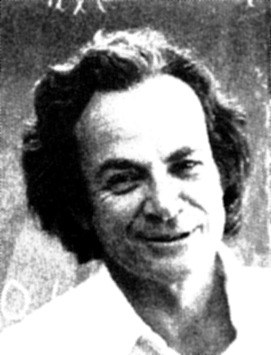
|
Original Banner 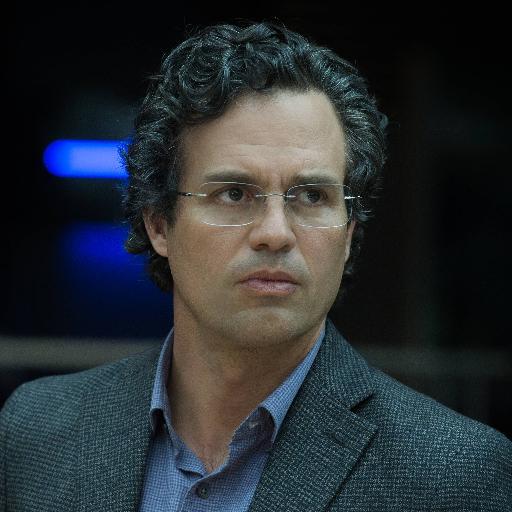
|
|
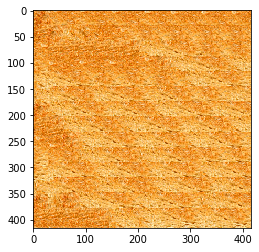
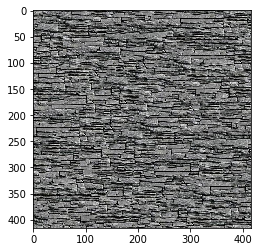
Brick texture 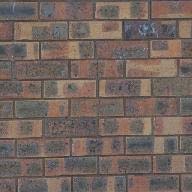
|
Sketch texture 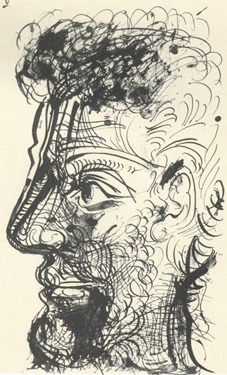
|
Tile texture 
|
Toast texture 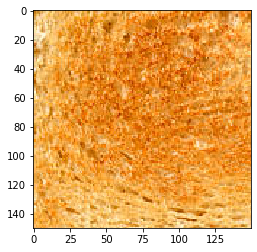
|
|
Feynman with brick 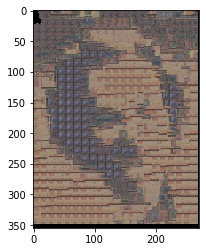
|
Feynman with sketch 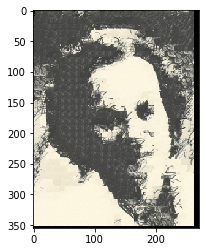
|
Feynman with tile 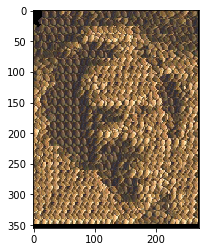
|
Feynman with toast 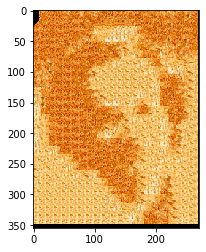
|
Banner with brick 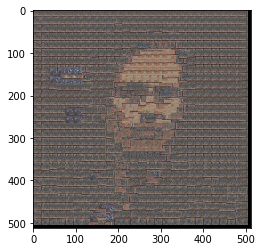
|
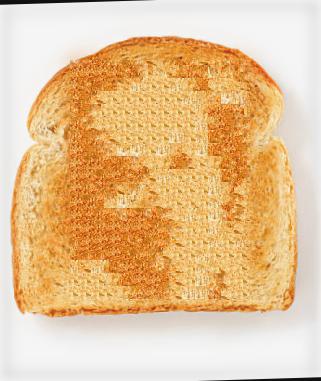
For Bells & Whistles, I chose to do blending using Laplacian Pyramid blending. I used feynman with toast image, and created a mask that masks everything except face from feynman with toast image. Below shows a face of Feynman in toast.
For this part, I used harris corners. Firstly, I manually selected 20 points in the first frame image of input video. Then, for next frame image, I found harris corners. For each point p in selected 20 points of first frame image, I found a harris corner where a distance between p is minimum. This harris corner is correspoding point of p in the next frame image.
First, I computed projection matrix for each frame. Projection matrix converts 3d points (real world points) to 2d points (image points). Then, I multiply this projection matrix by 3d points of cube (They are same for every frame). The result of this multiplication is points of cube in image. Then, based on these points, I draw a cube on each frame.
Input Video
Output Video (cube on box)
From the first final project, it was interesting to change texture of image to another texture. Also, it was interesting that by comparing corresponding cost between target and texture, texture transferred image looked really similar to the original target image. From the second final project, I learned how to convert 3d points in real world to 2d points in image. Then, importing virtual object (cube) on the top of real world object (white box) was amazing.