
|
|
In this project, I will be using a light field, which is a 5D structure that is made up of the same image at every sub-aperture in a 2D array of sub-aperture. Using this light field, we are able to refocus the image, as well as simulate aperture adjustment.
The light field is 17x17 images, so the image at position (8, 8) can be treated as the "center" image. To refocus, we simply have to shift all the images porportional to how far they are form the center image. In otherwords, for each sub-aperture (u, v) we simply shift it by C [(u, v) - (8, 8)] where C is a constant. Varying C varies the depth we focus at. below are two animations of depth refocusing. The ranges of C values differ a bit between the two due to differences in their image depths.
|
|
|
Aperture adjustment is also trival with our light field. To simulate aperture adjustment, we simply average a smaller selection of the sub-apertures at a constant depth of focus, and our image will be less/more blurred. Below are animation of aperture adjustment, starting from just 1 singular central image, and then averaging over an increasing "radius" of distance from the center image until we use all 17x17 images.
|
|
It was facinating to see how easy it is to perform these very cool operations given that we have the light field data. The similicity of the algorithms was definately shocking/refreshing at the same time. Also interesting to see that something we usual assocate with physical changes such as depth of focus and aperture can be repoduced through code provided we have the data for it.
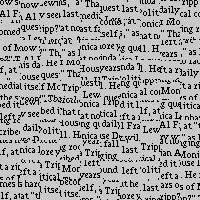
In this project, I will be working with textures/patterns to do texture/pattern generation using quilting, starting from pure random sampling and working our way towards texture transferbetween images.
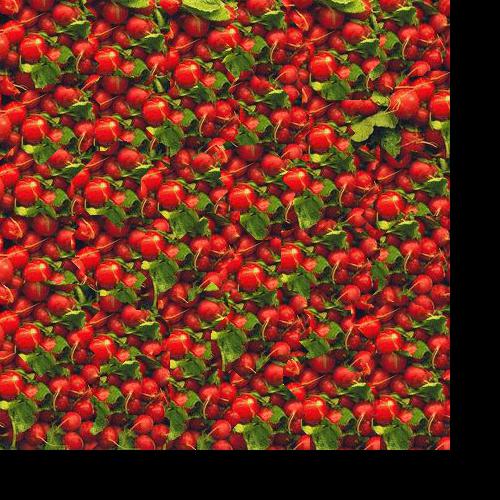
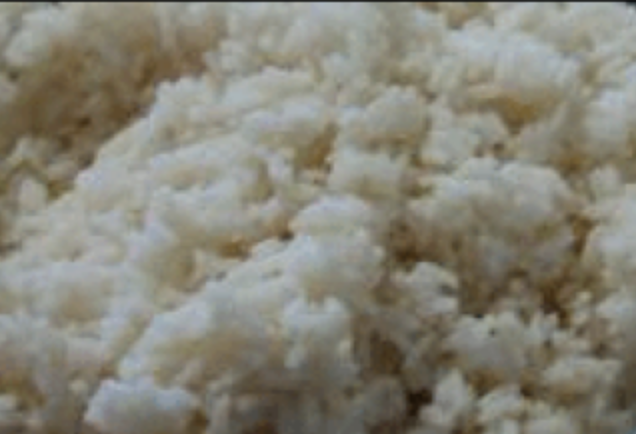
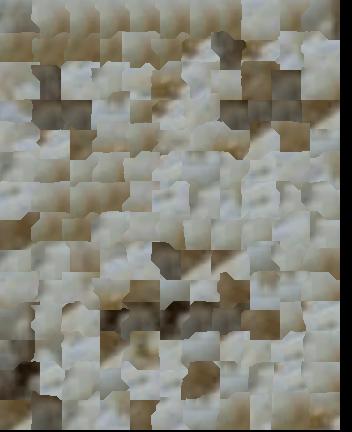
The most basic way we can create a texture is to randomly sample from an exisitng texture and quilting it together. Below are some examples.
|
|
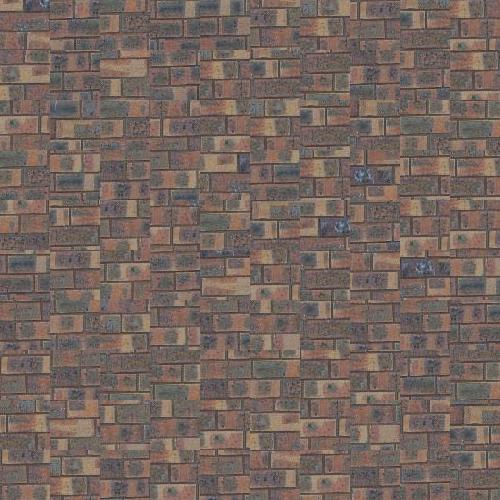
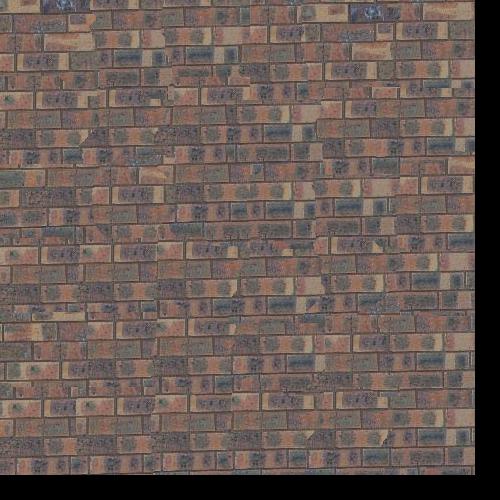
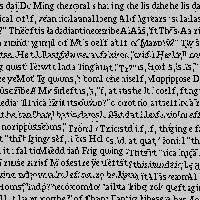
As we can see, randomly sampling does not turn out well, even for very uniform textures like the brick wall. To improve this, we can have an overlap region and sample accordingly with whicheevr sample results in the best fit (least SSD). Below are some examples of this improved method for quilting.

|

|
Already a big improvment form random sampling!
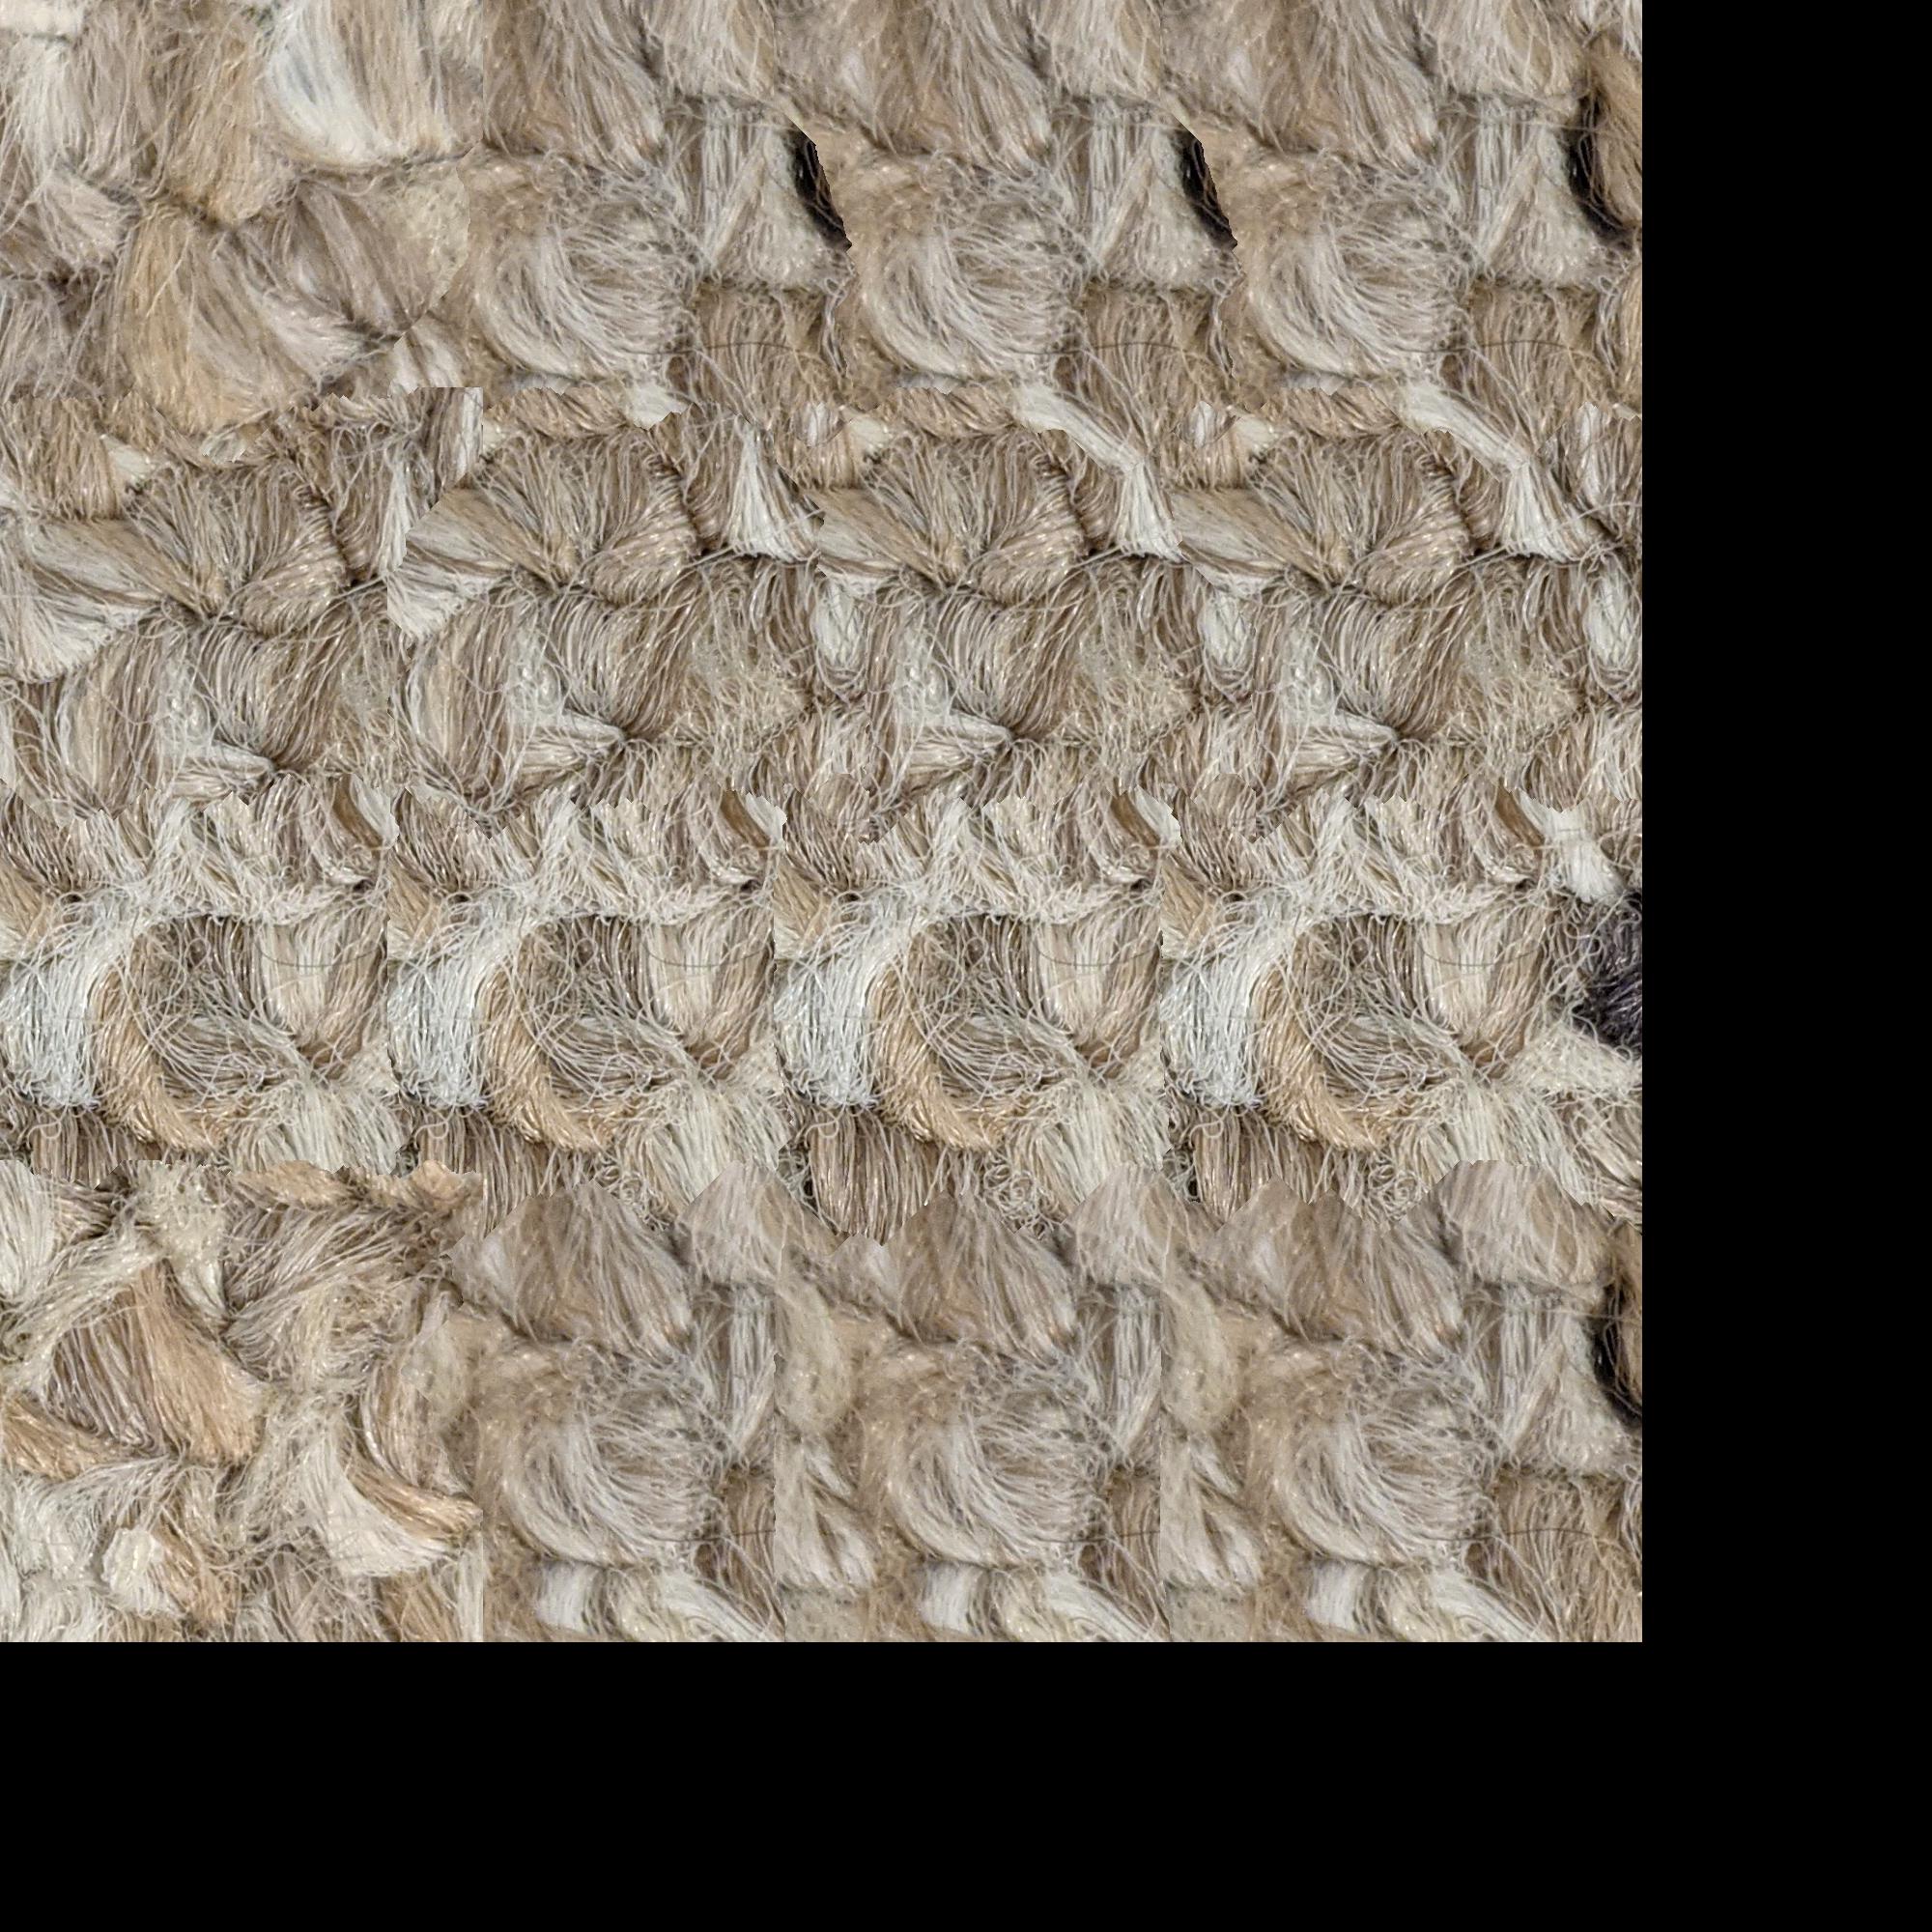
TO improve it future, we can instead now also cut on the overlapping region to generate an even more seemless transiiton between sample "blocks". We still do the previous step, but now we also calculate a region on minimal loss within our overlap, and cut along that boundry. Once again, below are some more results, as well as a side by side comparison with previous methods.
|
|
|
|
|
|
|
|
Some more cut examples:
|
|
|
Seems like for very uniform patterns such as the text, just a simple overlap computation is enough to make a pretty good quilt. However, for more complex patters the boundry cuts help much more. Pretty happy with the results especially for the carpet.
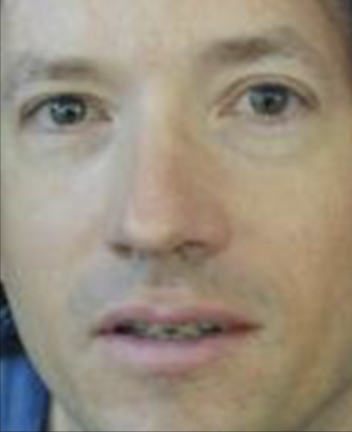
The last step is texture trasnfer. Unfortunately I wasn't able to get it working in time D: but below are some results anyways:
|
|
|
It seems like the overall shape is getting there (like the dark lower left) but the details are all missing.
I definately just needed more time with this project and I probably could have figureout out texture trasnfer better. It was a little hard to find what values would work well for which patters (patch size, overlap, alpha, etc). We fun though! Espiecailly once the rice face started to show up.