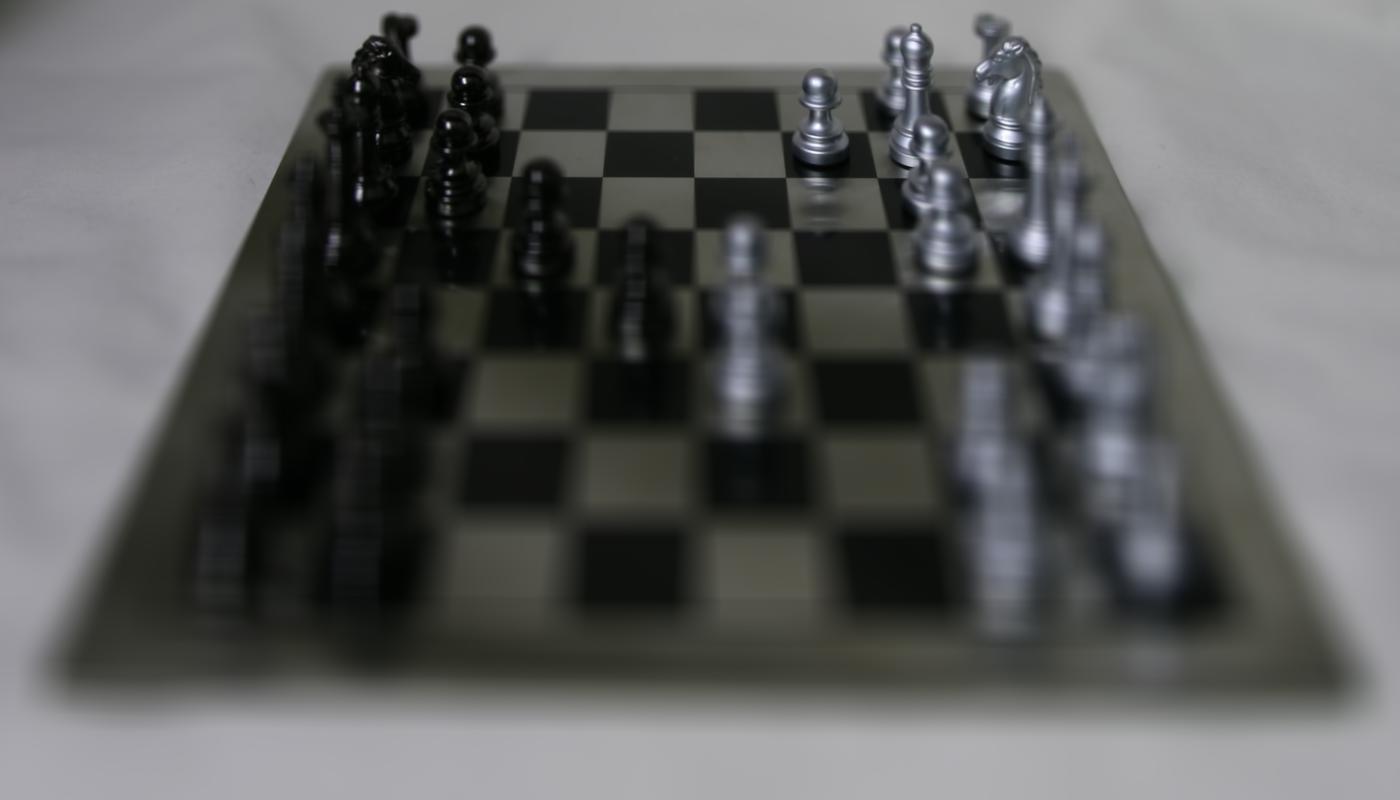
CS194-26: Final Project

Wallace Lim


Project 1: Lightfield Camera

Overview

The lightfield camera method using the capturing of specific images over a plane orthogonal to the optical axis. This in combination with the proper shifting allows for different depth focuses. For every file, there is a relative position making up an 17x17 grid of images and their corresponding absolute position. To find the right focus on the center image (the 8x8 image), the absolute position is used to calculate the necessary shift by this formula p * (u' - u) where p is determines how much to shift by.

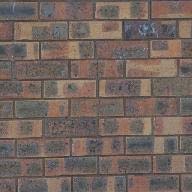
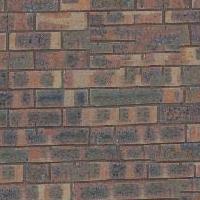
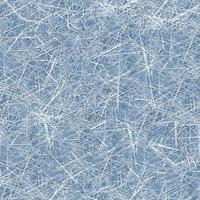
Part 1: Depth Refocusing

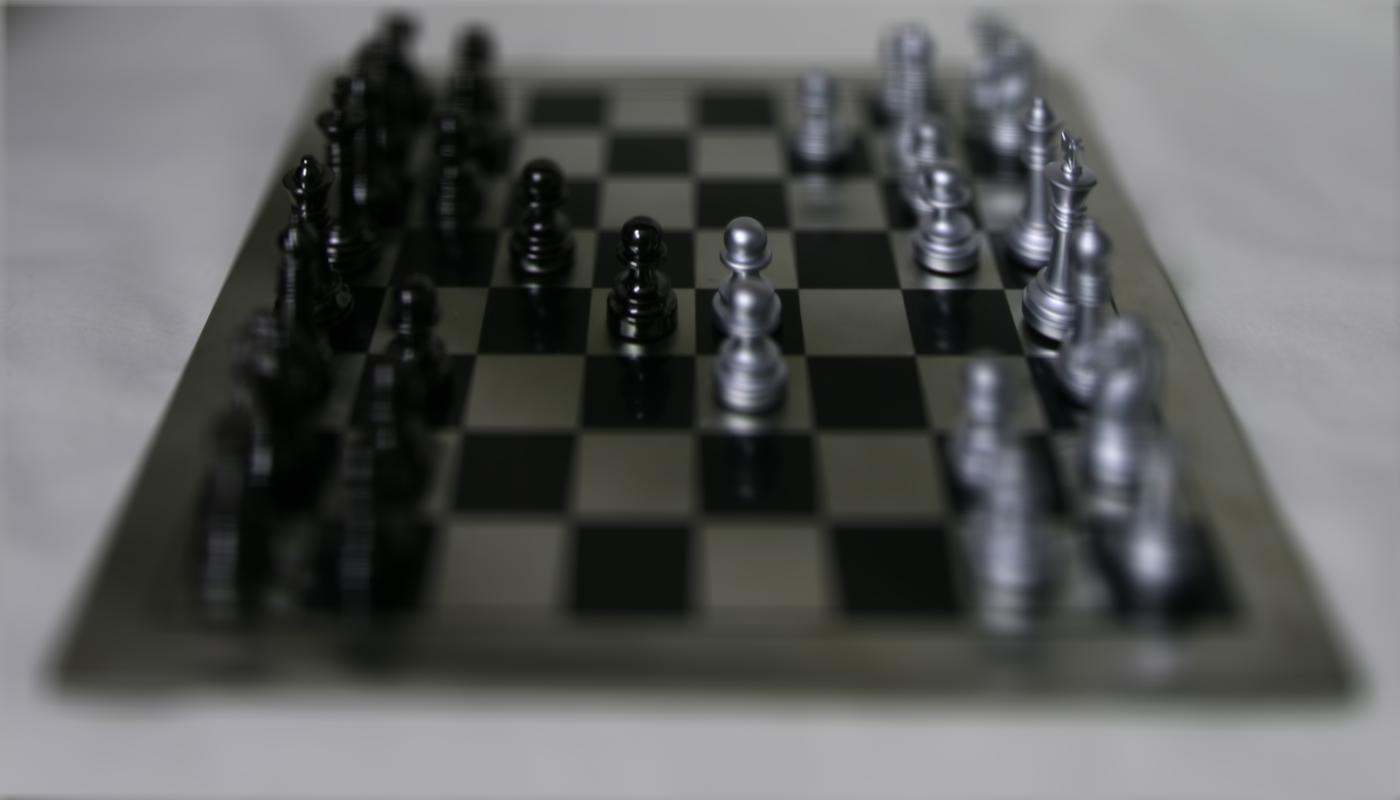
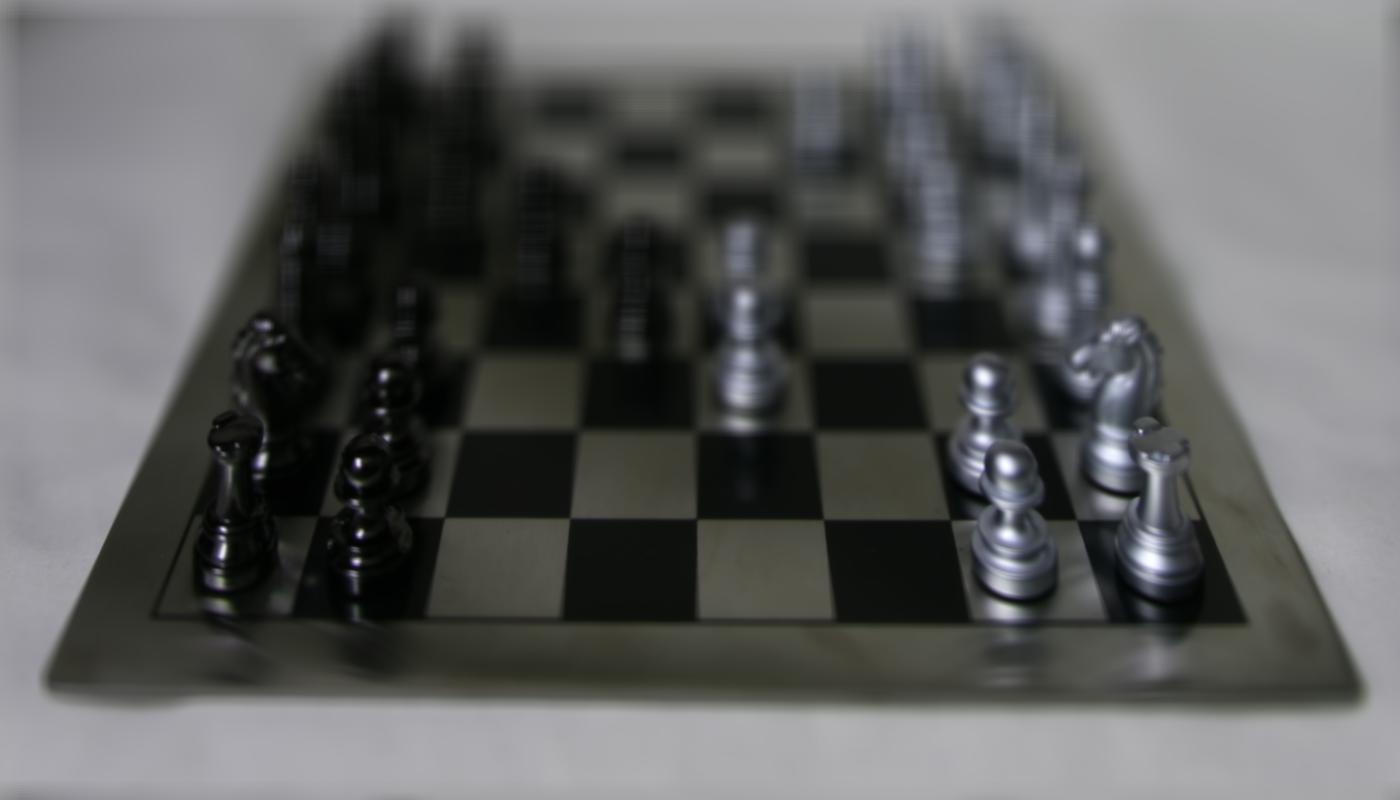
We can modify the focus depth by finding the necessary shift to the center by using the absolute position and scaling the difference by a factor to vary the focus. A small scalar allowes for less shift causing the image near the back to be more focus where as a large p value magnifies the shift more to focus on the front.

p = 0
p = 0.2
p = 0.5

Here is a gif of the transitions.

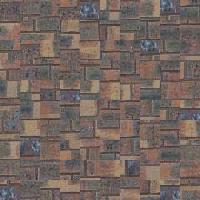
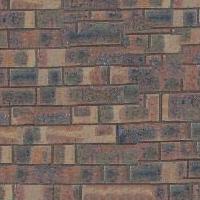
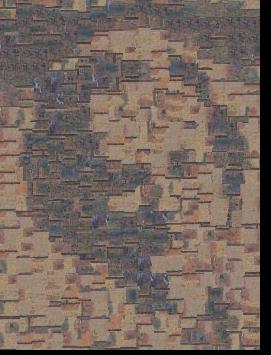
Part 2: Aperture Adjustment

To calculate focusing, we centered all the 17x17 images into. However, we can mimic the use of apperture to by only using a subset of the image. I decided to including the images by a specific radius and using thee L1-norm, resulting in the square area.

Below is a gif using the manhatten distance (L1 norm) for varying radius (r = 1 - 8) where r = 1 is only the 8x8 image and r = 8 includes all the images. These images are also calibrated to be focusing on the center.

R = 1
R = 2
R = 3
R = 4
R = 5
R = 6
R = 7
R = 8

Part 3: Summary

I learning that with the proper calibration we can varying the depth focus and aperture by deciphering necessary shifts to focus on the center.

Project 2: Image Quilting

Overview

In this project, I explored various ways to extend a texture to a larger image by different sampling methods on a smaller image. This was first explored in this SIGGRAPH 2001 paper by Efros and Freeman. With the image quilting algorithm, it was possible to perform texture transfer by adding an additional cost to the patch search portion of the algorithm (See Texture Transfer section).

Part 1: Randomly Sampled Texture

The most naive method of sampling textures is to randomly sample patches from the sample image and tile them together. Although this allows for a quick and simple algorithm, this doesn't provide a convincing quilt.

Sample Image
Random Sampled

Part 2: Overlapping Patches

We can significantly improve from the naive algorithm by overlapping the patches over a specified amount of pixels instead of simply tiling them together. For each iteration of inserting a new patch, I sampled every possible patch permuataion in the sample and calculated the sum of squares difference (ssd) on the predefined overlap space. Next, I'd filter out any patches that do not meet a tolerance critera of the min cost (minc) * (1 + tolerance). This leaves me with a few samples that are sufficent to be overlapped which 1 will be randomly selected.

Sample Image
Overlapping Patches

Part 3: Seam Finding

We can incorporate seam finding to help remove the edge artifacts from the overlapping patches to help better blend the images together. After following the steps in Part 2 ending with randomly selecting a patch, I created a cut function that found the minimum cost contigous path from the left to right of the patch. This now becomes the new overlapping mask for the patch to be inserted in for better quilting.

Sample Image
Seam Finding

Now, we can observe the differences in each algorithm. We see that the random sample is very chaotic where as the other two algorithms are signfiicant improvements in extending the patches to look like a regular image.

Sample Image
Random Sample
Overlapping Patches
Seam Finding

Below are more examples of the image quilting method on various images.

Sample Image (Bricks)
Random Sample
Overlapping Patches
Seam Finding
Sample Image (Text)
Random Sample
Overlapping Patches
Seam Finding
Sample Image (Ice)
Random Sample
Overlapping Patches
Seam Finding
Sample Image (Leaves)
Random Sample
Overlapping Patches
Seam Finding

Part 4: Texture Transfer

We can extend the seam finding into a texture transfer method by adding an additional cost when calculating the ssd cost of each patch. In order to do this, you would make the output size the same size as the texture image and calculate a weighted average of 2 ssd functions. (1) is the original ssd_patch of the overlap and (2) is the ssd of the difference between where the texture patch would rest in the texture image vs the current sample patch. These are implemented as a weighted average to which the remaining algorithm will pick the best one.

Bricks
Texture Sample
Feynman

Here is another texture transfer image.

Ice
Texture Sample
Feynman

Part 4: Bells and Whistle

I coded up the cut function in python.