Project 1: Poor Man's Augmented Reality
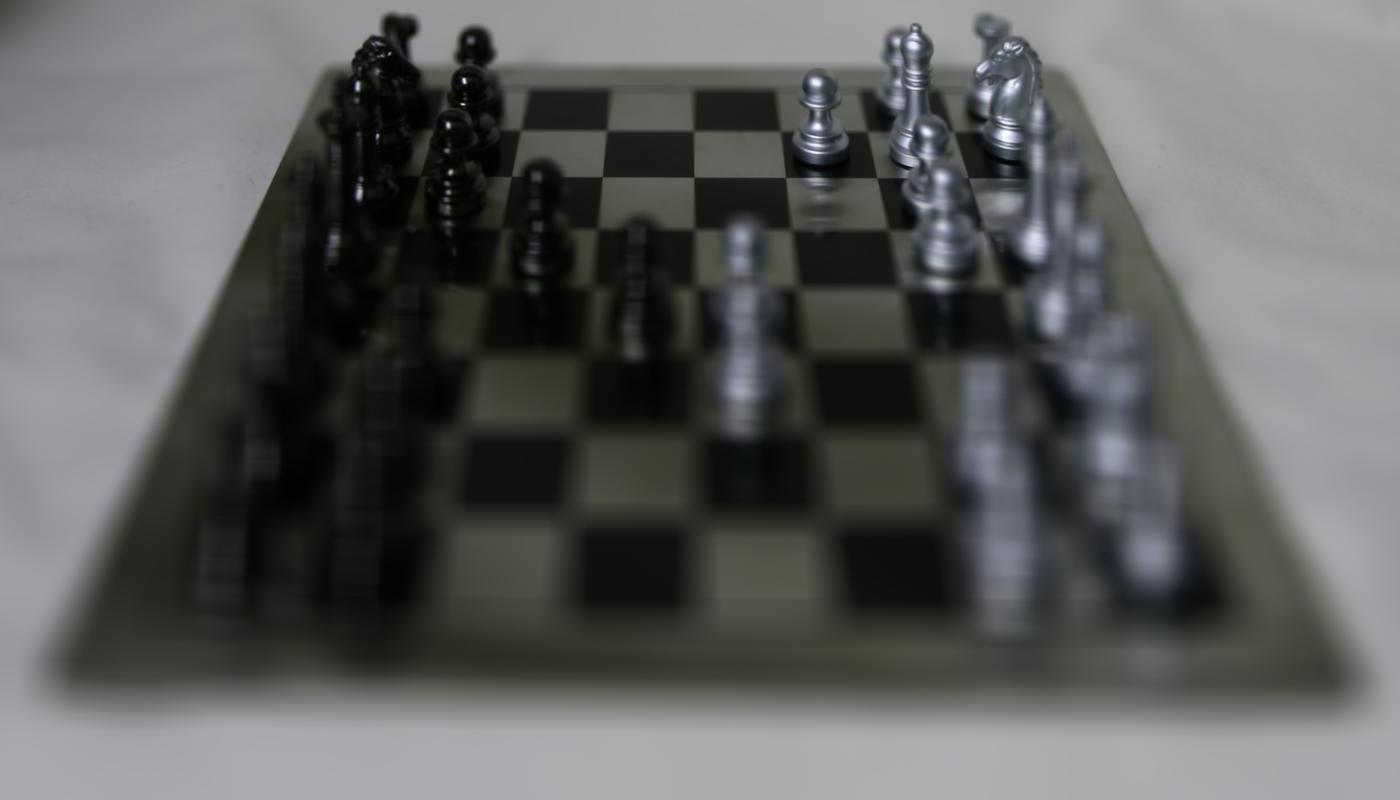
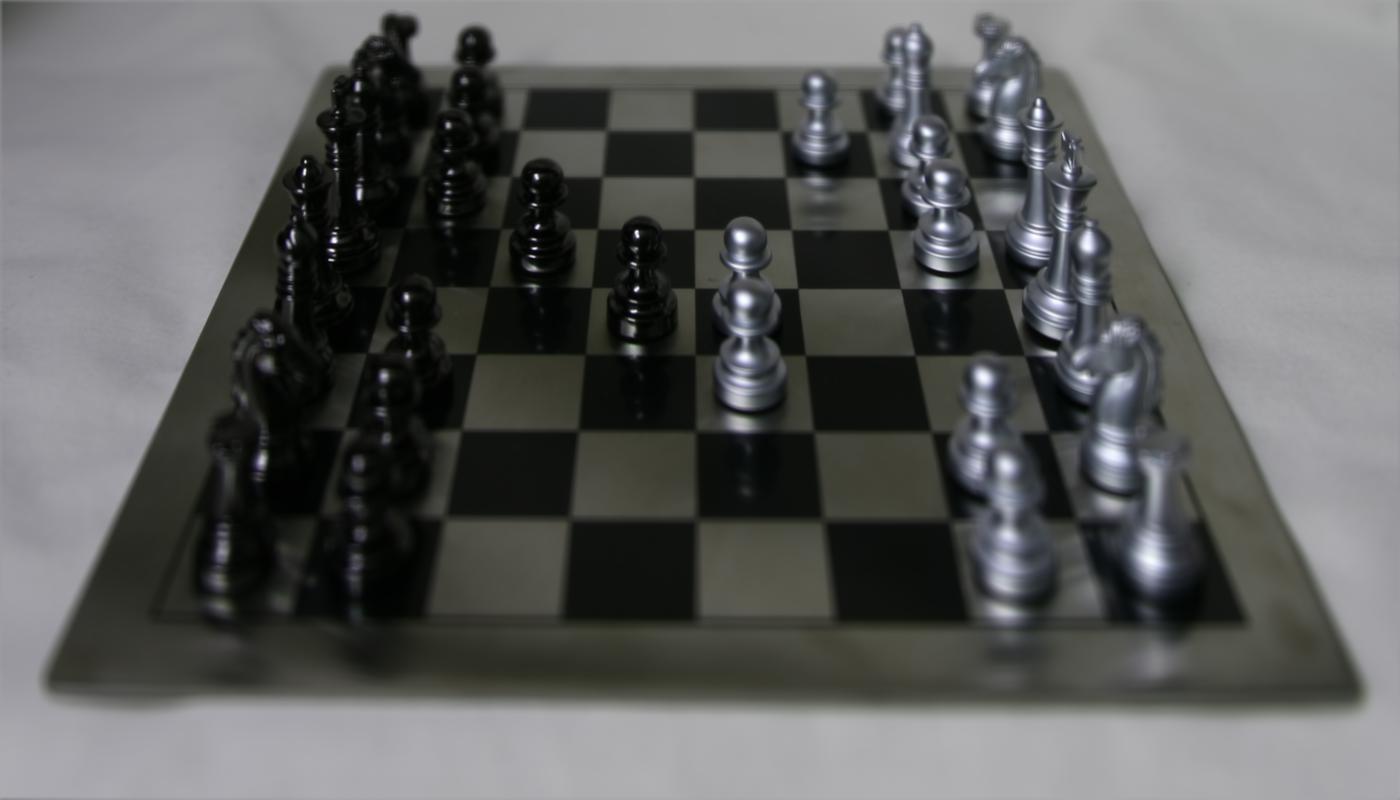
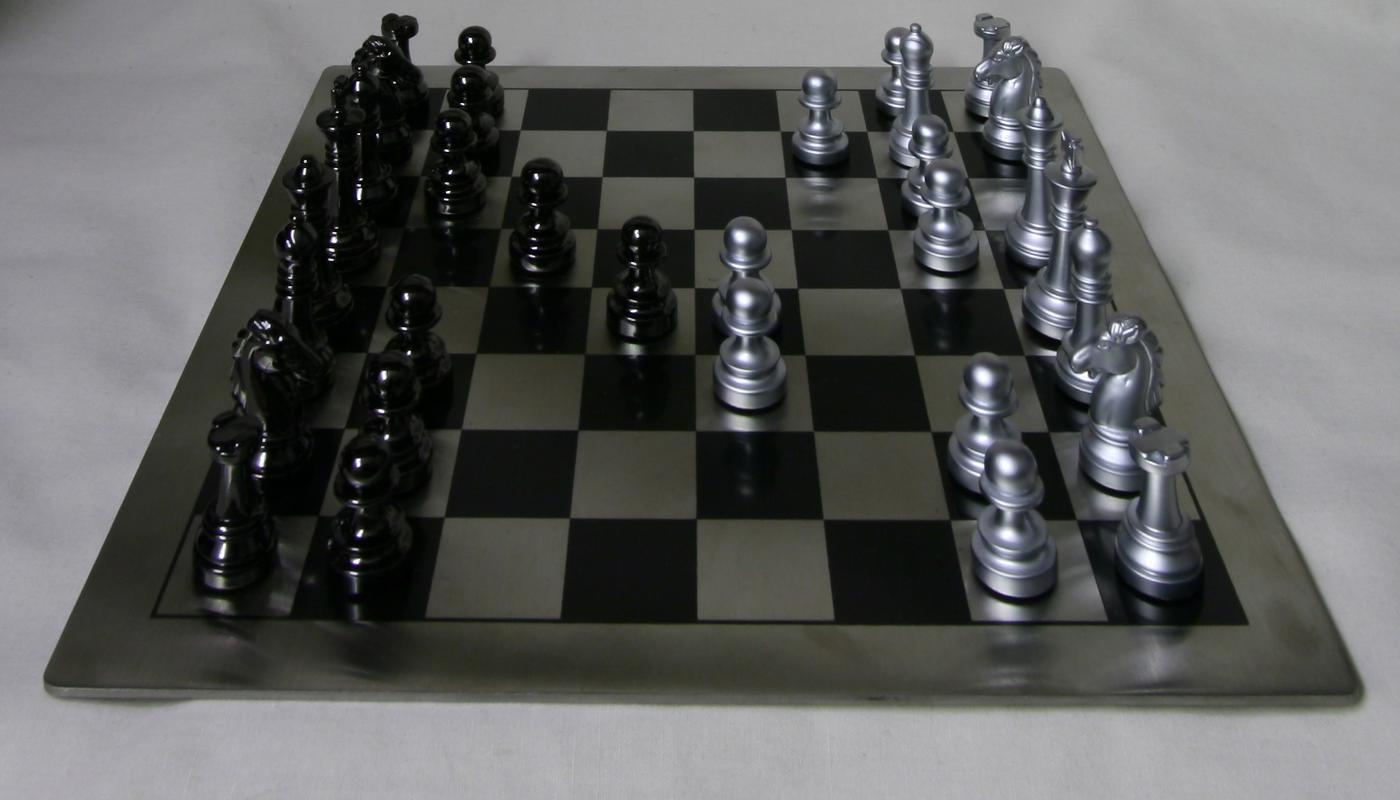
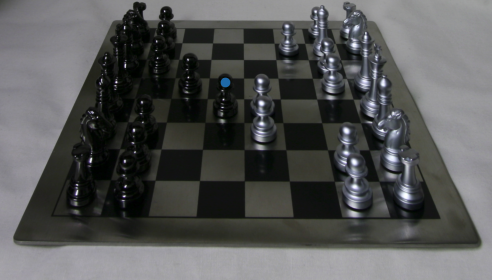
In this part of the project, I use concepts related to camera calibration to project a 3d rectangular object into a video recording from my handheld device. The gif below is the original video of the box. The box is marked with a grid of evenly spaced lines with intersections marked by large dots. This is used to determine the world coordinates to retrieve the projection matrix.
|
Propogating Keypoints to other Images in the Video
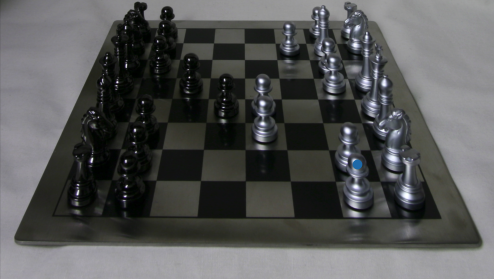
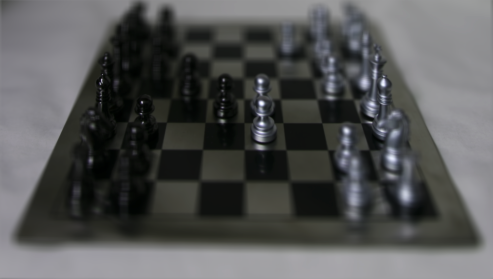
To project the 3D box in a specific orientation on the recorded box, we first need to be able to track a certain number of points. I use 20 points and the cv2.TrackerMIL_create() off-the-shelf-tracker to keep track of the selected points frame by frame. A tracker is created and initialized with an 8x8 patch bounding box centered at each of the selected points. Each frame, these trackers are updated and the new point locations are derived from the returned bounding boxes. The video below demonstrates the accuracy of this tracking. Notice, some points change locations along the way but the majority of the points remain in the general vicinity of their starting locations.
|
|
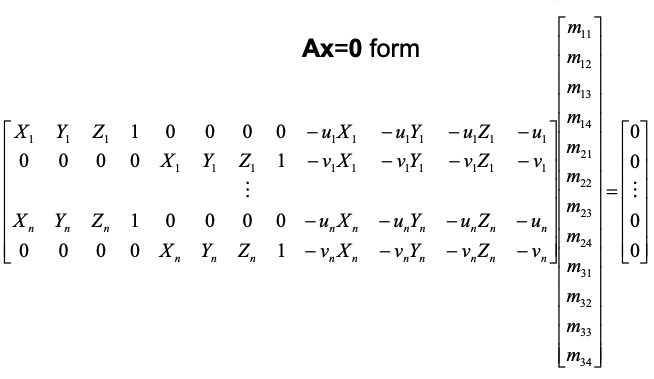
Calibrating the Camera
Now that we have the world coordinates and the image locations for all 20 points for every frame of the video, we can derive the projection matrix specific to each frame and use this result to transform our 3D object. This is done by setting up a least squares problem with the 20 world and image point pairs. See the image below for a better understanding of the setup.
|
Projecting a cube in the Scene
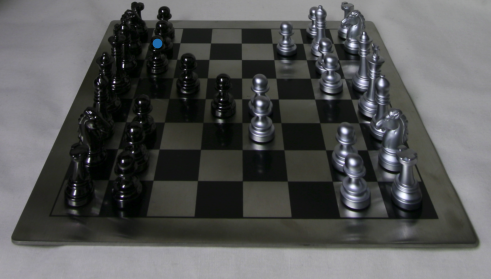
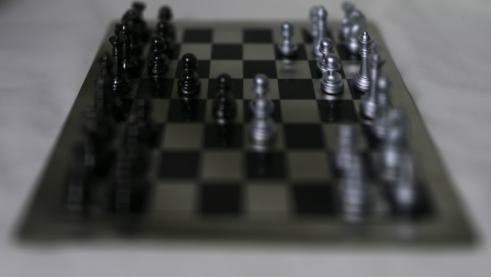
Now we have everything we need to perform the augmentation. I decided on using the more stable tracked points as the anchor for my object. The chosen object is of dimension 5x2x10 (length,heigh,depth). The front bottom left corner is anchored at the world coordinate (10,7.6,2.5). For each frame, I use the associated projection matrix derived in the previous part to convert the world coordinates to image locations and use the suggessted draw function to draw the 3D object. The video below depicts the final results.
|
Project 2: Lightfield Camera
In this part of the project, I use pixel shifts and averaging to refocus and adjust the aperture of images from the Stanford Archive.
Depth Refocusing
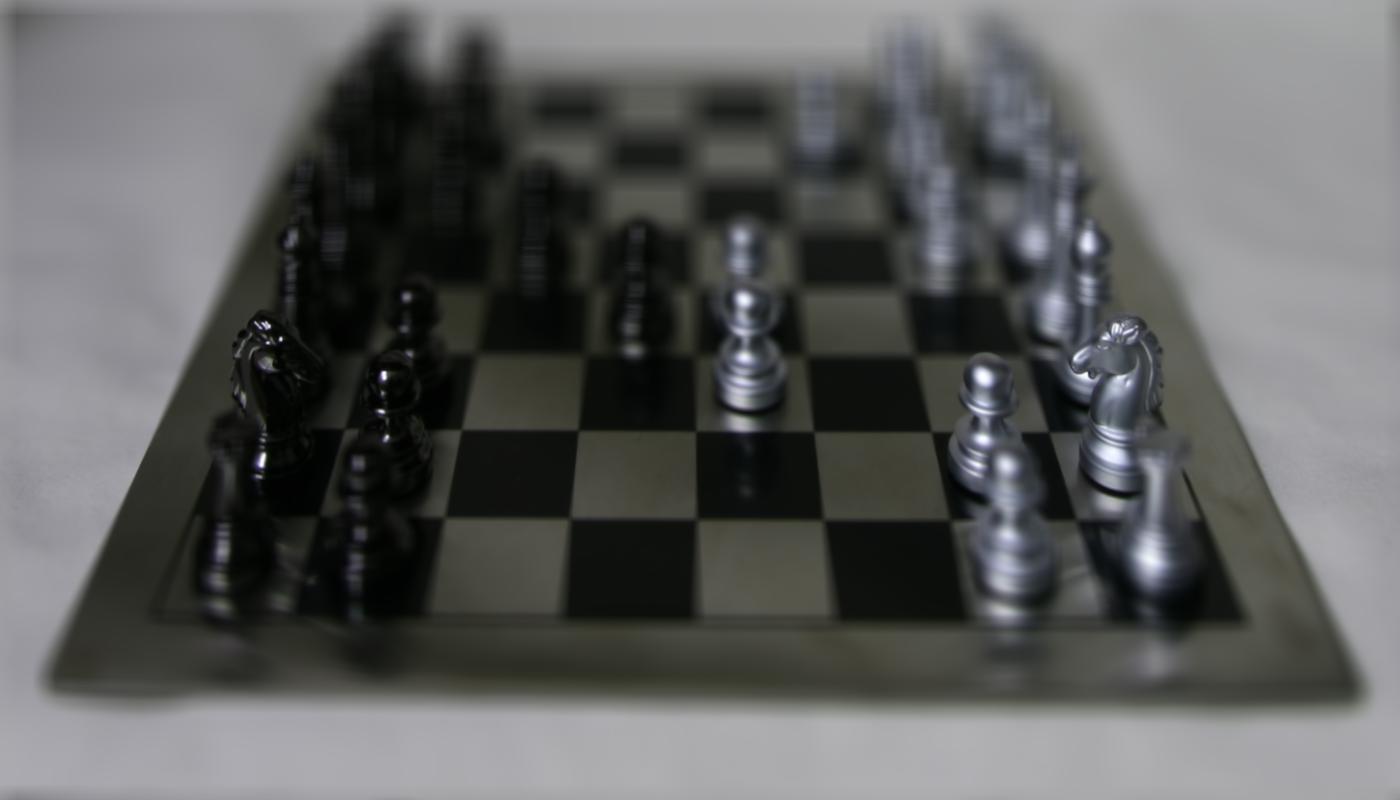
Since the images are taken from a 17x17 grid, the images don't line up completely. Objects in the foreground and background are subject to different amounts of displacement due to parallax. Averaging the images as is results in an image with a blurry foreground and focused background as objects farther from the camera are displaced very little.
|
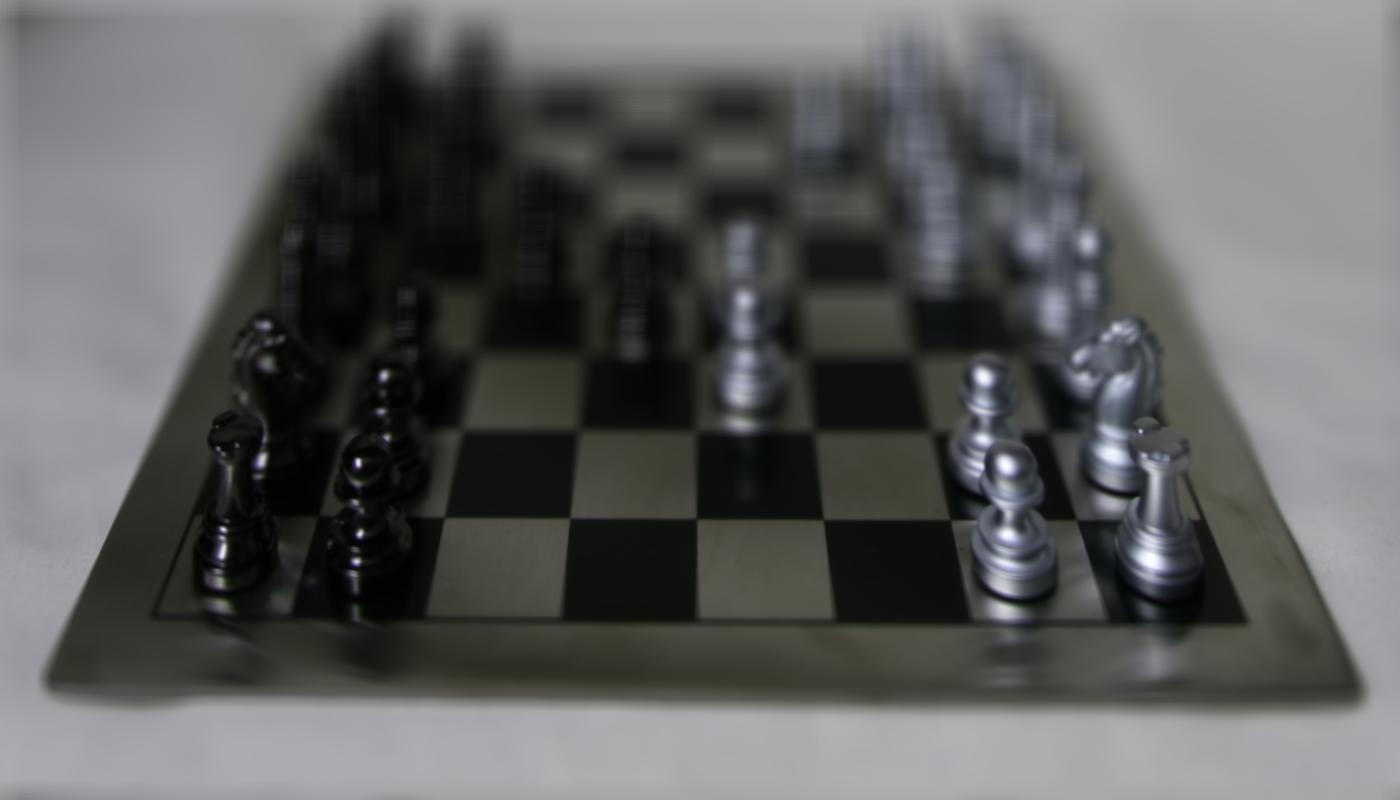
Using this principle, we can refocus the image to specific depths by accounting for these shifts. The dataset file names come with pixel locations that we can use to derive the shifts per image. This is done by comparing each image to the "center" image or the 145th archive image. I then use a toggle parameter, sh, which is a value between 0-0.5 that scales the diff from the center image. For example, if cx/cy are the "center" image positions and x/y are the current image positions, then the shift is calculated as follows: sh * (cx - x) and sh * (cy - y). These are applied to each image before averaging. The results are below:
|
|

|

|

|
|
|
Notice that as the shift parameter, sh, increases, the focus shifts from the background to the foreground of the image contents. This is because, as the images are allowed to shift more and more, the larger shifts from the parallax motion of the front facing objects are compensated, while the small shifts in the background are blurred. Below is a gif of the transformation.
|
Aperture Adjustment
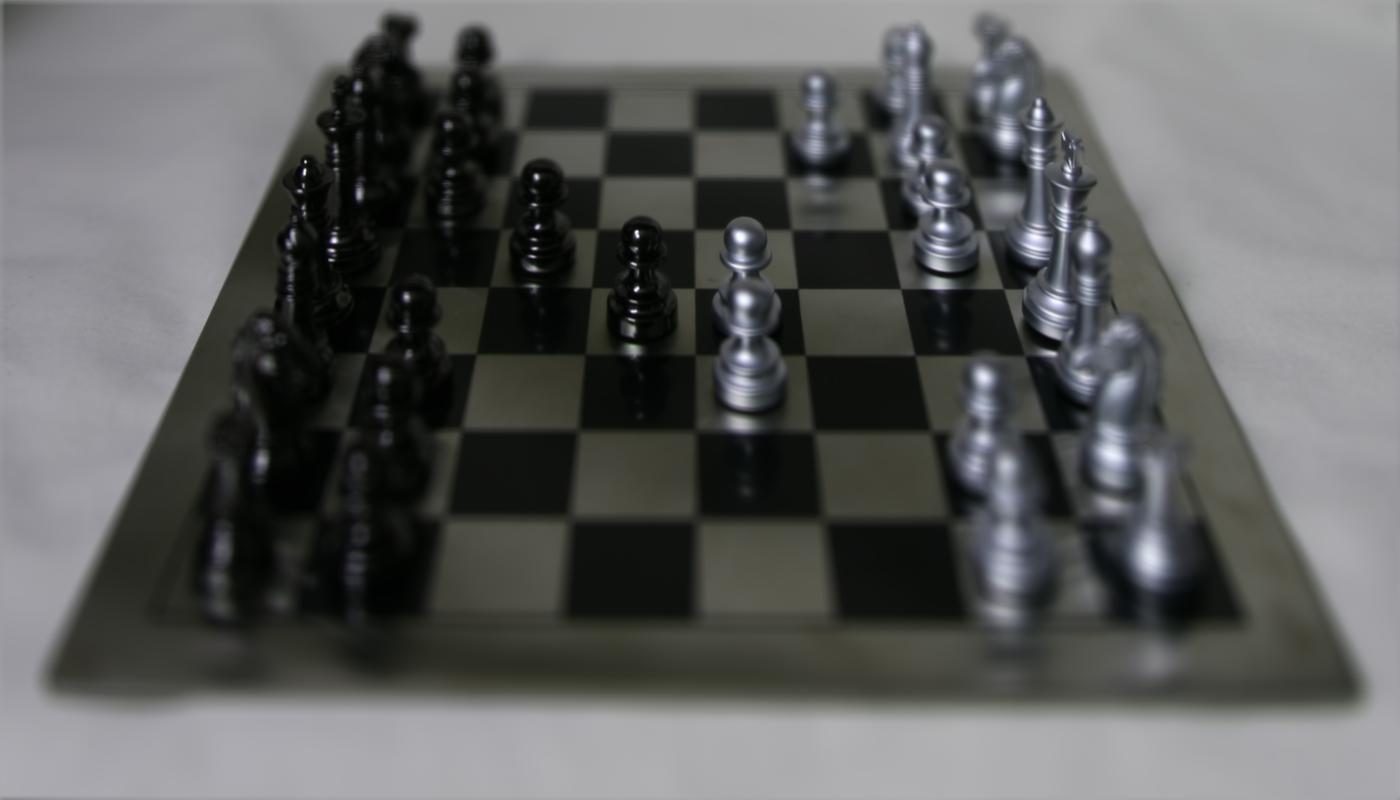
In this part of the project, we mimic aperture adjustment by filtering out images and averaging the remaining ones. We do this by filtering out images a certain radius away from the "center" image mentioned in the previous part. Intuitively, as this radius becomes smaller, the edges of the image become clearer until only a single high resolution image remains. The image below is center focused (using the code from the previous portion) and uses all images in the dataset (high aperture).

|
Again, similar to the first part, we have a parameter, r, which details the radius in which images are considered for the averaging. This parameter takes on the values from 1-51 which accepts varying numbers of images. The euclidean distance between the filename positions of any image with the "center" is calculated then compared to the radius value and filtered accordingly. Below are the image results from the different r values.
|
|

|
|
|

|
|
Notice that as the radius of acceptance decreases (aperture decreases), the image background becomes more focused. Below is an animation of the cumulated results.
|
Summary
I learned that lightfields are a different perspective for what we think of as cameras. Instead of the traditional warped lenses and closing openings, lightfields use numerous pictures of the same object from slightly different perspectives to refocus and adjust the aperture of the resulting image. This can be done using very simple calculations involving averaging, mathematical comparisons, and filtering. It offers a more powerful approach to taking pictures as a photographer is able to adjust the aperture and focus without having to set up another photoshoot with the subject.
Bells and Whistles (Light Field Camera: Interactive Refocusing)
I followed the hints and used a 200x200 patch around the cursor click to identify the shift for the first image in comparison to the "center image" or the 145th image. This was done using a simple exhaustive search. Once the shifts were found, I used the values to compute the "sh" parameter mentioned in the depth refocusing portion of the light field camera project. I decided on calculating the x and y shifts independently and taking the max of the 2 to compensate for the different possible shifts. The results of the cursor clicks and refocusing are below.
|

|
|
|
|
|