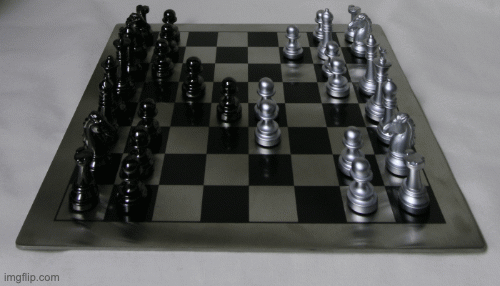
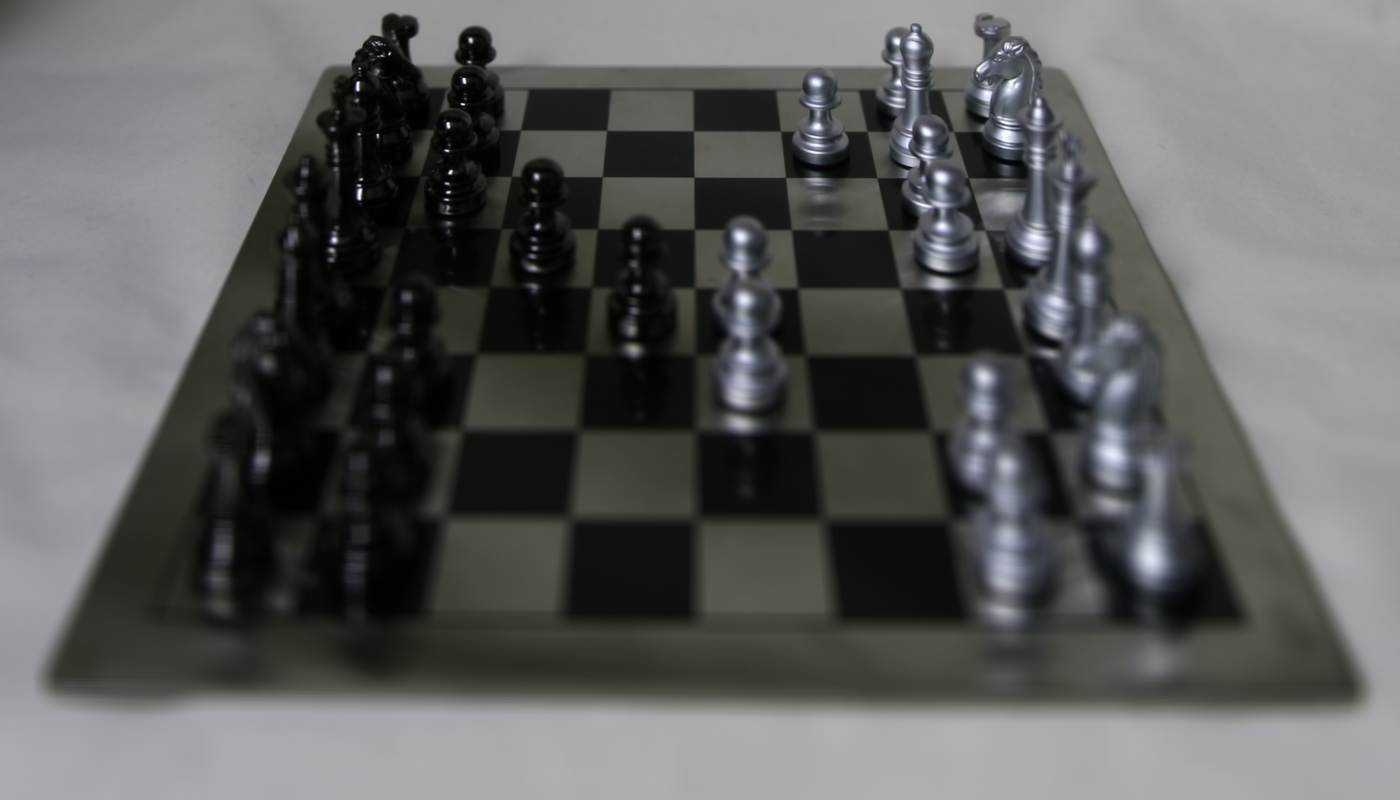
Chessboard Images shown with varying depths
For this part of the project, we have 289 images taken from a 17x17 grid, each shifted horizontally and vertically between [0, 17]. By taking a simple average of all of these slightly different images, we find that the resulting image is one that is "focused" near the far end of the chessboard. When the camera perspective changes slightly, the pieces in the front of the board are affected more while the pieces in the back are in a relatively similar position; this is why the pieces in the back are initially in focus.
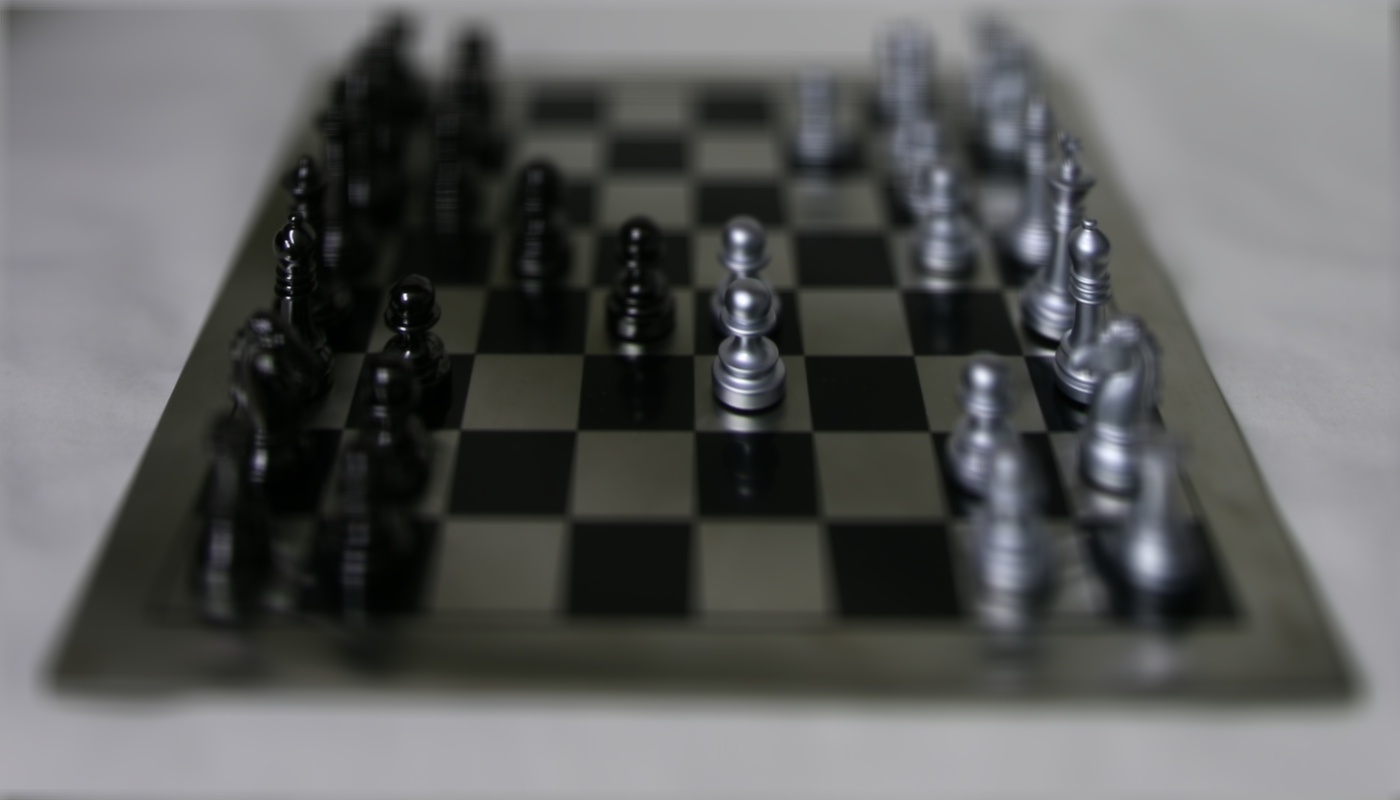
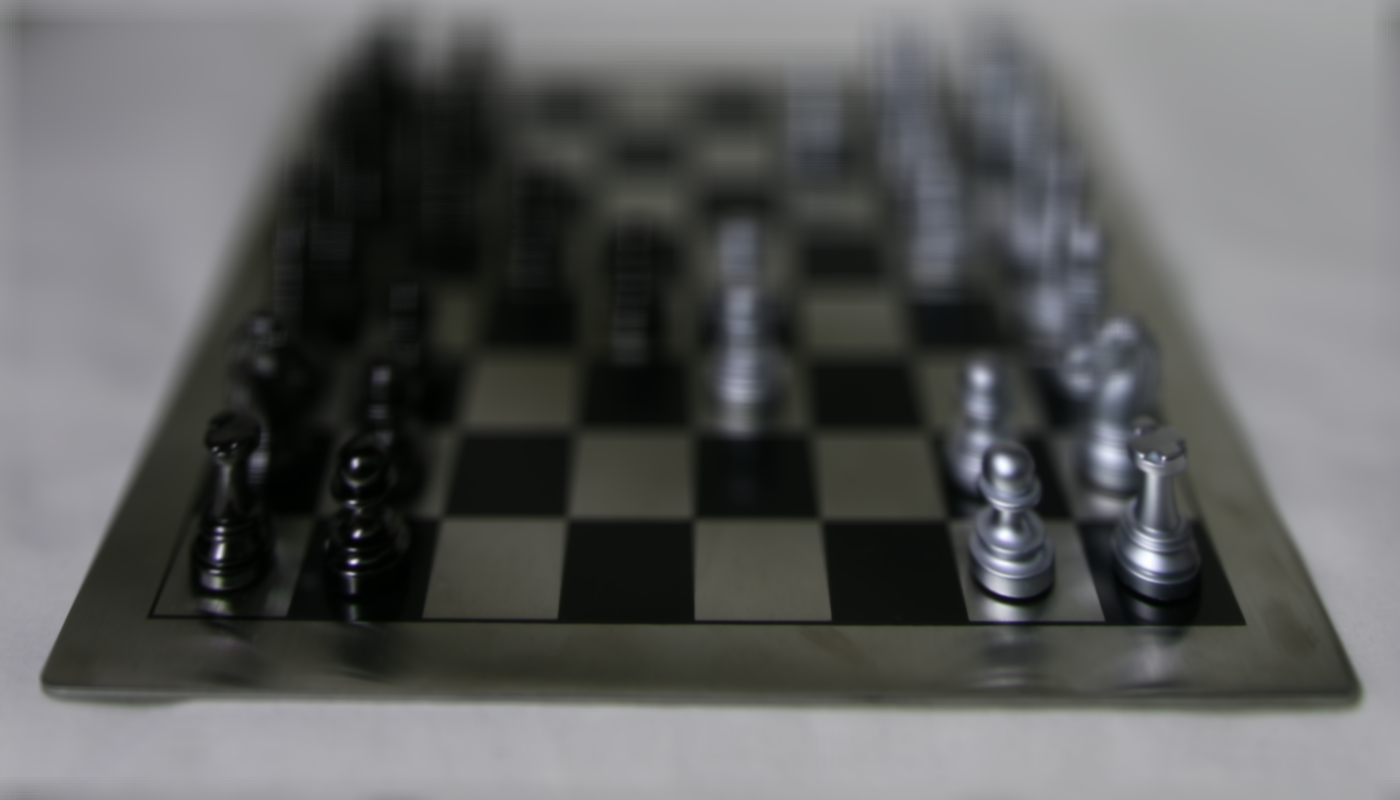
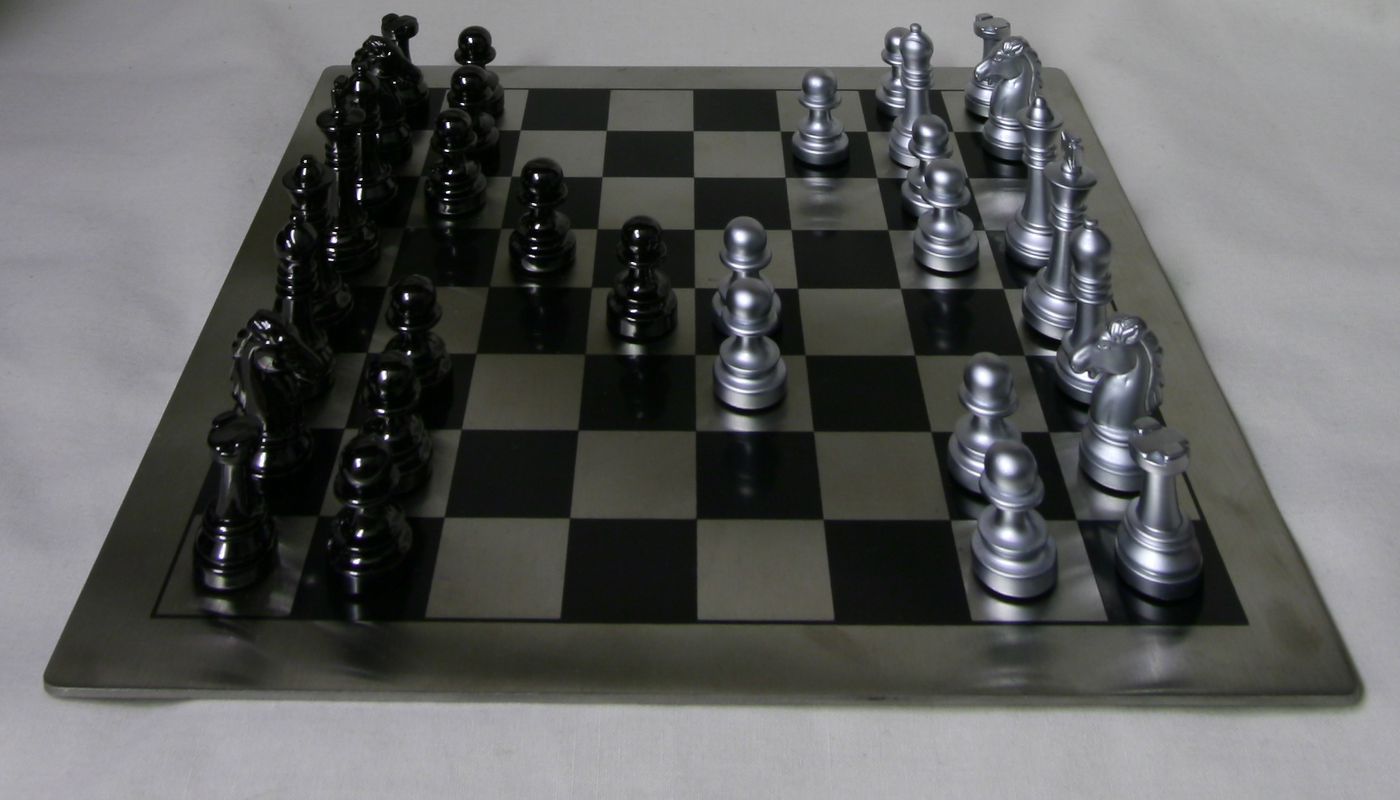
Since these images came from a database, they each came with pre-defined u and v values, each corresponding to their own x and y shifts. I used the image with shift [8, 8] as the "center" of the 289 images, and used u_center - u and v_center - v as the relative shifts for each image. Then, for each depth of focus, I multiplied these shifts by a constant. I arbitrarily used values from [-1, 1] with step sizes of 0.1 as a test, and found that the best values for the constant alpha were between about [-0.2, 0.7]. The shifted images beyond those limits were pretty blurry as they extended past the chessboard. Finally, after all of the shifting, I once again take a simple average of the images that results in the final "focused" image.
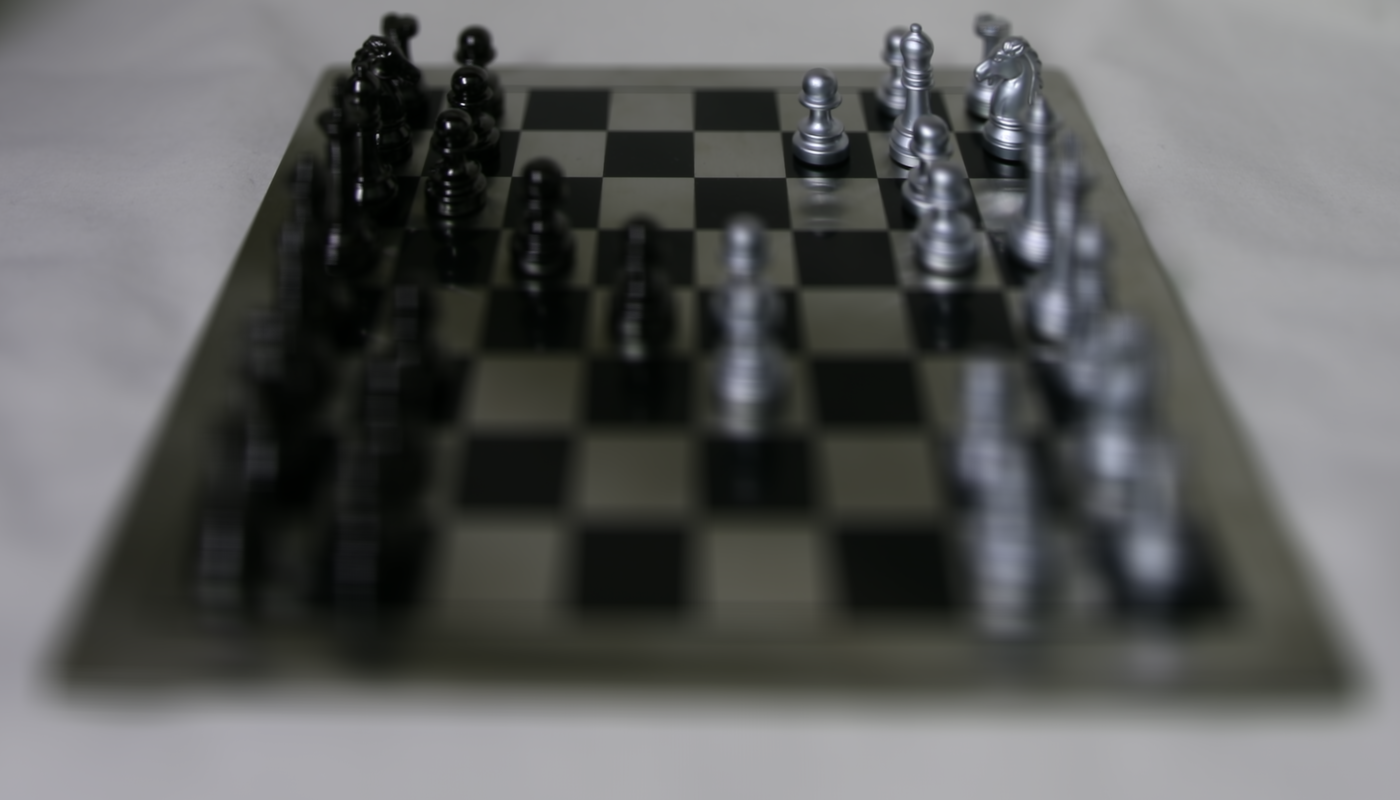
Chessboard Images shown with varying depths
Here are 3 of the frames from the above gif that show some different depths of focus.

As with the first part of the project, we have the same 289 images taken from a 17x17 grid. Averaging a large number of images mimics a camera with a larger aperture, while averaging fewer images mimics a smaller aperture.
Once again, I used the image with shift [8, 8] as the "center" of the 289 images. The default center of focus for these images would then naturally be the back of the chessboard. Since the grid goes from -8 to +8 from each side (top, bottom, left, right) of the center, I allowed radii between [0, 8]. I increased the radius from the center as the aperture radius increased, and it resulted in the following.
Chessboard Images shown with varying apertures
Here are 3 of the frames from the above gif that show some different aperture sizes.
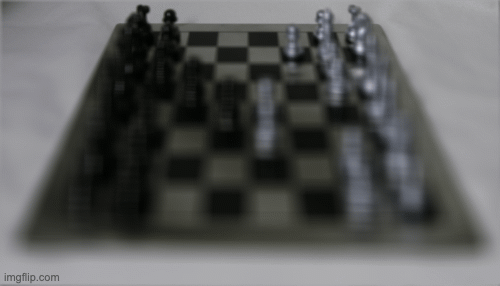
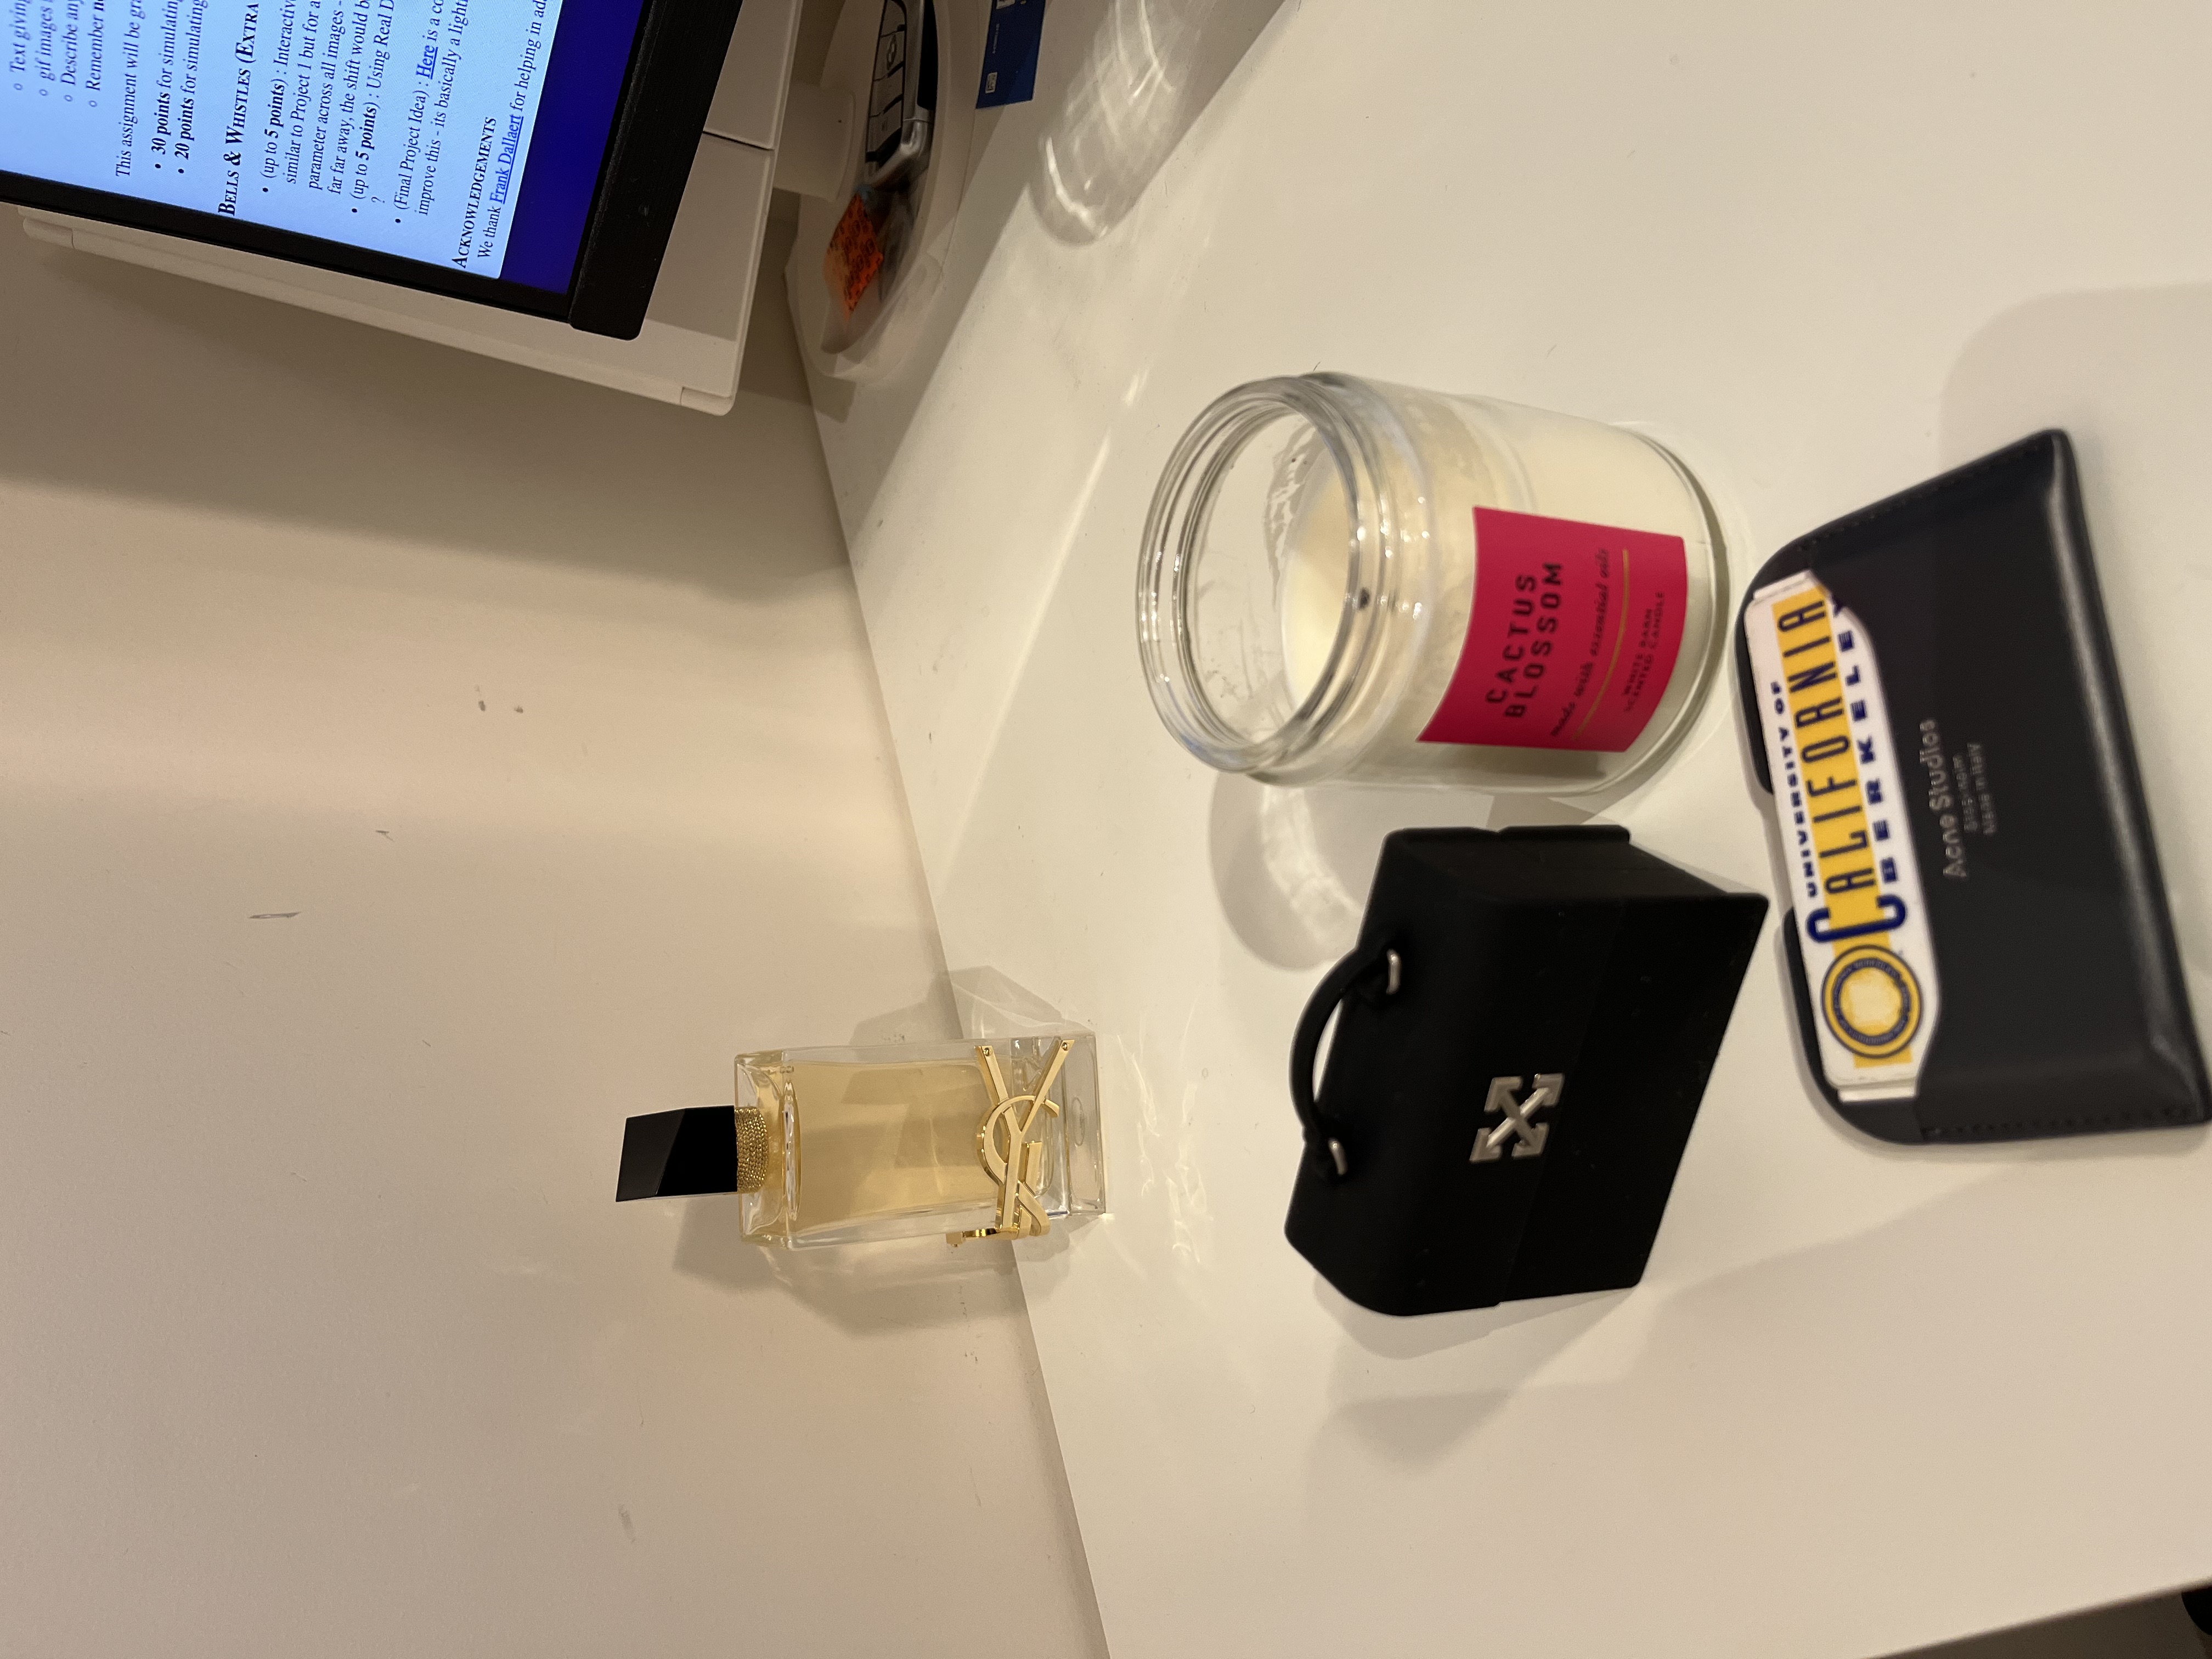
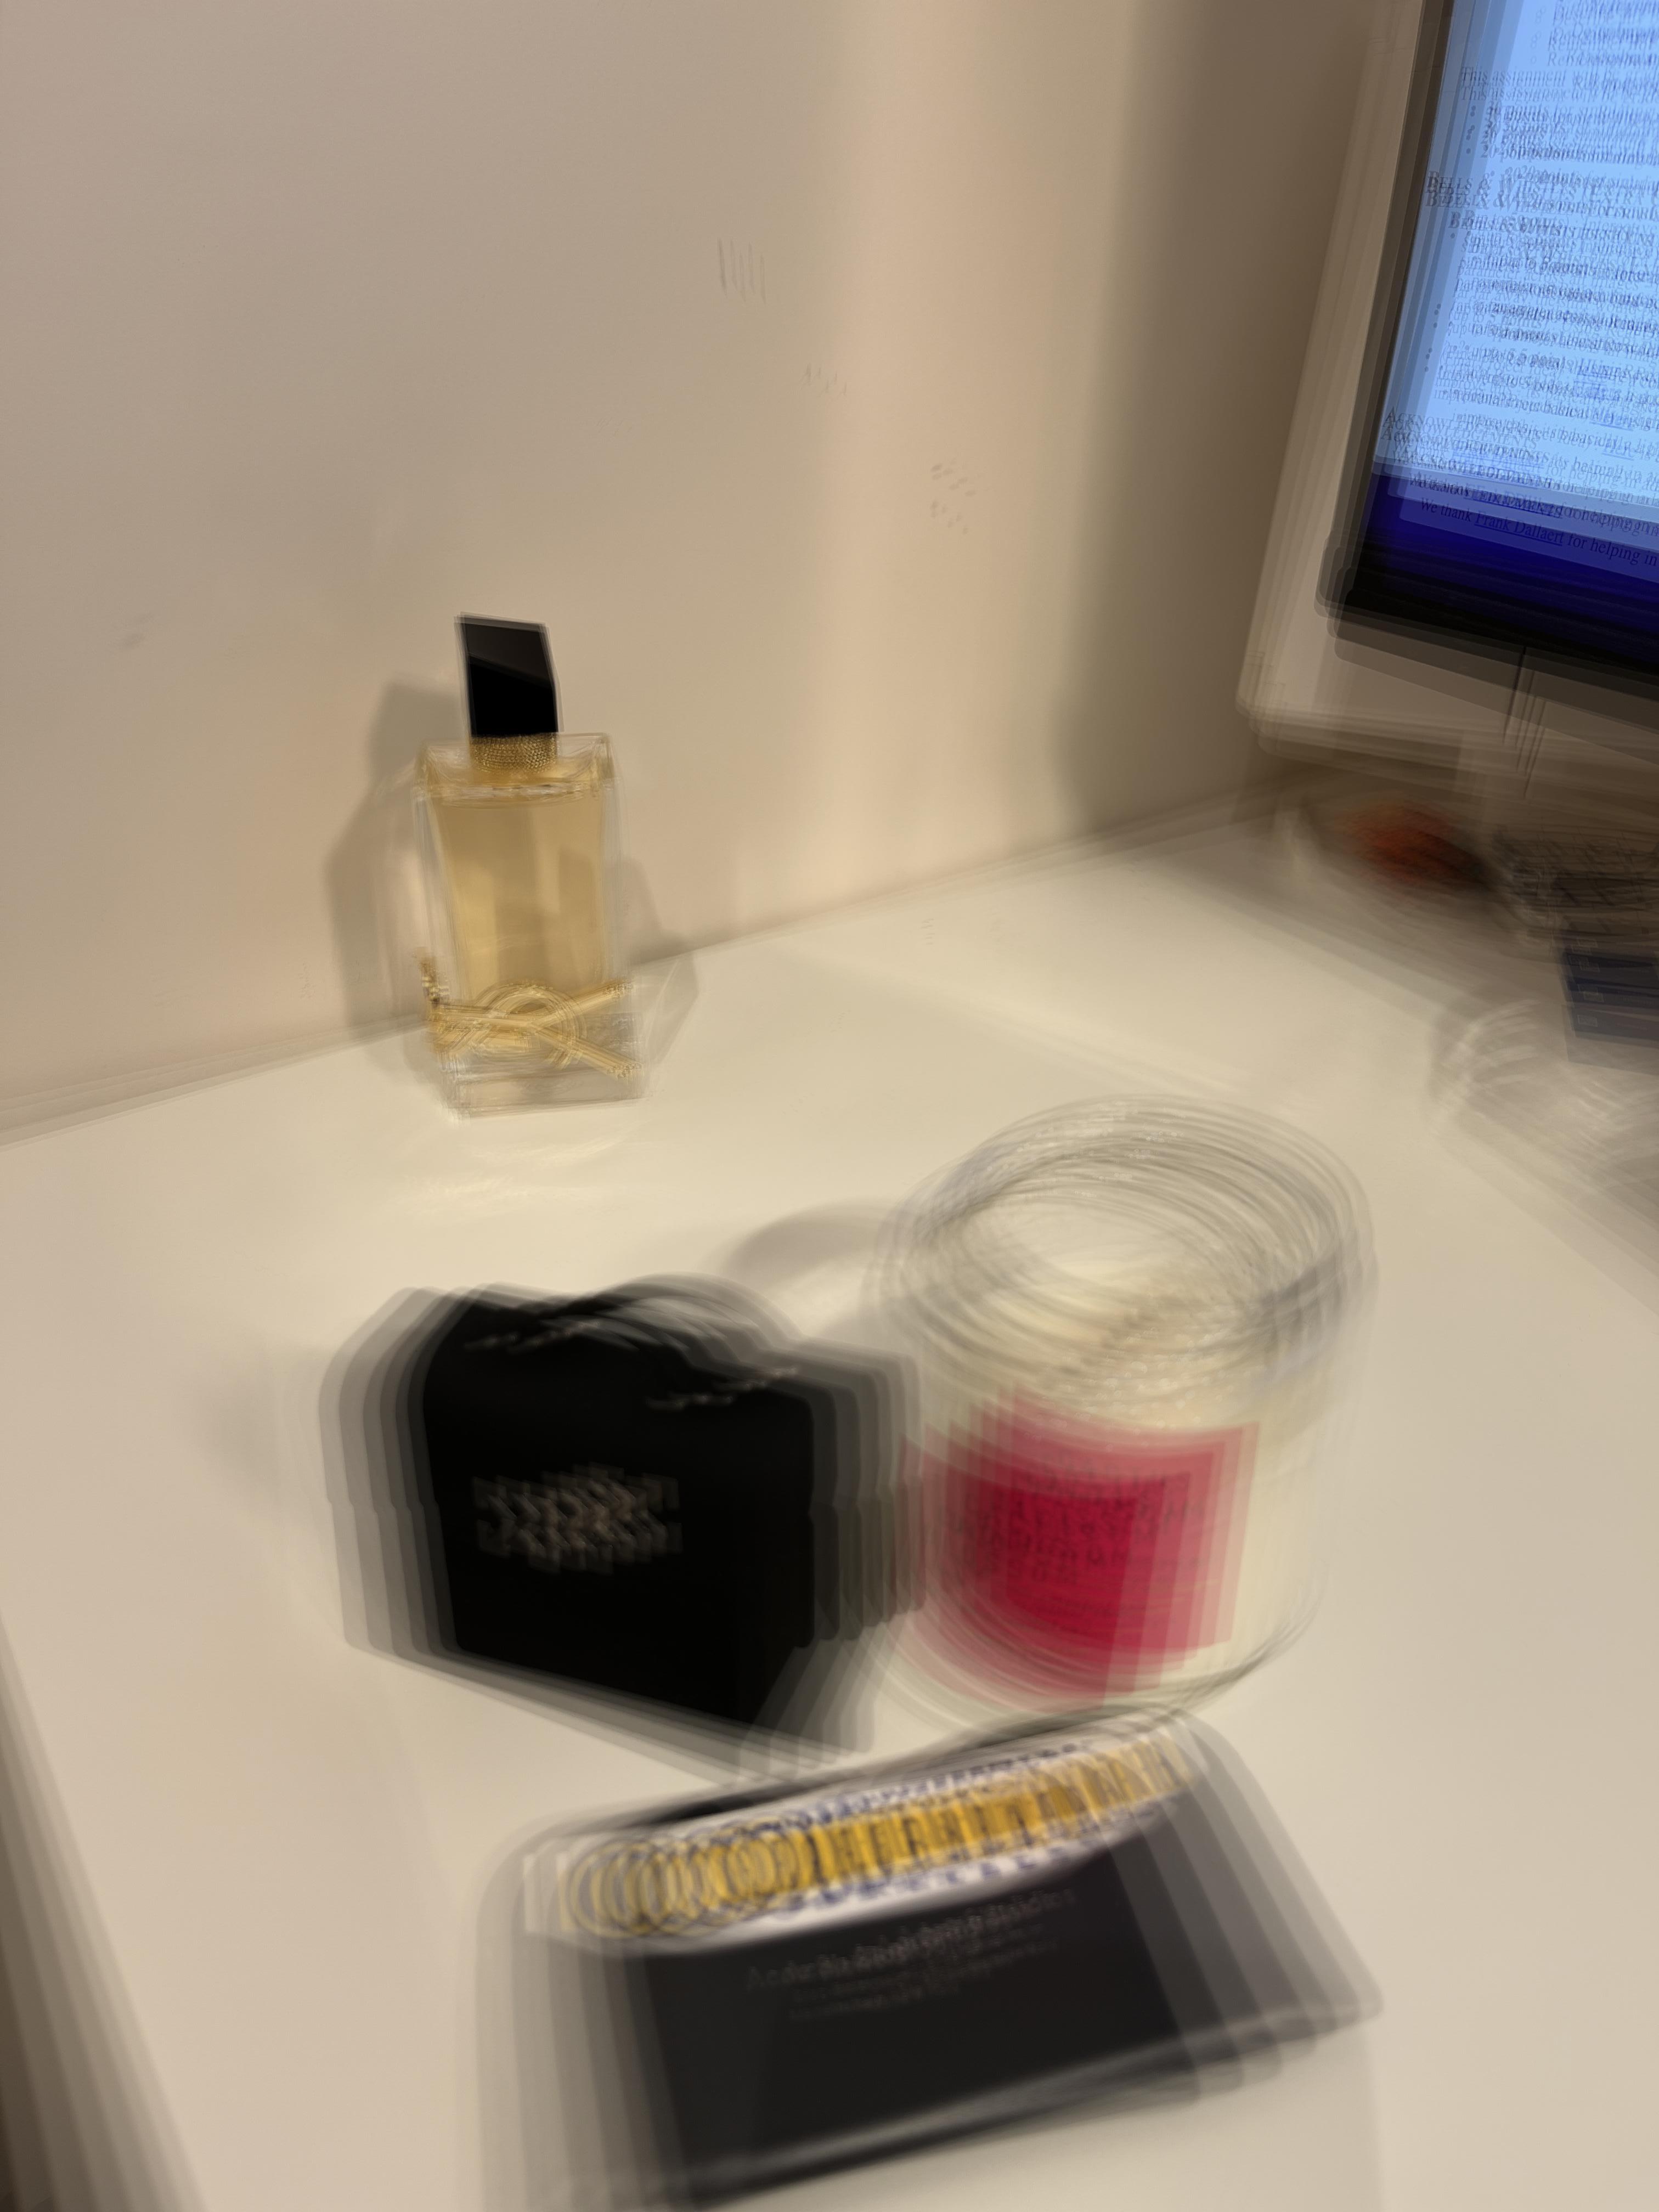
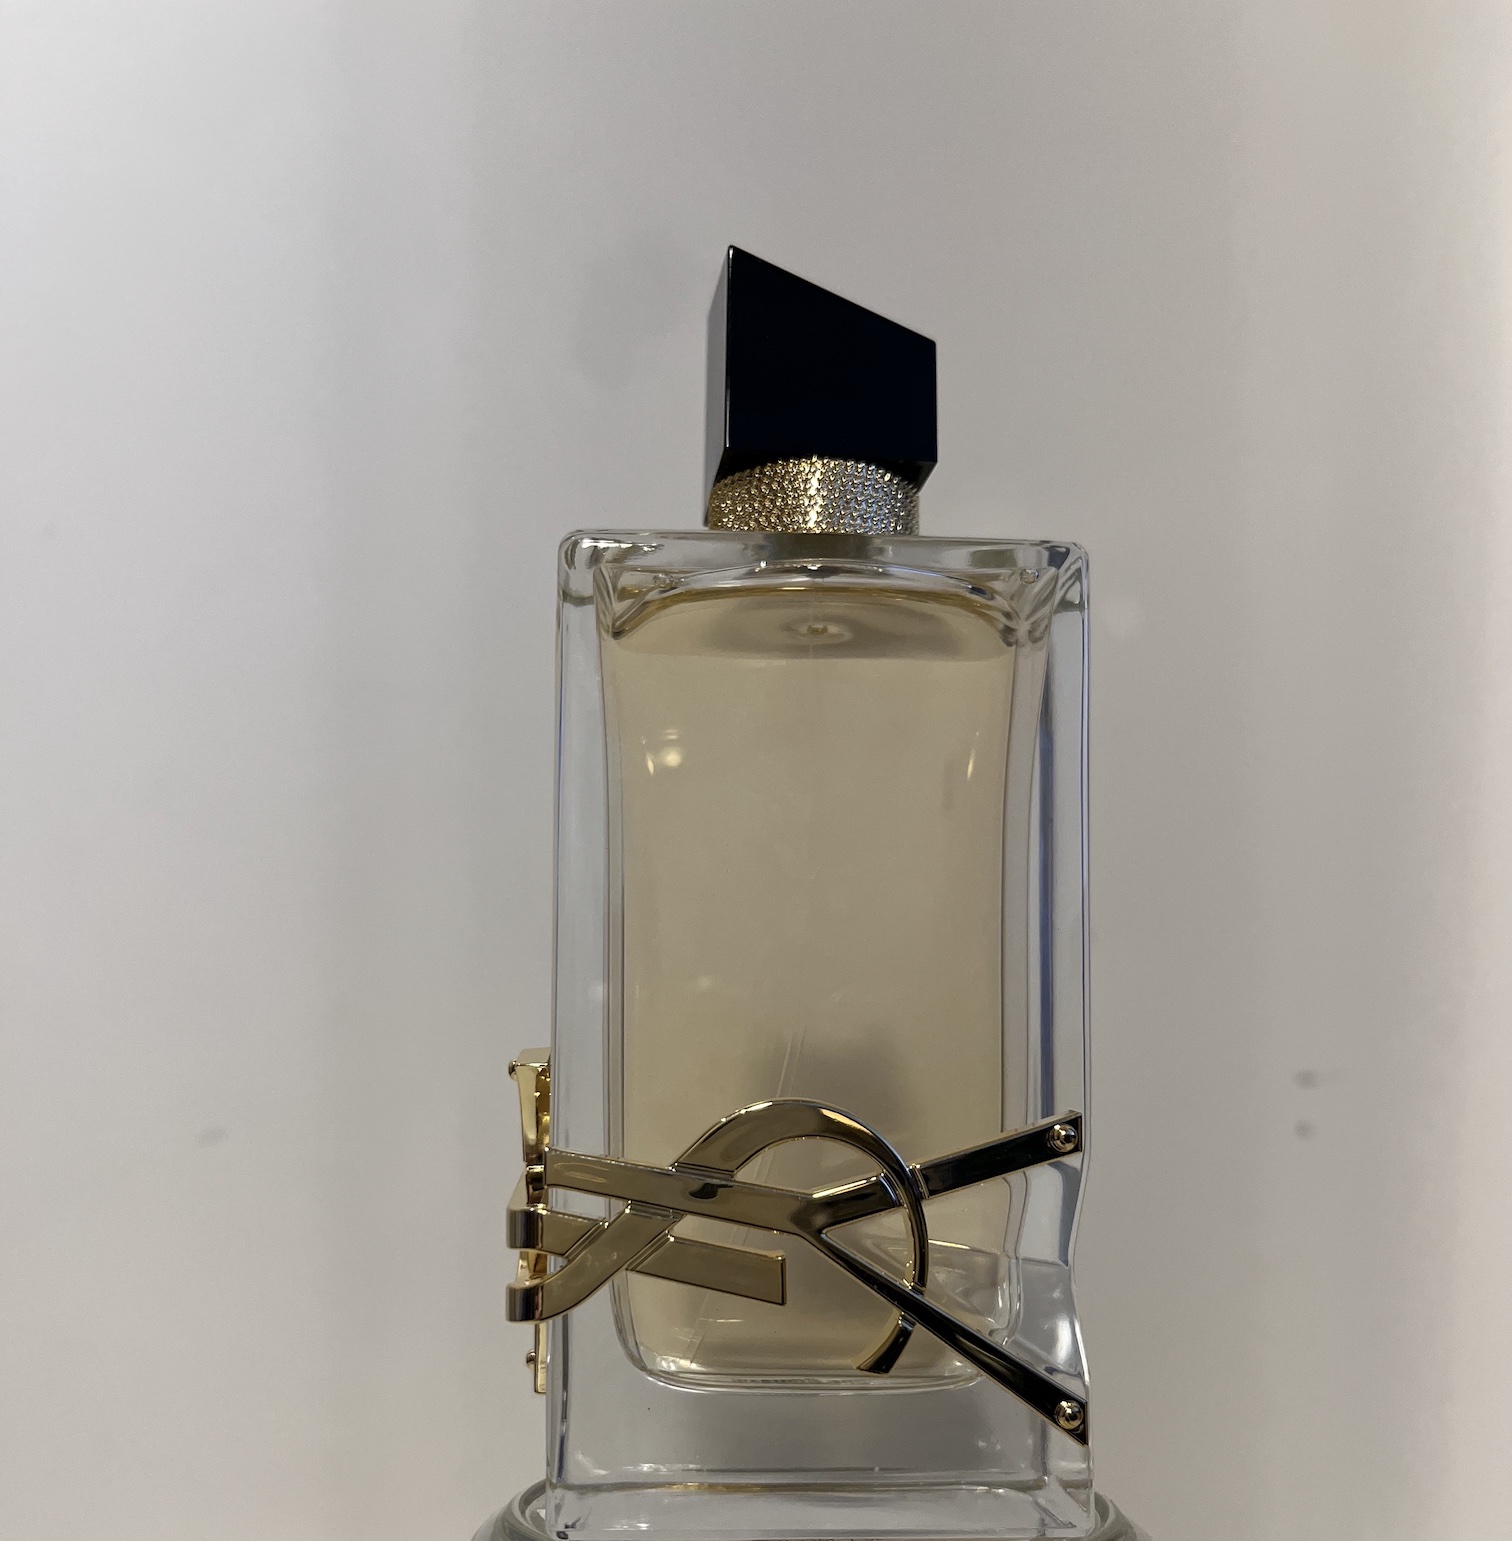
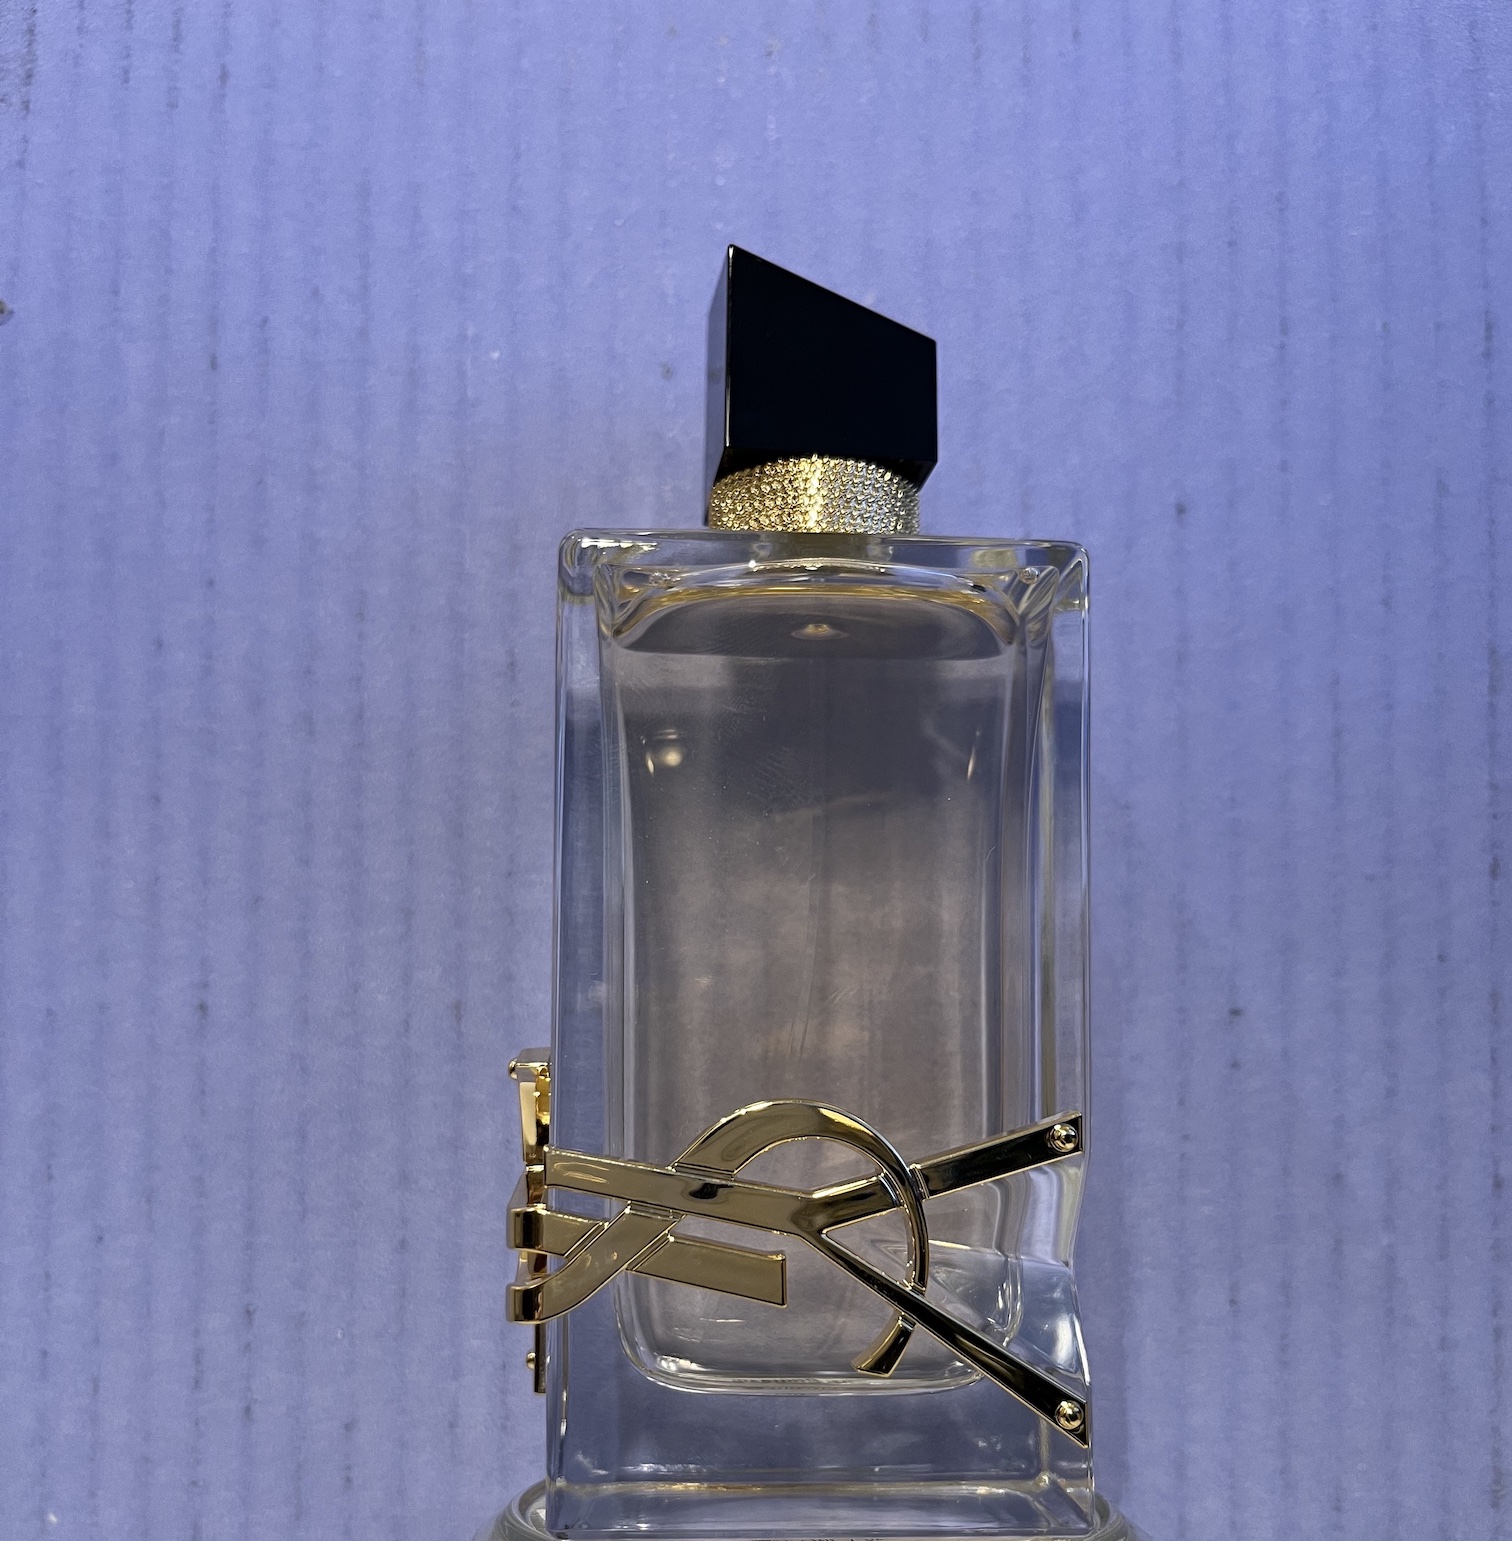
Here, I took 14 "real data" photos of some objects on my desk. I tried to move the camera angle only slightly such that the back object (bottle) would remain in a relatively same position throughout. As you can clearly see, the whole photo is blurry regardless. However, I can definitely observe that the object in the back is by far the least blurry. I attempted this part 4-5 times with varying numbers of images, and I found that moving the camera around less and being a little farther away definitely helped. I attempted to change the aperture of these custom images as well, but again, it had the same problem of being quite blurry. I think the medium aperture image was slightly less blurry than the large aperture image, which is what I expected. I really wish that the results were a bit better to be honest, but I think using a human to take the shifted images inherently will result in quite a bit of human error.
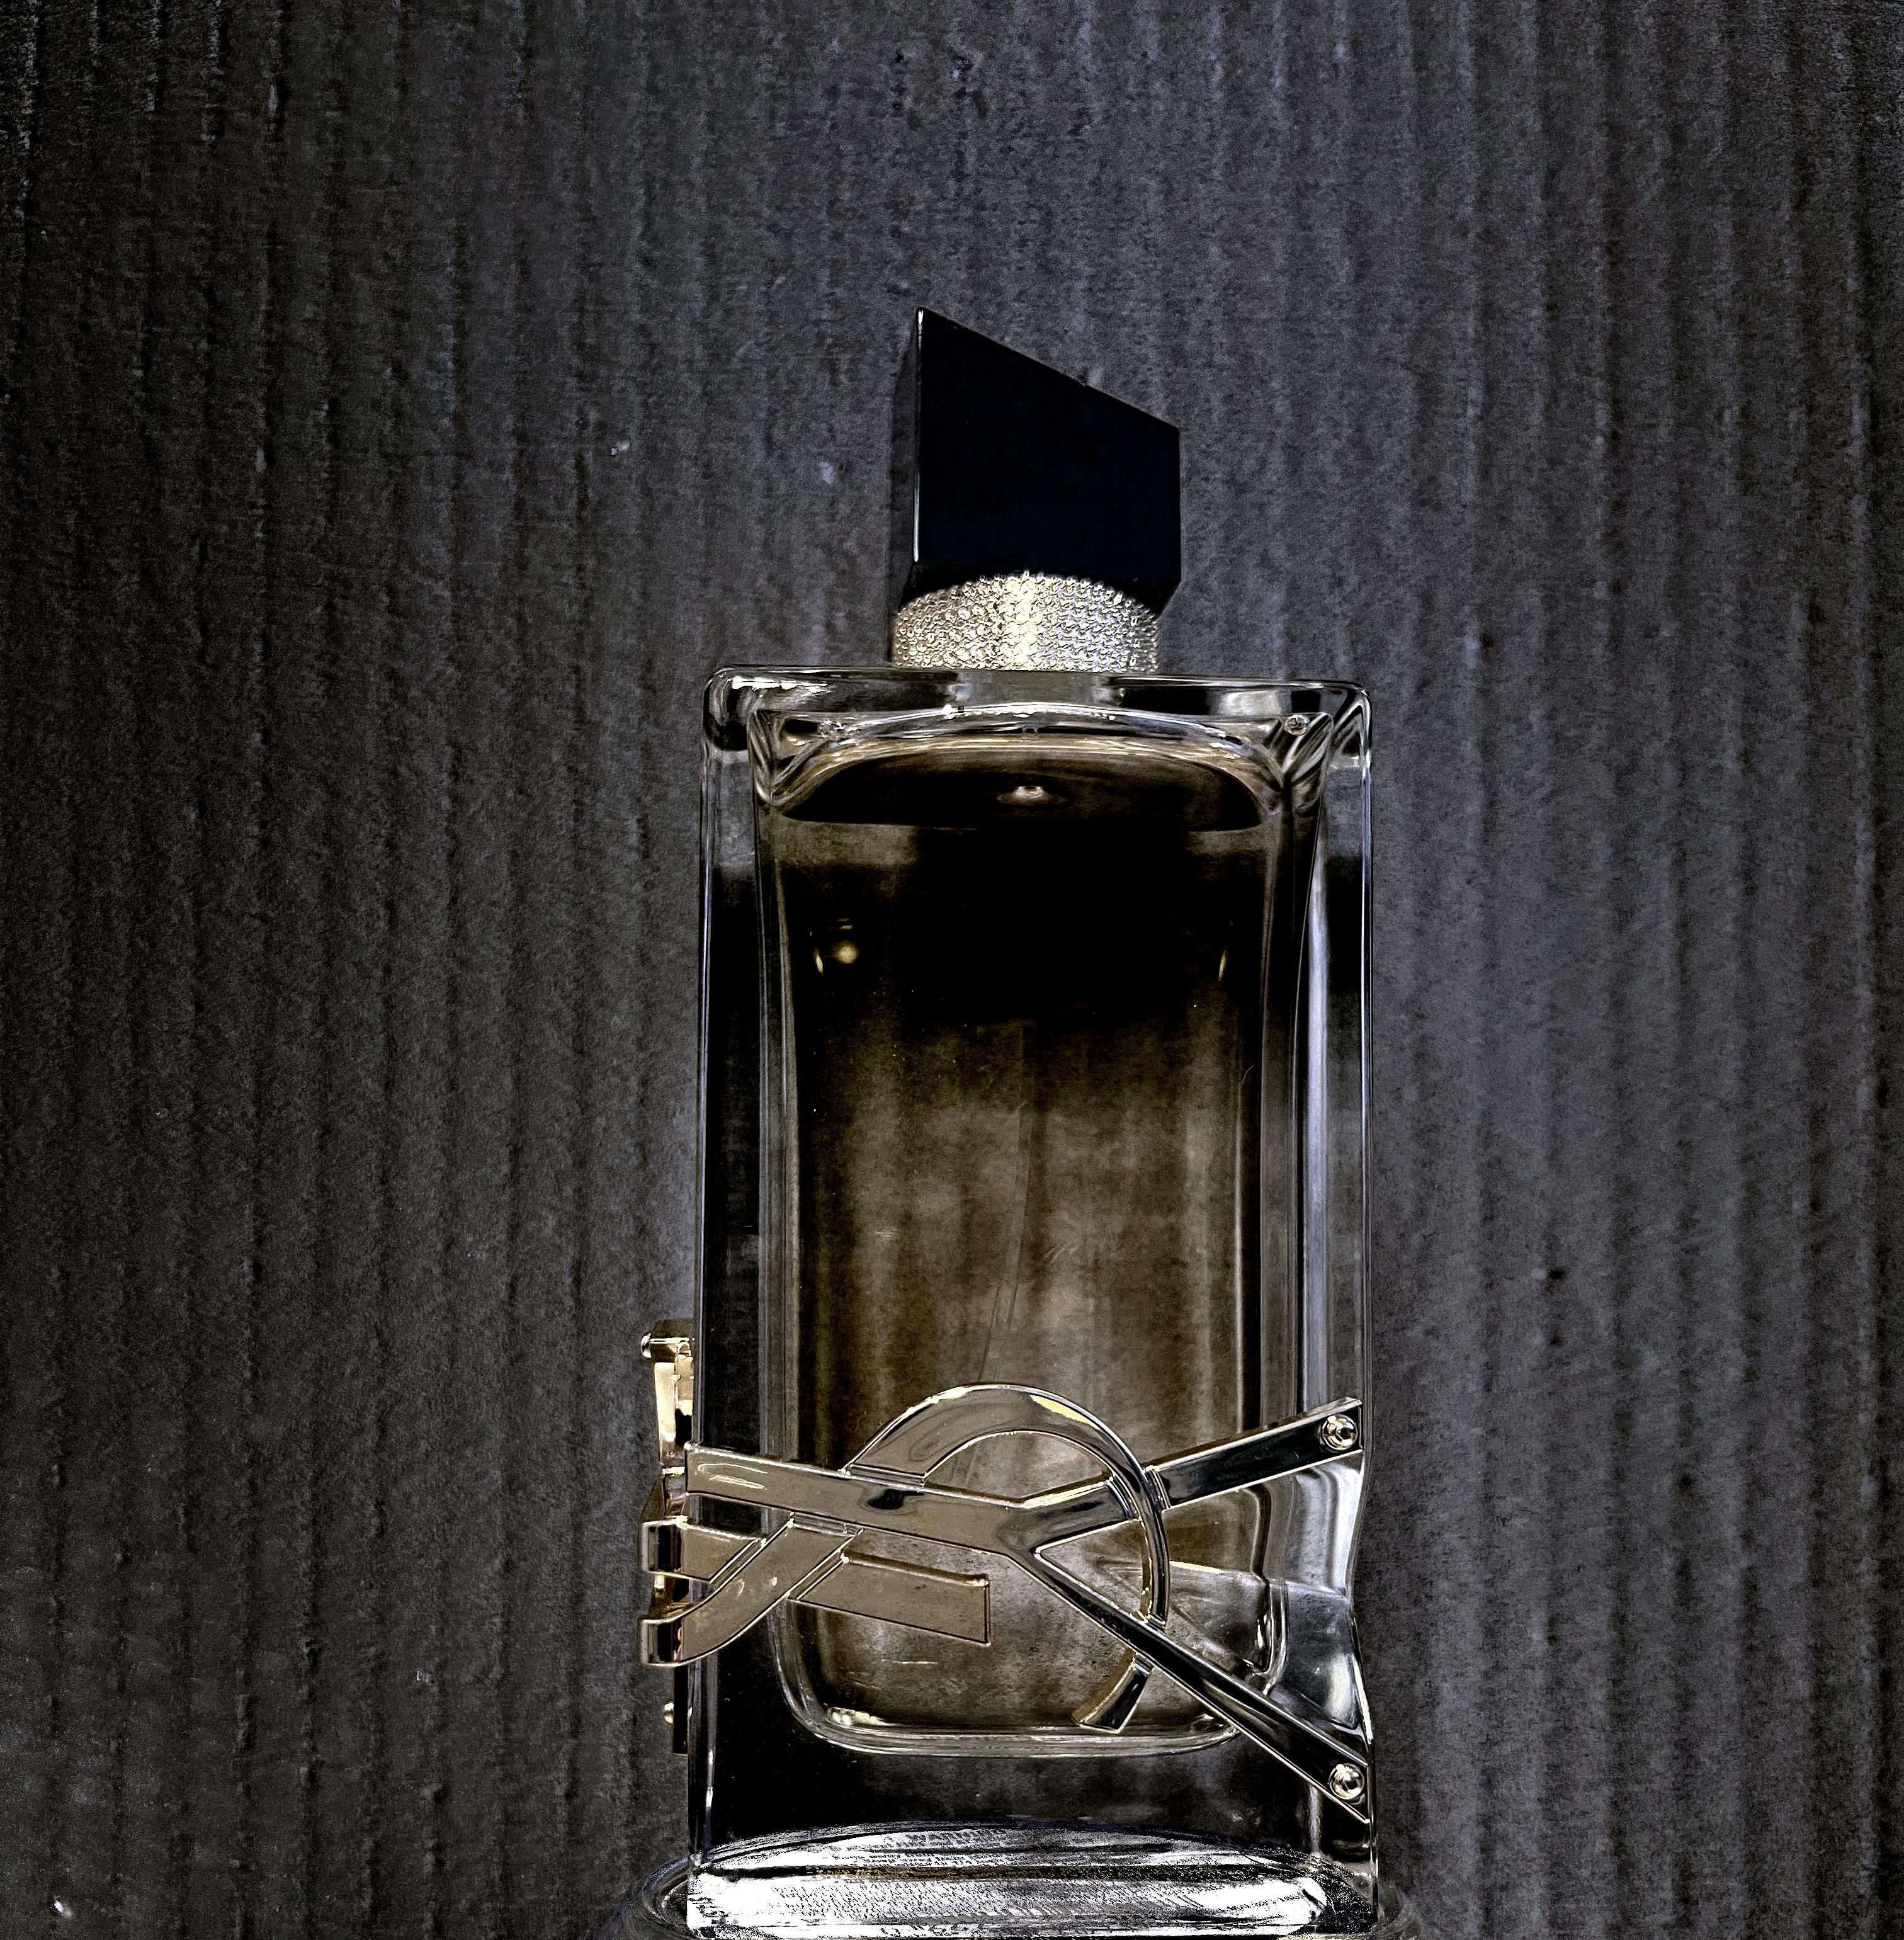
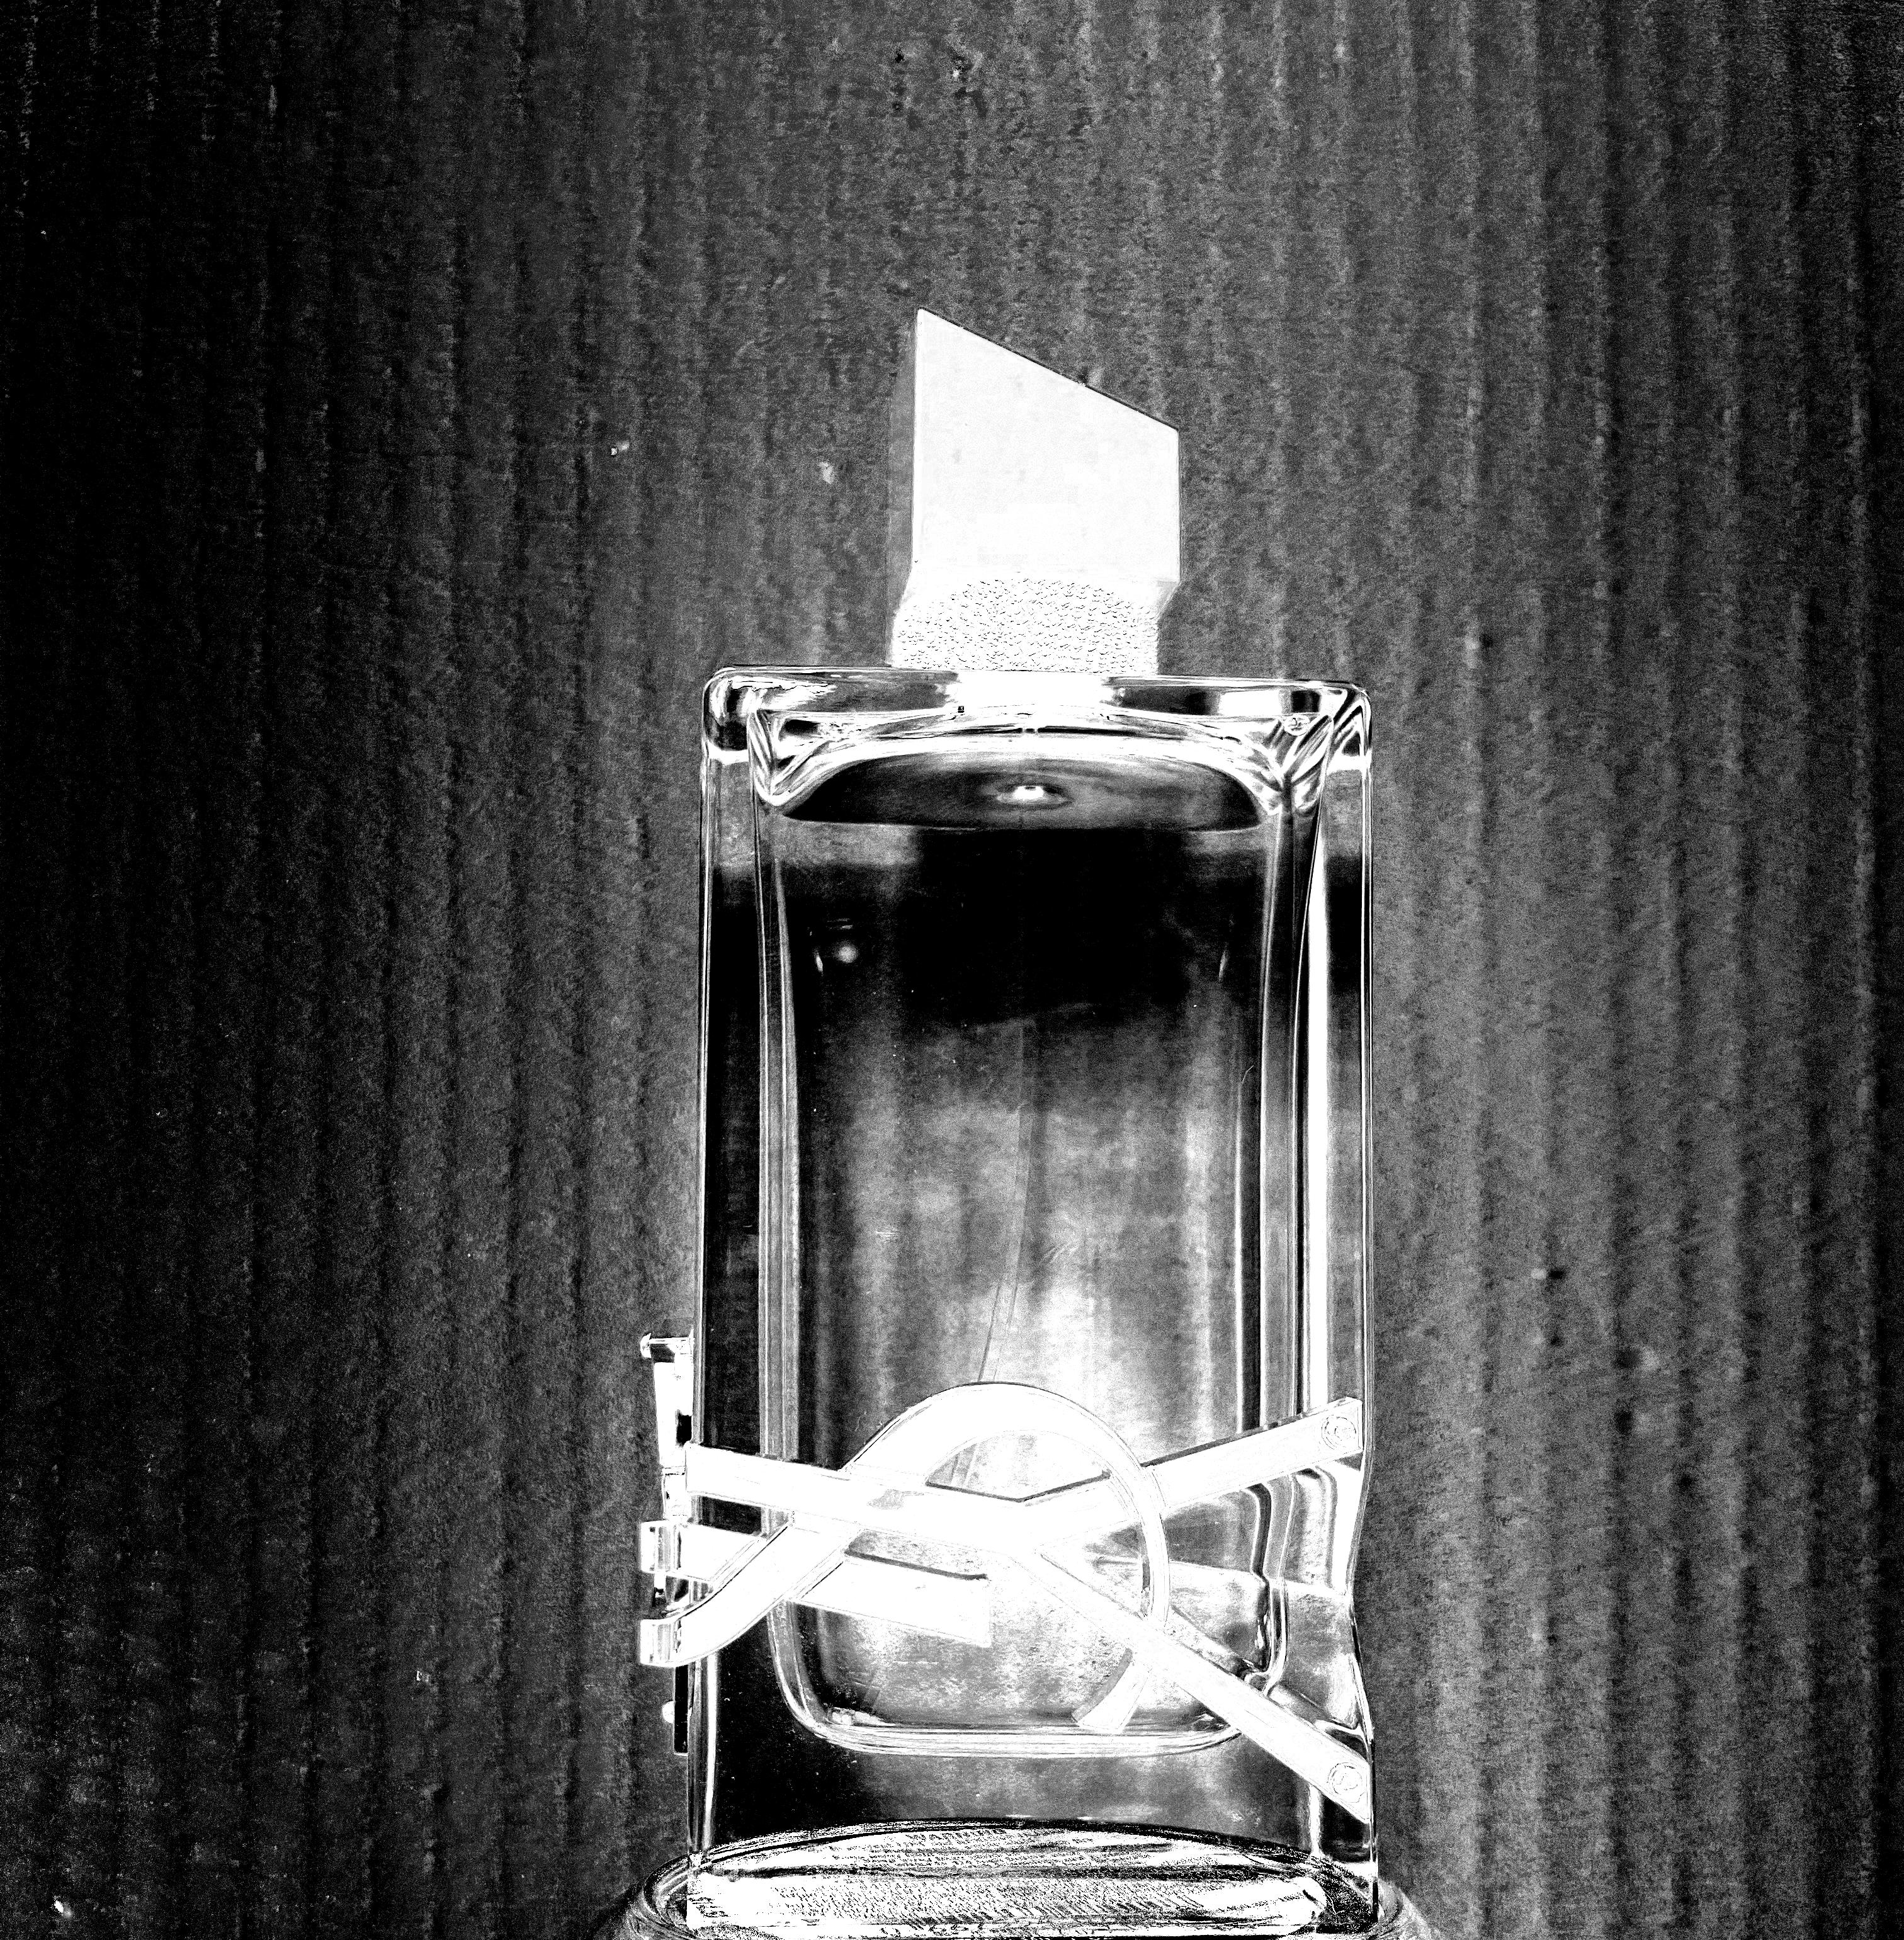
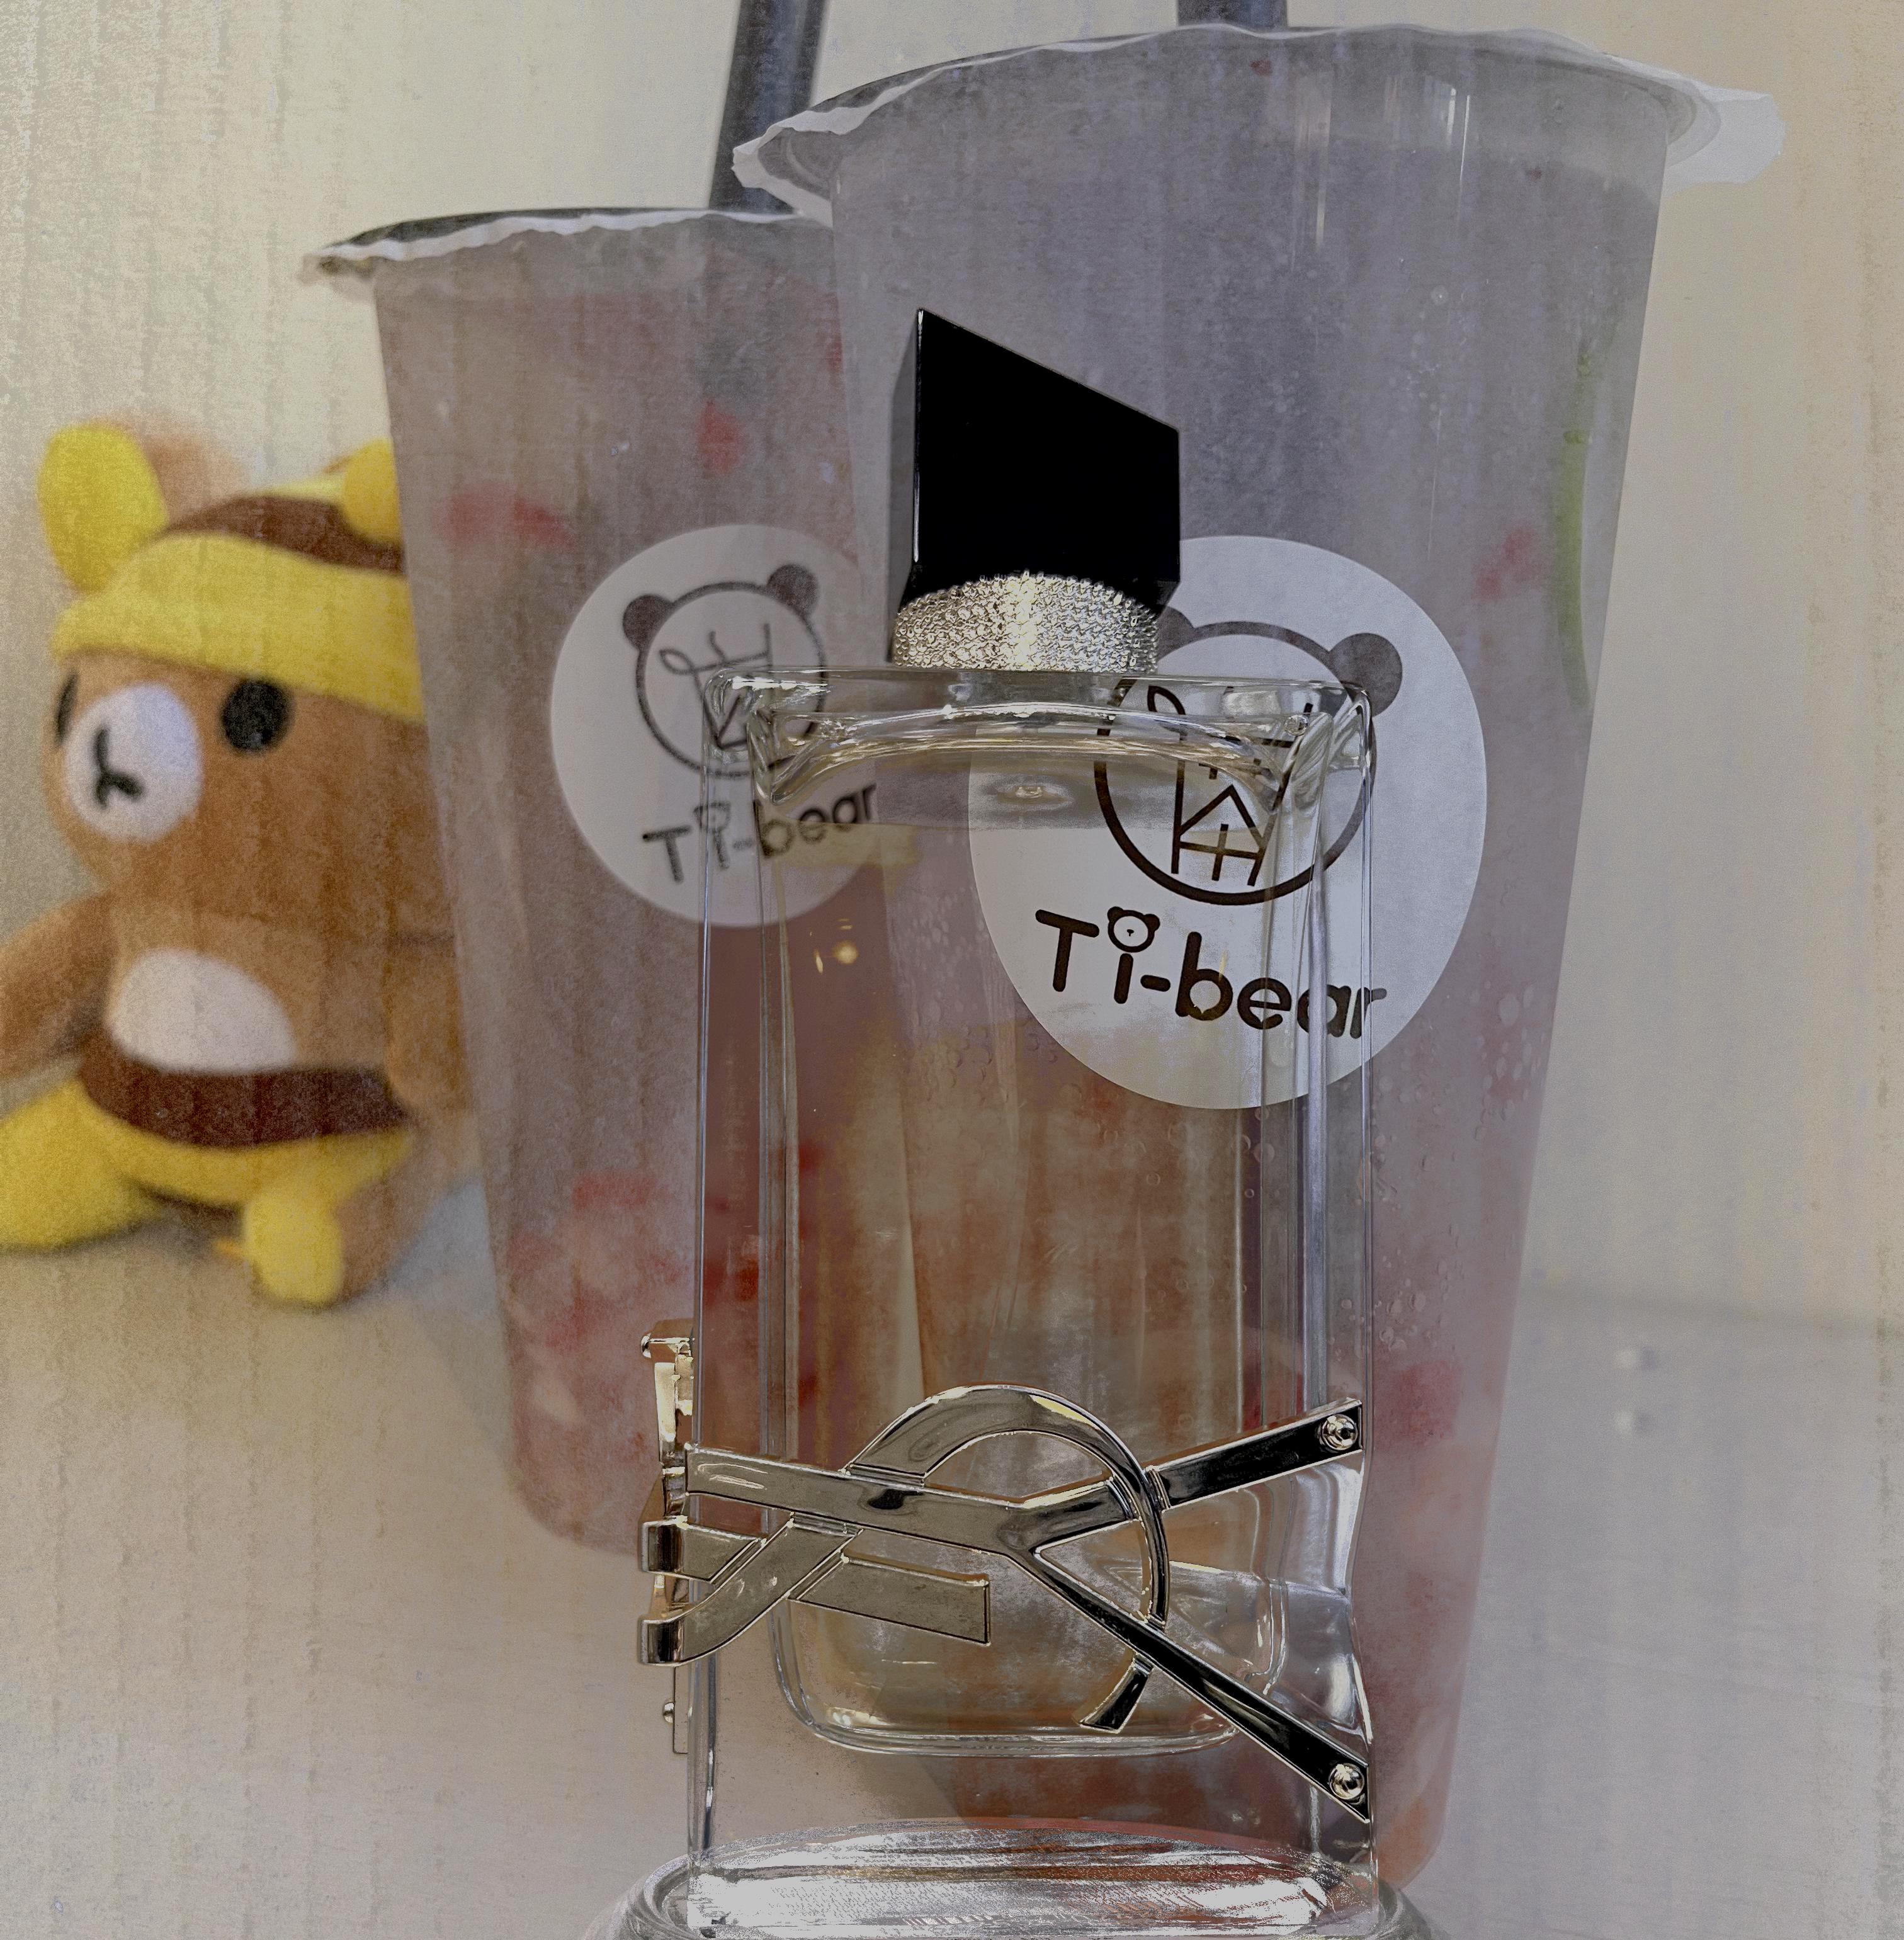
In this project, I first took 4 photos: 2 of different backgrounds and 2 of the same object on said backgrounds. It was important that the backgrounds looked the same with or without the object and that the objects were in the same position. I think I did a good job of keeping the bottle at the same place, but it was pretty hard to keep the background exposure the same since I was using a phone, and it kept auto-adjusting the lighting. After taking these photos, I used them to solve a system of equations for each pixel to compute the resulting alpha matte and "object" images. Finally, I just had to multiply my desired background image by (1 - alpha) and composite it with the object.
Here are the resulting object and alpha matte images. I used these two to generate the final image composite.