CS 194-26 Final Projects
Kyle Hua, CS194-26-AGX
For the final project, I chose to complete Light Field Camera and Augmented Reality.
Light Field Camera
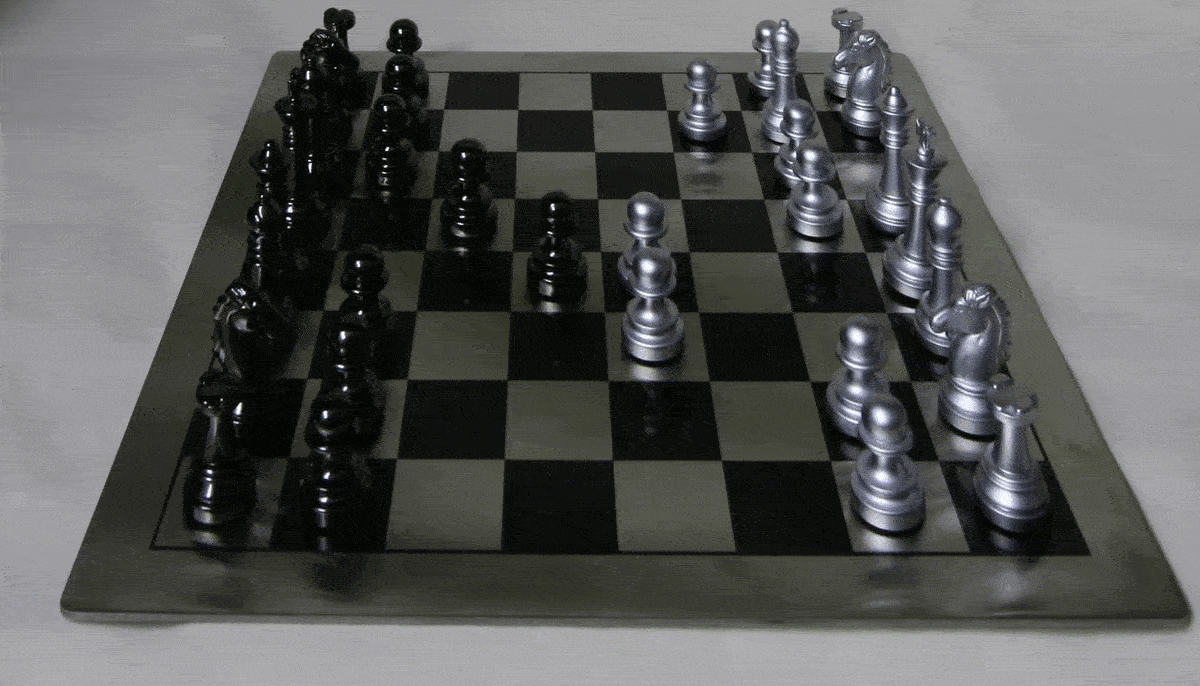
This project focused on using extra information captured (the lightfield) to allow us to manipulate the images focus and aperature after taking the pictures. The images were taken from the Stanford Light Field Archive. They were taken by an array of cameras, in order to mimic a 17x17 sub-aperature in a traditional lightfield camera. As a result, each image has a total of 289 pictures forming a 17x17 grid.
Depth Refocusing
Using the center of the lightfield, the sub-aperature at 8,8, we can place a focus on our image and shift every other image in our grid so that they align with the center. This will result in focused rays. Playing around with the shift by a constant will enable us to focus on different parts of the image; a negative shift focuses areas closer, positive further. The shift more formally can be be computed as :
While this gives us the general idea of the shift. We need to compute U,V values such that they match the image size and center. The file names already encode this, so there is no need to compute them. We take the U,V at the center and subtract every other images' U,V with it to get our shift.
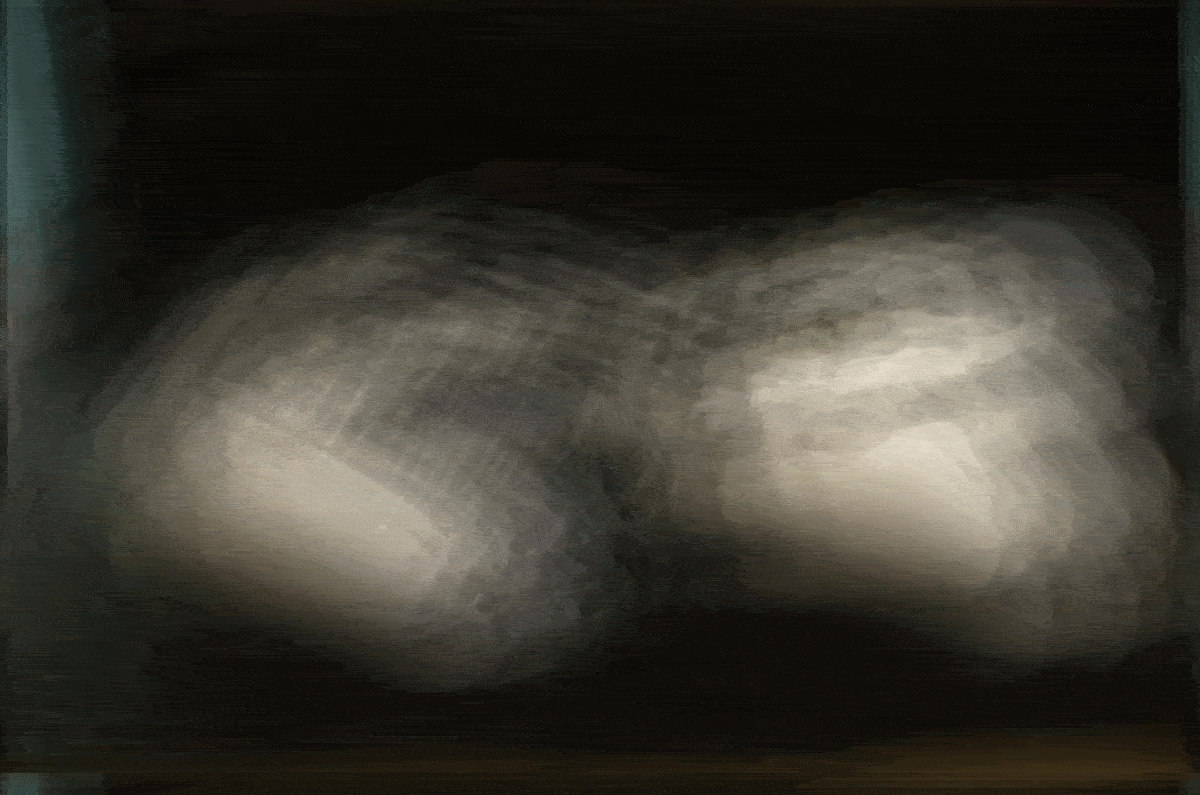
Averaging all the shifted images result in a singular focused image. The animations below show images from C = -.7 to C = .5
Aperture Adjustment
Readjusting the aperture of the images follows a similar manner. Instead of using all the images from all the aperatures, we average over a smaller subset of aperatures. This can be done by taking a radius of sub-aperatures. The animations below are computed from r = 1 to r = 5

Bells and Whistles: Use Your Own Data
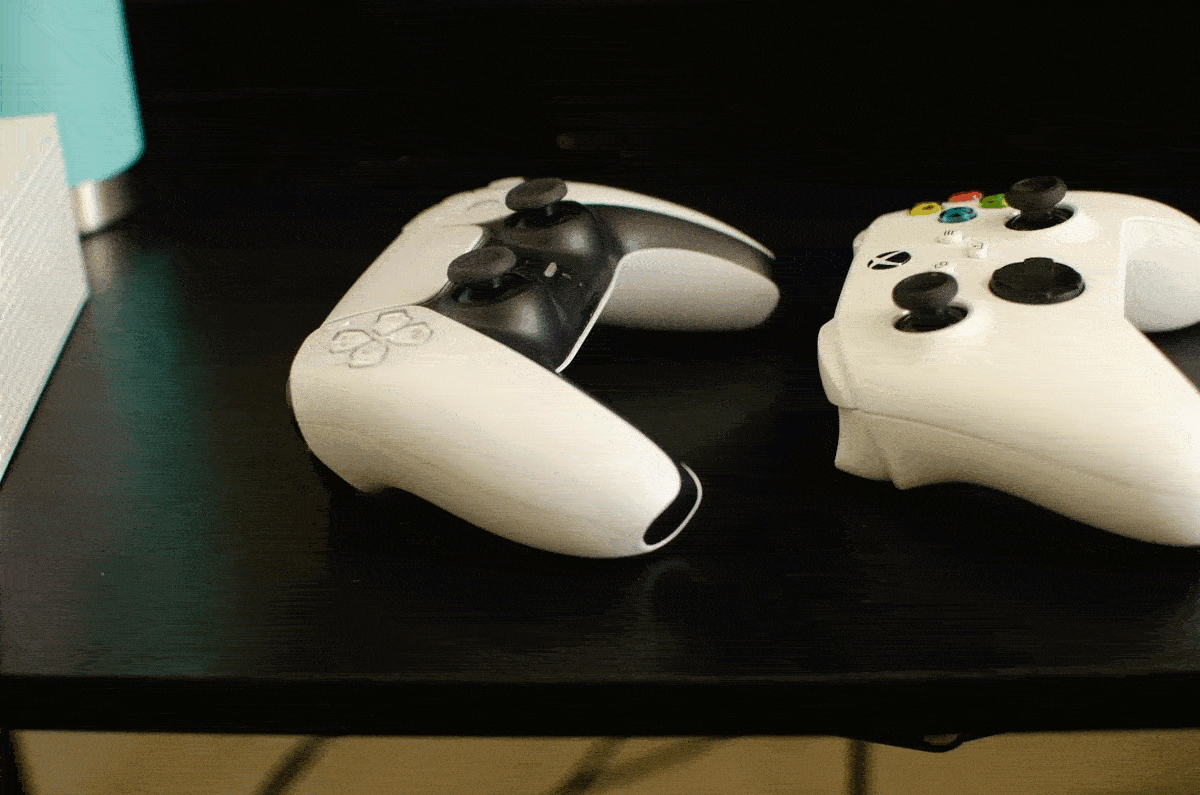
For the bells and whistles I captured 25 pictures to form a 5x5 grid of subaperatures. It did not work well as seen in the images below. The subjects of the images are very blurry, regardless. The aperature is abit better since it uses less images. A major cause of this poor quality is the lack of percision between my images. While I have an okay about of data, the images vary too much and as a result the rays have a hard time focusing.
Augmented Reality
In this project, we are trying to insert a synthetic object into a video. The primary idea lays in using 2D points of the frame image and their 3D virtual world counterpart to cpmpute a projection matrix and re compute the points in each new frame.
Setup
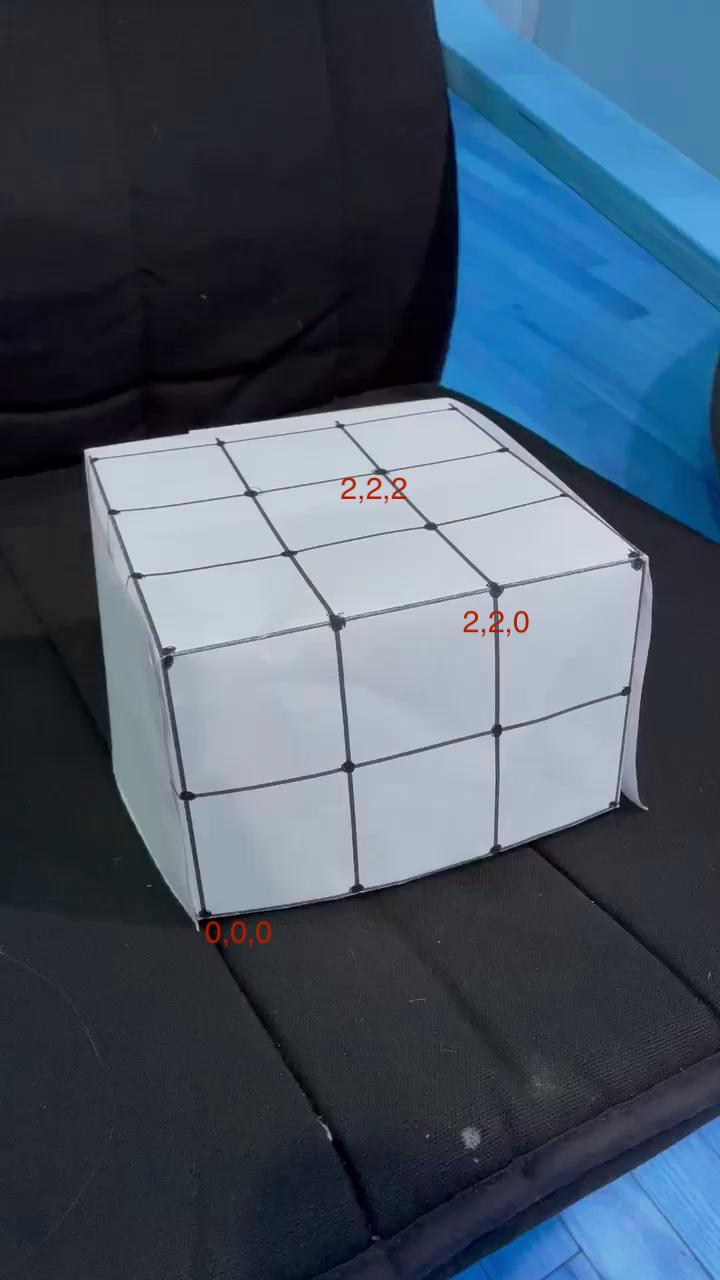
I used a printed grid folded into a cube with the intersection of the cube highlighted with a dot. I then labeled the dots on the 2D frame image using plt.ginput and create a list of their corresponding 3D points.
Propogating Keypoints to other Images in the Video
In order to ensure that the points would remain constant throughout all the frames of the video, I used an off self tracker from cv2. Using the MedianFlow tracker, a tracker good for slower videos, I created 10x10 bounding boxes around each point to track them throughout all the frames.
Calibrating the Camera
Now with the 2D points from each of the frames in the video, their 3D counter parts are required in order to draw using the grid. This can be done using least squares.
We have 11 unknowns that we need to solve. Solving this give us our projection matrix needed to compute the new points.
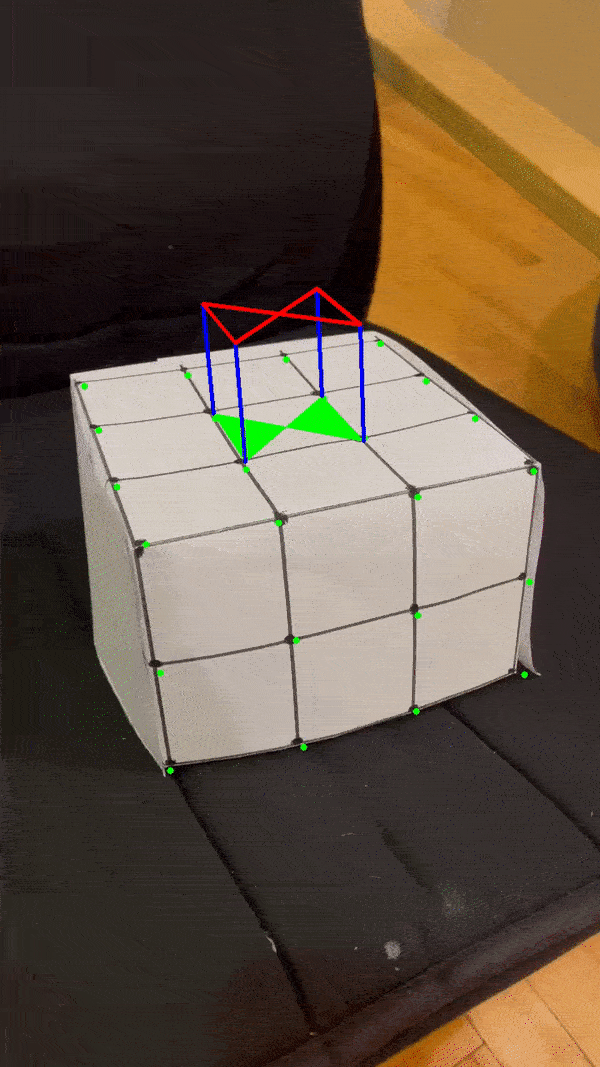
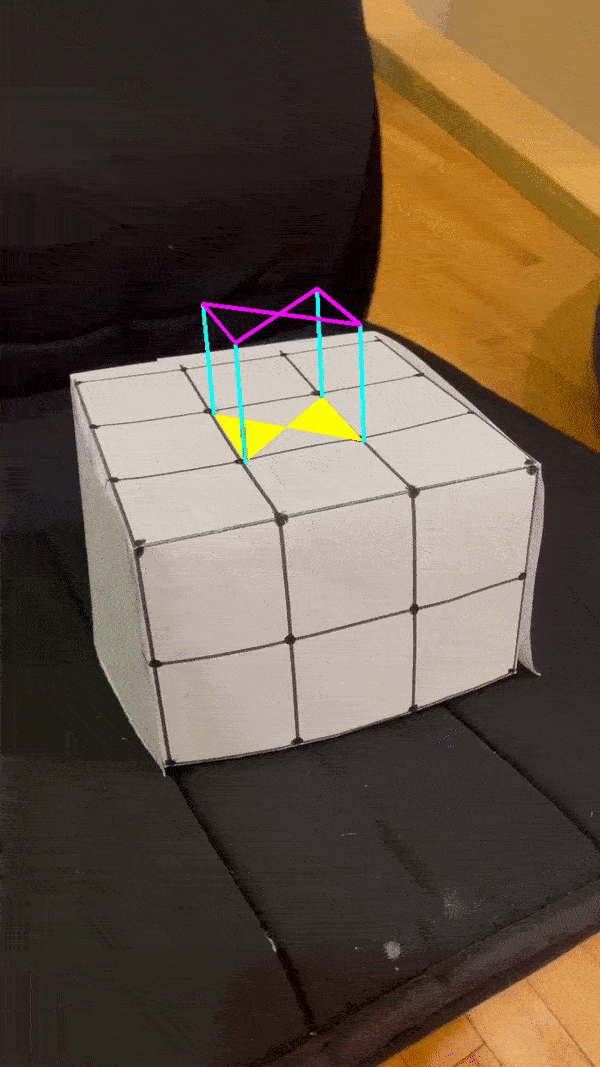
Projecting a cube in the Scene
With the new 3D points per frame, we can then draw a cube on each frame! Here is the finish result. The cube has a bowtie :))