Capturing several pictures across a plane orthogonal to the optical axis allows for sophisticated effects to be achieved using relatively basic procedures such as shifting and averaging, as illustrated in the paper by professor Ng. This project's purpose is to use real lightfield data to recreate some of these effects.
In contrast to foreground objects, objects farther away in a picture do not appear to alter much as a person changes their viewpoint. One of the key reasons we can tell if an object is farther away from us when we move is because of this principle. When we combine all of the photos in the dataset, we get a picture with sharp faraway objects and indistinct nearby ones. To get around this, we simply center the image around a central image, and then shift those that surround it by the amount we want to modify the depth focus by.
Below is a gif generated from frames using the range of [-3, 1] (out of [-8, 8]) with a step size of 0.5.

We can define ranges that match to aperture sizes by averaging a large number of photos along certain optical axis. This is because the aperture of a camera widening and allowing more light in is analogous to enabling a wider range of images to contribute to the average image. Similarly, a smaller aperture would reduce the amount of light in an image, therefore reducing the number of photographs that contribute to our average.
In practice, widening the aperture radius with a fixed point of focus looks like:

A light field camera, also known as a plenoptic camera, is a camera that captures information about the light field emanating from a scene; that is, the intensity of light in a scene, and also the precise direction that the light rays are traveling in space. Before I kind of just took the magic of light field for granted and never thought about how it works mechanically, let alone trying to simulate its effect from static pictures. Yet I did it all in this short but fun project -- thanks to cs194-26 & prof.Ng!
In this project, I re-implemented the paper A Neural Algorithm of Artistic Style by Gatys et al. using pytorch.
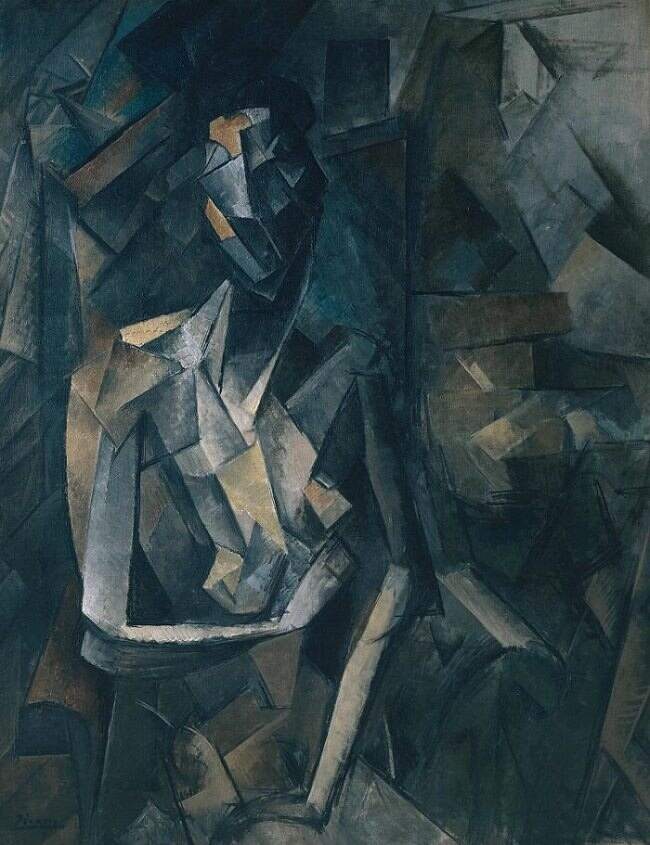
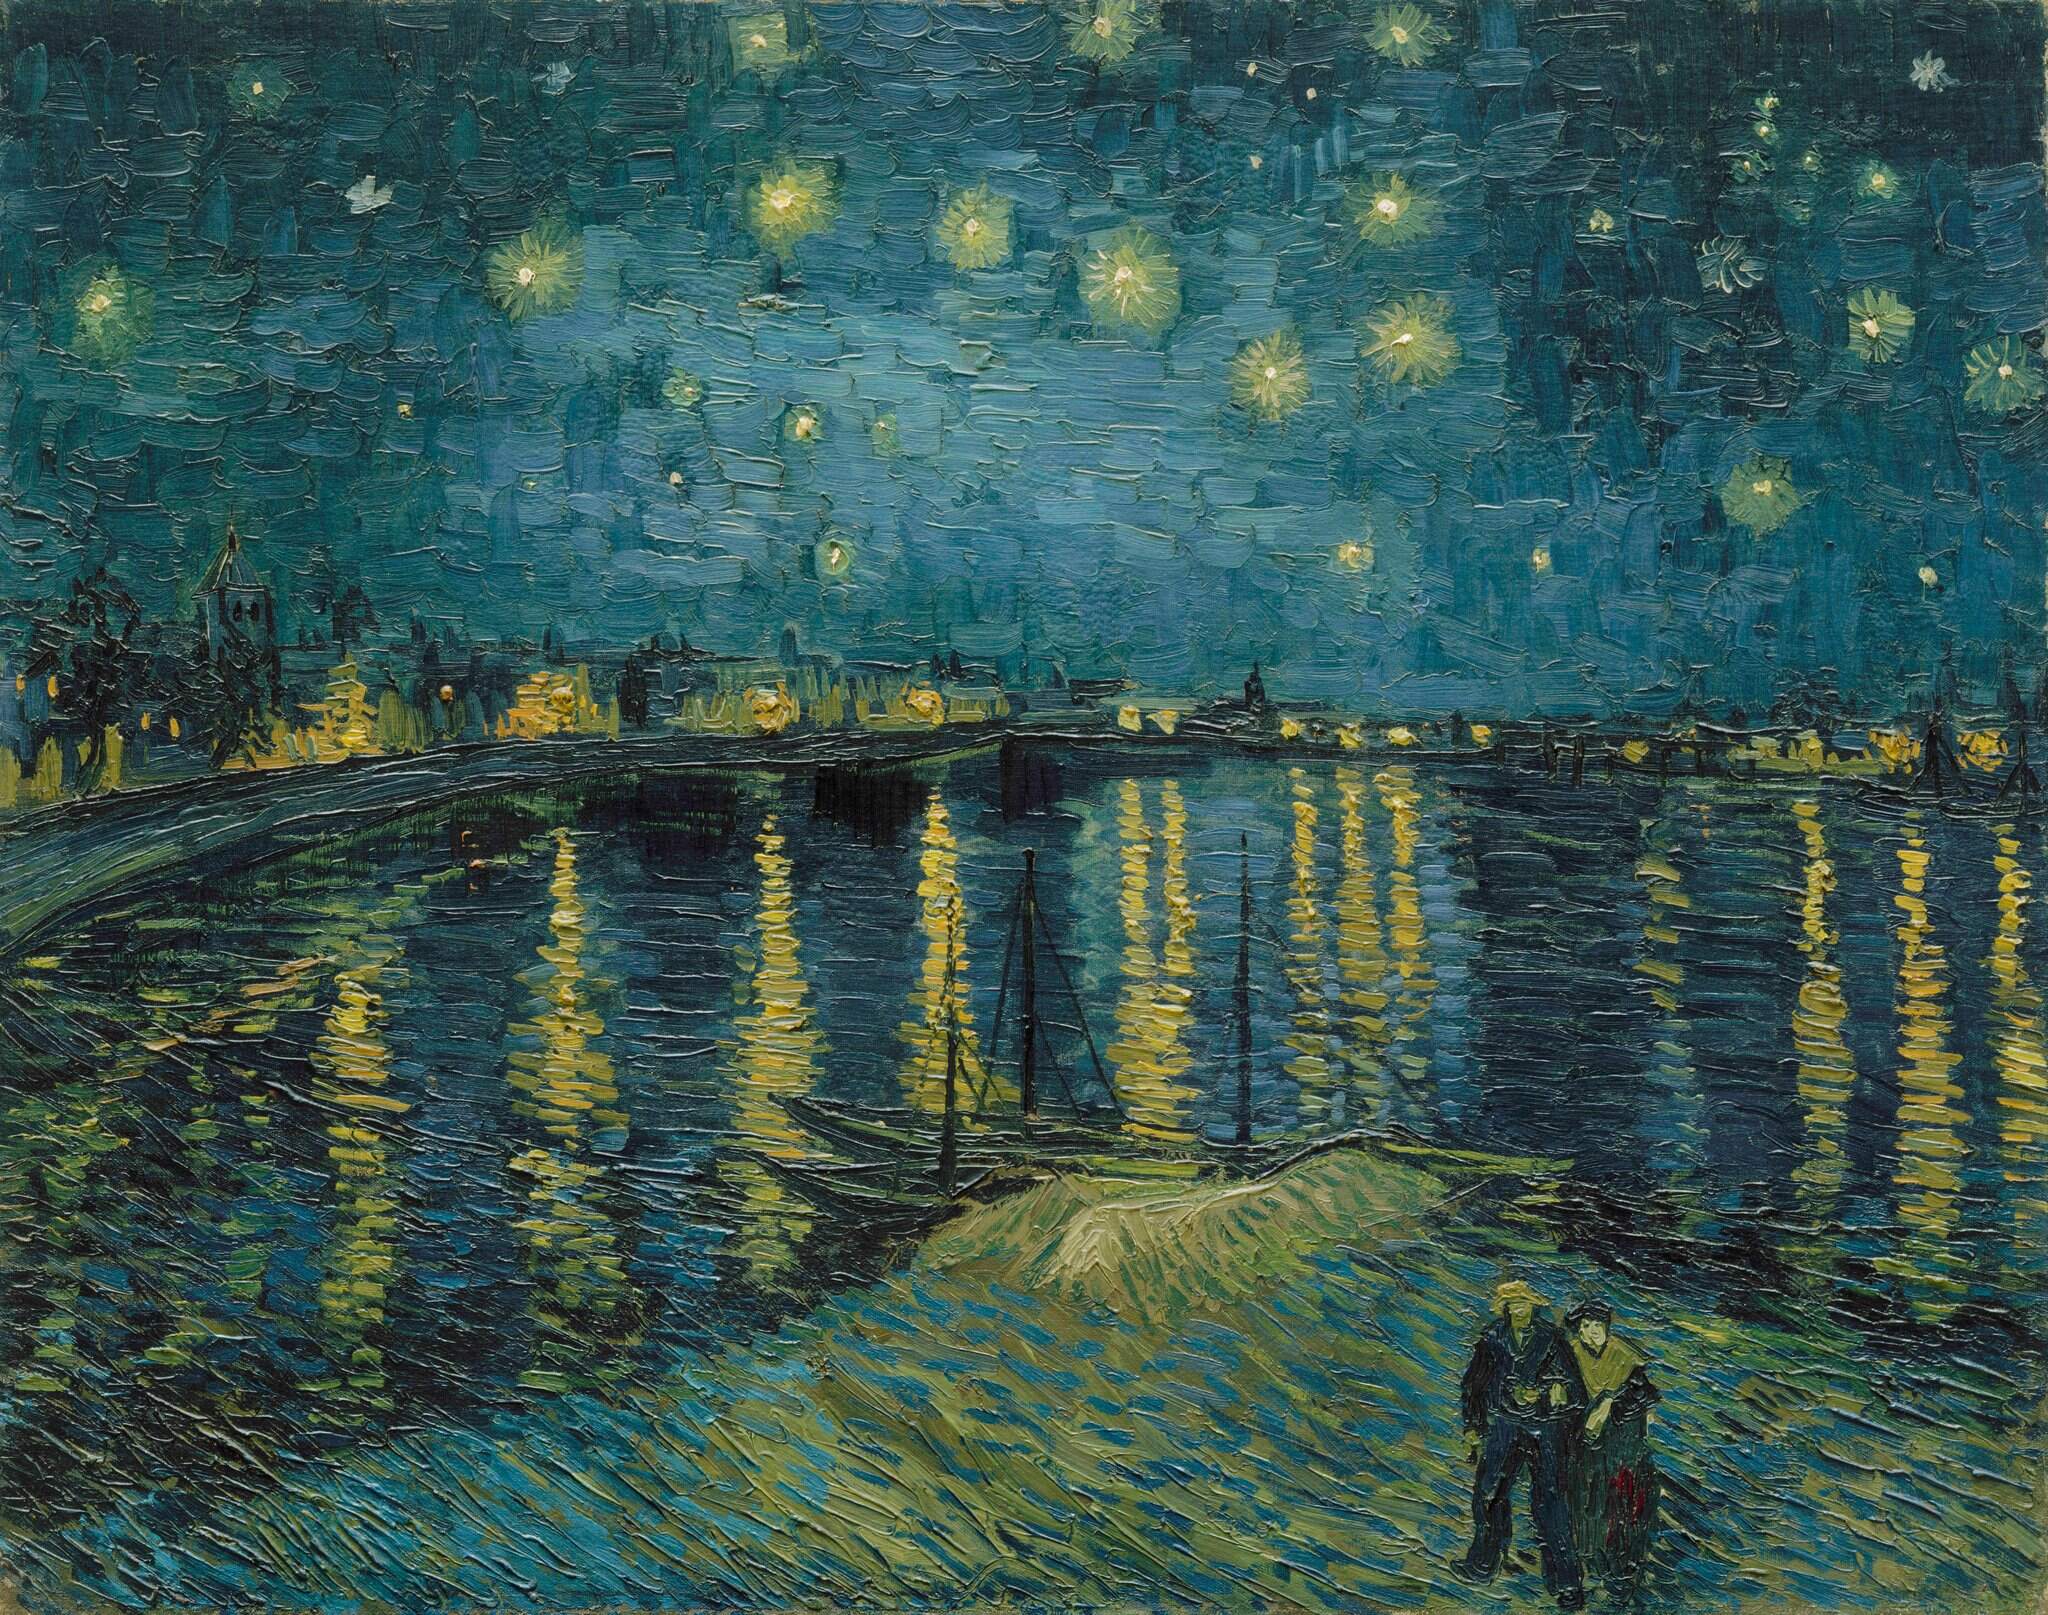
In fine art, especially painting, humans have mastered the skill to create unique visual experiences through composing a complex interplay between the content and style of an image......Here we introduce an artificial system based on a Deep Neural Network that creates artistic images of high perceptual quality. The system uses neural representations to separate and recombine content and style of arbitrary images, providing a neural algorithm for the creation of artistic images.
In a Convolutional Neural Network, a given input image is represented as a set of filtered images at each processing stage in the CNN. While the number of different filters increases along the processing hierarchy, the size of the filtered images is reduced by some downsampling mechanism (e.g. max-pooling) leading to a decrease in the total number of units per layer of the network. We can reconstruct the content of the input by visualizing the information at different processing stages in the CNN by reconstructing the input image from only knowing the network’s responses in a particular layer. On top of the original CNN representations we built a new feature space that captures the style of an input image. The style representation computes correlations between the different features in different layers of the CNN. We reconstruct the style of the input image from style representations built on different subsets of CNN layers. This creates images that match the style of a given image on an increasing scale while discarding information of the global arrangement of the scene.

Unlike in Project 5, there isn't much pre-processing needed in this deployment of vgg. I simply used pytorch's built-in dataloader and transforms to load and rescale the image, then normalized them per channel.
I used VGG19 pretrained on ImageNet, as recommended in the paper.
Sequential(
  (0): Conv2d(3, 64, kernel_size=(3, 3), stride=(1, 1), padding=(1, 1))
  (1): ReLU(inplace=True)
  (2): Conv2d(64, 64, kernel_size=(3, 3), stride=(1, 1), padding=(1, 1))
  (3): ReLU(inplace=True)
  (4): MaxPool2d(kernel_size=2, stride=2, padding=0, dilation=1, ceil_mode=False)
  (5): Conv2d(64, 128, kernel_size=(3, 3), stride=(1, 1), padding=(1, 1))
  (6): ReLU(inplace=True)
  (7): Conv2d(128, 128, kernel_size=(3, 3), stride=(1, 1), padding=(1, 1))
  (8): ReLU(inplace=True)
  (9): MaxPool2d(kernel_size=2, stride=2, padding=0, dilation=1, ceil_mode=False)
  (10): Conv2d(128, 256, kernel_size=(3, 3), stride=(1, 1), padding=(1, 1))
  (11): ReLU(inplace=True)
  (12): Conv2d(256, 256, kernel_size=(3, 3), stride=(1, 1), padding=(1, 1))
  (13): ReLU(inplace=True)
  (14): Conv2d(256, 256, kernel_size=(3, 3), stride=(1, 1), padding=(1, 1))
  (15): ReLU(inplace=True)
  (16): Conv2d(256, 256, kernel_size=(3, 3), stride=(1, 1), padding=(1, 1))
  (17): ReLU(inplace=True)
  (18): MaxPool2d(kernel_size=2, stride=2, padding=0, dilation=1, ceil_mode=False)
  (19): Conv2d(256, 512, kernel_size=(3, 3), stride=(1, 1), padding=(1, 1))
  (20): ReLU(inplace=True)
  (21): Conv2d(512, 512, kernel_size=(3, 3), stride=(1, 1), padding=(1, 1))
  (22): ReLU(inplace=True)
  (23): Conv2d(512, 512, kernel_size=(3, 3), stride=(1, 1), padding=(1, 1))
  (24): ReLU(inplace=True)
  (25): Conv2d(512, 512, kernel_size=(3, 3), stride=(1, 1), padding=(1, 1))
  (26): ReLU(inplace=True)
  (27): MaxPool2d(kernel_size=2, stride=2, padding=0, dilation=1, ceil_mode=False)
  (28): Conv2d(512, 512, kernel_size=(3, 3), stride=(1, 1), padding=(1, 1))
  (29): ReLU(inplace=True)
  (30): Conv2d(512, 512, kernel_size=(3, 3), stride=(1, 1), padding=(1, 1))
  (31): ReLU(inplace=True)
  (32): Conv2d(512, 512, kernel_size=(3, 3), stride=(1, 1), padding=(1, 1))
  (33): ReLU(inplace=True)
  (34): Conv2d(512, 512, kernel_size=(3, 3), stride=(1, 1), padding=(1, 1))
  (35): ReLU(inplace=True)
  (36): MaxPool2d(kernel_size=2, stride=2, padding=0, dilation=1, ceil_mode=False)
)The content loss is the mean square error between the activation maps of the content image and that of the sythesized image, described by the following equation:

The style loss is the mean square error between the gram matrix of the activation maps of the content image and that of the sythesized image. Gram matrix can be interpreted as computing the covariance between each pixel. Each layer's style loss is multipled by a style loss weight such that style loss from each layer is averaged out.

The total loss is in turn:

I used alpha = 1, varying beta, and a LBFGS optimizer to train for 500 epochs. The examination of the effect of varying beta is presented in the last section of Part 3: Results.


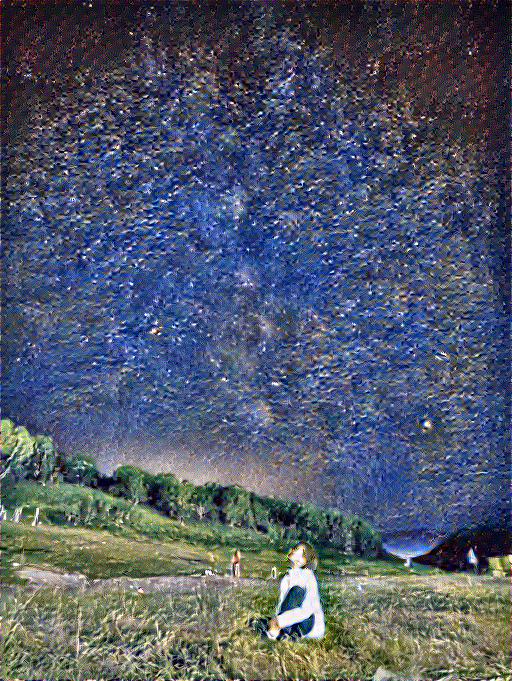
I ran the model on my images and produced some satisfactory results:


There are some unsatisfactory results nonetheless:


Below is an investigation of changing the alpha/beta tradeoff by increasing beta from 1e4 to 1e8, ceteris paribus.


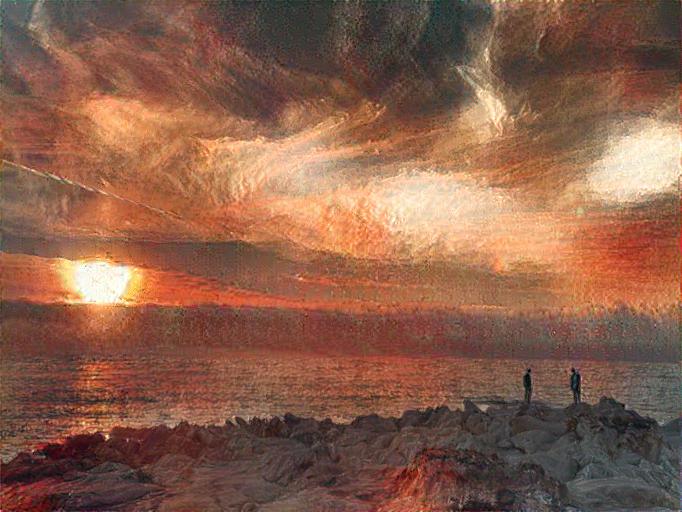
This is probably THE passion project for me in this class of this entire semester. As a huge art history fan, I am beyond excited to take what I learned in class and actually play with the styles and paintings that I love. Take the result of combining a photo that I took of the shoreline in Carmel and a JMW Turner painting -- my hand was literally shaking when I saw the outcome. On artbreeder.com, there has always been this cross-breed option where I used to take two random paintings and synthesize them based on one's style and the other's content. Now I have implemented that by hand! just THINK about it!! Thank you so much to all the course staff for this amazing semester and I hope you enjoyed my final project!