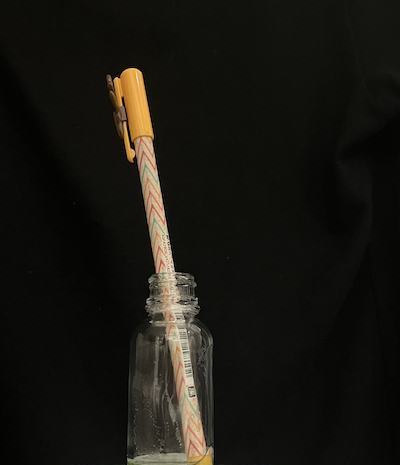
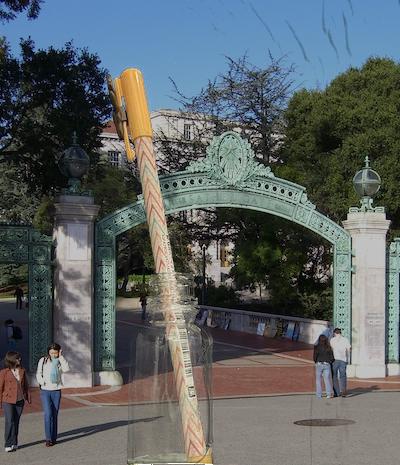
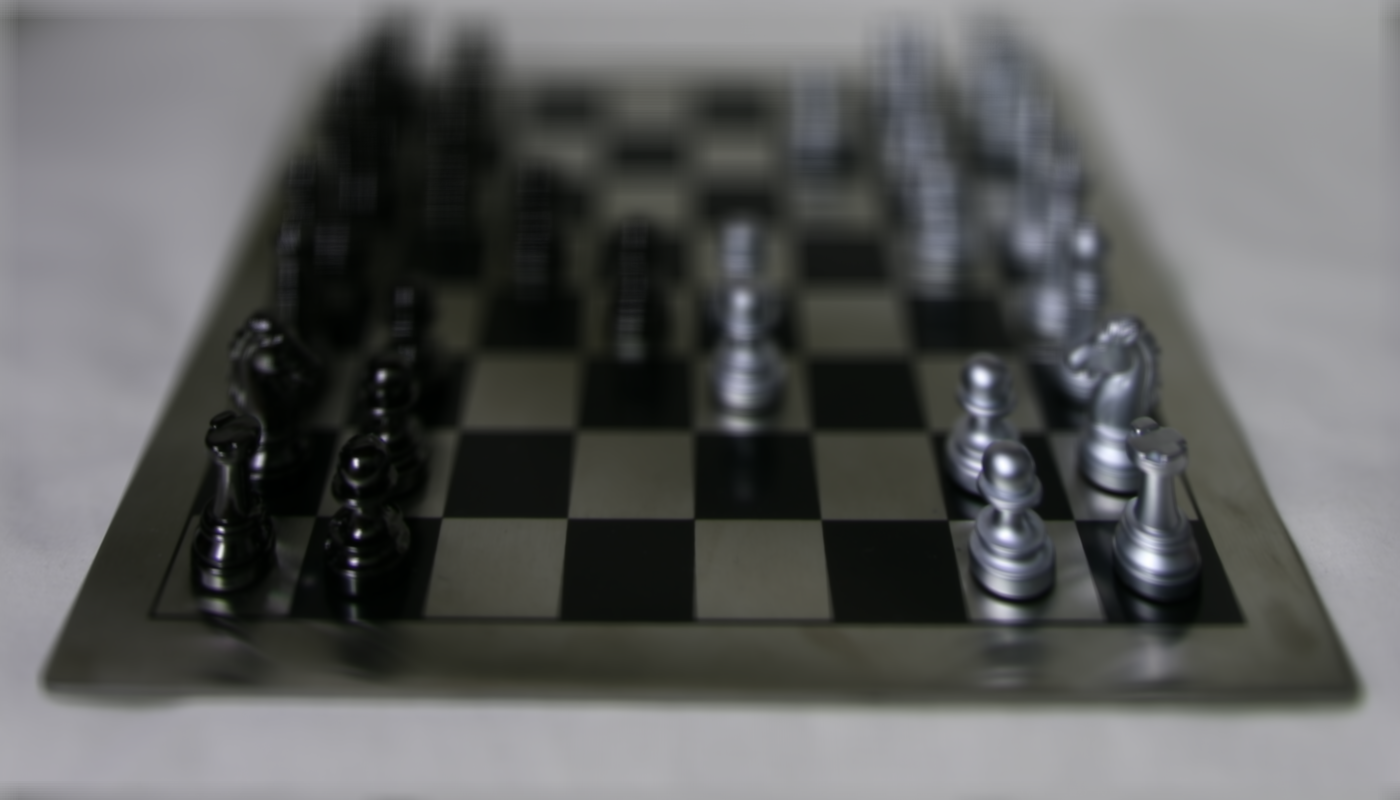
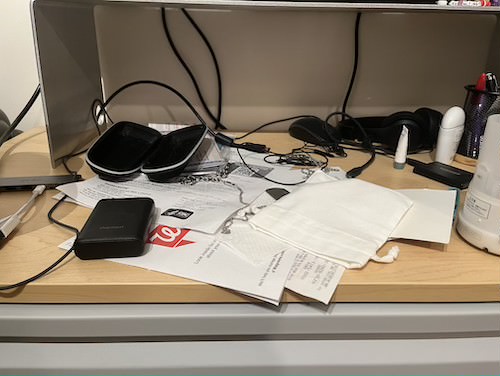
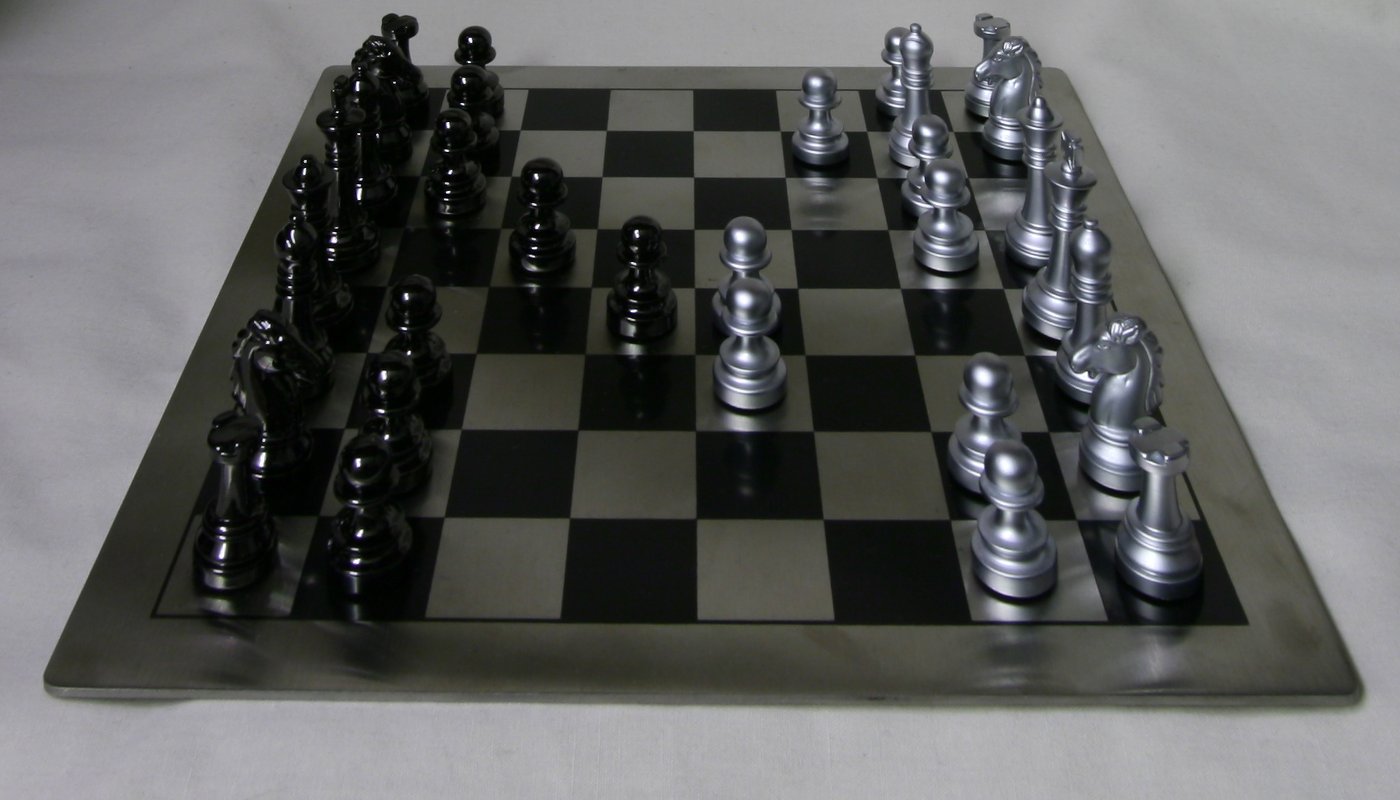
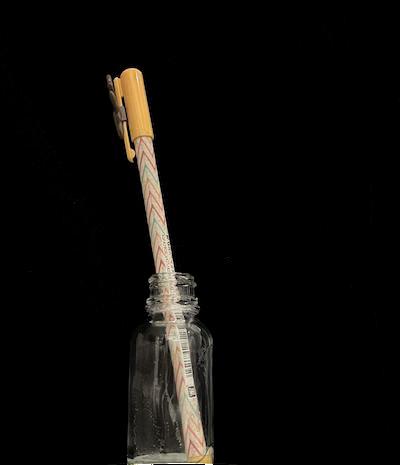
In this project, I used triangulation matting to extract a semi-transparent object and an alpha matte, and then used the filters produced to composite a new image.
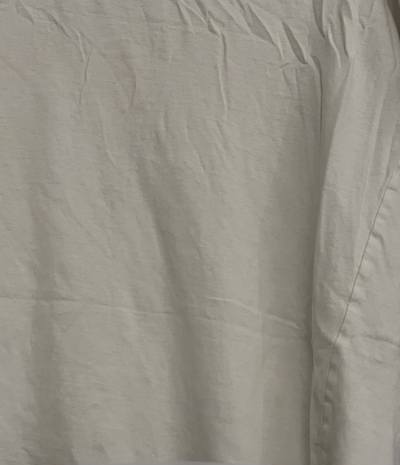
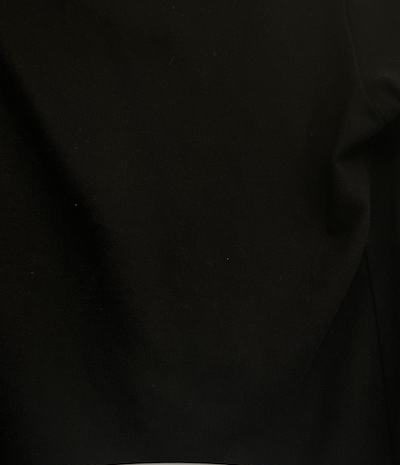
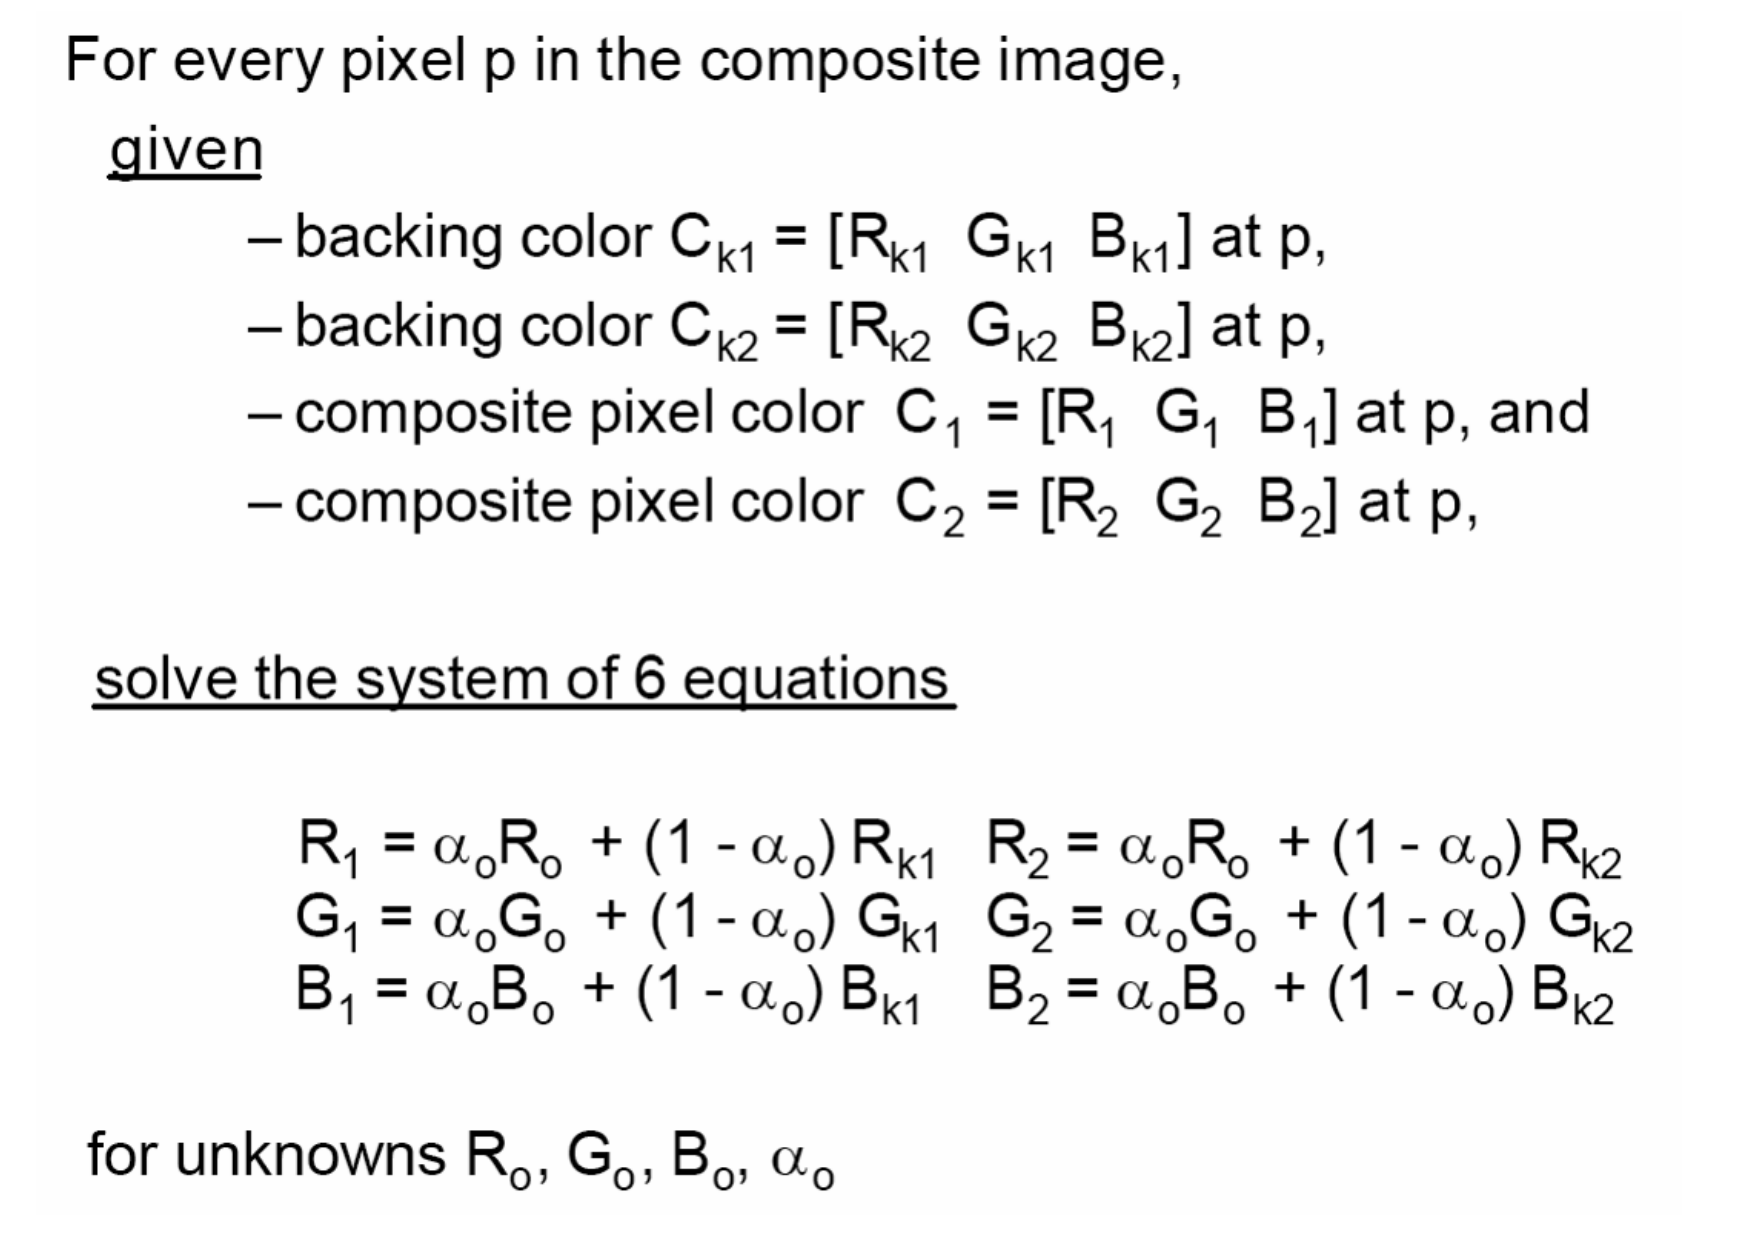
Triangulation matting works by taking images of the same object against two different background. Then, we can form a system of equations to solve for the foreground image and the alpha matte. For each pixel, we have the following equations (this comes from
slide 8)
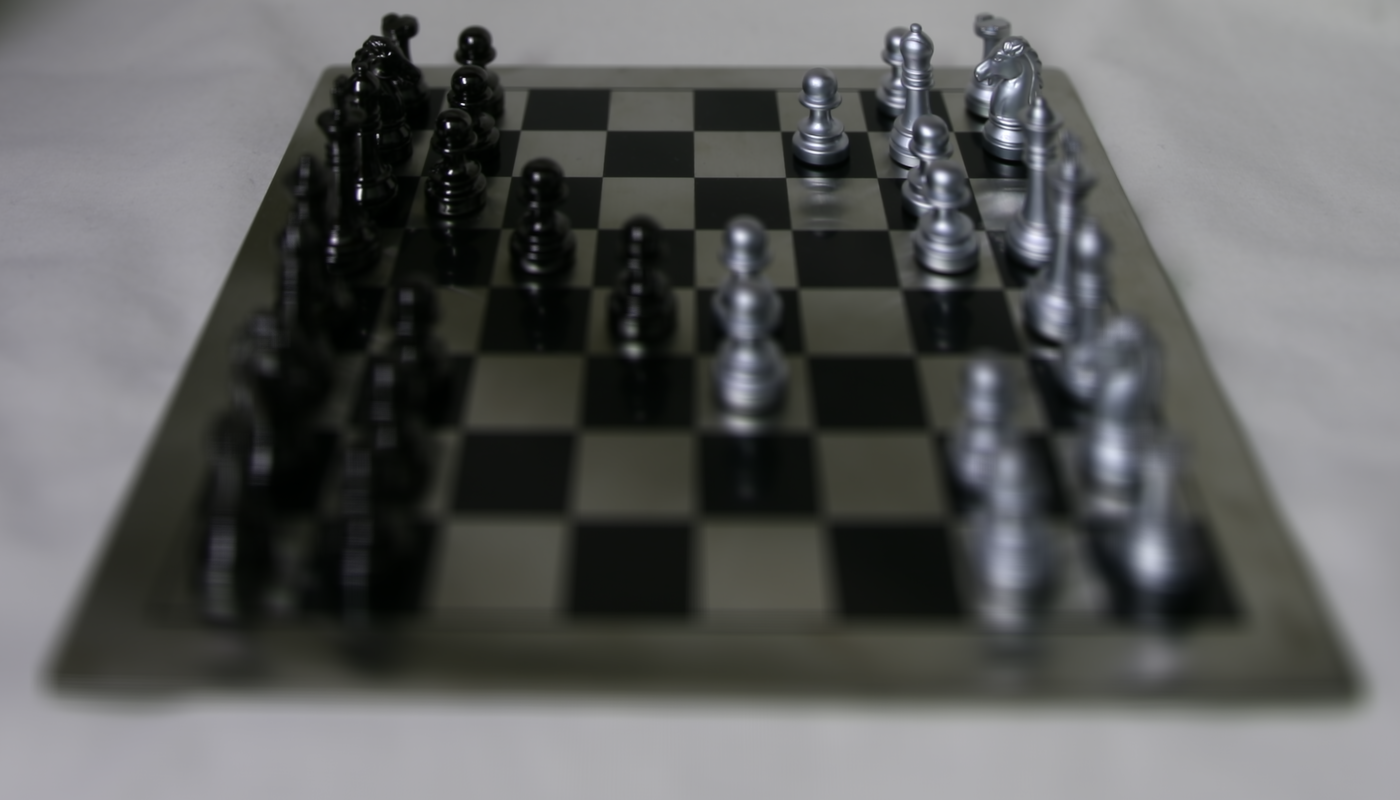
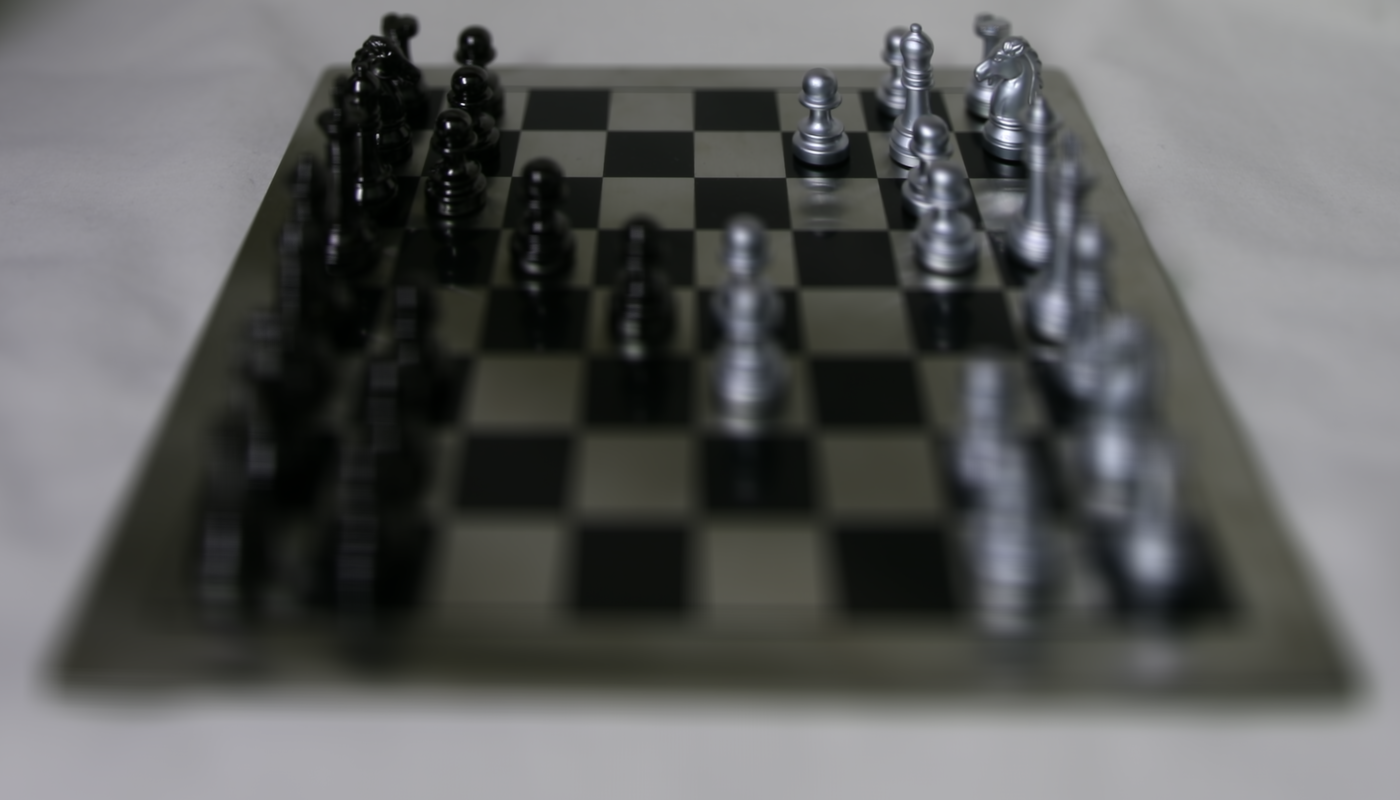
This gives us a foreground image and alpha matte. Notice that the foreground image displayed here has already been premultiplied by the alpha matte.
 Foreground image
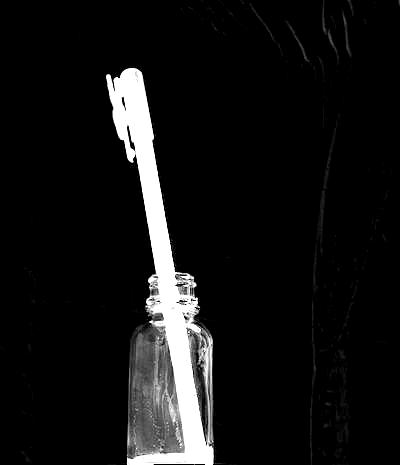 Foreground image