CS194 - Computer Vision
Project Final 2: High Dynamic Range
Nick Lai
Overview
In this project, we aim to construct the full image composited of all dynamic ranges such that the whole image may be visible at once. We achieve this by first constructing a high dynamic radiance map, and then converting the radiance map into the original images by tone mapping.
Radiance Maps
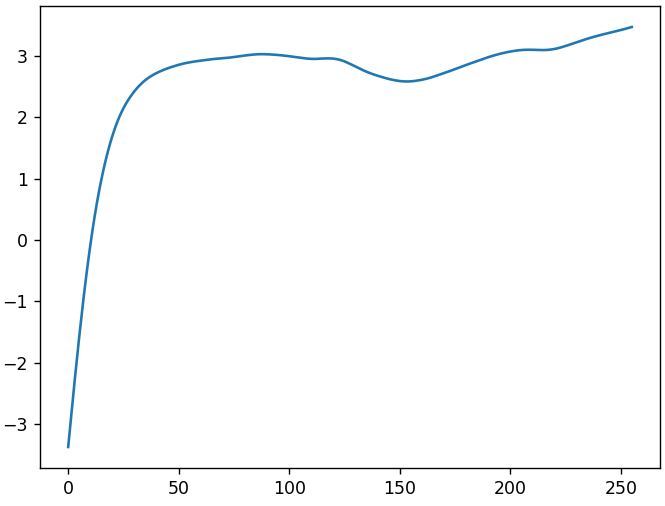
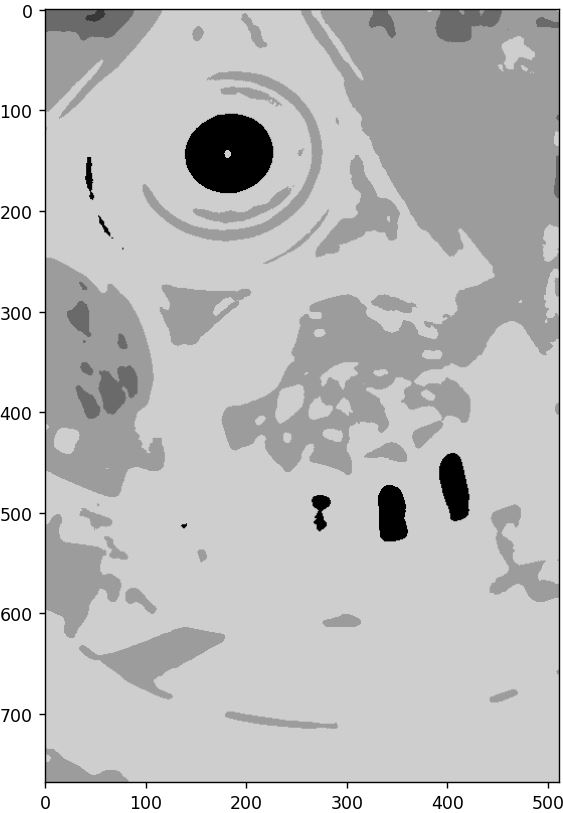
The radiance map construction required multiple steps, the first of which was sampling the intensities of the image itself. For each image from the collection of images, a random sampling of pixels of each intensity, meaning that 256 collections from each image was made collecting a pixels of the indicated intensity.
dining room response_curve.jpg.jpg
memorial response_curve.jpg.jpg
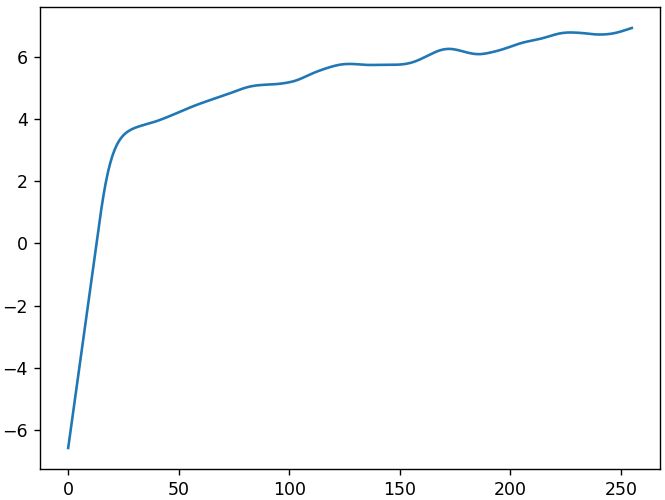
Then a response curve was calculated for each and every possible intensity, which gave us the log of an inteisty value of each and every 256 possible intensity values. Afterwards which it was a simple matter of following the provided formula, applying the math, and praying that it actually works, and thankfully, in my case, it actually worked.
memorial radiance_map rgb channels.JPG
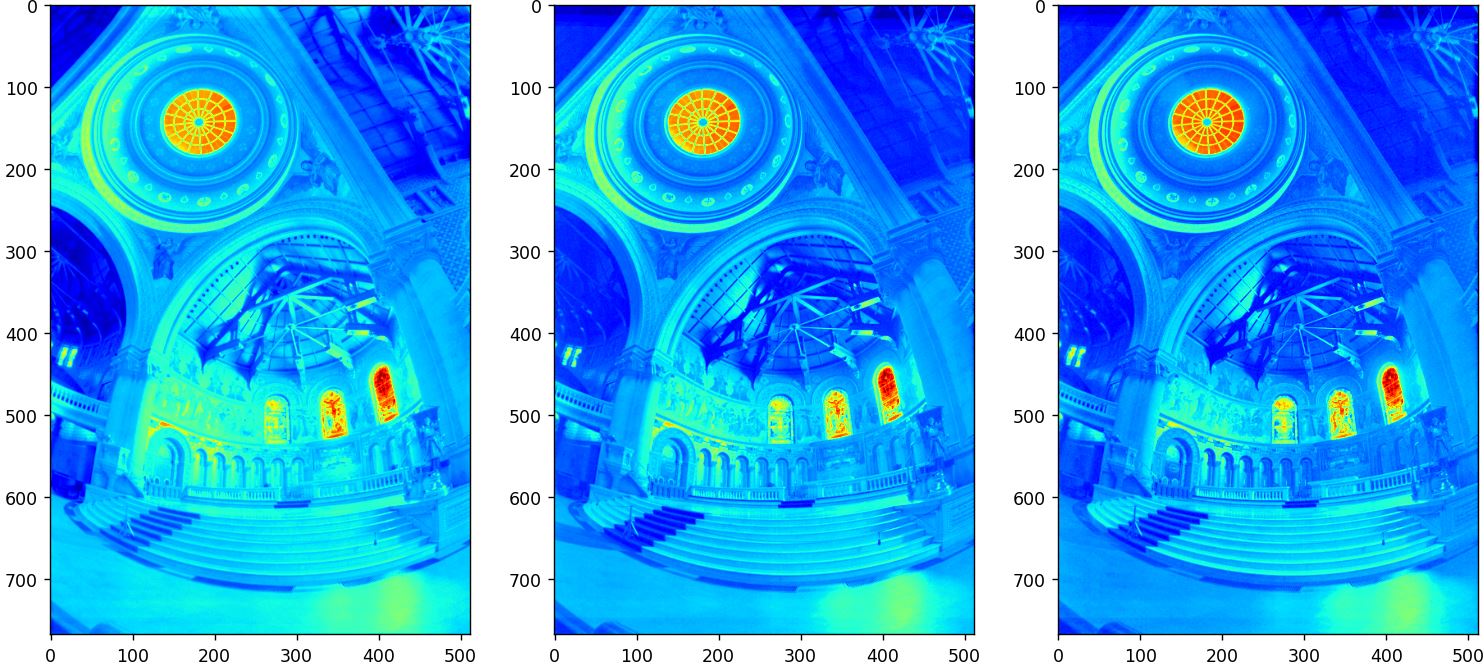
I have also applied it to a handful of other images in my collection, and it gave me a bit of different results, which look marginally jankier.
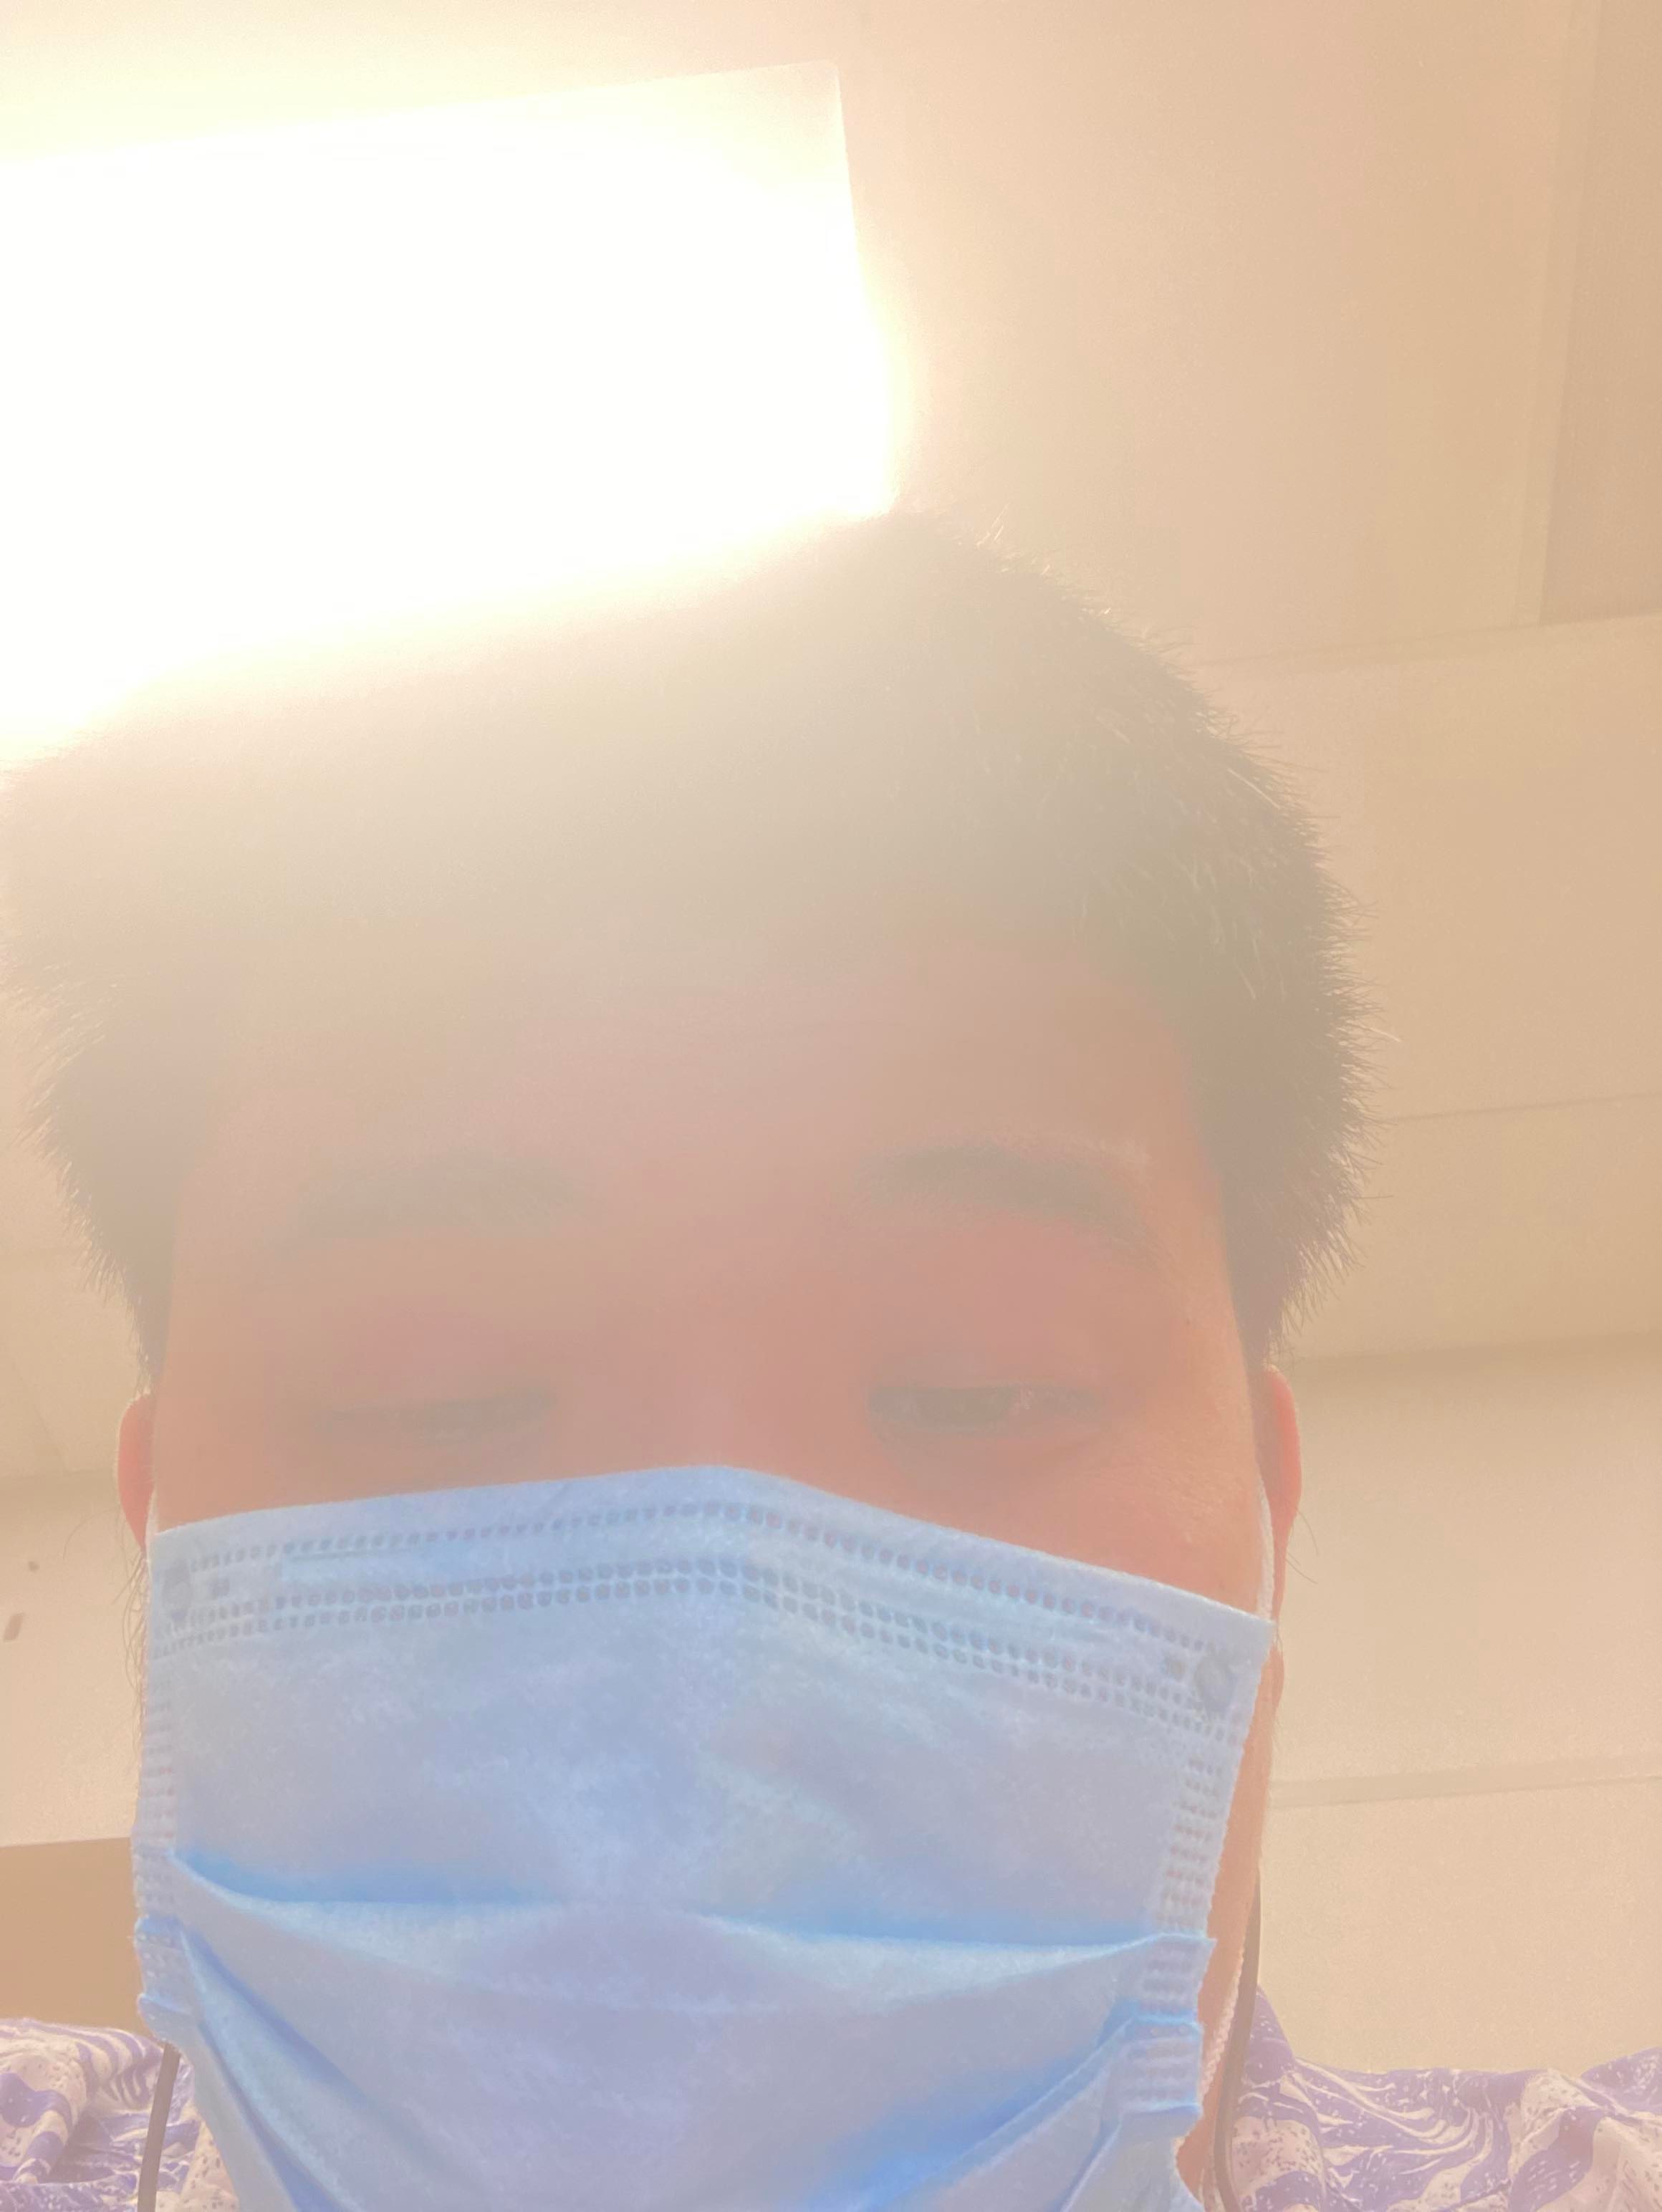
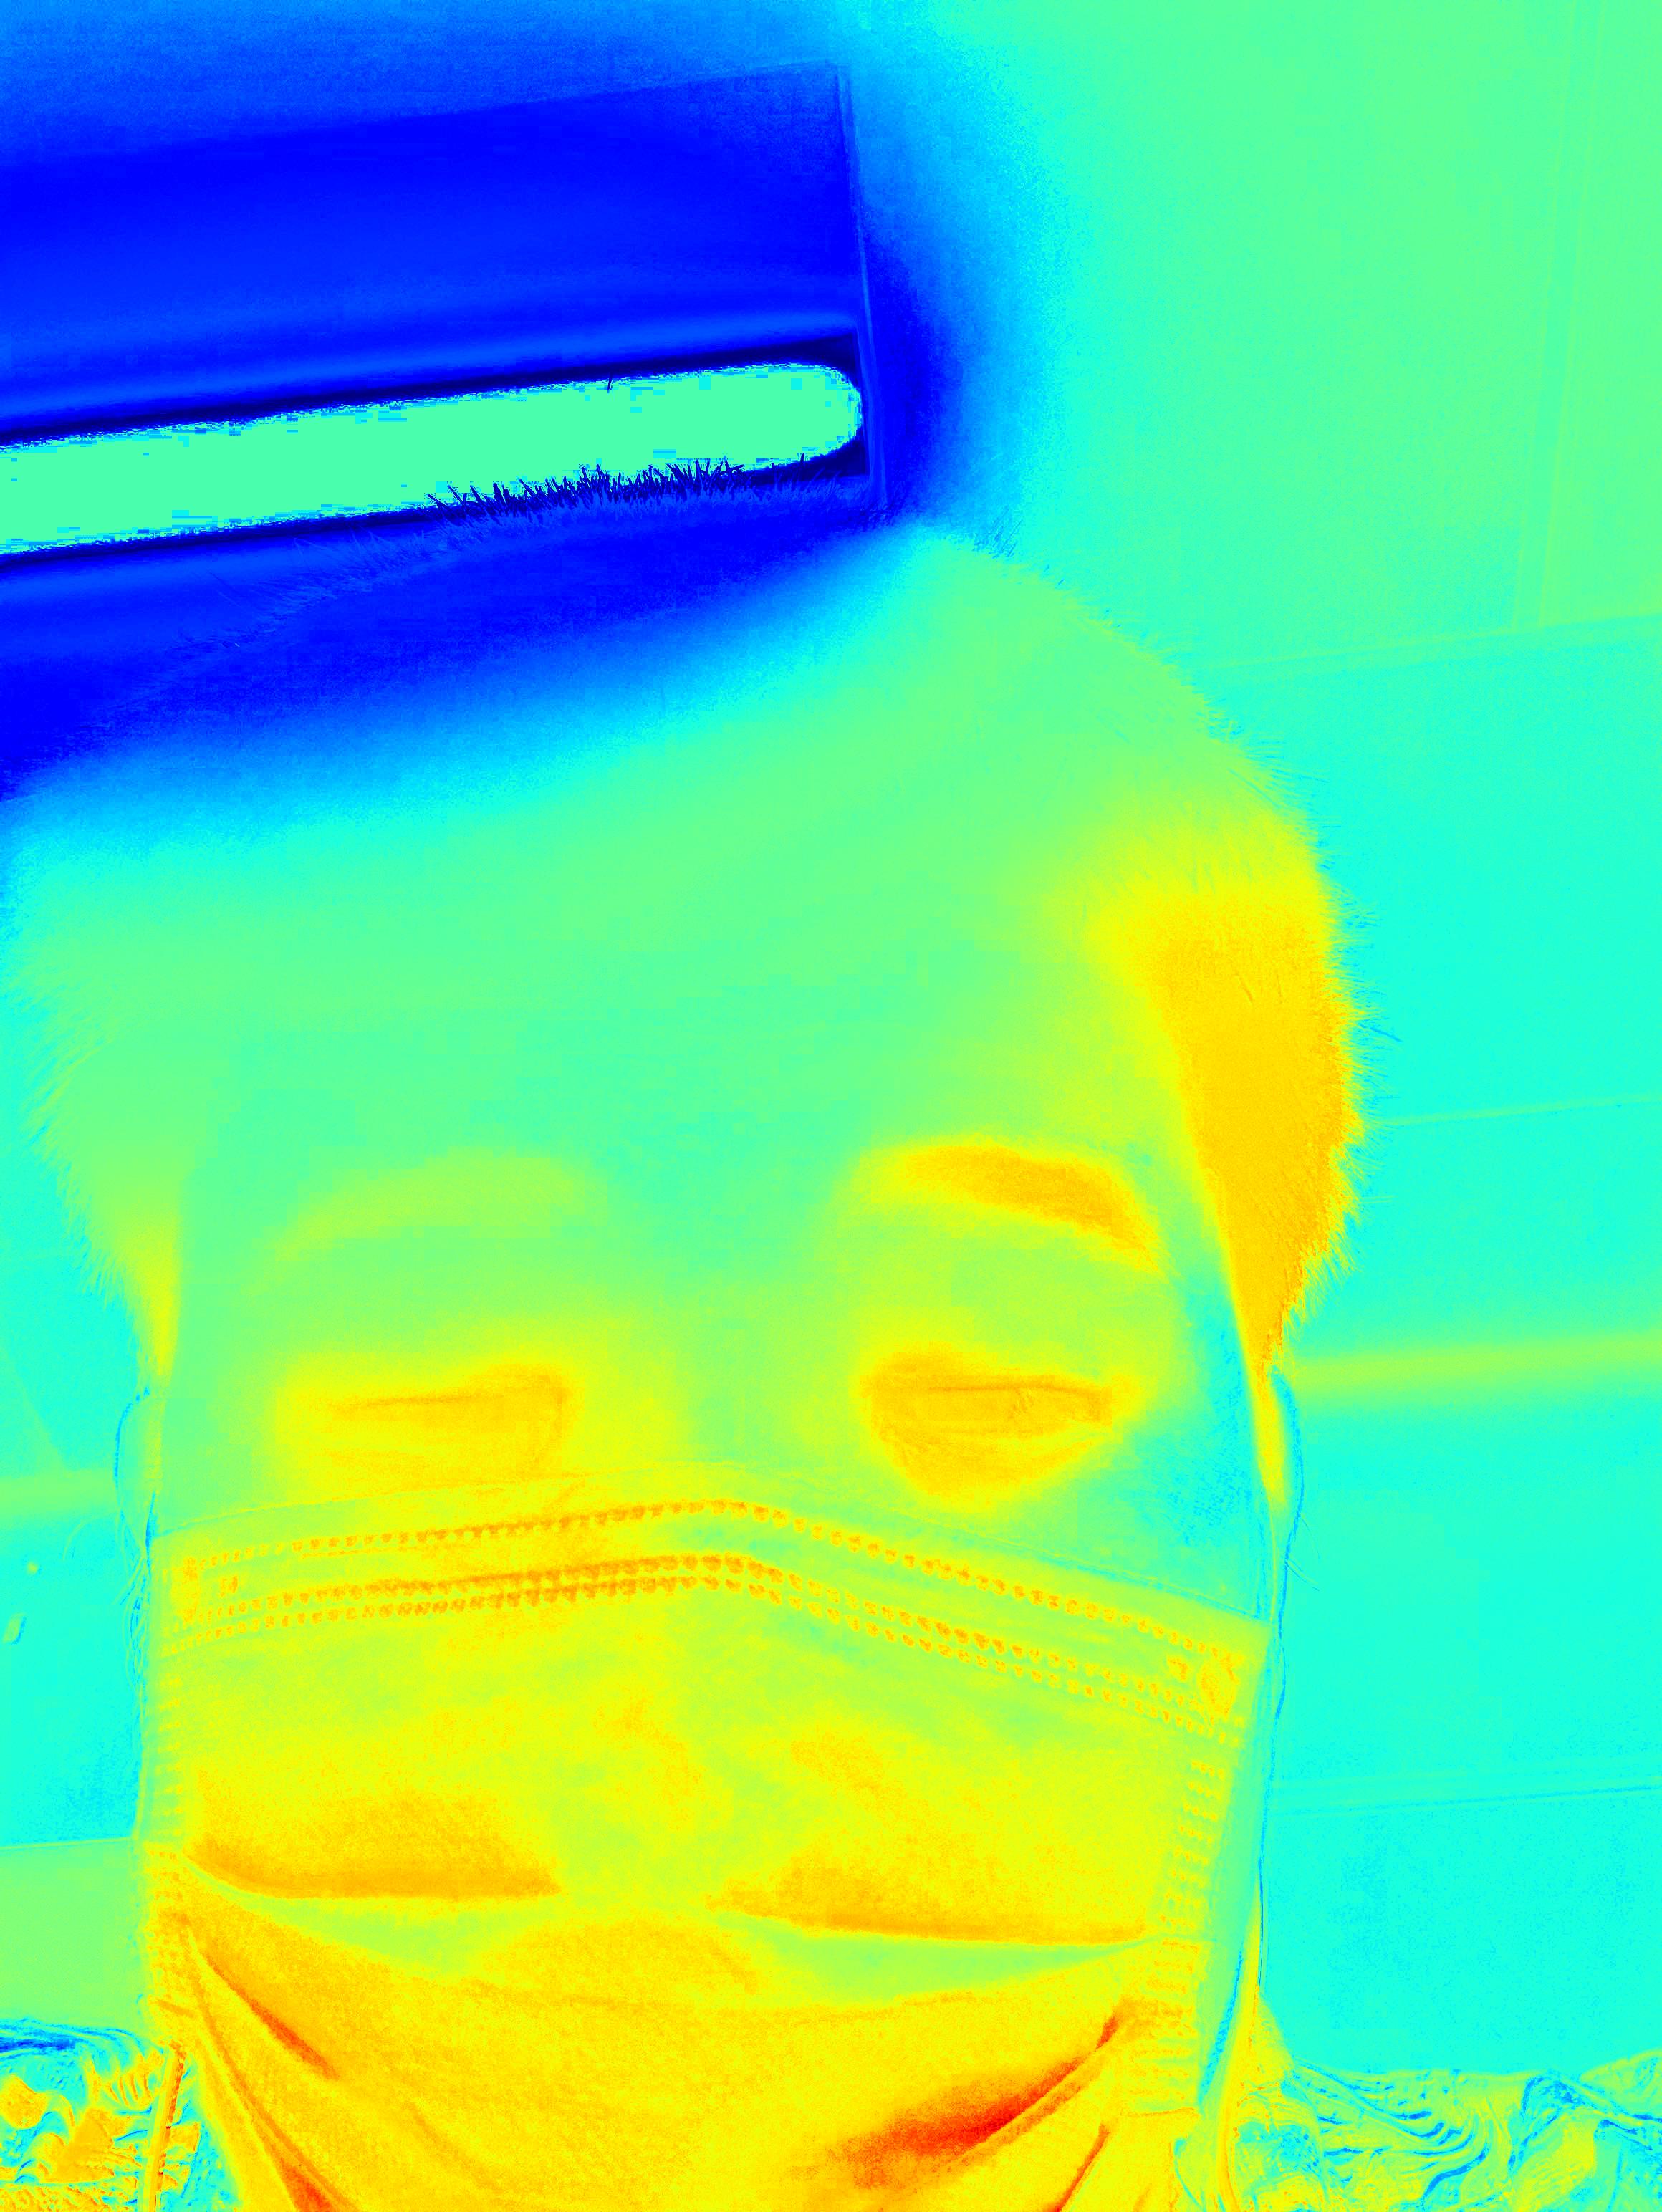
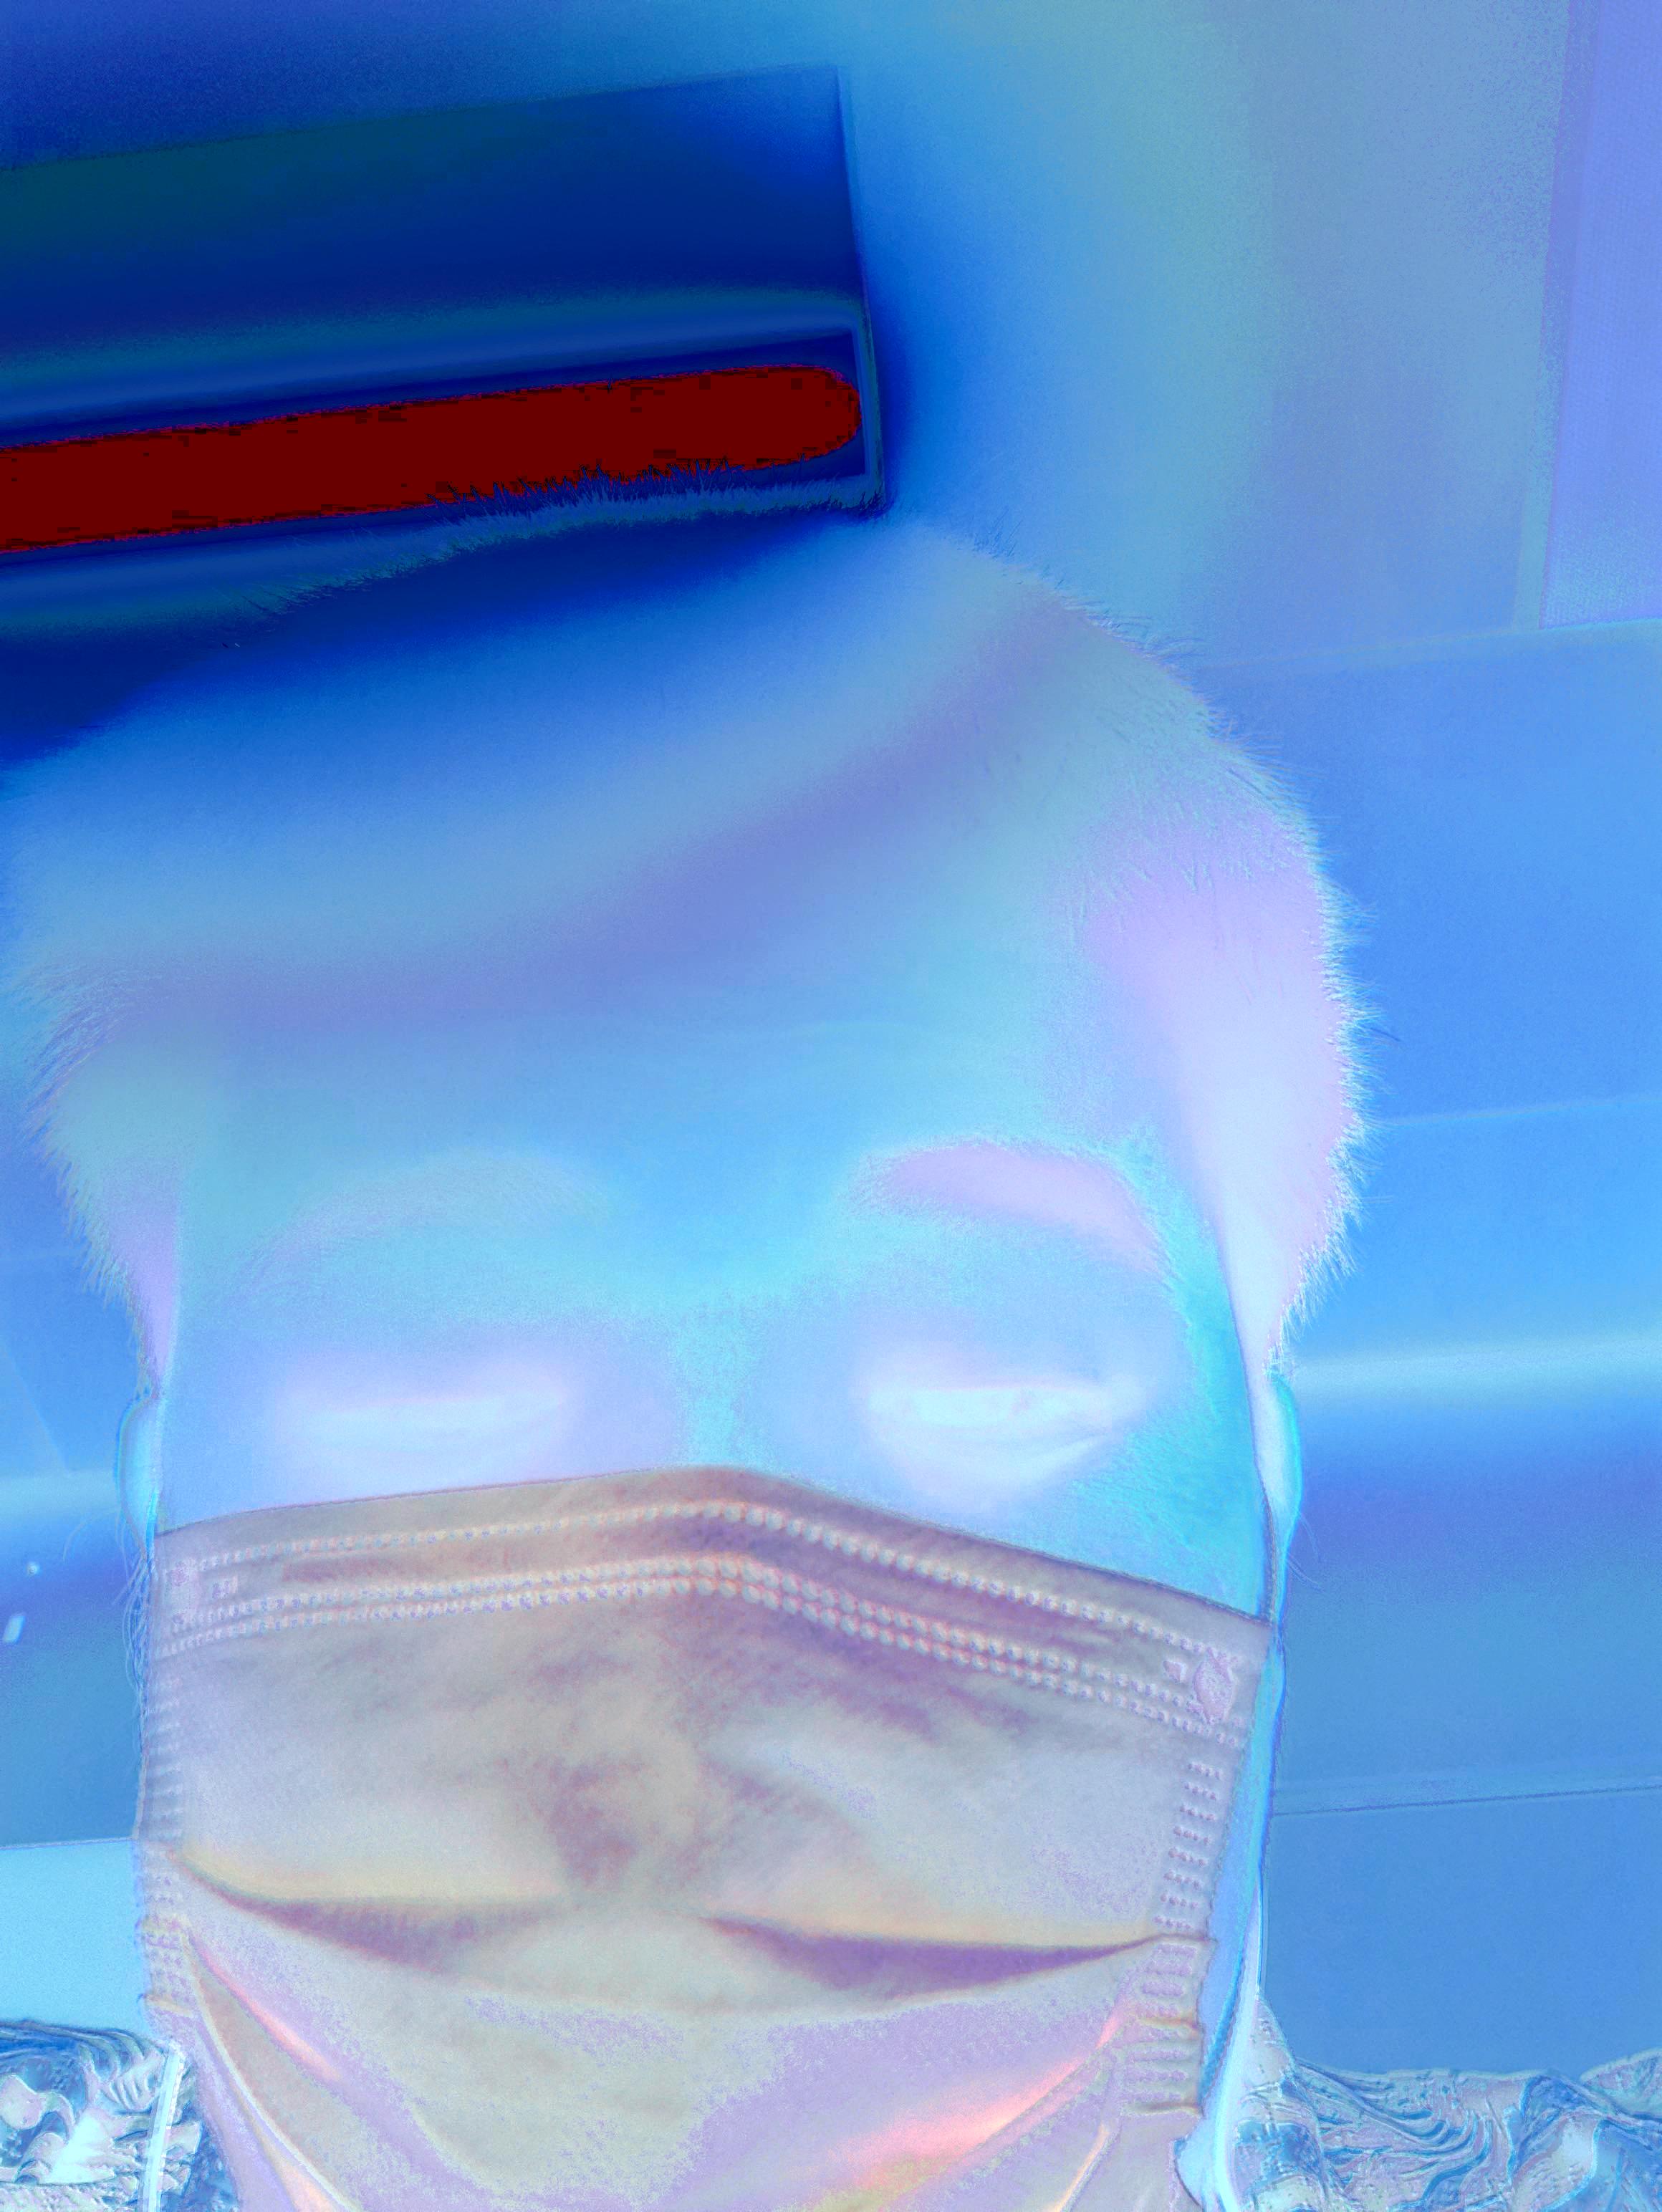
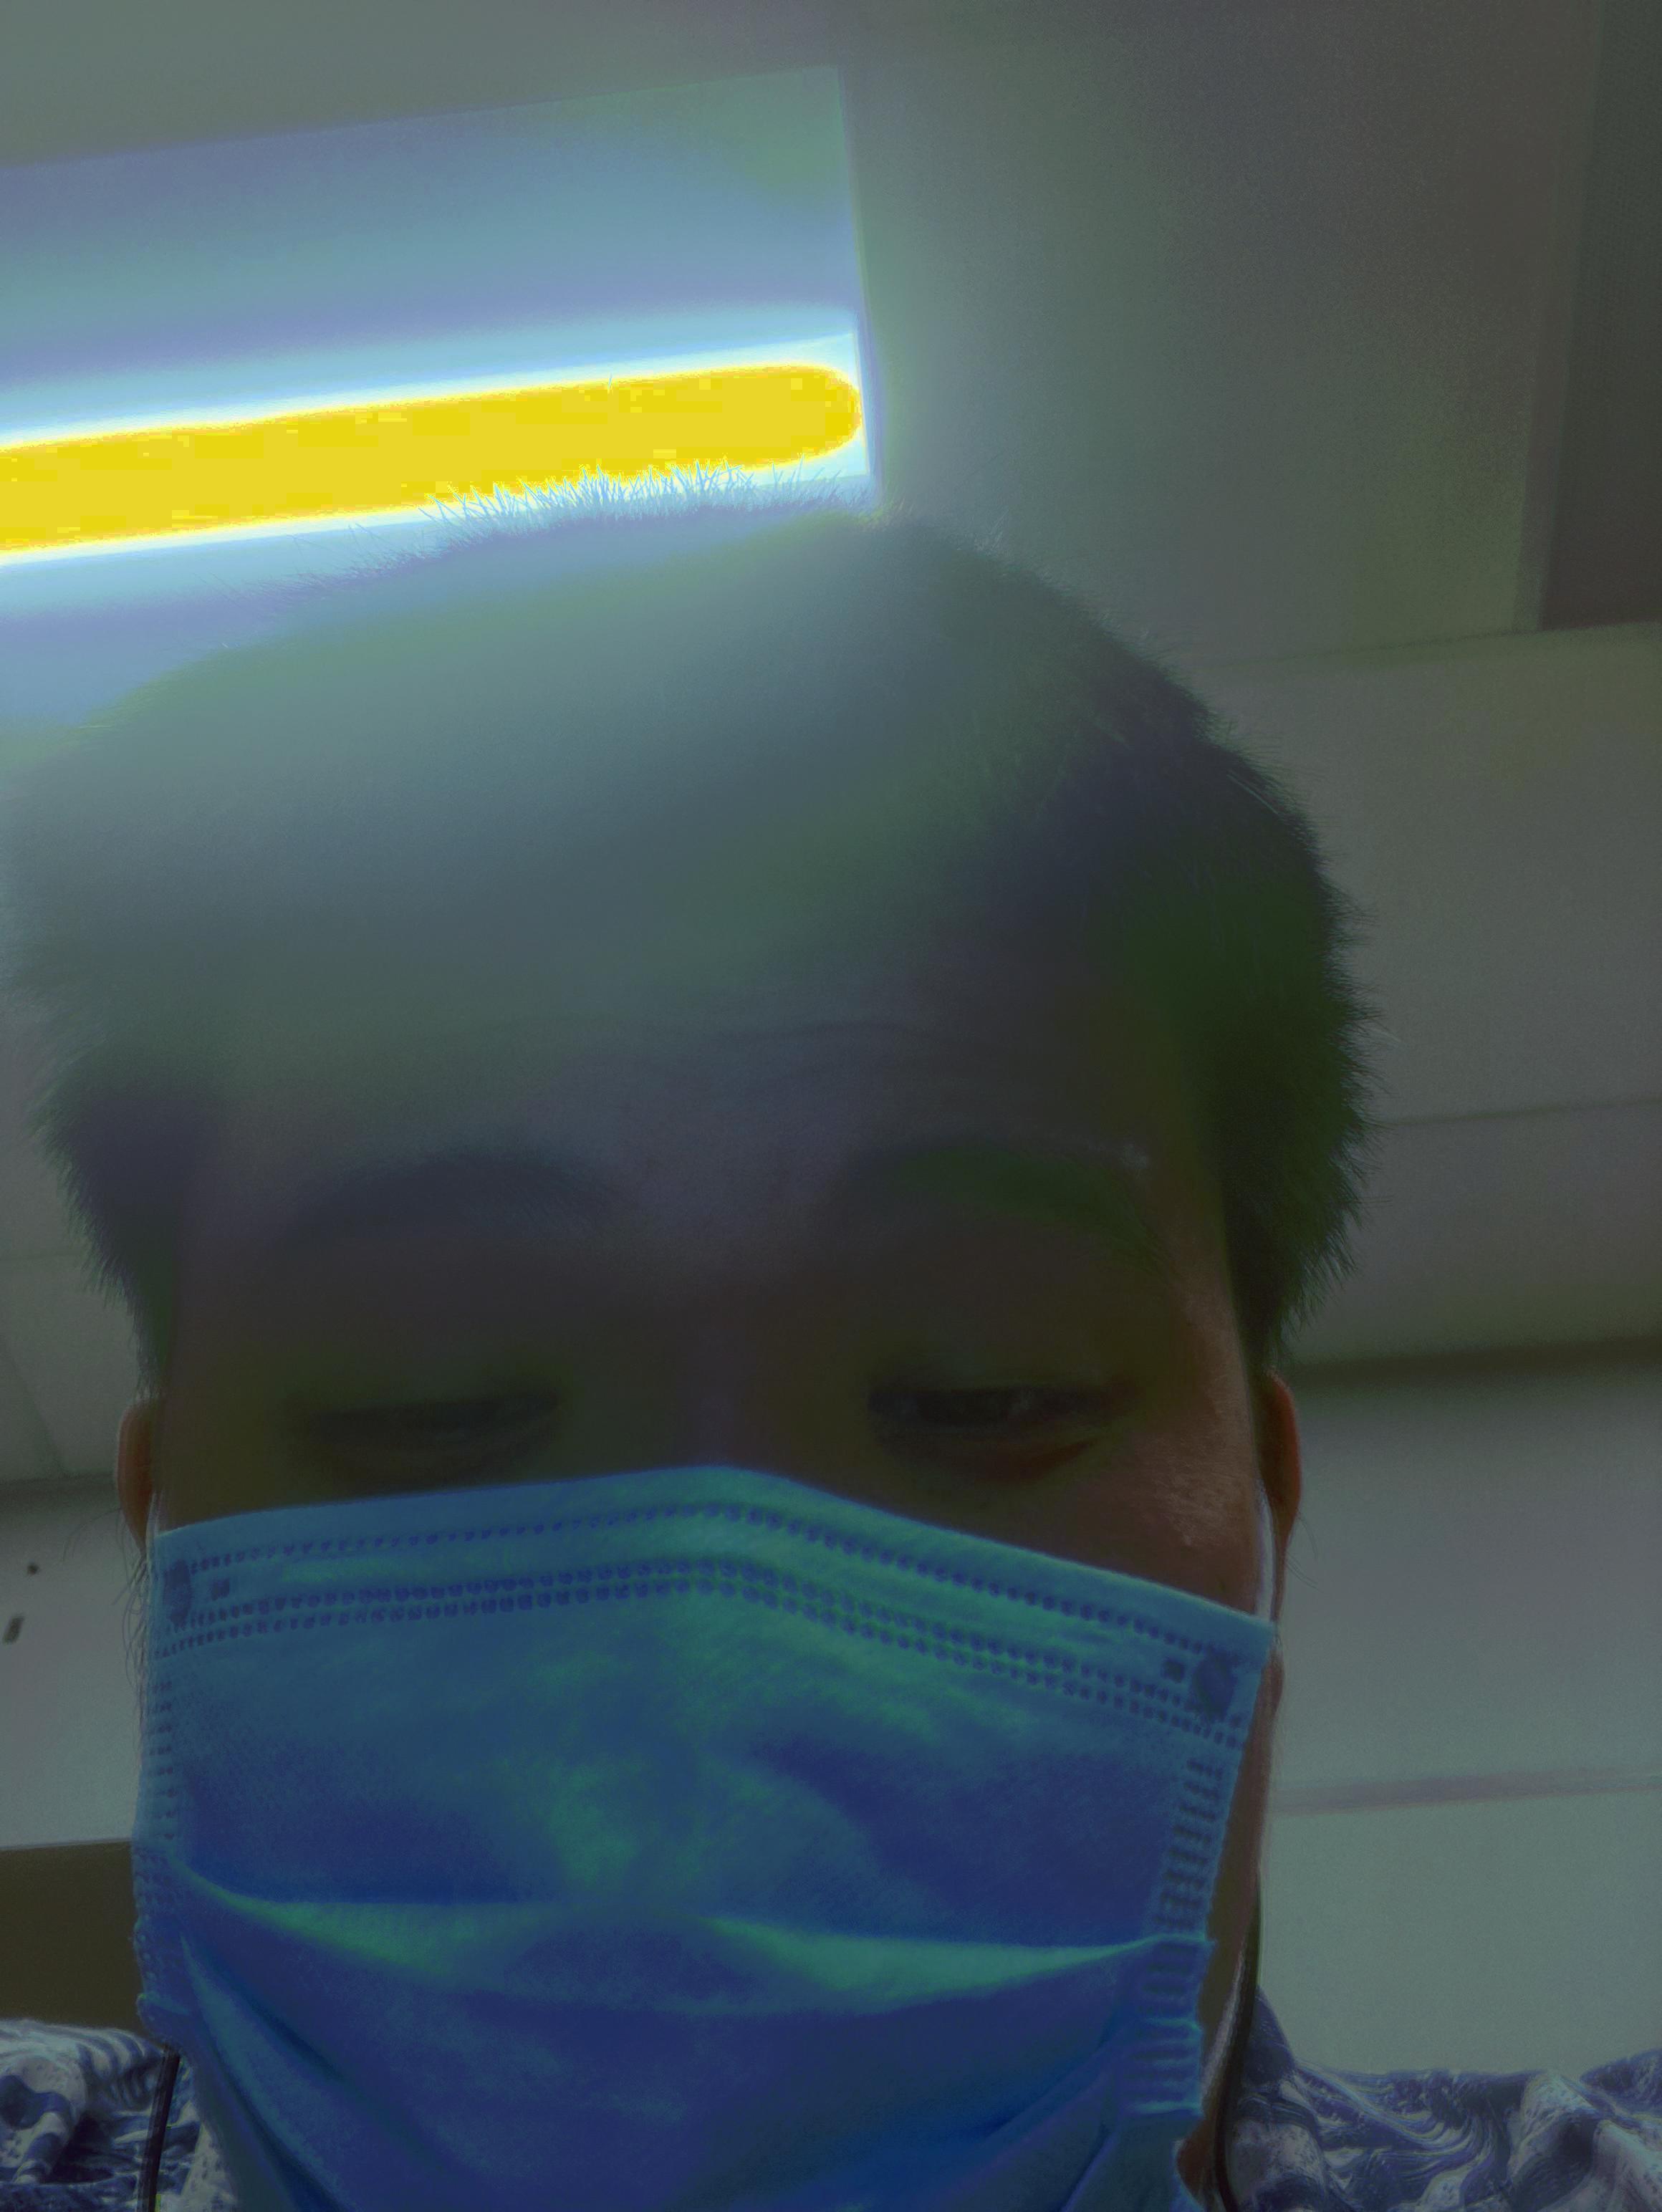
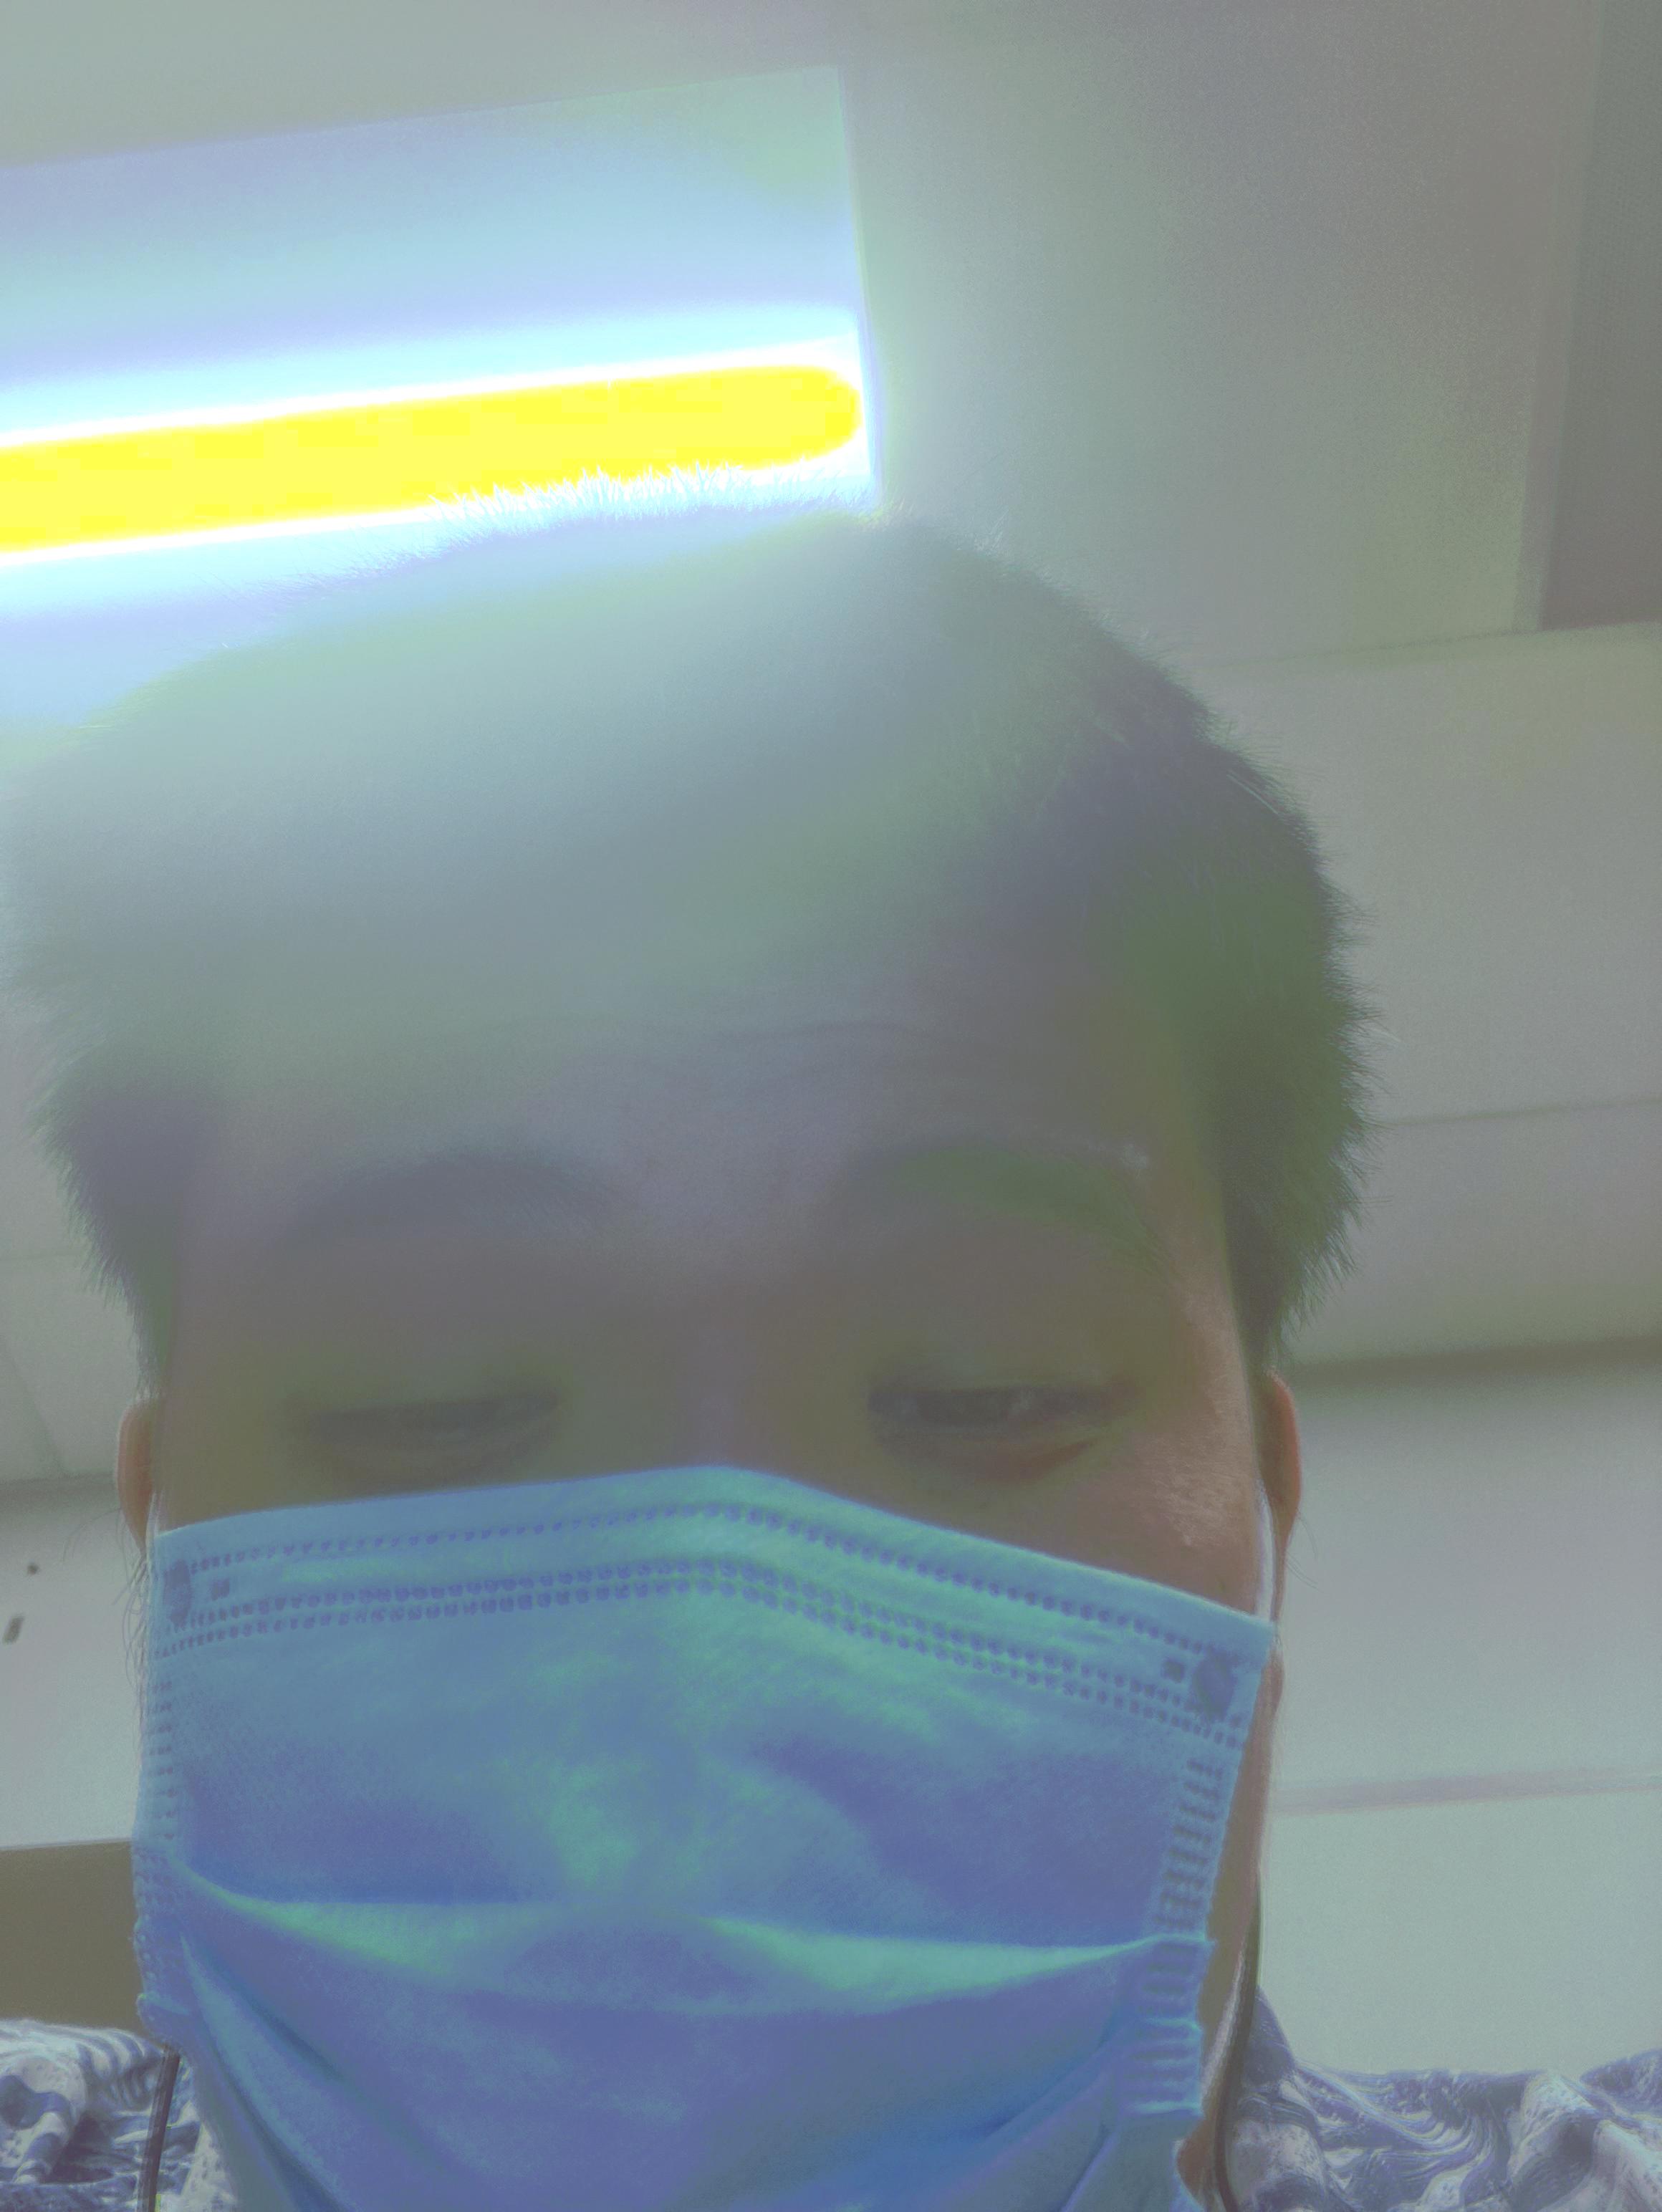
me high exposure.JPG
dining room 66ms exposure.JPG
me radiance_map.JPG
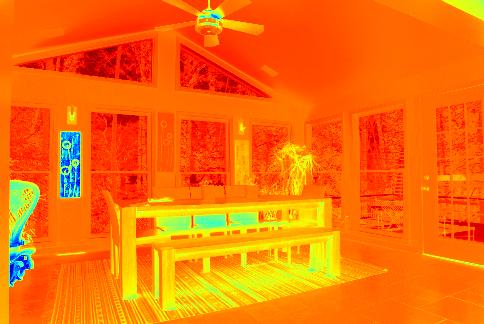
dining room radiance_map.JPG
Perplexed as to why my radiance map doesn't look right, as I had assumed that the green spot would be "brighter" than the blue spot, I spent many hours figuring out why the dark parts are light and the light parts are dark, to realise that I had simply forgotten that actually the green parts are the second brightest and the blue parts are the darkest.
Tone Mapping
Global Tone mapping wasn't too troublesome. With the radiance map constructed, it was simply a matter of reconstructing the original image from the channel radiance maps which we have aquired. That was simply a matter of summing up each channel back into an original image.
Global Tone mapping wasn't too troublesome. With the radiance map constructed, it was simply a matter of reconstructing the original image from the channel radiance maps which we have aquired. That was simply a matter of summing up each channel back into an original image.
The local method was a little more tedious, as I had to go through a series of steps, which included transposing into the log domain. First we needed to compute the average intensity and the chrominance for the RGB channels each. Then find the log intensity and apply the bilateral filter to that.
memorial BF pre-offset.jpg

memorial BF post-offset.jpg
Note that I also multiplied the log values to uint8 and multiplied them by 50 to show them clearly here. Then I Generate the detail layer by subtracting the biltaeral filtered material from the original log intensity.
memorial detailed layer.jpg
Finally I applied an offset and reconstruct the original image using the previously calculated chrominance channels and intensities.
memorial reconstruced.jpg
memorial reconstruced adjusted.jpg
I also wrote a custom function to increase the contrast of the output image because I felt that the reconstructed High Dynamic Range image was a little too boring, probably because I didn't choose the most optimal normalisation function, but it's whatever.
Comparing them against the global tone operator, didn't give me any major visual difference, leading to me believing that somehow my local version was flawed, but it is what it is :P. Here are some other images I have reconstructed.
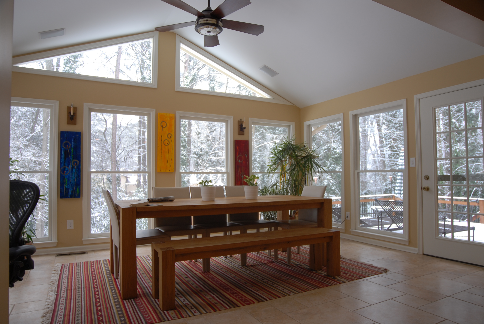
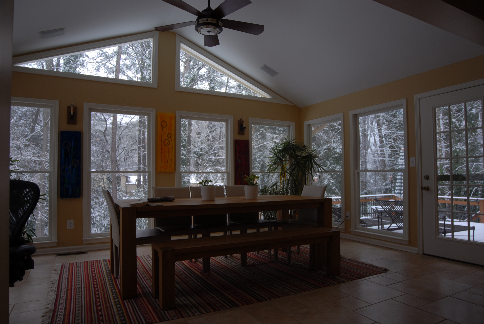
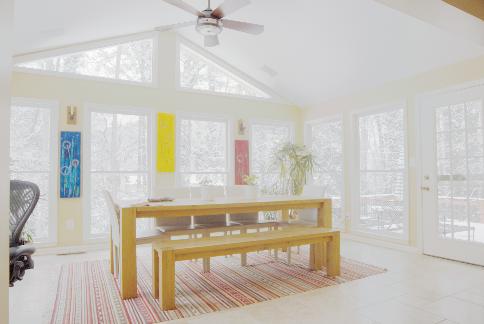
dining room original.jpg
garage original.jpg
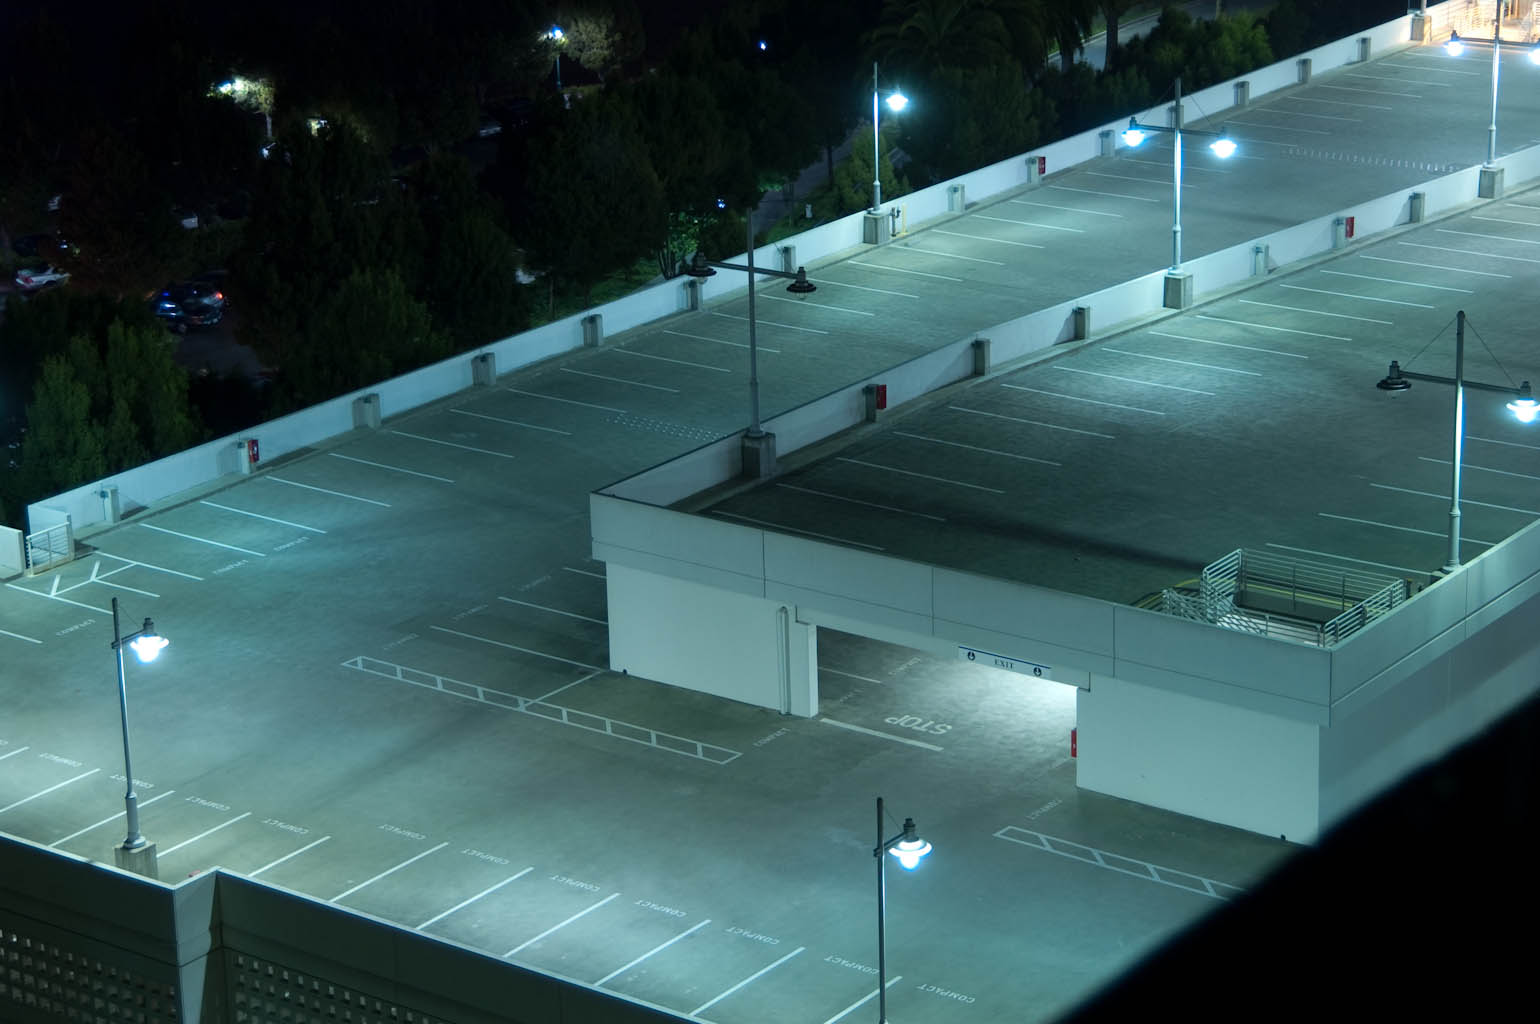
me original.jpg
dining room reconstructed.jpg
garage reconstruced.jpg
me reconstruced.jpg
dining room adjusted.jpg
garage adjusted.jpg
me adjusted.jpg
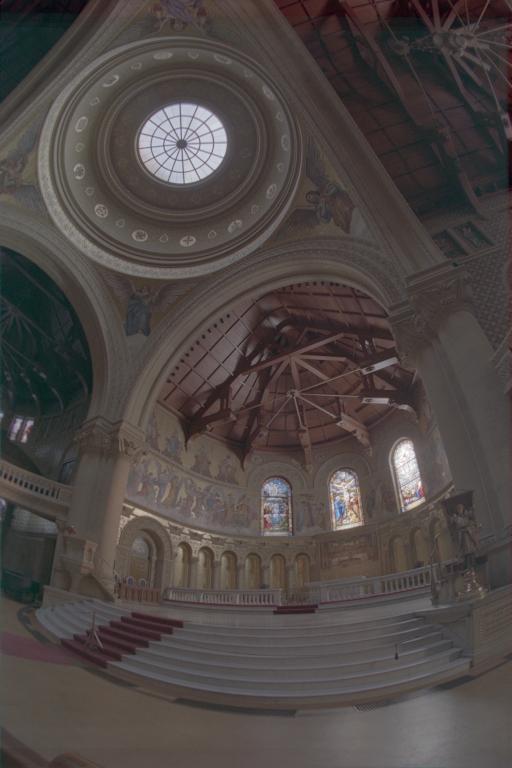
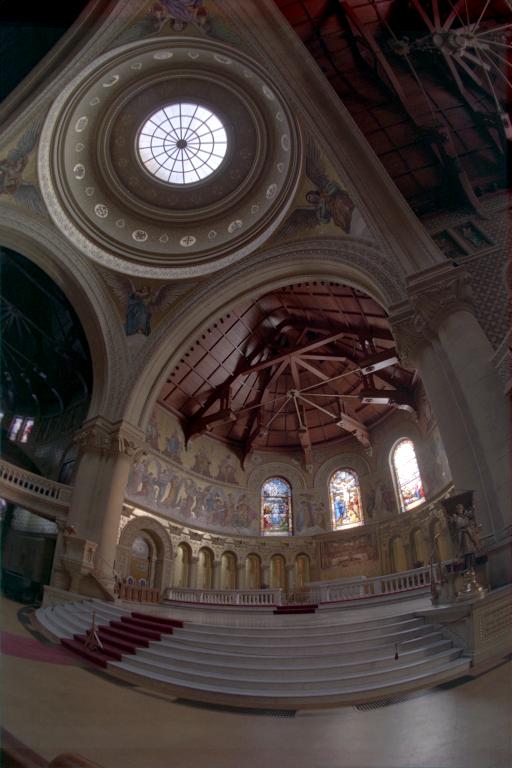
After I had aquired the middle-most exposure image, the reconstructed image, and the reconstructed image after brightness and contrast imag, I put them together and noticed some rather intersting things:
First thing I noticed, is that I have successfully constructed an HDR image from the input images, the items invisible in the shorter exposue ranges are now visible, and visibly darker, and vise versa for the items invisible in the longer exposure ranges. As you can see, the patterns on the dining room paintings are now clearly visible, as well as the bright trees in the background. Similarly with the green trees in the garage image.
Secondly, the images kinda came out unexpectedly "clean", in that the garage now looks like a tabletop toy set due to the strange sense of colouration I am getting from the trees and the concrete floor giving the impression of a scale model. And the dining room looks like something straight from Apple's take on the Metaverse.
Thirdly, the contrast and brightness adjustment does serve to help make the images look more "real" and less "cloudy", because the originals feel like there's some grey mist encompassing the environment, which I think is an artefact of manually shoehorning such and expansive colour and intensity range into the default 8-bit values, meaning that everyhing loses some of it's vibrancy. Which makes sense, but it was unexpected.
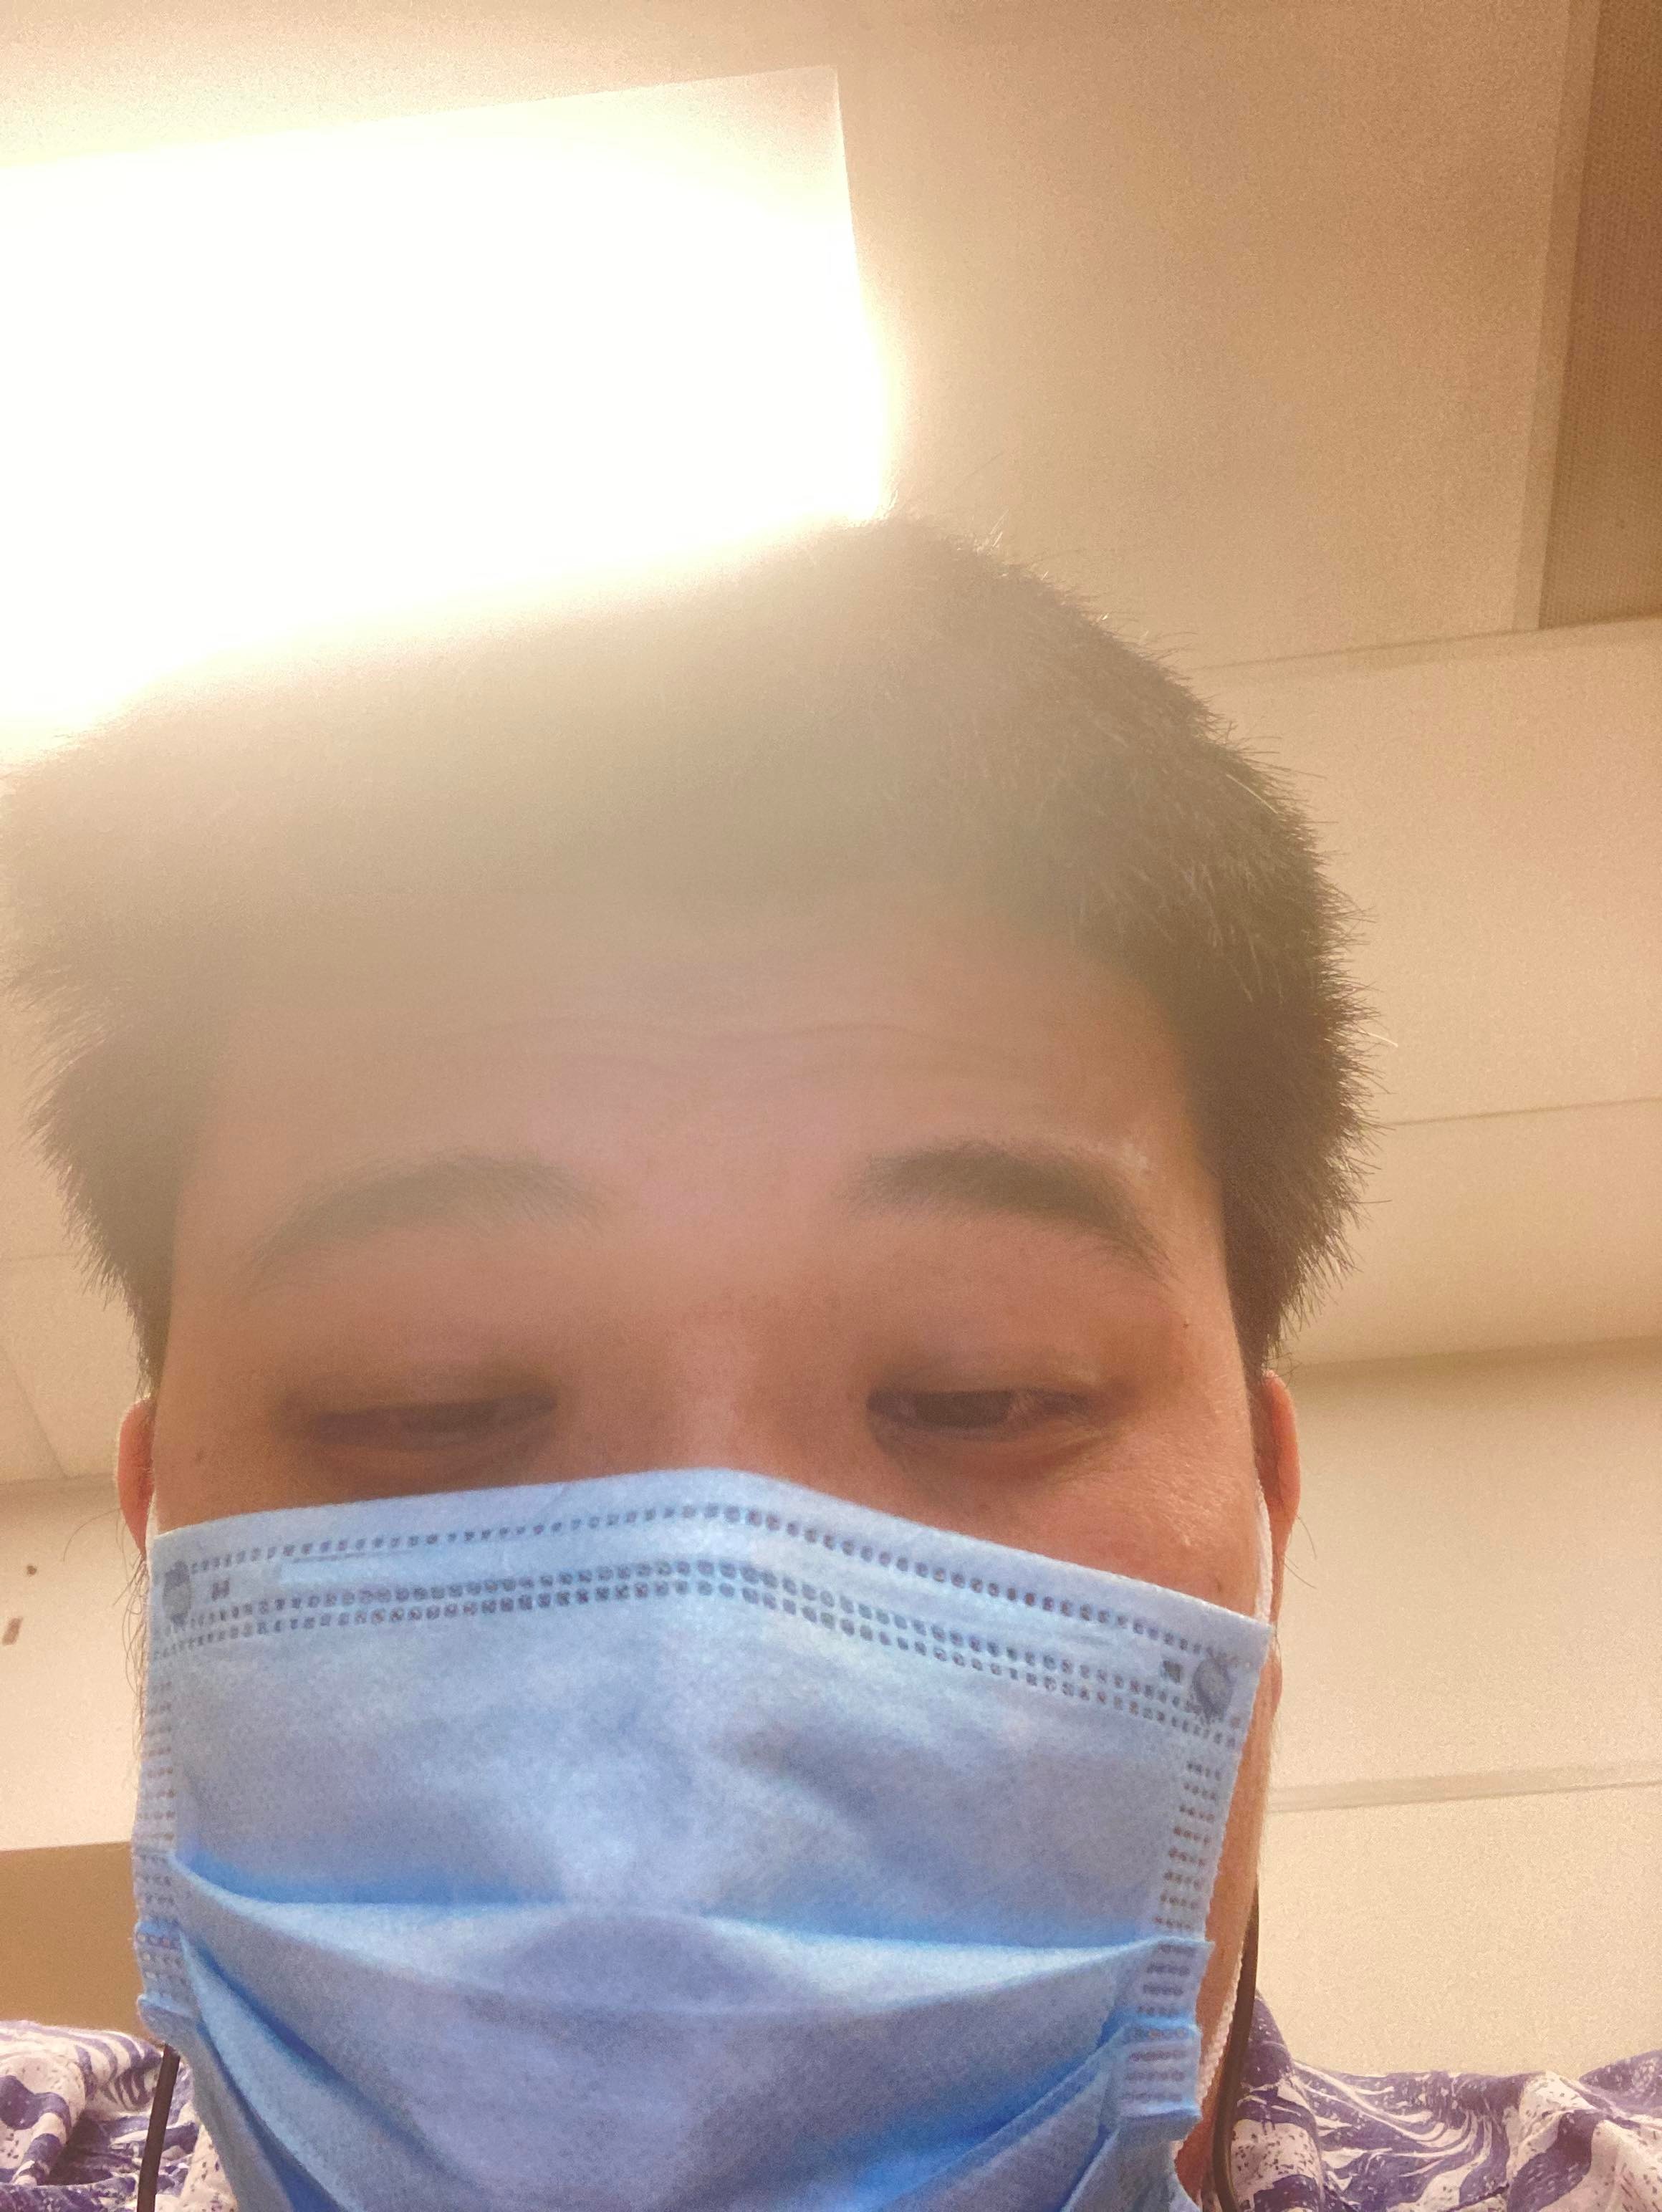
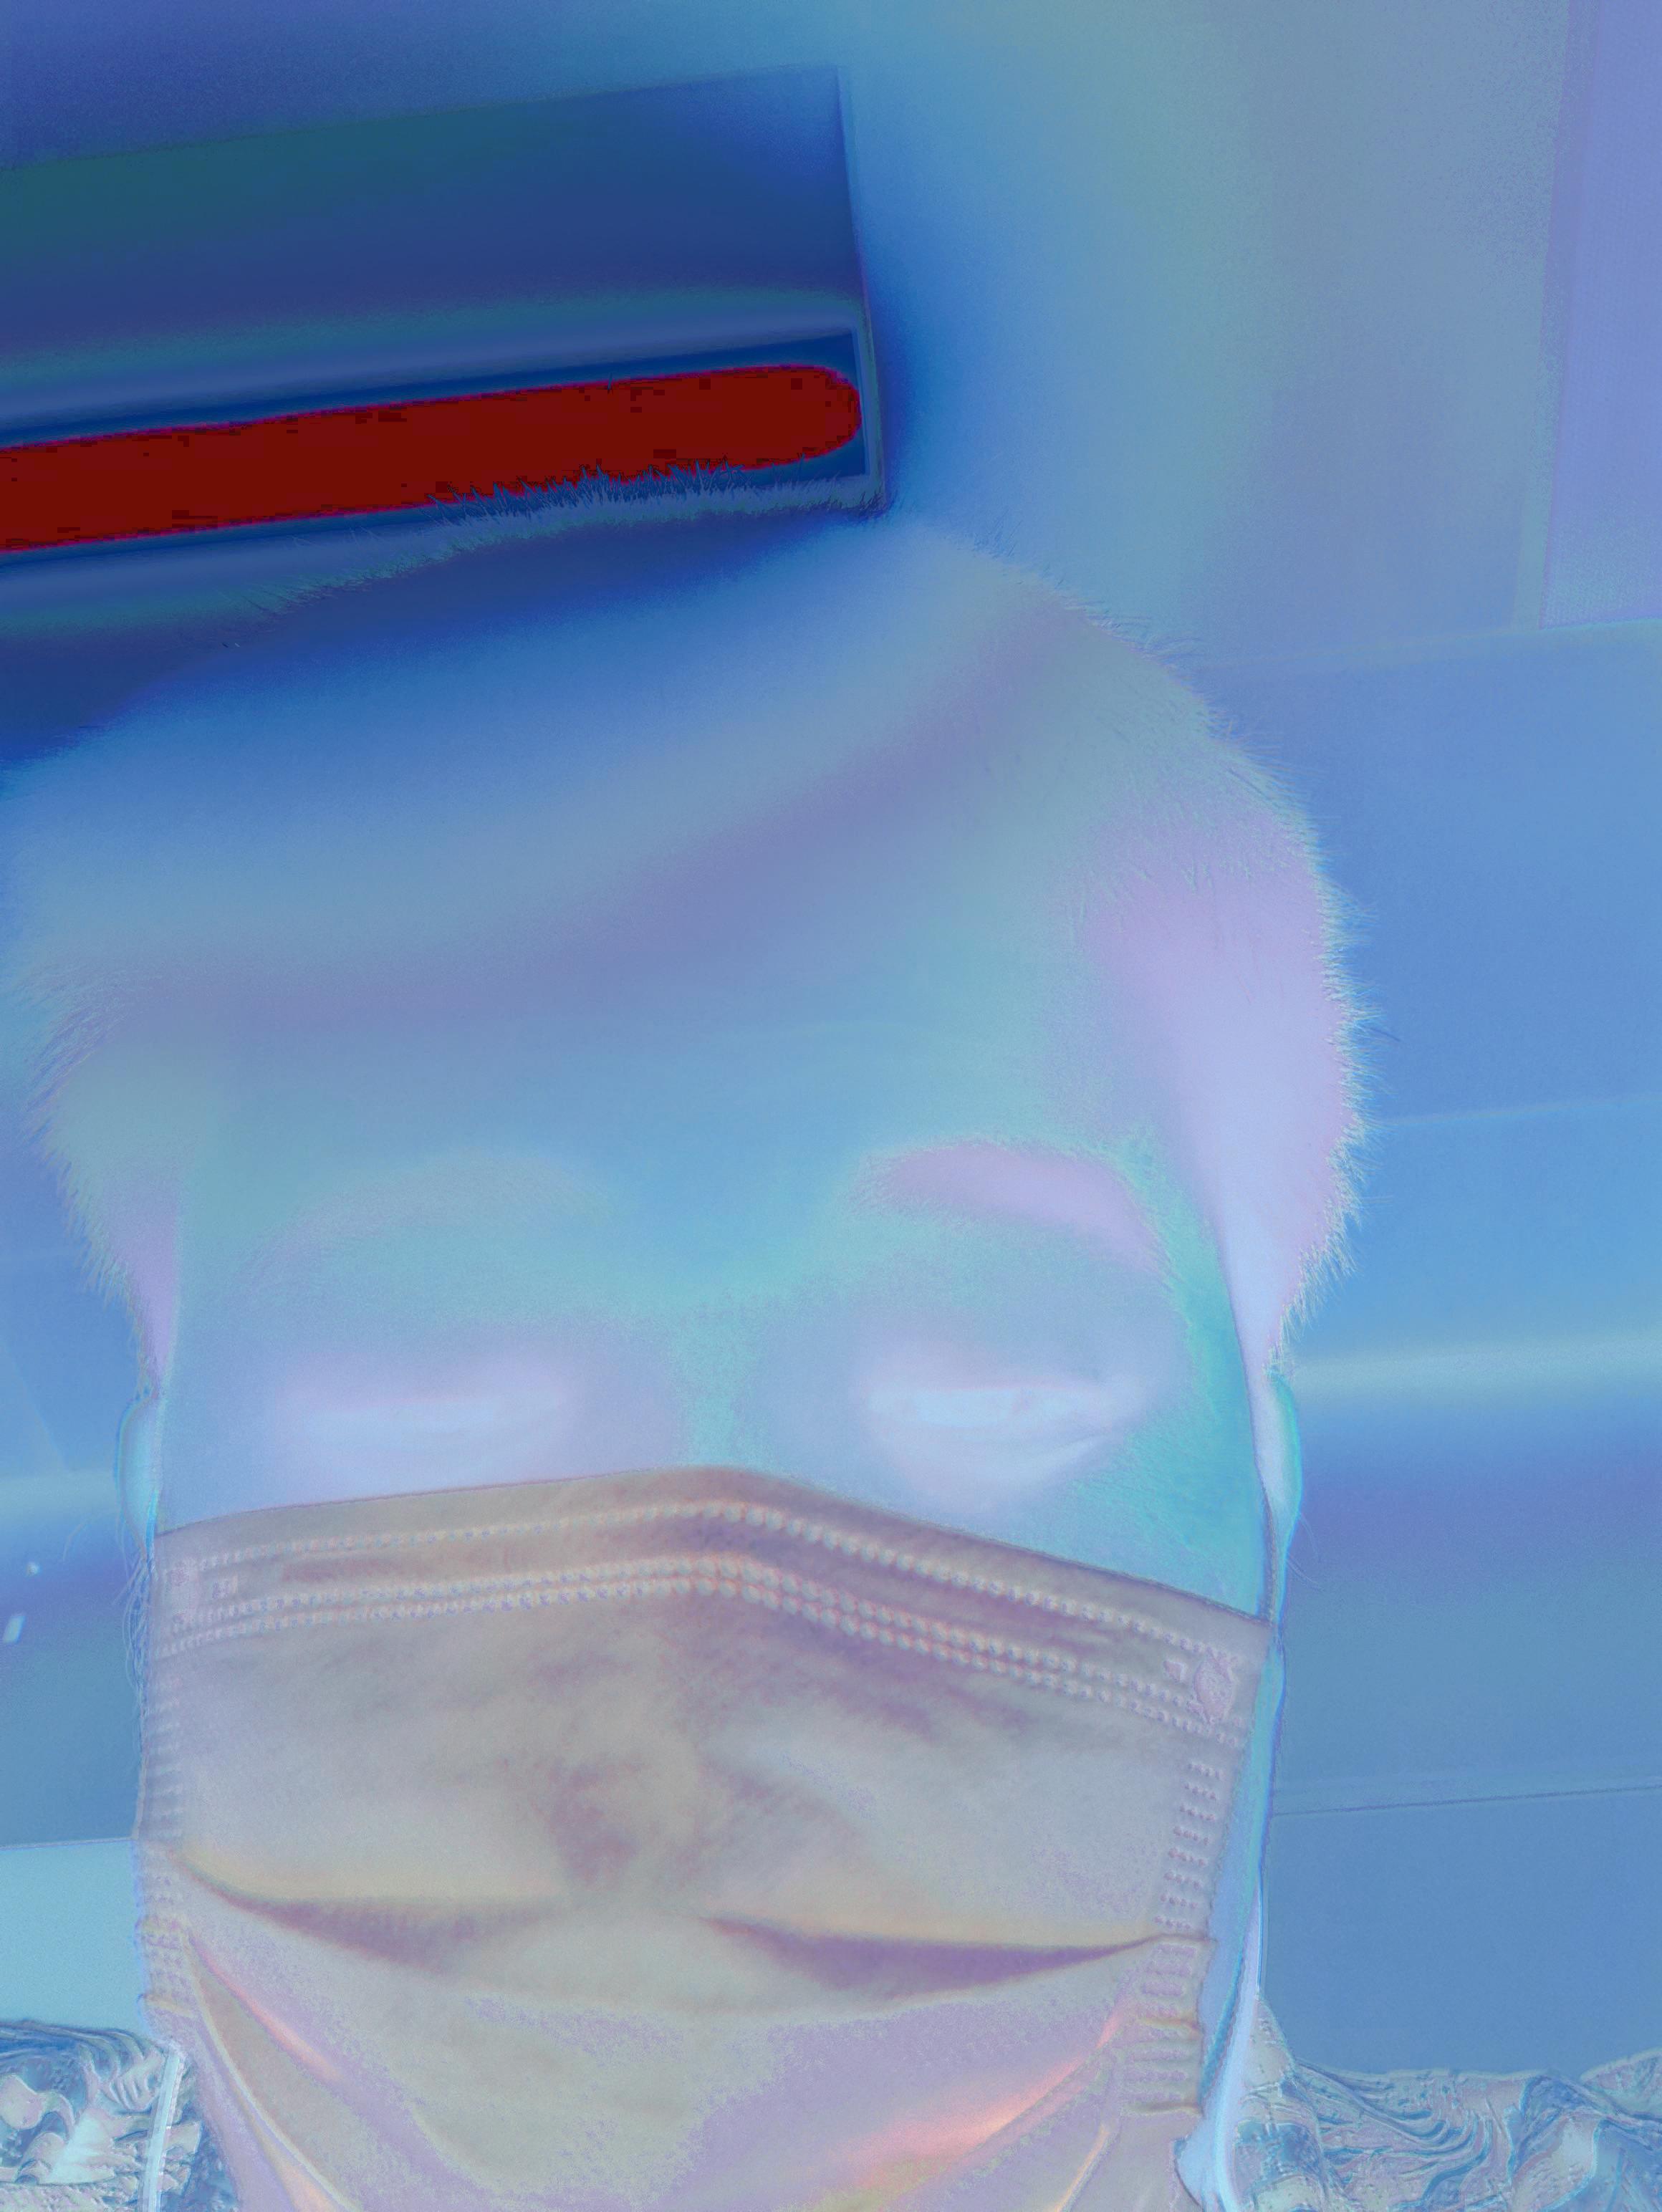
Lastly, but perhaps the most noticeable. I am the completely wrong colour. Now how it happened I have no clue, but I can hazard a guess as to what caused it. I noticed that the "me" image set is the only collection of images for which I do not have a specified exposure duration, but rather fudged numbers of 1~4. This is because the only camera I have access to is my iPhone, and I can't figure out for the life of me how to get exposure information. So I know the "why" but I have no clue how to fix it, so I tried randomly renumbering the images a little and got this:
me2 reconstruced.jpg
me2 adjusted.jpg
This confirms my hypothesis that the cause was simply a matter of me fudging the exposure imformation, as now it is labelled from 256 ~ 1024 by powers of 2, so the resulting reconstructed image is much more respectable. I am sure if I actually had real exposure values it would be much better. But now you can definitely quite clearly see the inner tube of the light which was invisible in the higher exposures as well as my facial details which were obscured in the lower exposure values, meaning that we have succeeded :D