Final Project: Neural Style Transfer and Texture Quilting
Introduction
For my final project, I chose to re-implement two papers: A Neural Algorithm of Artistic Style by Gatys et al. and Image Quilting for Texture Synthesis and Transfer by Efros et al. Both papers concern the area of image synthesis and transfer, specifically for style and texture, so it was instructive to tackle both of them side by side and see how the methods differ.
Neural Style Transfer
For the first project, I re-implemented A Neural Algorithm of Artistic Style by Gatys et al. They describe a method for combining the content of one image with the style of another to create a new image. The method is based on the idea that neural networks trained for vision tasks implictly disentangle the content and style of images, so we can use a network such as VGG-19 to extract features from the content and style images, and then use those features to supervise the creation of a new image that has the content of one yet the style of another. We do this by starting with an image of white noise and optimizing it using backpropagation to minimize the total loss of the proposed content and style losses.
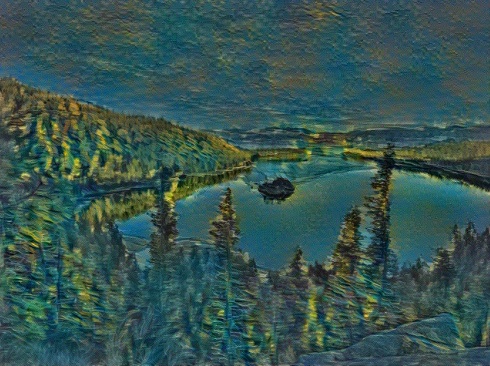
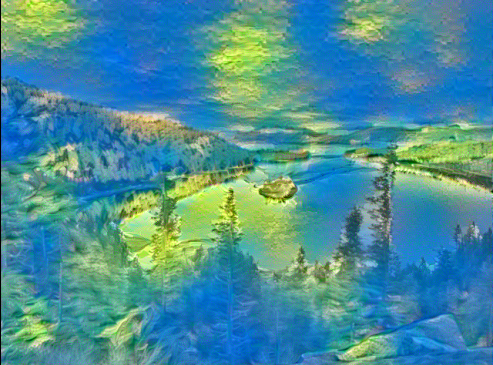 The opening image, with the content of Emerald Bay and the style of Van Gogh's Wheatfields.
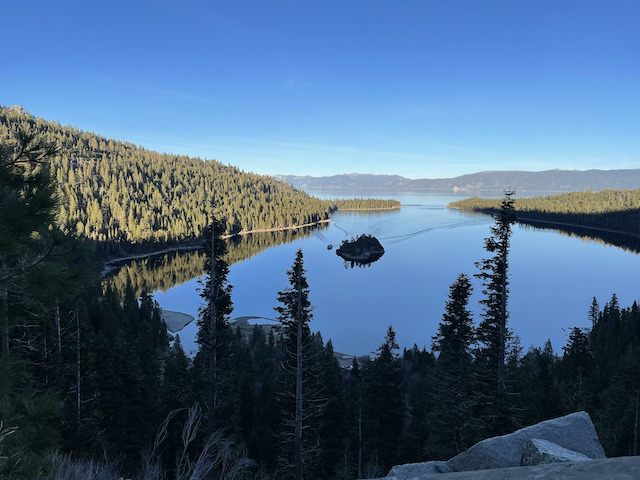 Original Content Image: Emerald Bay in Lake Tahoe (p.c. myself).
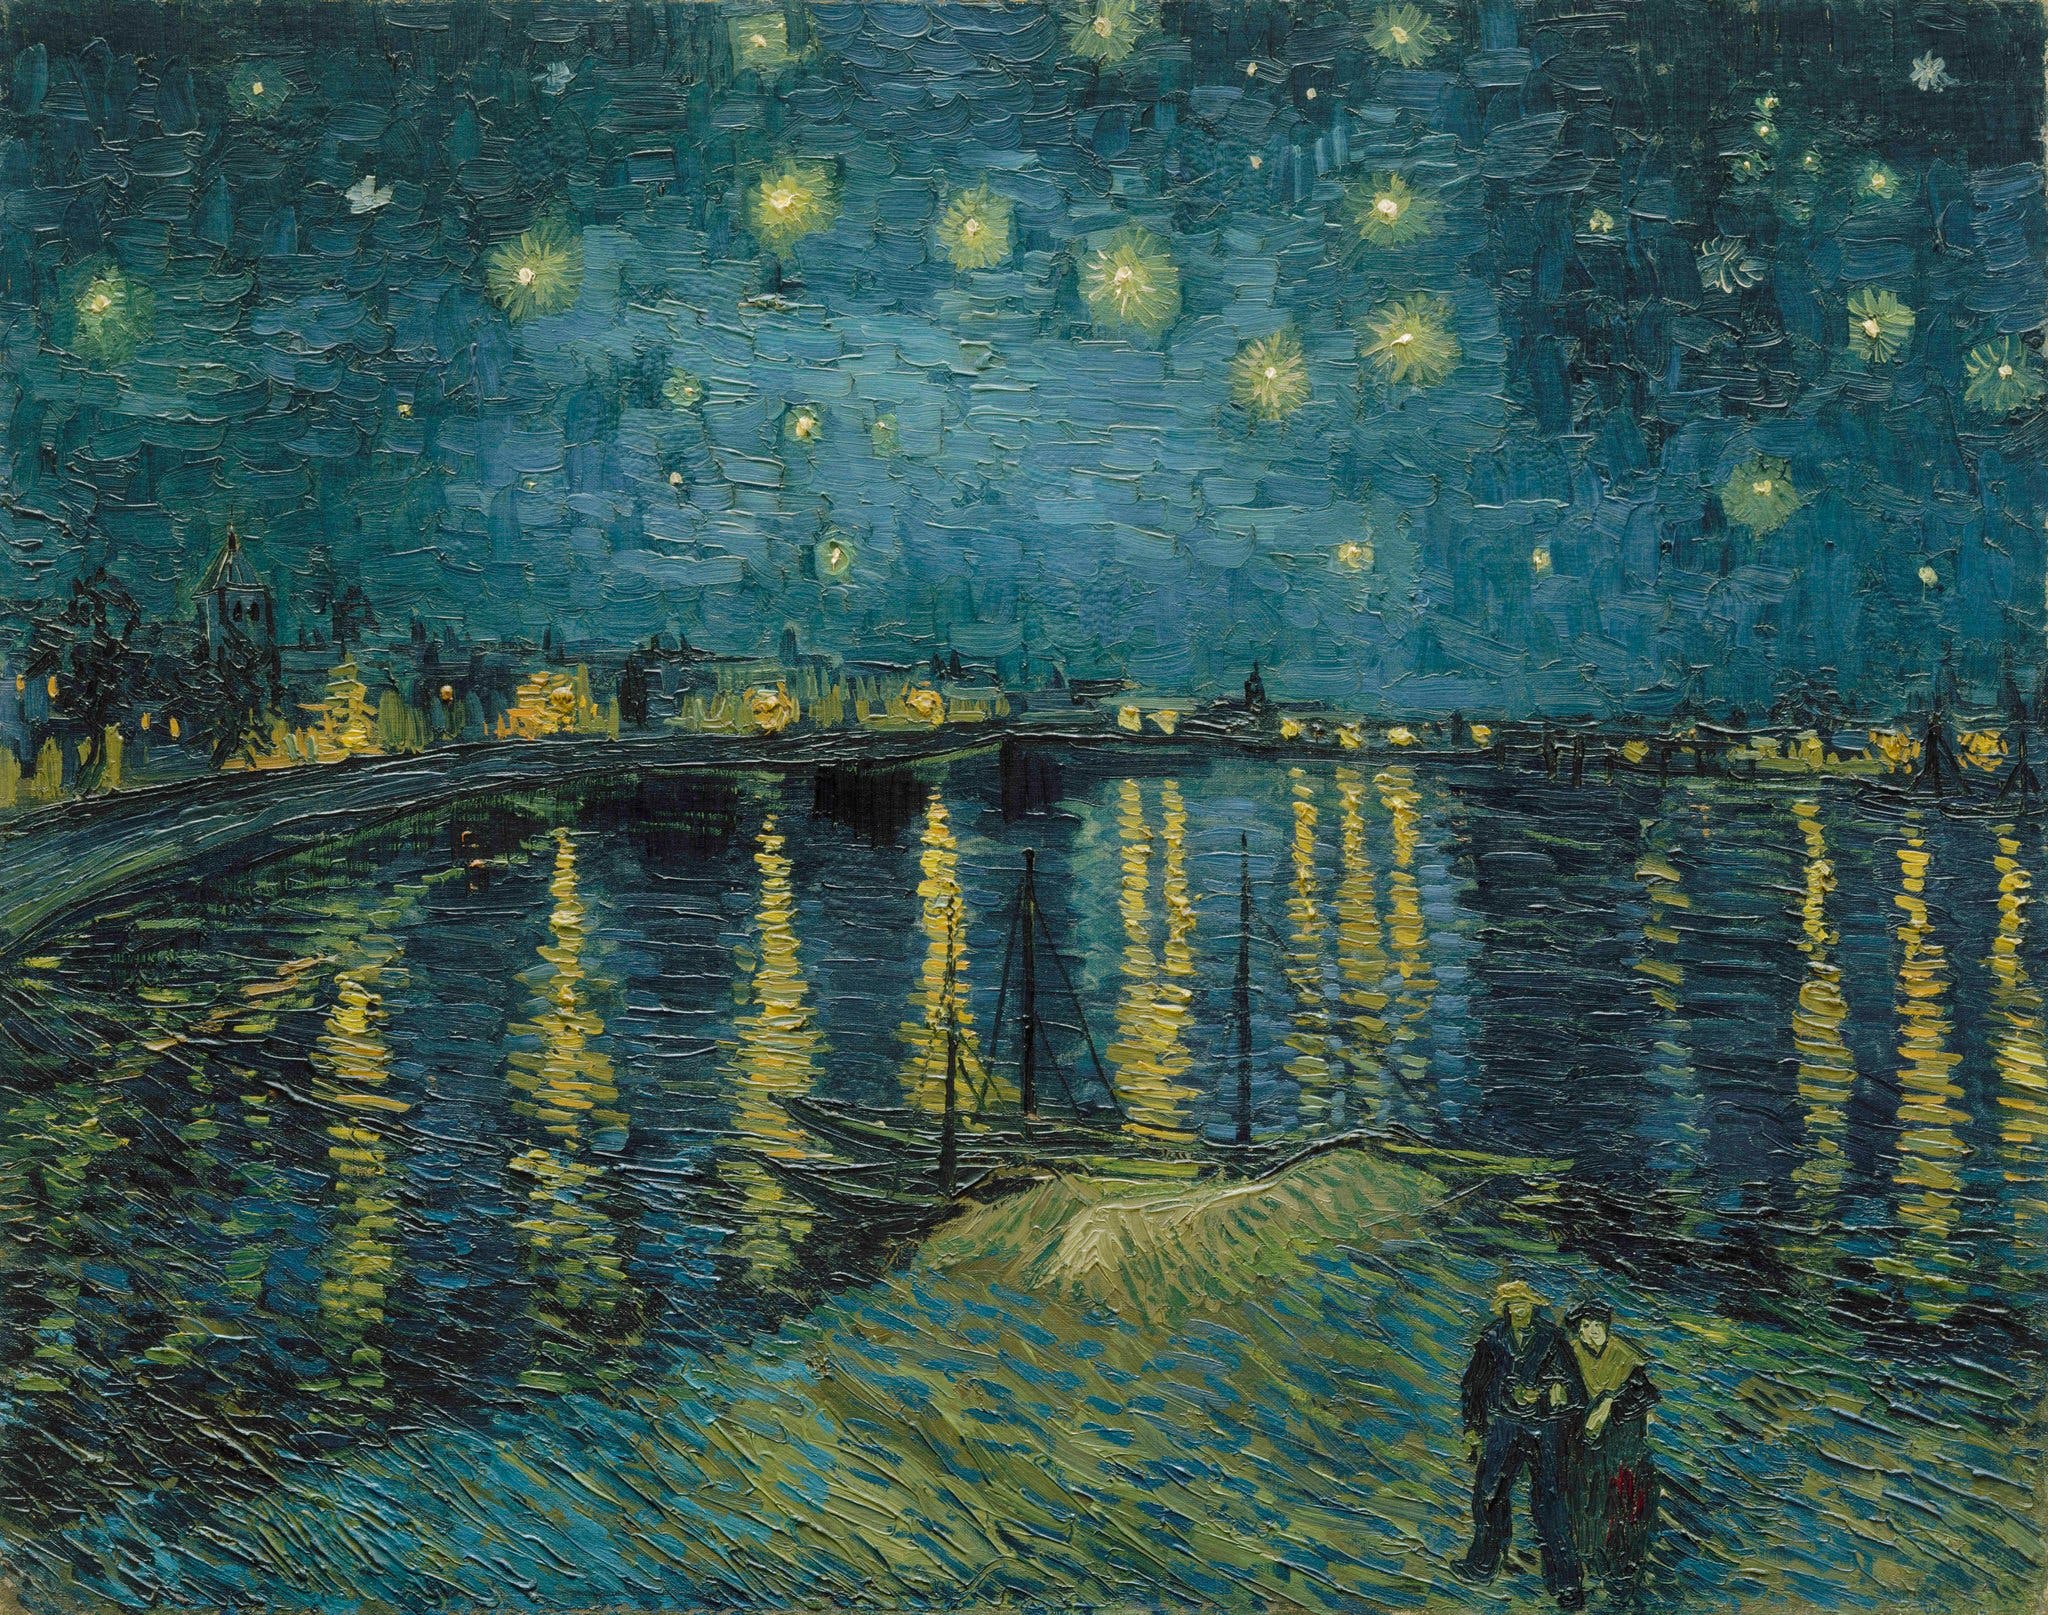
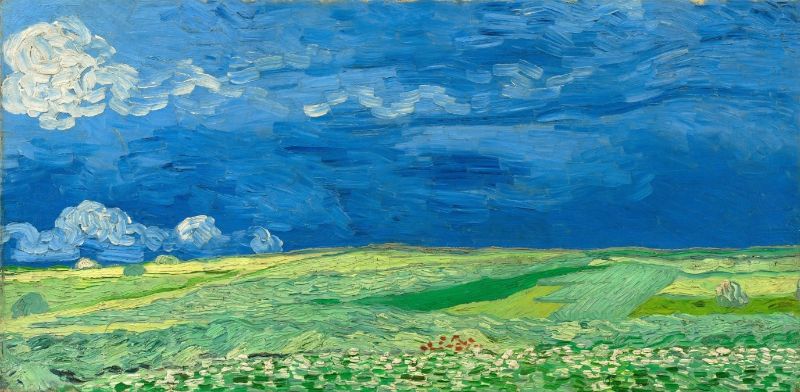 Original Style Image: Wheatfields (p.c. Van Gogh).
For my implementation, I used the Pytorch pretrained VGG19 which is trained on ImageNet, and added in custom loss modules to infer both the content and the style for my images. The content loss is the sum of the squared differences between all of the content features of the content image and the content features of the output image.
The style loss is slightly different, being the sum of the squared differences between the Gram matrices, i.e. inner product between all filters, of the style features of the style image and the style features of the output image. The total loss is a weighted sum of the content loss and the style loss, denoted as follows.
 Final loss function used to optimize our blank output image.
For most of my outputs, I set alpha = 1 and beta = 10^5 as suggested (in order to properly weigh the style loss enough), however I did briefly experiment with different ratios for the best output (see my findings below). I typically waited for around 200 iterations to get a good result.
One other modification I made (per the author’s suggestion here is to use LBFGS to optimize the loss function, which is much faster than SGD for these types of problems.
Here is my result on the original content and style images picked in the paper.
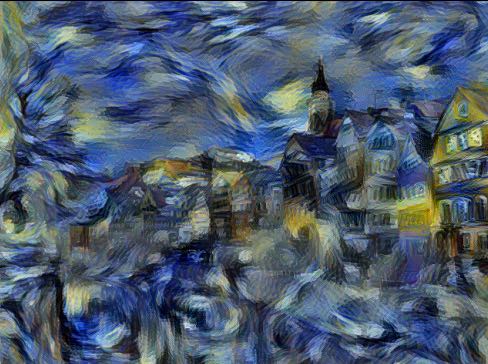
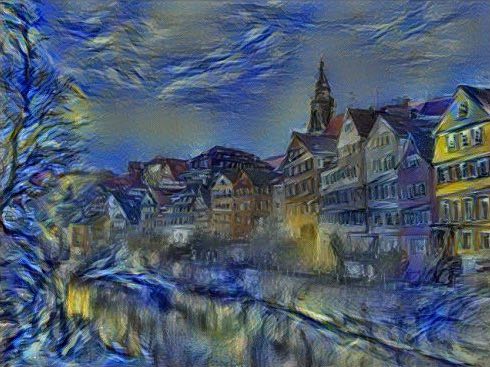 The neckarfront with the style of Van Gogh's Starry Night.
Here are the original images.
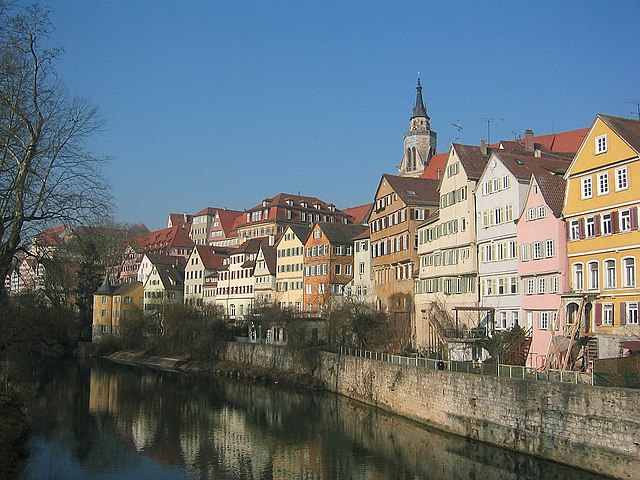 Original Content Image: Neckarfront.
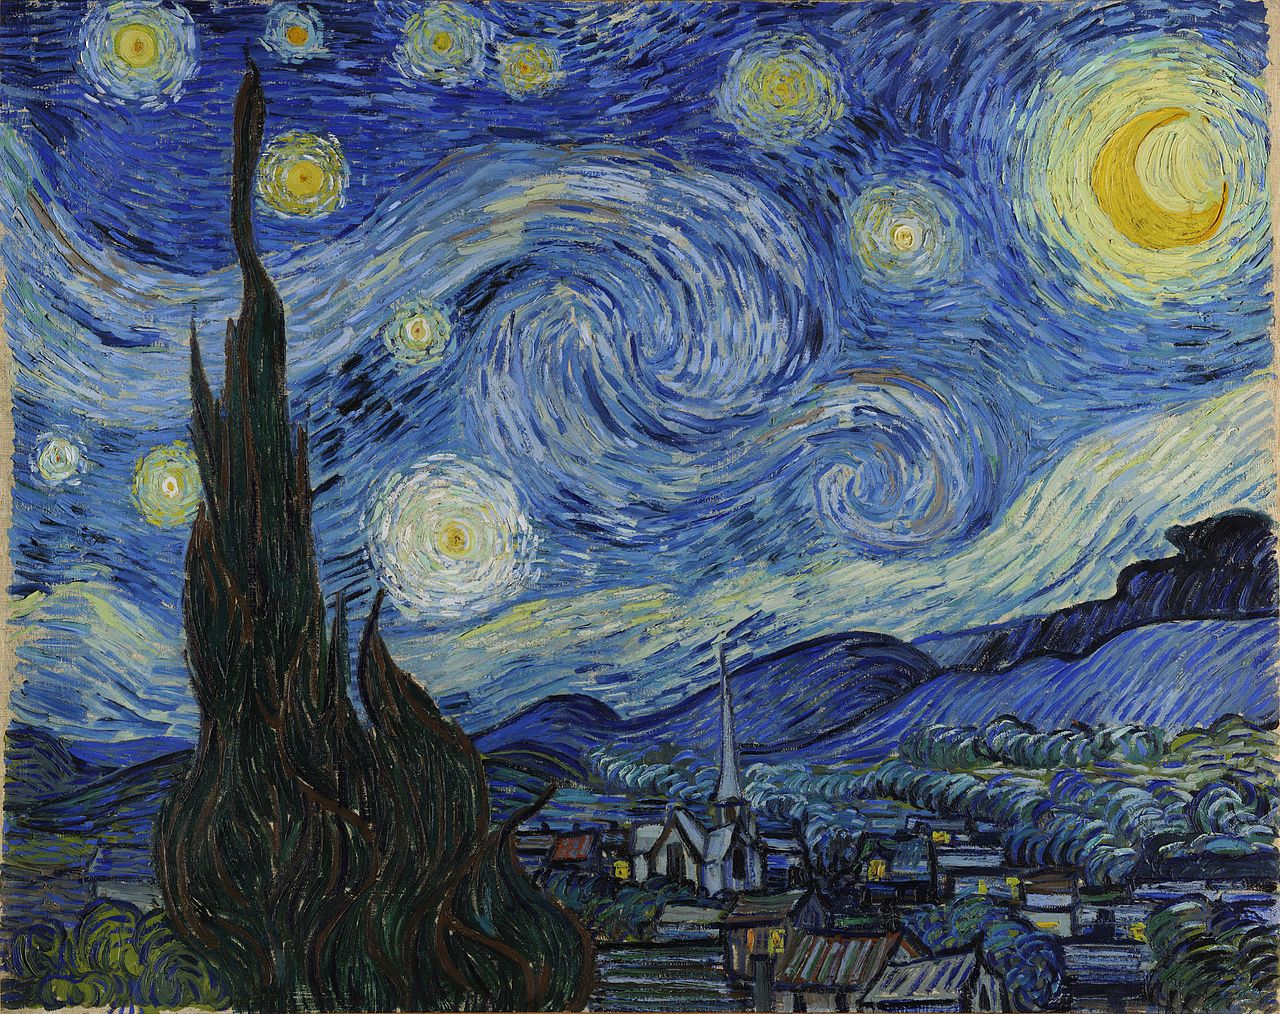 Original Style Image: Starry Night (p.c. Van Gogh).
My result above was obtained with alpha = 1 and beta = 10^5, but I also tried doing this with alpha = 1 and beta = 10^4 and alpha = 1 and beta = 10^6, with mixed results.
 Obtained with alpha/beta = 10^-4.
Obtained with alpha/beta = 10^-5.
Obtained with alpha/beta = 10^-4.
Obtained with alpha/beta = 10^-5.
 Obtained with alpha/beta = 10^-6.
Here are a few more examples to round it out. This is a picture of my girlfriend and I with another Starry Night applied. This one didn’t turn out so well, as the style seems to prefer horizontal effects which doesn’t turn out well.
 A Starry Outsidelands Night.
Here are the original images.
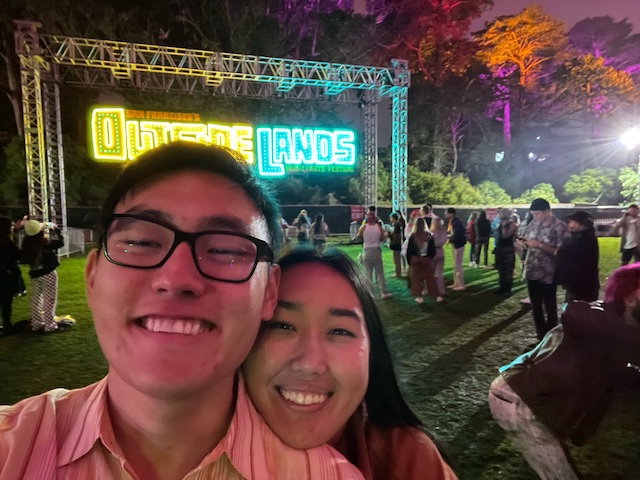 Original Content Image: Outsidelands.
 Original Style Image: Starry Night (p.c. Van Gogh).
Finally, I liked my picture of Emerald Bay, so I re-ran it on a few more styles.
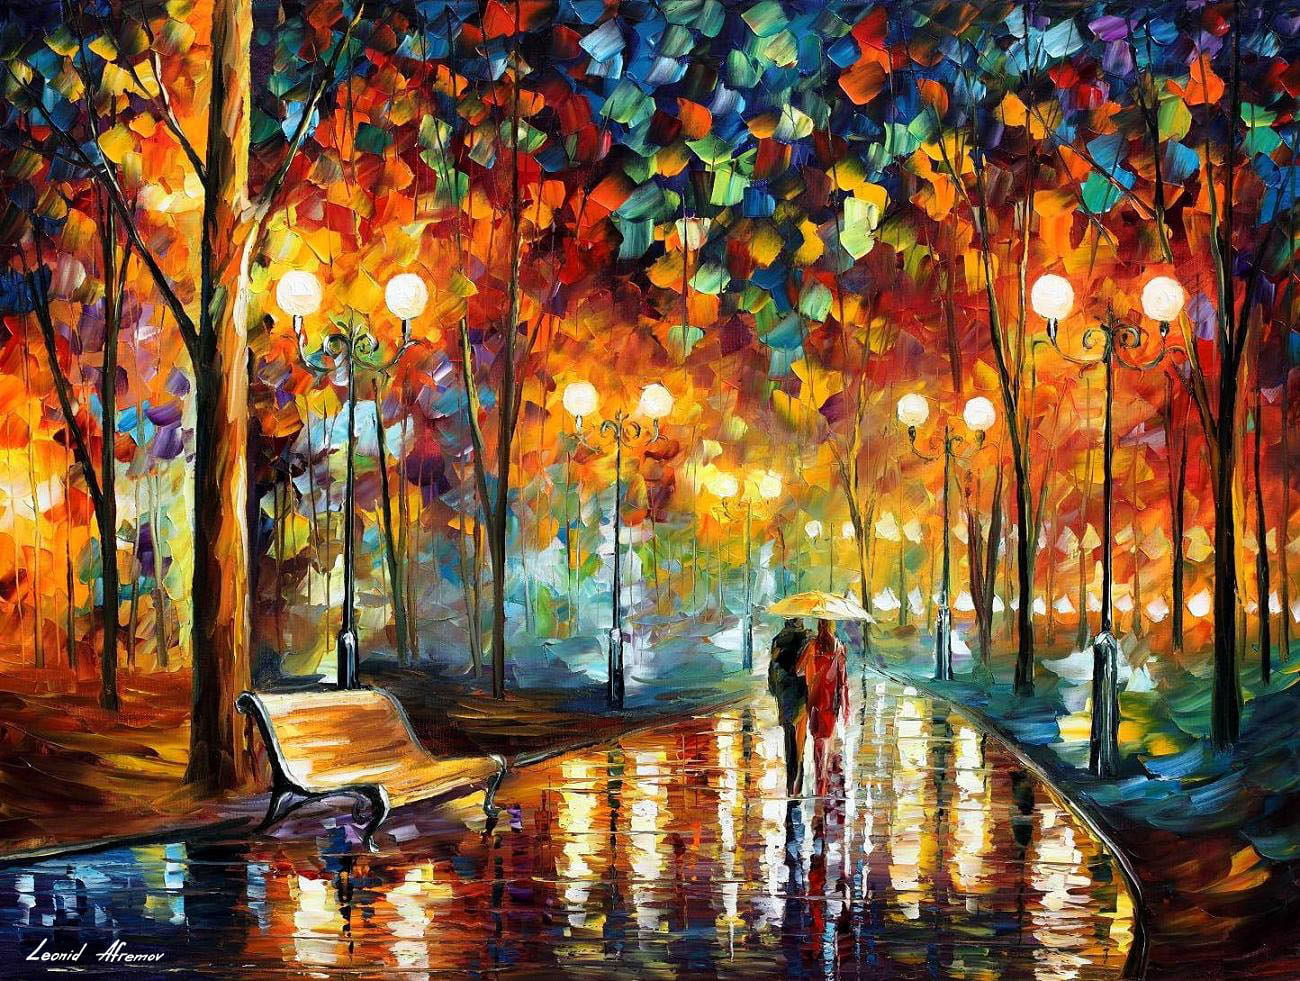 Original Style Image: Rain's Rustle (p.c. Leonid Afremov).
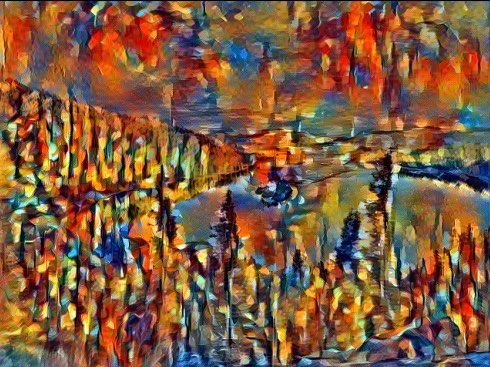 Combined image.
Original Style Image: Starry Night (p.c. Van Gogh).
 Combined image.
Original Style Image: Wheatfield under Thunderclouds (p.c. Van Gogh).
Combined image.
Image Quilting for Texture Synthesis and Transfer
For my second project, I re-implemented parts of Image Quilting for Texture Synthesis and Transfer by Efros et al. They describe a fast method of texture synthesis and transfer that uses a quilting algorithm to stitch together images. The key idea is to sample patches from a texture source, then use an effective seam-carving algorithm to stitch them together.
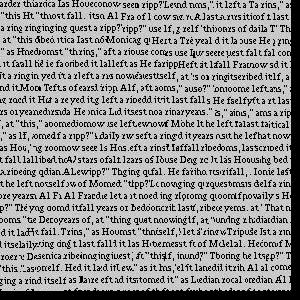
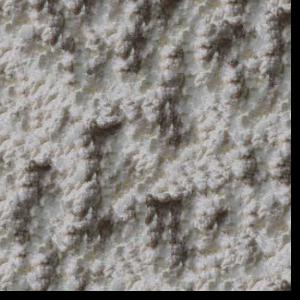
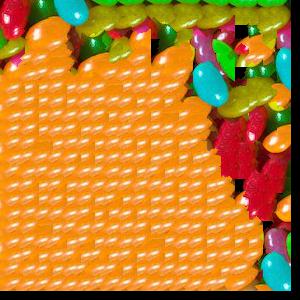
Here are the textures I will be using. They are bricks, text, white cotton, and a jellybean texture I found myself.
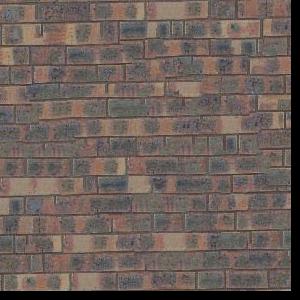
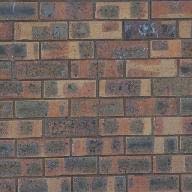 Bricks.
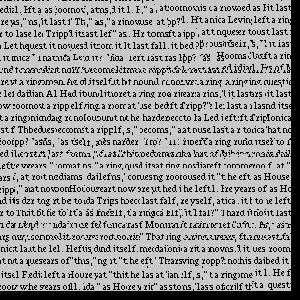
 Text.
Text.
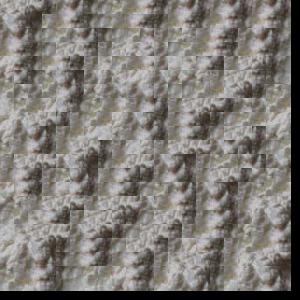
 Cotton.
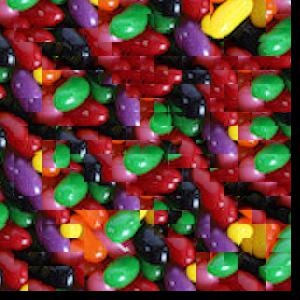
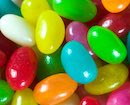 Jellybeans.
First, I will show my results by randomly sampling textures and arranging them in a grid. These are 300x300 pictures with 25x25 patches.
 Bricks.
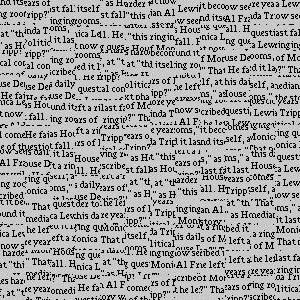 Text.
Text.
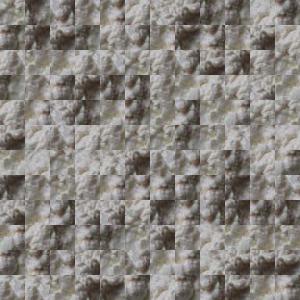 Cotton.
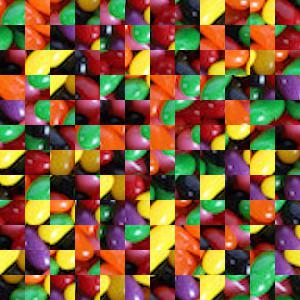 Jellybeans.
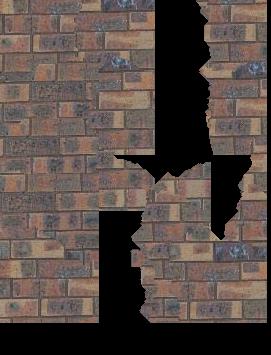
Next is when we overlap the patches slightly and find a patch with minimal SSD to overlap on top with. These are again 300x300 pictures with 25x25 patches, with an overlap of 11 and a tolerance of 6 meaning any of the 6 best patches will get randomly selected. As you can see, thiis is already a huge improvement in that the grid markings are much less noticeable, but are still present without looking too hard.
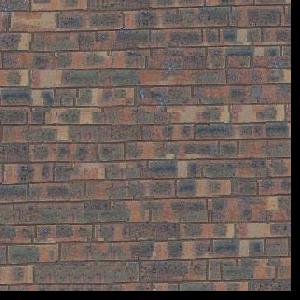 Bricks.
 Text.
Text.
 Cotton.
 Jellybeans.
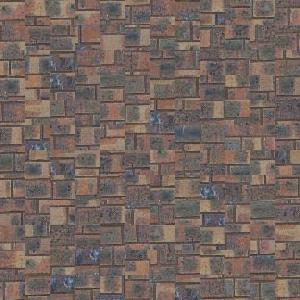
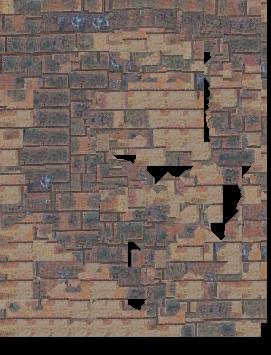
For the next texture synthesis, we can instead do seam finding which finds the best seam to overlay the patches on top by, thereby mitigating some of the straight line effects we have from above. I used the cut.py code from this semester’s offering to do this. The results are much better, and hard to tell apart from the previous results. The jellybean does degenerate slightly.
 Bricks.
 Text.
Text.
 Cotton.
 Jellybeans.
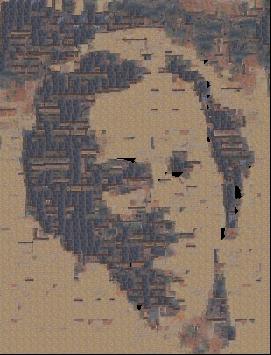
Finally, I can show my result of doing texture transfer just by slightly modifying our function from the last part to also include a penalty on some target image. Here are two results on feynman.
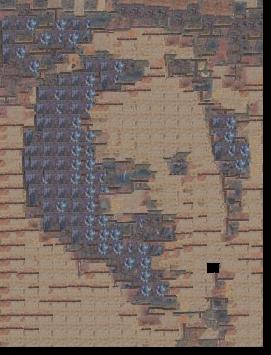 Feynman out of Bricks.
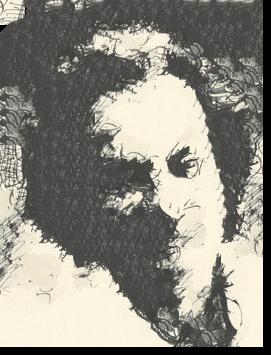 Feynman out of Sketch.
Bells and Whistles
For my bells and whistles, I implemented an iterative method to perfect texture transfer in the image quilting project. I followed the paper mostly, and did N = 3 iterations starting with a block size of 99 and overlap of 43 and reducing by a third each iteration. The results are better as you can see as the results get generated block by block. Sometimes if it ends on too small of a block the results can look very fine-grained however.
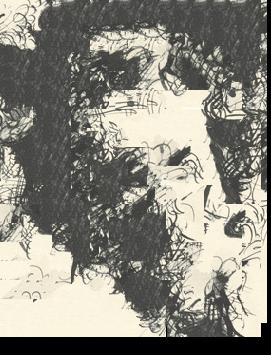
 Sketch 0.
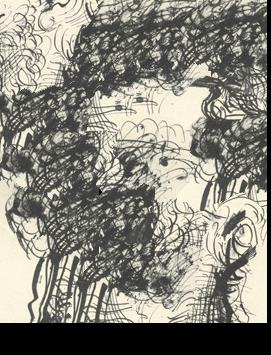
 Sketch 1.
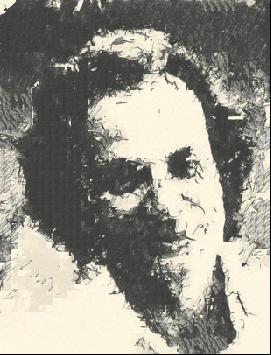 Sketch 2.
 Bricks 0.
 Bricks 1.
 Bricks 2.