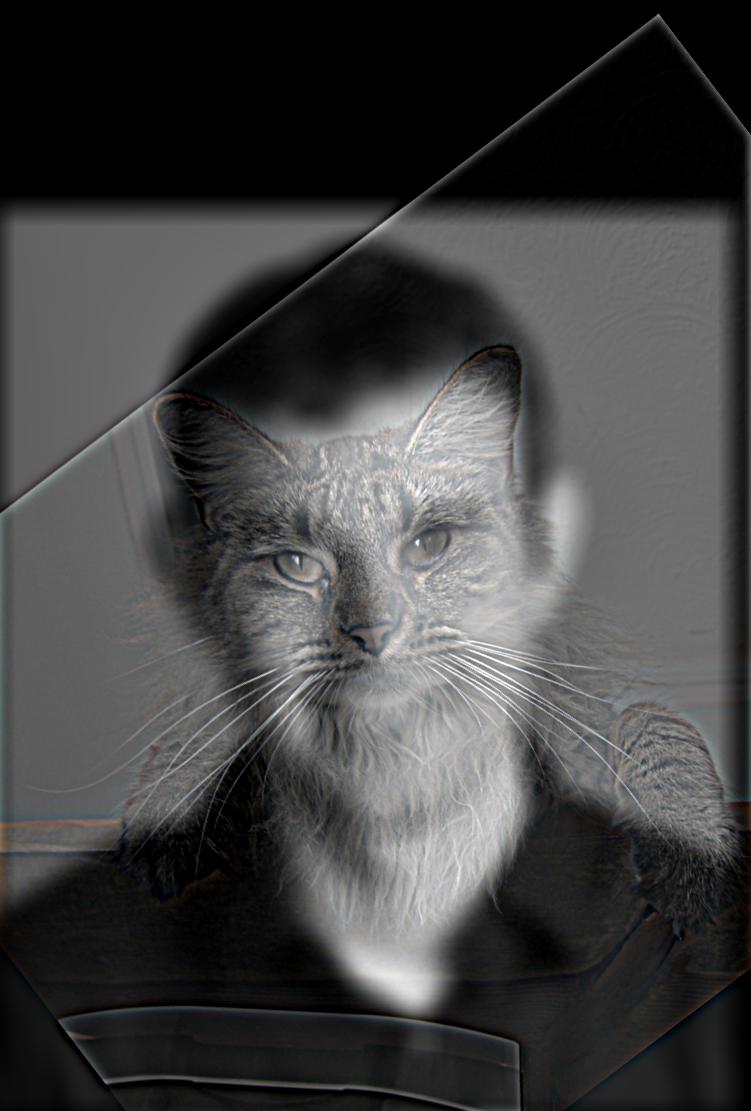
Hybrid images involve being able to see one thing when very close up to the image and another when far away. Our eyes are best at picking up high frequency signals when close, and low frequency signals from far. To take advantage of this, we can blend two images together by taking the low frequency signal from one of them (the one we want to see from far away) and the high frequency signal from the other (the one we want to see close up). To get the low frequency signal, we can apply a Gaussian blur to the image. To get the high frequency signal, we can subtract the blurred image from the original image.
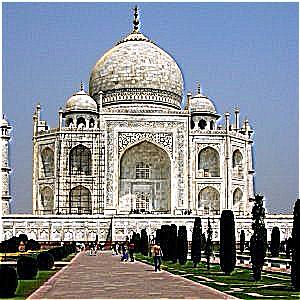
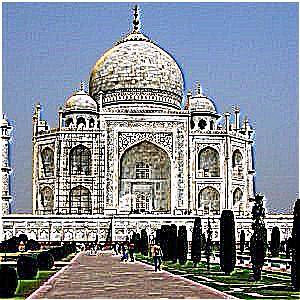
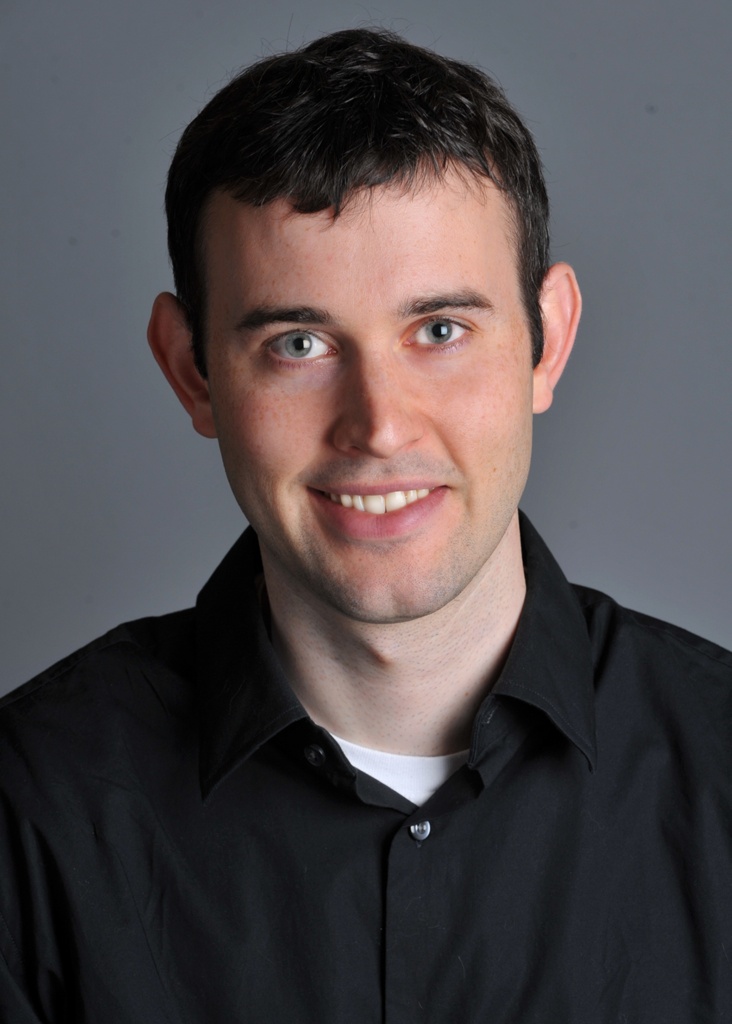 Derek
Derek
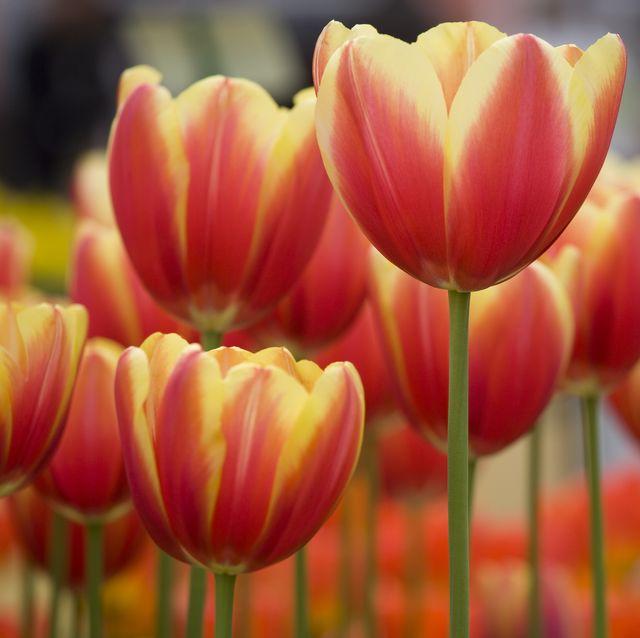
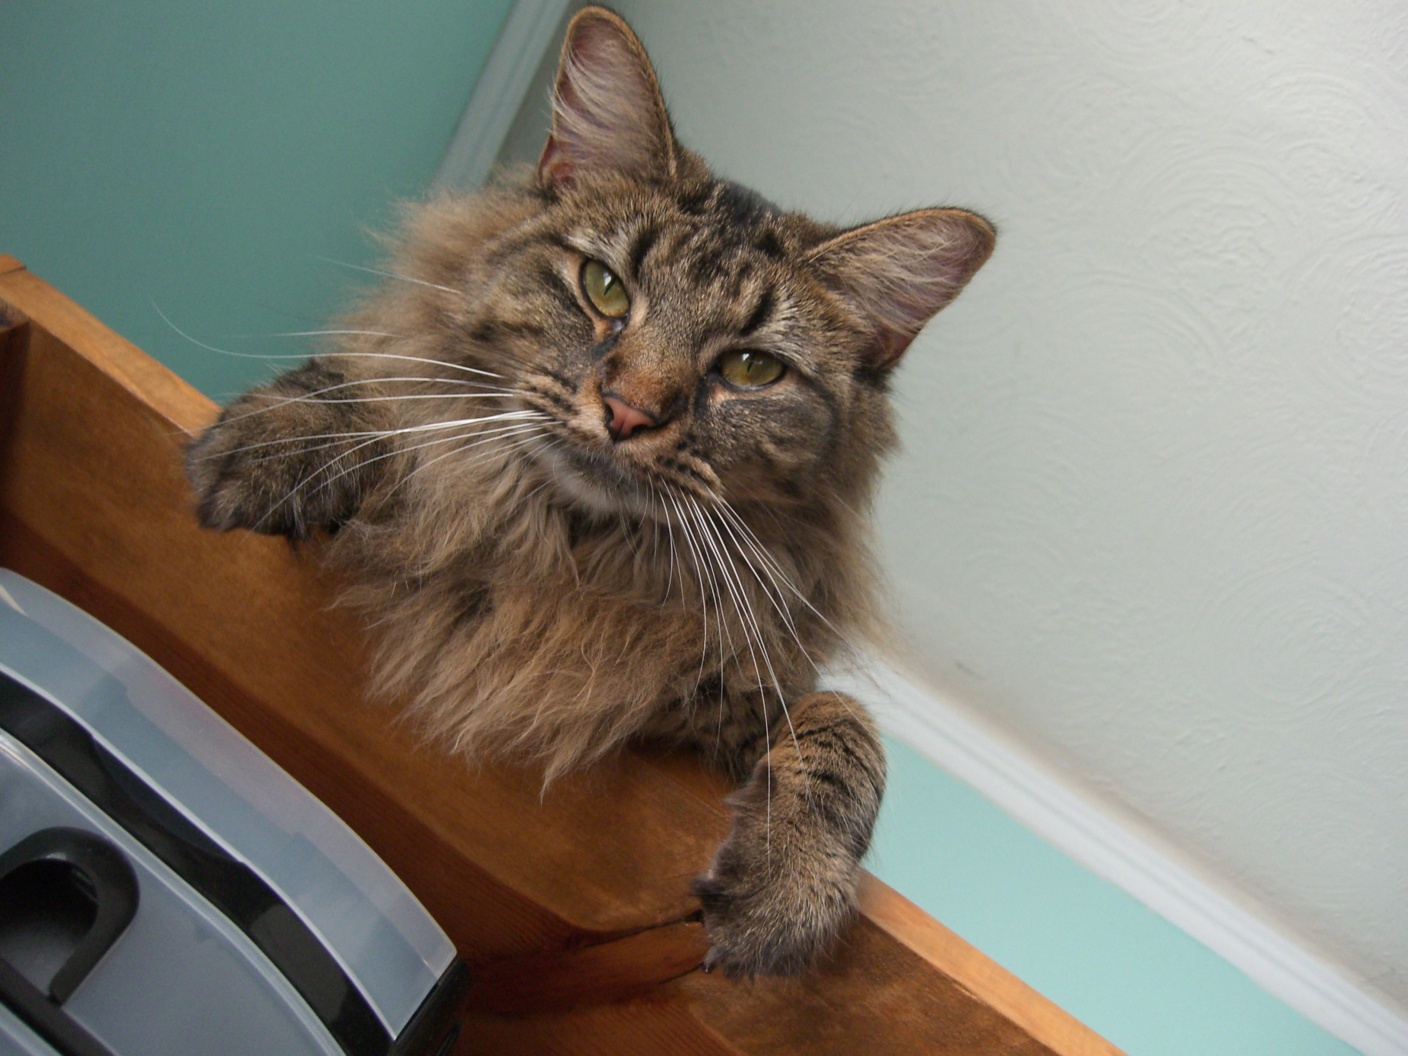 Nutmeg
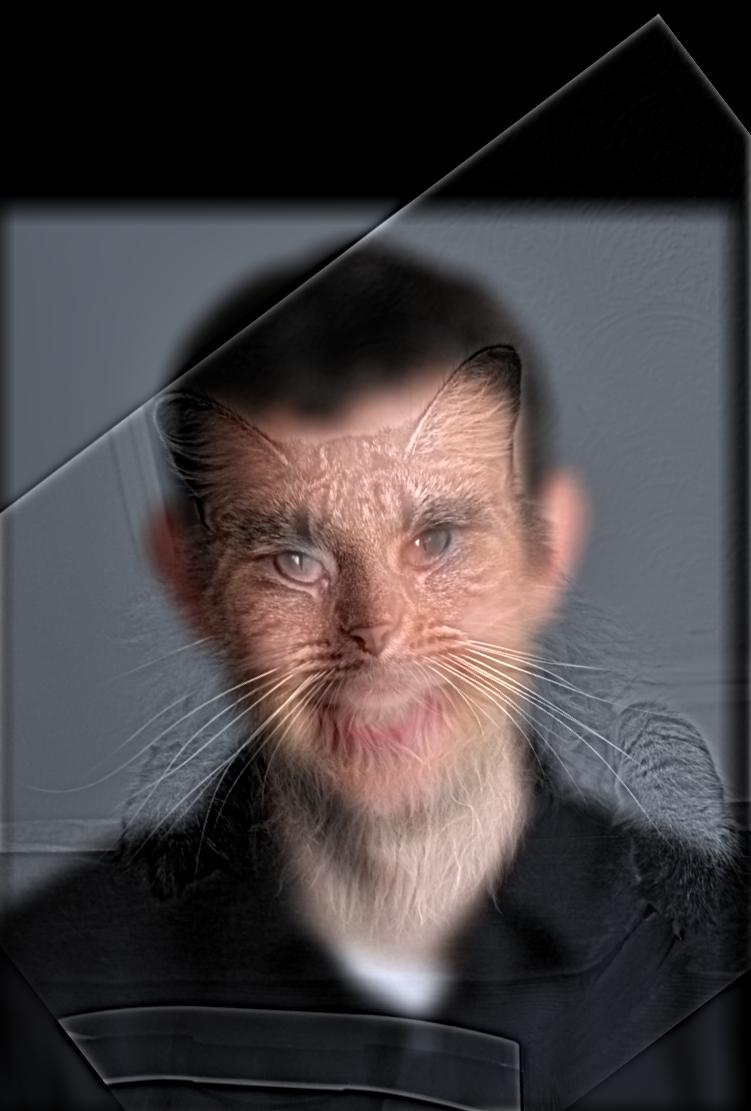
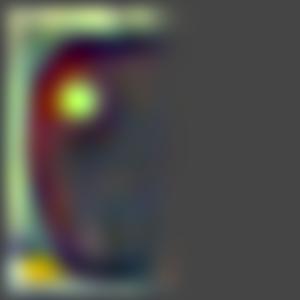
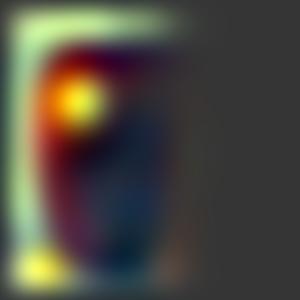
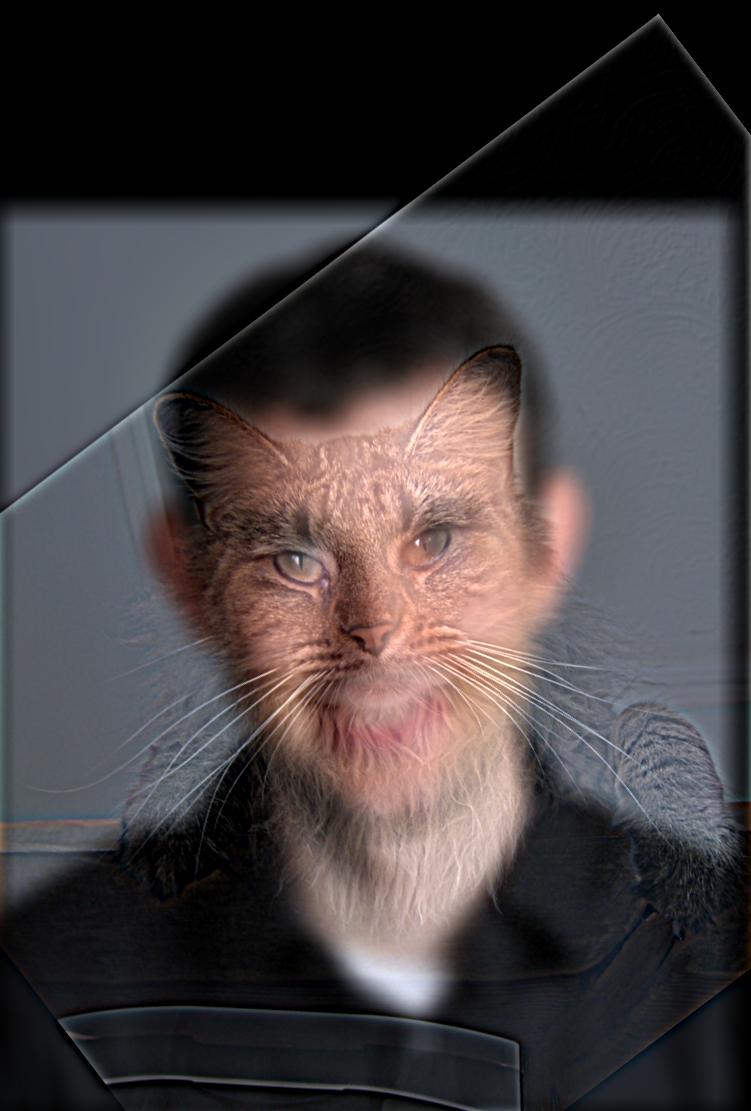 Derek and Nutmeg Hybrid
In this example, I implemented the Bells and Whistles of using color. Here, both Derek and Nutmeg were kept in color since that seems to give the best results. In general, it would be reasonable to remove the color for the higher frequency image, since it doesn't show up that clearly even when kept in. Here are all the other combinations of color.
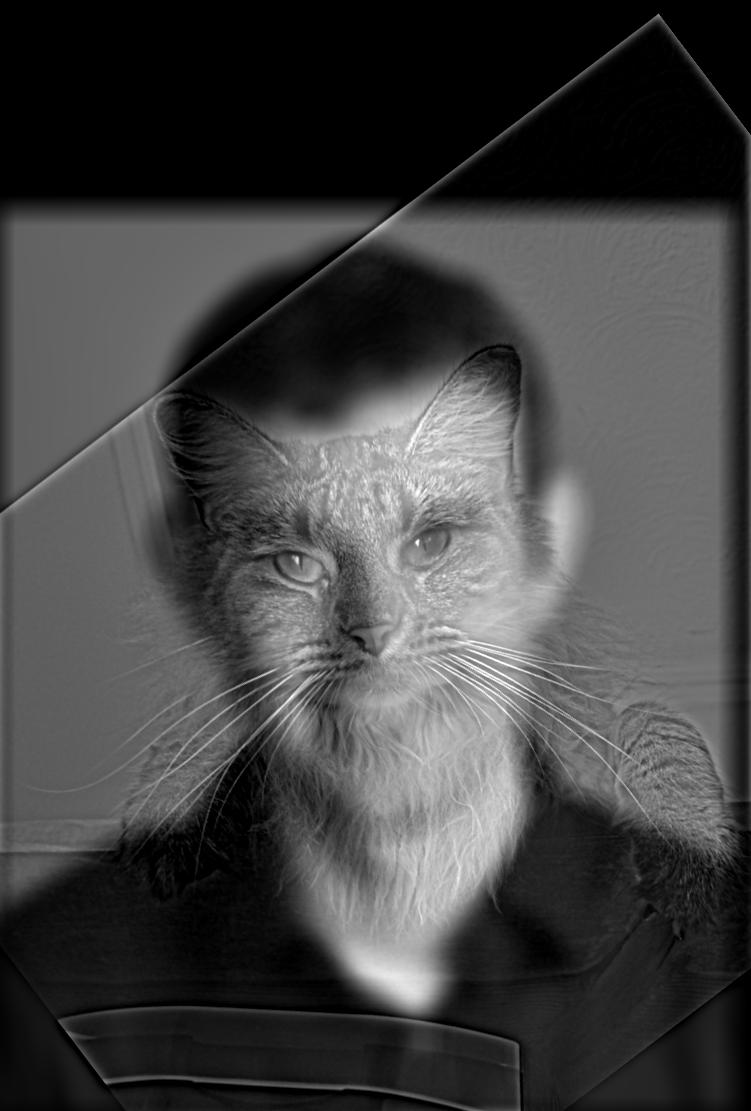 Derek (BW) + Nutmeg (BW)
 Derek (BW) + Nutmeg (Color)
 Derek (Color) + Nutmeg (BW)
It is hard to see the color on Nutmeg, but if you focus on the right side arm in the photo, you can see some difference.
Here are some other examples that I thought looked pretty cool:
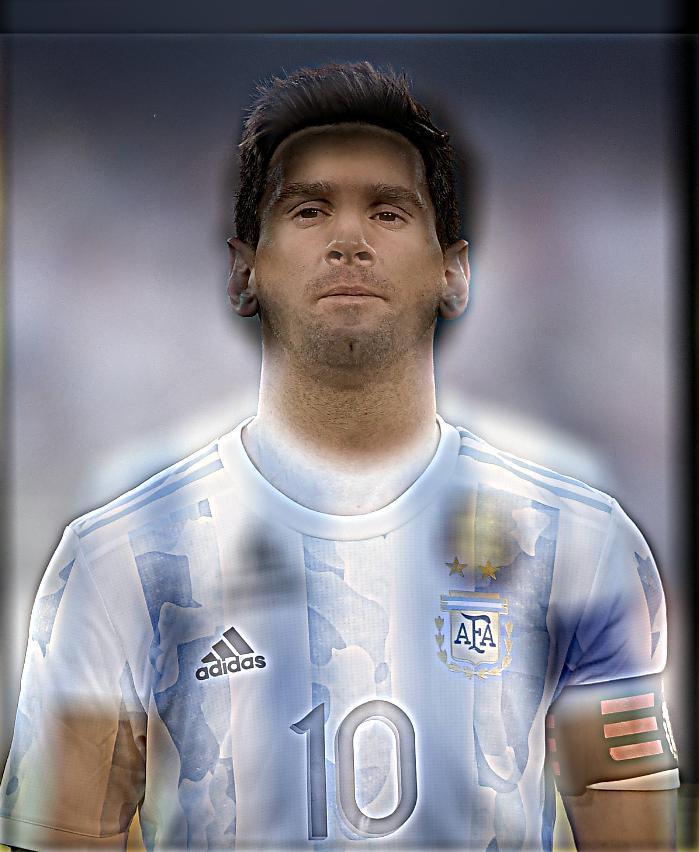
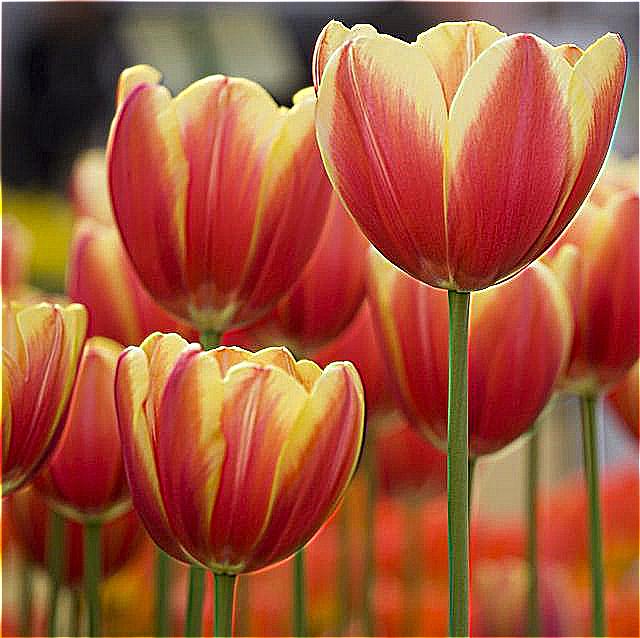
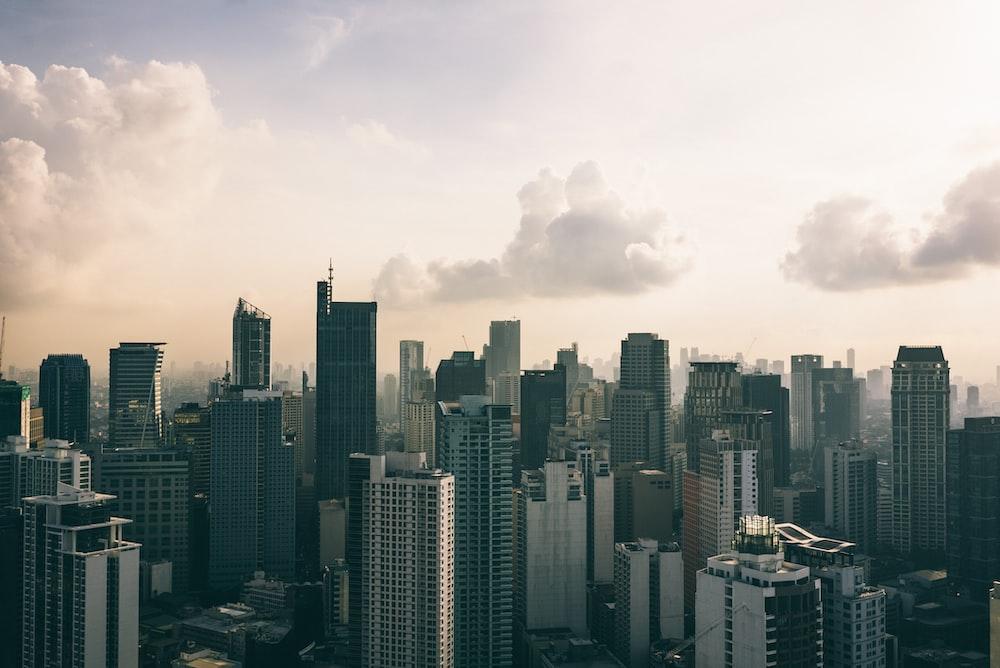
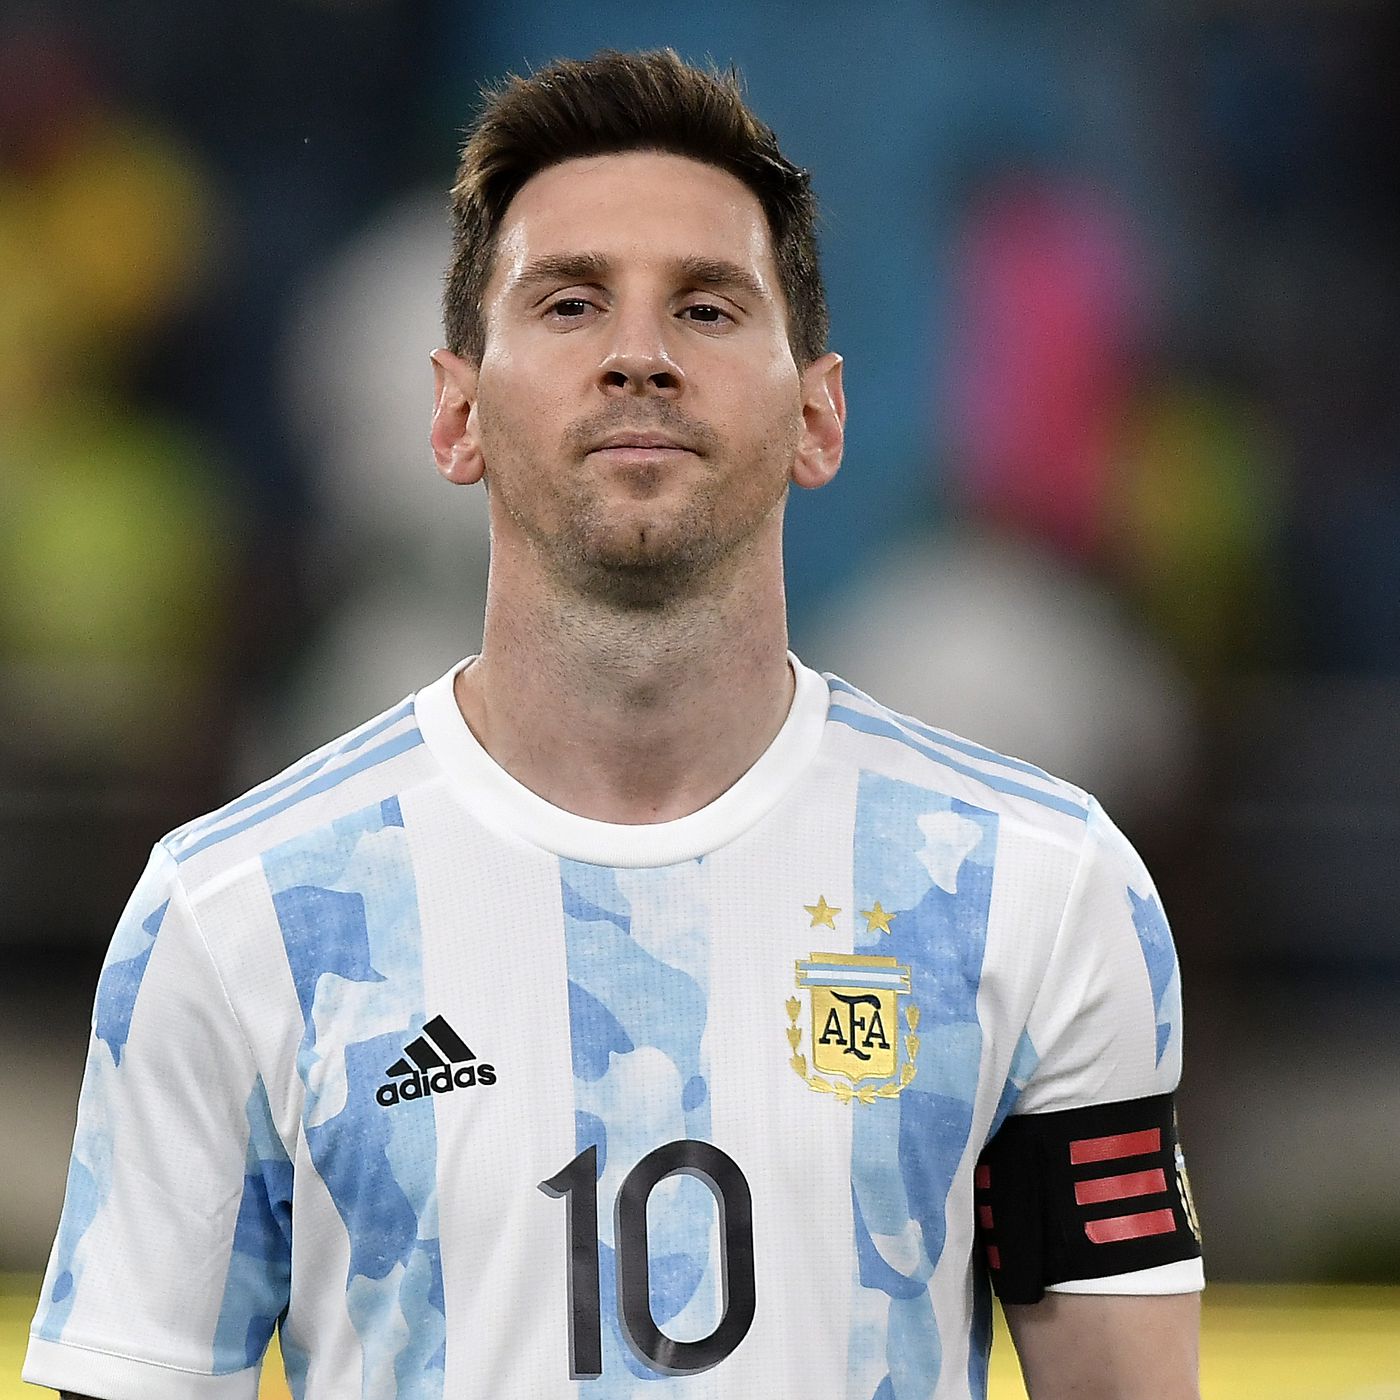 Messi
Messi
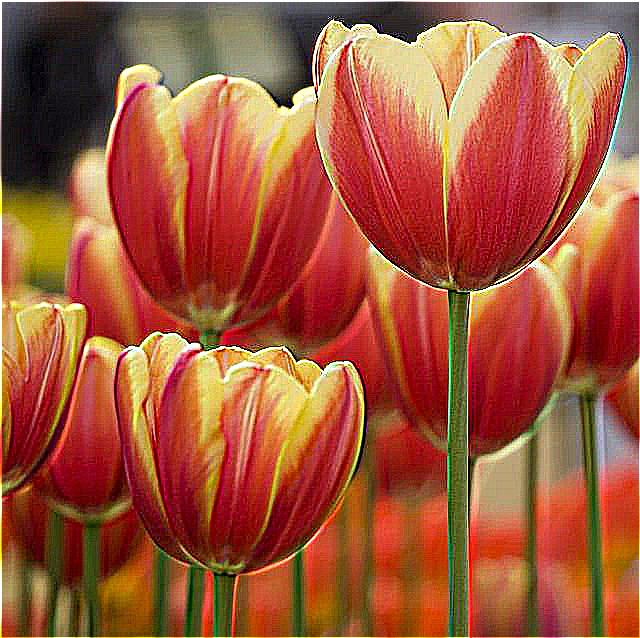
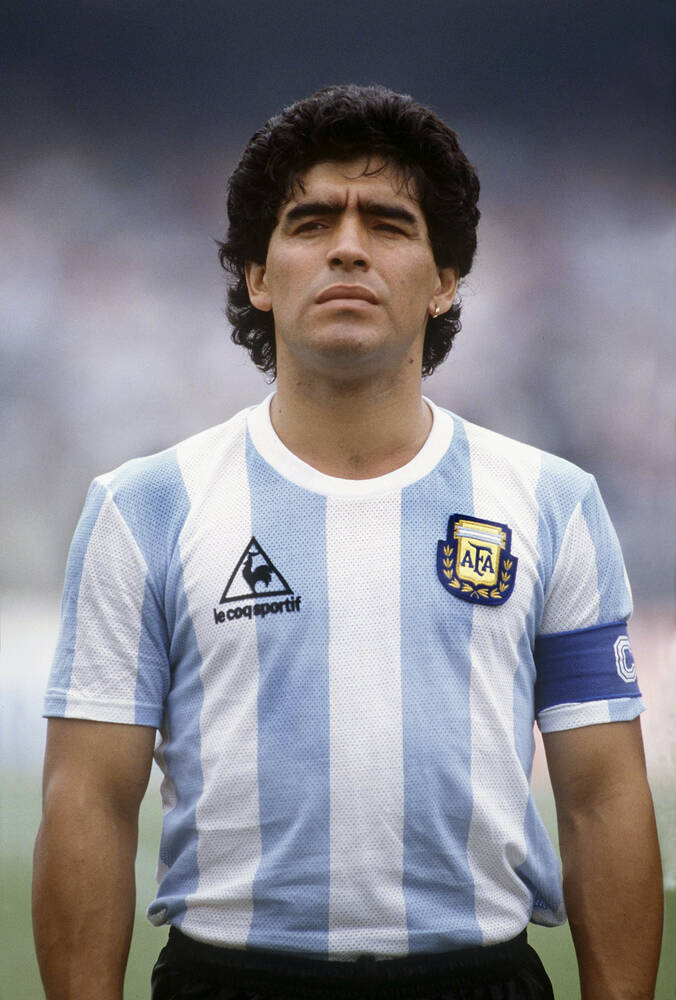 Maradona
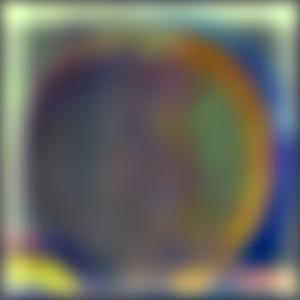
 Messi and Maradona Hybrid
Fourier Analysis
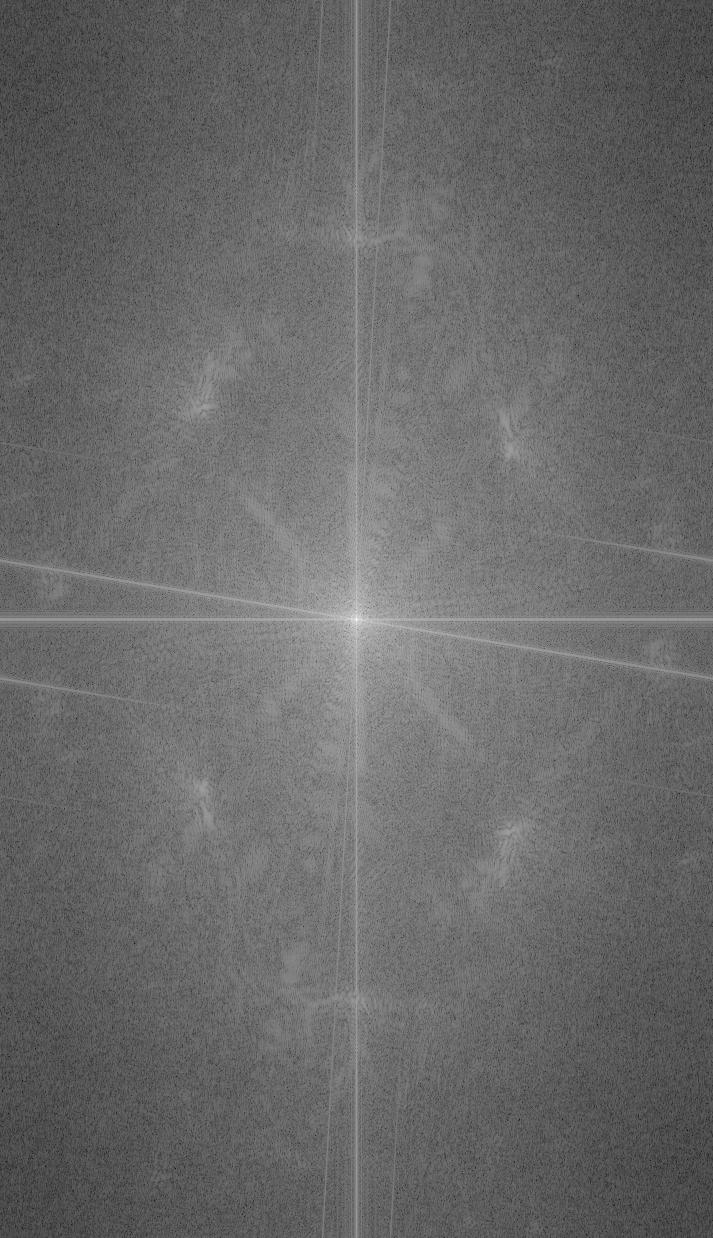
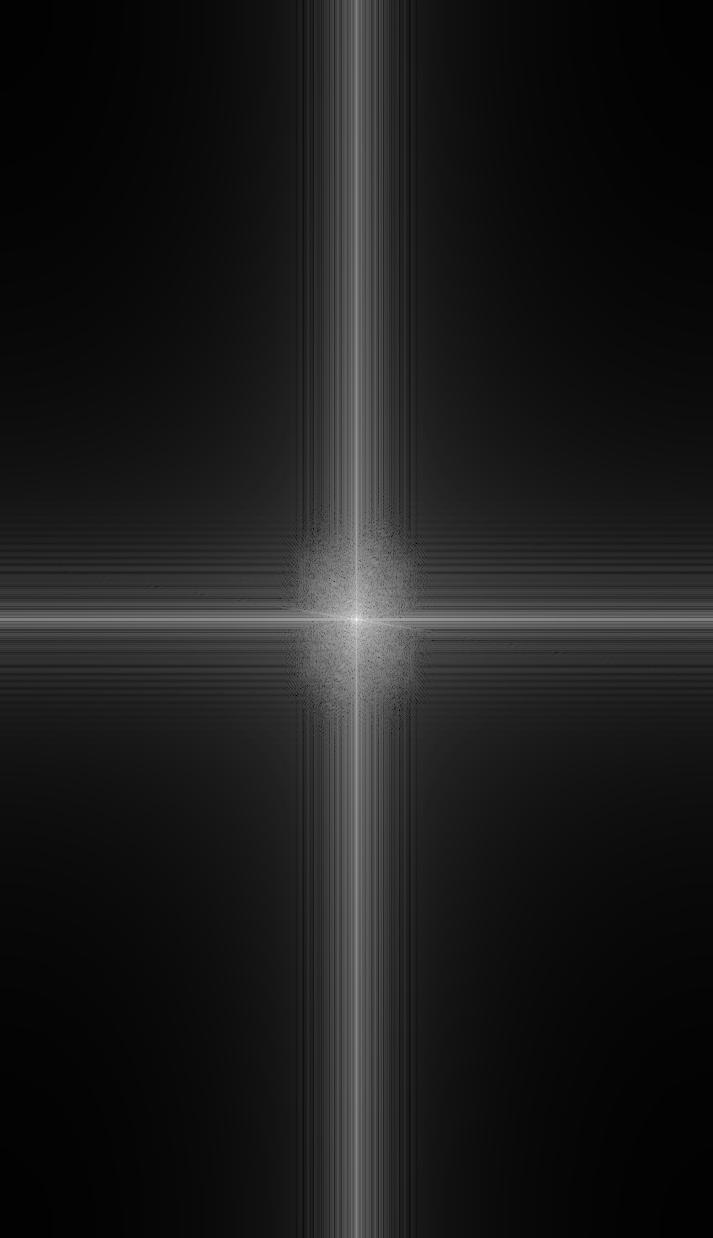
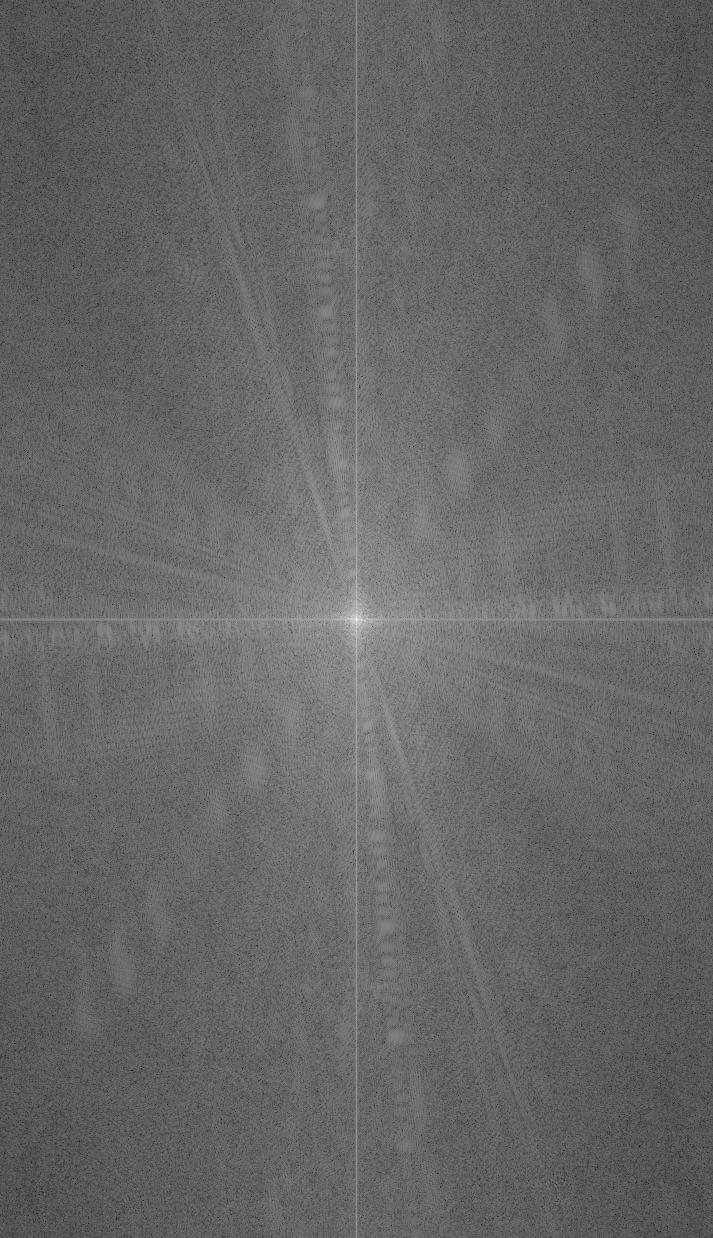
I also did a frequency analysis of this process for the Messi + Maradona photos:
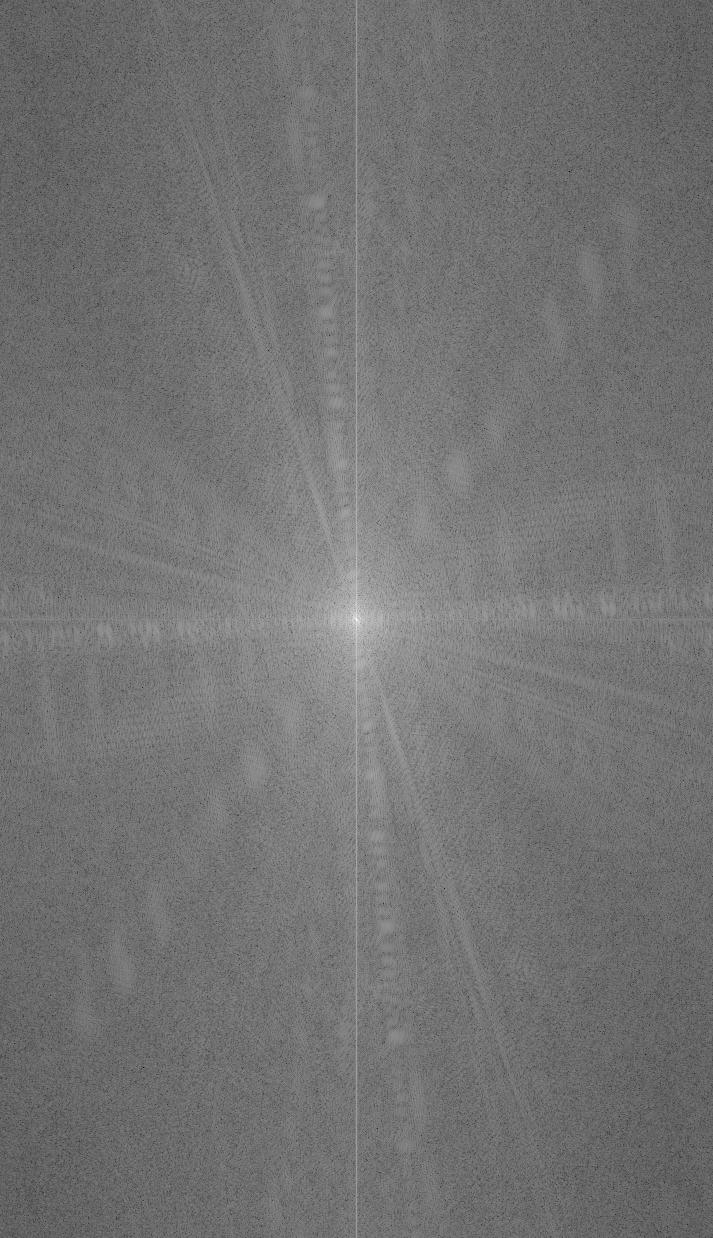 Messi Frequency
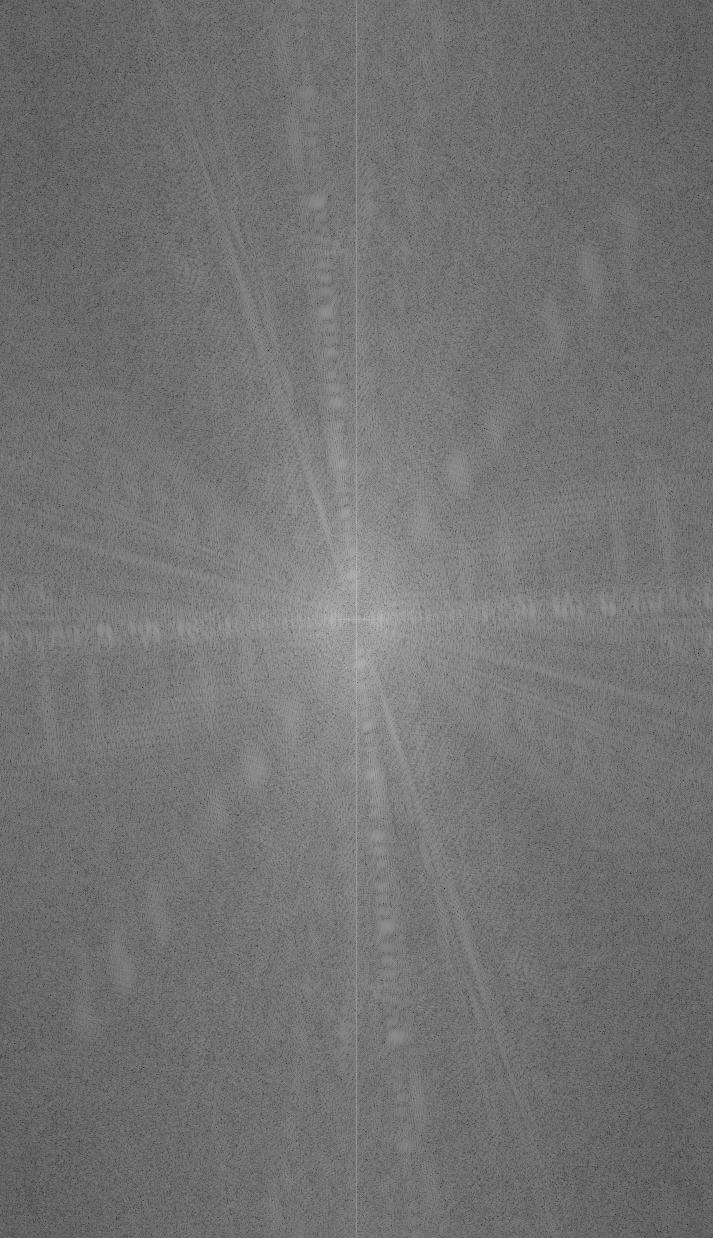 Messi Frequency after High Pass Filter
 Maradona Frequency
 Maradona Frequency after Low Pass Filter
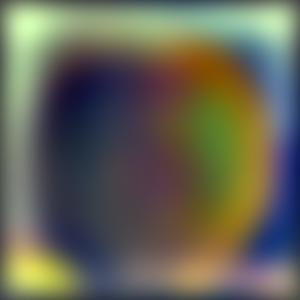
 Combined Frequency
Final Good Example:
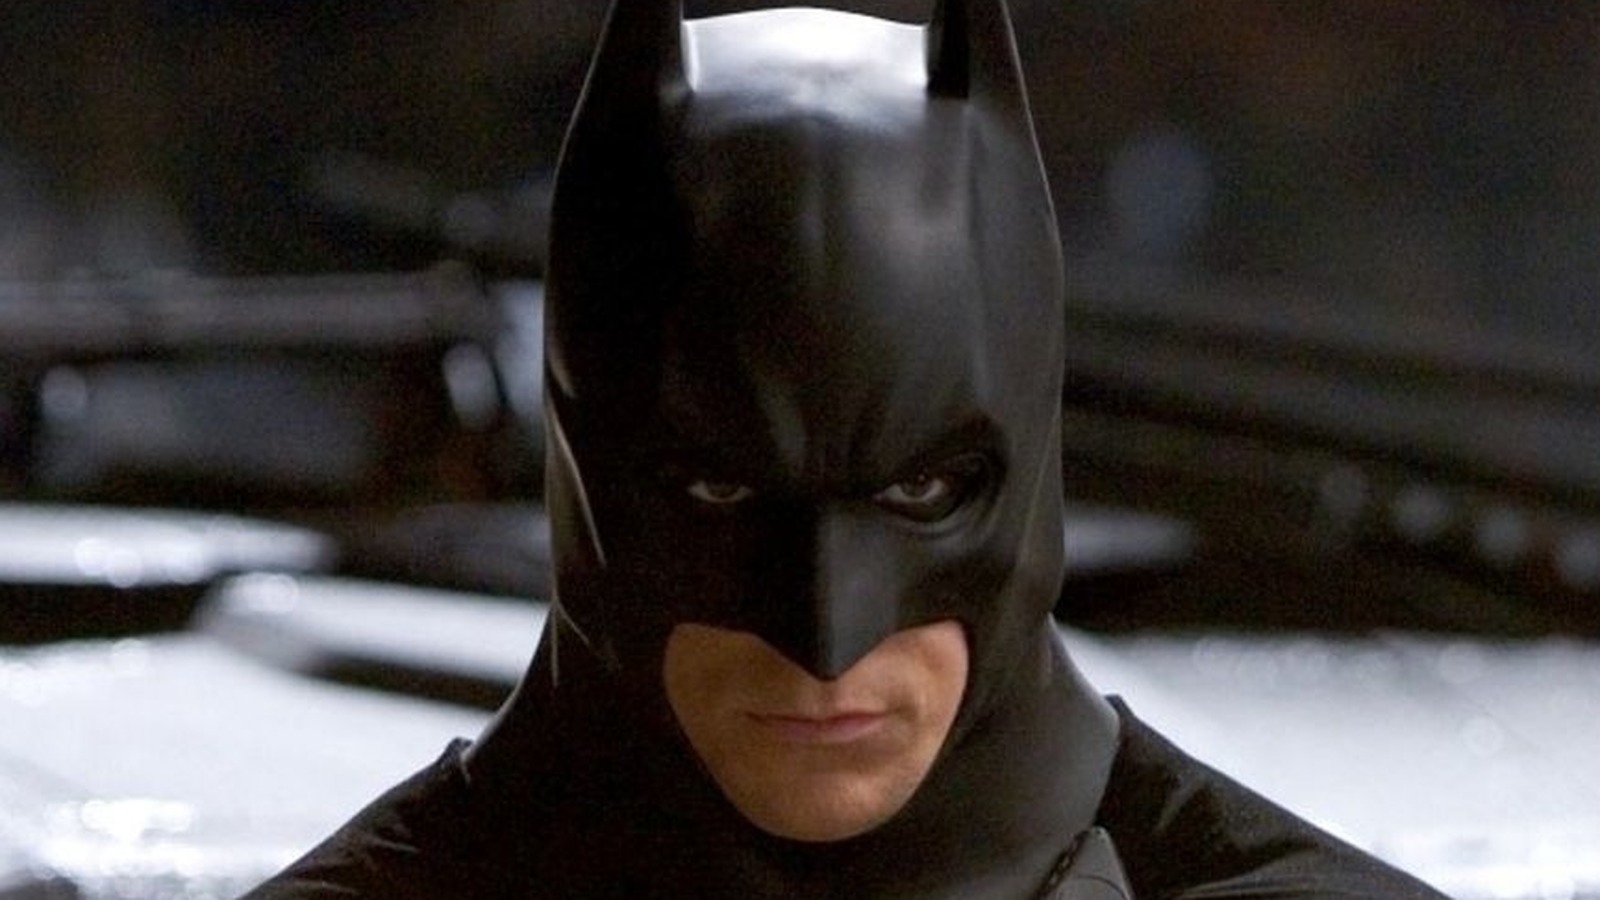
 Batman
 Joker
Joker
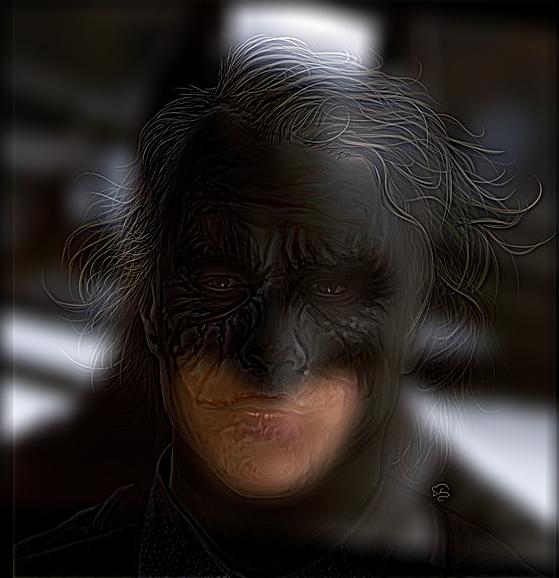 Batman and Joker Hybrid
Here are some examples that did not work too well:
The biggest problem with this image was that I couldn't get the close up version to work properly. I think the problem was due to a lot of key features of the face not lining up properly. From far, however, it looks fine.
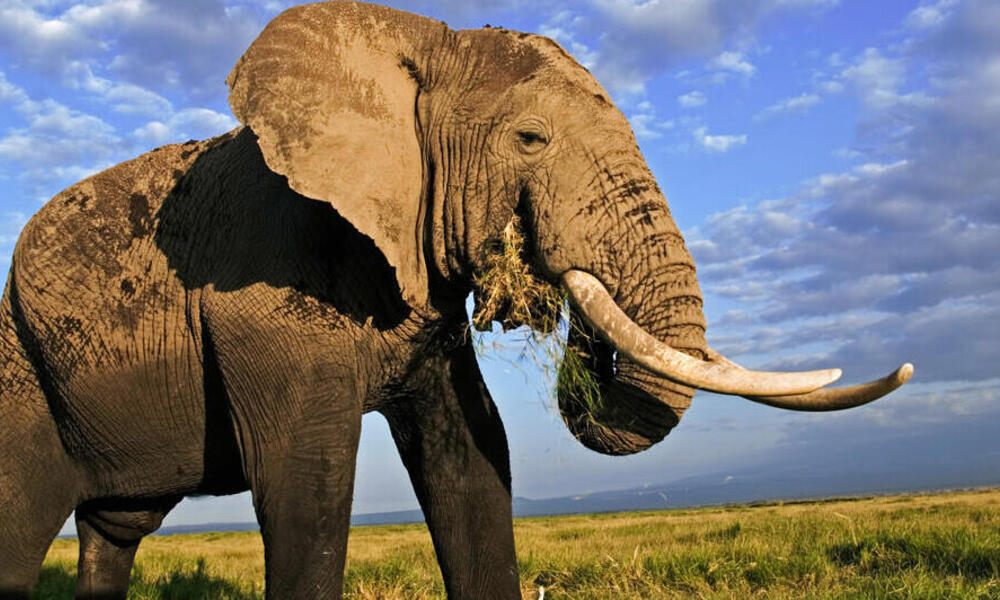 Elephant
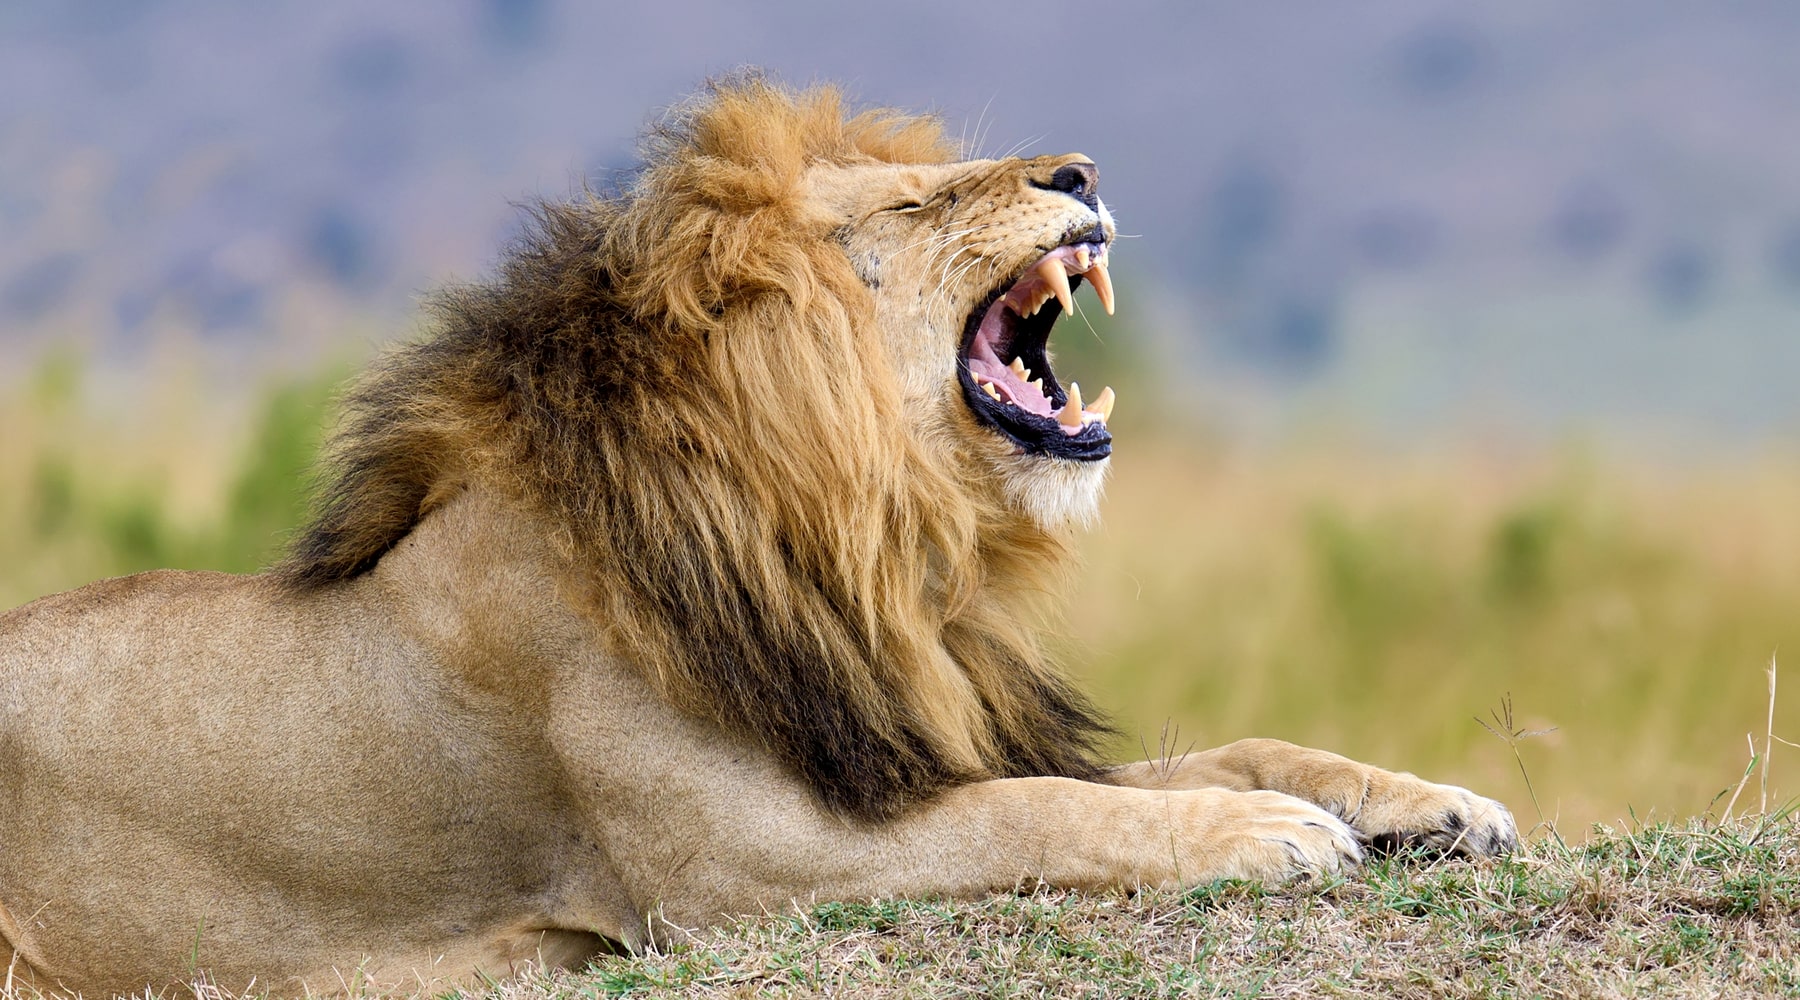 Lion
Lion
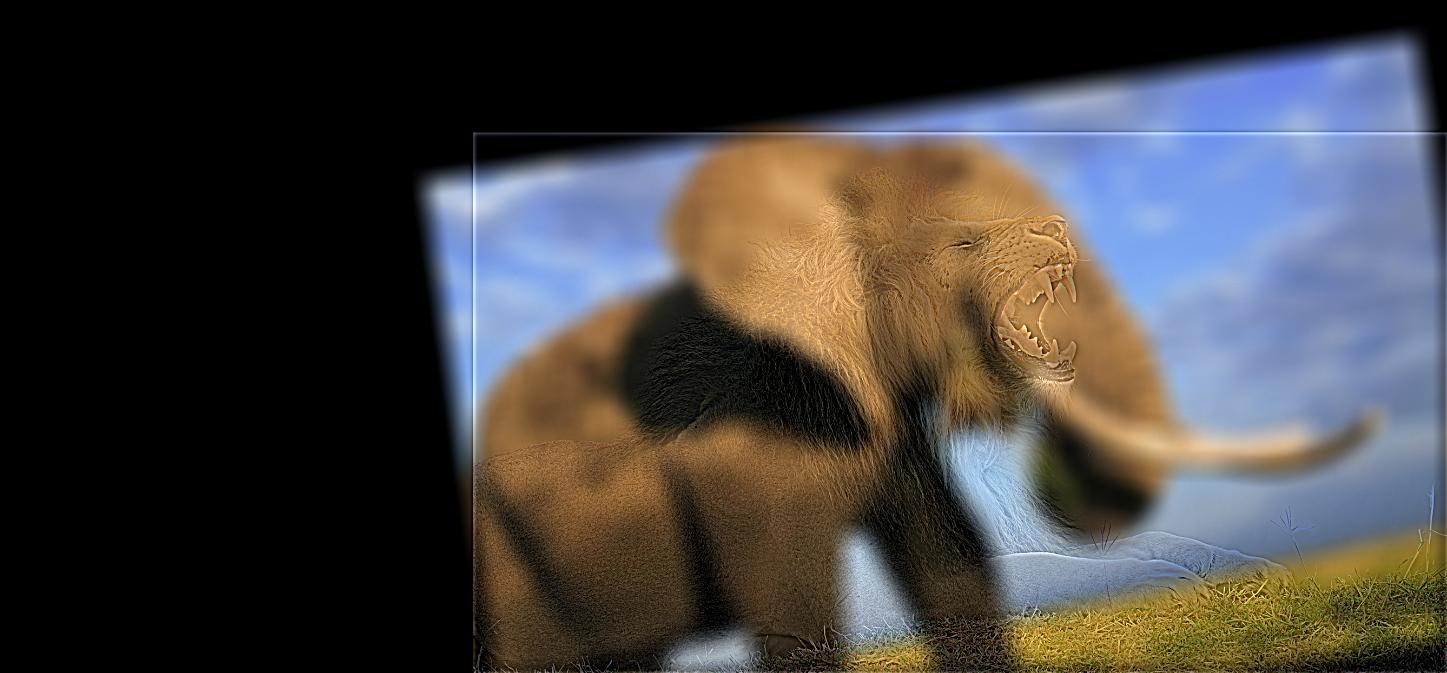 Elephant and Lion Hybrid
The problem with this one as well was that the animals didn't quite line up and their features are quite different. In order to make the lion visible close up, I also had to blur the elephant quite a lot.
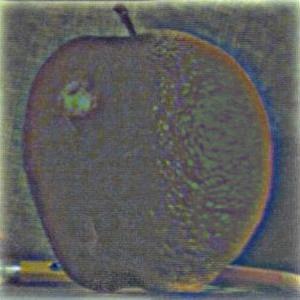
Part 2.3: Gaussian and Laplacian Stacks
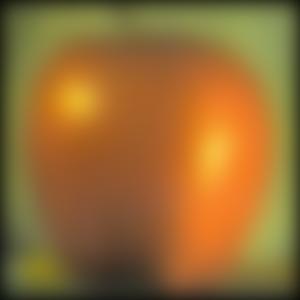
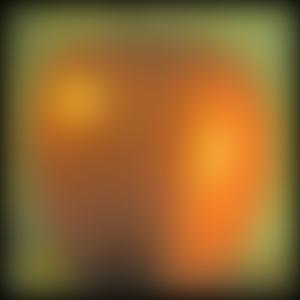
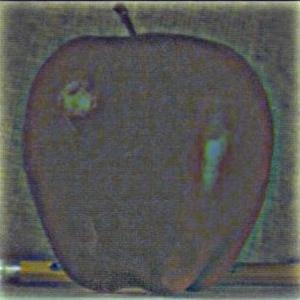
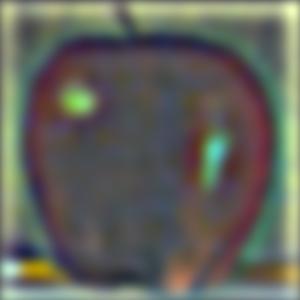
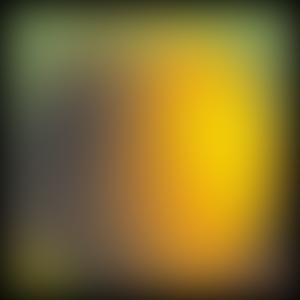
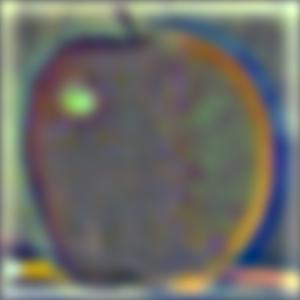
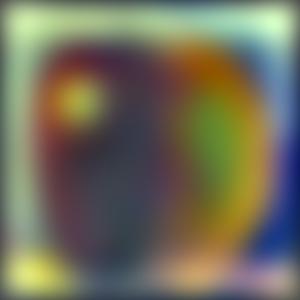
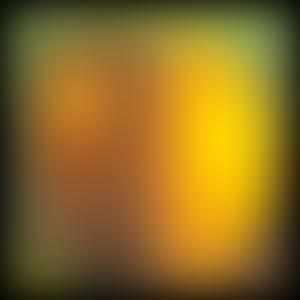
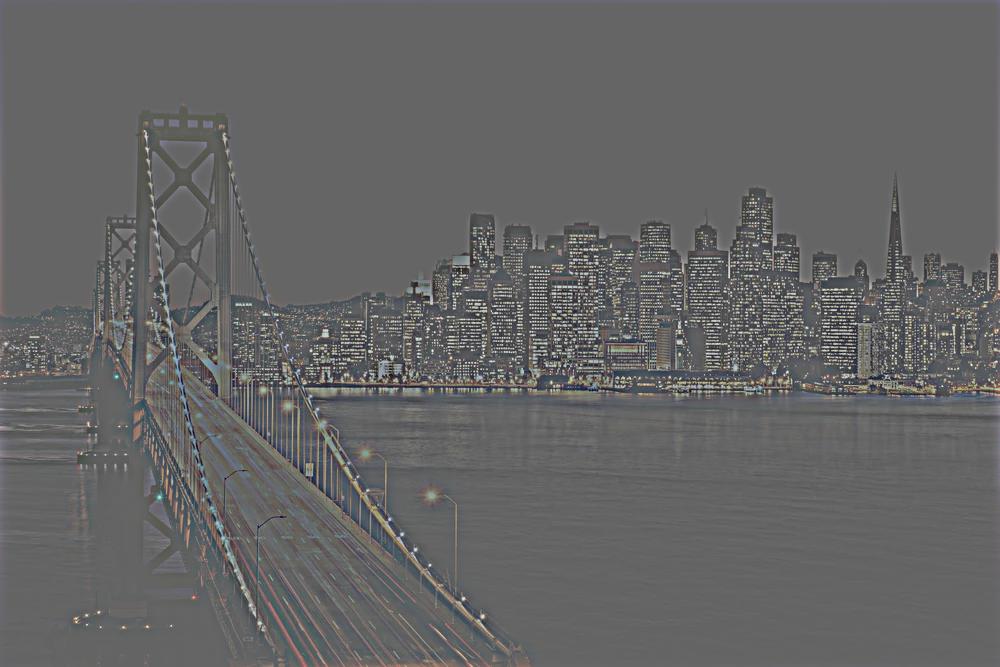
To get a Gaussian stack, I took the original image and apply a Gaussian filter on it. Then, we can continue applying Gaussian filters over and over again on them. This is basically a stack of images with decreasing frequency ranges. To get a Laplacian stack, We take each consecutive image from the Gaussian stack and subtract the two. This gives us mid-band frequency images. The final image would be the same as the lowest frequency image in the Gaussian stack. If we add all the images in the Laplacian stack, we will get back the original image.
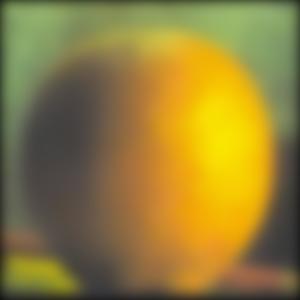
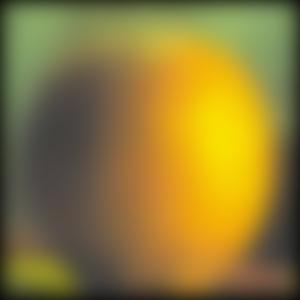
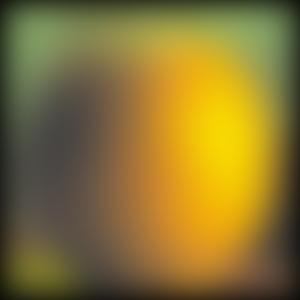
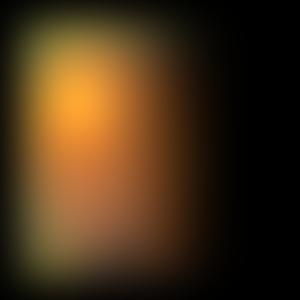
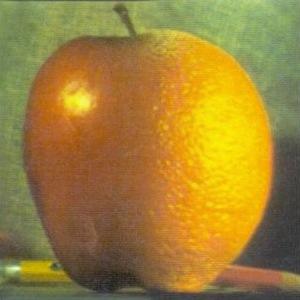
Gaussian Stack for Apple
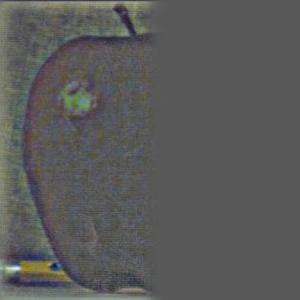
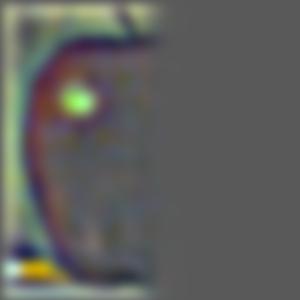
Laplacian Stack for Apple
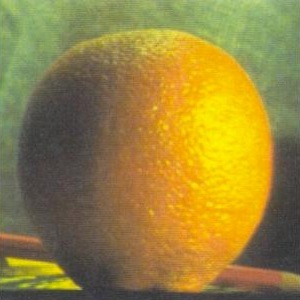
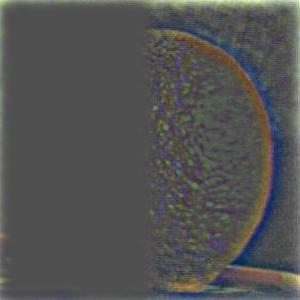
Gaussian Stack for Orange
Laplacian Stack for Orange
I discuss the Bells and Whistles within each section directly. I used color for everything by processing the red, green, and blue channels separately. For the hybrid images, I found that using colors for both high and low frequency images looked the best. I think the coolest part/most important thing I learned from this project was the impact frequency has on images and human vision. The way hybrid images allow us to see different things up close versus far away was pretty incredible since it just uses differing high and low frequency blends.
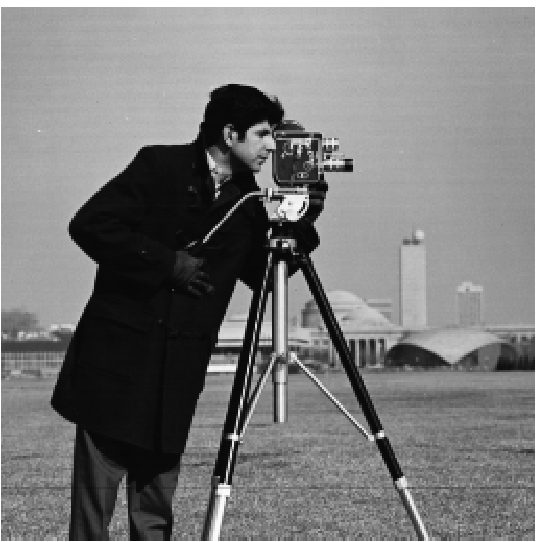 Original
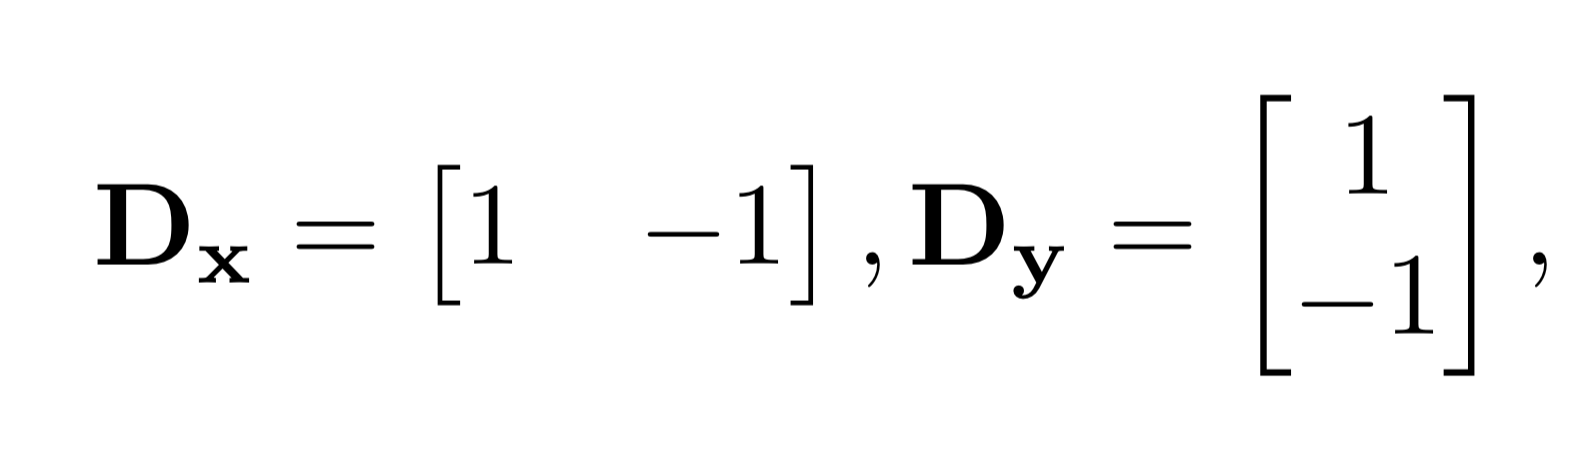
 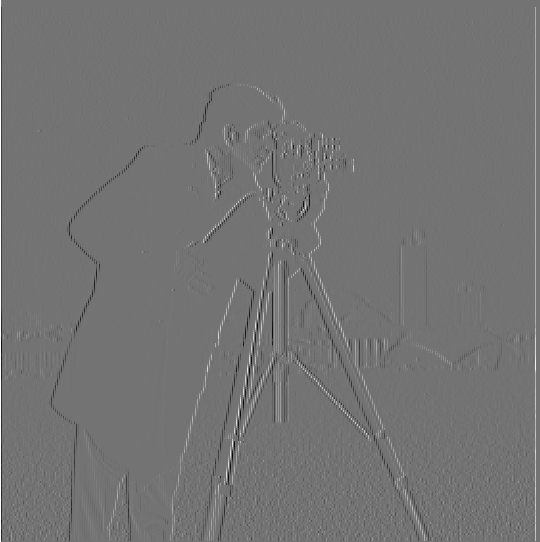 Dx of
Dx of  Dy of
Dy of 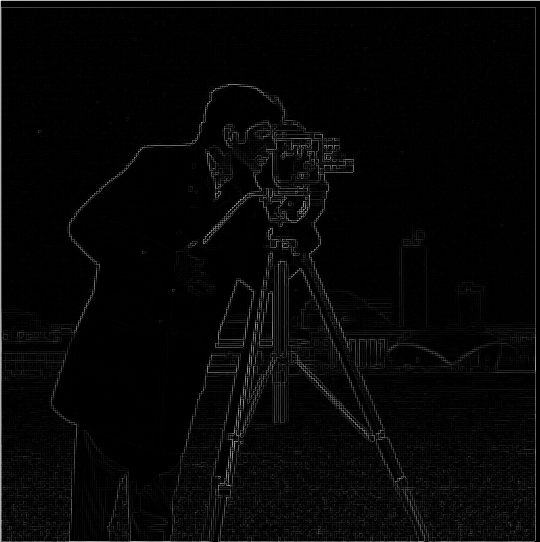 Gradient magnitude of
 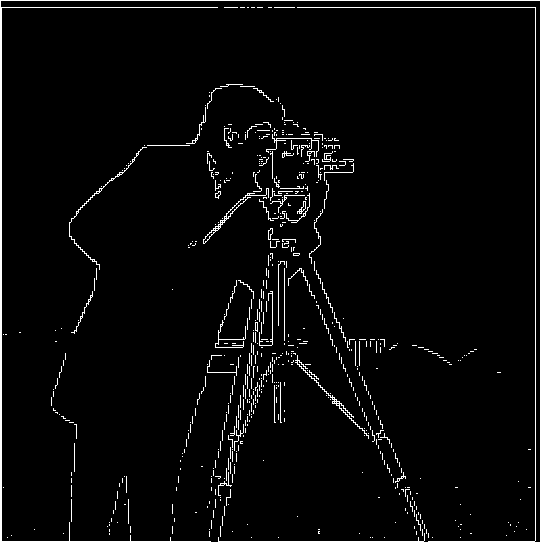 Binarized gradient
 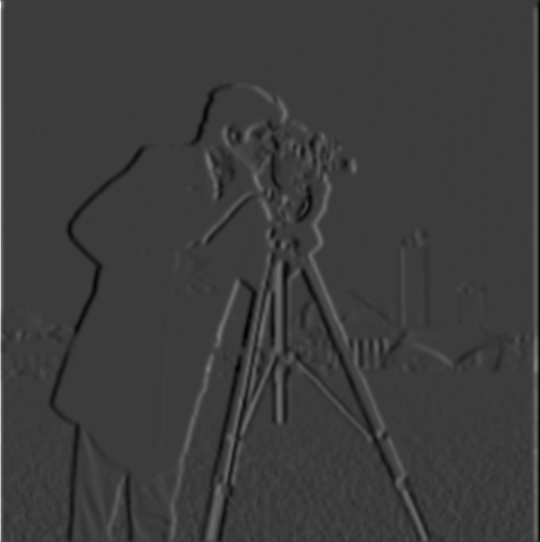 Dx of
Dx of 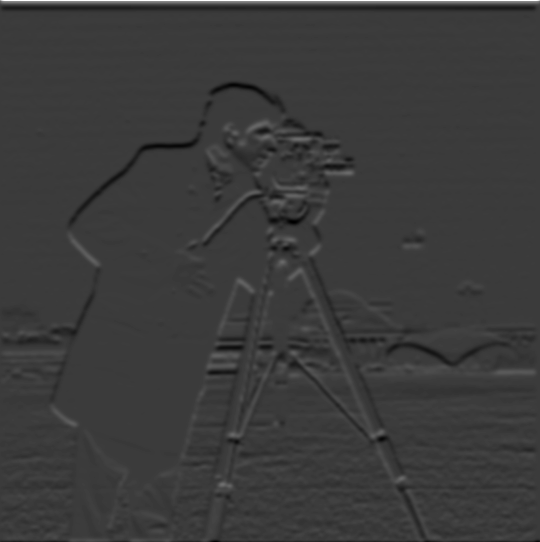 Dy of
Dy of 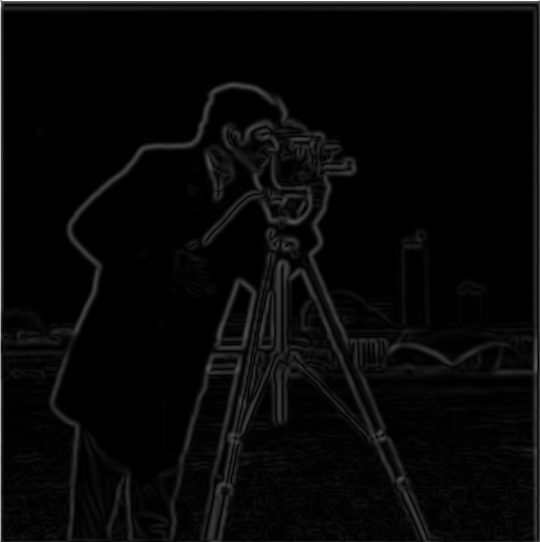 Gradient magnitude of
 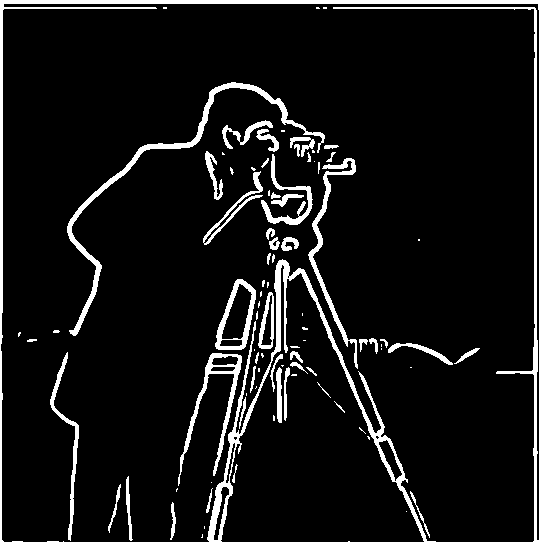 Binarized gradient
  Gaussian dx kernel
 Gaussian dy kernel
 Original
 Original
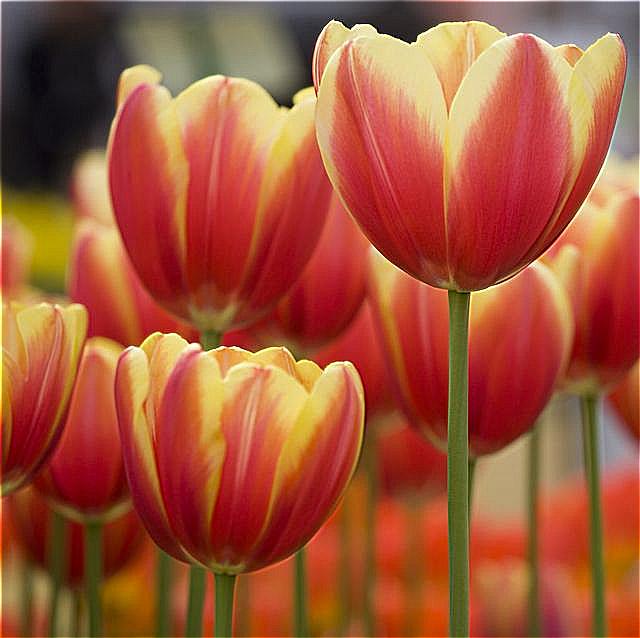
 Original
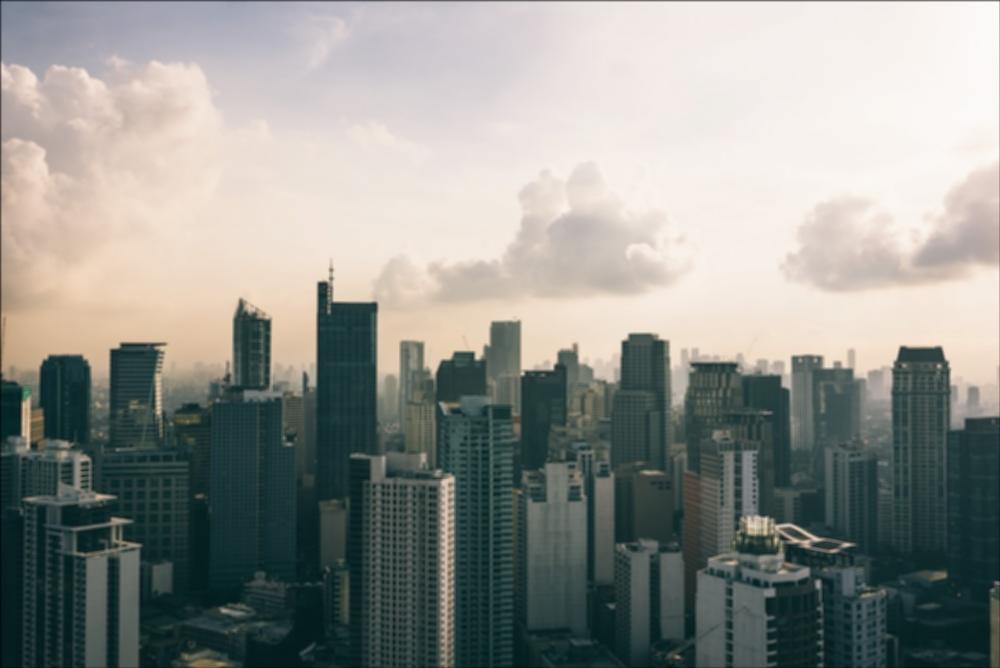 Blurred
 Blurred + Sharpen
 Blurred + Sharpen
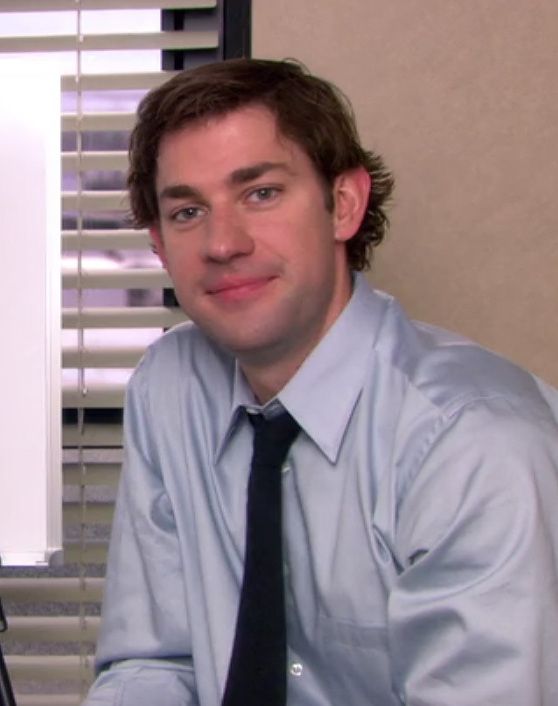 Jim
Jim Jim
Jim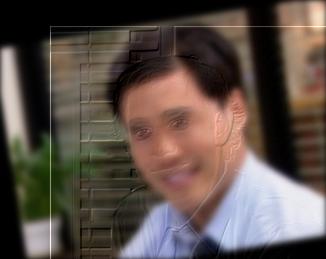 Jimothy Hybrid
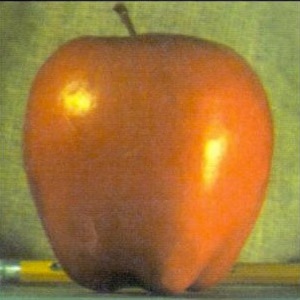


 Batman
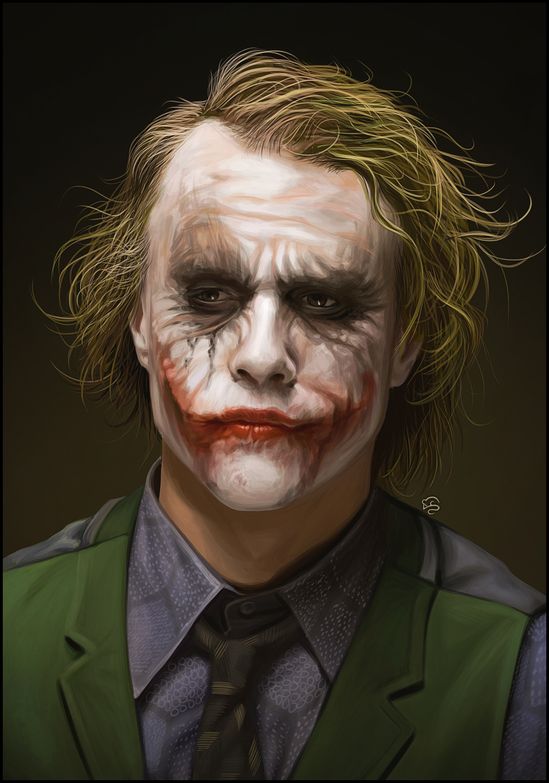 Joker
Joker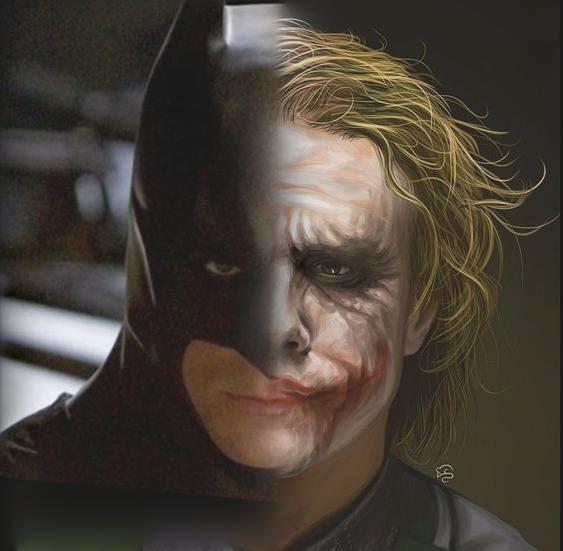 Blended with Vertical Line
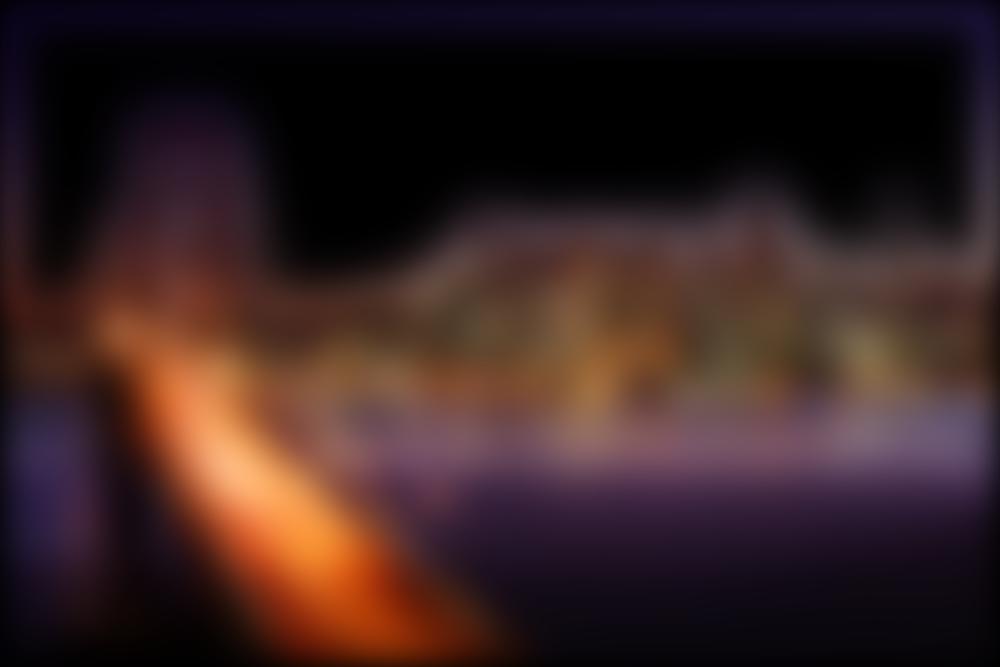
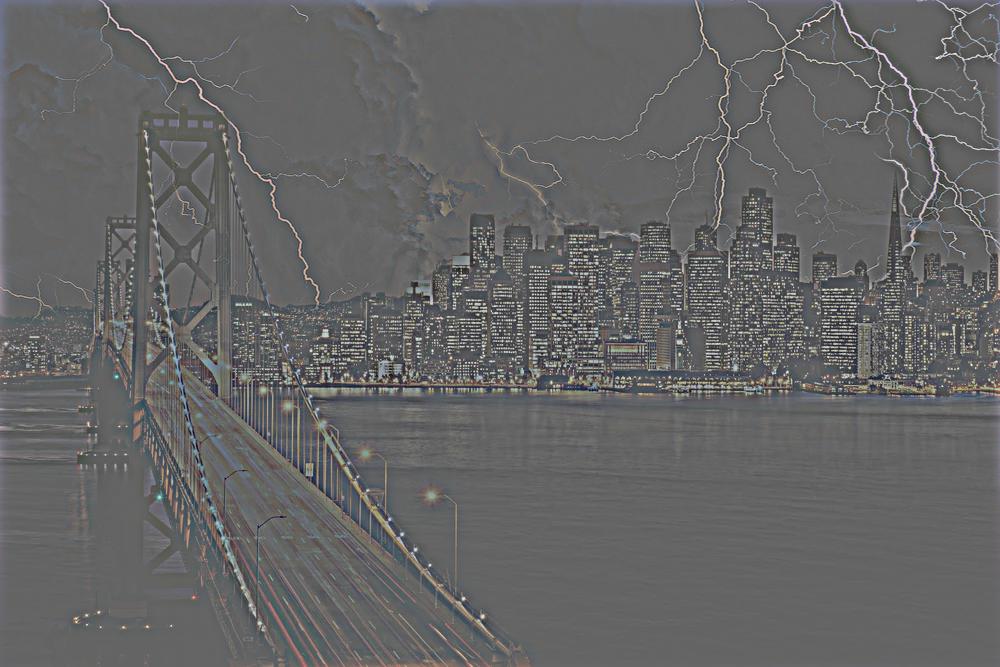
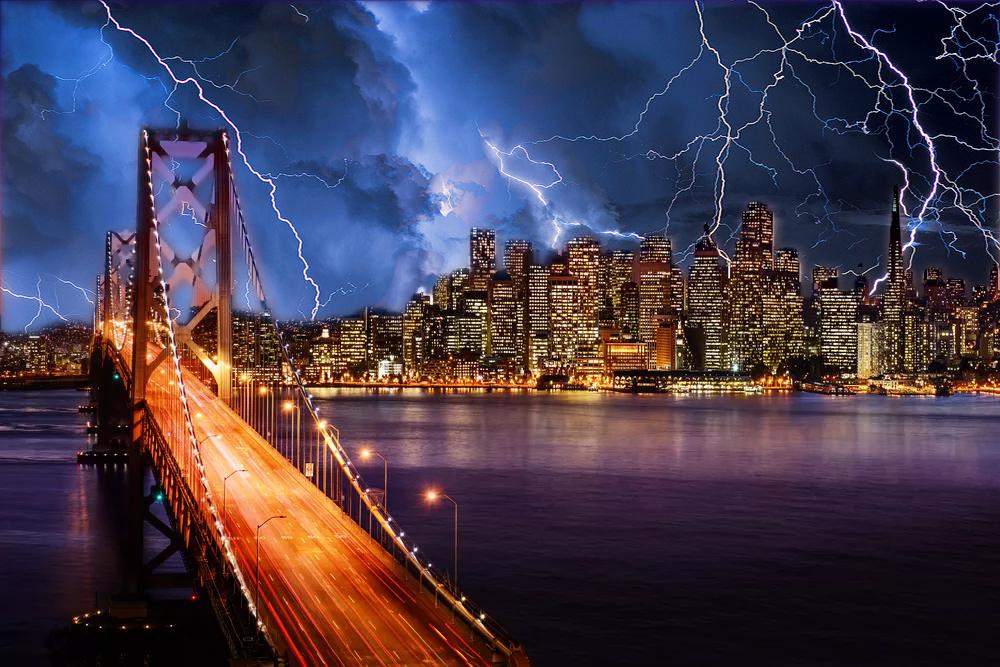
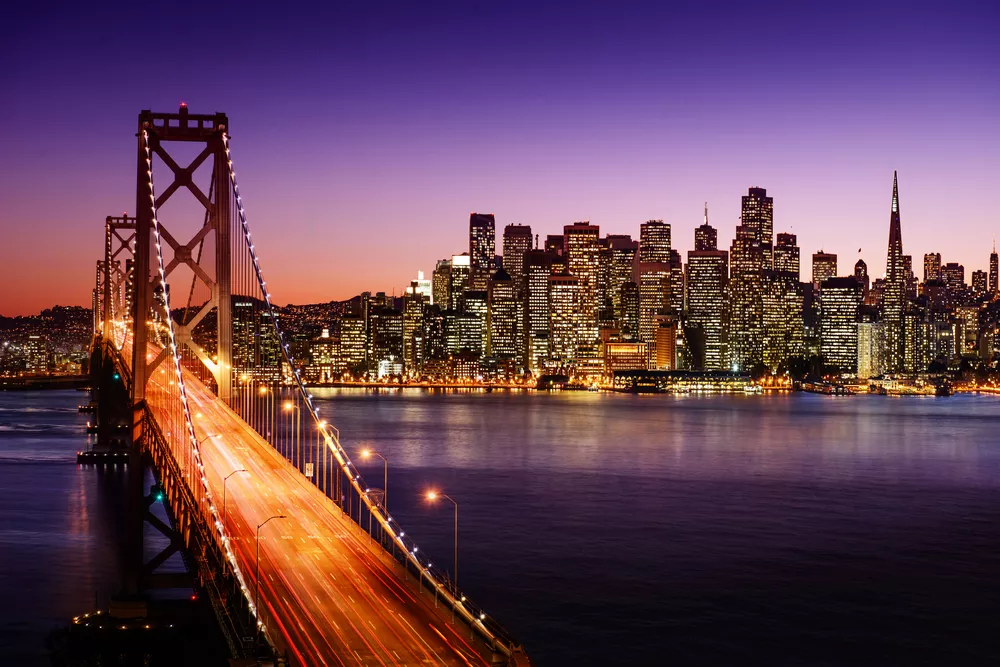 Golden Gate Bridge
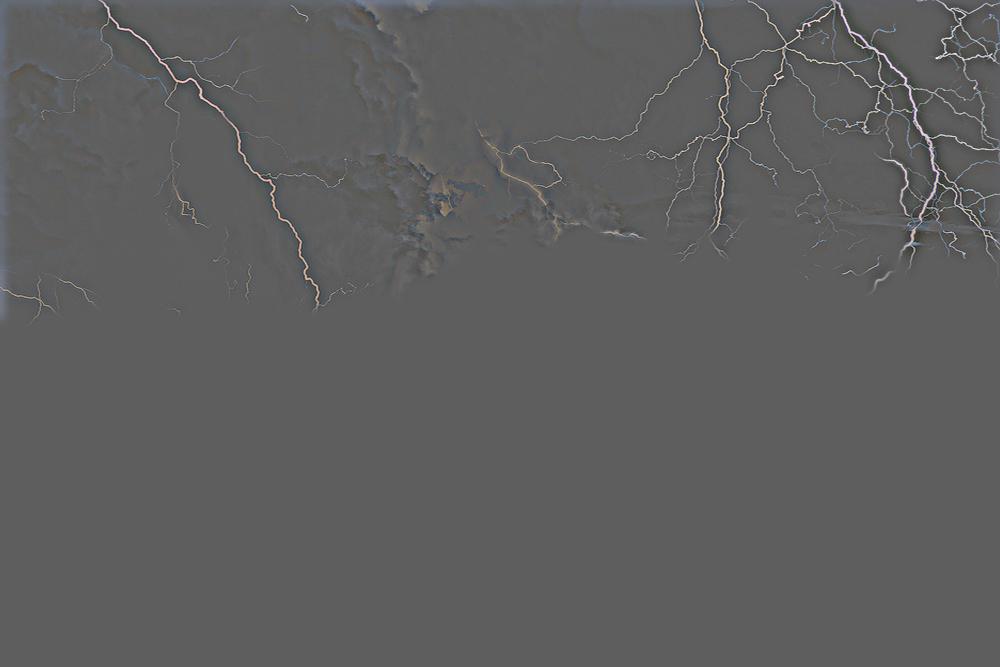
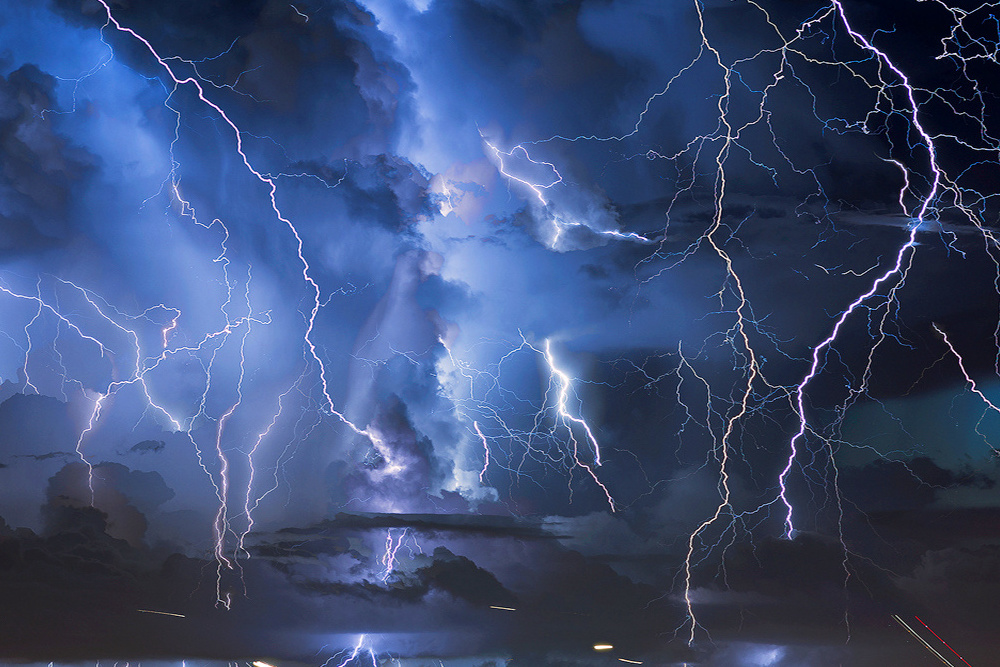 Lightning
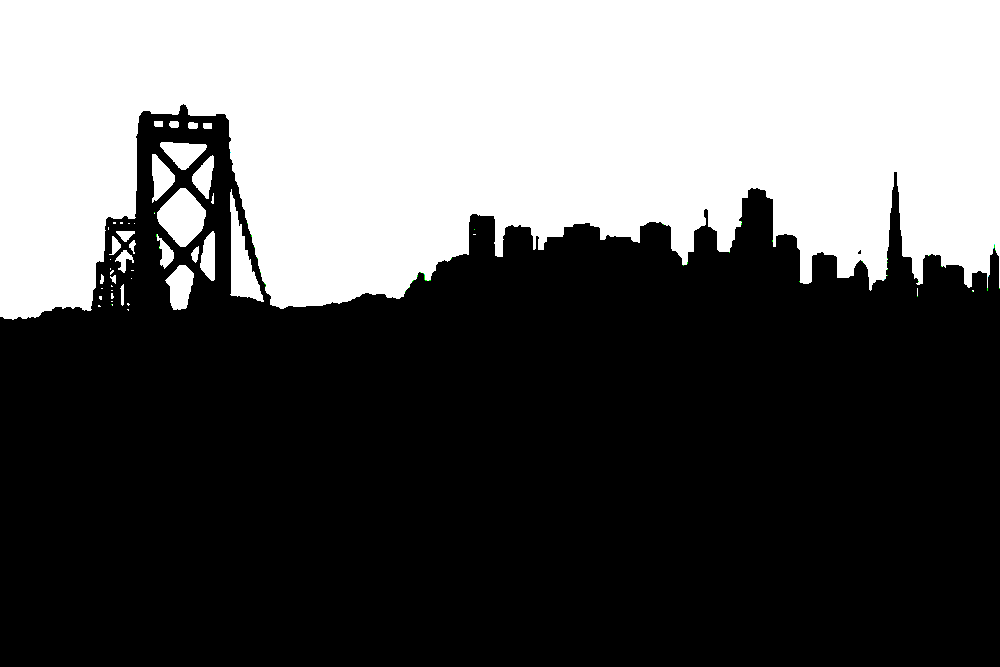 Mask
Mask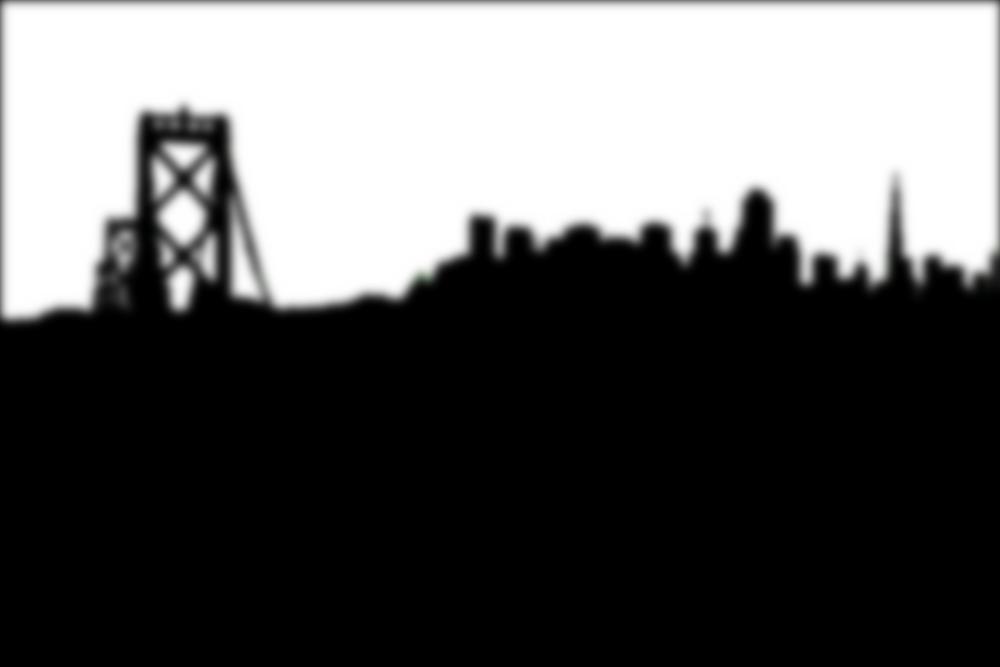


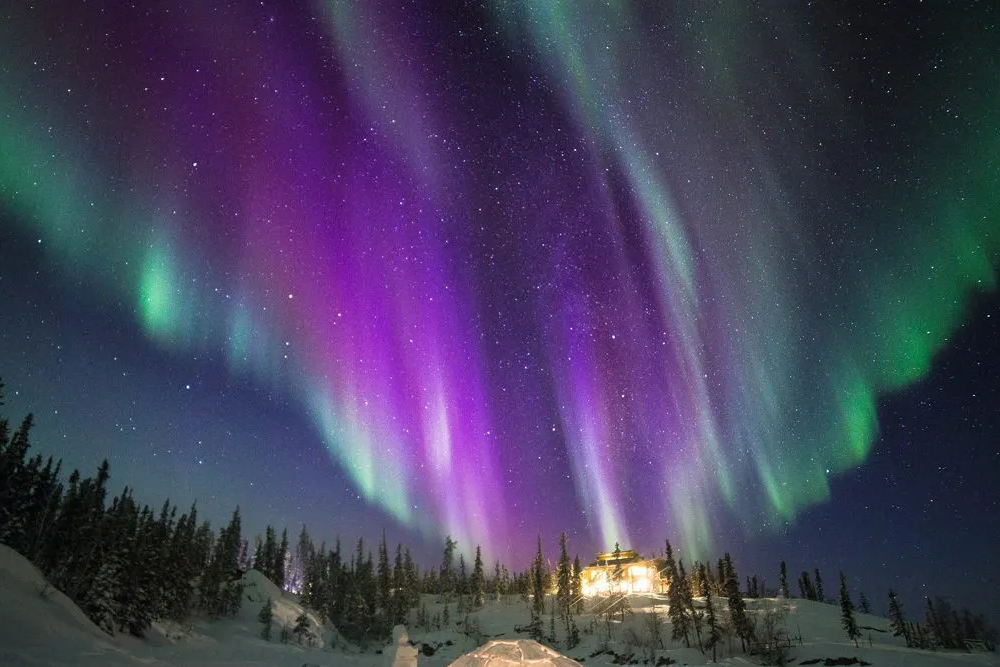 Northern Lights
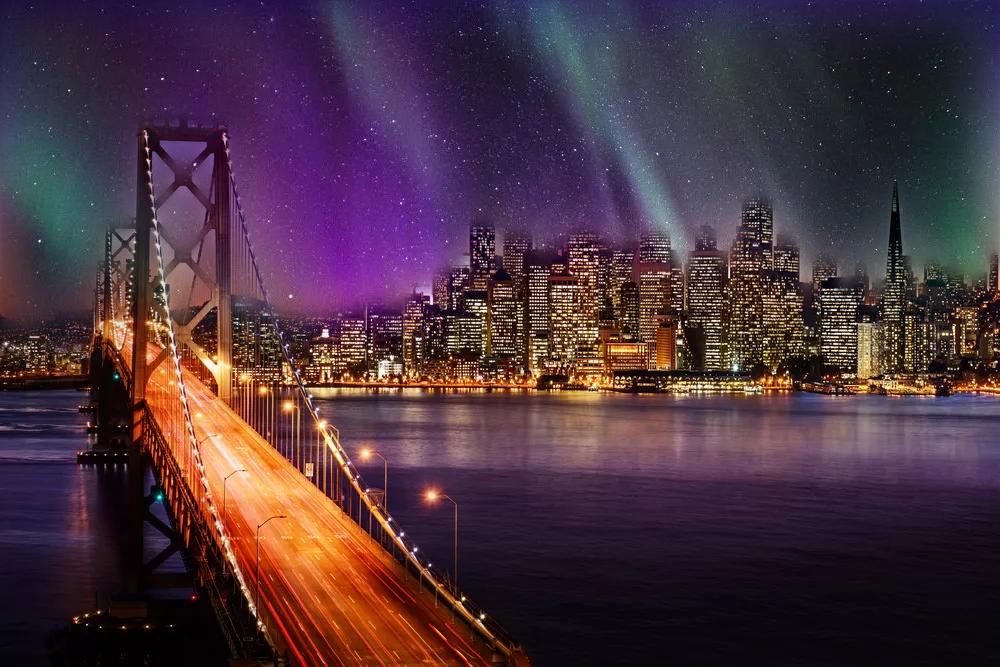
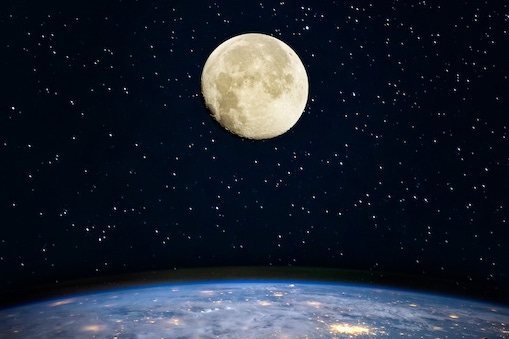 Moon from Earth
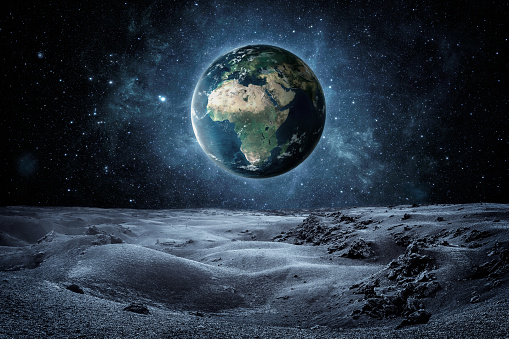 Earth from Moon
 Mask
Mask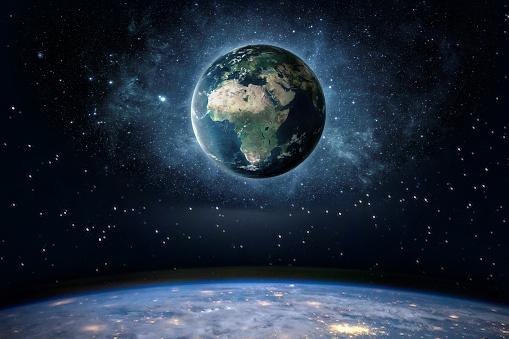 Earth from Earth