CS 194-26 Project 3
Face Morphing
Joshua Chen
Part 1. Defining Correspondences
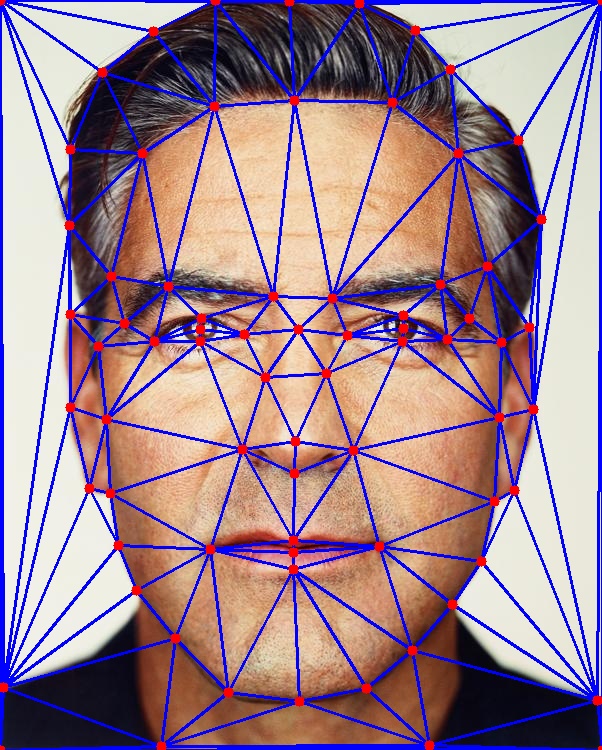
In order to morph the shapes of two images together, we first need to select corresponding keypoints for each image. Then we create a triangular mesh using these keypoints such that the triangles in each image correspond to each other. To make sure that triangles in the mesh are not overly skinny, we use the Delaunay triangulation for the average keypoints between the two images.

Part 2. Computing the “Mid-Way Face”
In order to warp each face into the average shape, we first need to figure out how to warp one triangle into another.
Given a triangle with vertices and a triangle with corresponding vertices , we want to find an affine transformation that maps each point in to the corresponding point in . Using homogeneous coordinates, this gives the following system of equations:
We can solve this system of equations to get .
Using this method, we can warp each triangle in the average mesh into the corresponding triangle in the original image’s mesh. This tells us which positions in the original image would warp to each pixel of the midway image, and we use bilinear interpolation to get the color for that pixel.
We do this for both of the original face images and average the pixel values to get the mid-way face.


Part 3. The Morph Sequence
To get each frame of the morph sequence, we perform the same procedure used for generating the mid-way face, but we use a weighted average instead.
Part 4. The “Mean Face” of a Population
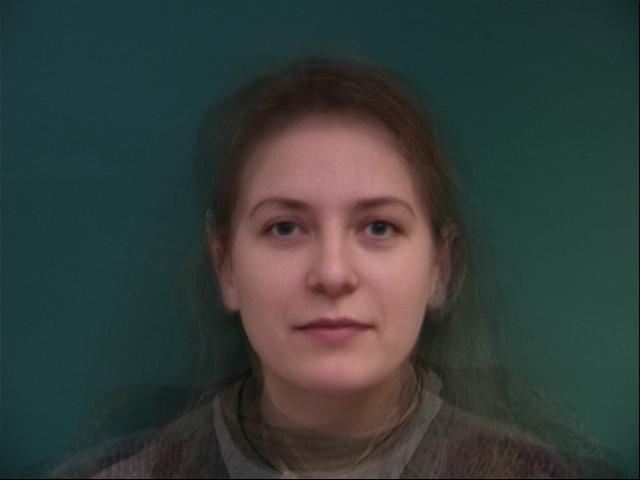
Using the Danes dataset, we can compute the average face of each subpopulation by calculating the average face shape and morphing each face into the average shape. Below are some examples of images from the dataset morphed into the average shape for their subpopulation.
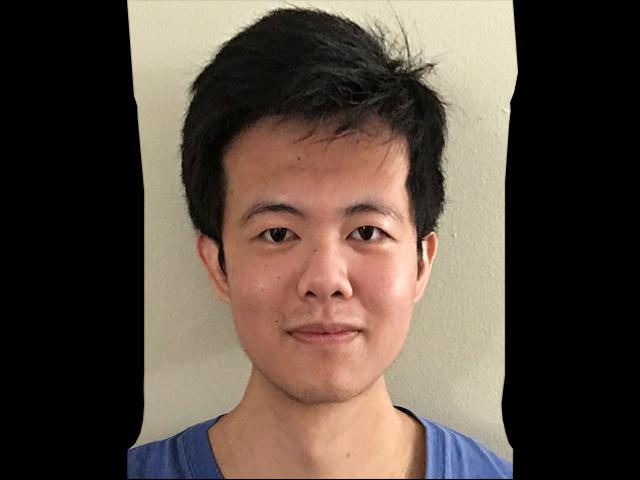
Original

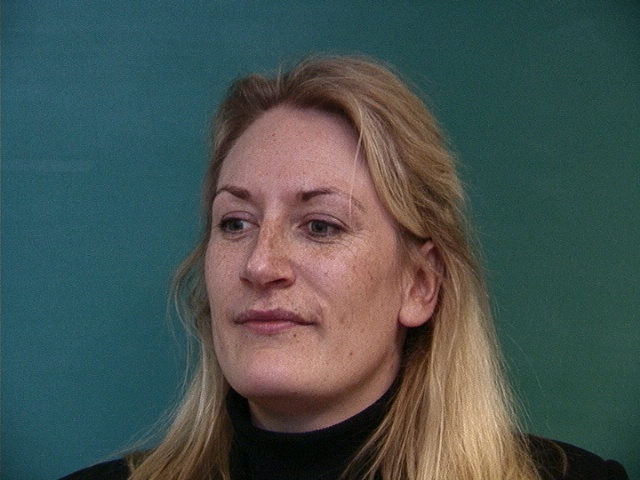
Morphed


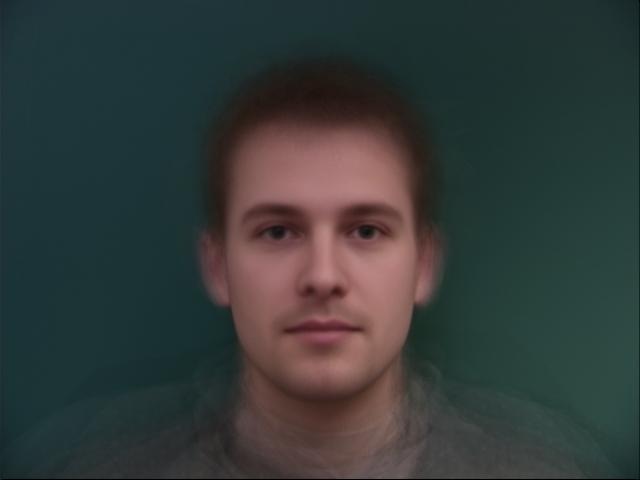
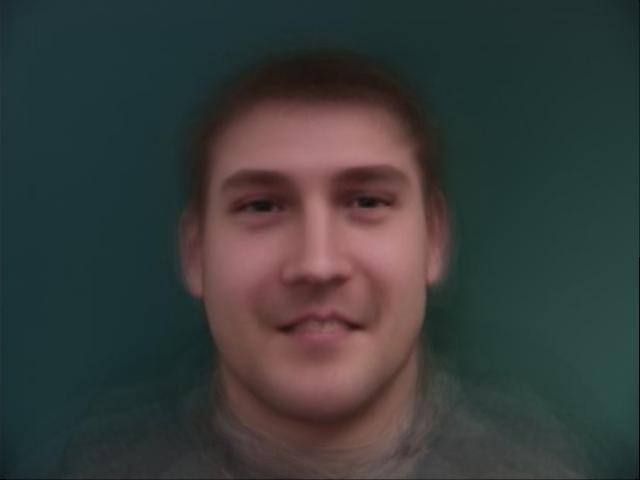
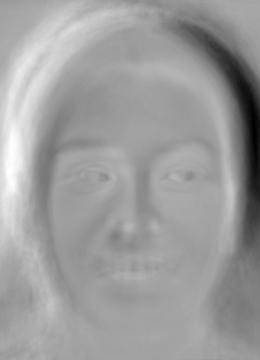
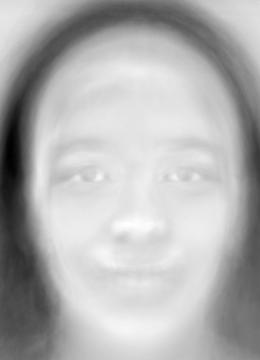
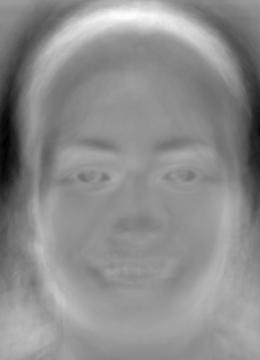
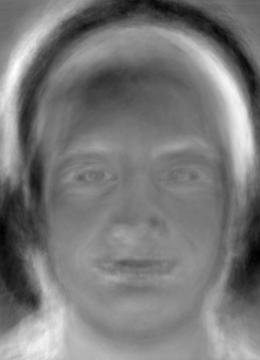
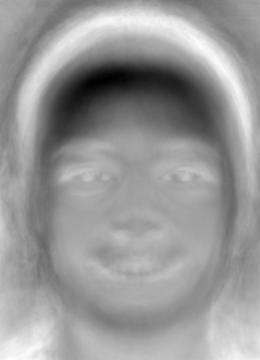
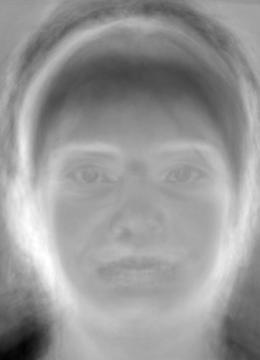
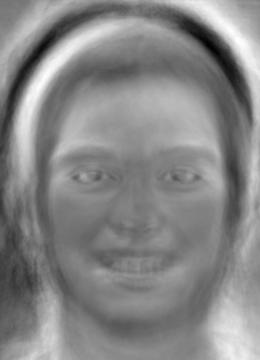
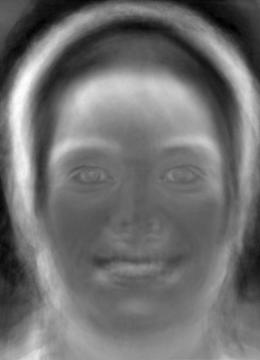
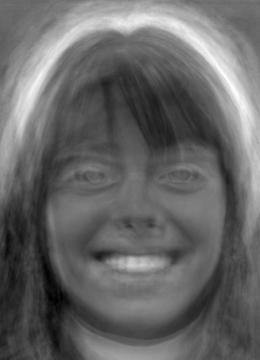
We can then average the morphed faces to get the average face for each subpopulation. Below are some examples.
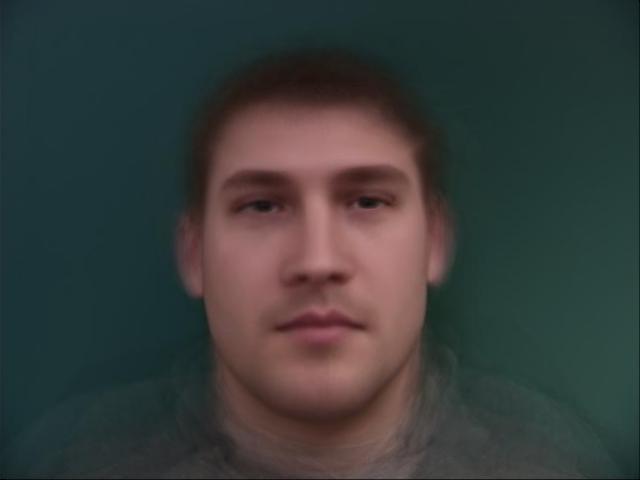
Frontal face, neutral expression, diffuse light
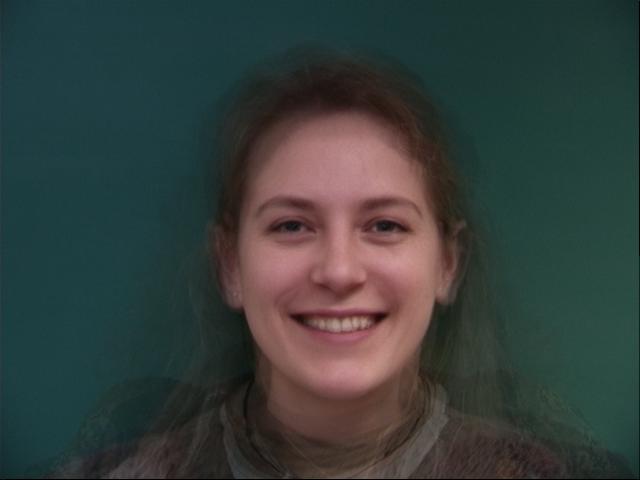
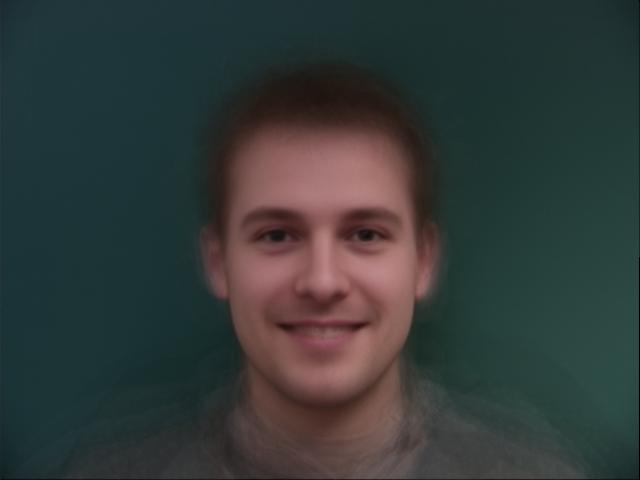
Frontal face, “happy” expression, diffuse light
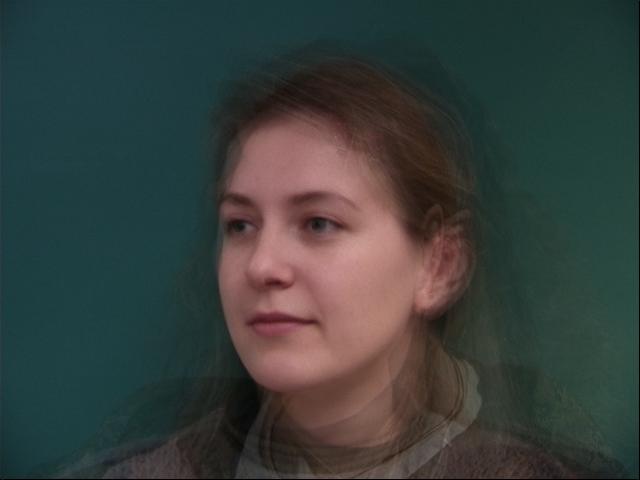
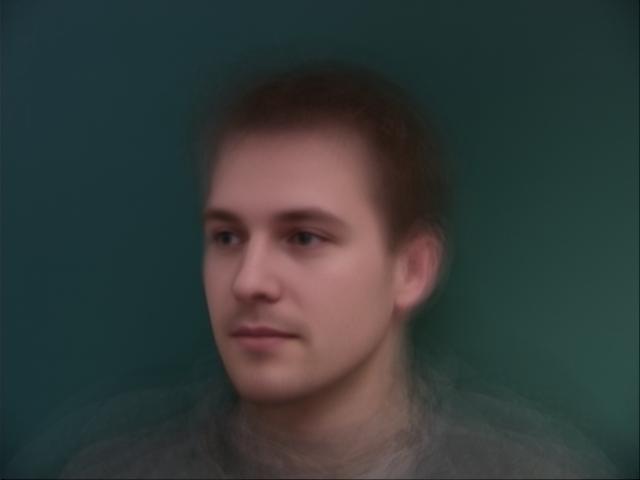
Rotated approx. 30 degrees to person’s left, neutral expression, diffuse light
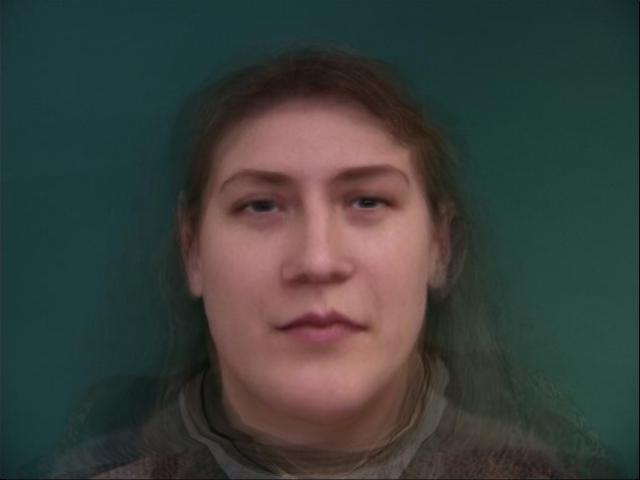
The region around the face for the female averages show more ghosting and are less blurred because of the low number of female subjects in the dataset (7 females and 33 males).
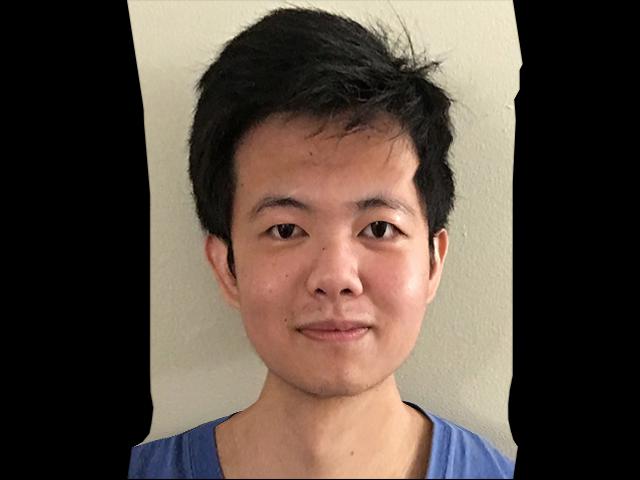
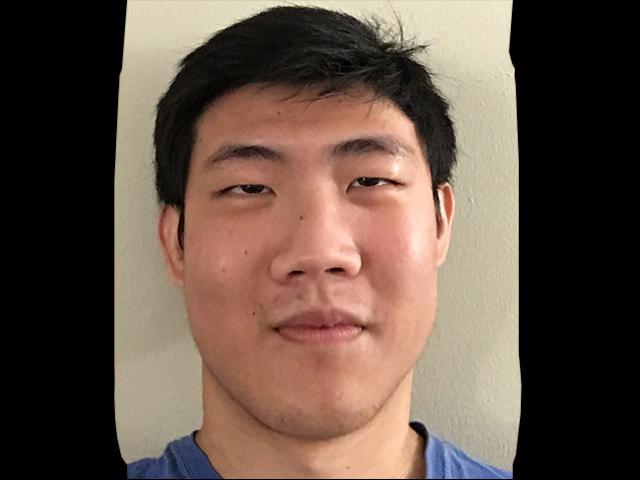
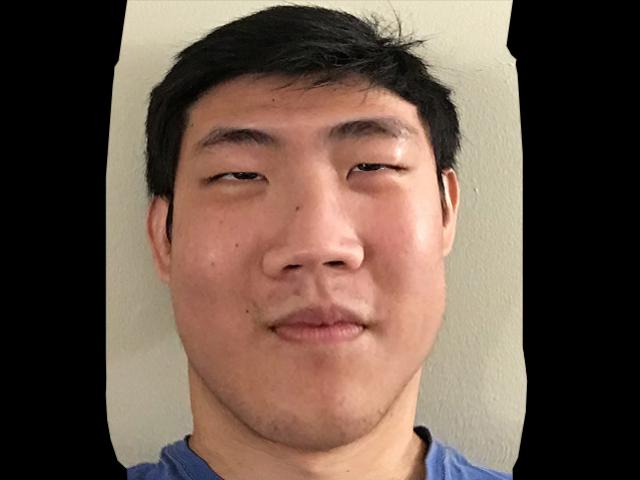
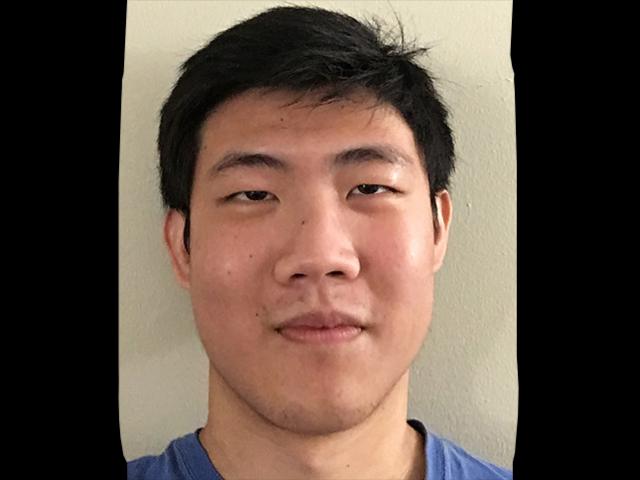
Additionally, we can morph my face into the average shapes and morph the average faces into my shape.
Male, frontal face, neutral expression
Female, frontal face, neutral expression
Male, frontal face, “happy” expression

Male, rotated approx. 30 degrees to person’s left, neutral expression


Interestingly, there doesn’t seem to be much of a difference between my face morphed into the male and female frontal neutral expression averages.
Perhaps more expectedly, trying to morph an image of a person facing left into the shape of a person facing forwards (and vice versa) does not turn out well.
Part 5. Caricatures: Extrapolating from the Mean
If we consider the average face shape to be a vector and my face shape to be a vector , then could be thought of as what makes my face “special” or different from the mean. Therefore, by adding to my face shape (where ) and morphing my face into the new shape, we can exaggerate my facial features to provide a caricature of myself.
Below are the results for extrapolating from the mean for the male, frontal face, neutral expression subpopulation.


Bells and Whistles: PCA
Using the FEI dataset, I computed a PCA basis for the face space. Below are the first 12 principal components.


Since the principal components represent the directions which capture the most variance or “information” of the dataset, we can project the data points onto the PCA subspace and still retain a large amount of the “information”. I calculated the PCA basis which captures 95% of the total variance (111 principal components, which is a much lower dimensional representation of the original 360x260 pixel images), and projected a random image from the dataset onto the subspace.
Note: The original images were read as grayscale when computing the PCA basis and the projection.

While the projected image has lost some quality, it can still be recognized as the same face, despite the significant dimensionality reduction.
I also projected my own face onto the PCA basis, but the results are significantly worse. There are many reasons this could have happened. First, the dataset was fairly small (only 200 subjects with 2 expressions each). Second, the images in the dataset were taken in Brazil, so my face might be out-of-distribution. Third, more components might be needed to represent an image not in the original dataset.


Bells and Whistles: Lip Syncing
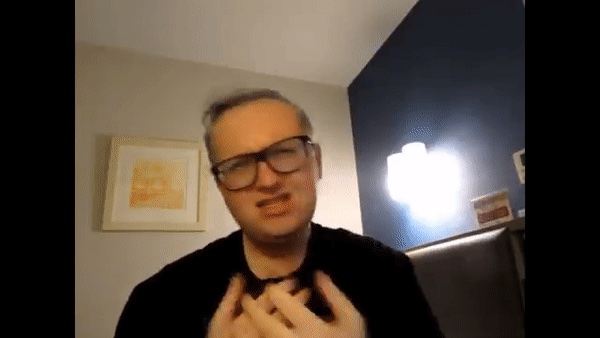
A couple years ago, deepfakes of people singing Baka Mitai like the person in the video below became a popular meme.
I wanted to see how good (or bad) I could replicate this with an image of my face and the techniques from this project.
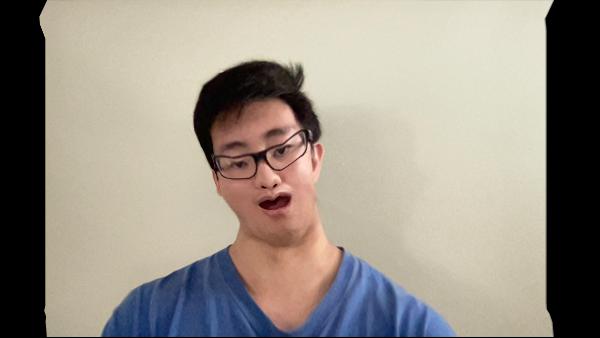
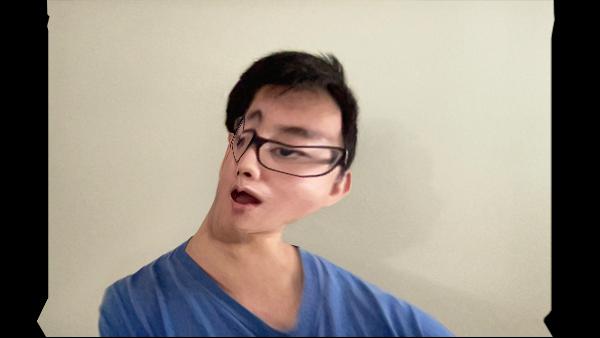
First, I took a front-facing picture with my mouth open, since a front-facing picture would show my entire face and I thought trying to morph an open mouth to be closed would look better than trying to morph a closed mouth to be open.

Next, I manually chose keyframes in the original video as the target images that I would morph my face into. Next, I labelled corresponding points for my face and each keyframe. Then I morphed my face into the shape for each keyframe. Below are some example keyframes (there were 21 keyframes total).
Original keyframe


My face morphed into keyframe shape


Already, the morphed keyframes were looking cursed, especially when trying to morph to a closed mouth or turned head. Nevertheless, I created a morph sequence between my morphed faces to create the final result. (Note: Since I had to manually select keyframes and corresponding points, I only chose a short clip to try and replicate).
I also created the morph sequence using the keyframes from the original video.