CS194-26 Project 1: Colorizing the Prokudin-Gorskii photo collection
by Heidi Dong
In this project, I took the digitized Prokudin-Gorskii glass plate images, processed them using Python, and attempted to produced colorized outputs by aligning the different color channels.
Overview
Overall, my approach involved figuring out how to:
- read input images in Python
- calculate a score for how well two images align at different offsets
- find the best alignment score to overlay the images together
- improve the algorithm with the image pyramid approach
- improve the algorithm by adjusting parameters
Input data
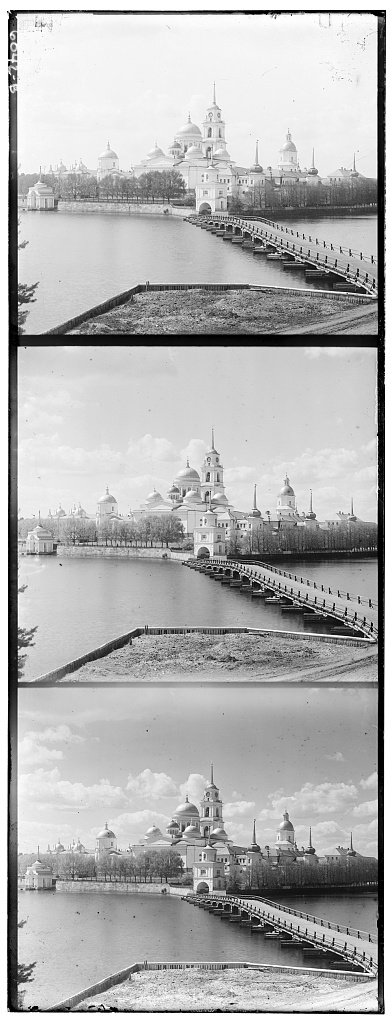
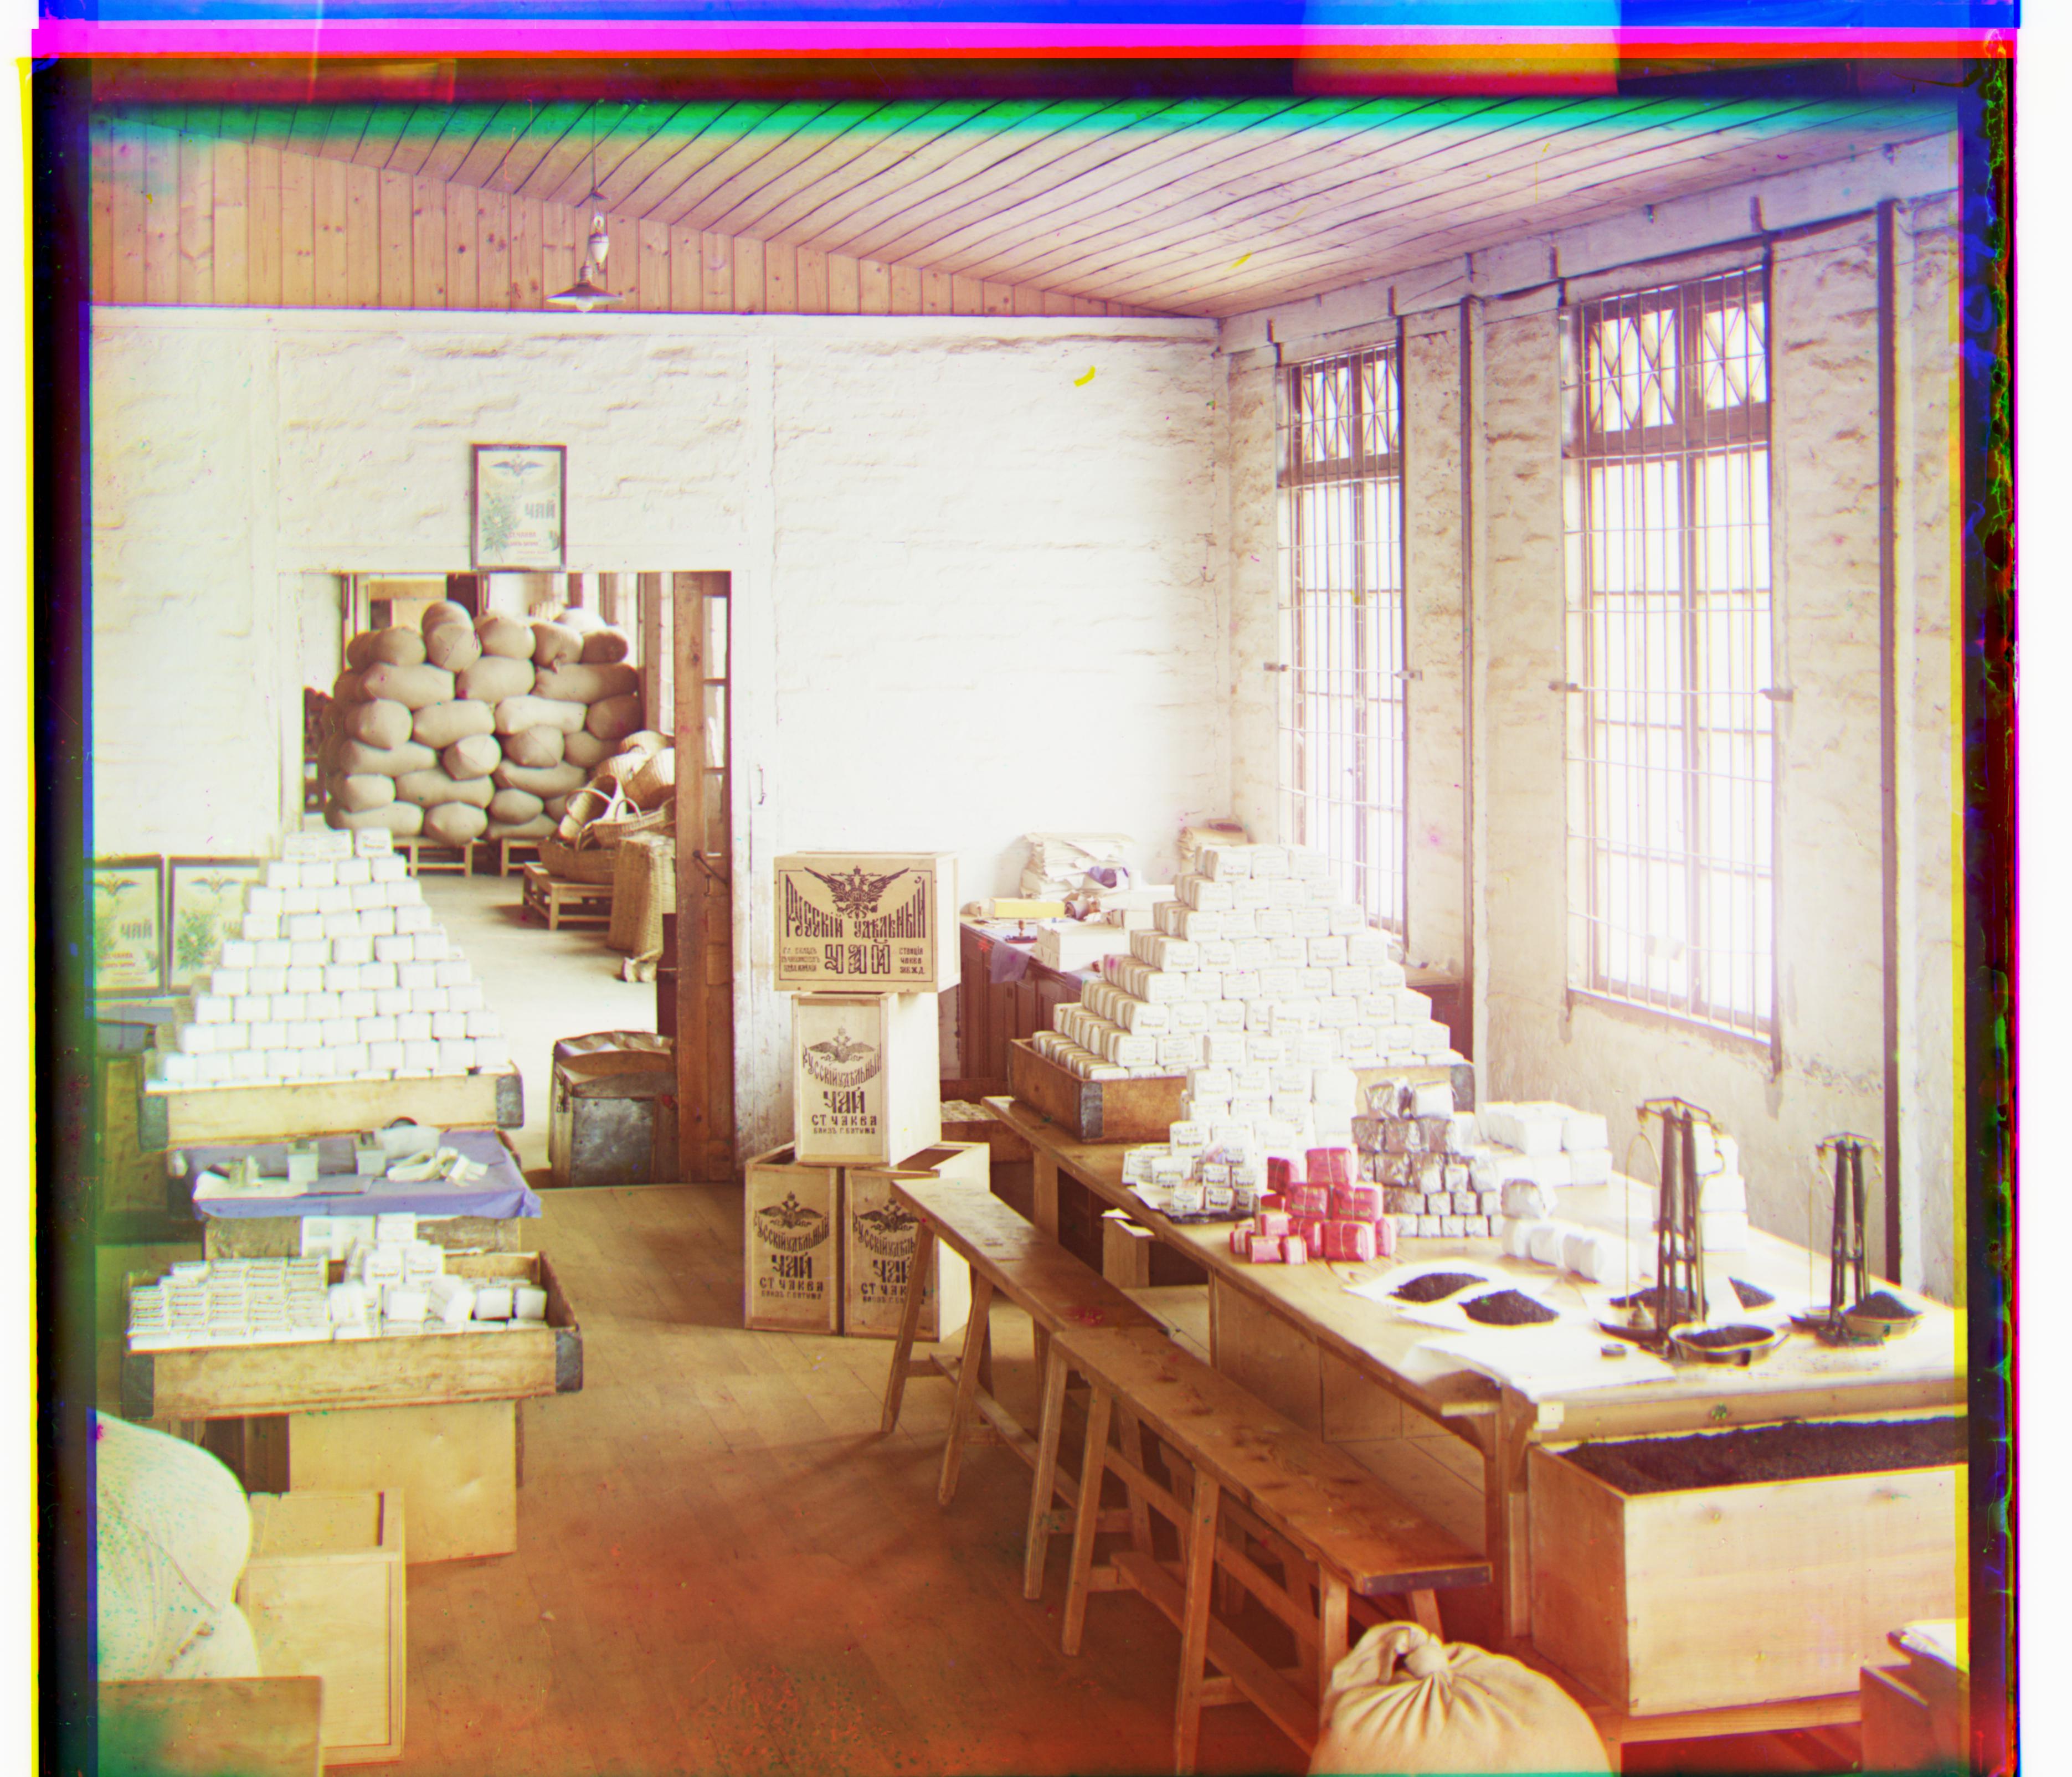
Each input is a digitized glass plate image that contains three versions of the same photo, the red, green, and blue channels. The three are vertically stacked. The provided inputs contain both low-resolution and high-resolution images, with dimensions ranging from around 390 x 1024 pixels to 3700 x 9700 pixels. Therefore, I knew that my processing approach would also have to optimize for these large input images, as opposed to the most naive exhaustive search.
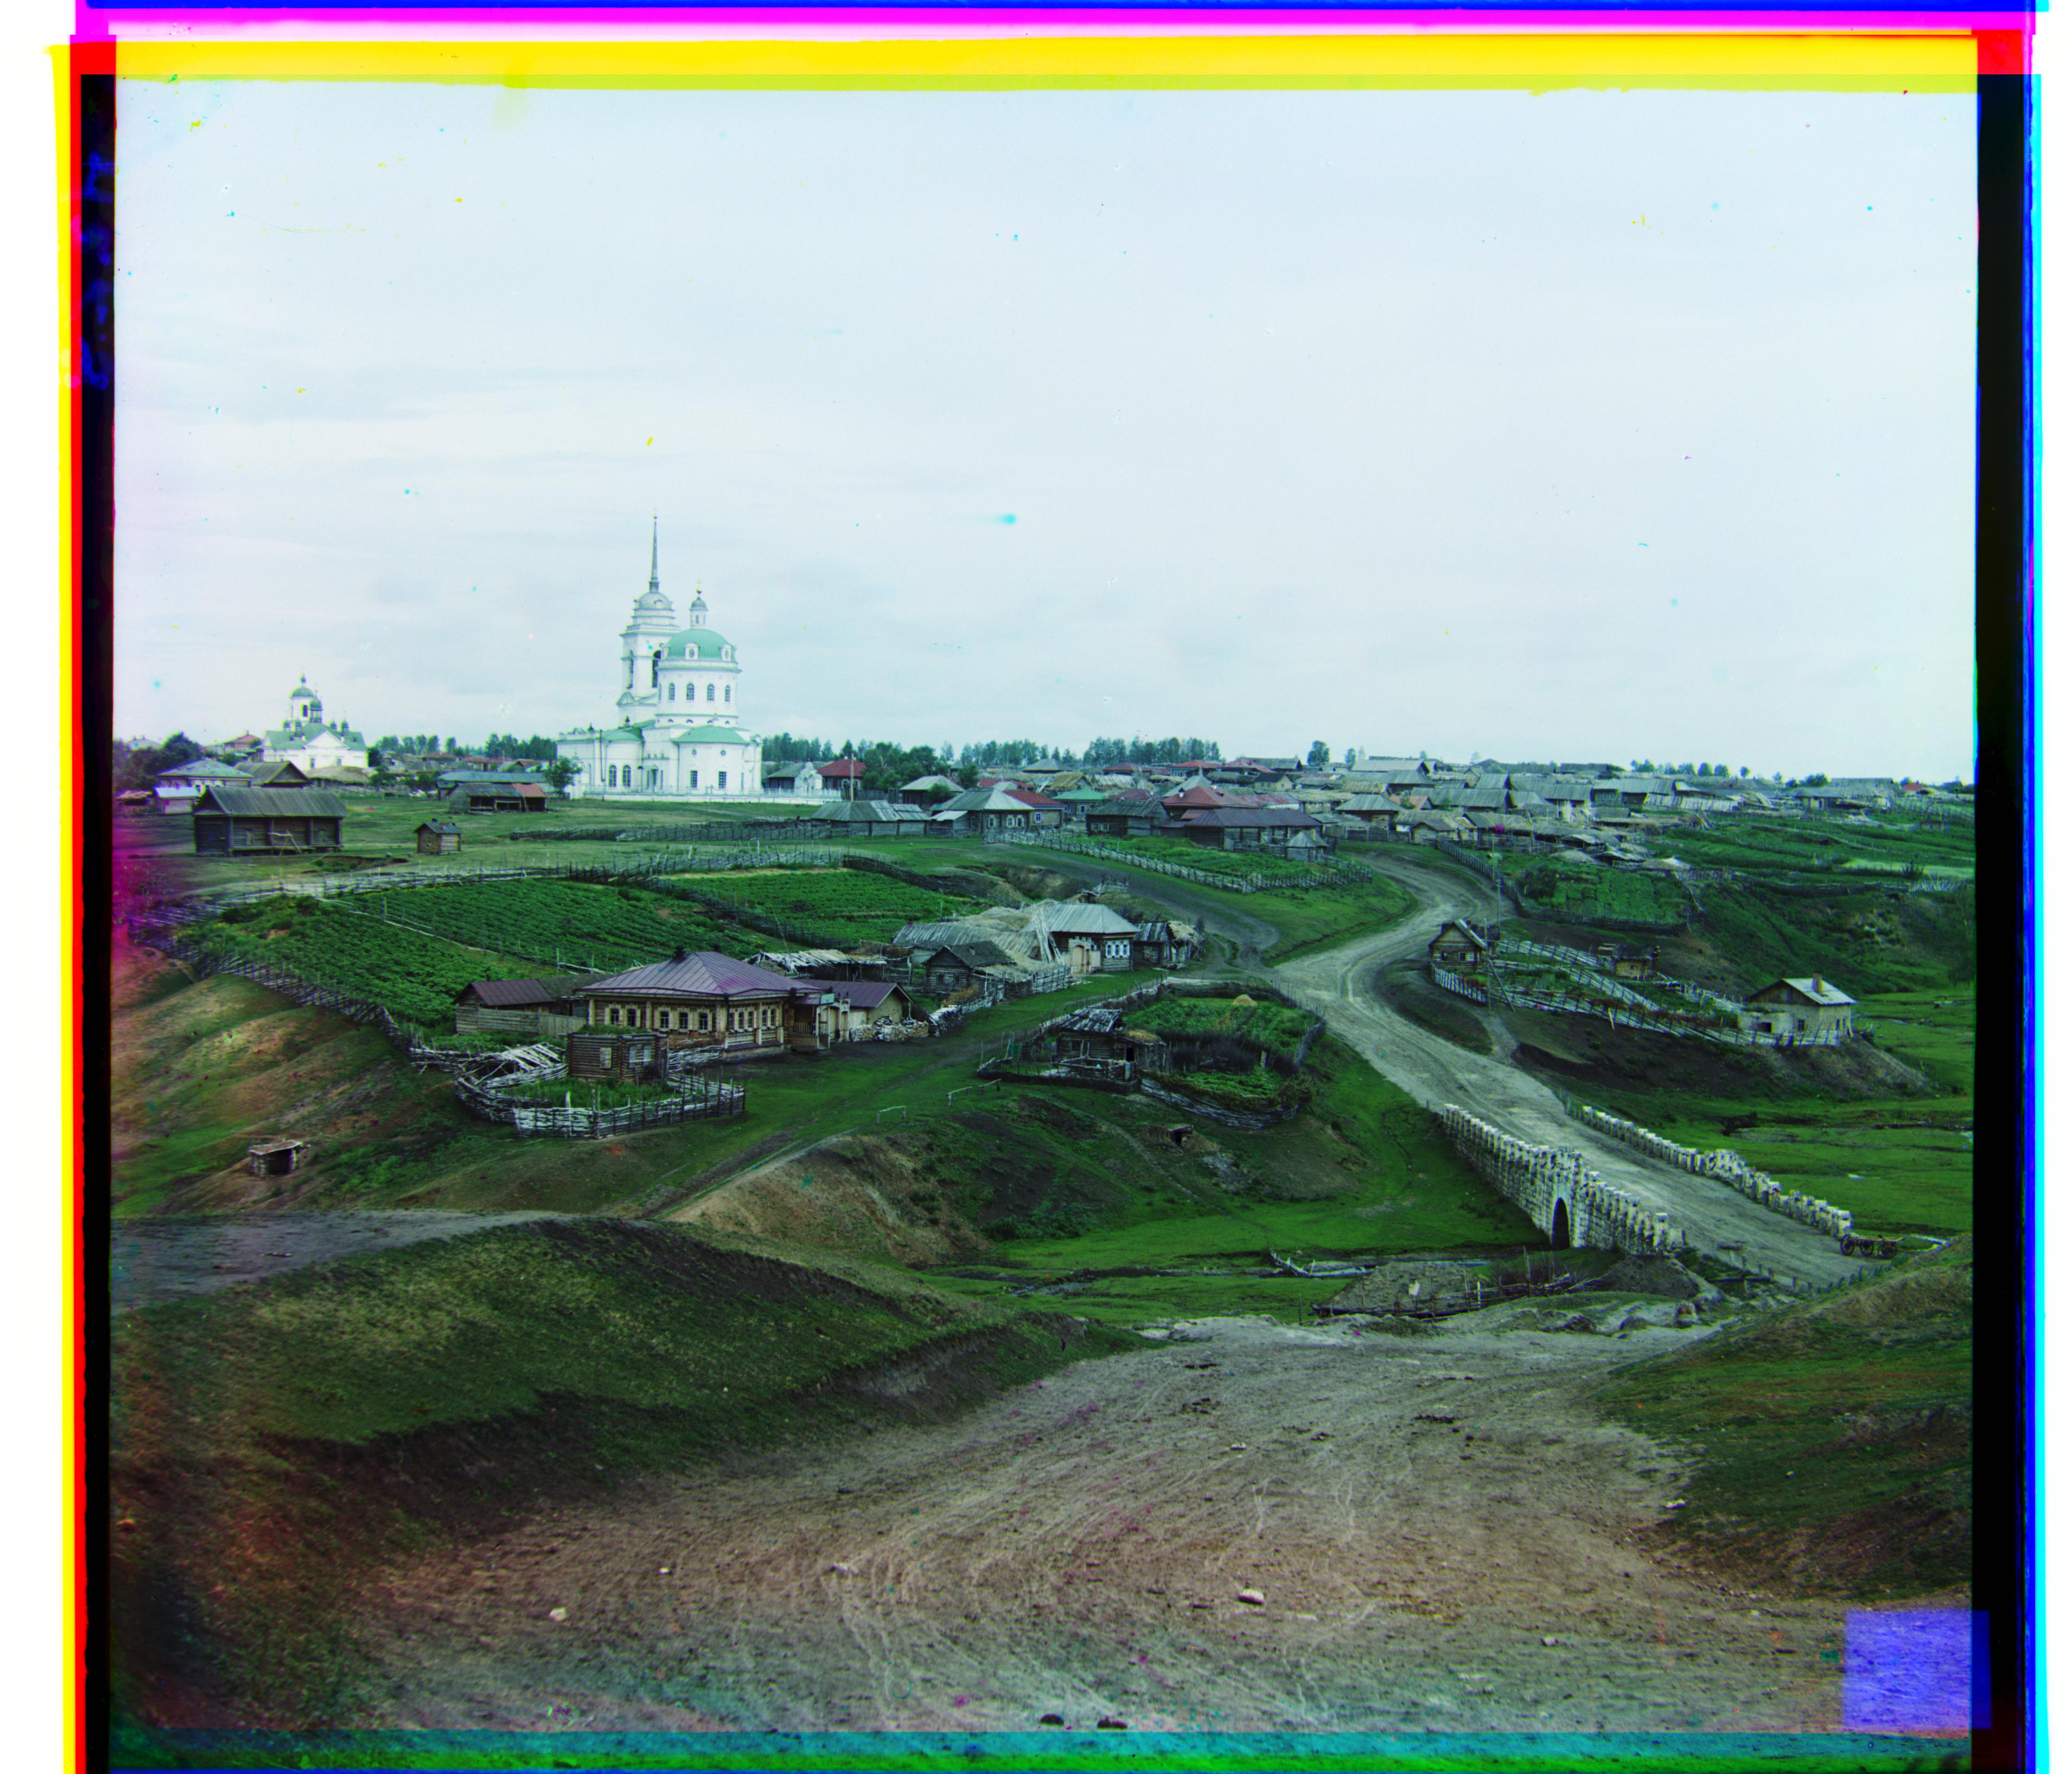
Here is an example of an input:
Alignment
The first step in processing in each input was to vertically divide it into thirds. Then, given two images, each a different color channel, I had to determine the best offset to align the two. My goal was to align the green and red channel images to the blue channel image. I used the simplest distance metric, the Sum of Squared Differences (SSD) distance, to score the effectiveness of an offset between two images. The lower the score, the more similar the two images are.
One issue was the imperfect borders around each image. Since the border is not technically part of the photo, and looks drastically different from the imagery of the photo, I did not want to consider the border in the distance scores. To mitigate this issue, I cropped around 10% of each edge before calculating the metric.
For the low-res inputs, I started out by searching the recommended range of [-15, 15] in both the x and y directions to find the best offsets. This worked pretty well, but I knew I would have to find a more efficient method for the hi-res inputs. The exhaustive search method took longer than a minute for each hi-res input.
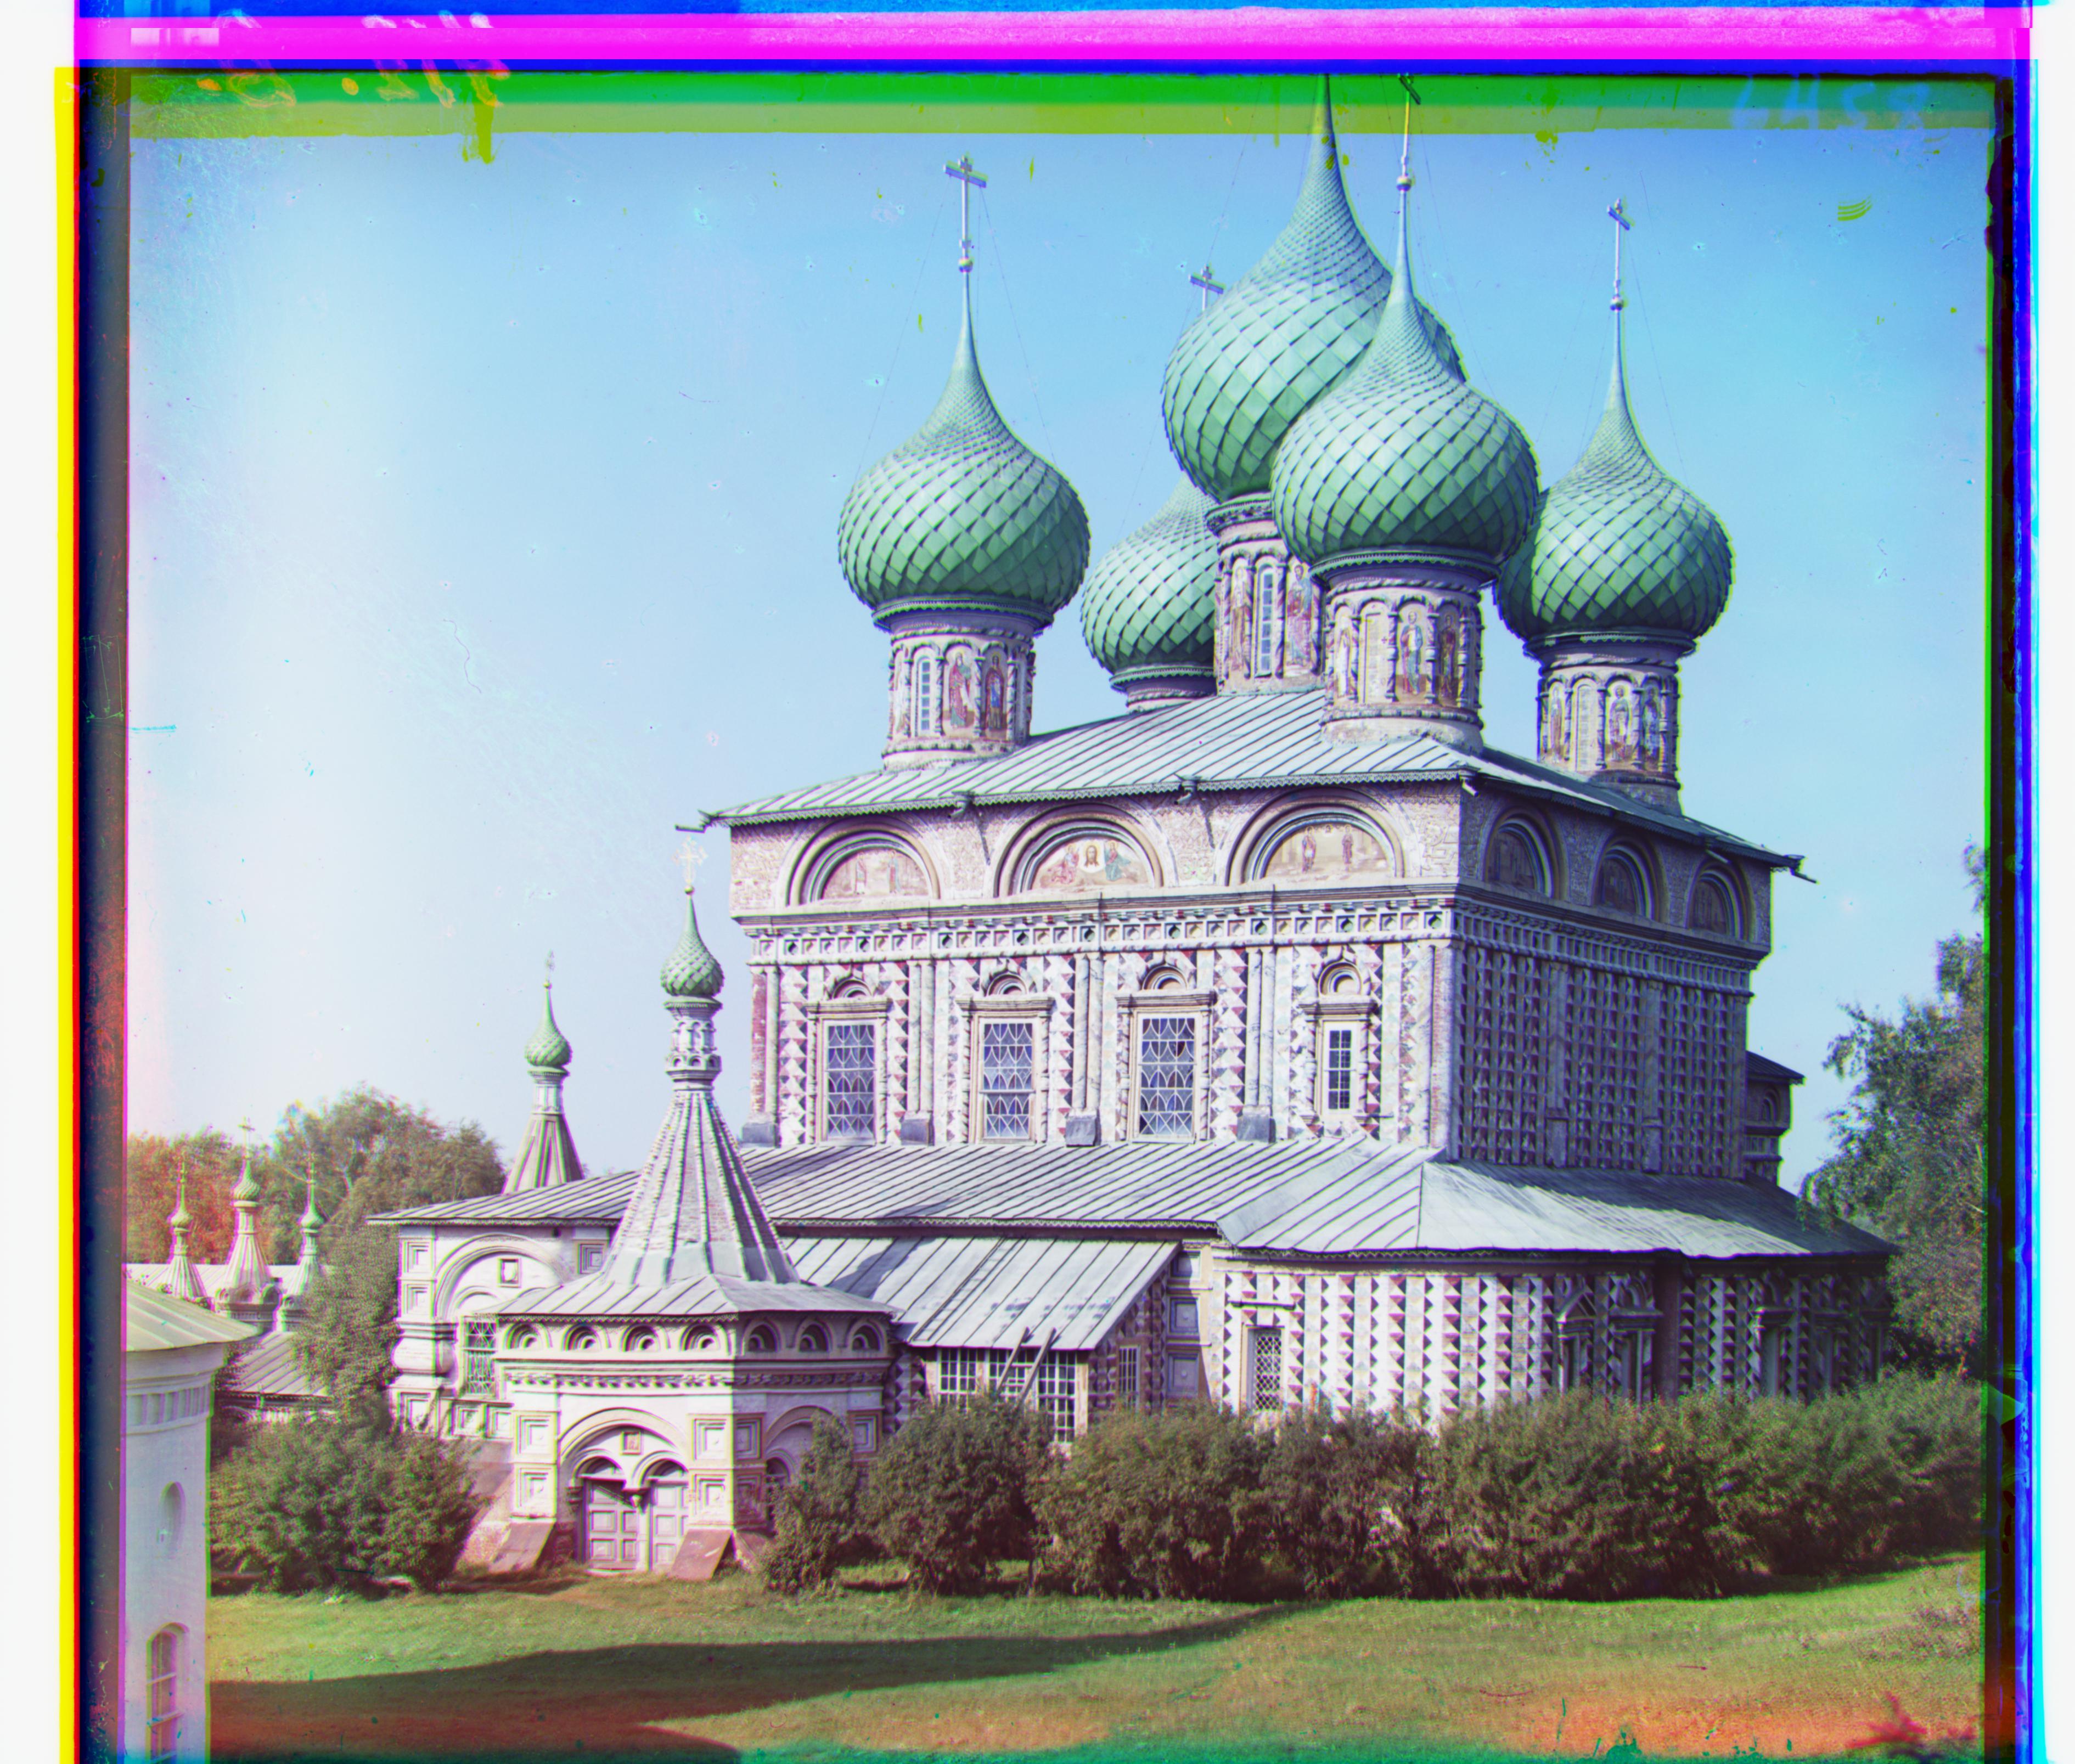
Here is the colorized output of the monastery photo from above:
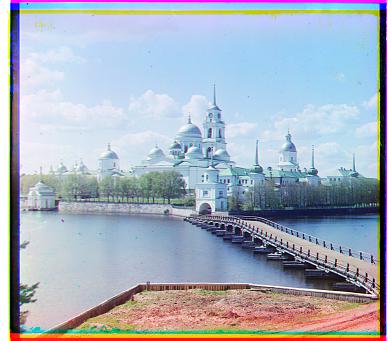
Image pyramid
I modified my algorithm and tried the image pyramid approach. In this process, the images would be scaled down, aligned at that scale, and then scaled up and realigned, adjusting the alignment in finer detail each time. When the images are scaled down, the initial alignment is more coarse, but helps cover more surface area with the same search range. Then, at the next scale up, since there is already a previous alignment offset, then the search area is only around that offset. This method decreases the amount of calculations while covering more surface area.
Issues & adjustments
I started out by scaling the images at 1/8 of their original size and searching the same [-15, 15] area, and doubling the image size each time until the scale was back at 1. However, I quickly realized that [-15, 15] is still too big of a search area.
I reduced the search range to [-4, 4] in the x and y directions instead, which greatly sped up the runtime. However, this lead to a different issue, where some channels were not aligned closely enough because the overall search range was too small. By aligning the images at 1/8x, 1/4x, 1/2x, and 1x, the maximum offset that could be found was 32 + 16 + 8 + 4 = 60 pixels, which was not enough for a lot of the inputs.
I increased the number of iterations so that the first iteration would start at 1/32x but keeping the search range. Then, the maximum offset that could be found is 128 + 64 + 32 + 16 + 8 + 4 = 252 pixels, which was enough to align the images pretty well!
Another issue was that I was not cropping enough of the border. I realized that I had initially set it to 15 pixels to crop from each edge, but I did not adjust or scale this value when I moved on to the high-res images! I changed it to cropping out 10% from each side of the image. My alignment scores became more accurate after this cropping.
Output results
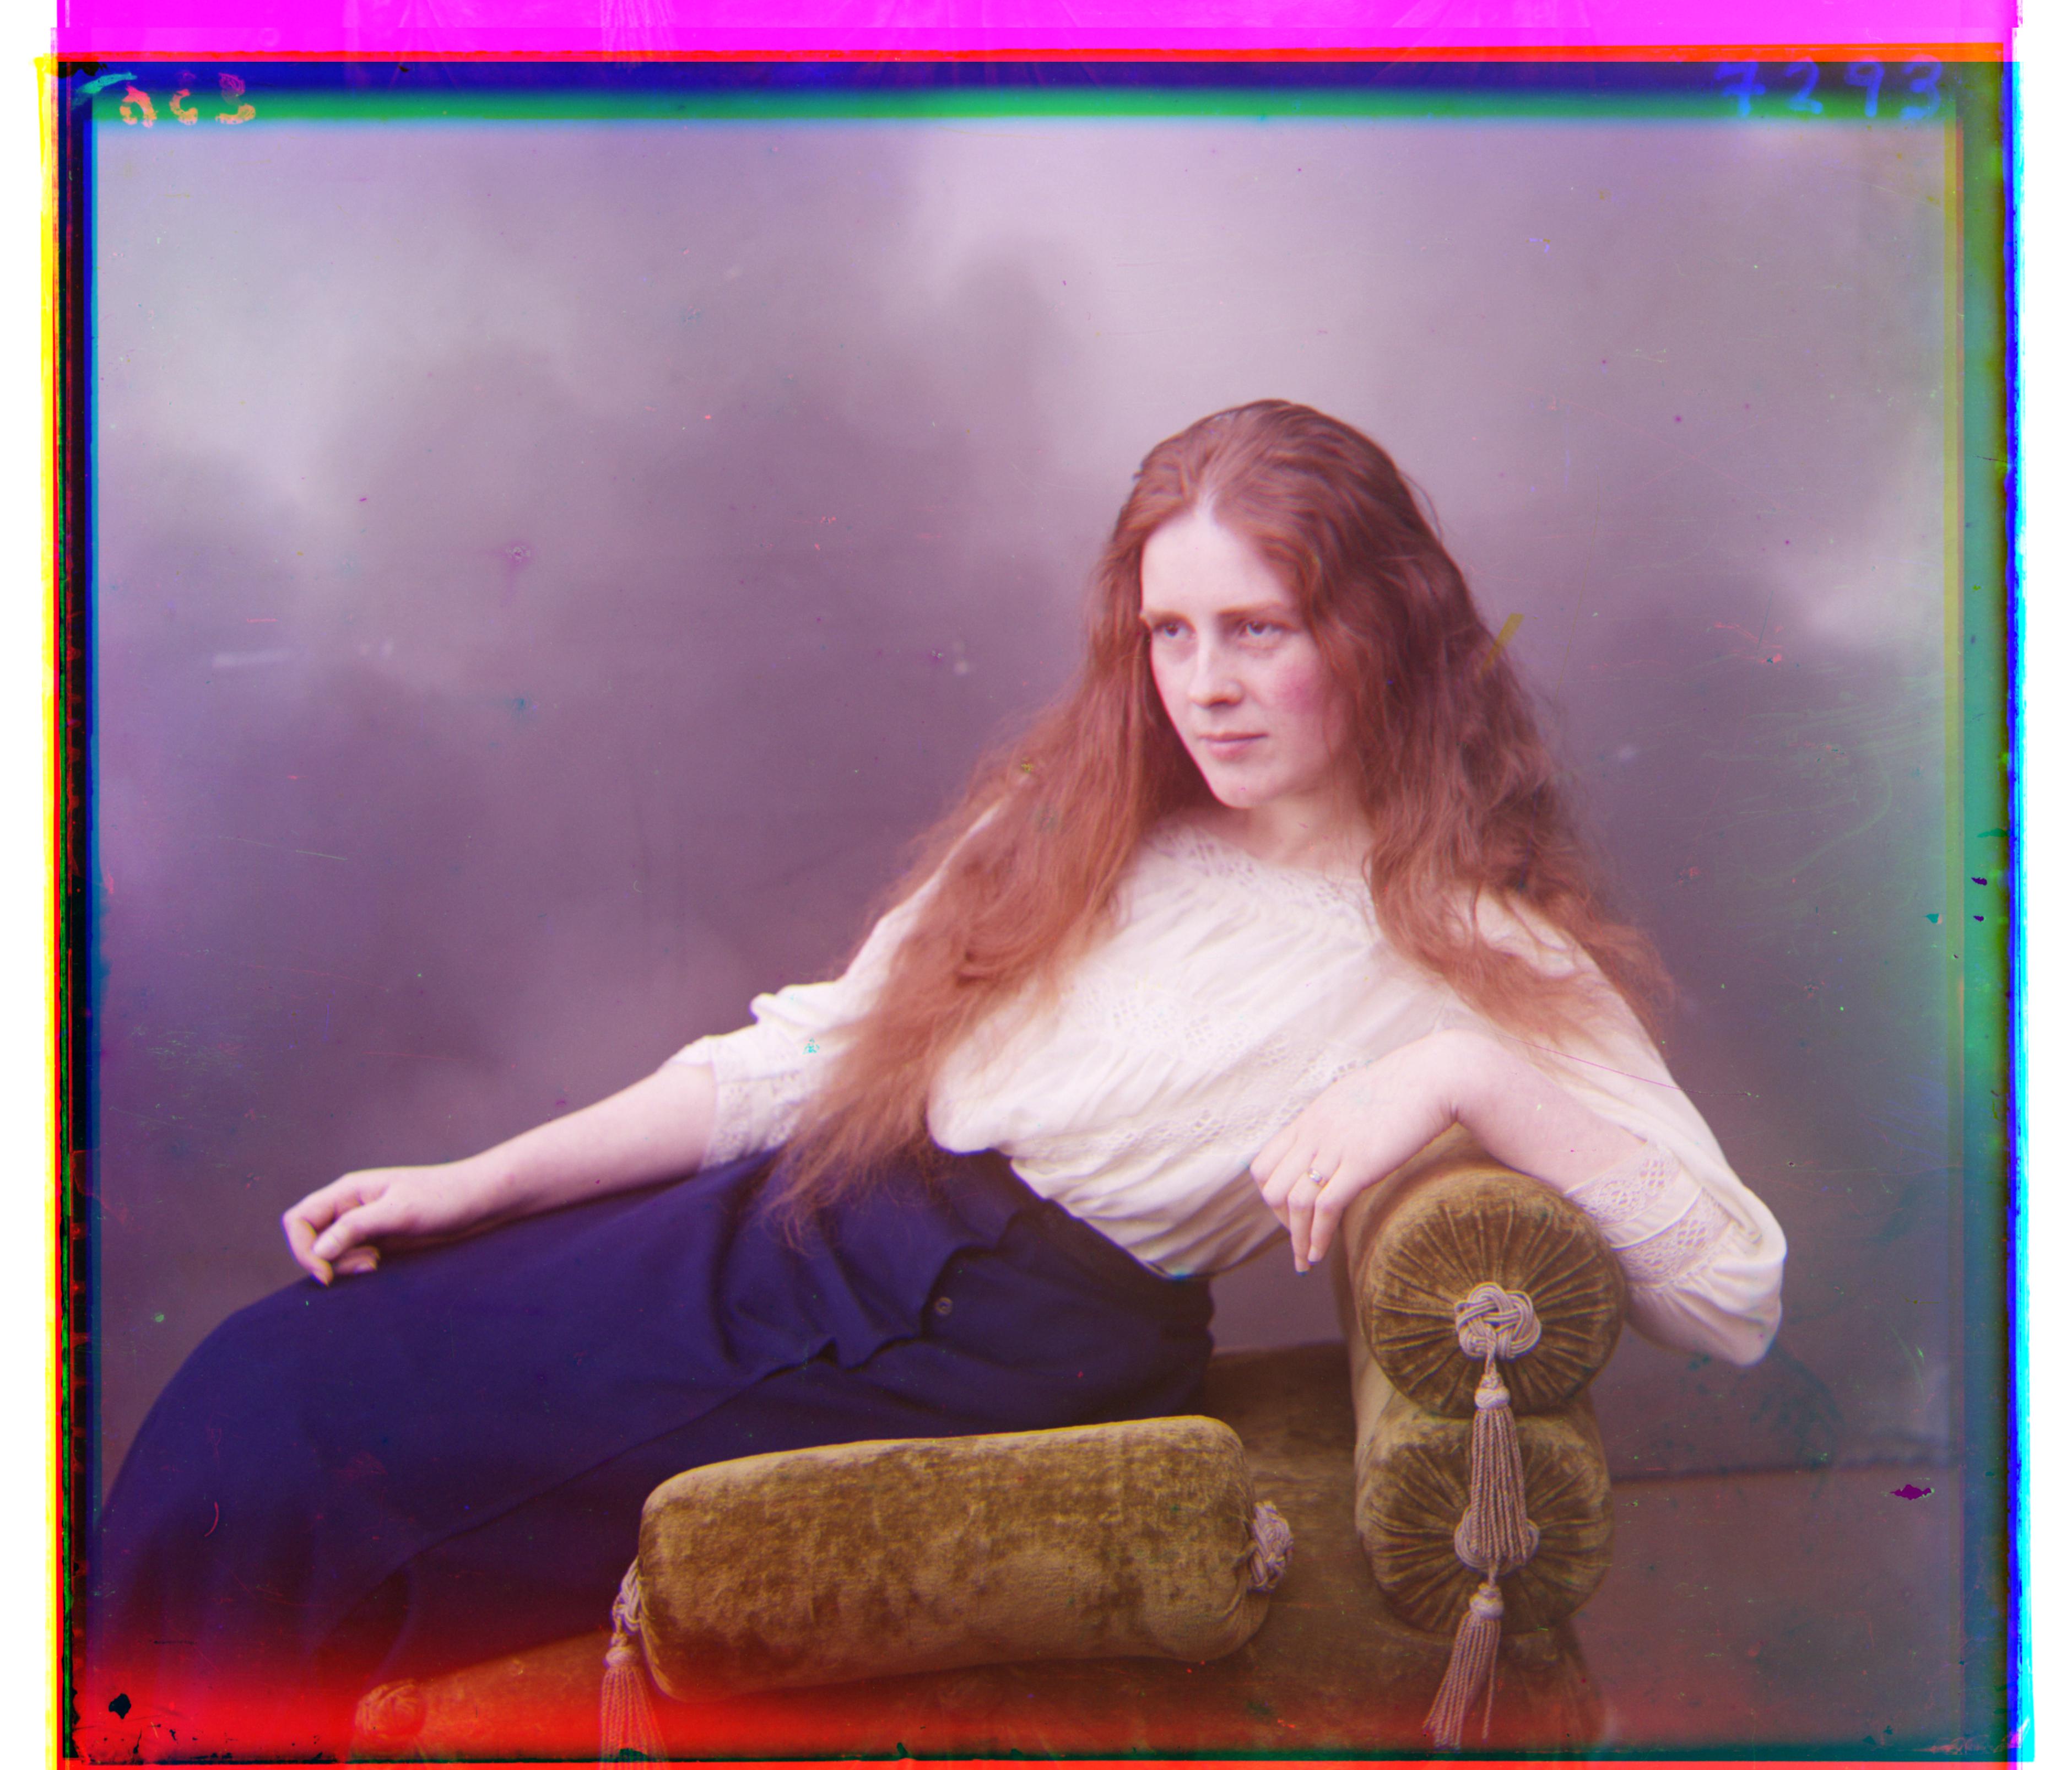
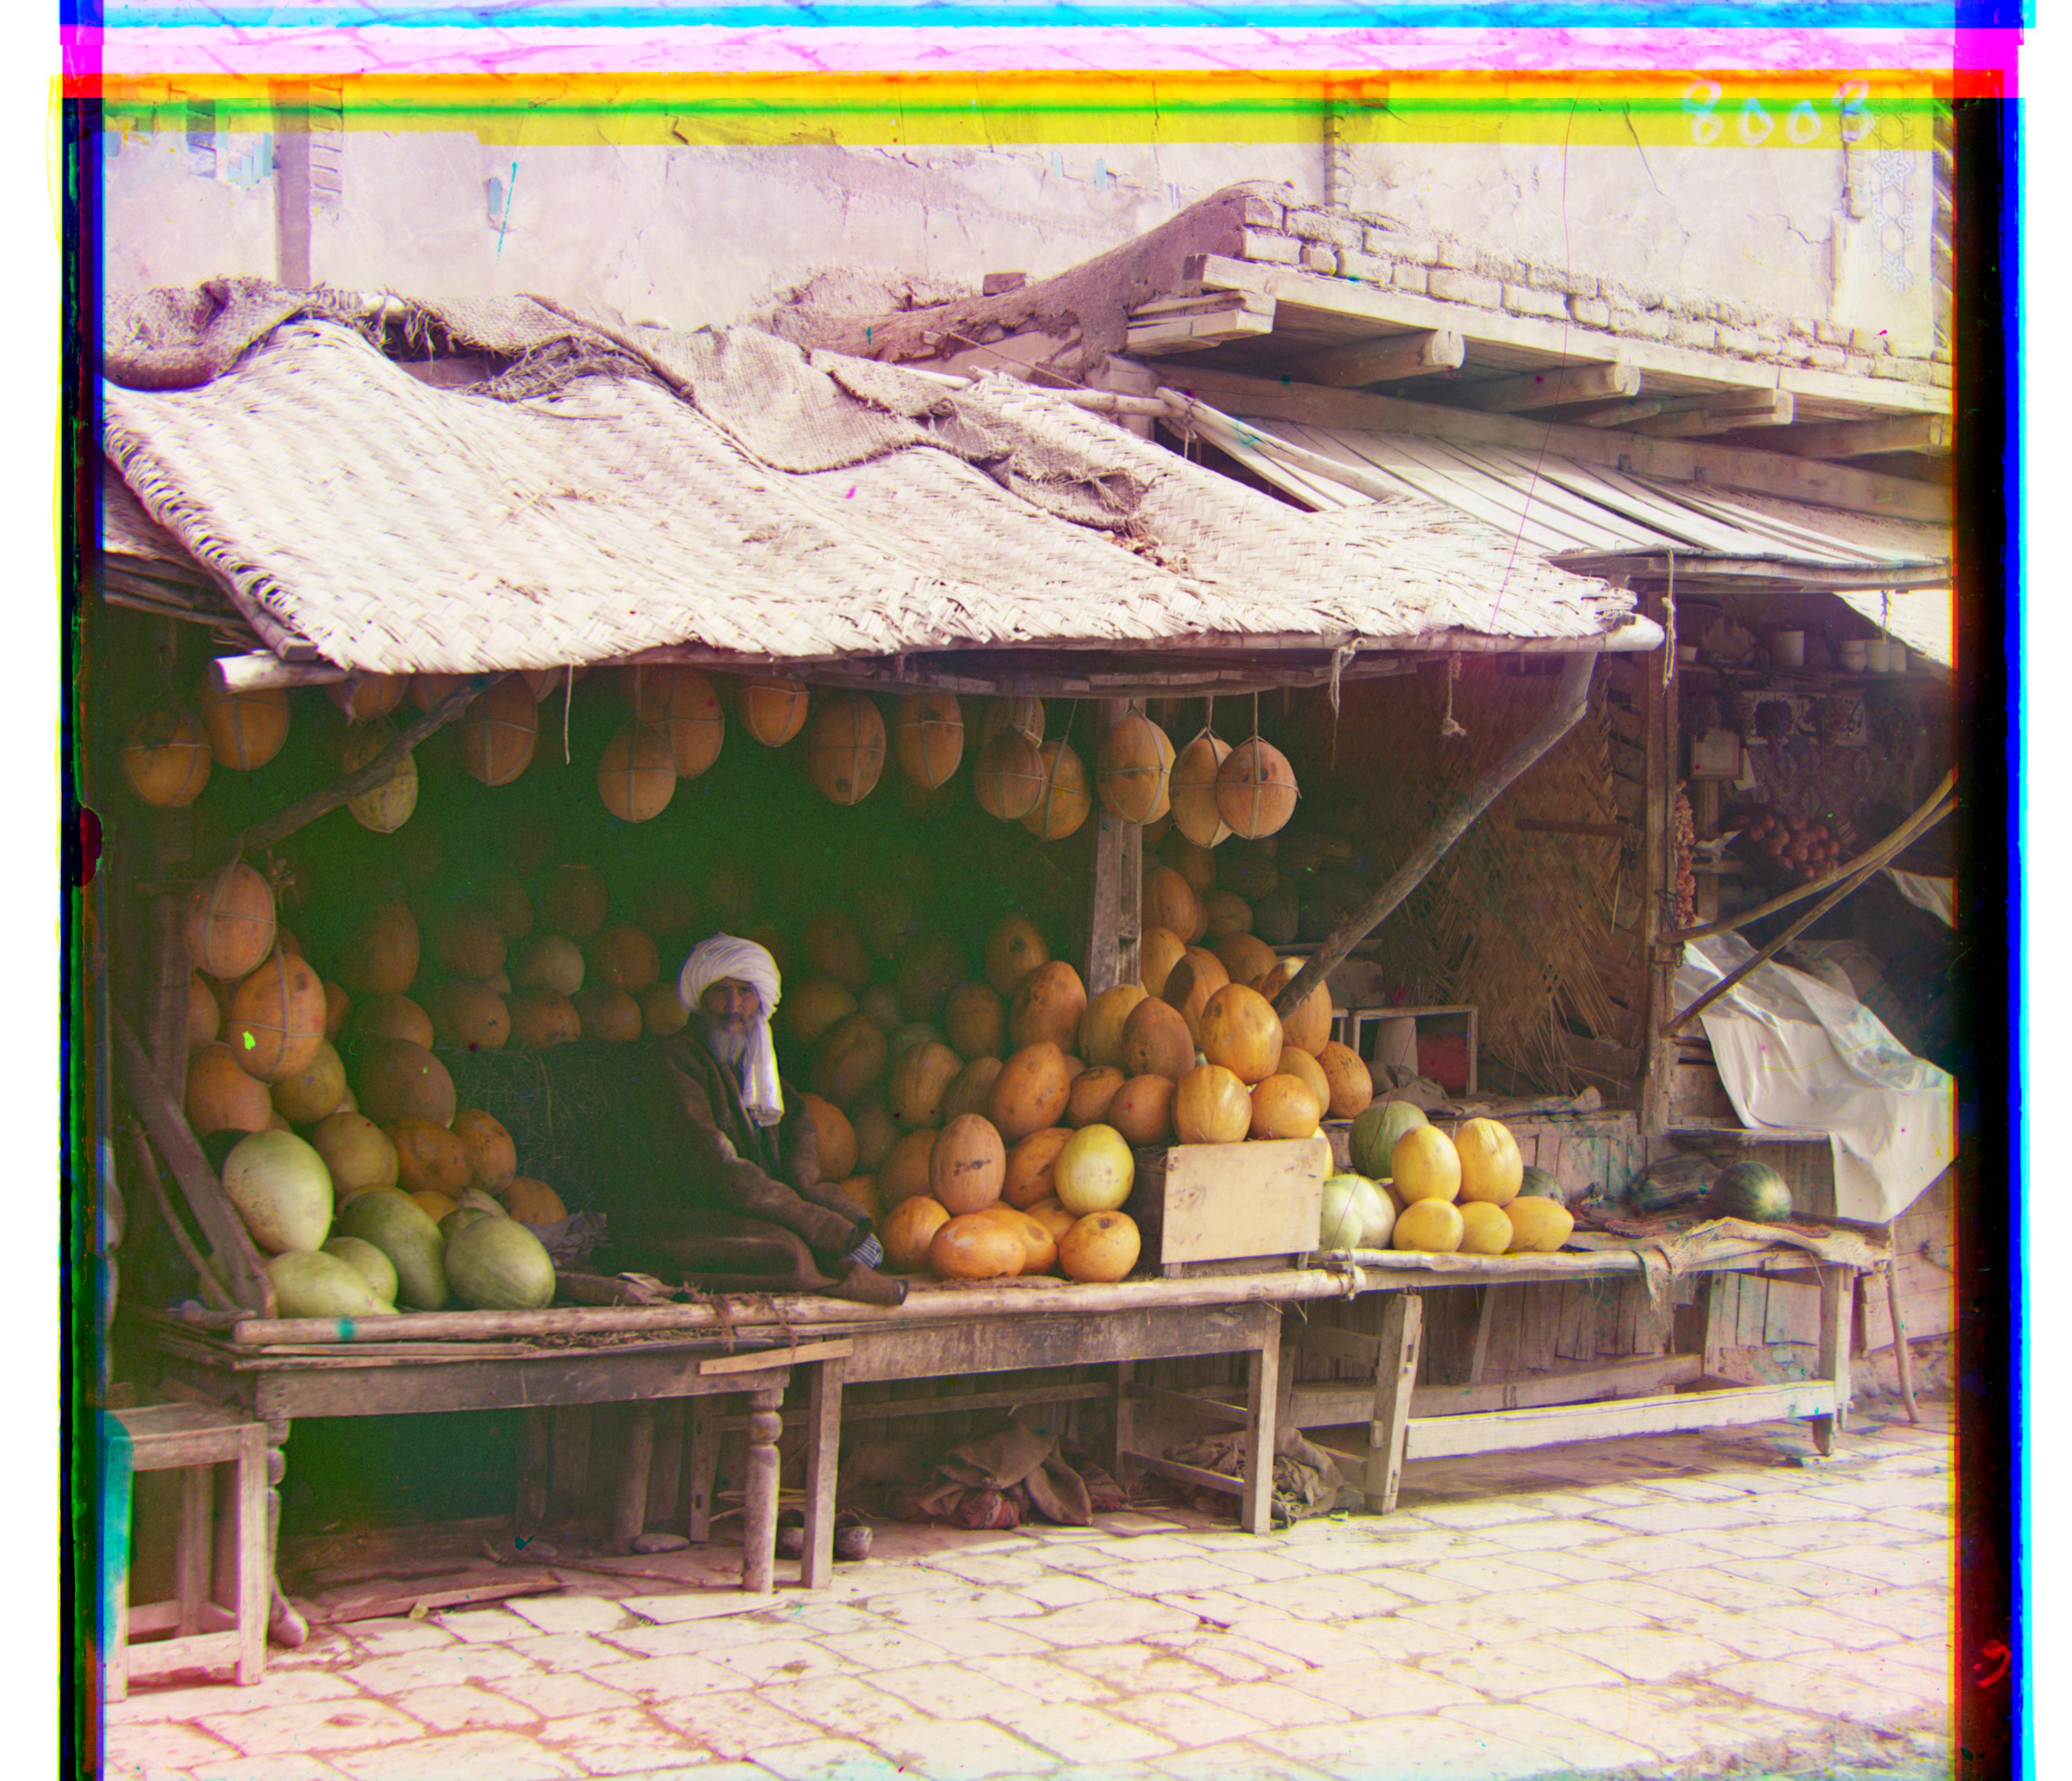
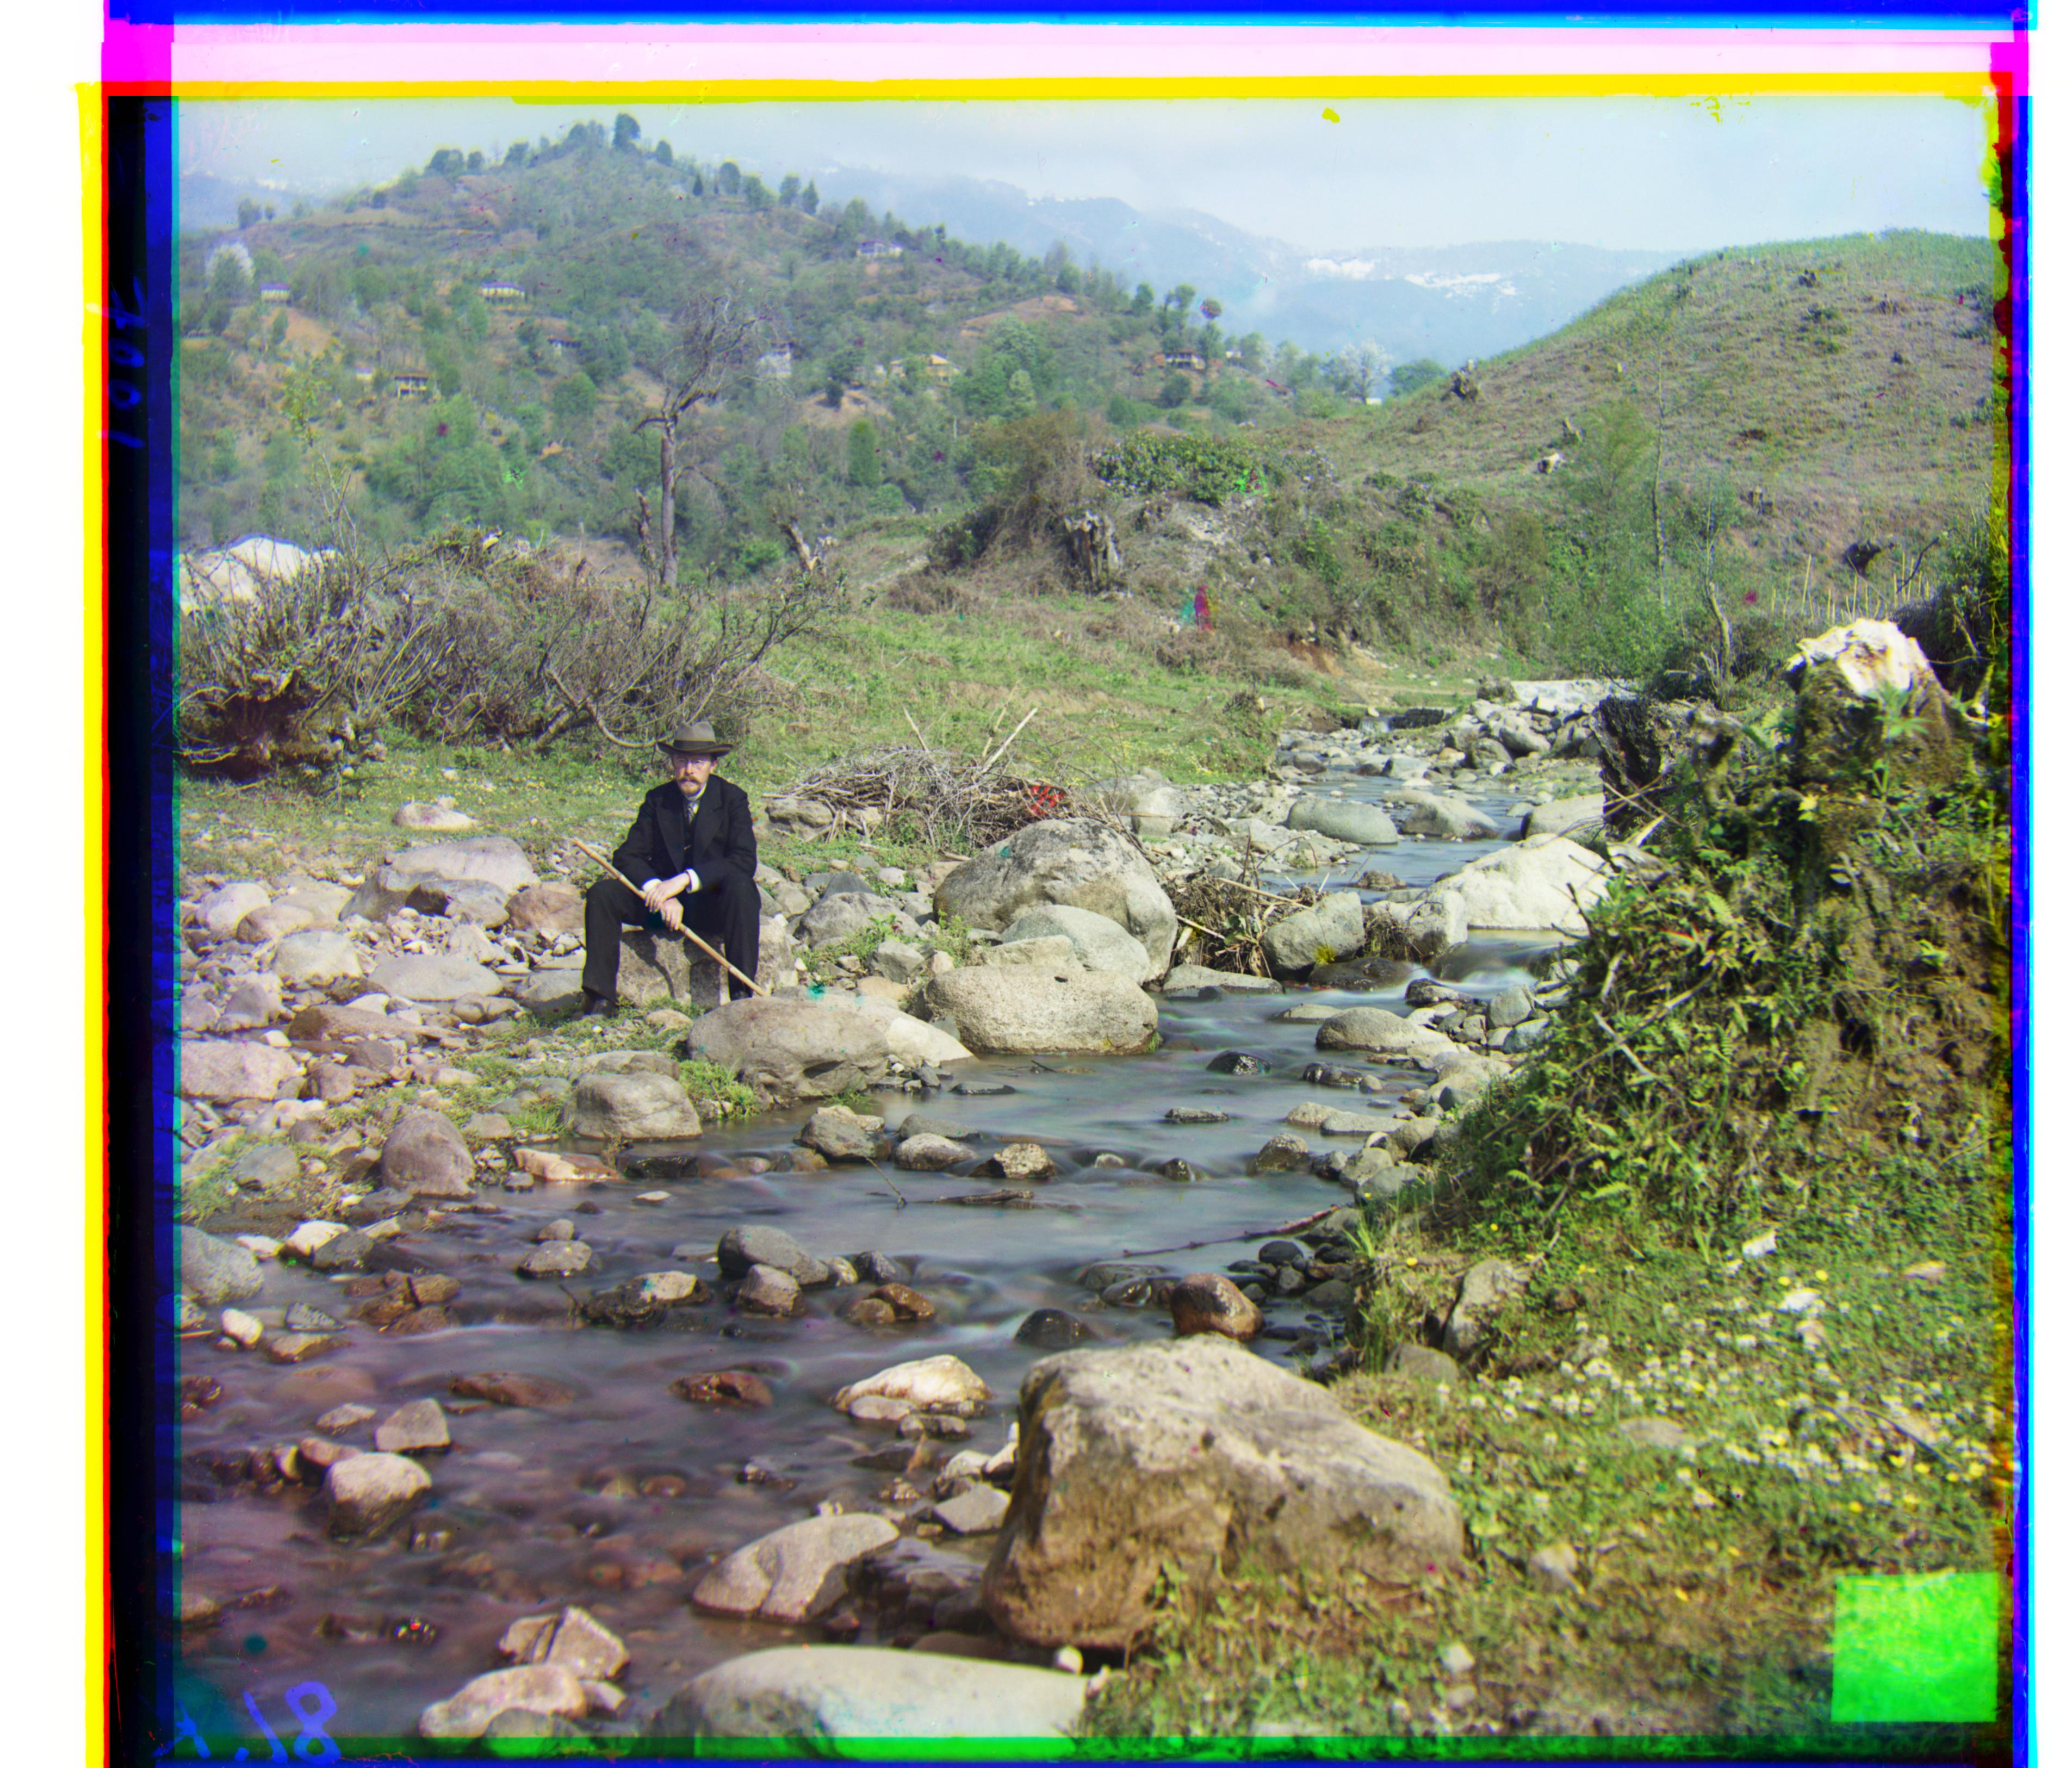
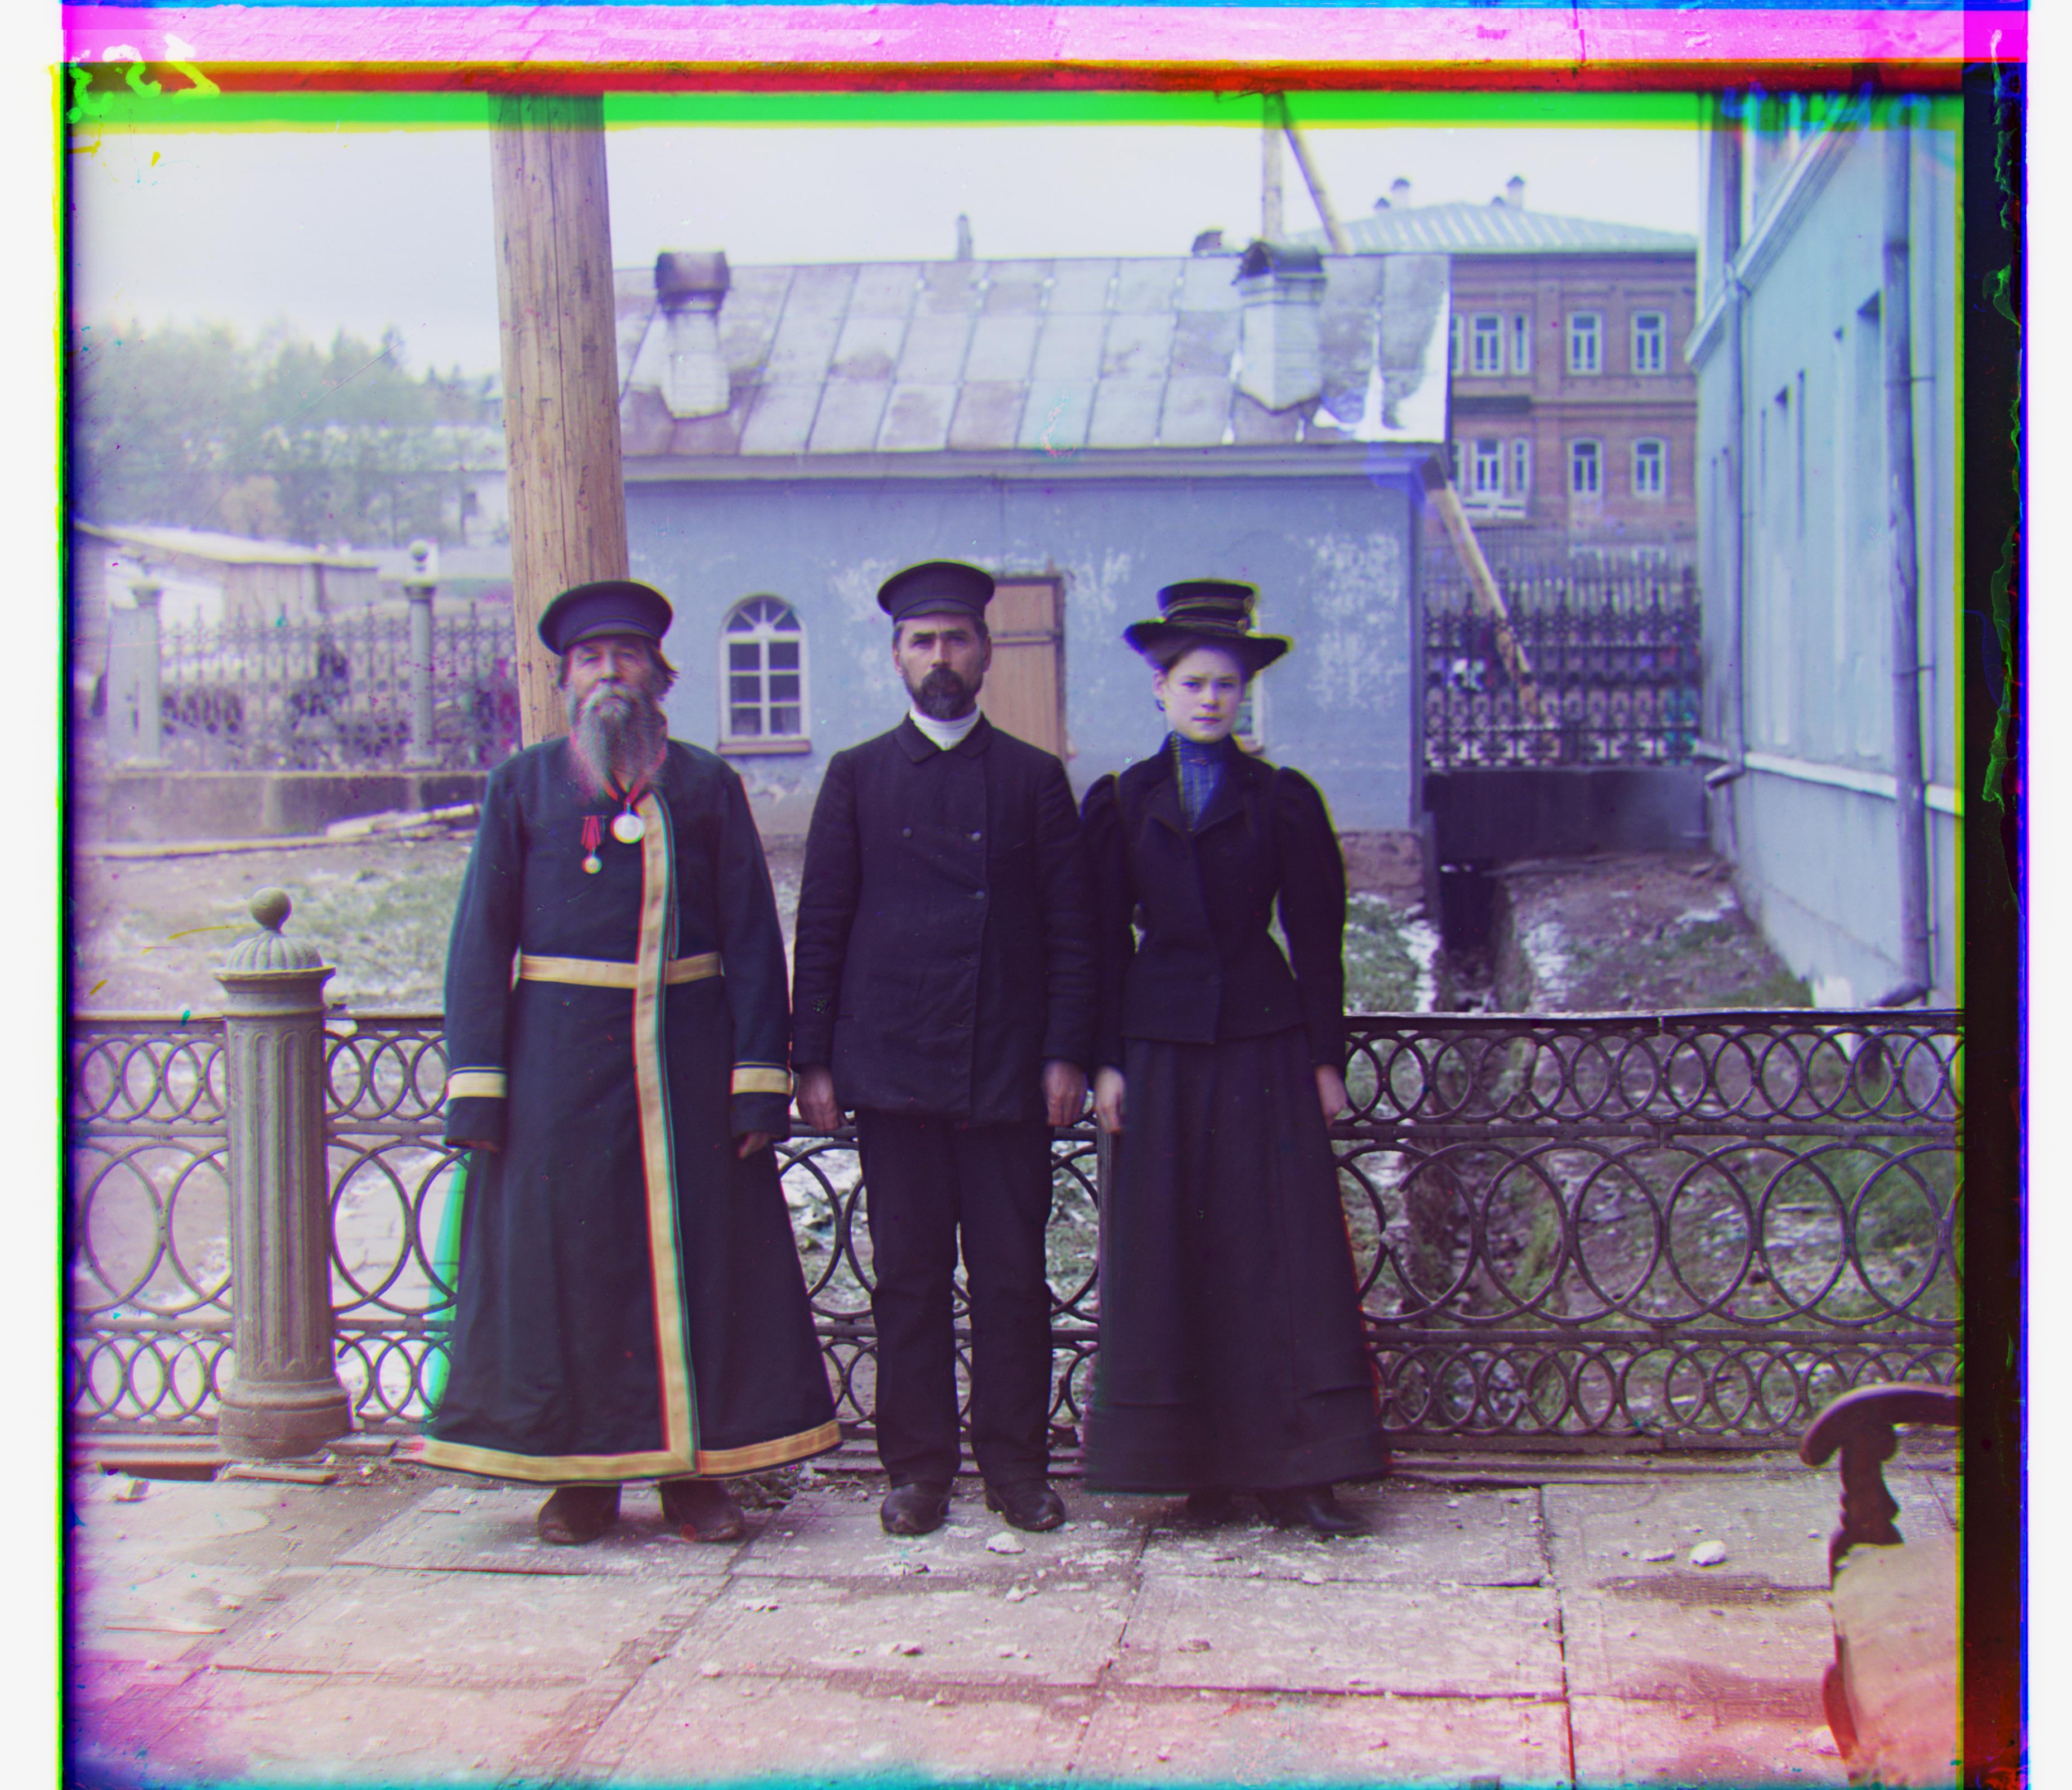
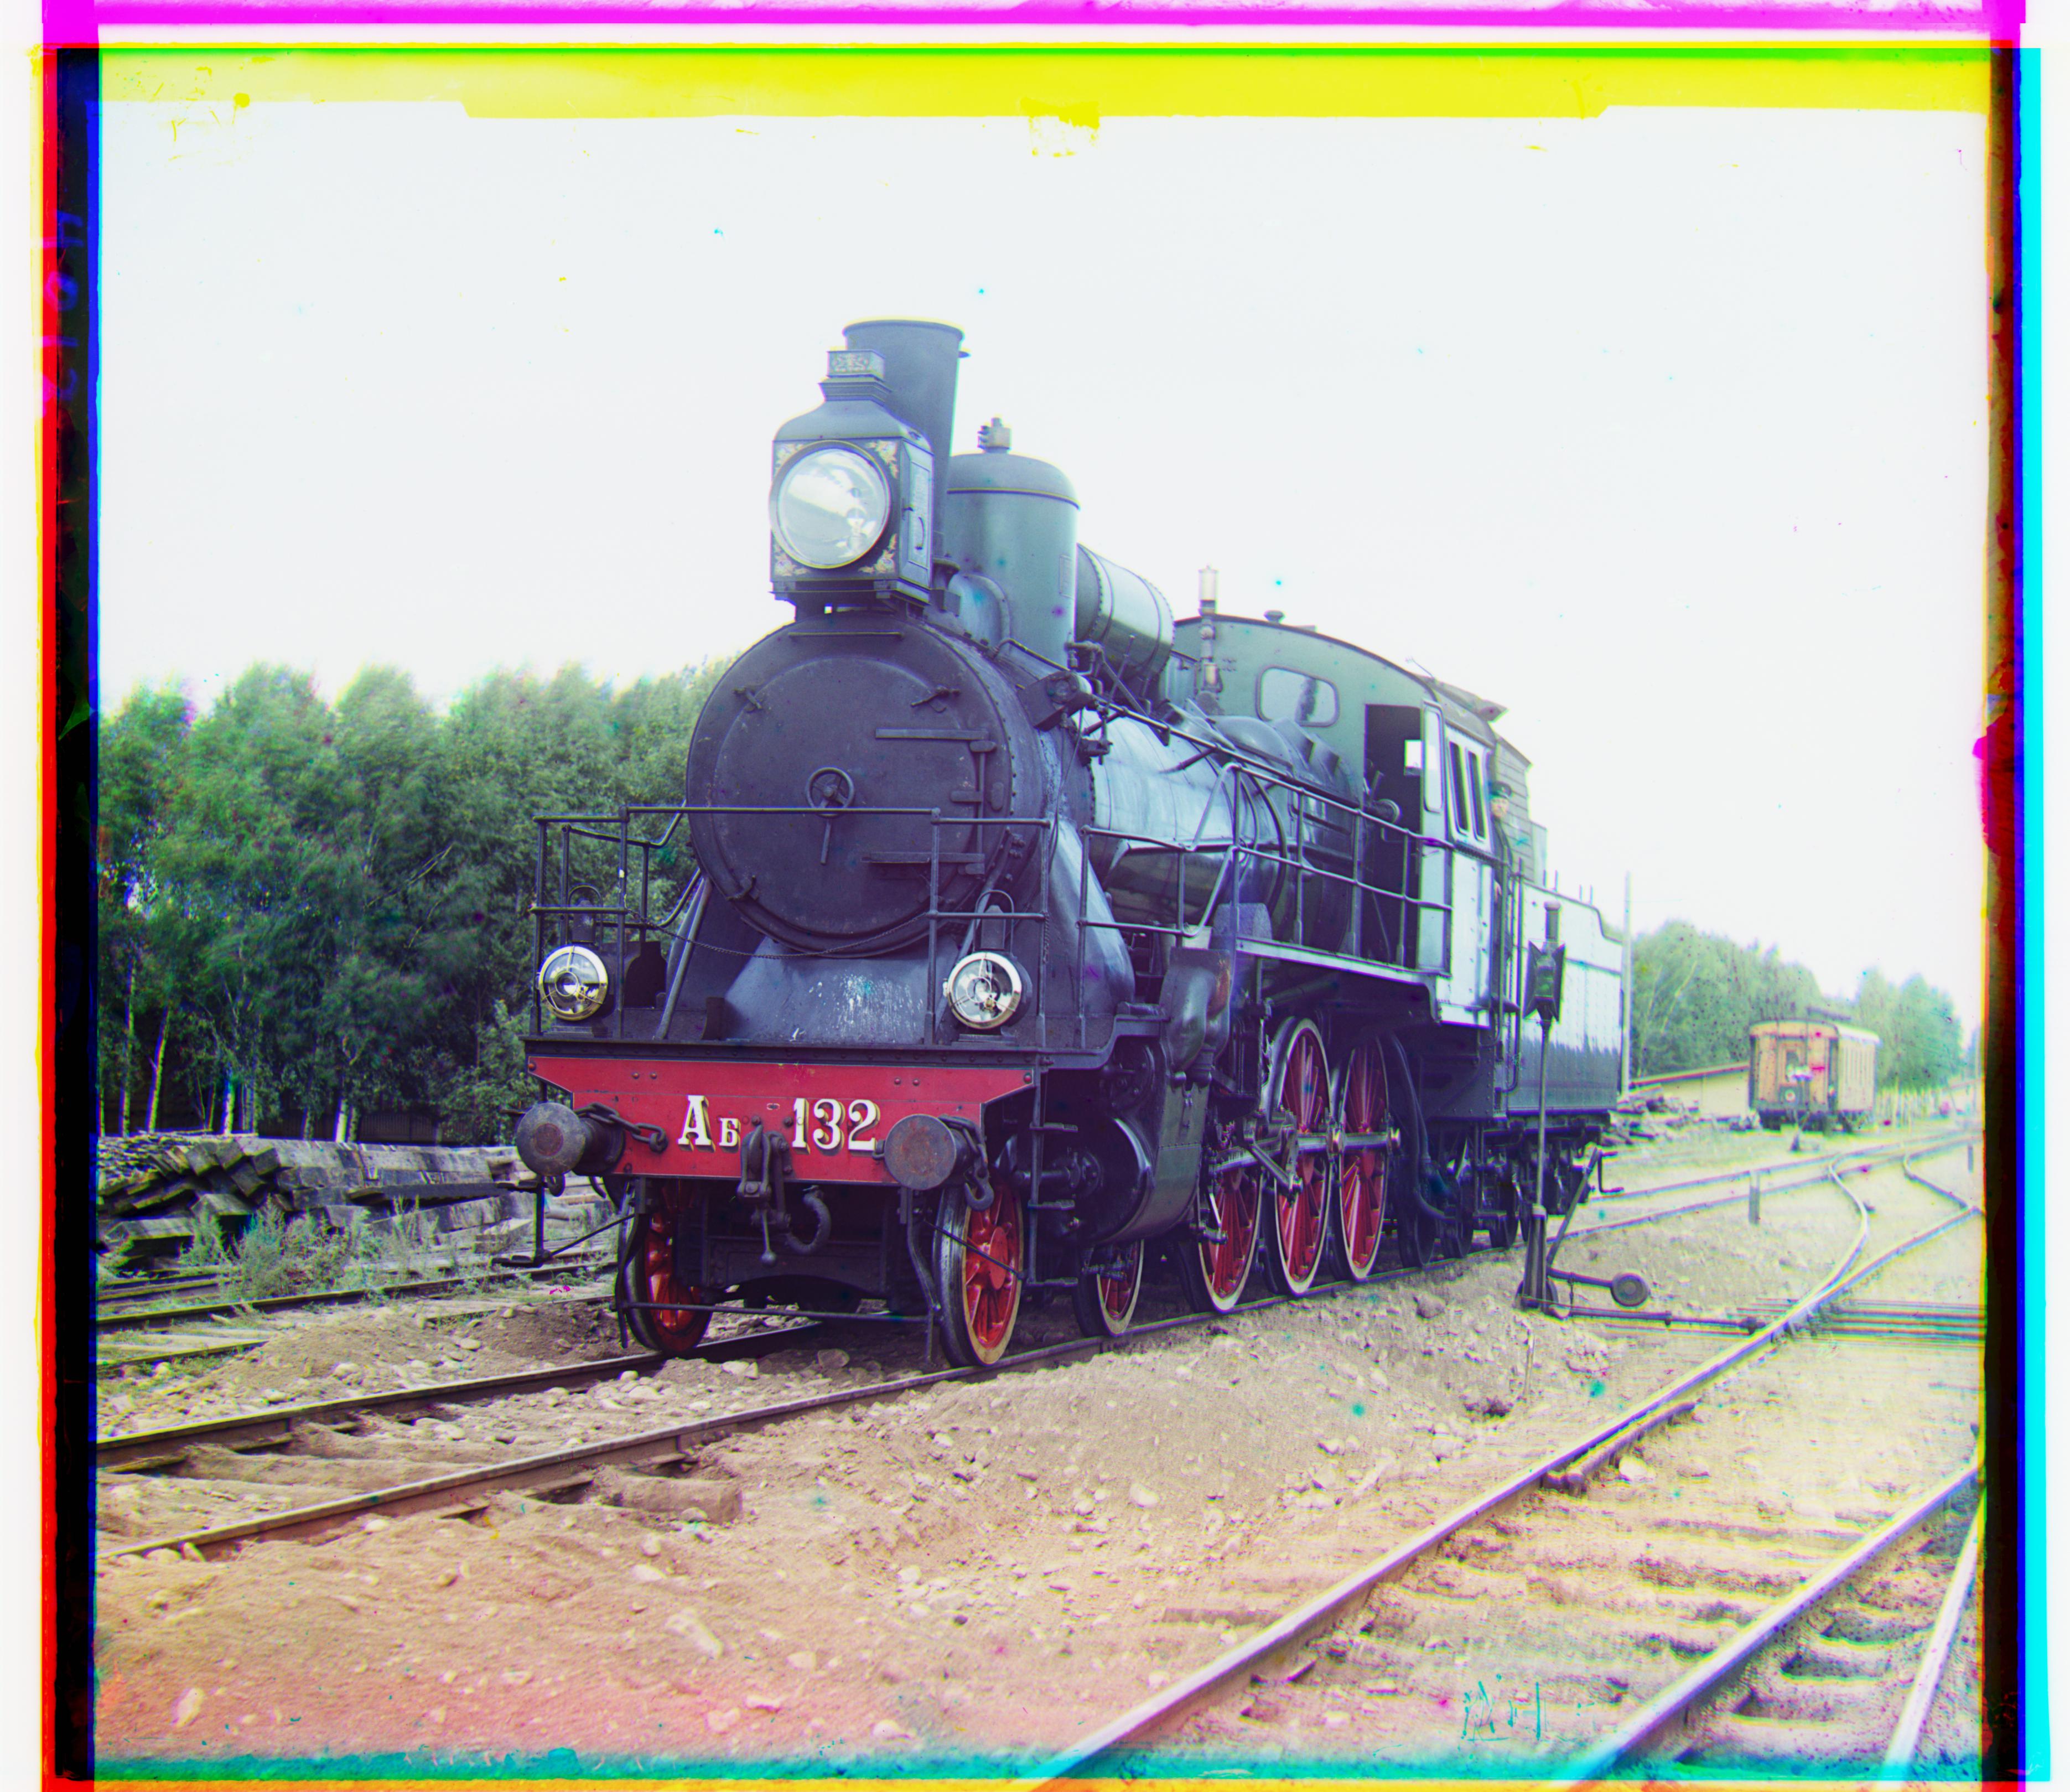
These are the outputs I produced based on the algorithm I've described. Below each image, I've noted the (x, y) offsets found for the red channel and green channel images.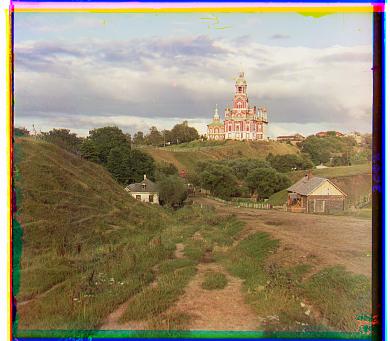
R: (3, 12), G: (2, 5)
R: (2, 3), G: (2, -3)

R: (3, 6), G: (3, 3)
R: (-206, 99), G: (24, 49)
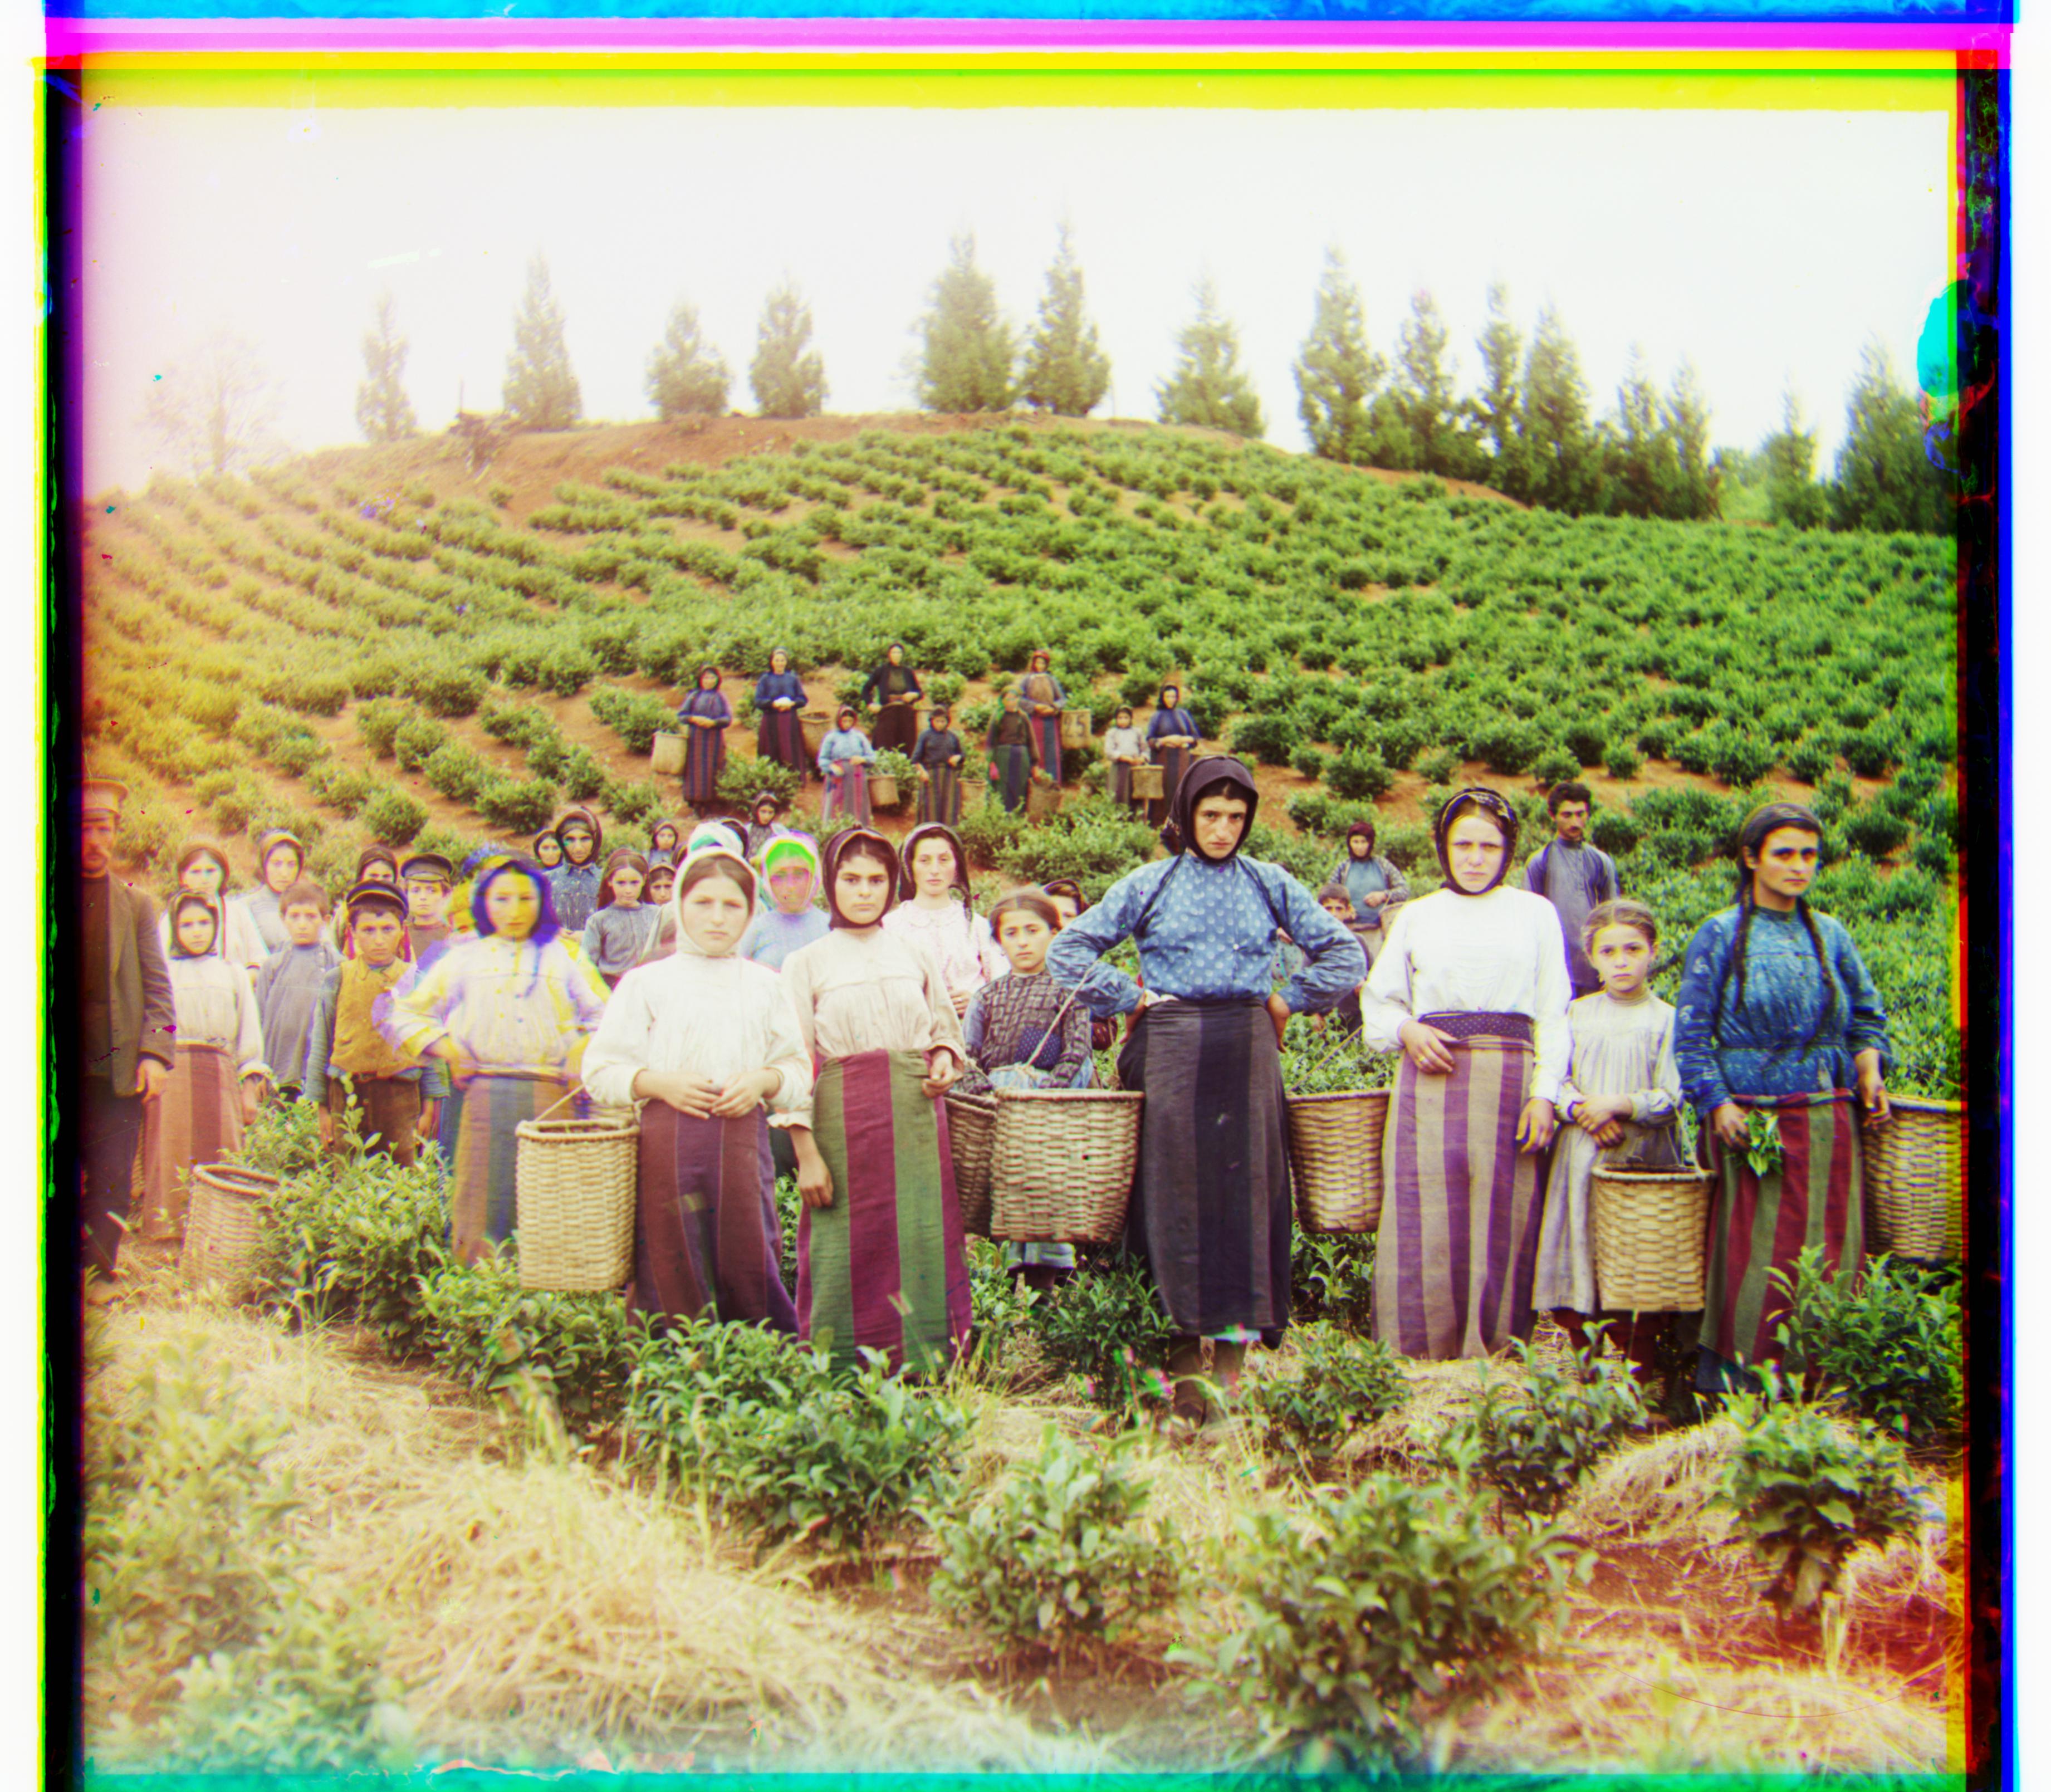
R: (13, 124), G: (16, 59)
R: (23, 89), G: (17, 41)
R: (11, 112), G: (9, 50)
R: (13, 178), G: (10, 82)
R: (36, 108), G: (26, 51)
R: (37, 176), G: (29, 78)
R: (11, 112), G: (14, 53)
R: (32, 87), G: (5, 42)
R: (22, 137), G: (12, 64)
R: (-12, 105), G: (0, 52)
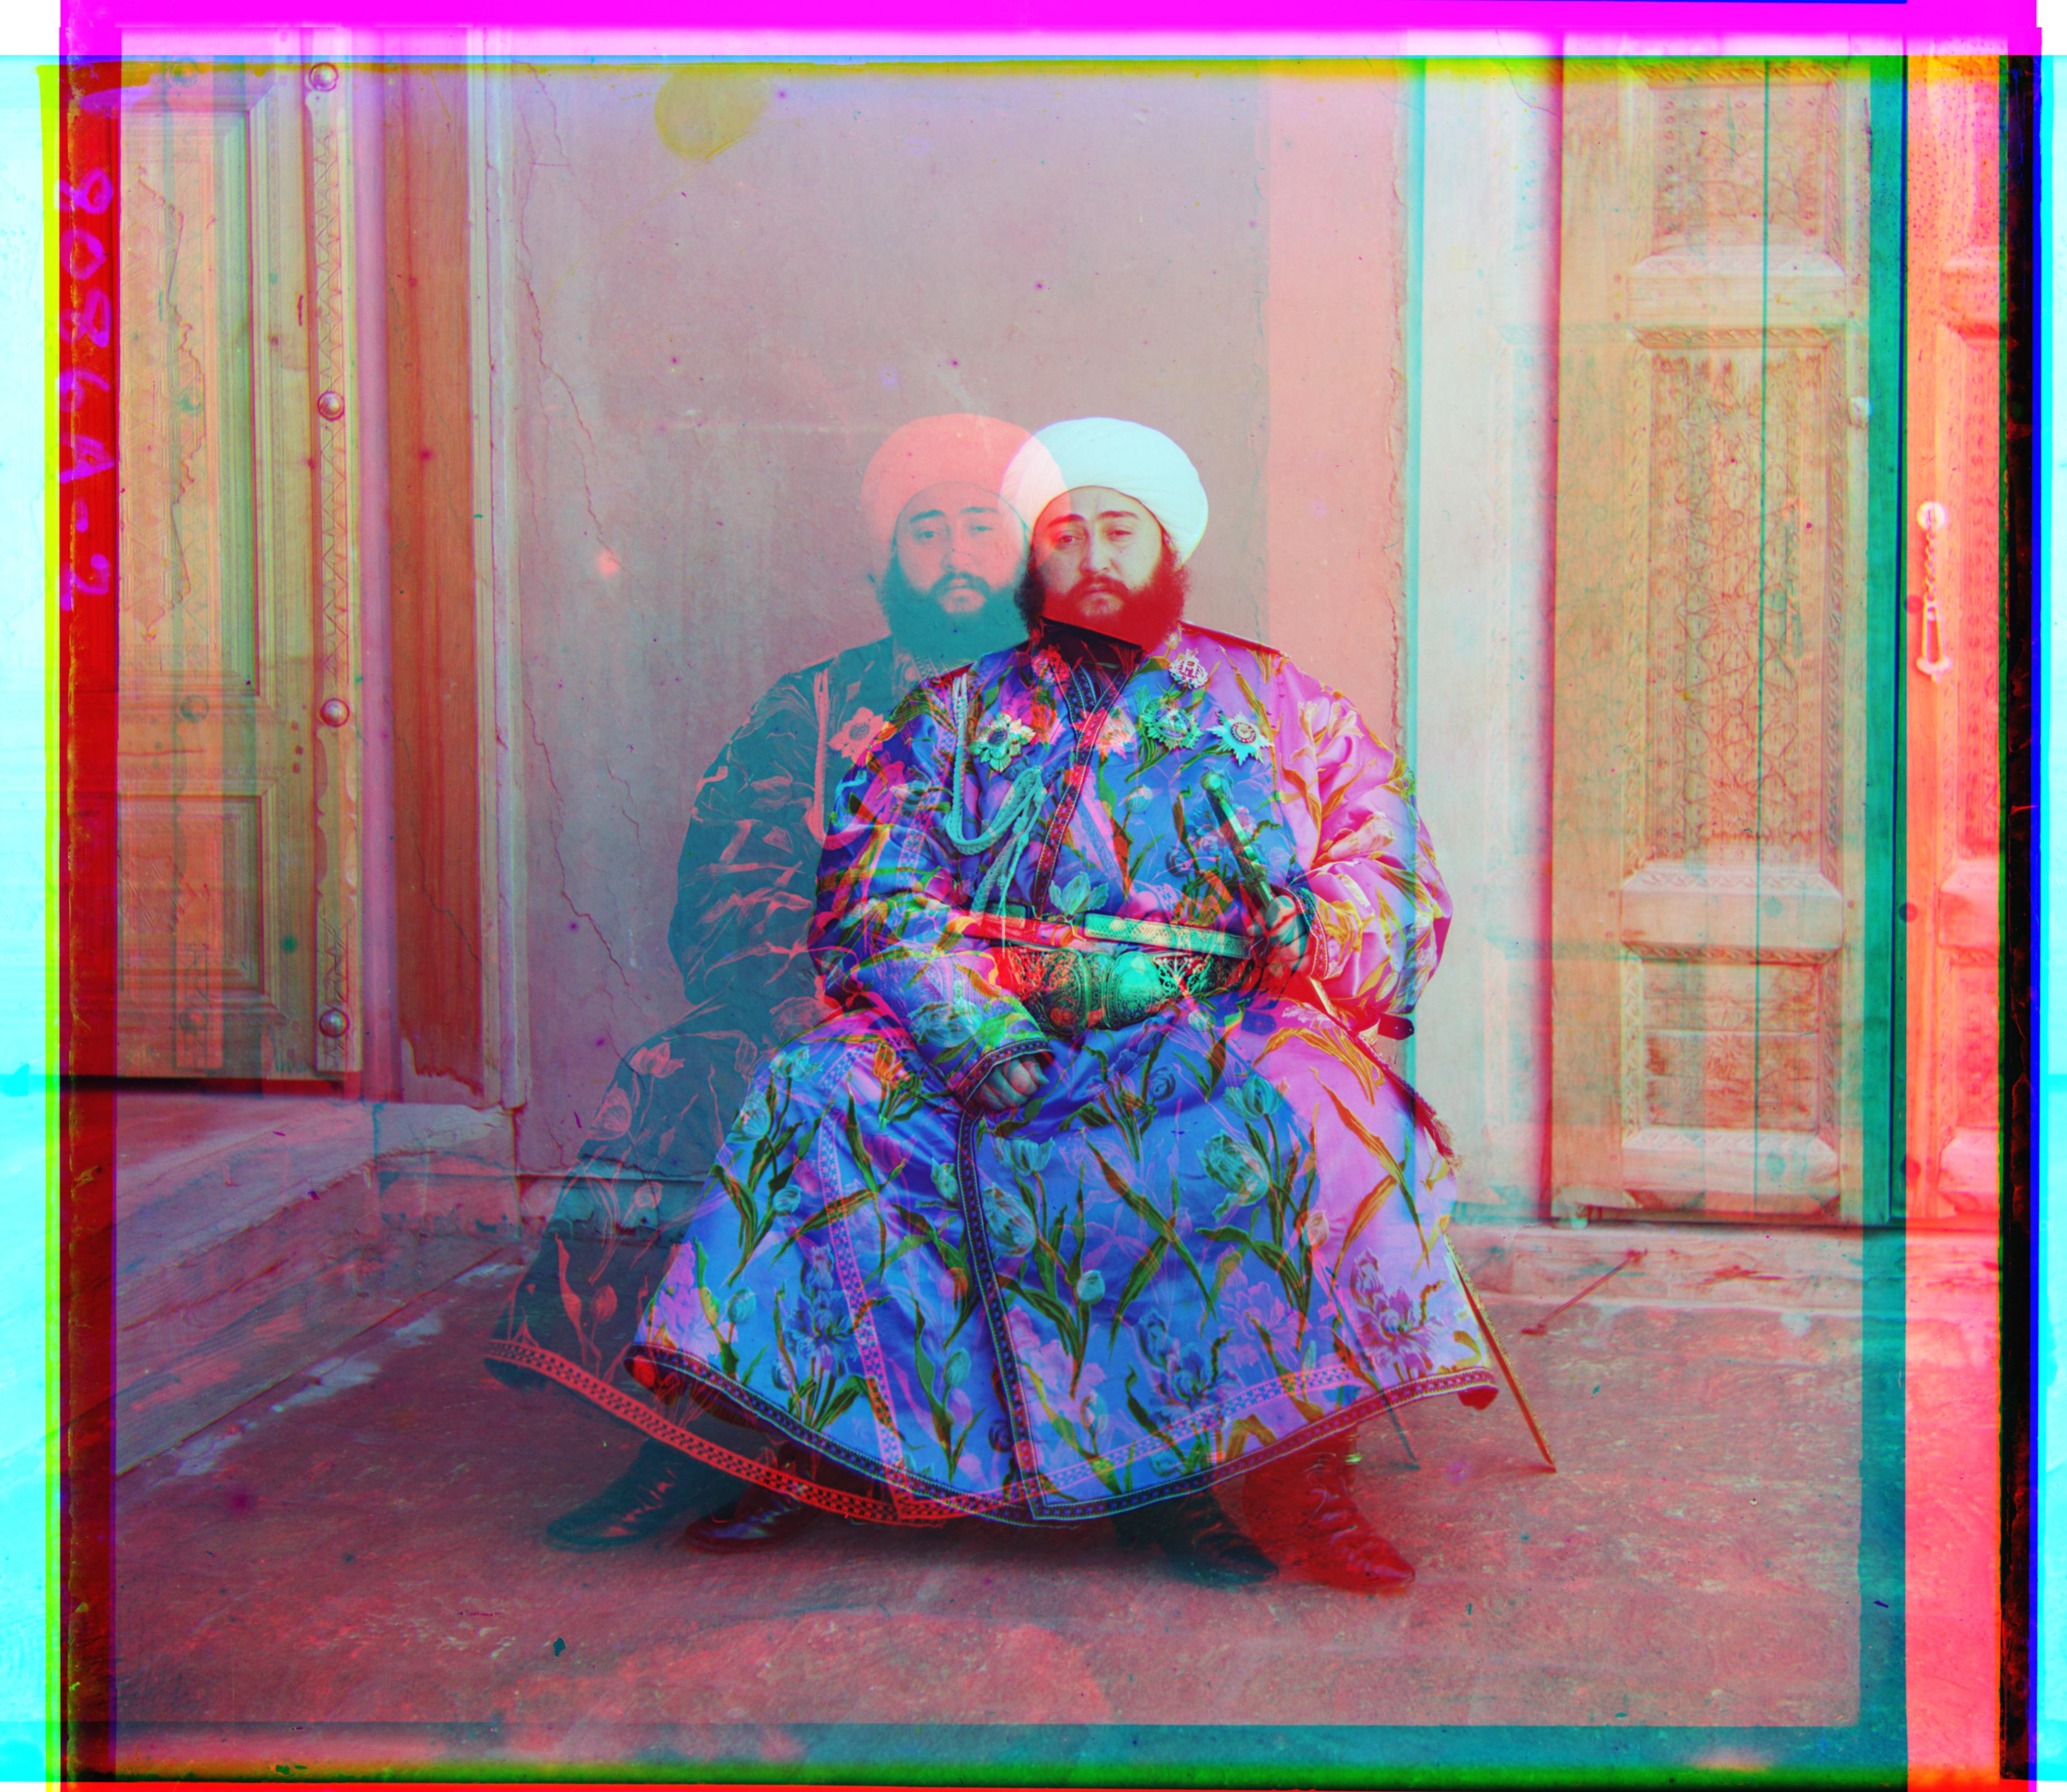
Issues on certain images
In particular, my algorithm failed for emir.tif.
I think this is because of the way I am cropping borders and the color channels I am choosing to align to.
Previously, when I did not crop the border of the input, the output actually looked aligned. Once I adjusted my cropping to crop more of the border, all of my other outputs aligned, and then this output became misaligned. However, I wanted to keep the parameters that worked best for the majority of the inputs.
Since the channels have different brightnesses, then using the raw pixel value to calculate alignment scores isn't always the best way. In this case, this pixel values varied very greatly between the blue and red channels because his clothes are completely blue and have little red. As a result, this output looked better when I aligned the blue and red channels to the green channel instead of aligning the red and green channels to the blue channel.
Final thoughts
I really enjoyed this project! This was my first time reading and algorithmically processing images in Python and Scikit, so I learned a lot and I am pretty happy with how my results turned out.