Introduction
In the early 1900s, photographer Sergei Mikhailovich Prokudin-Gorskii had the grand idea of capturing color
photographs, a concept that had not been possible at the time. His idea was to take three separate photographs
of the same scene in quick succession with three color filters for red, green, and blue. He believed there was a
way to produce a full color image from those image channels. It was not until well after his death that it was found
that he was correct.
The goal of this assignment is to take in an input image, split it into three image channels, align those channels,
and overlay the images on top of one another to produce a single color image. As the image scans are not perfect,
the script will need to find the best alignment of the three image channels such that they can be stacked on top of
each other successfully.
Approach
Image Manipulation
I used the roll_image function to apply an offset to an image, such that two images could be aligned. I used
numpy.roll to alter the image arrays, applying an offset in both the X and Y directions of the image.
Similar to the imaging tutorial held by staff, I separated each input image into three images, representing
the R, G, and B channels of the image. One small thing that I did differently is making sure the height value
came out to be an integer, as I found it caused some issues with image shapes that could not be perfectly
divided into three parts.
I found it useful to crop each of the images prior to attempting to align them. Each of the RGB images
had a border around them that had no real importance to the similarity of the images, so I decided to just
chop them off. In this function, I simply slice my image arrays to get rid of the borders.
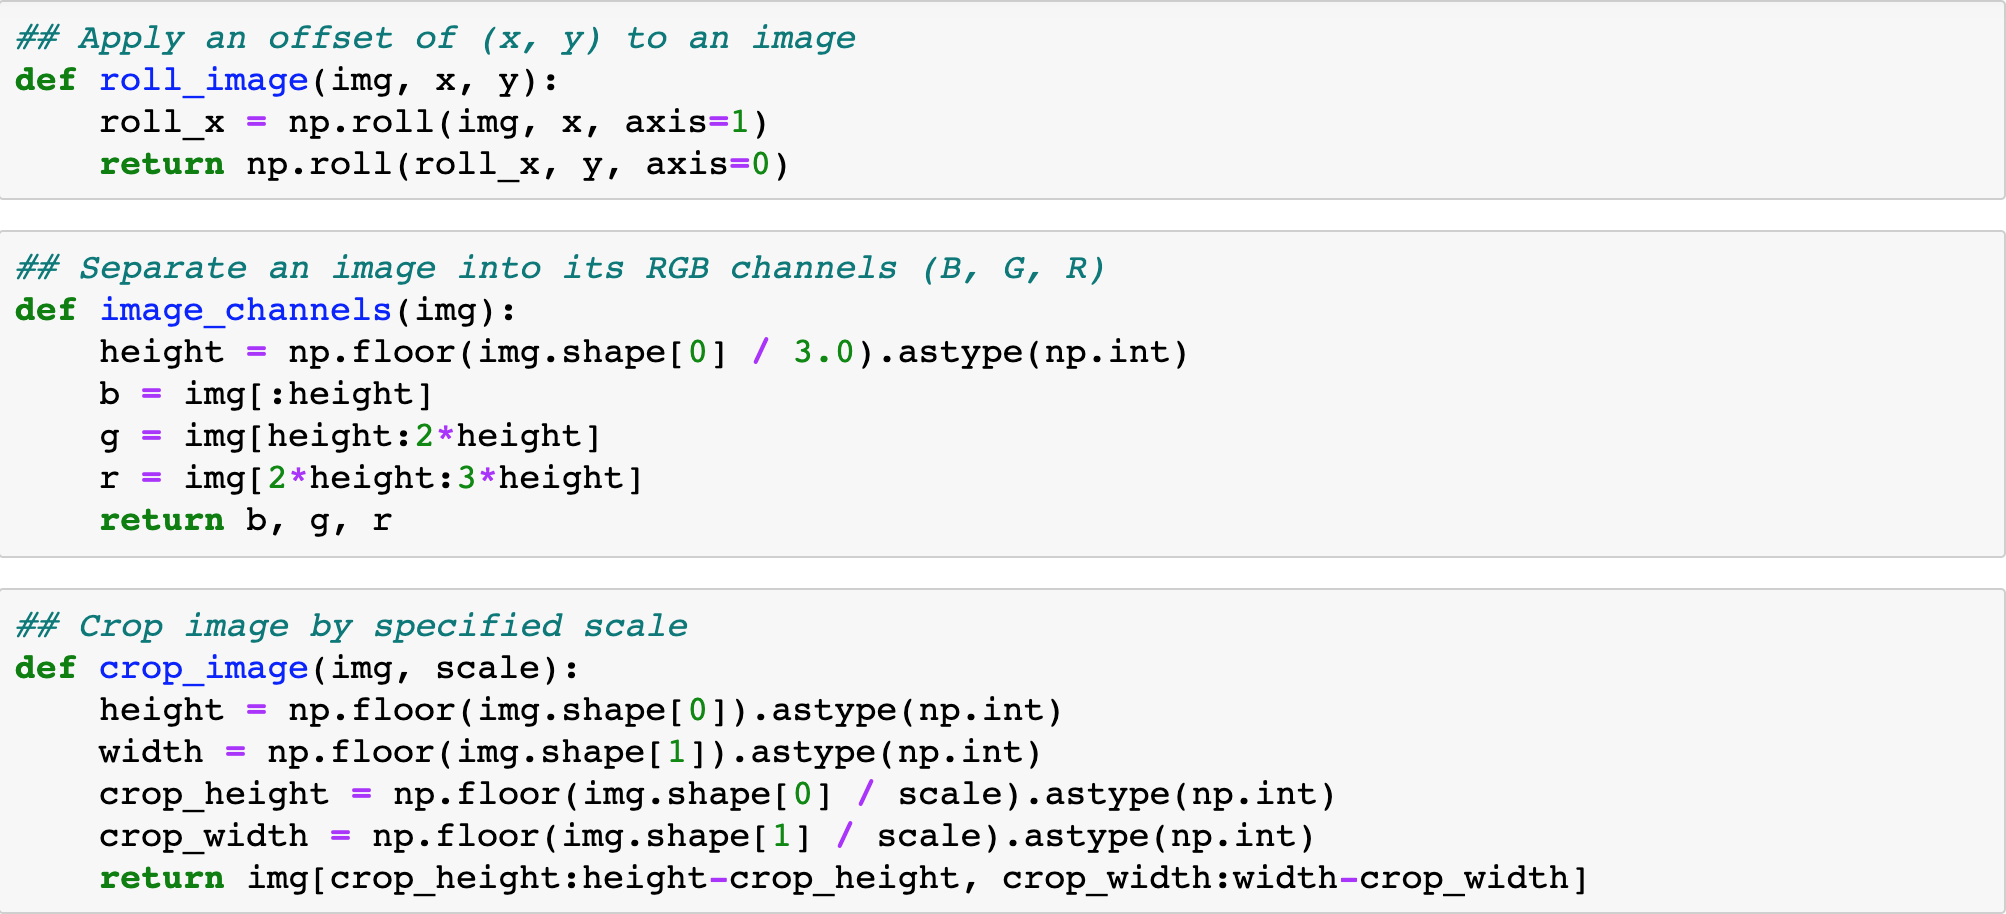
Image Normalization
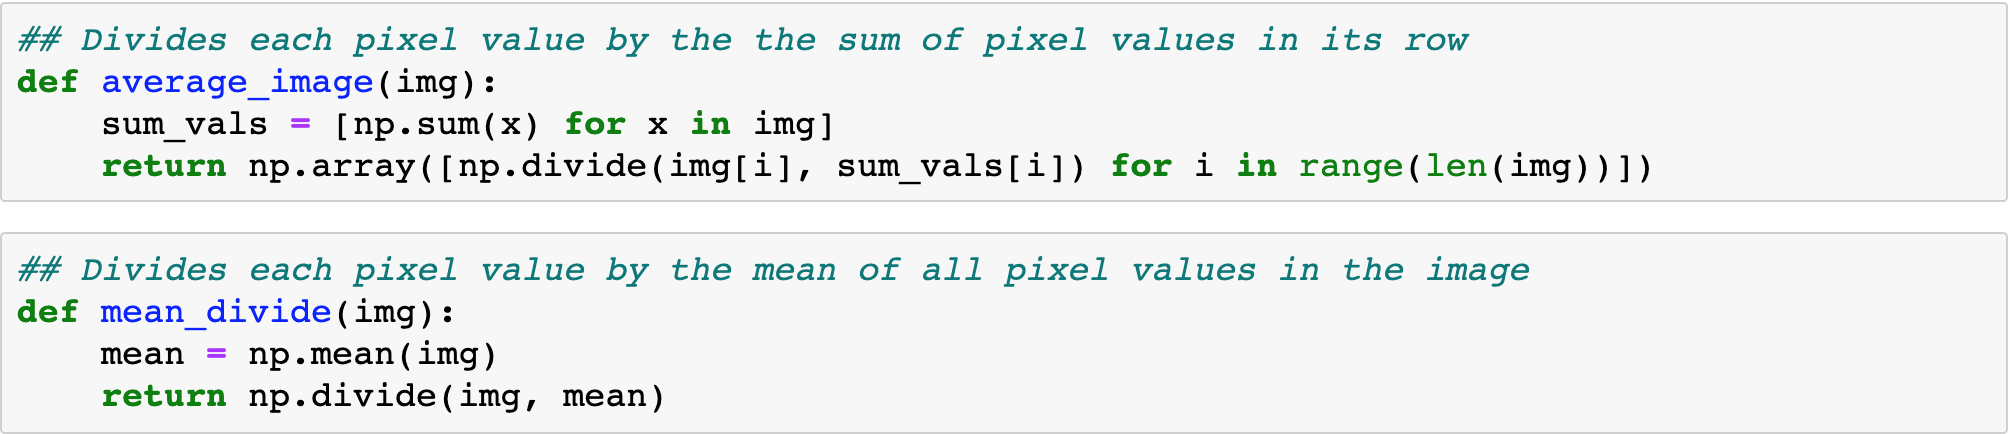
One of the issues I ran into very early was how to ensure images would be aligned even if the brightness values of pixels in the same region of different images were drastically different. A clear example of this can be seen in the image of Emir of Bukhara. I tried a few approaches and settled on the two below. In the first function, I sum all pixel values in a row of an image and divide each pixel by its row's sum. In the second function, I take the mean of all pixel values in the image as a whole and divide each pixel in the image by that. I had similar results with both functions, but slightly better edge cases with the first, so I stuck with average_image.
Alignment
The first task was figuring out a simple way to align two images. Naively, it made sense to loop through possible X and Y offset values and calculate the difference/loss between the two images. This method worked fairly well on small JPG images, but not so well on larger TIF files. I calculated the loss of two images with L2 loss, or the sum of the squared differences for all pixels in the two images. I played around with other loss functions, such as absolute loss, but it didn't seem to have a large impact on the results I received. I first implemented this function with hard-coded values, setting up the "search box" in which I looked for potential offsets, but then added parameters to make it more usable for the image pyramid, discussed in the next section.
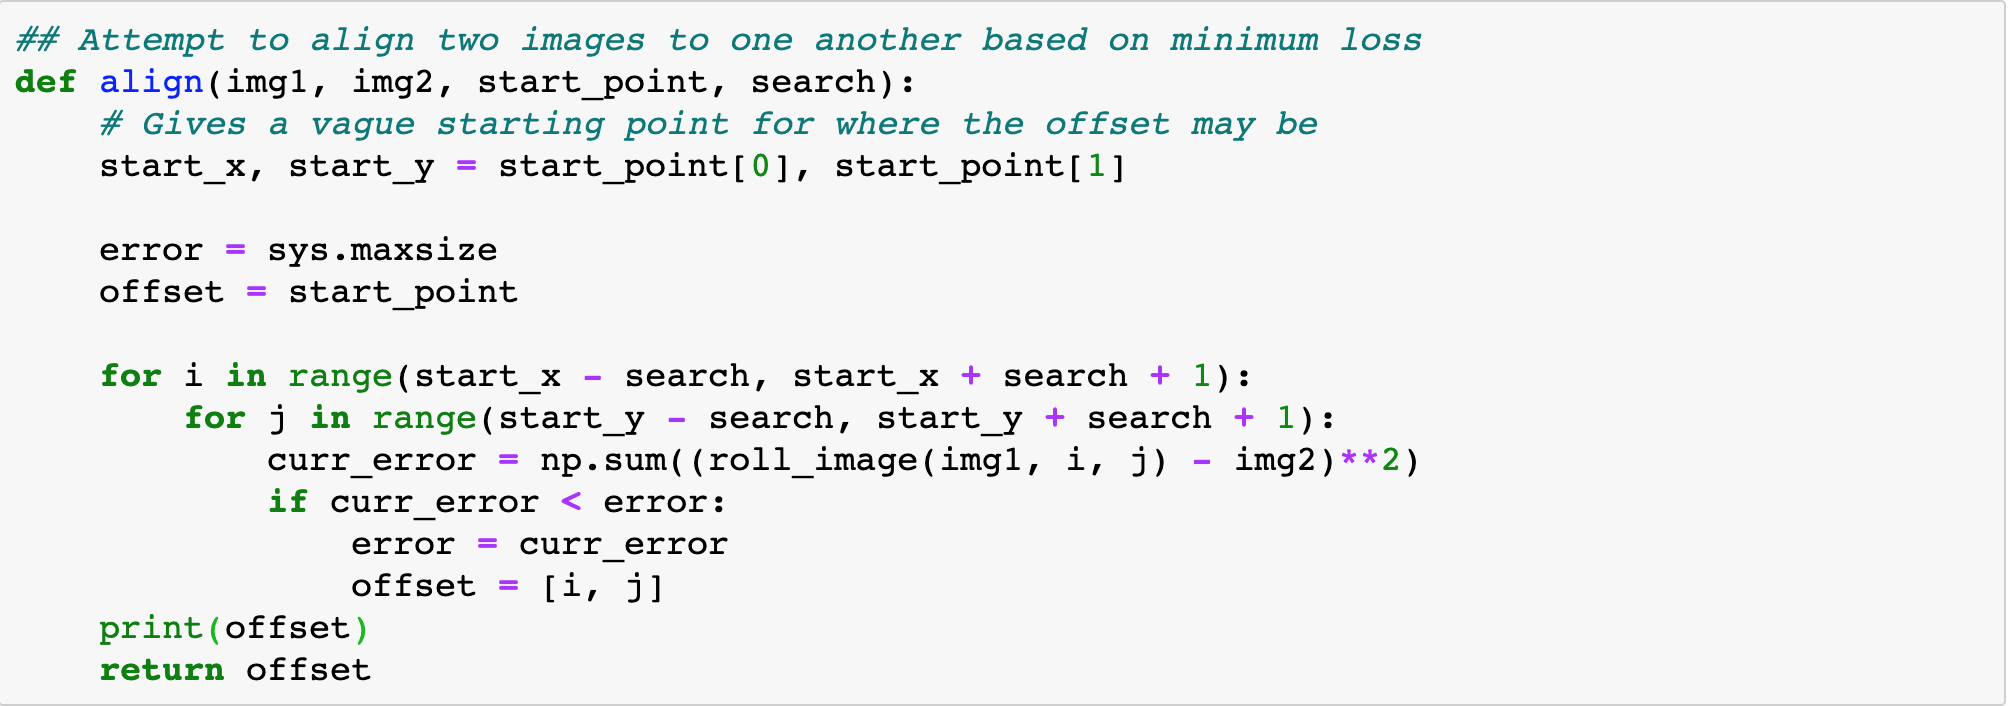
Image Pyramid
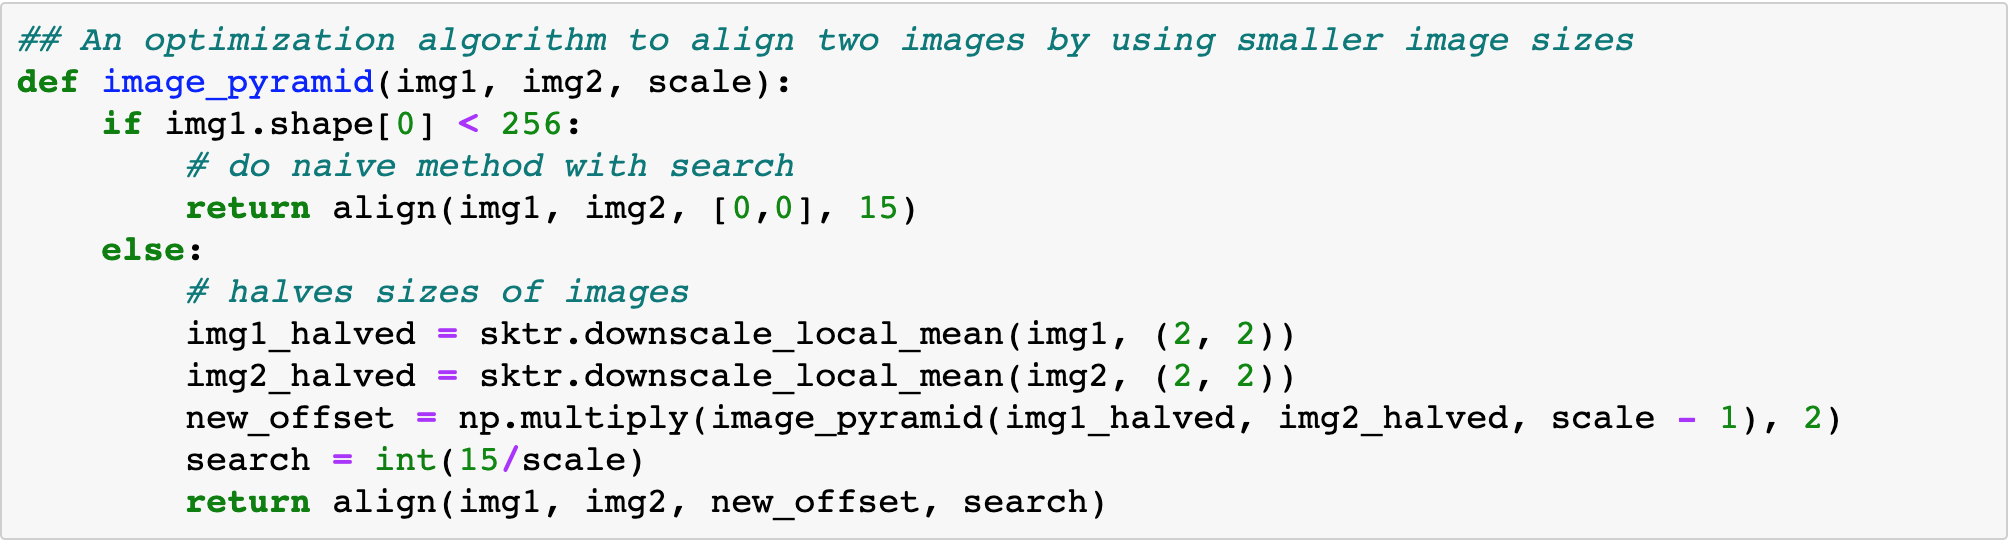
As expected, the naive implementation of aligning images ran quite slowly on larger image files; it take a long time to test offsets and roll the entire image array for a large image. An image pyramid is an optimization that analyzes an image by downsizing it, computing possible offsets on that image, then recursively goes up to test a similar offset on the higher resolution versions. It took some time to tweak the parameters and conditions of my function, but this was the end result. I kept track of a "scale" variable to keep track of the layer of recursive calls that have been completed, which determined how large the search box of that call would be. The goal was that as we went up the recursive tree, we would spend less time computing possible offsets on larger images since we have an idea of where the offset is likely to be. This sped up my process immensely, taking no more than 15 seconds for larger image files.
Results
Below are the results of my script. The images on the left are what the default RGB channels of the images look like when stacked on top of one another. The images on the right are the results of the images after being processed by my script. Below the images are the offsets of both the R and G channels of the image.
Cathedral

R Offset: (3, 12)
G Offset: (2, 5)
Monastery
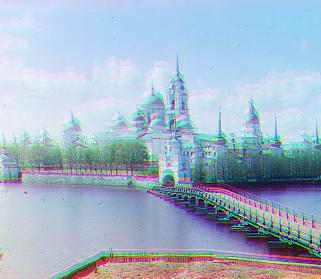
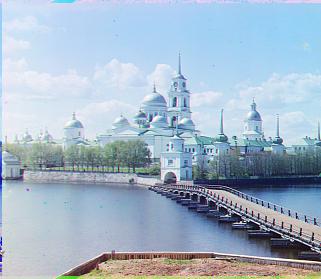
R Offset: (2, 3)
G Offset: (2, -3)
Tobolsk
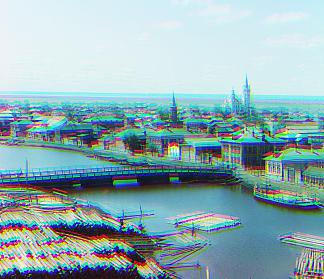
R Offset: (3, 6)
G Offset: (3, 3)
Emir
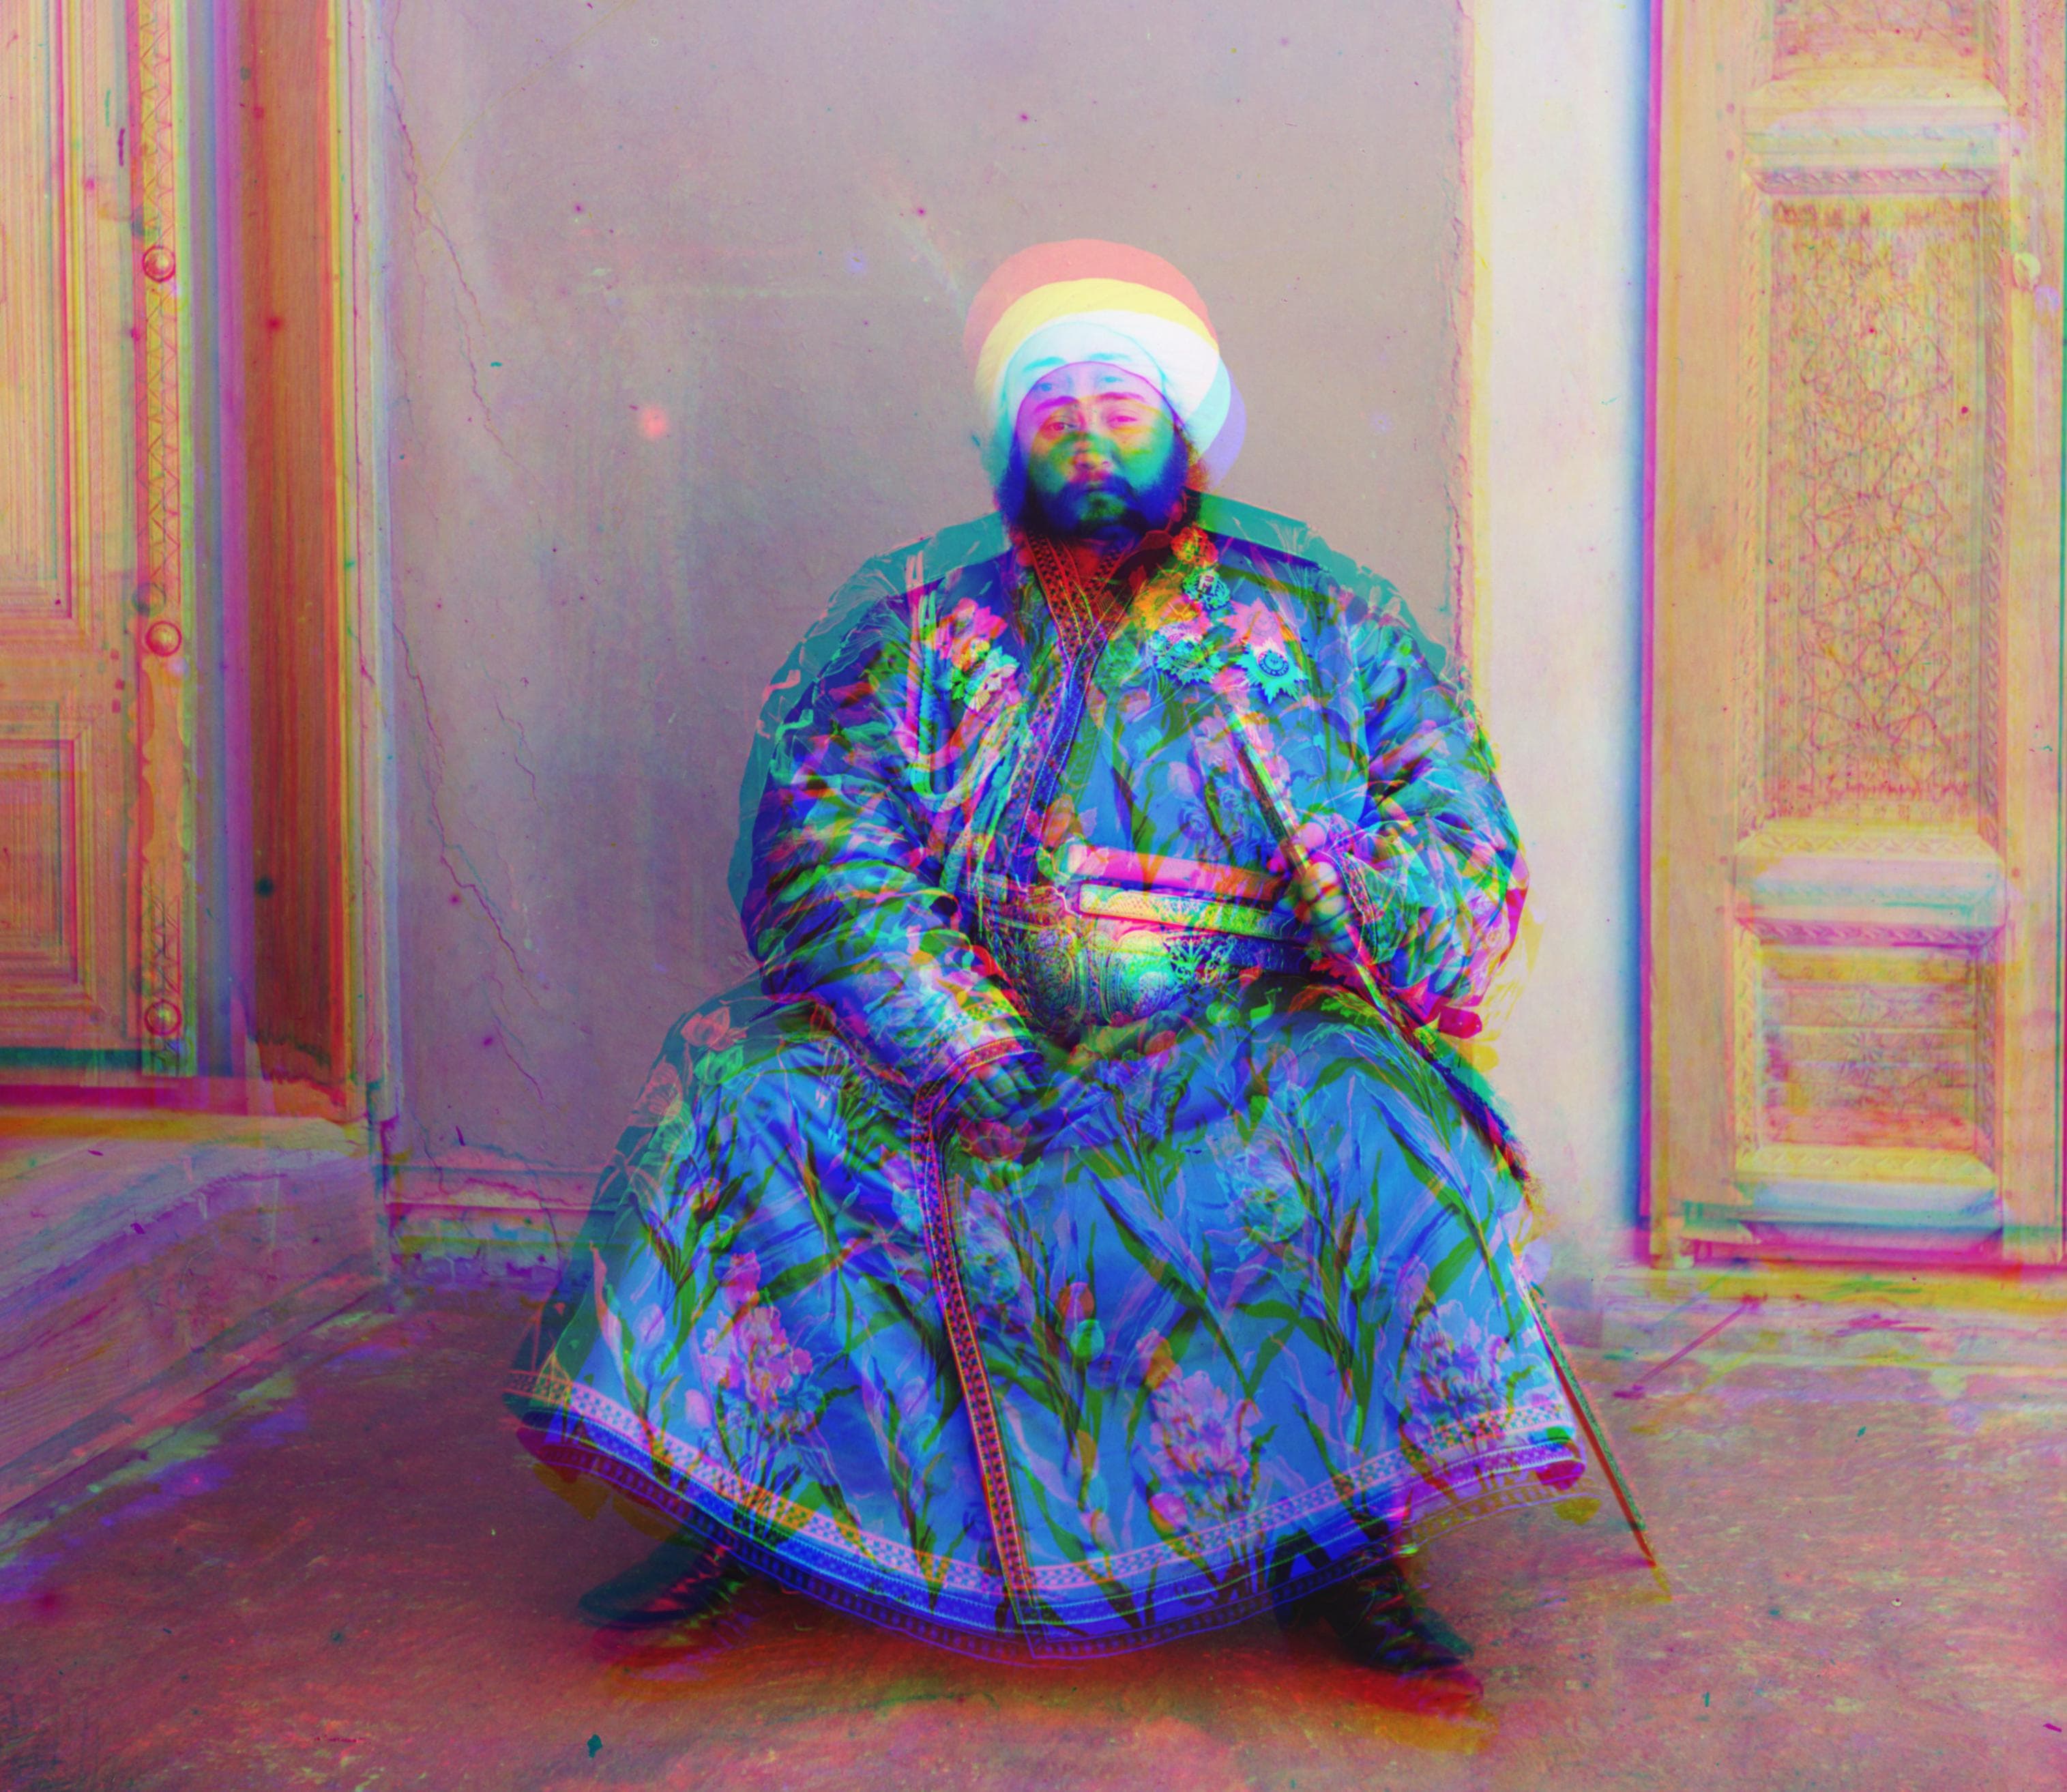
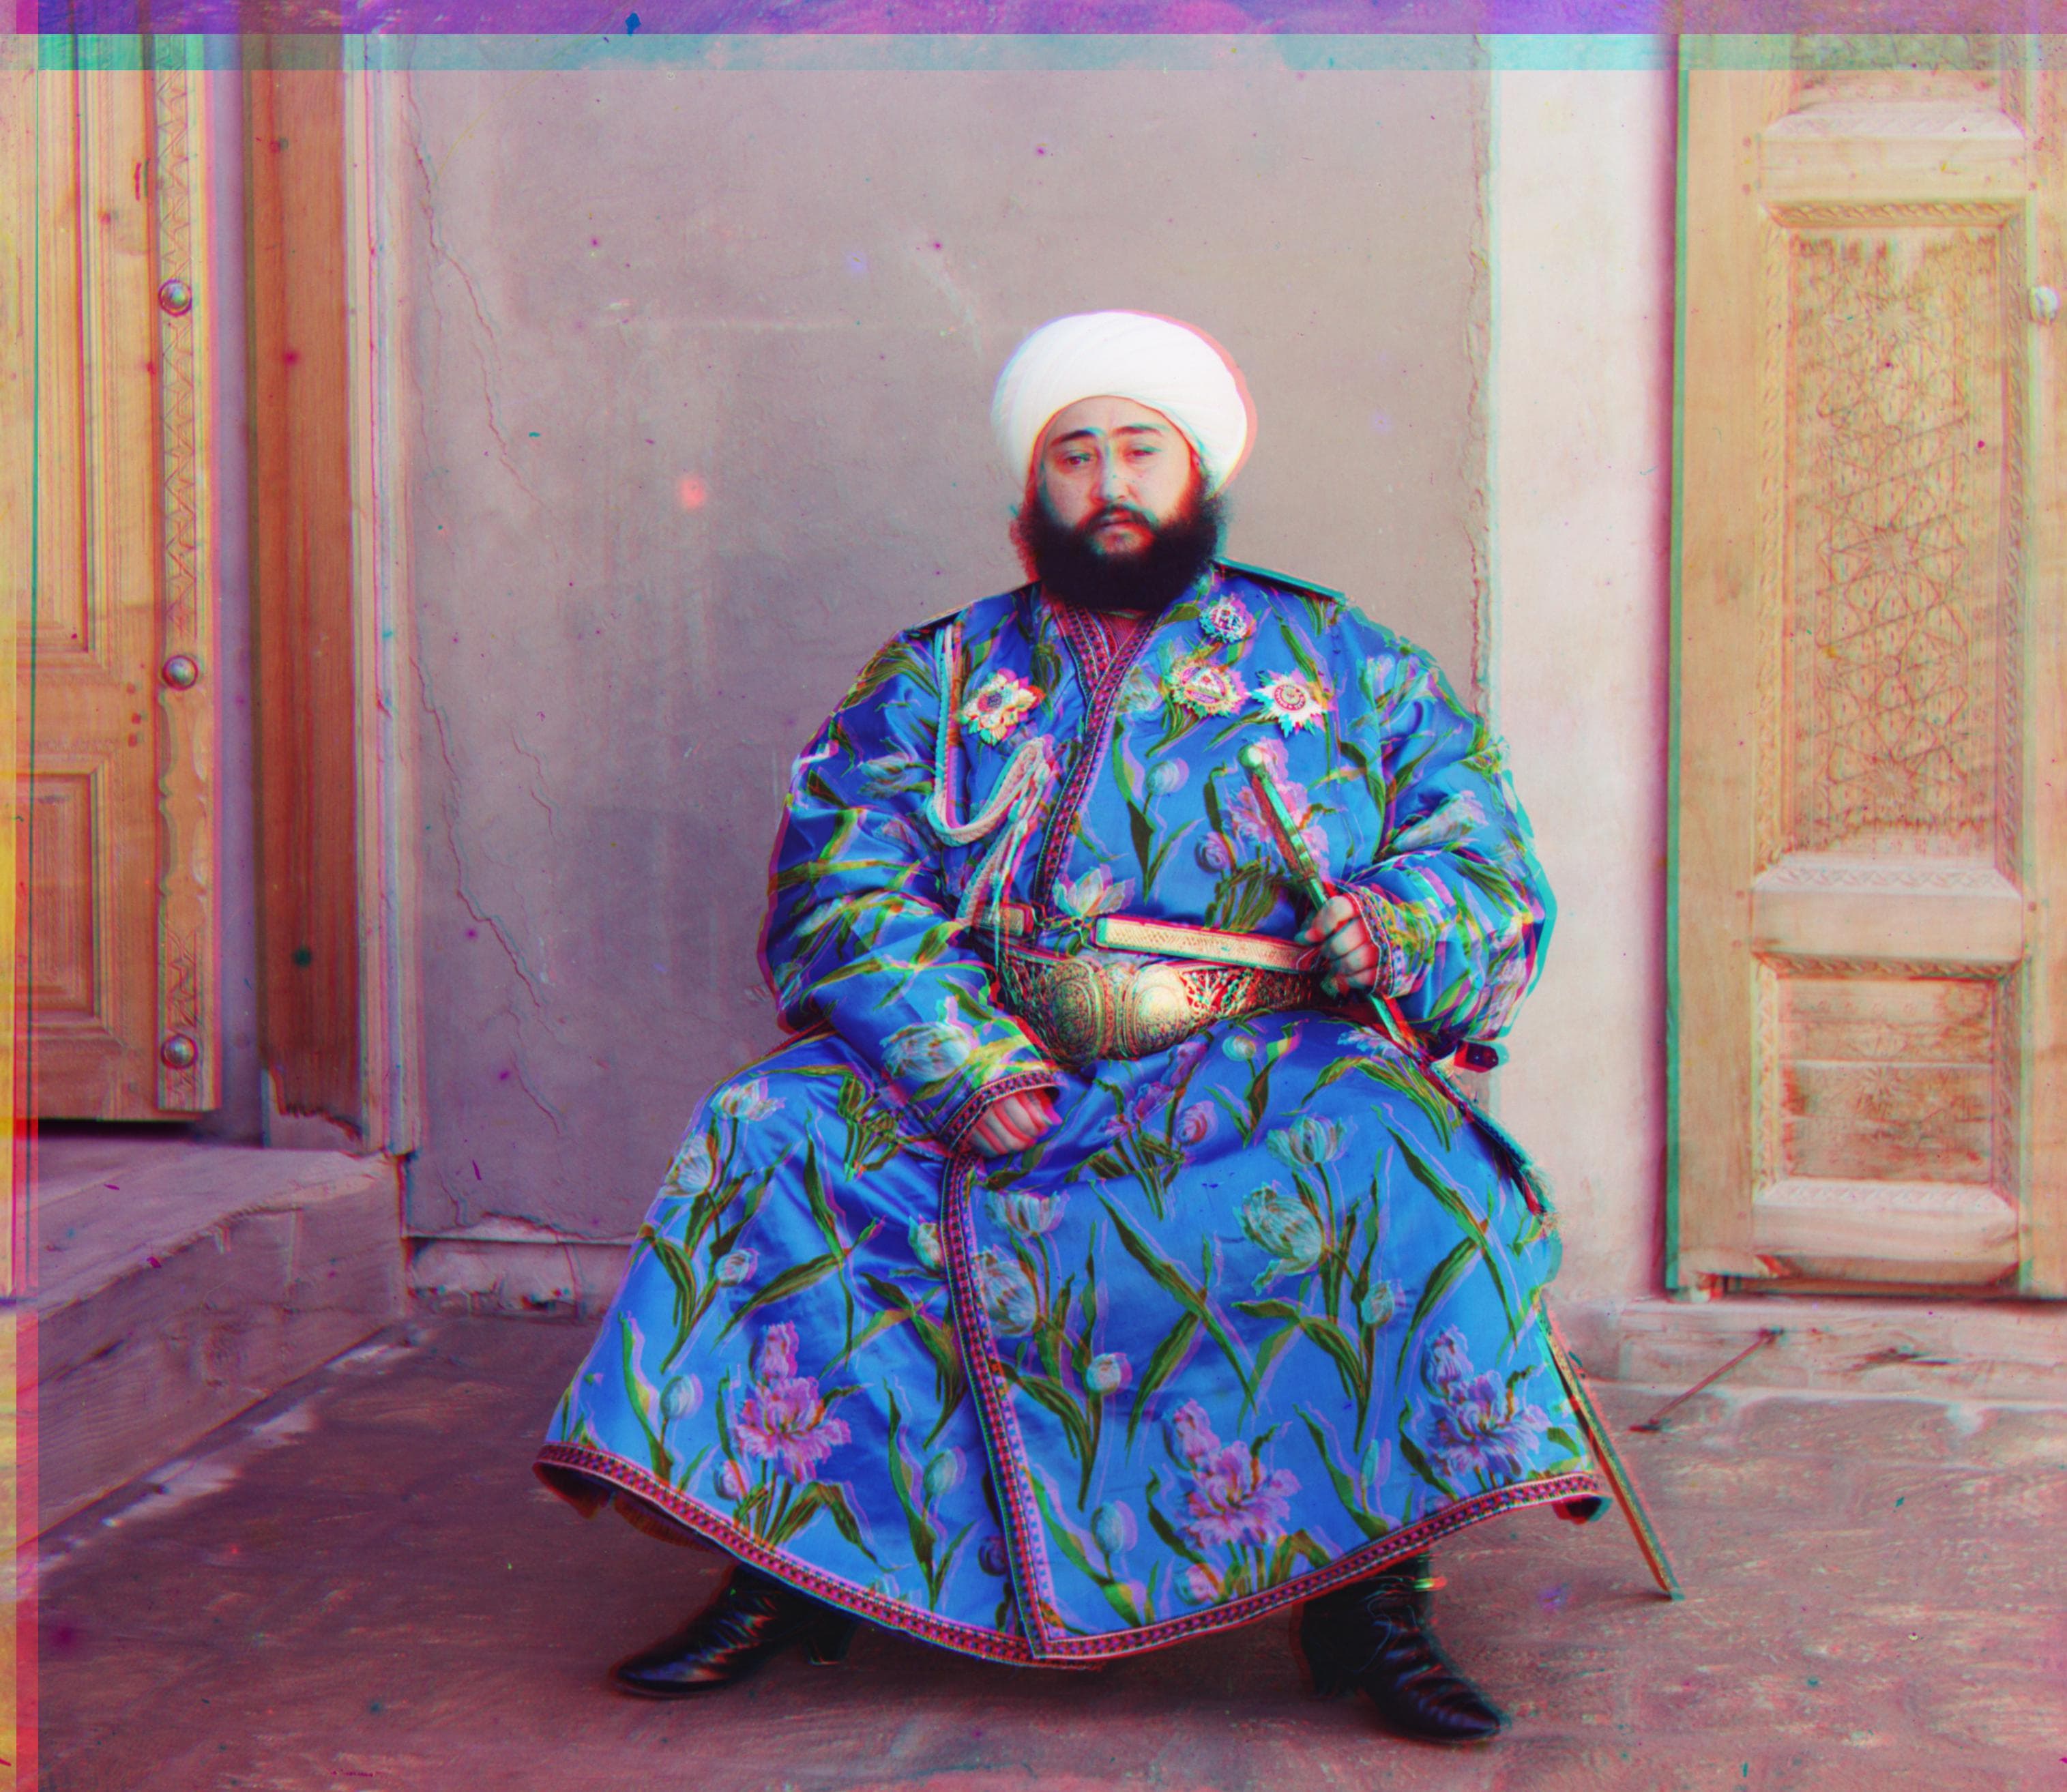
R Offset: (56, 103)
G Offset: (24, 50)
Harvesters
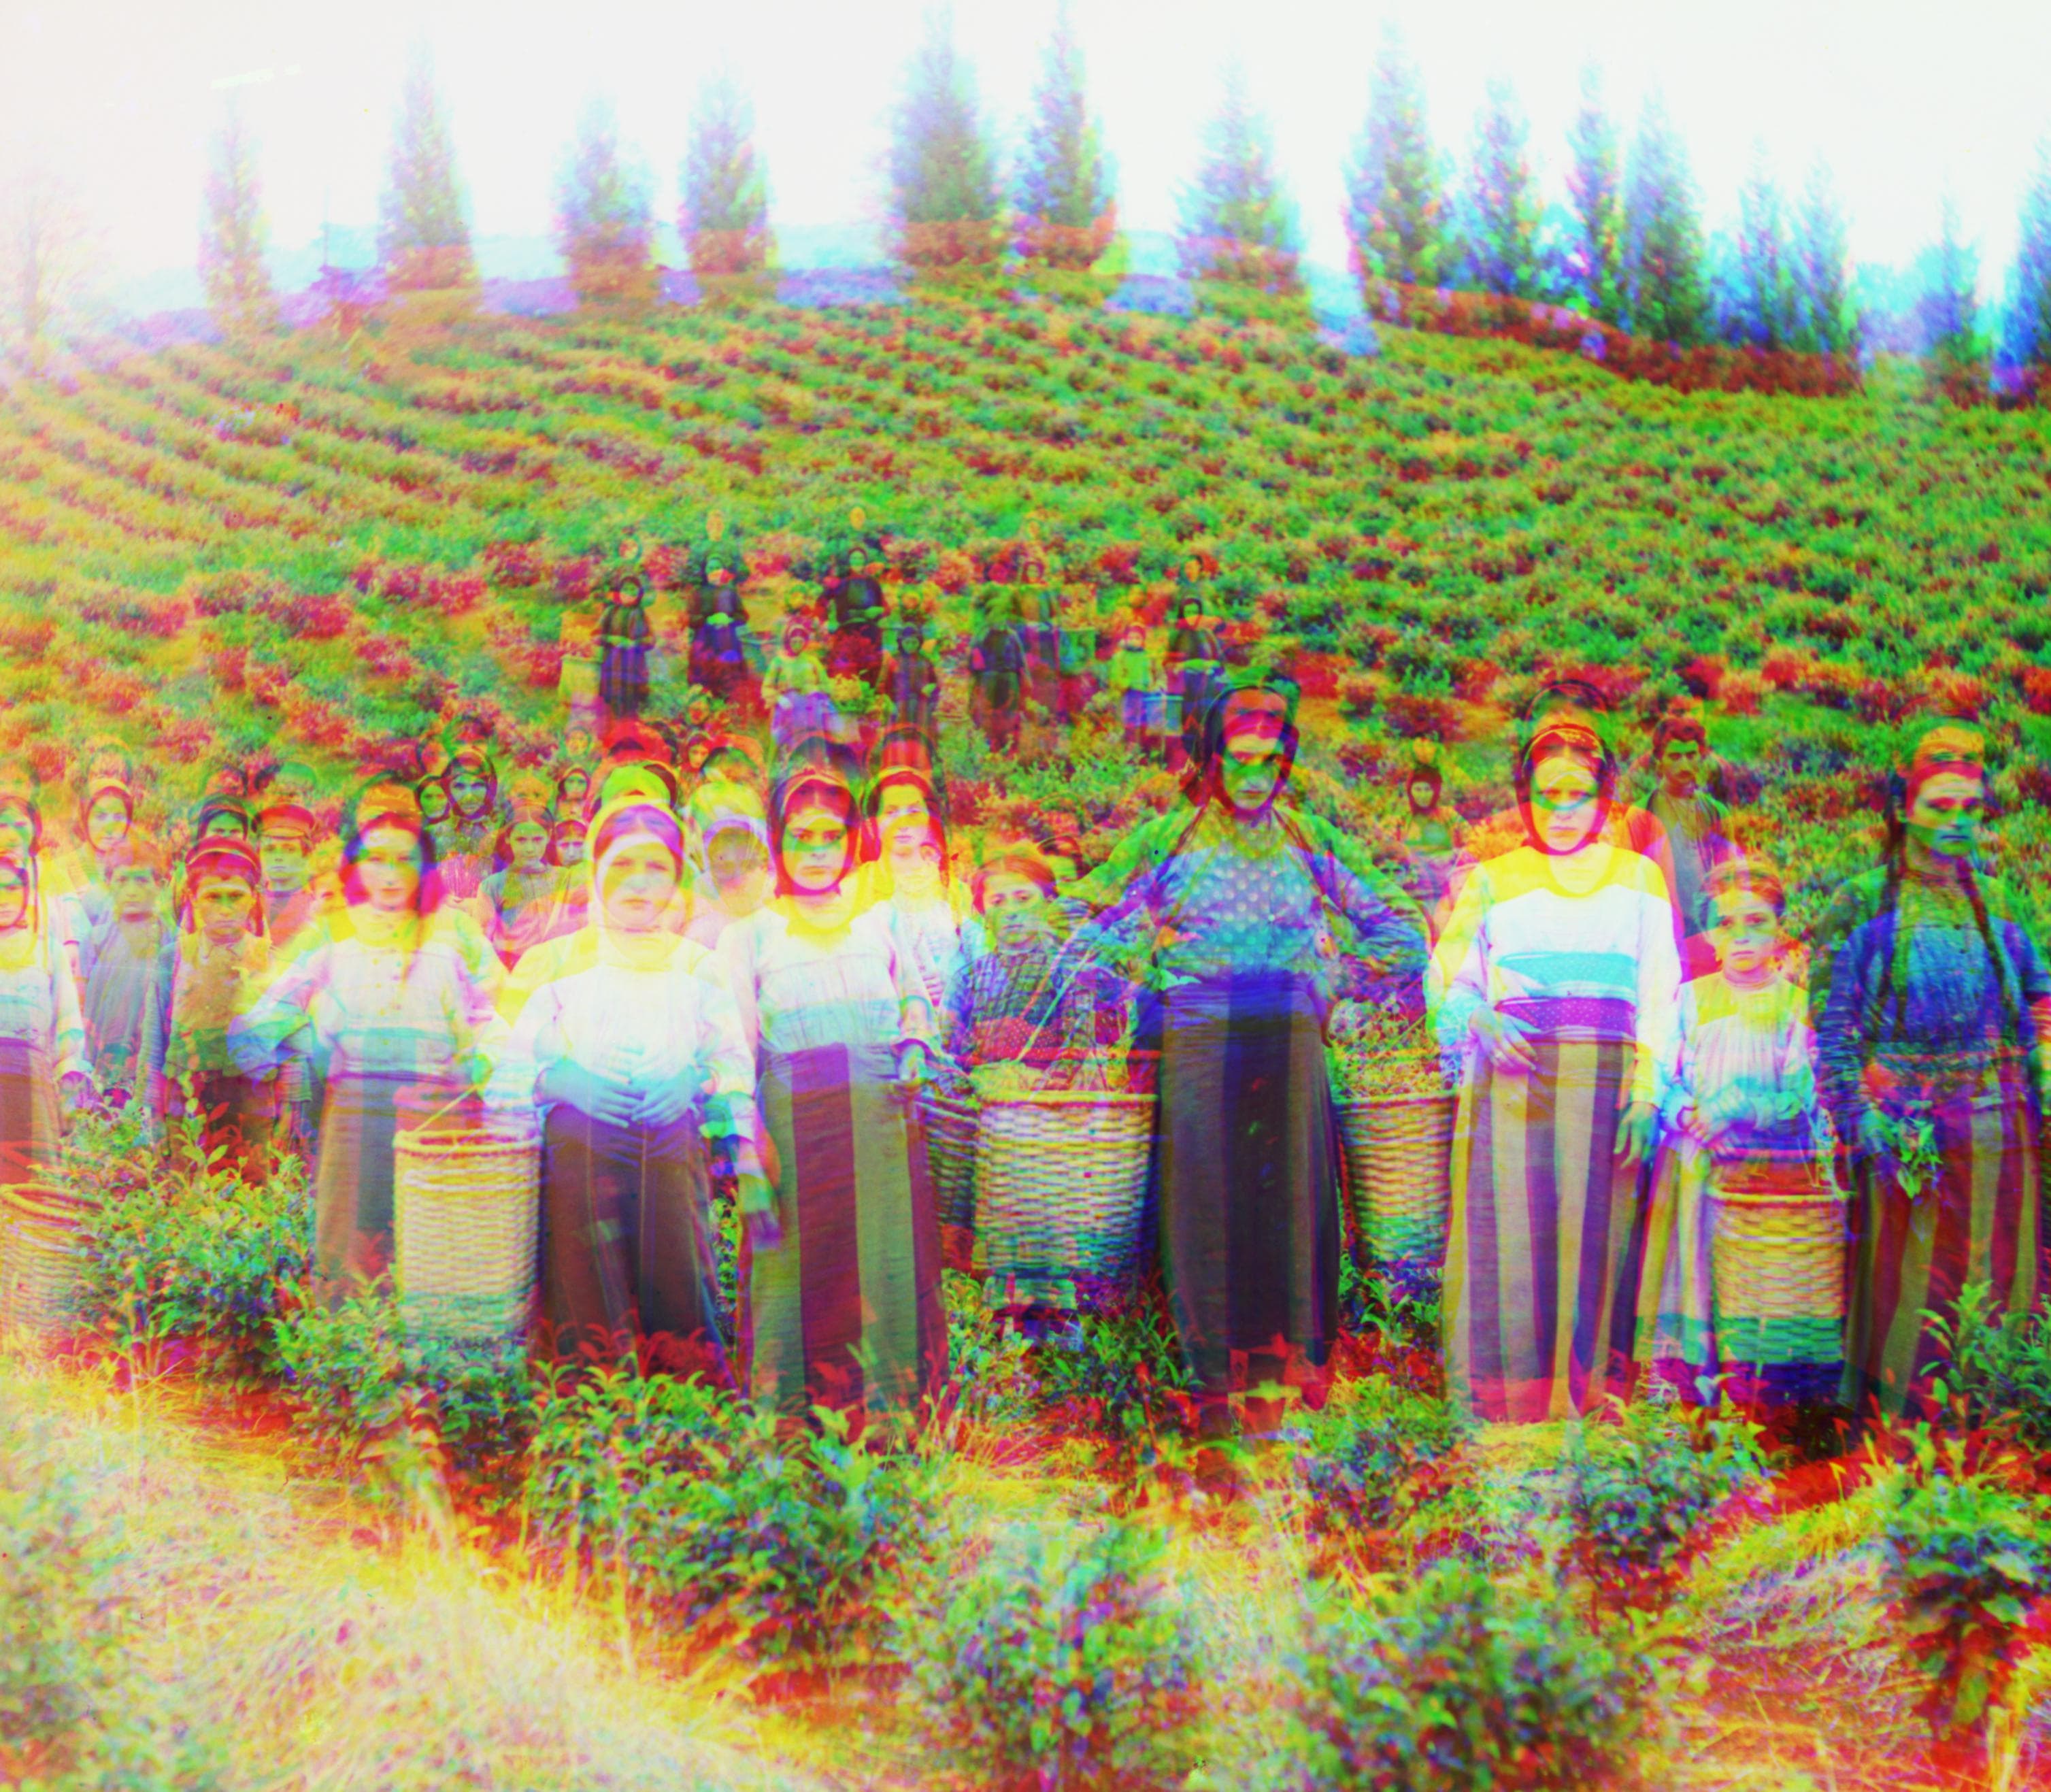
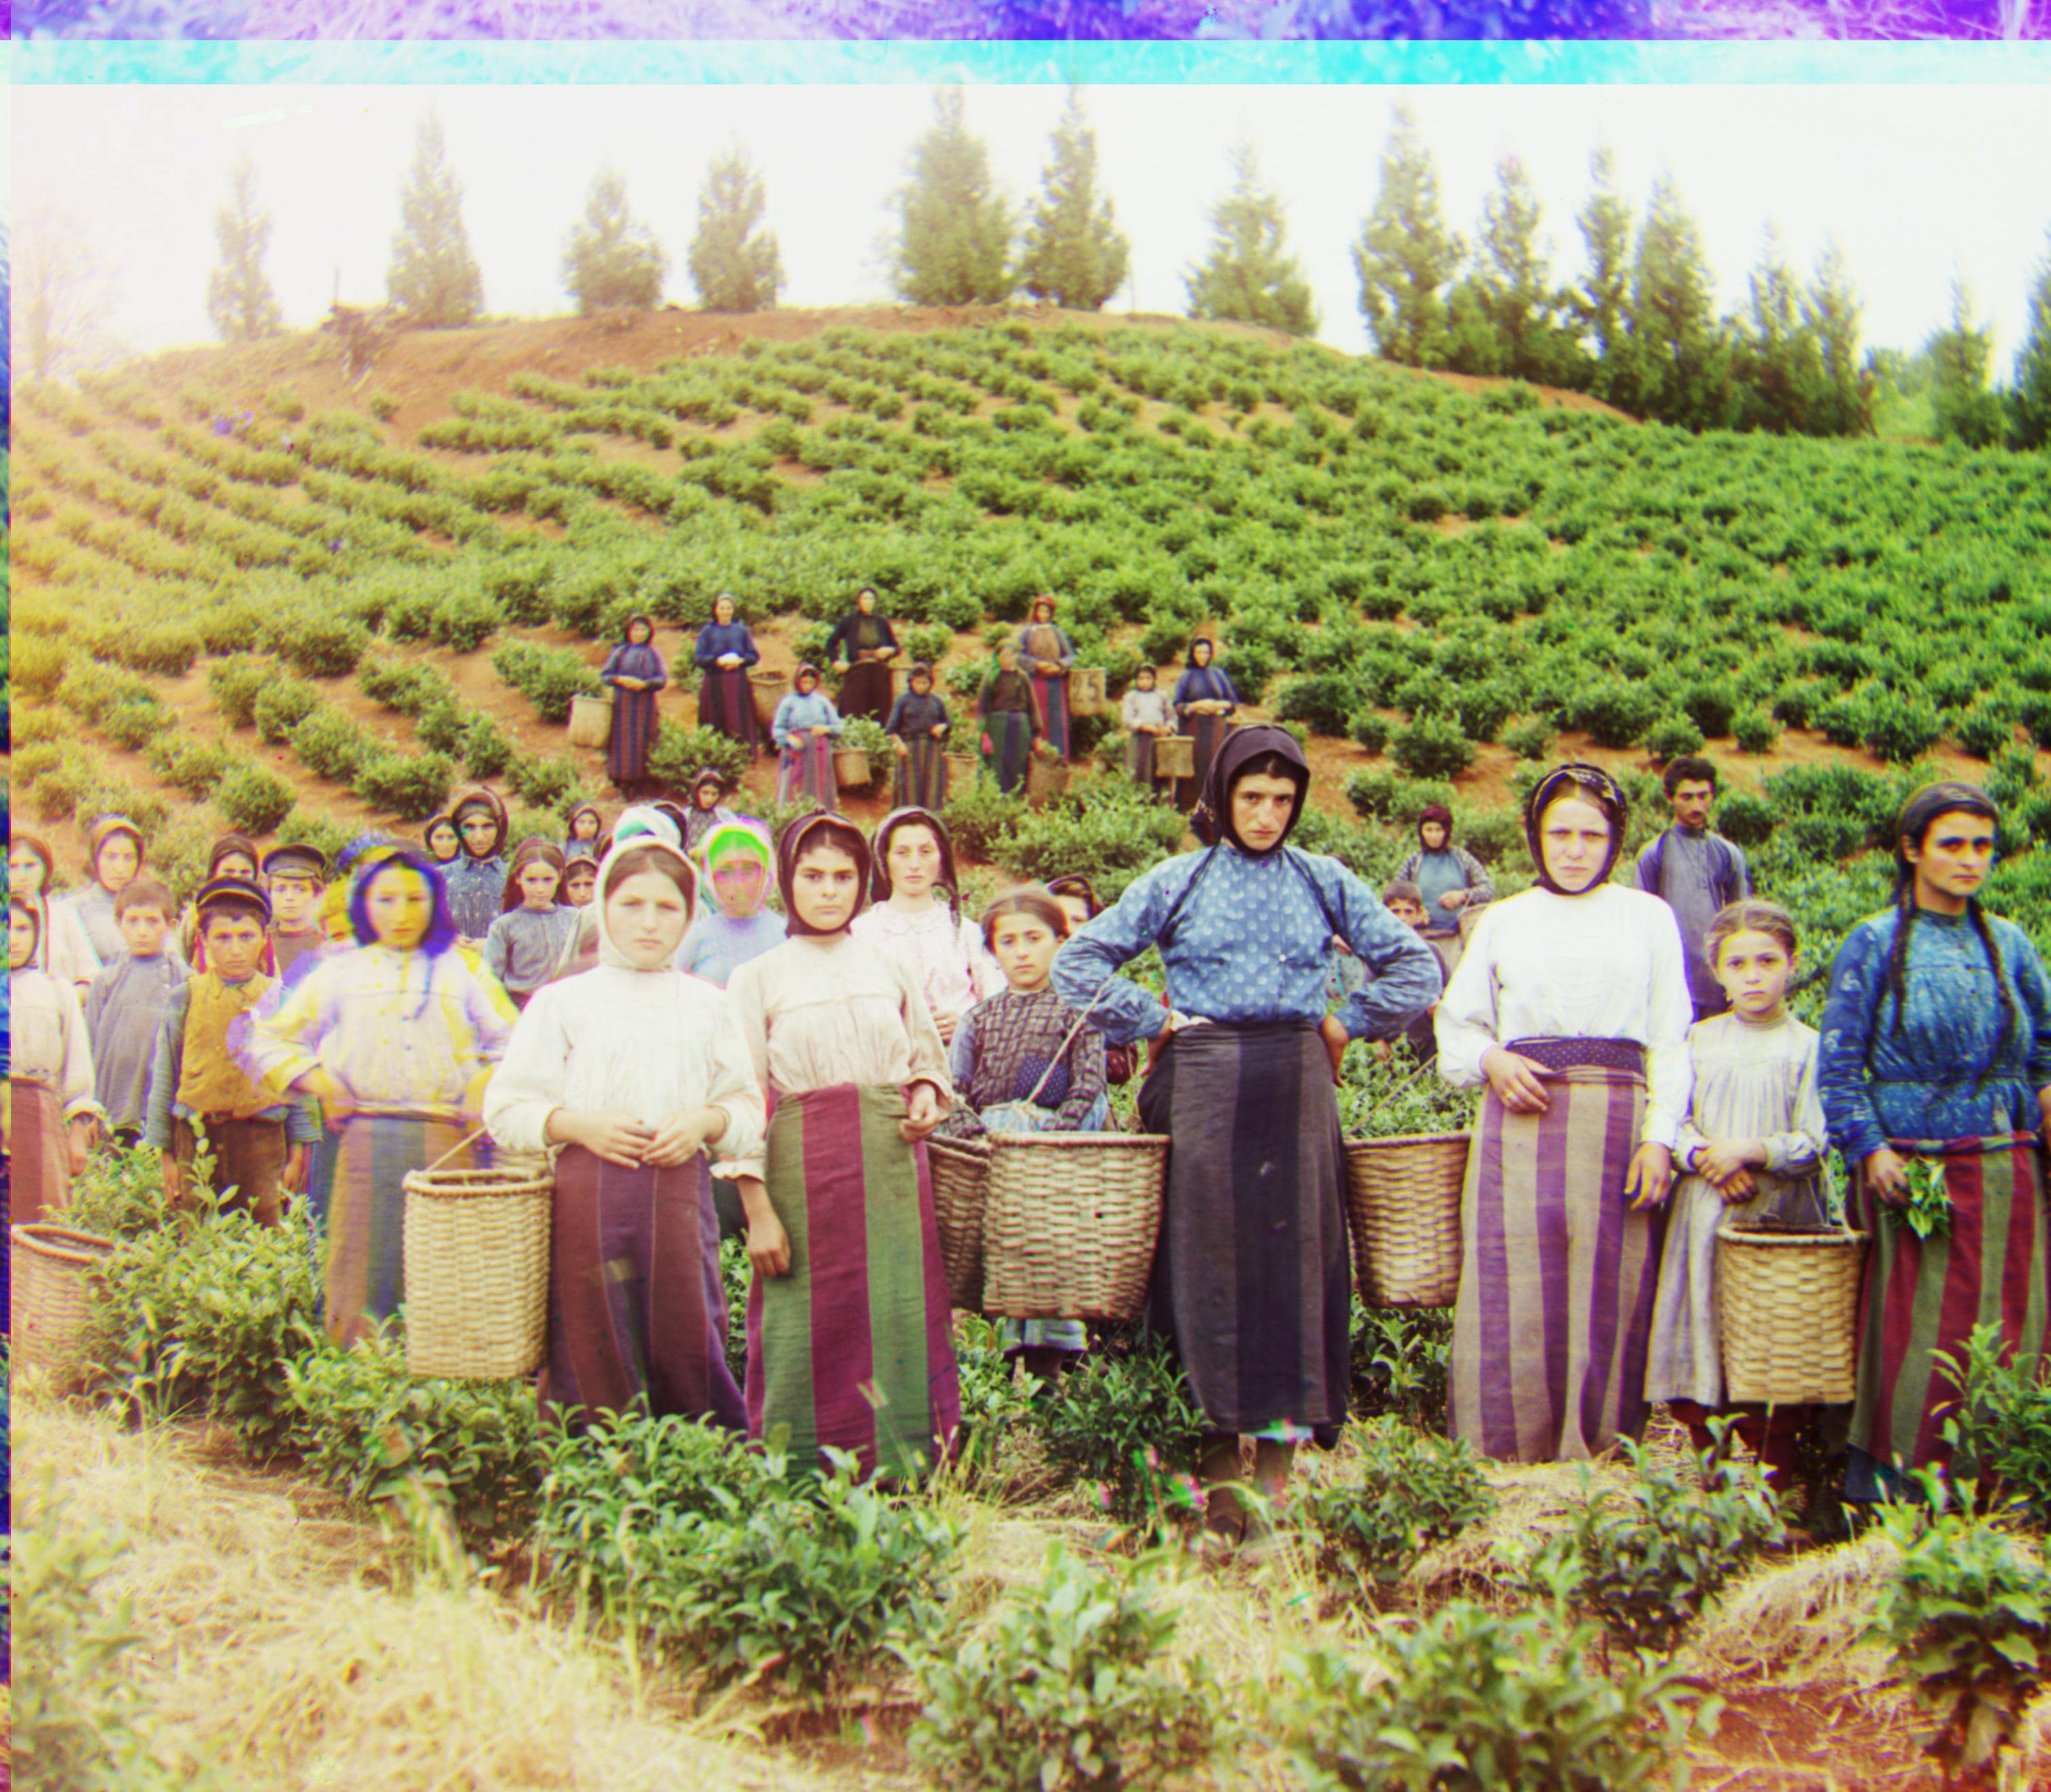
R Offset: (13, 124)
G Offset: (16, 60)
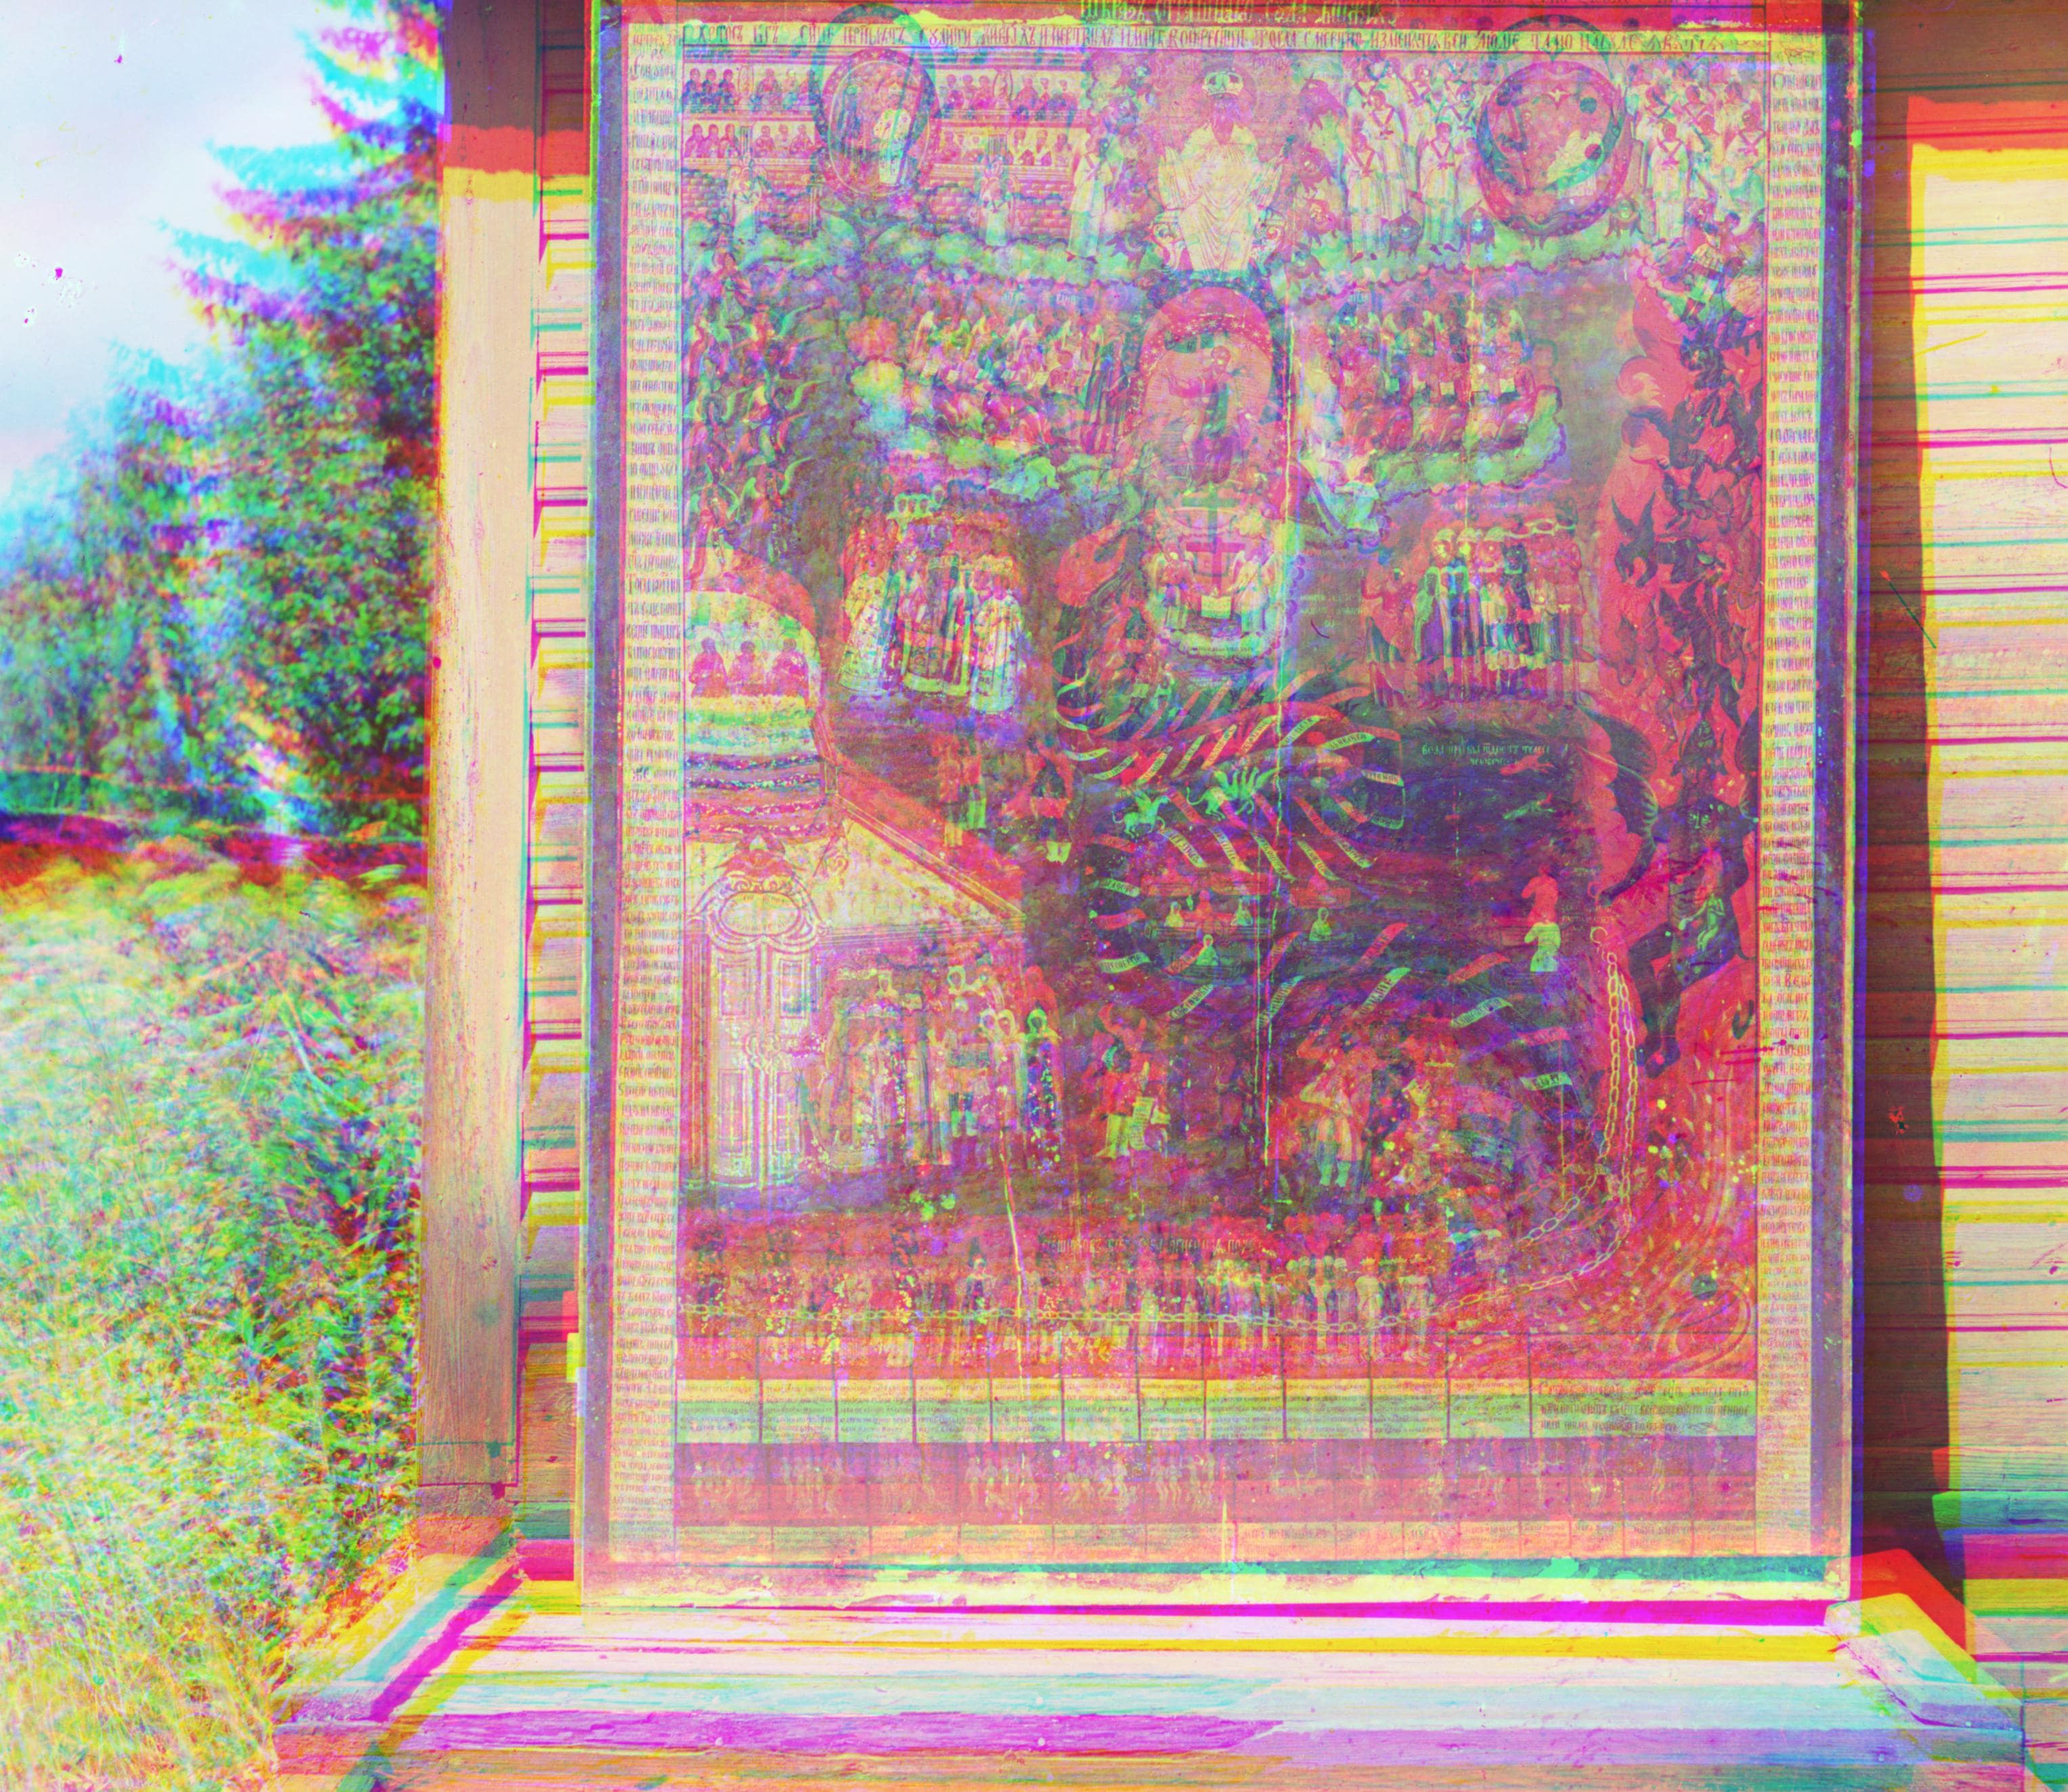
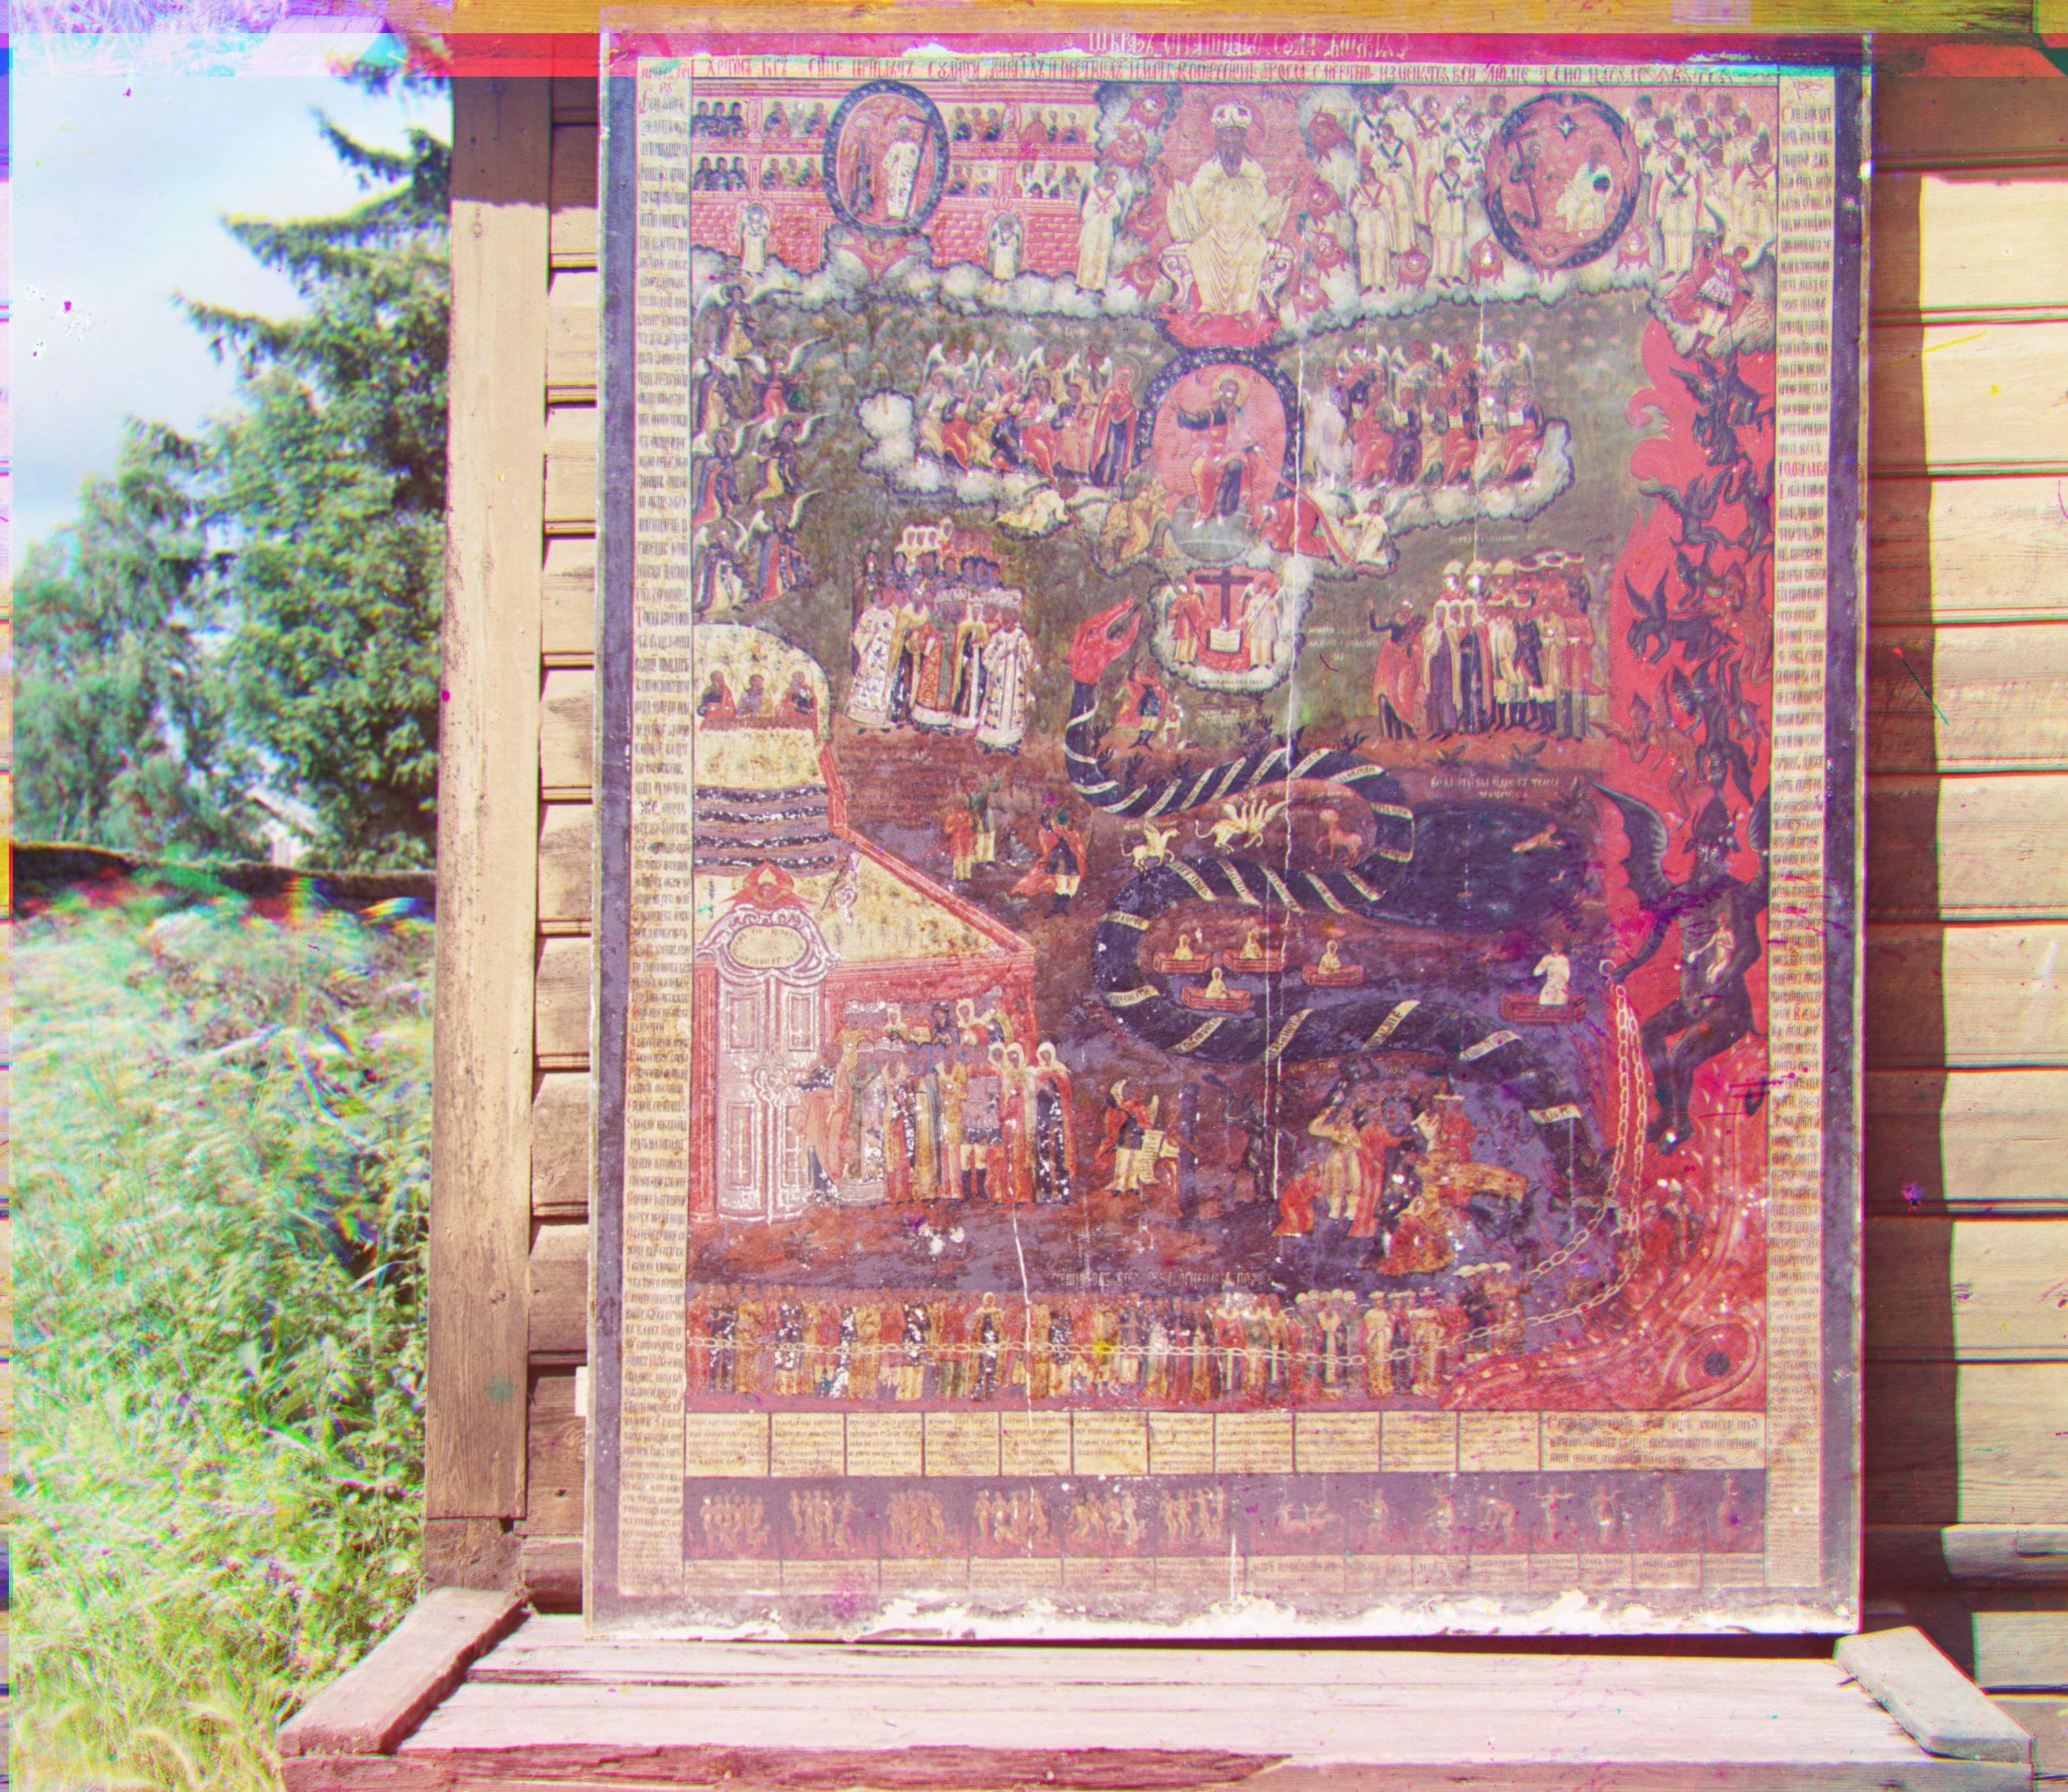
Icon
R Offset: (23, 89)
G Offset: (17, 40)
Lady
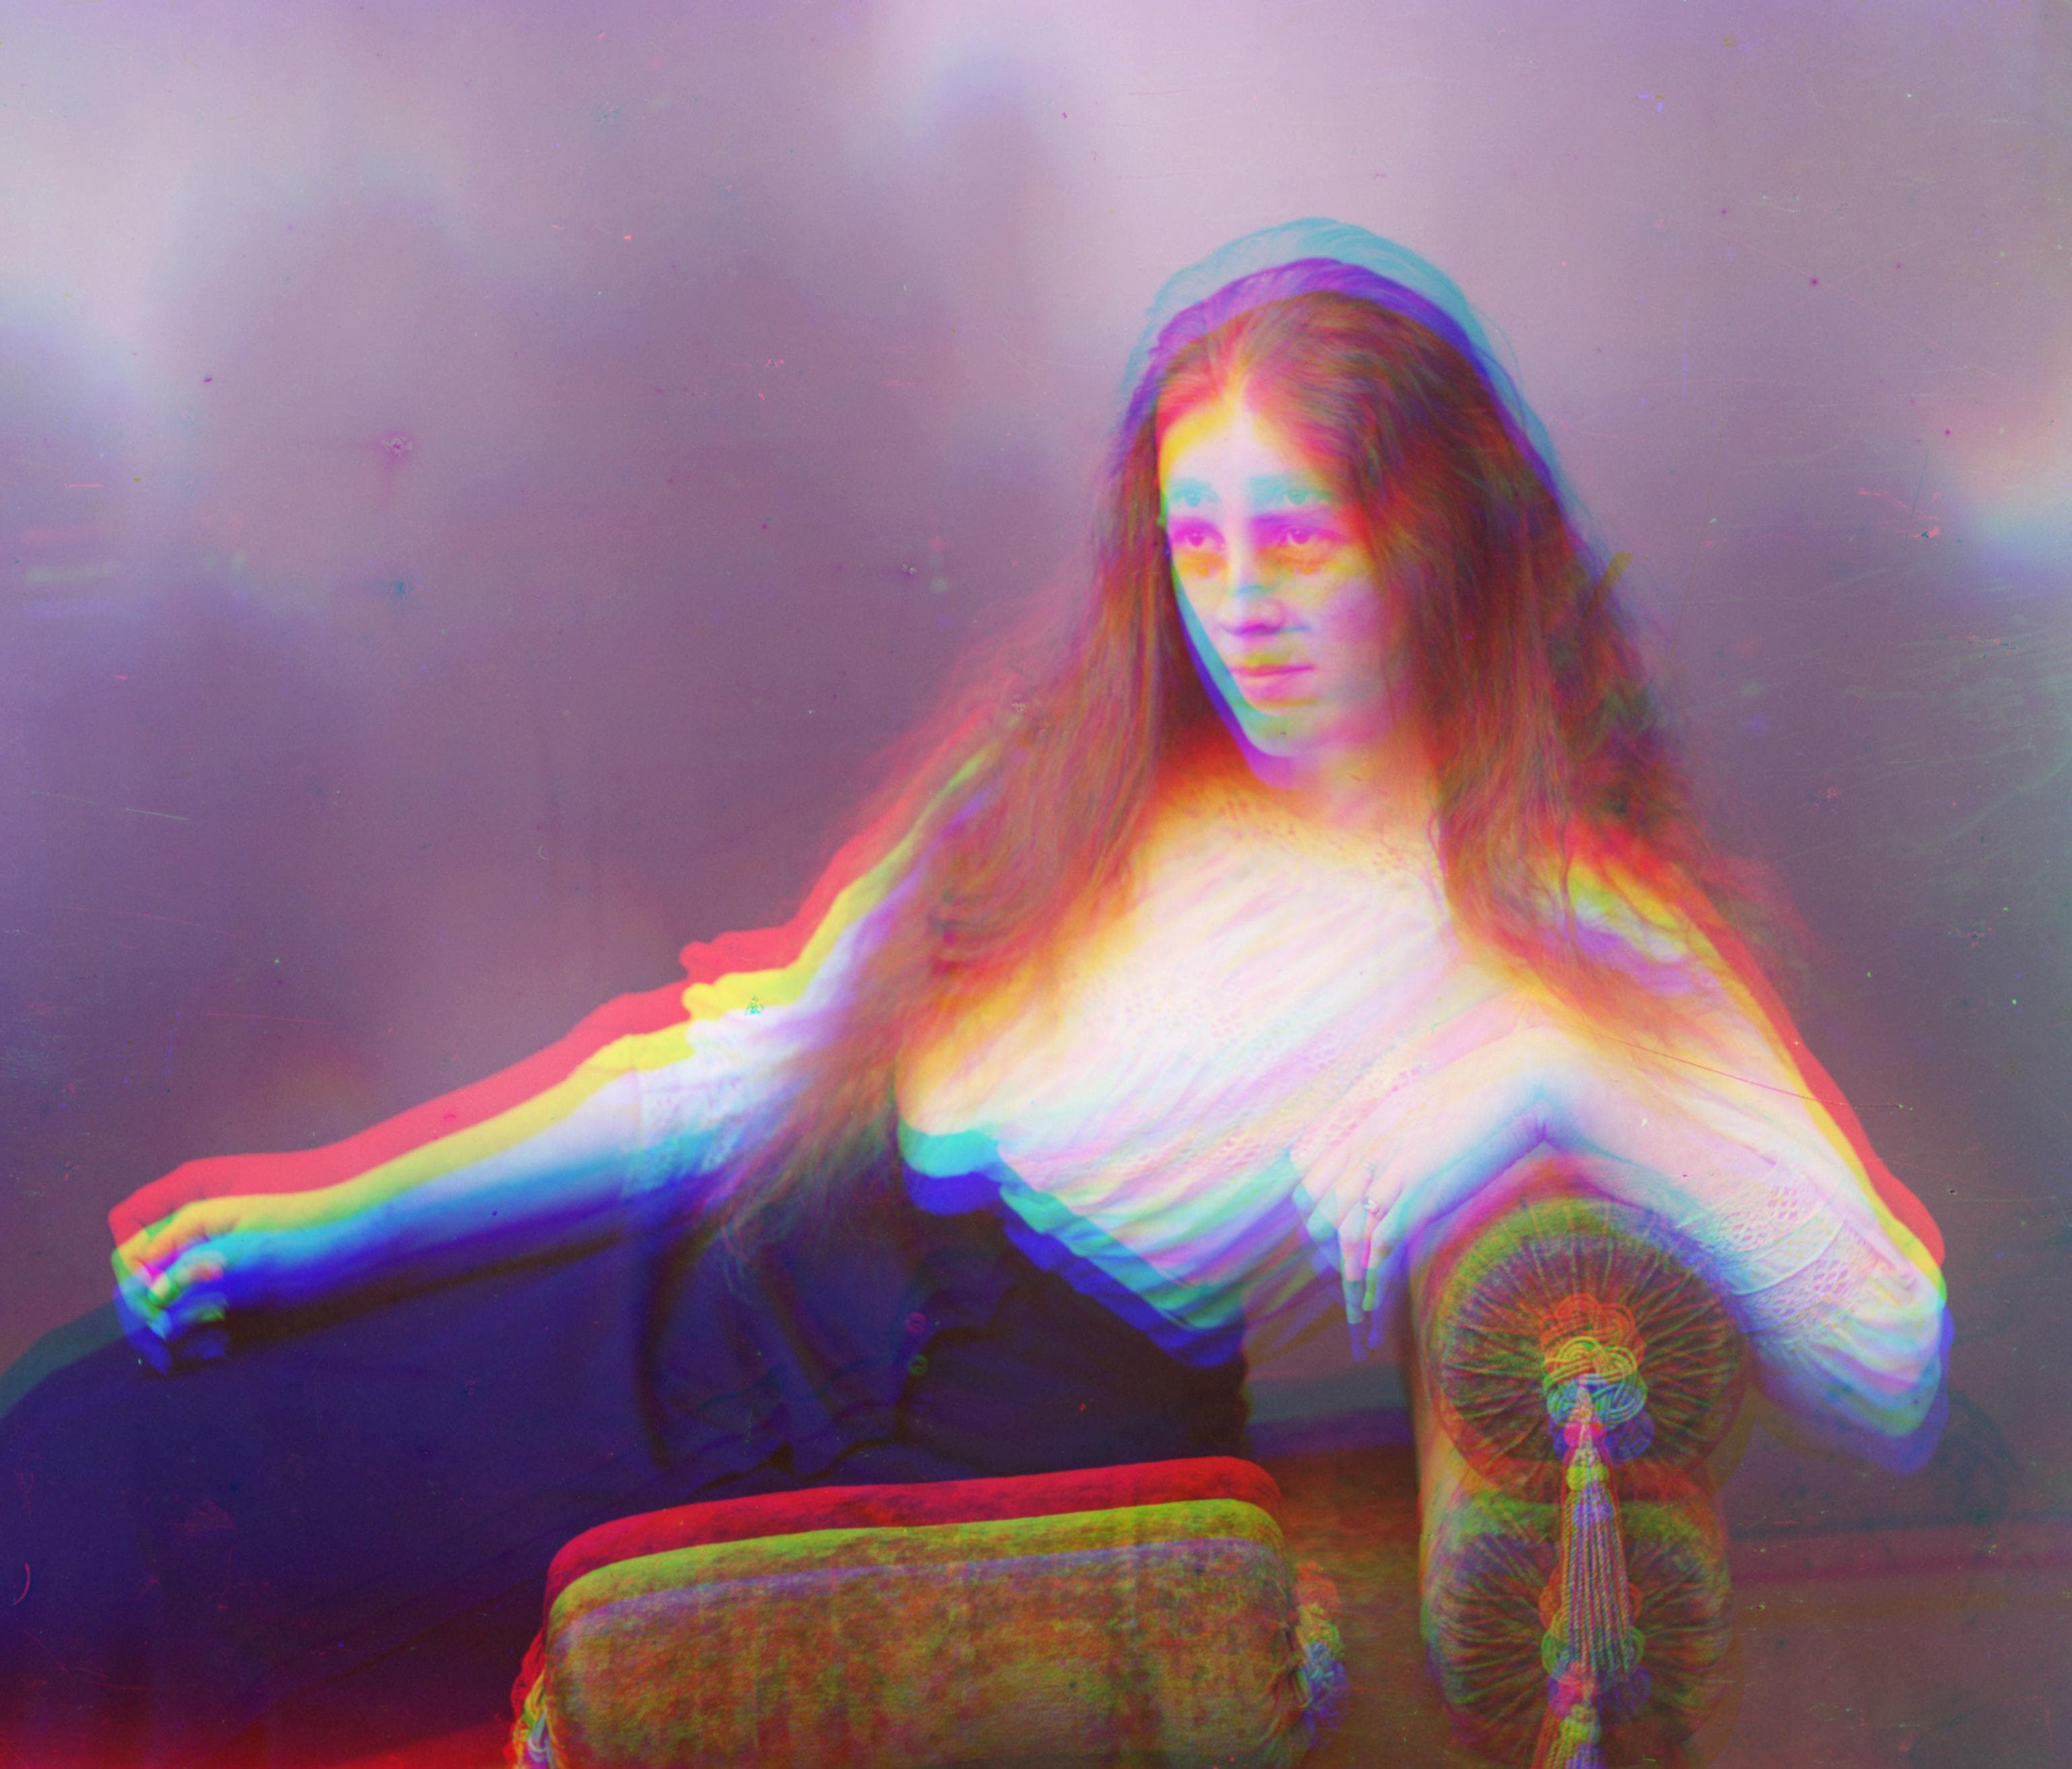
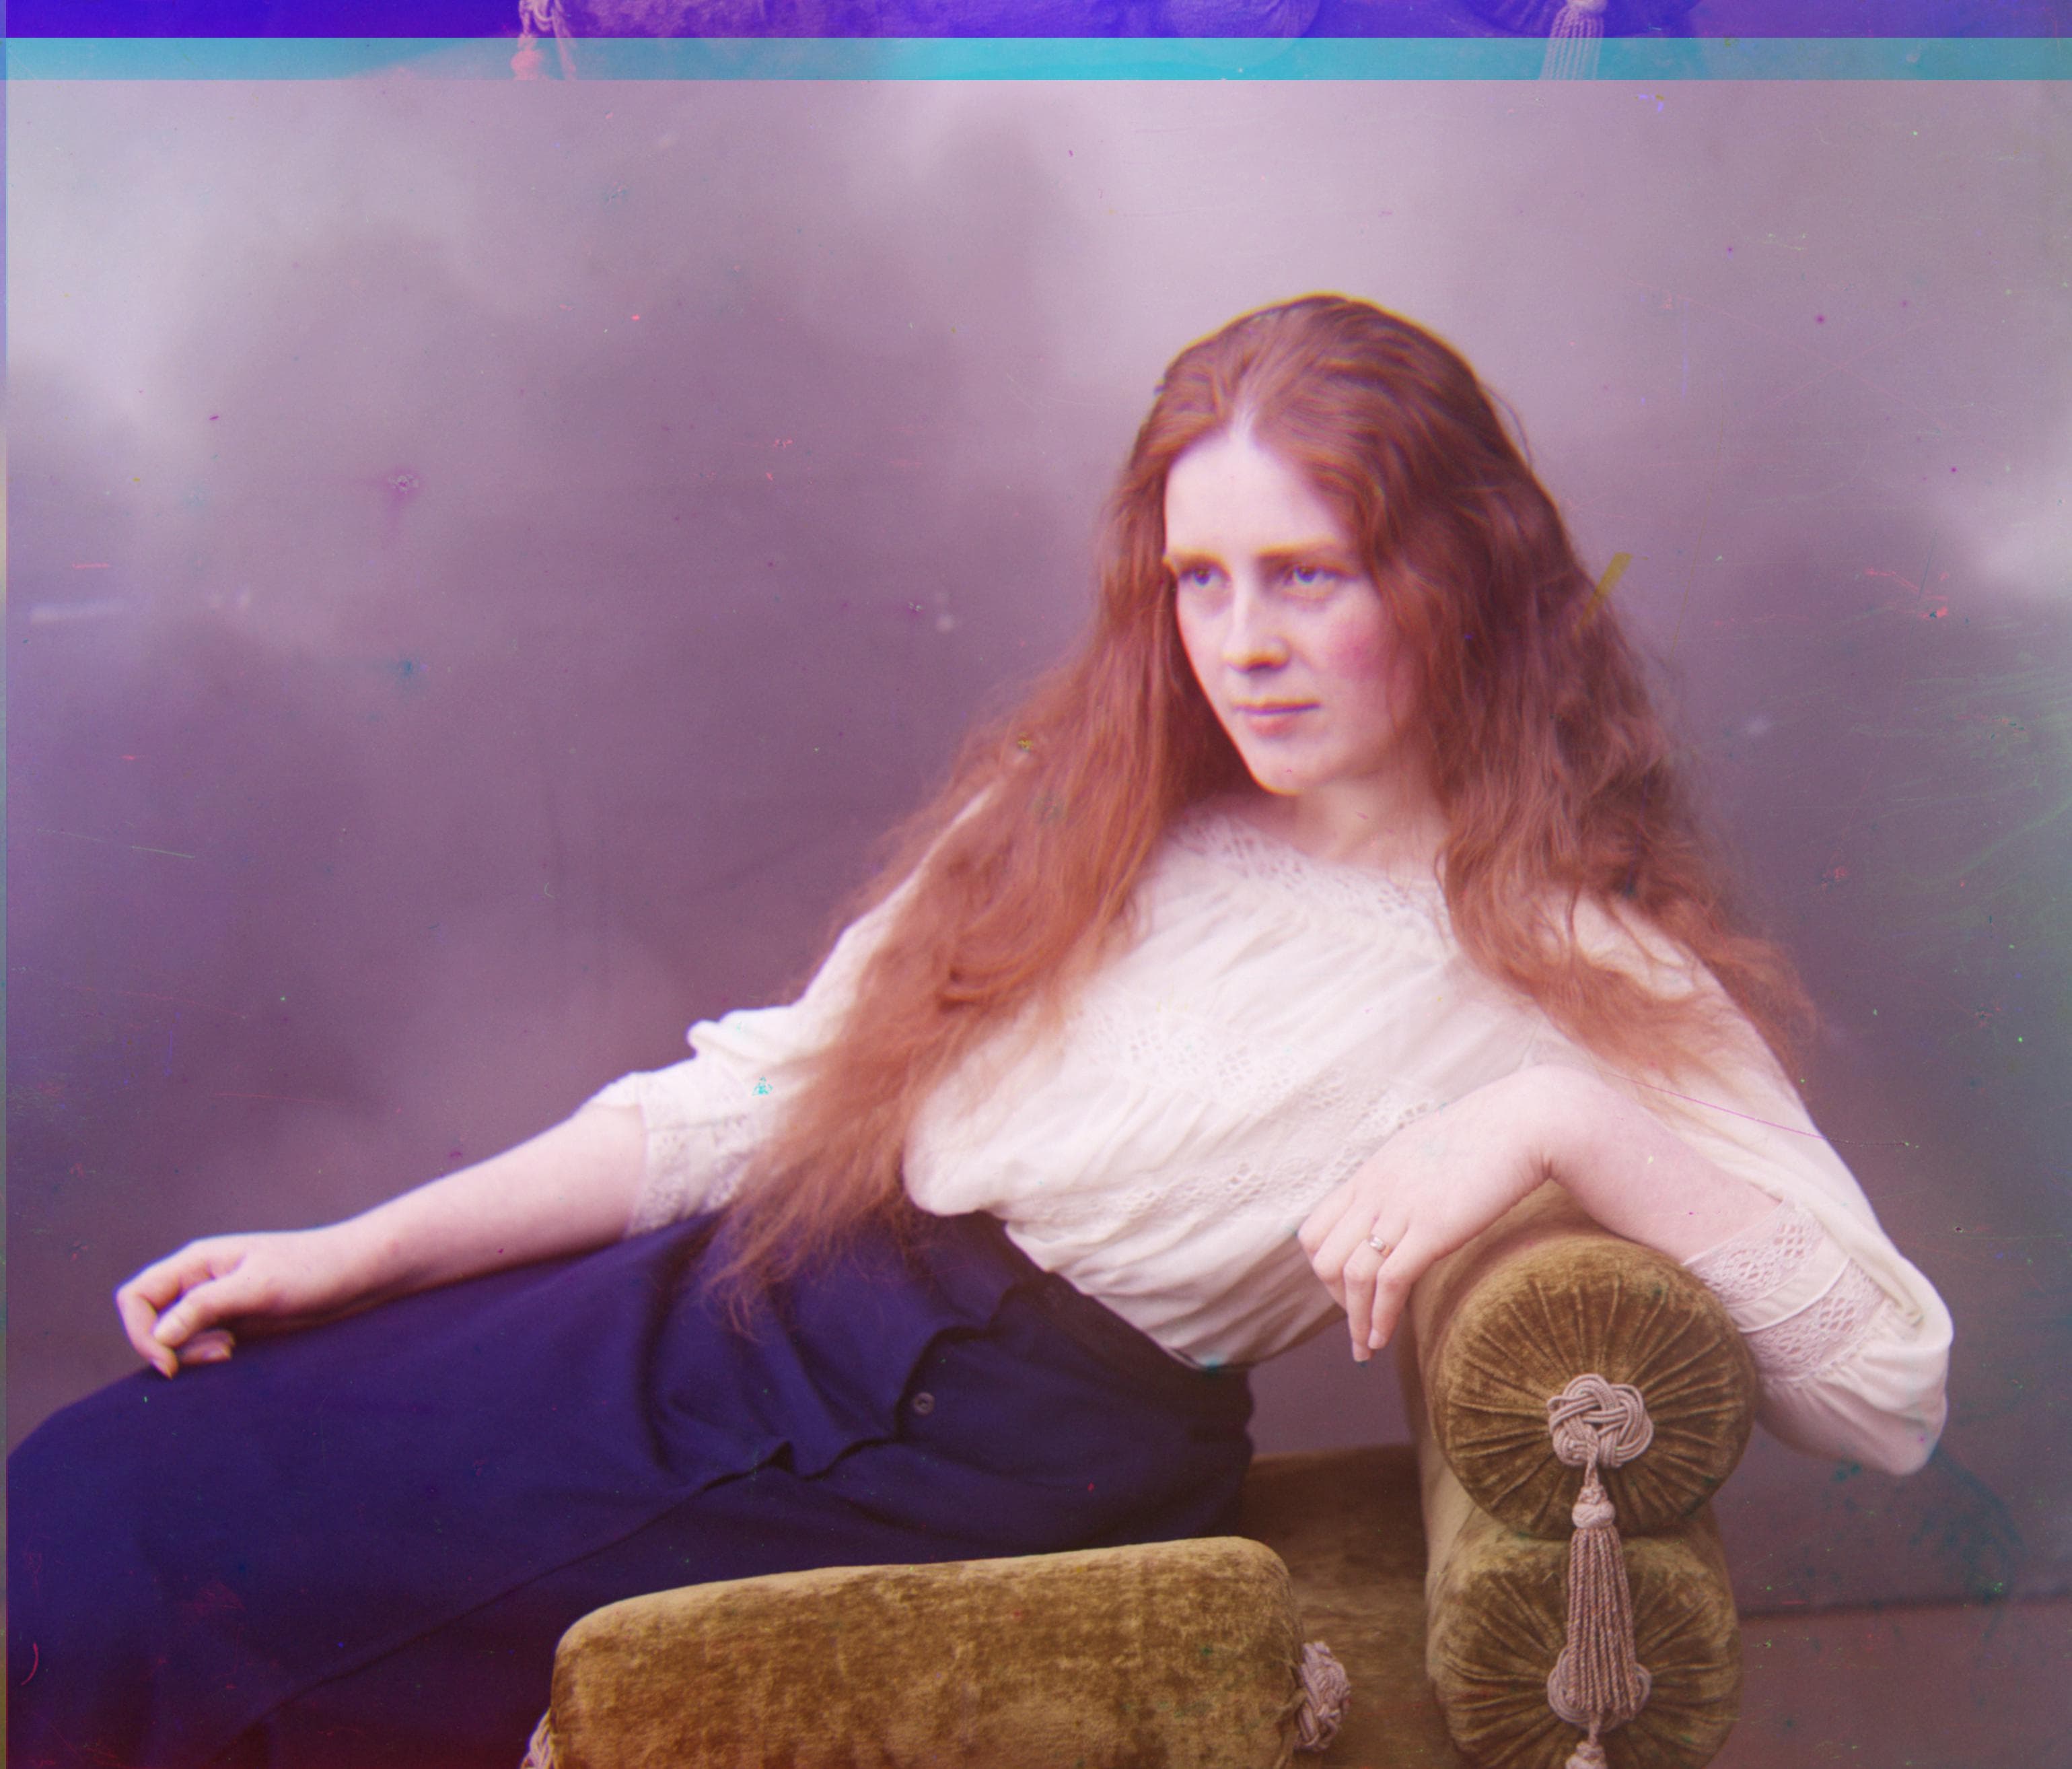
R Offset: (12, 119)
G Offset: (9, 56)
Melons
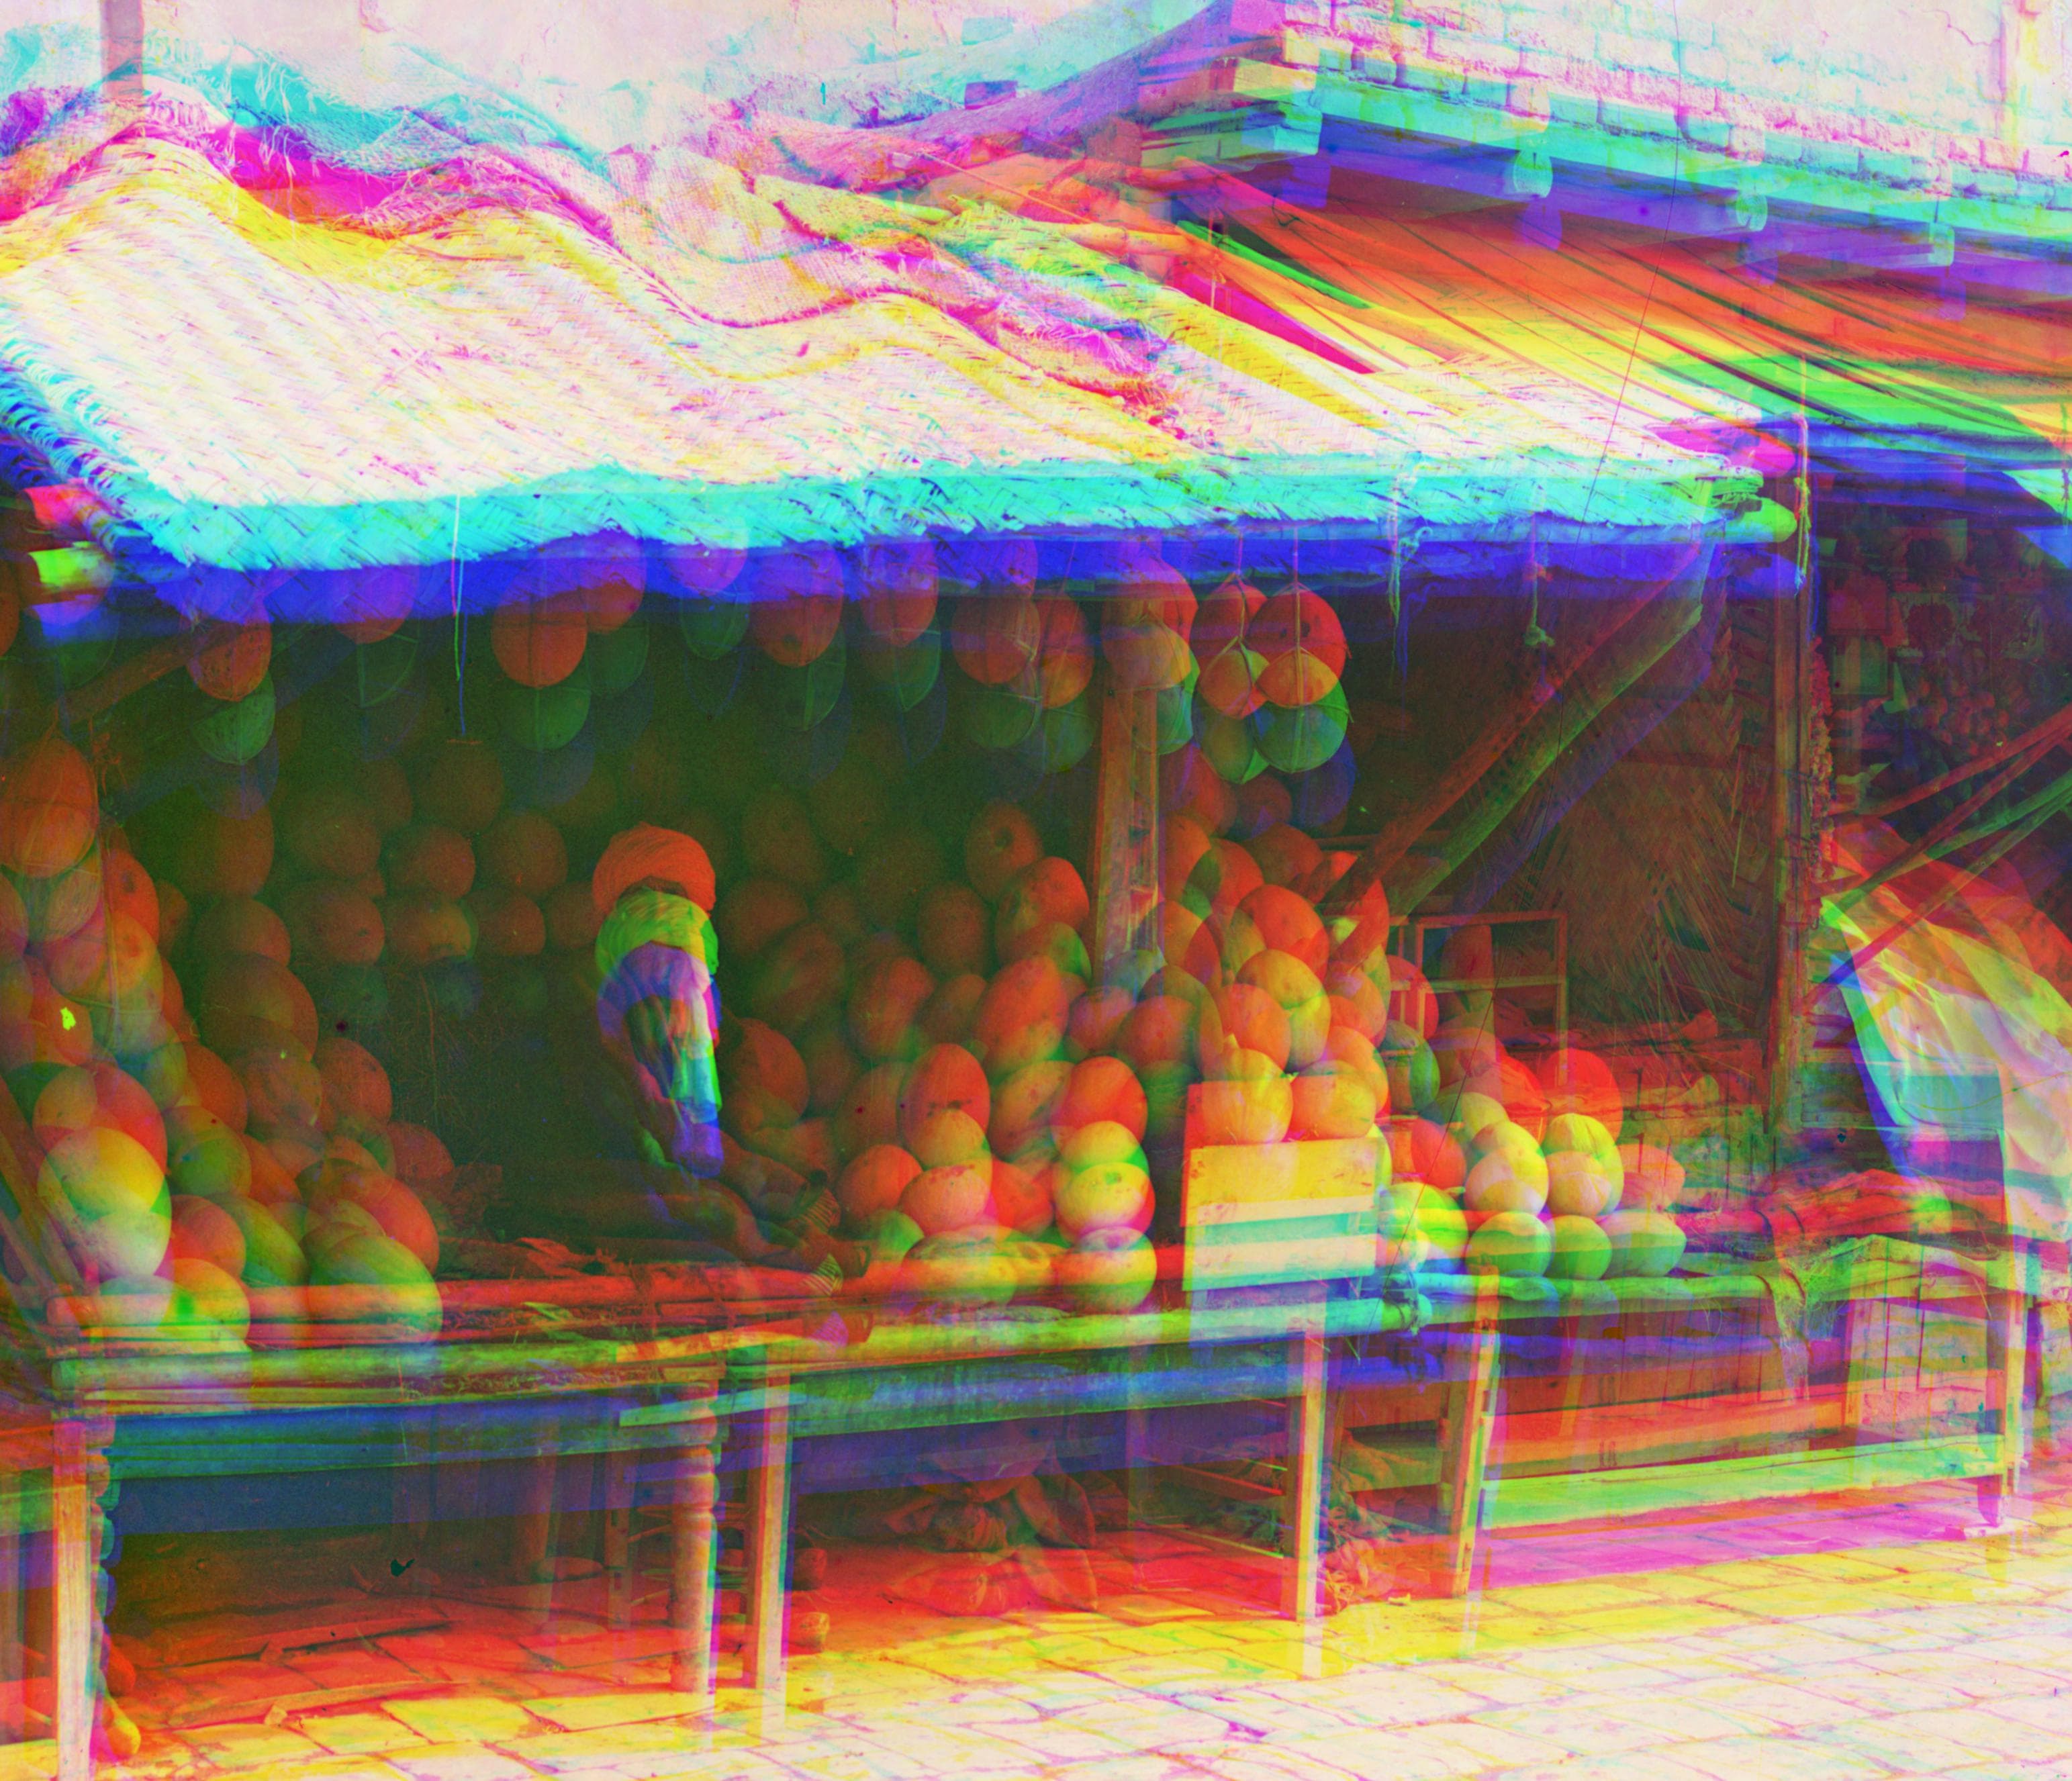
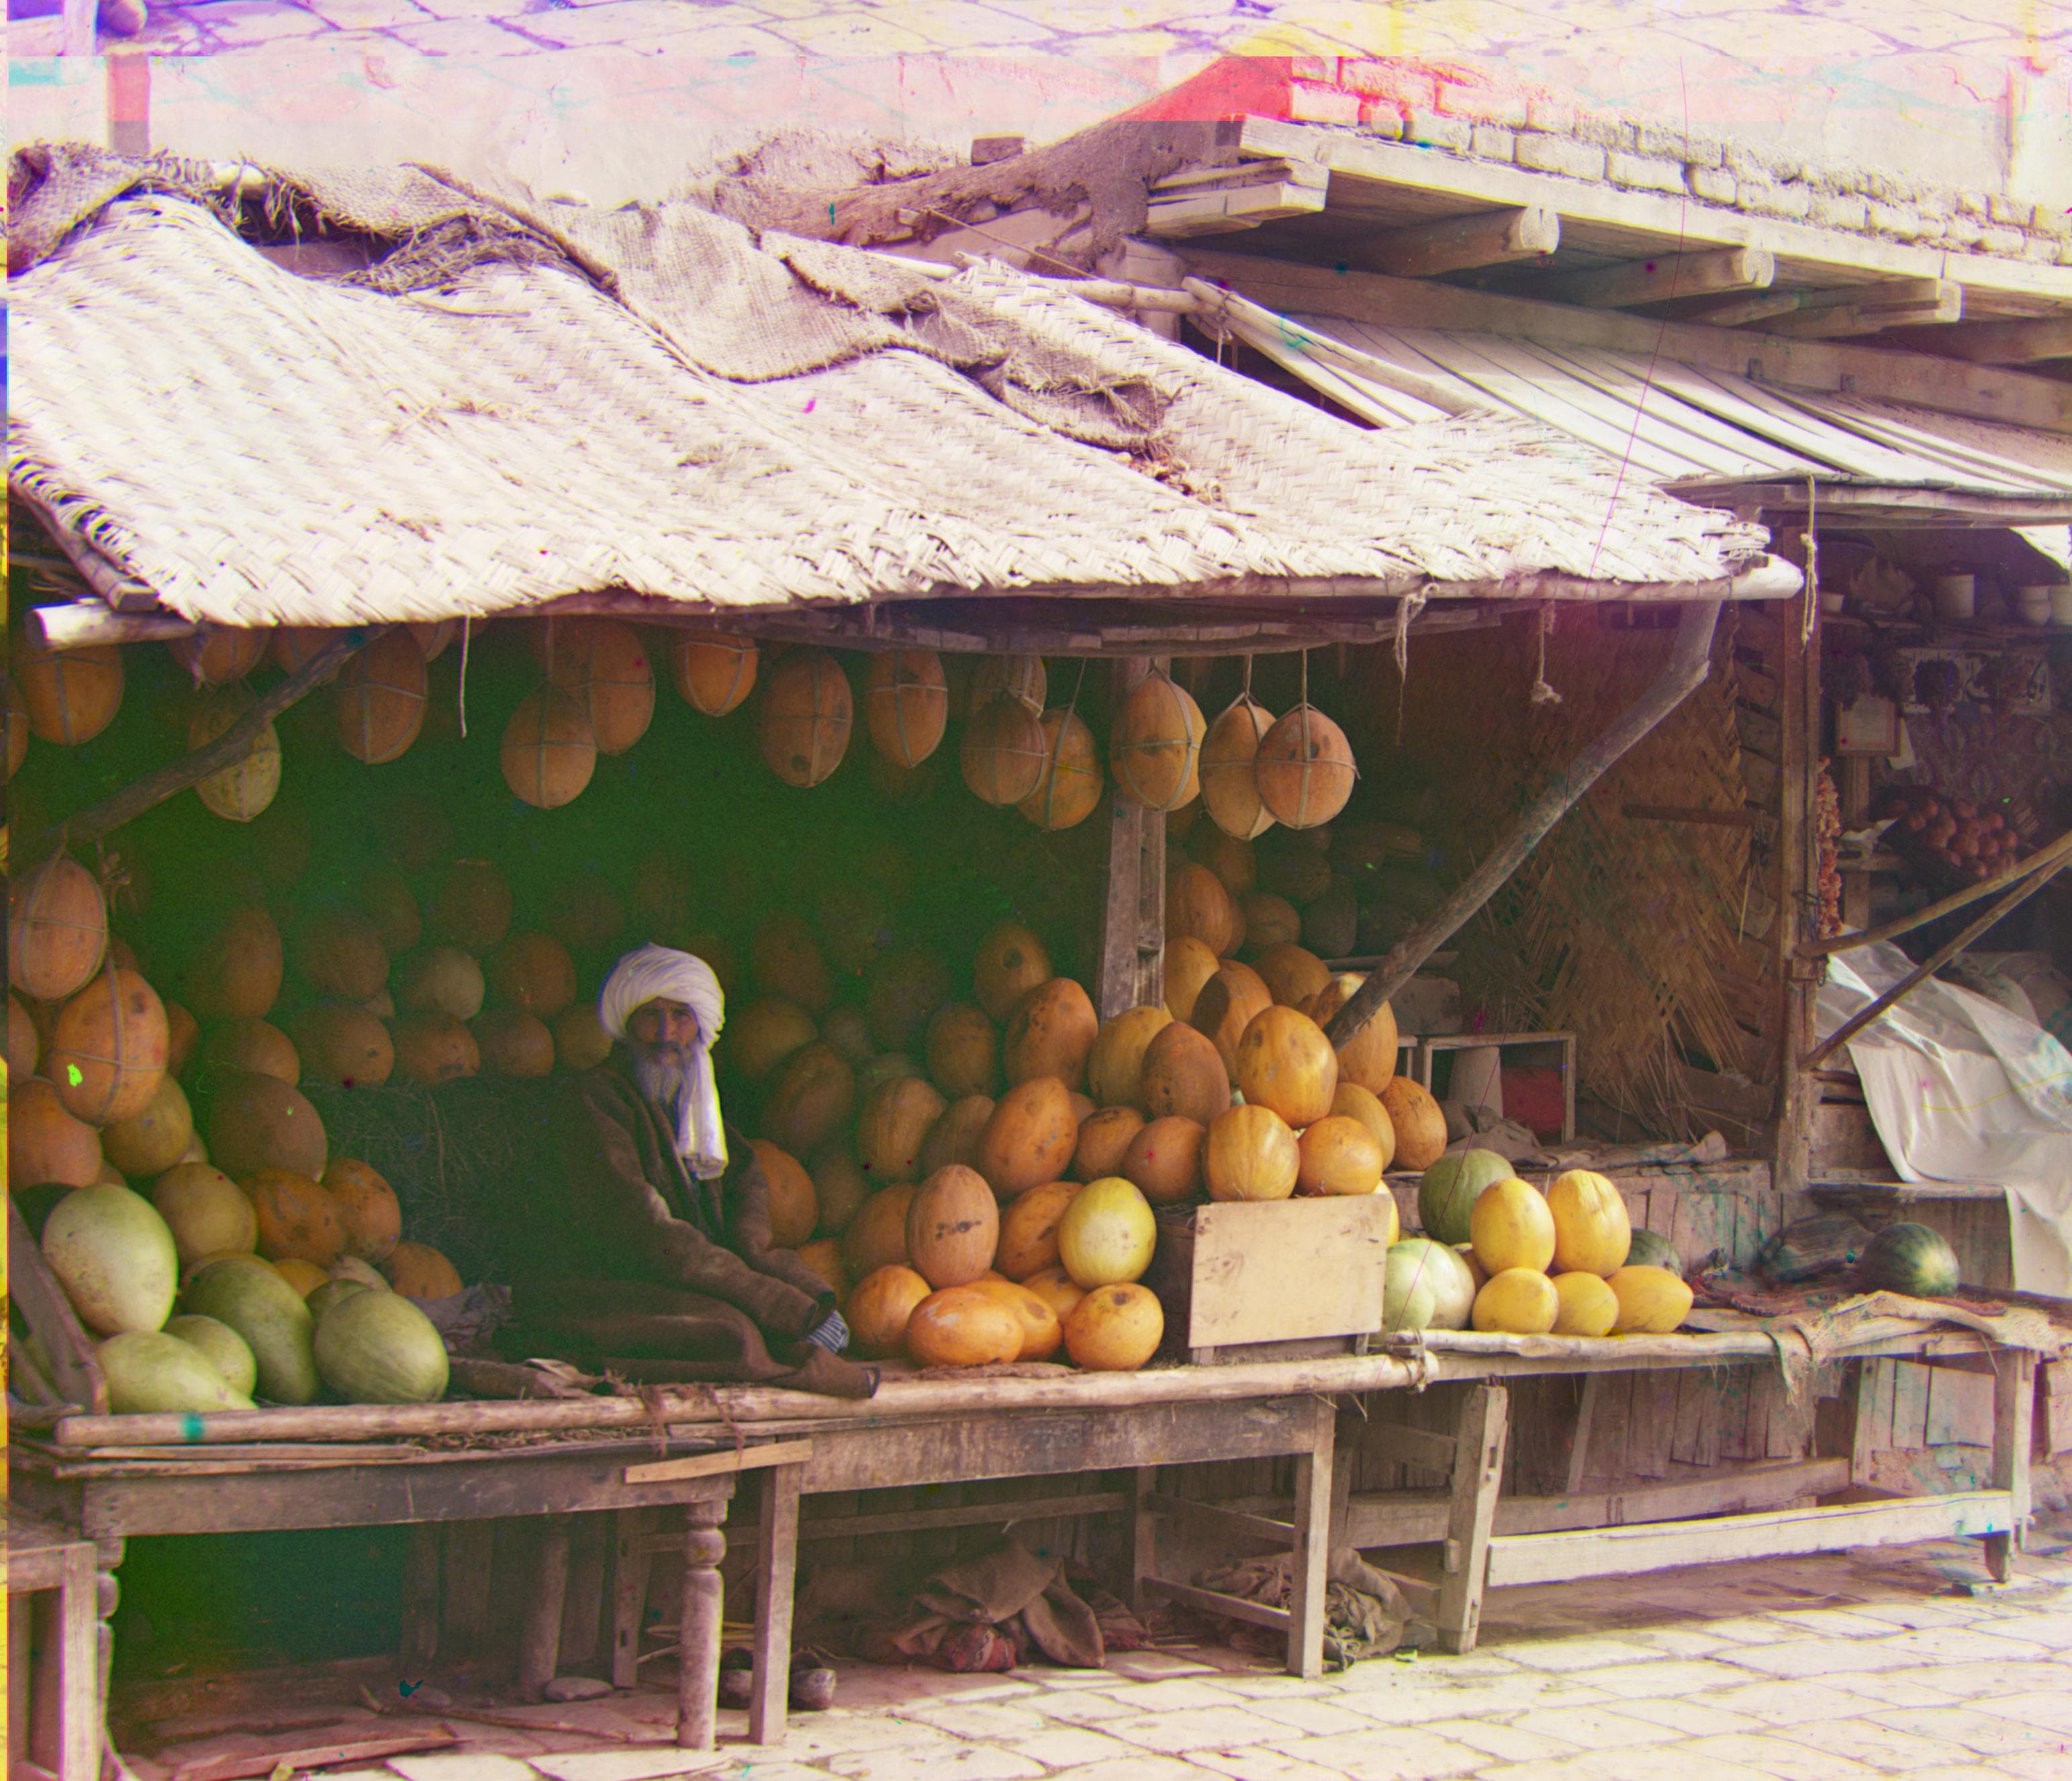
R Offset: (13, 180)
G Offset: (10, 84)
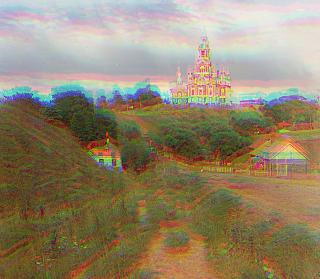
Onion Church
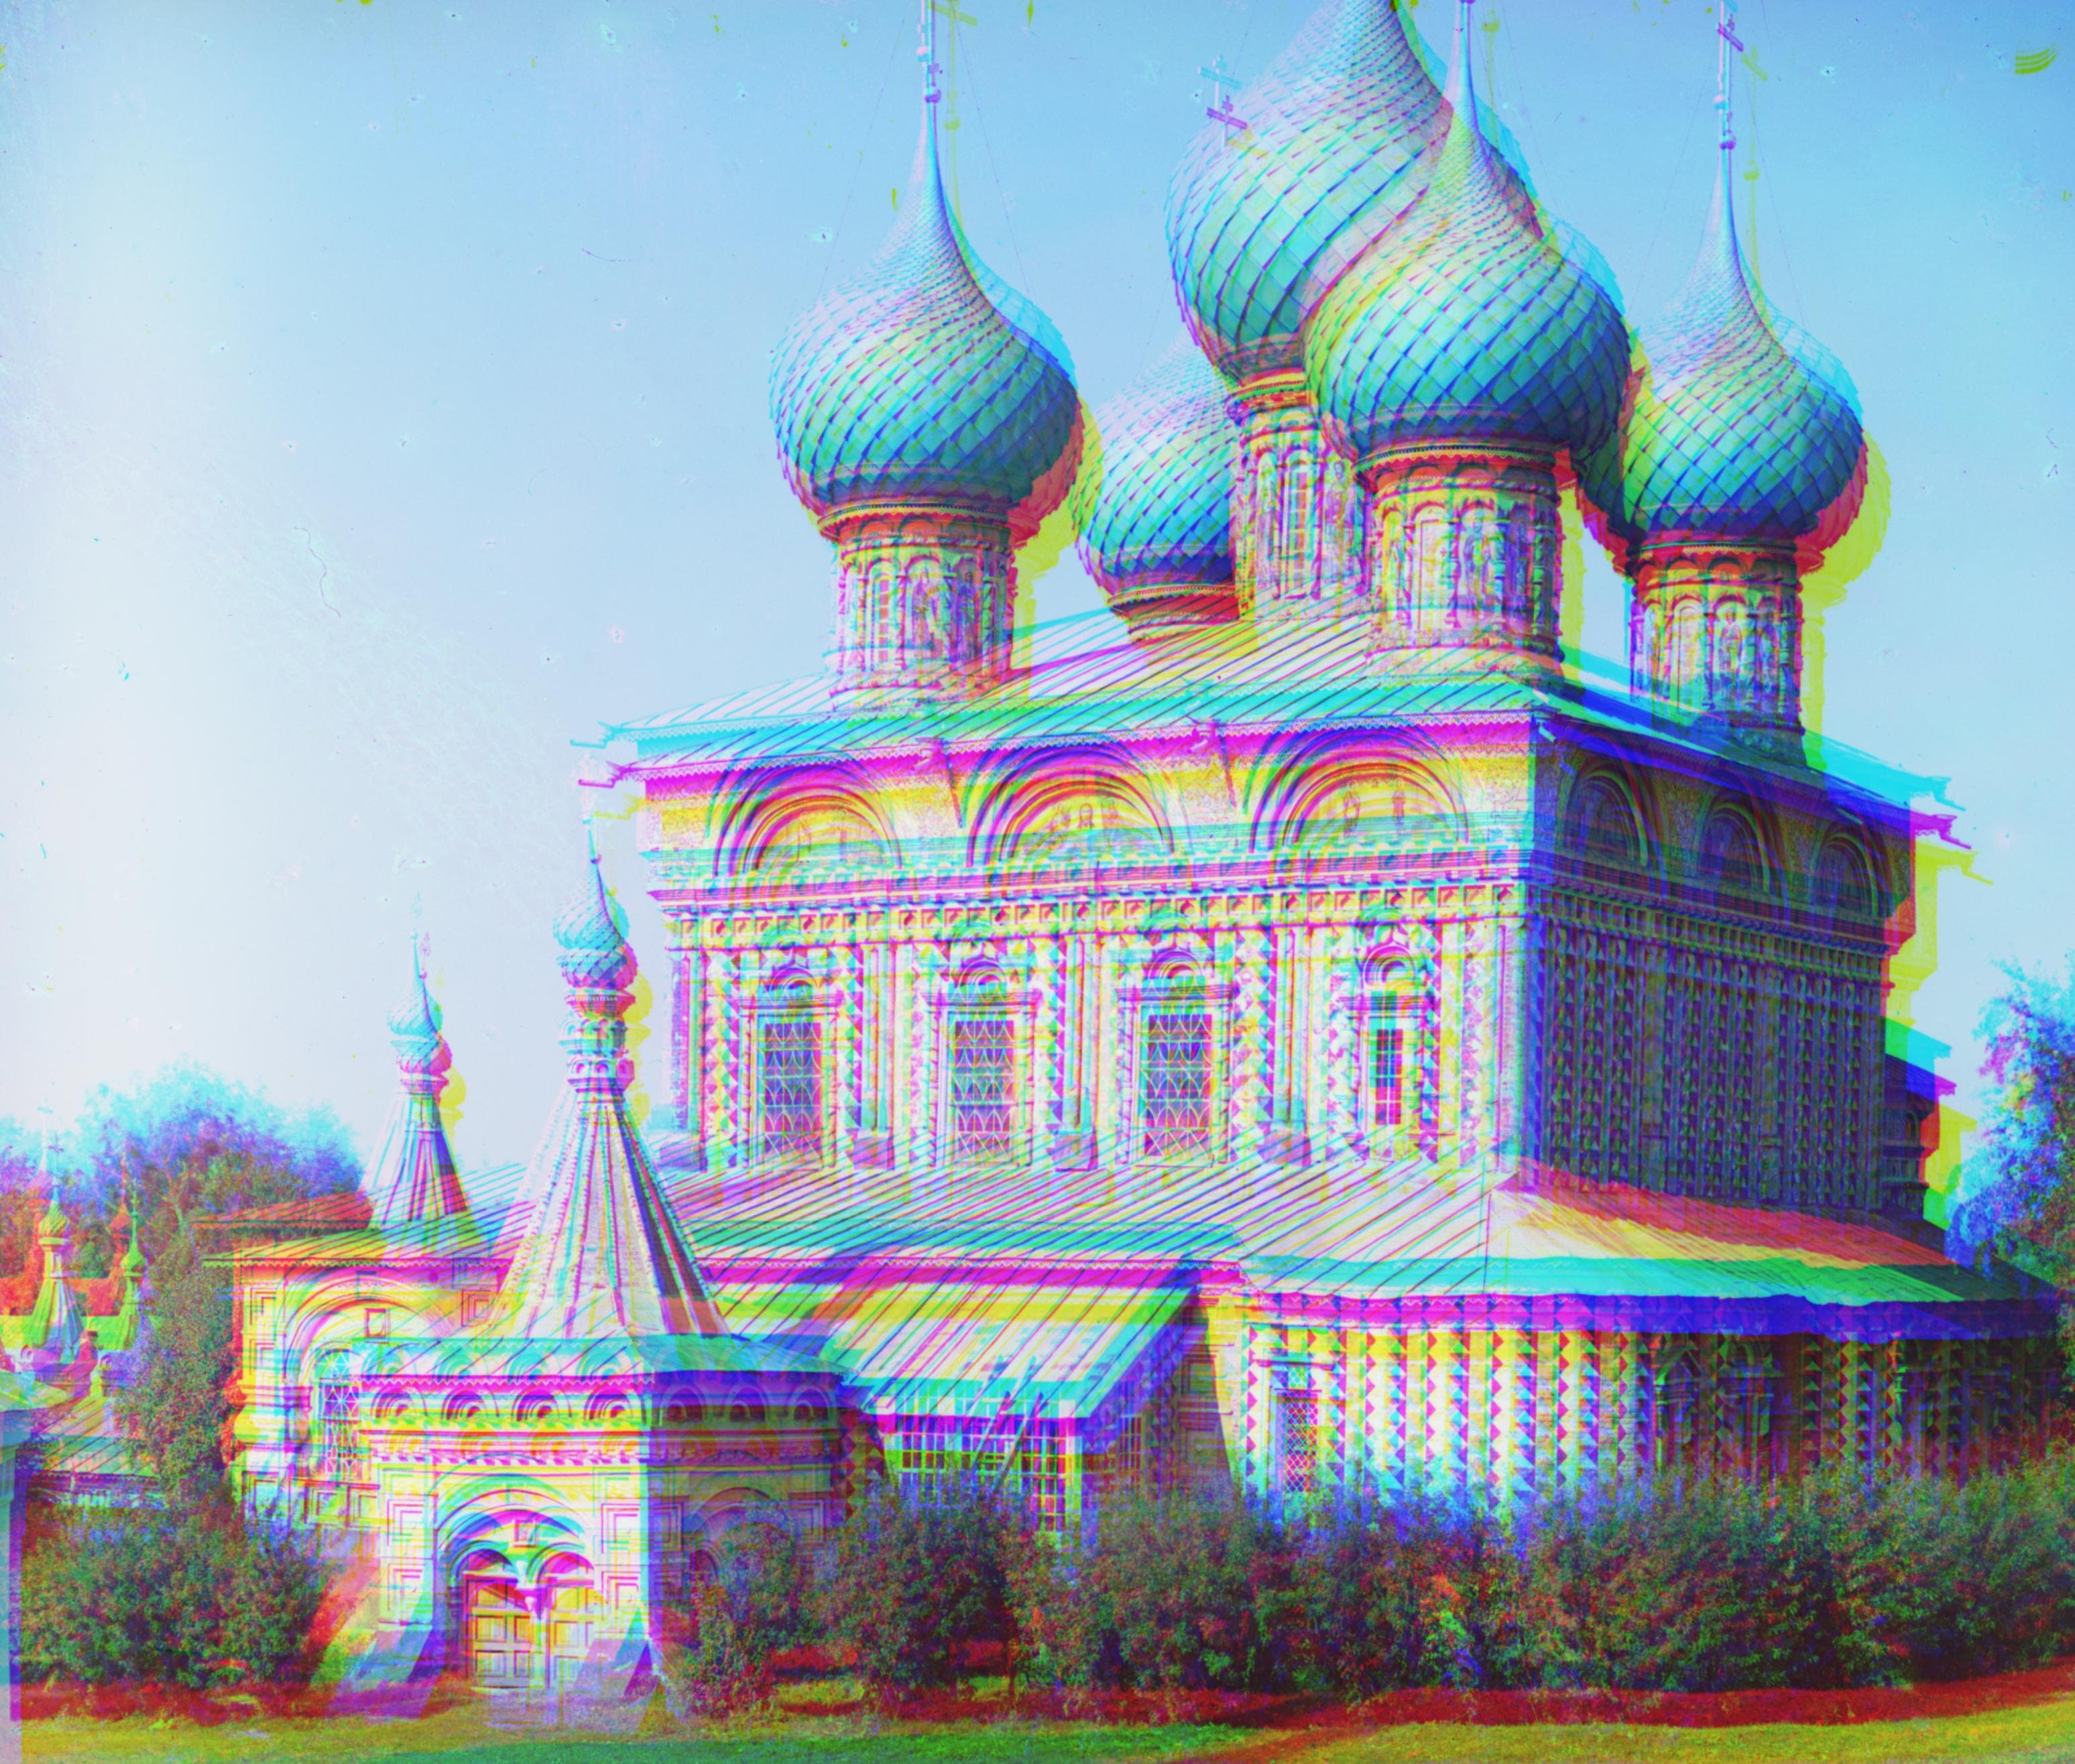
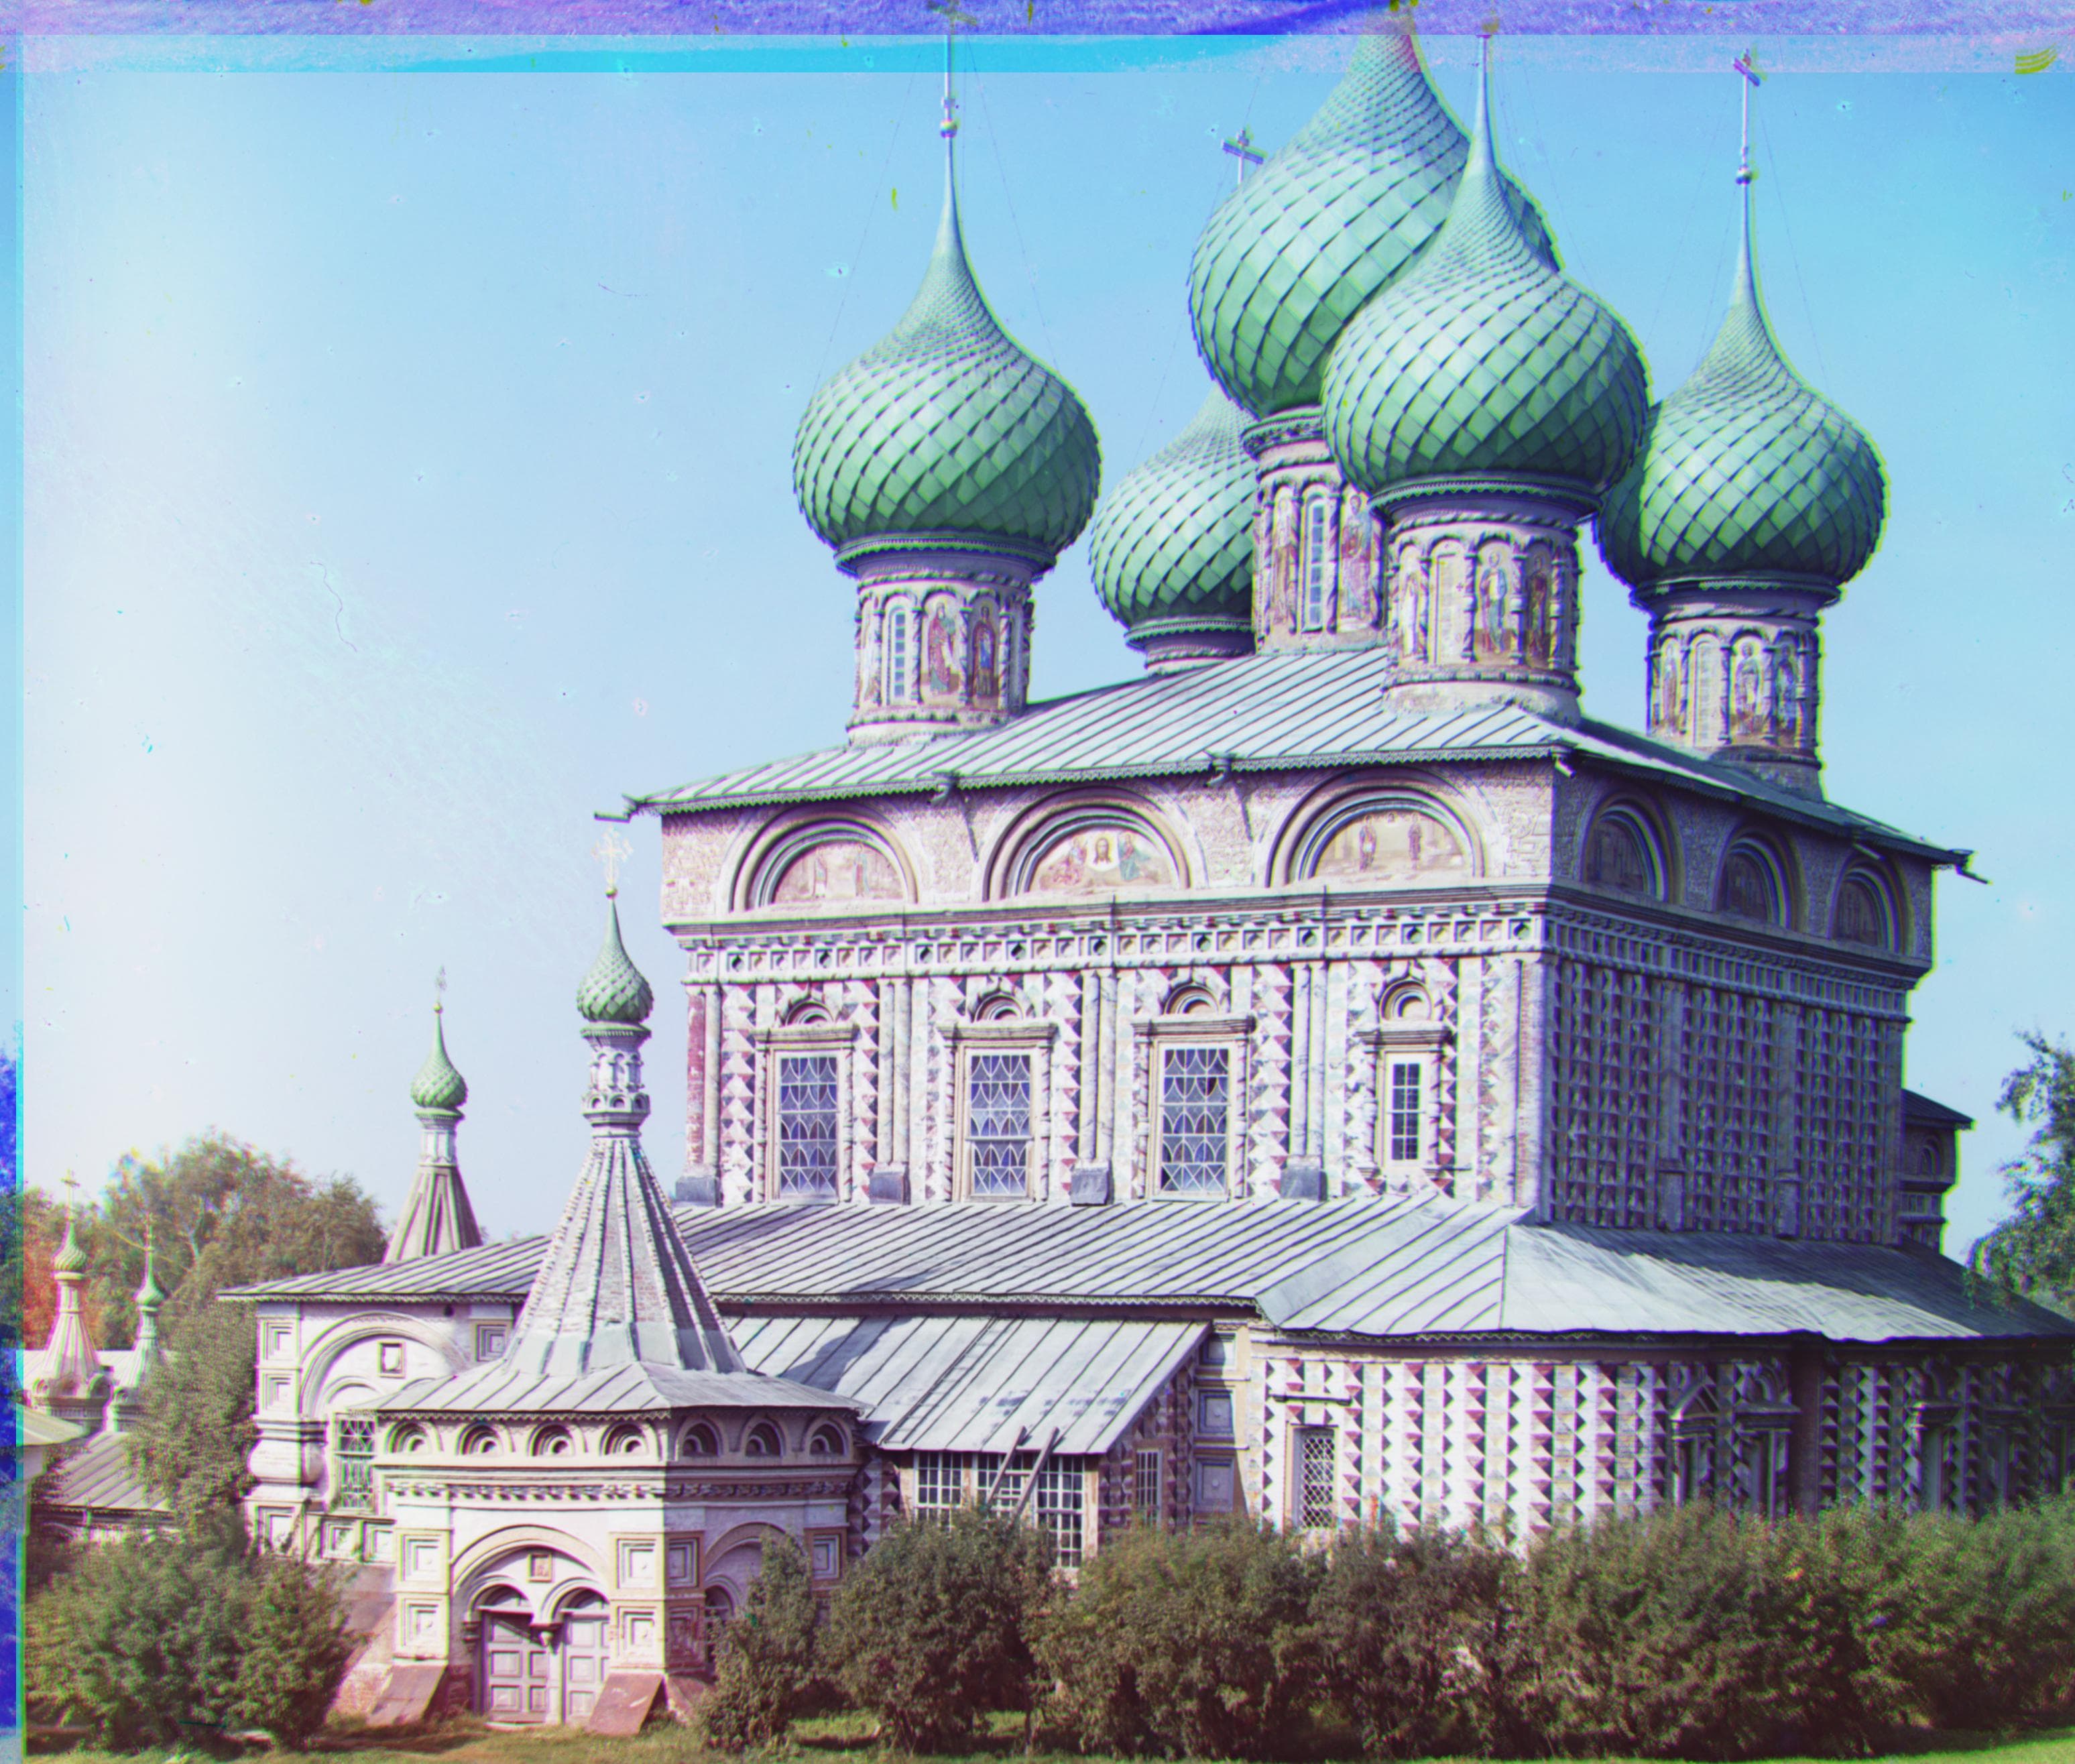
R Offset: (35, 108)
G Offset: (24, 52)
Self Portrait
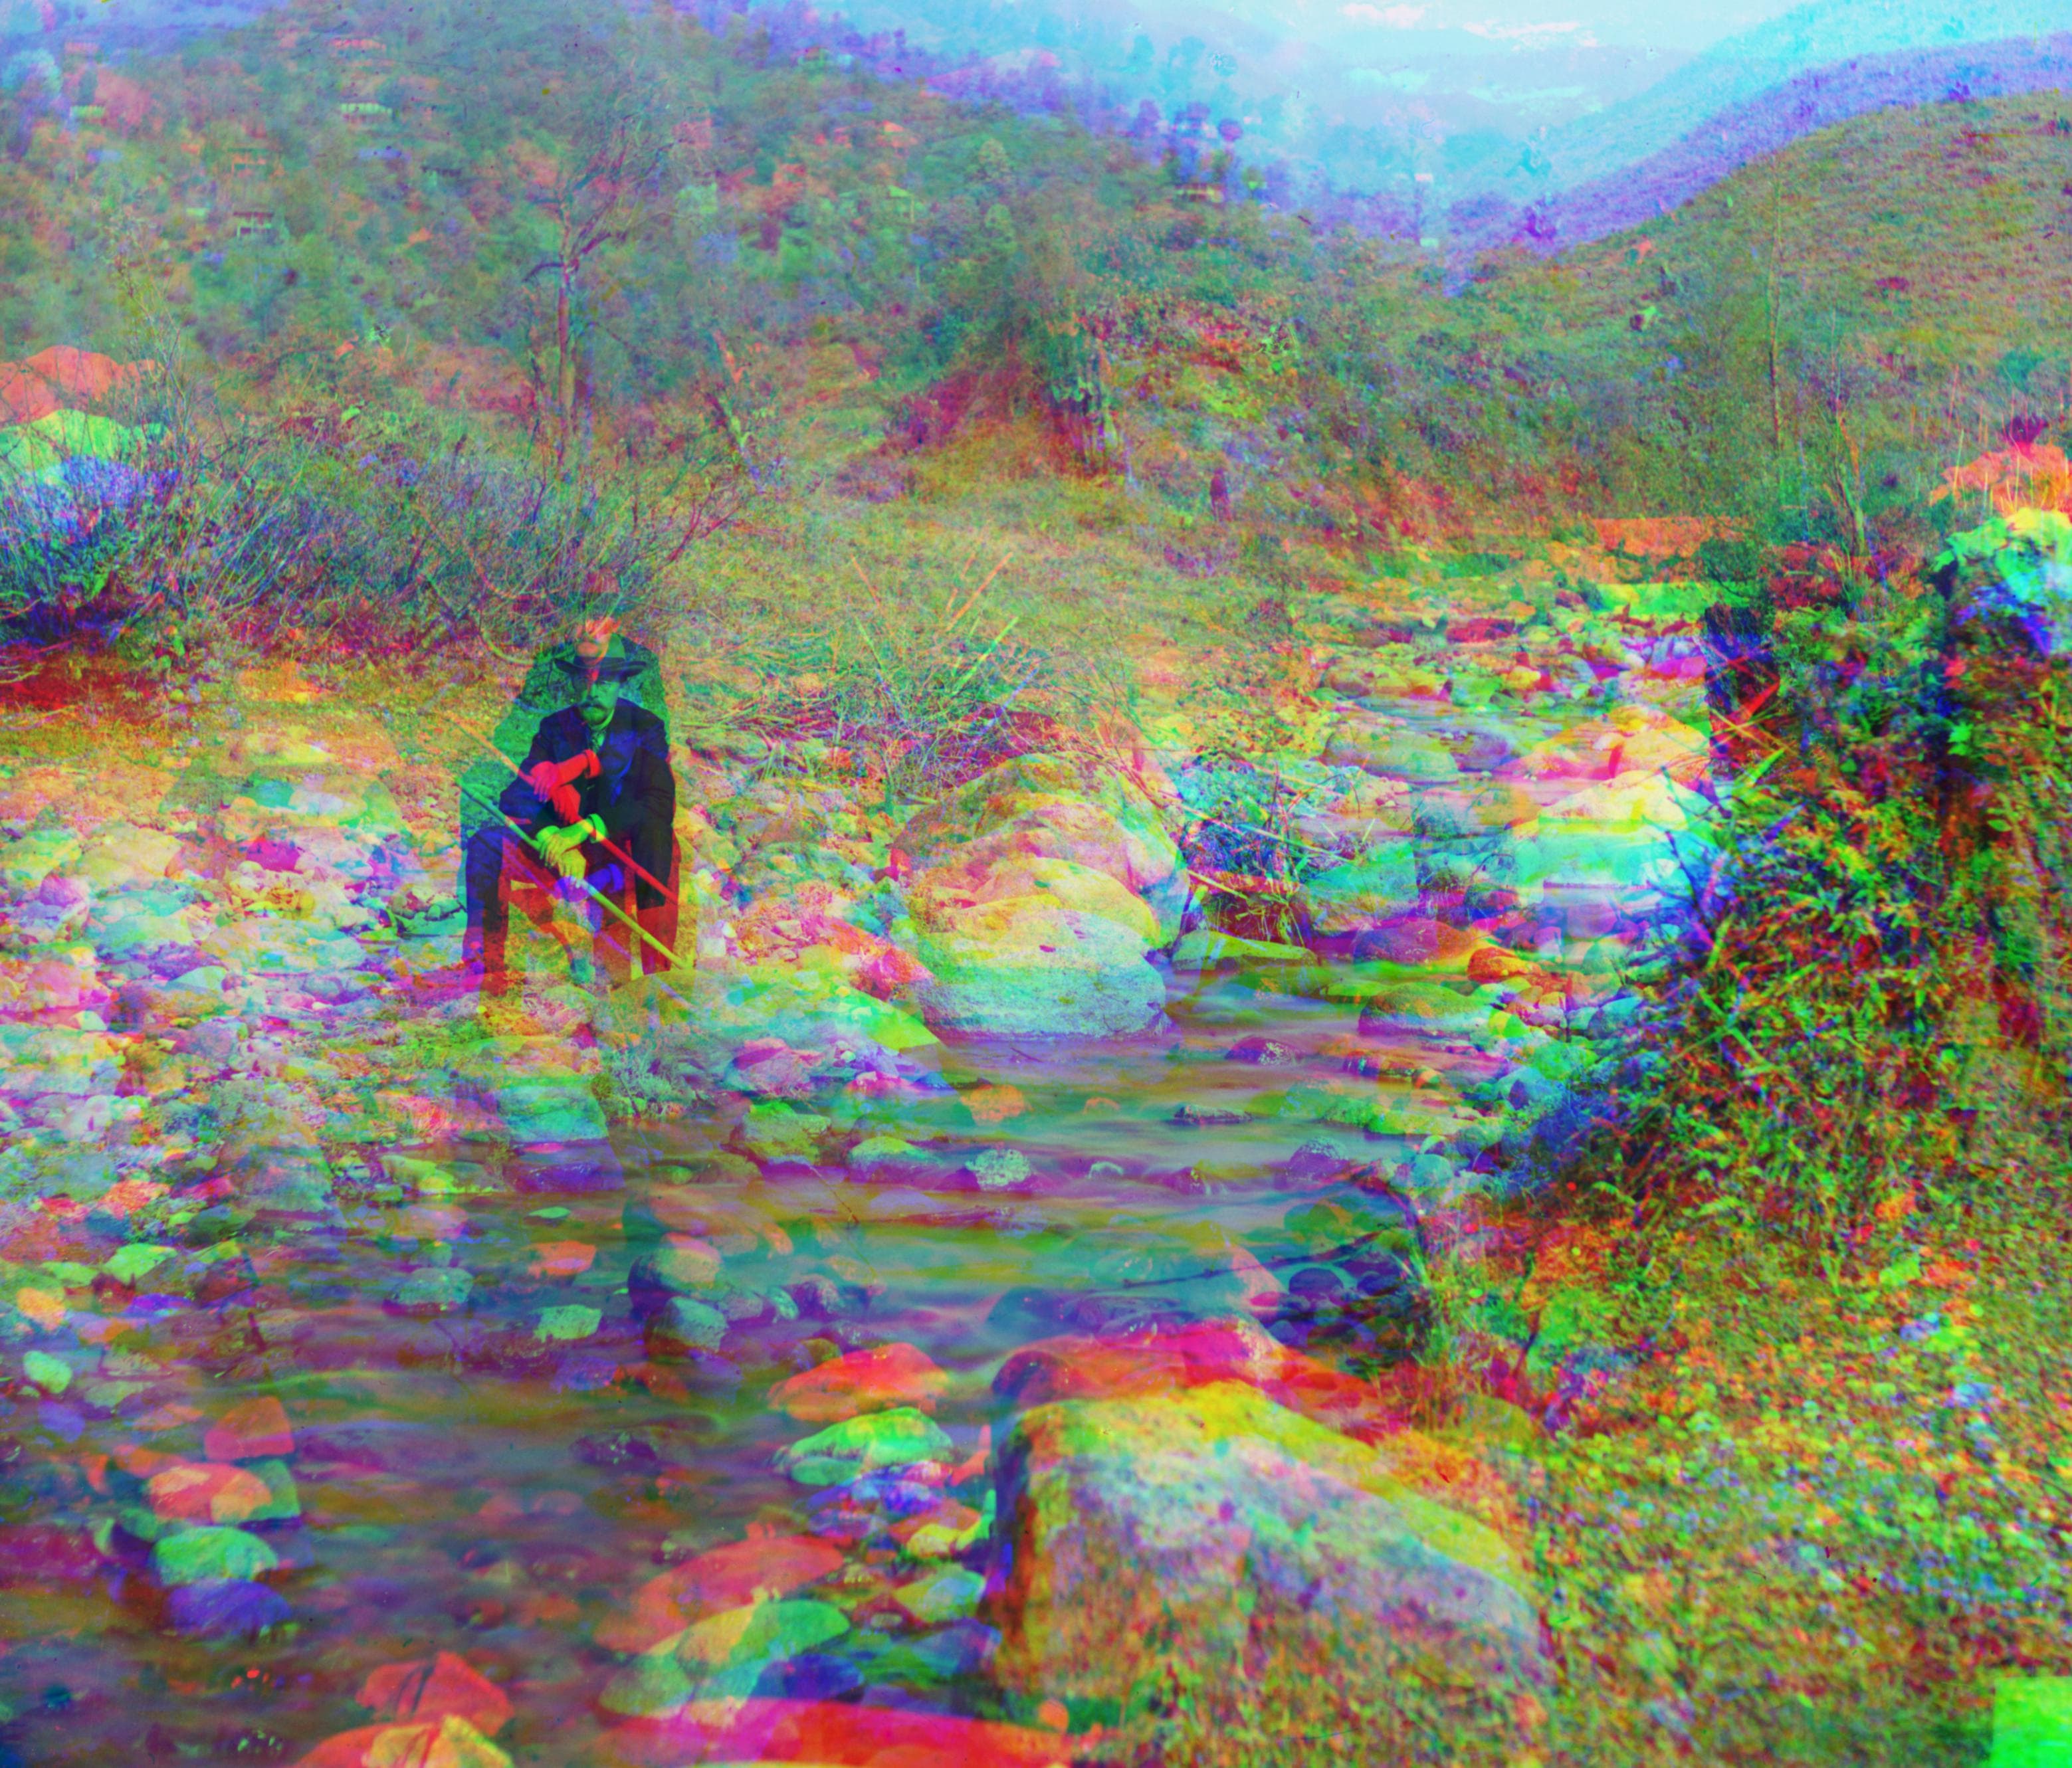
R Offset: (36, 176)
G Offset: (29, 79)
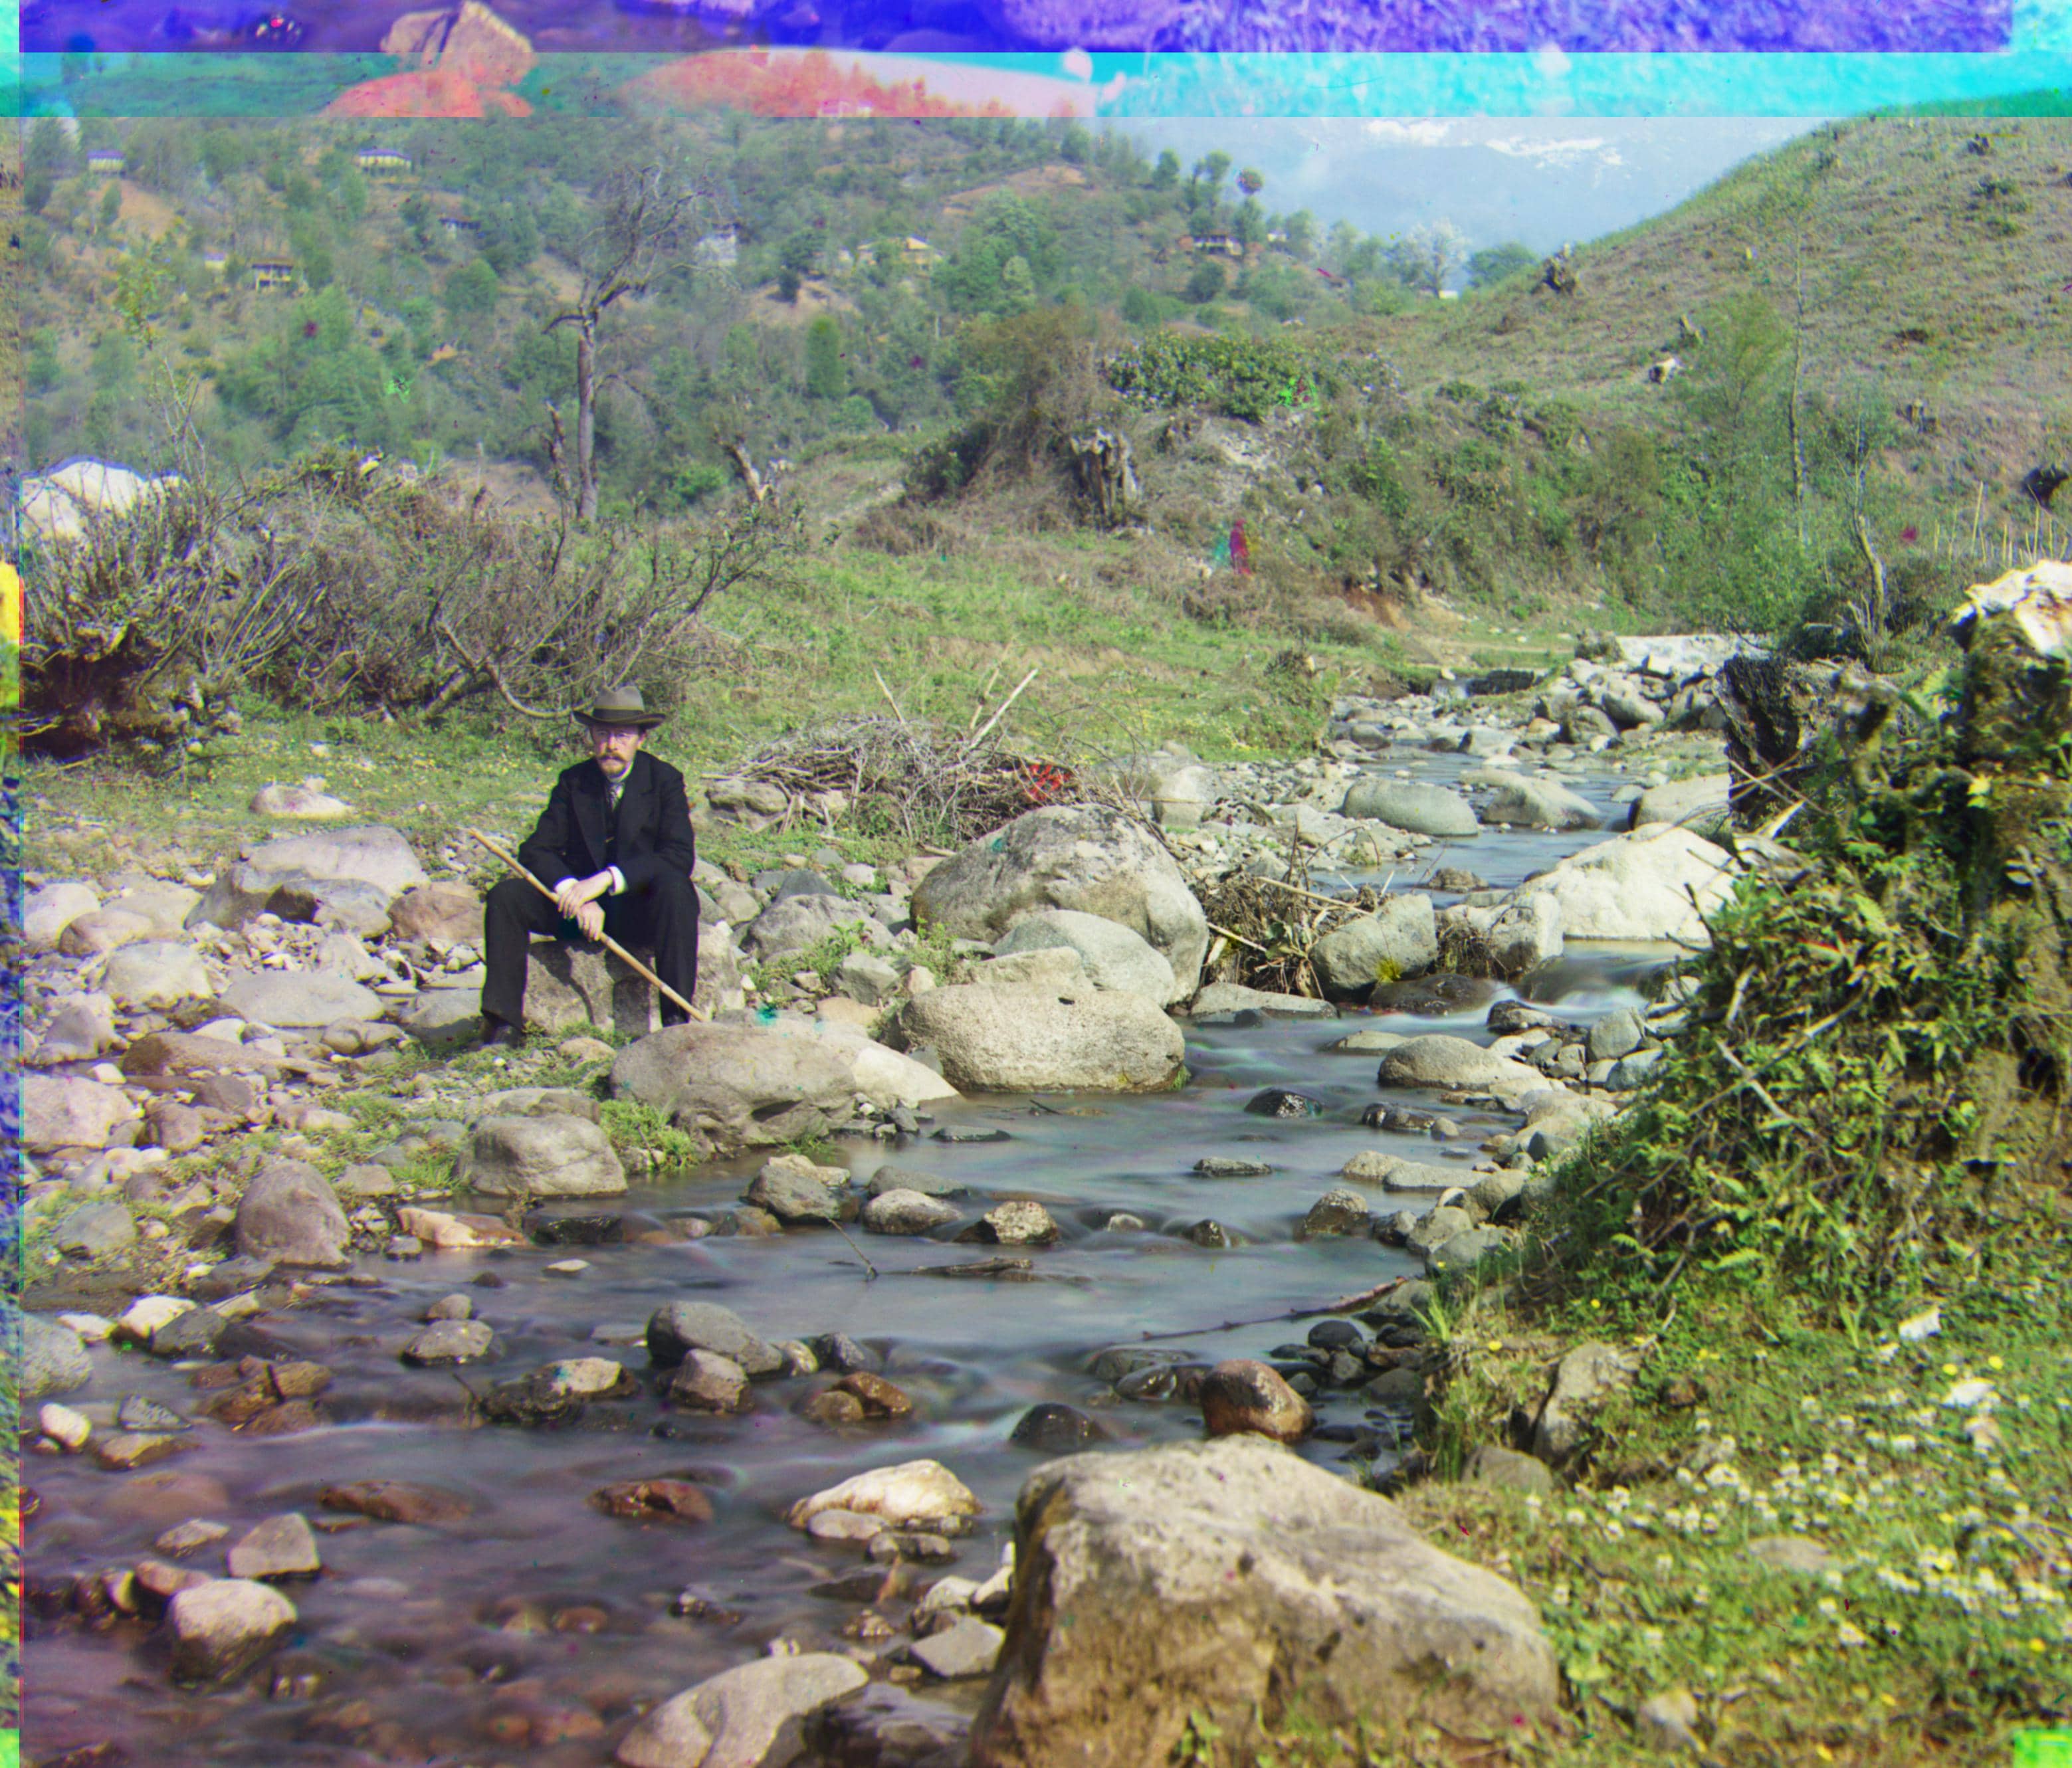
Three Generations
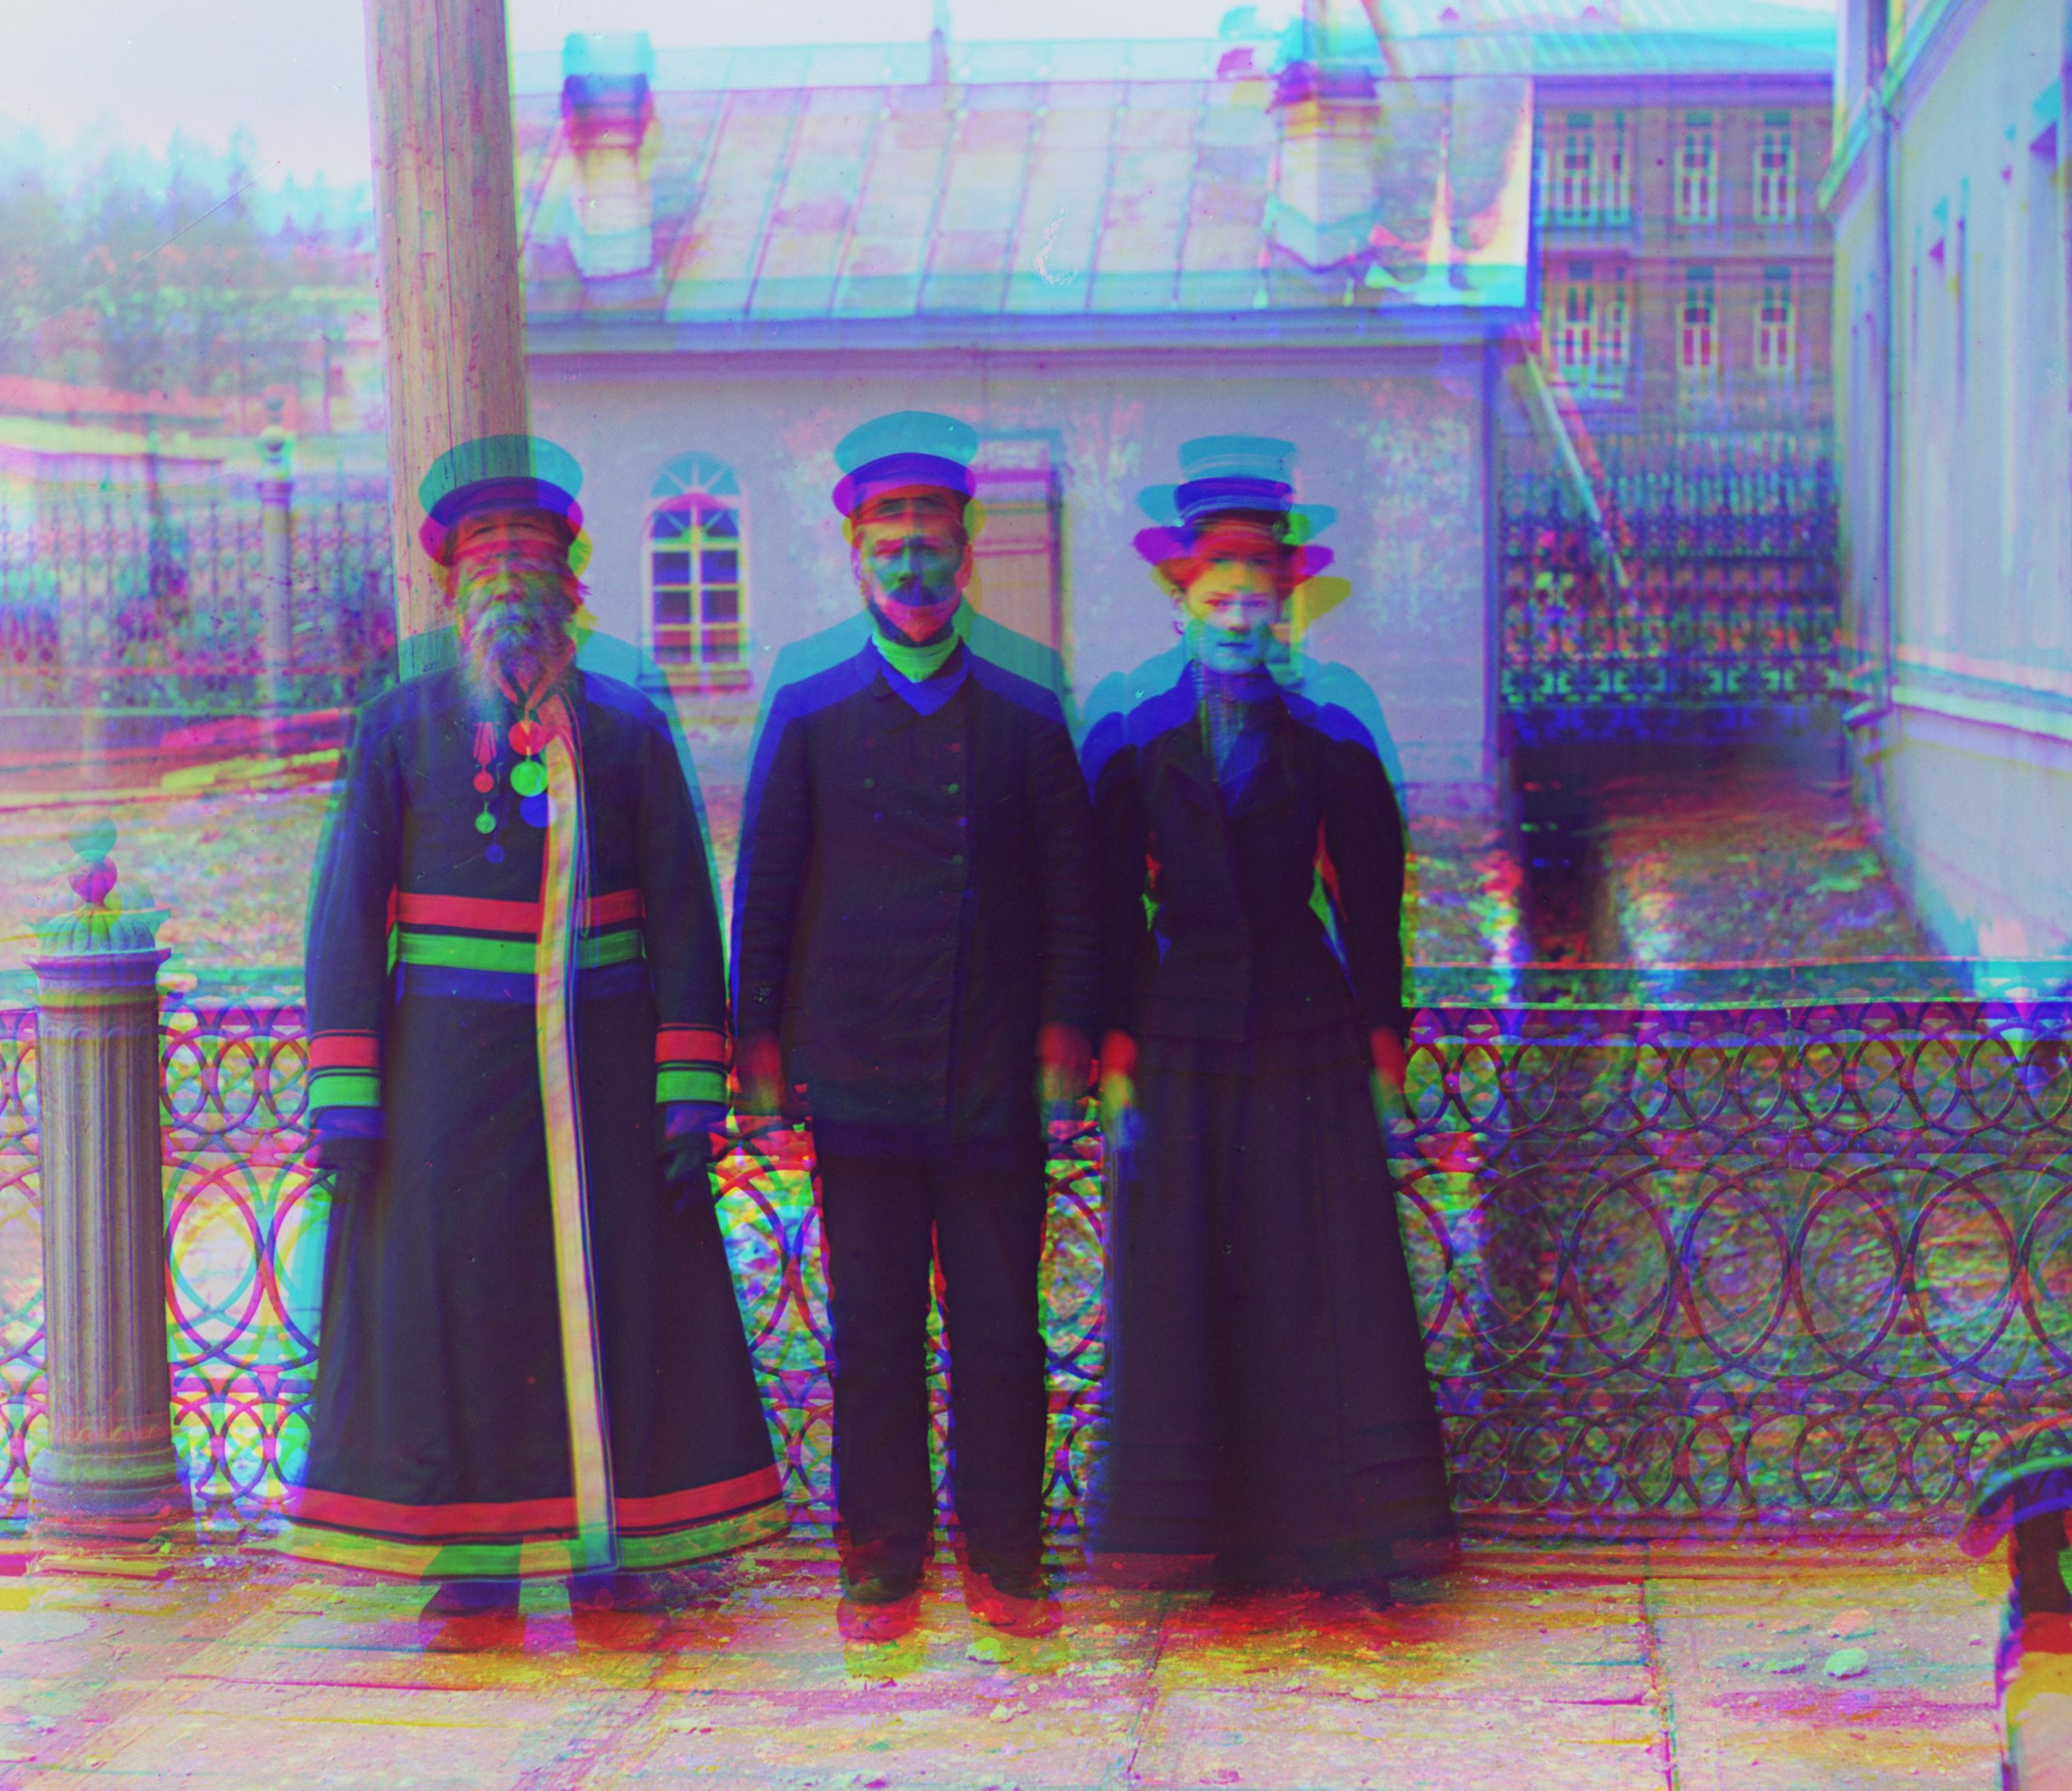
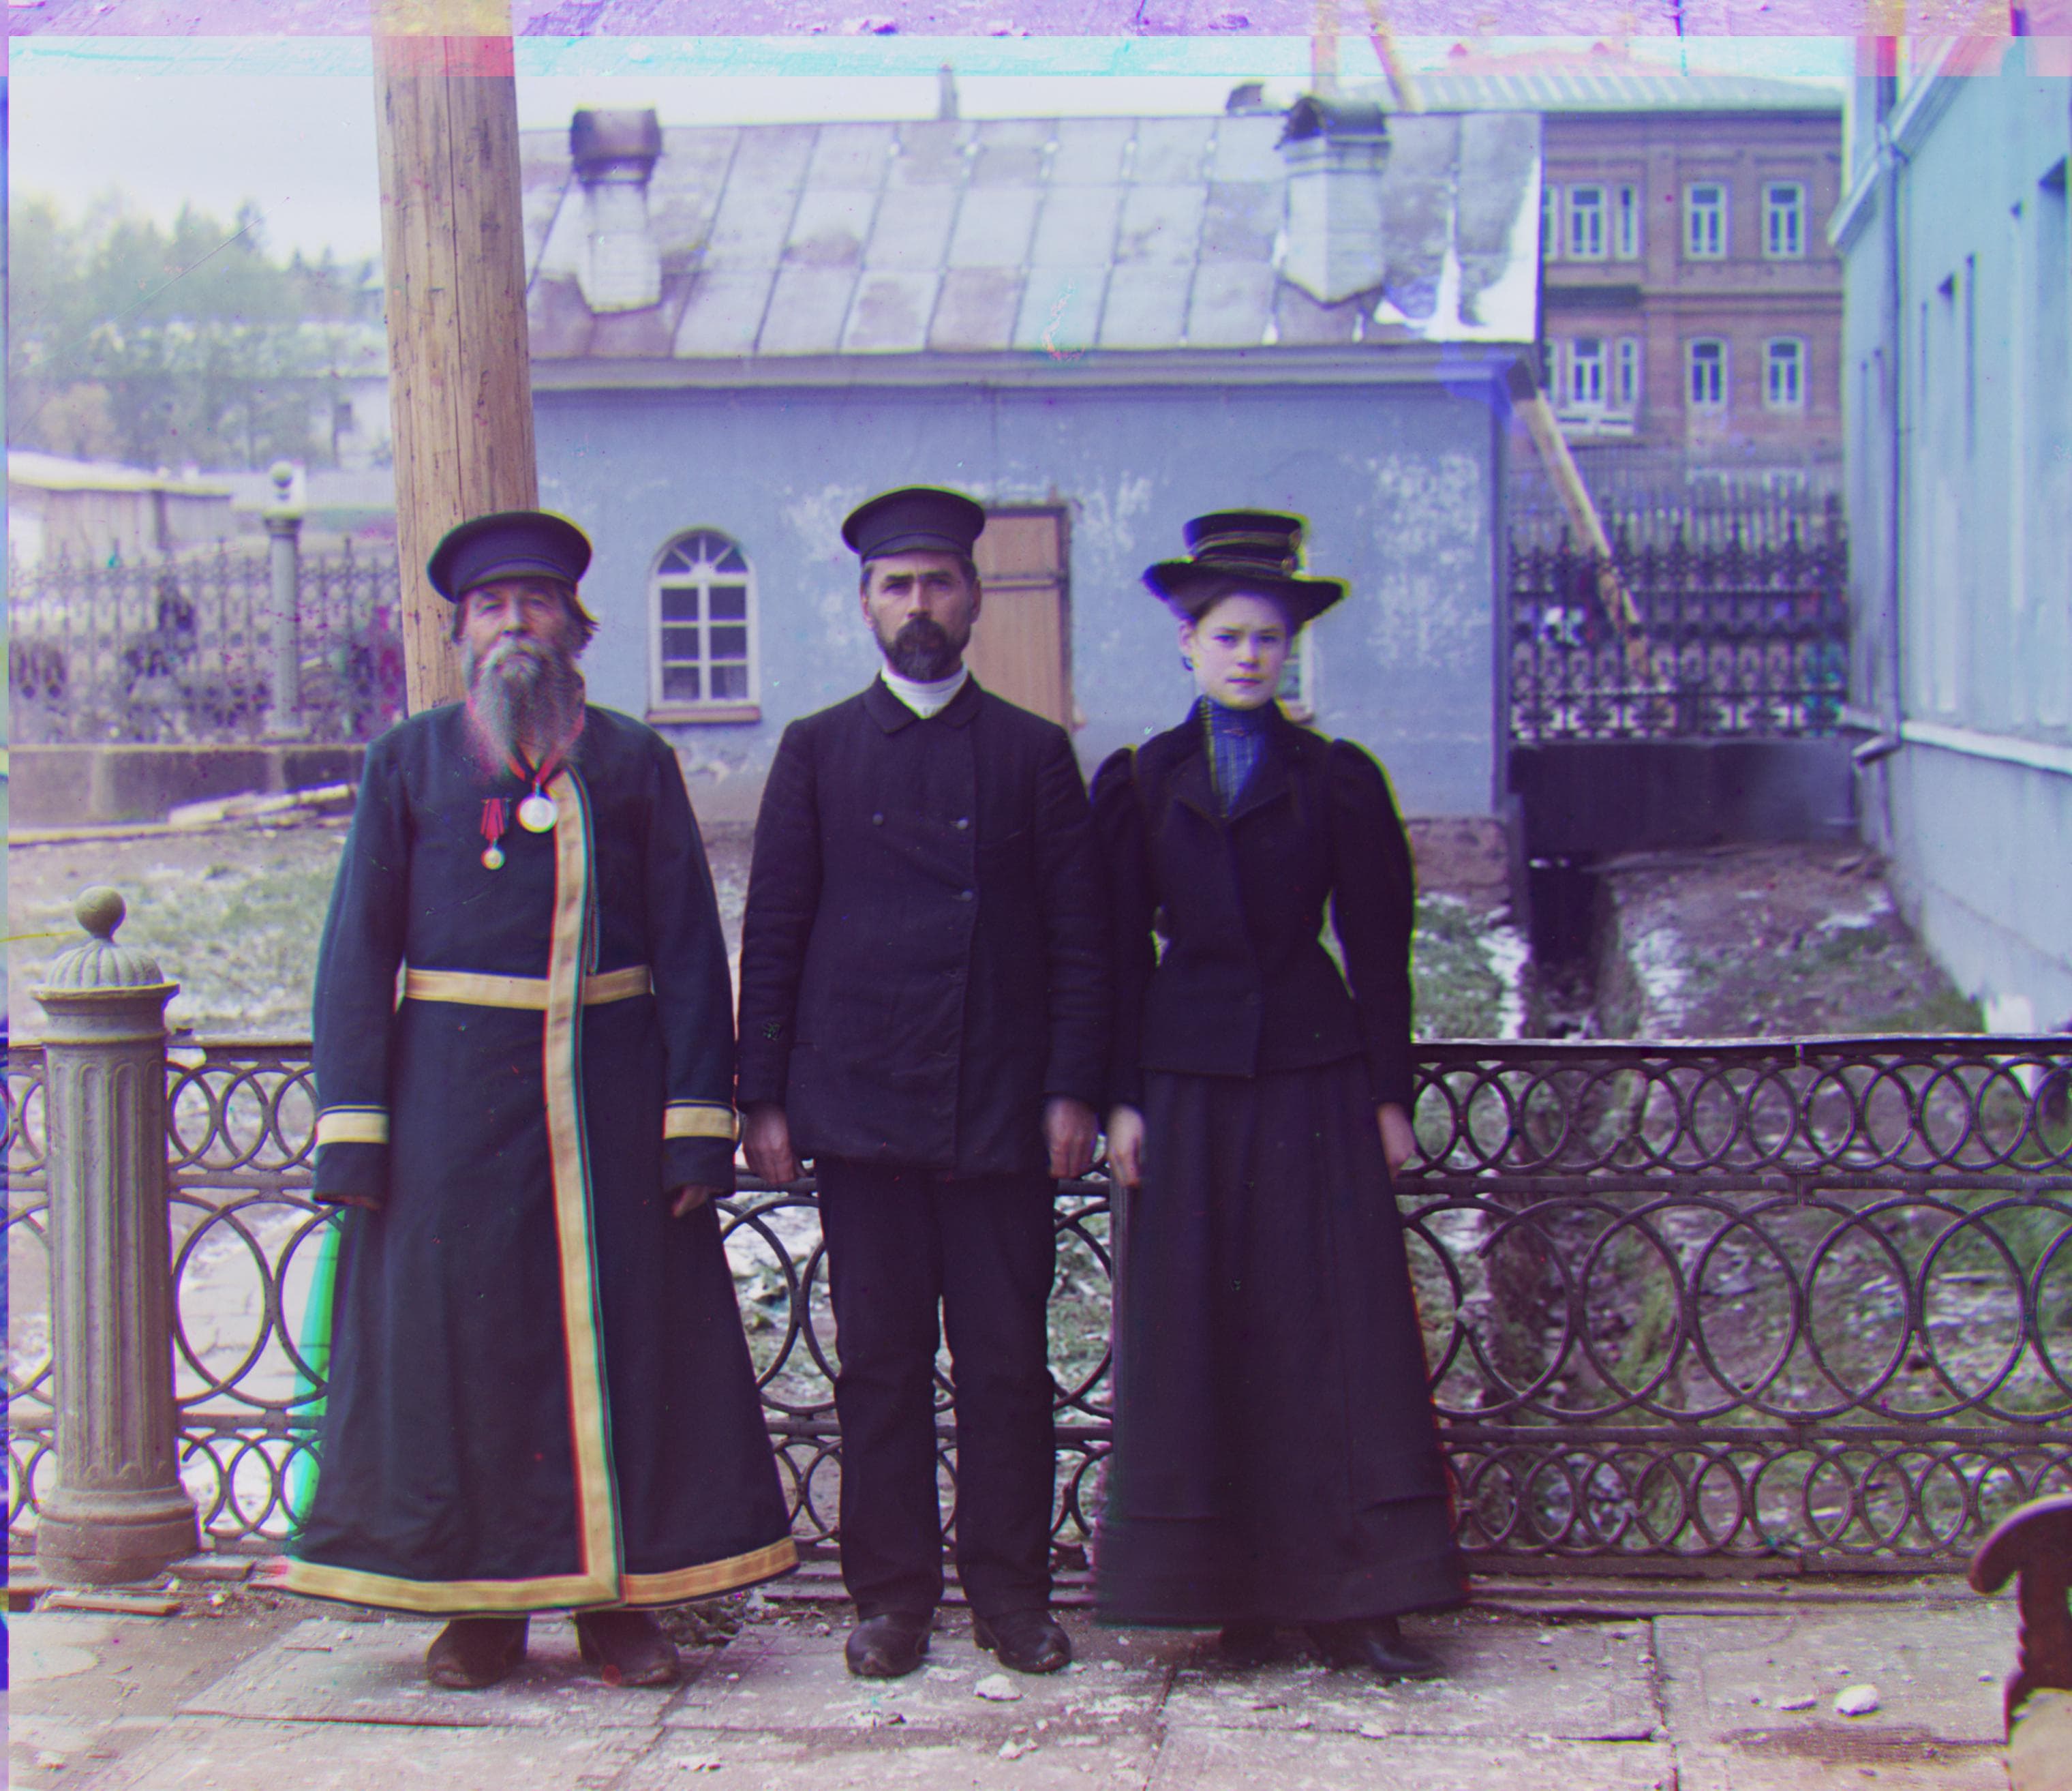
R Offset: (11, 112)
G Offset: (13, 53)
Train
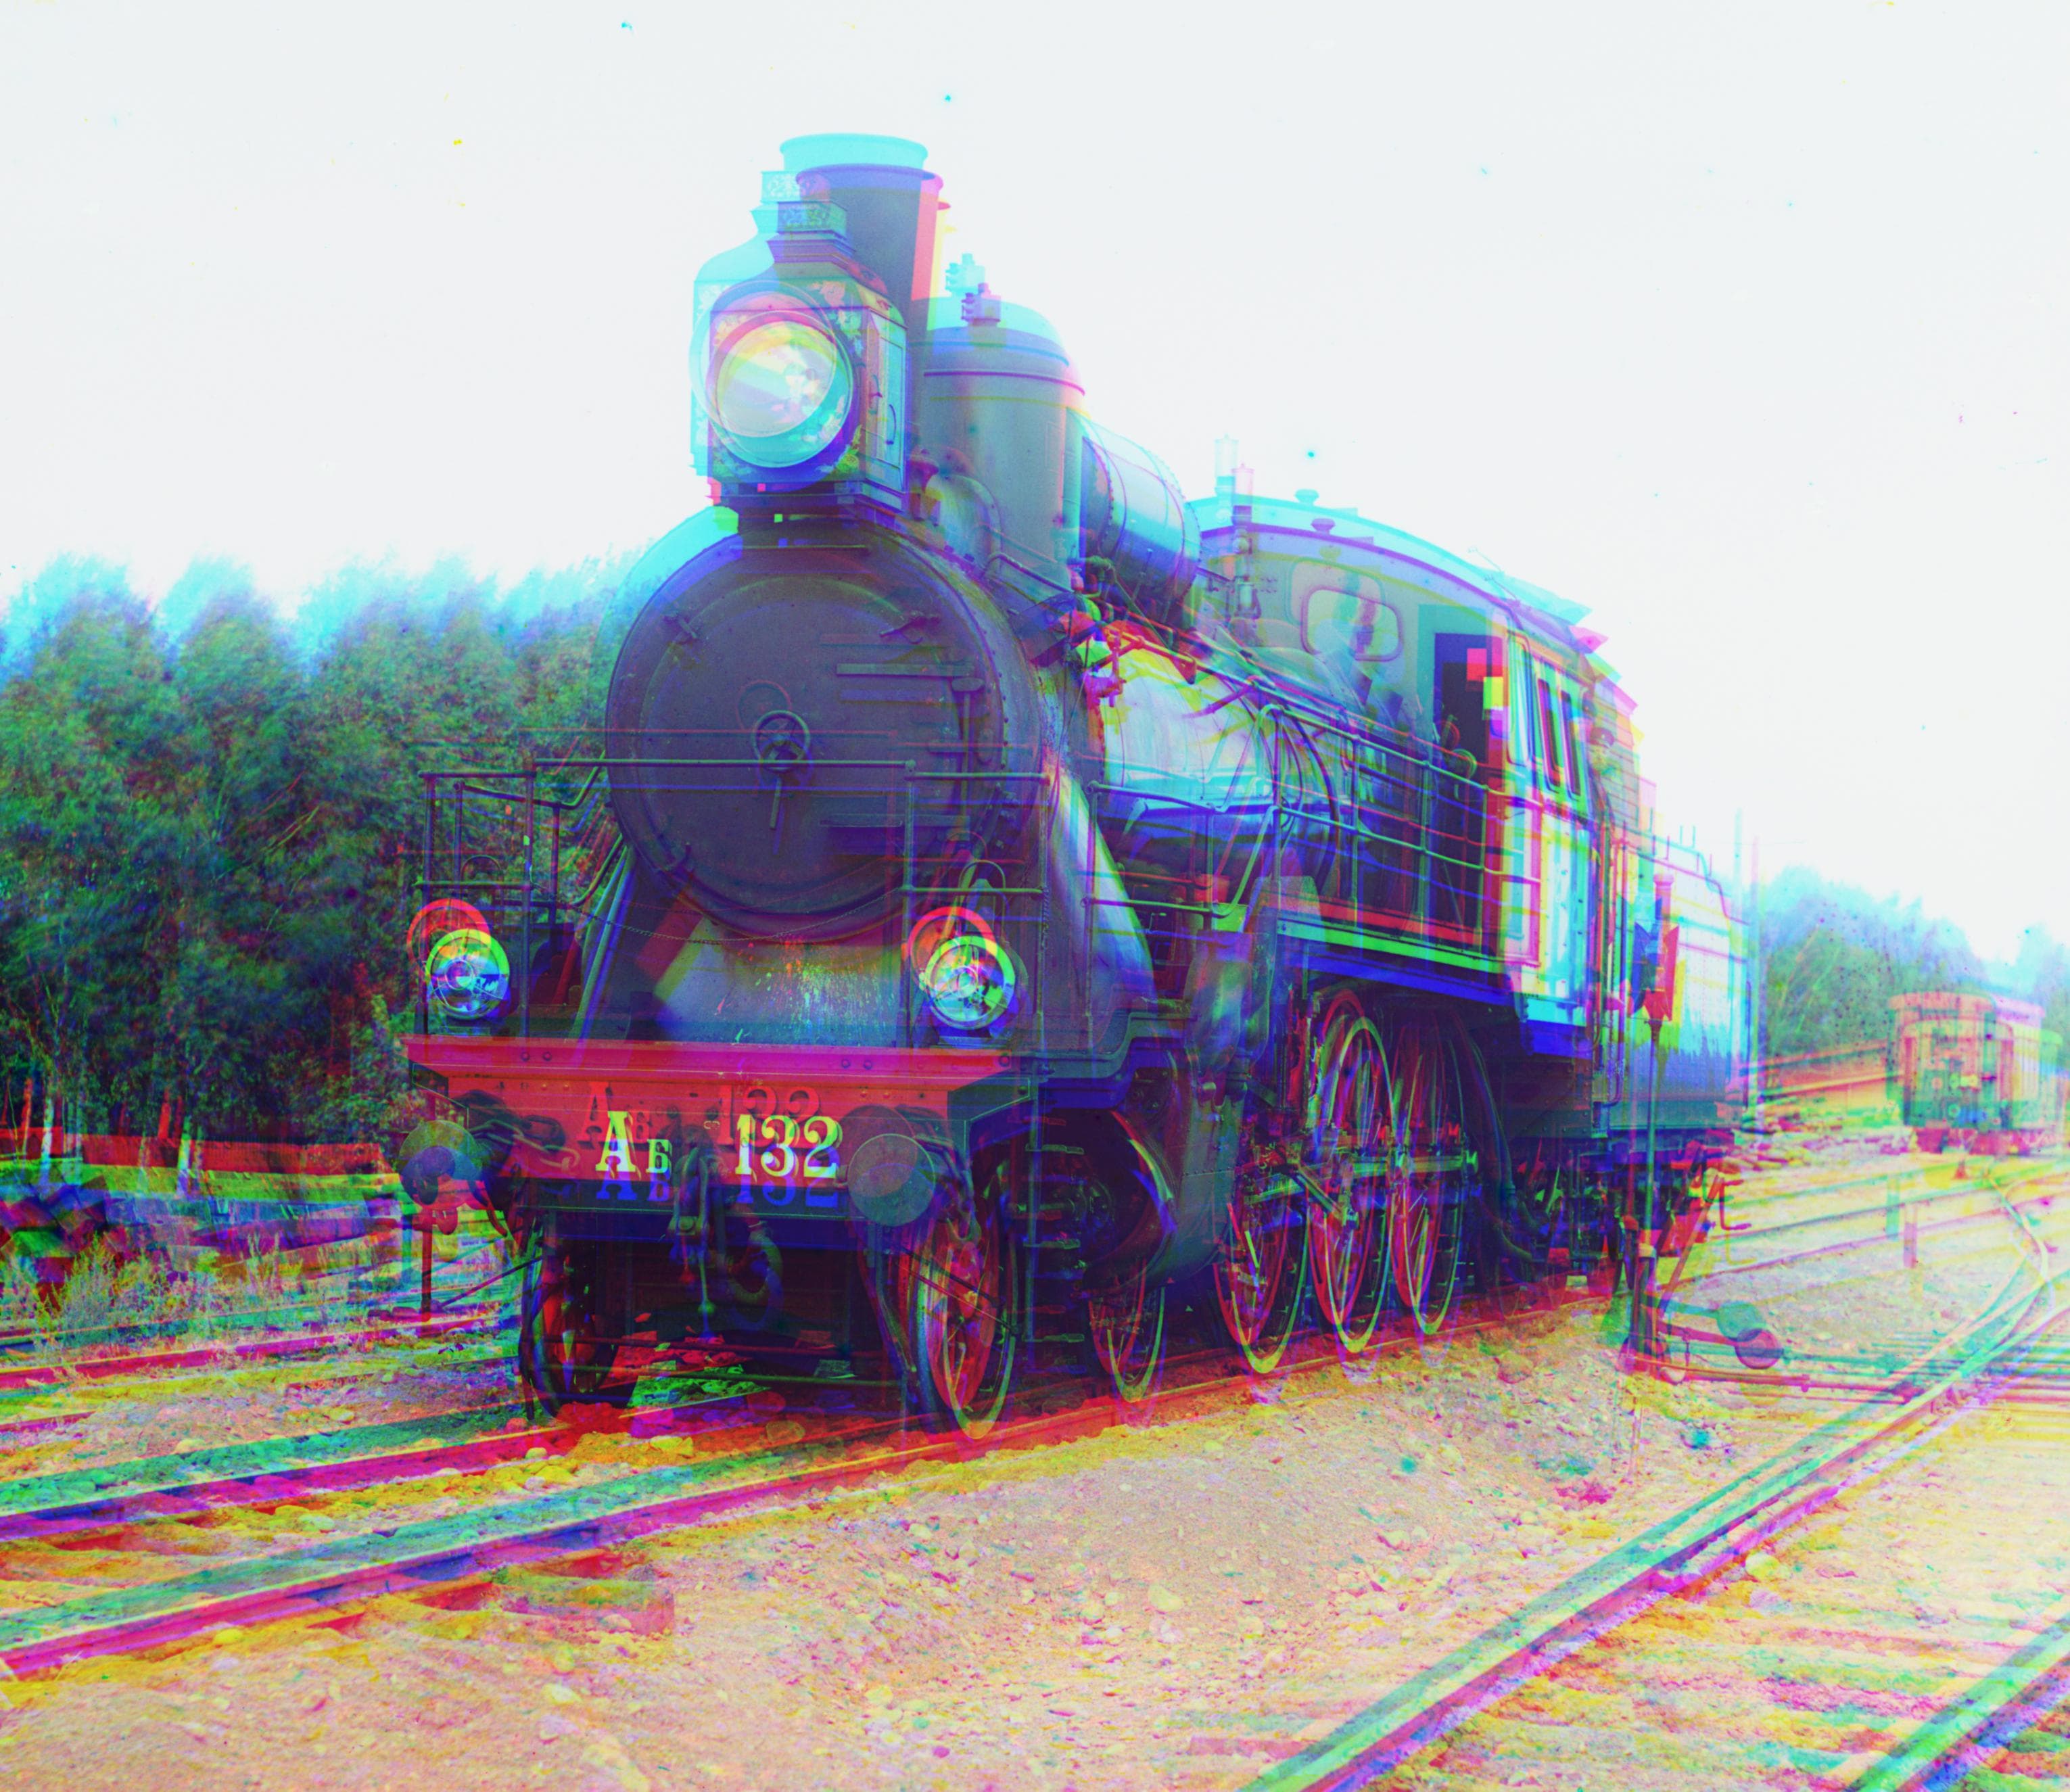
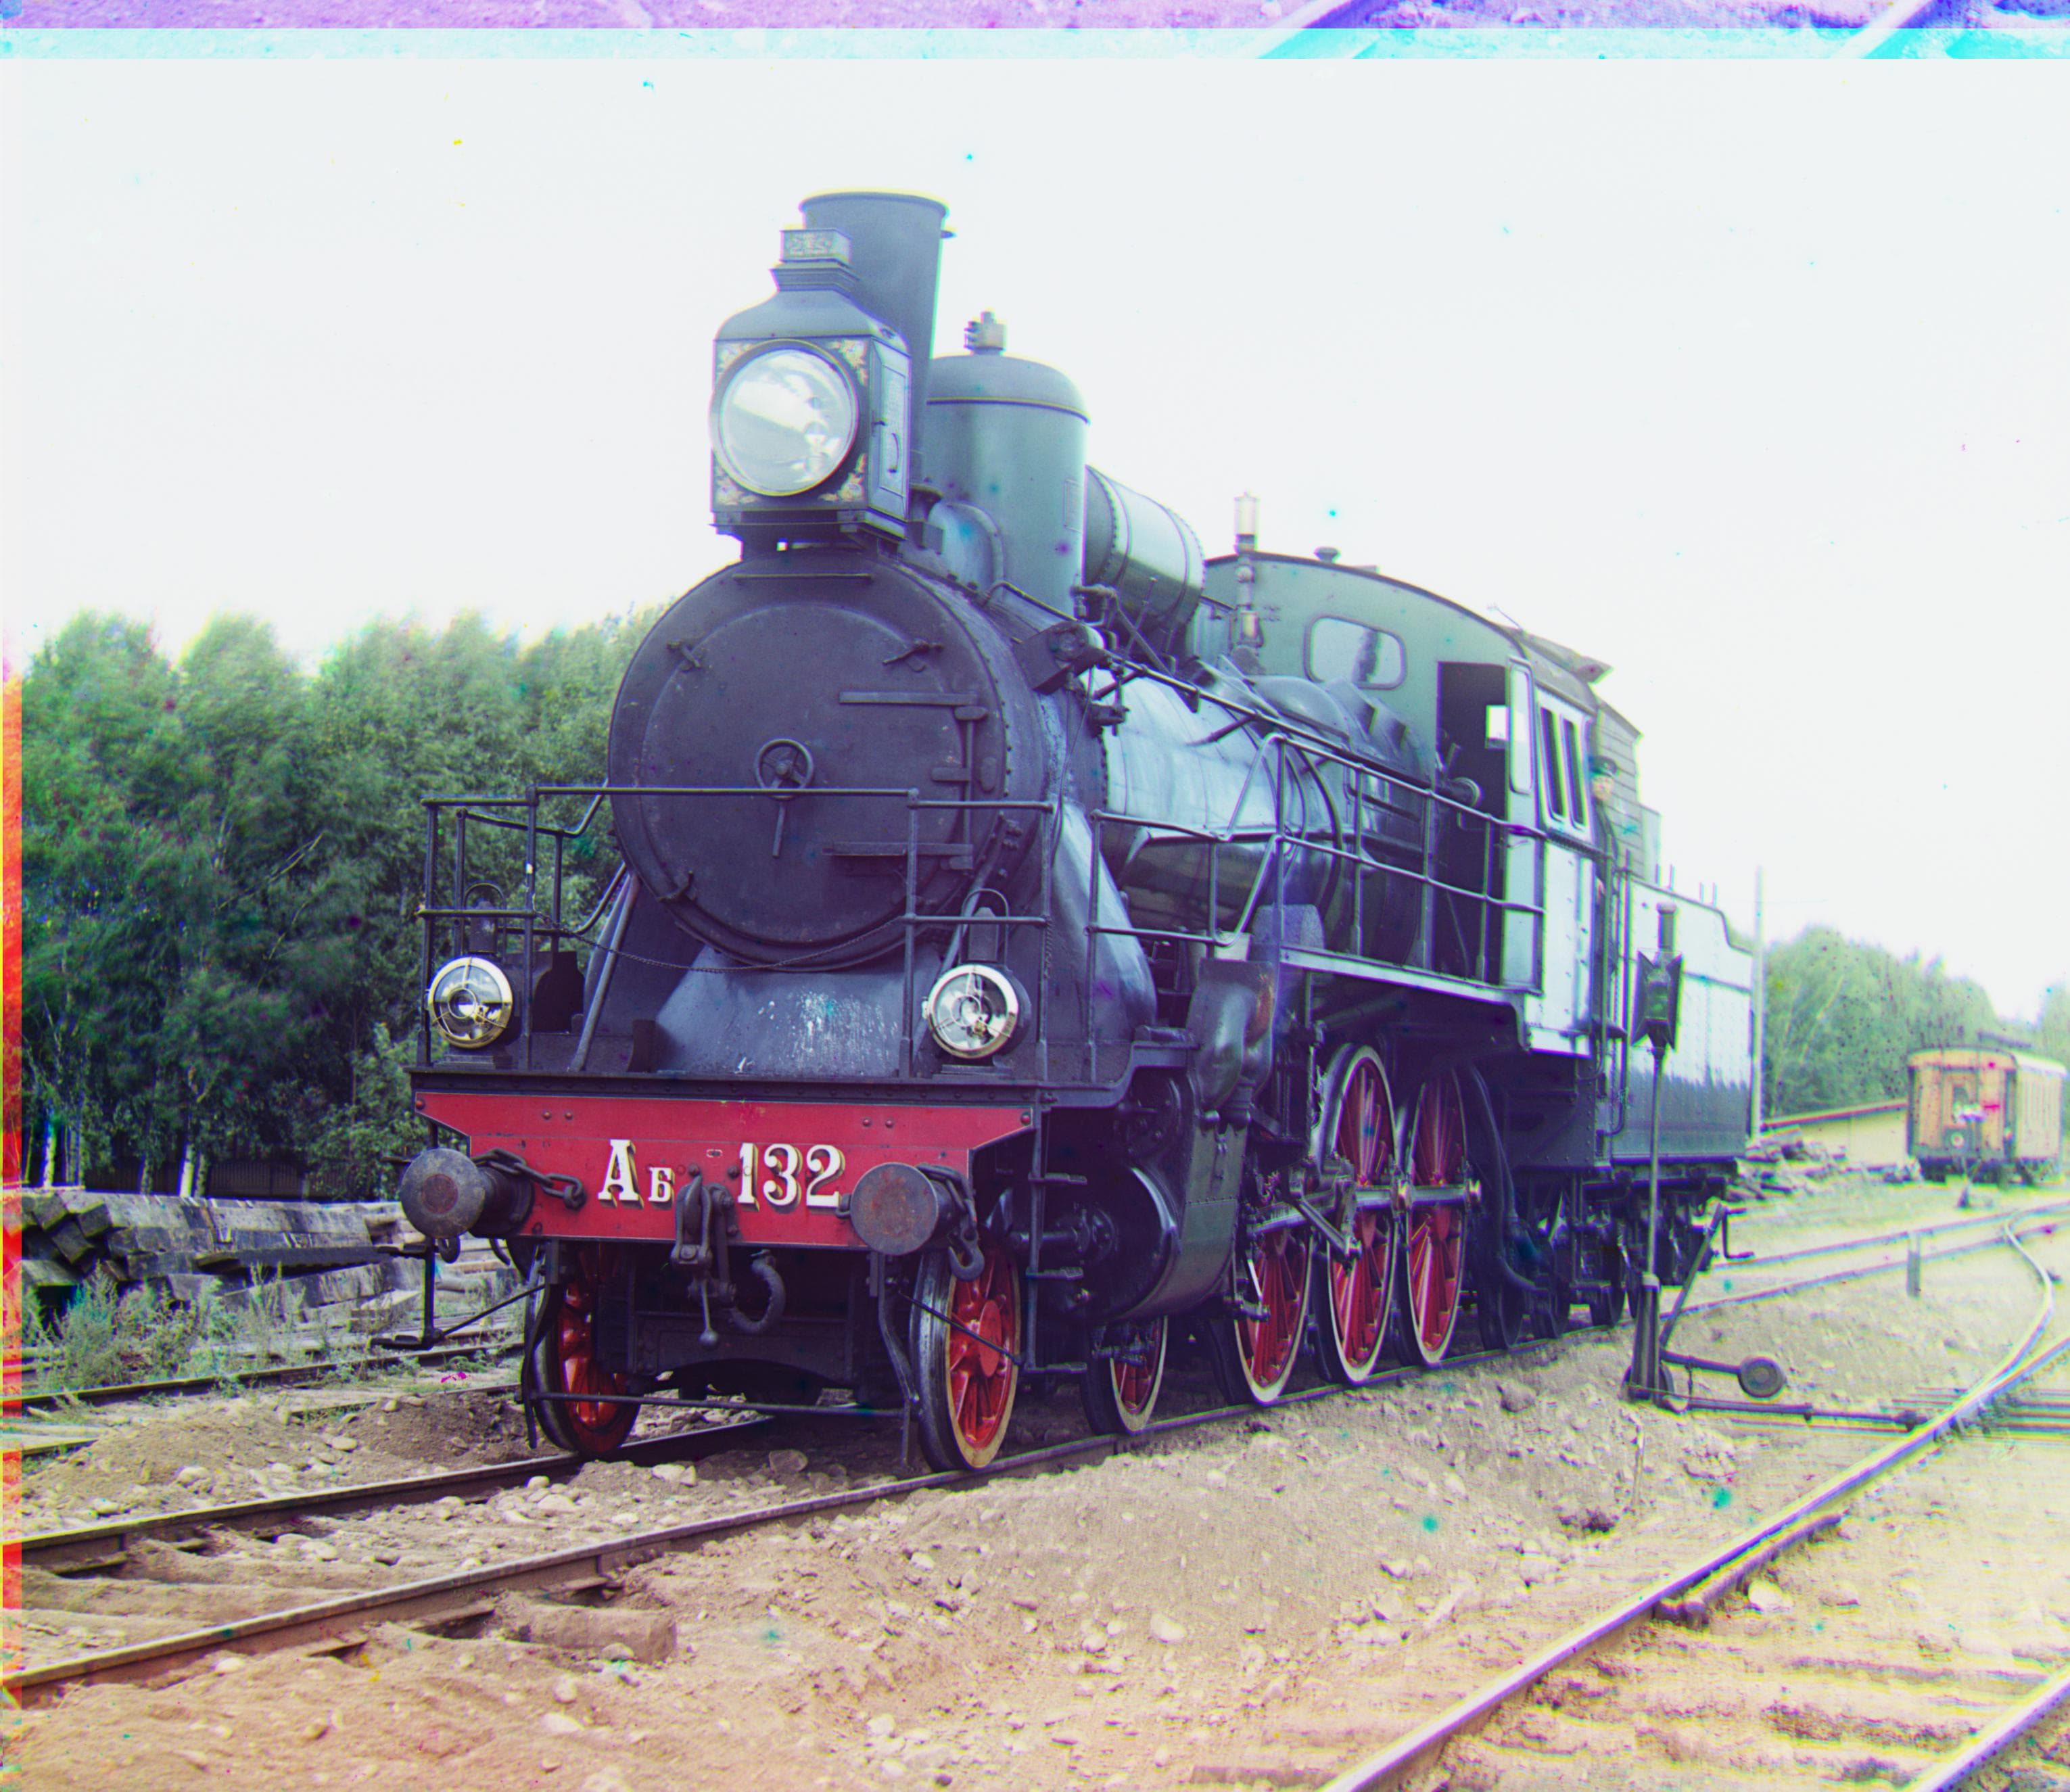
R Offset: (32, 87)
G Offset: (4, 42)
Village
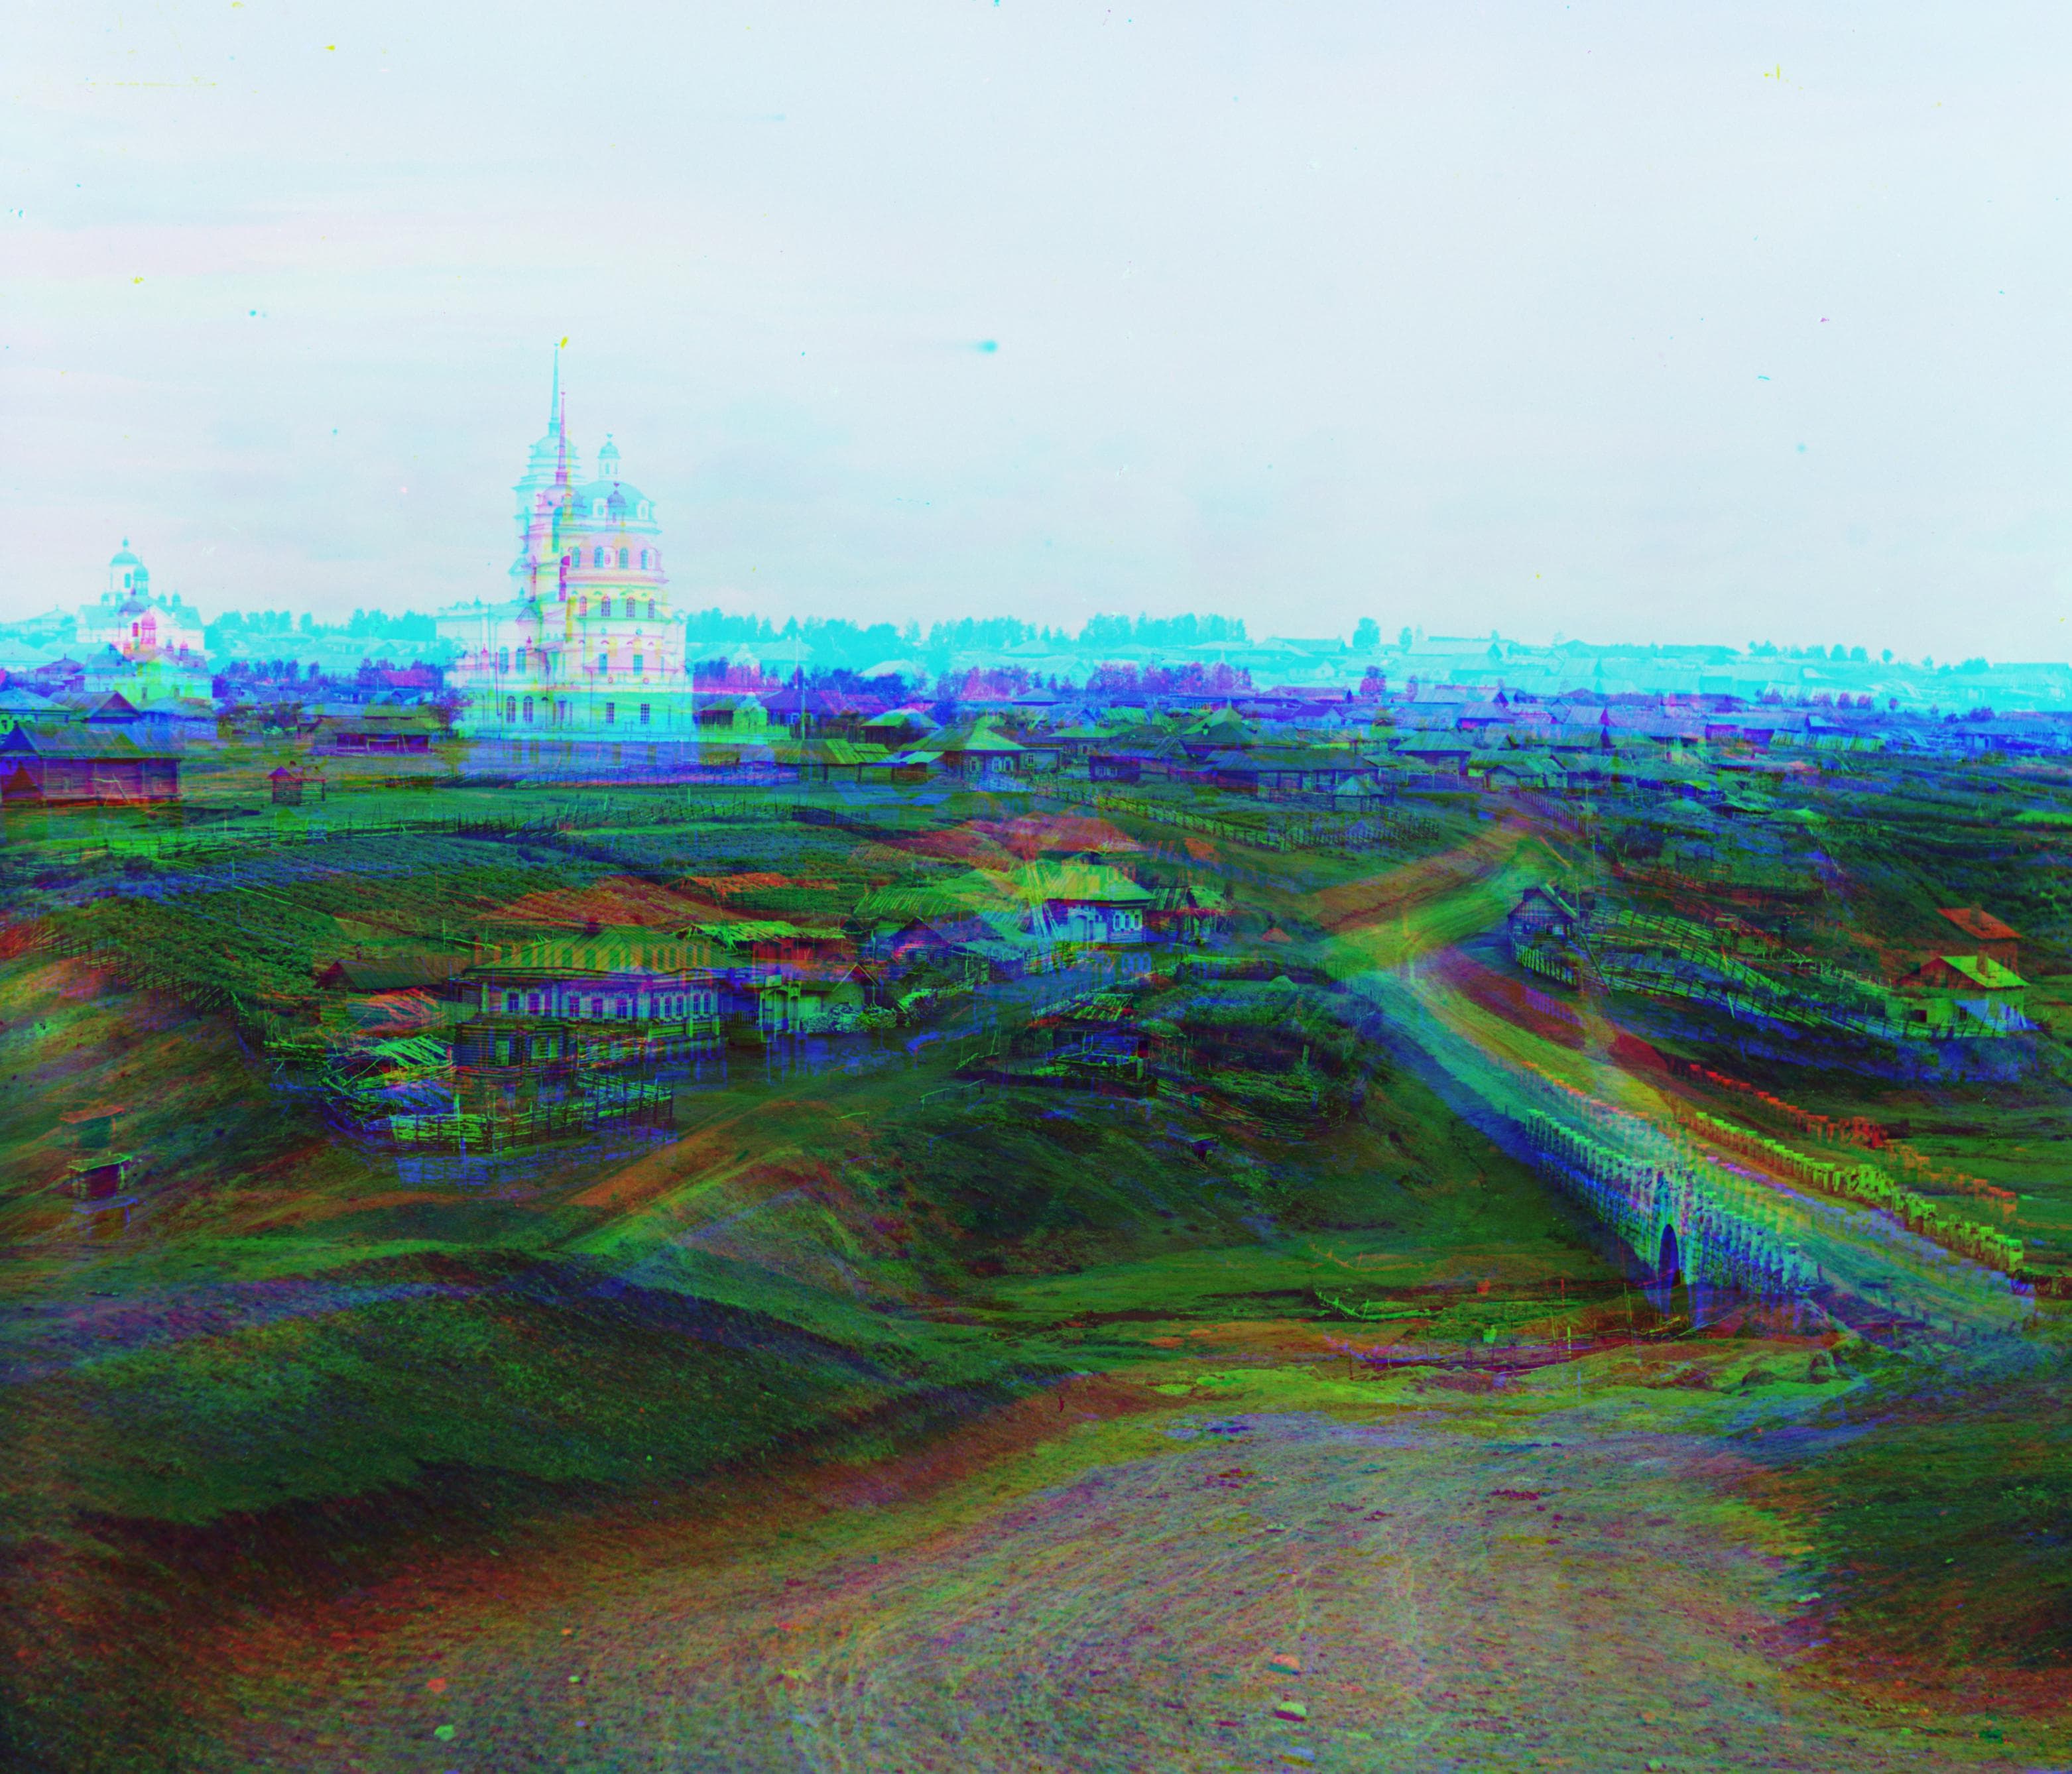
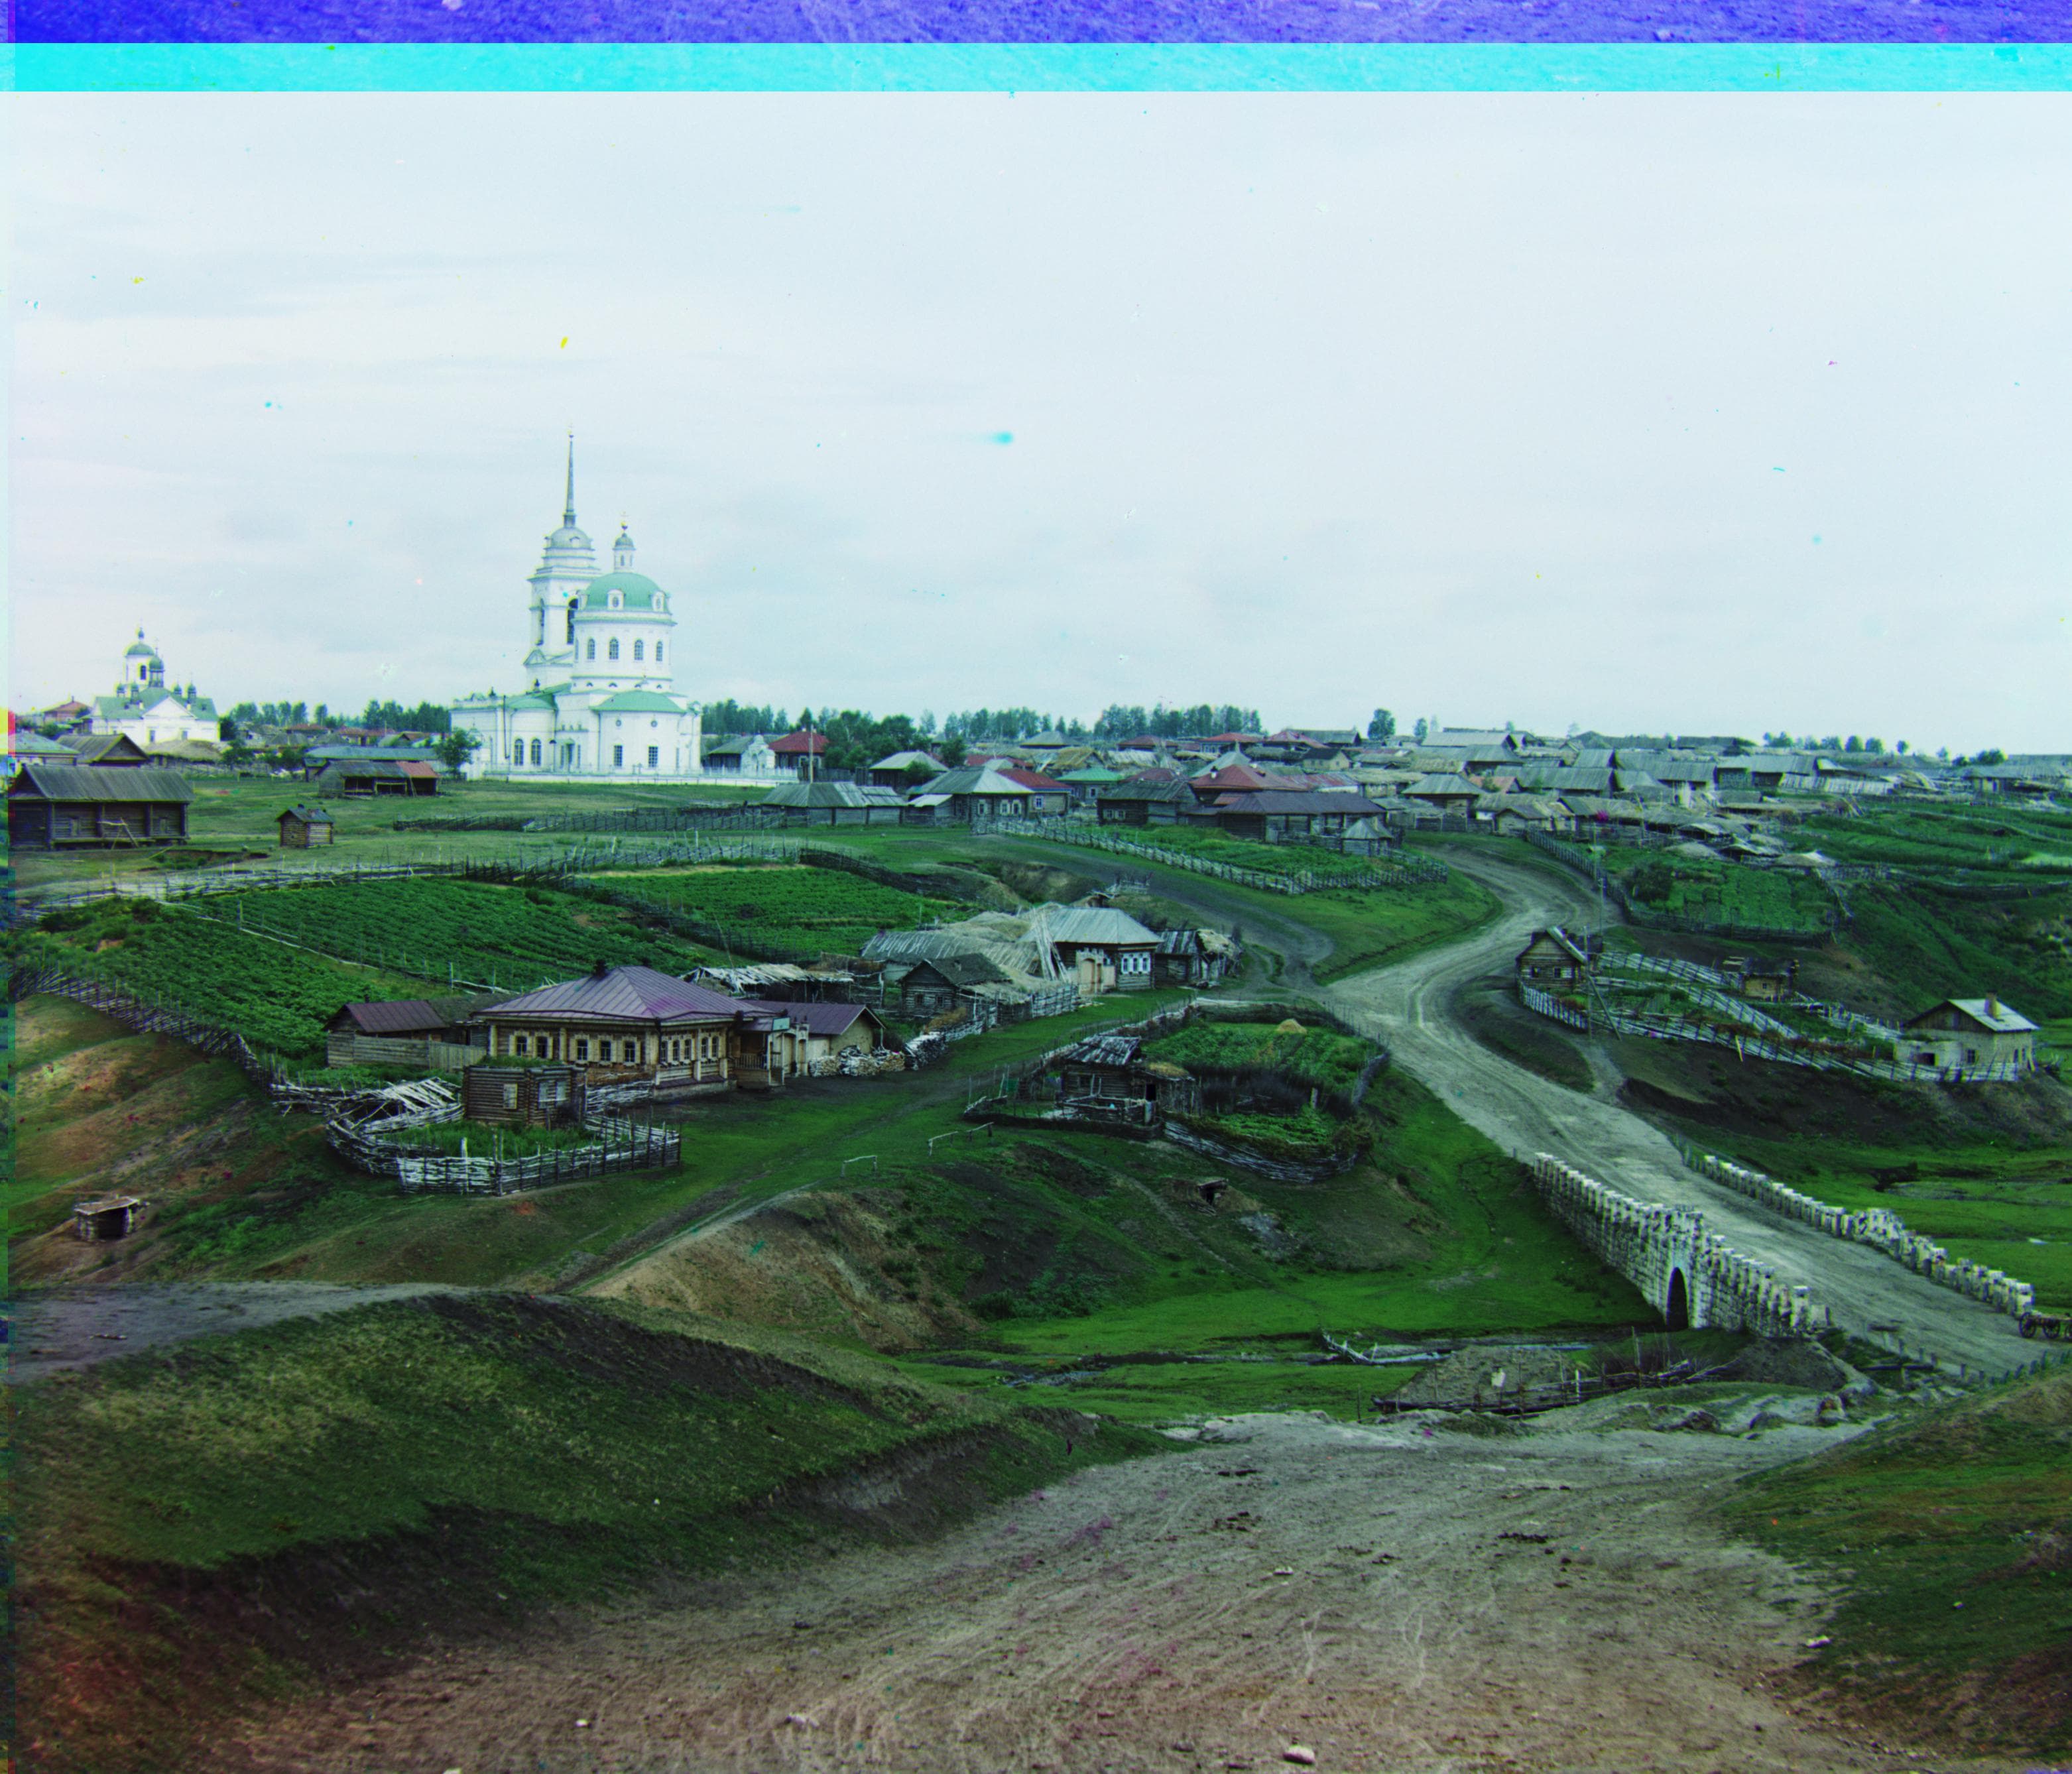
R Offset: (23, 138)
G Offset: (12, 65)
Workshop
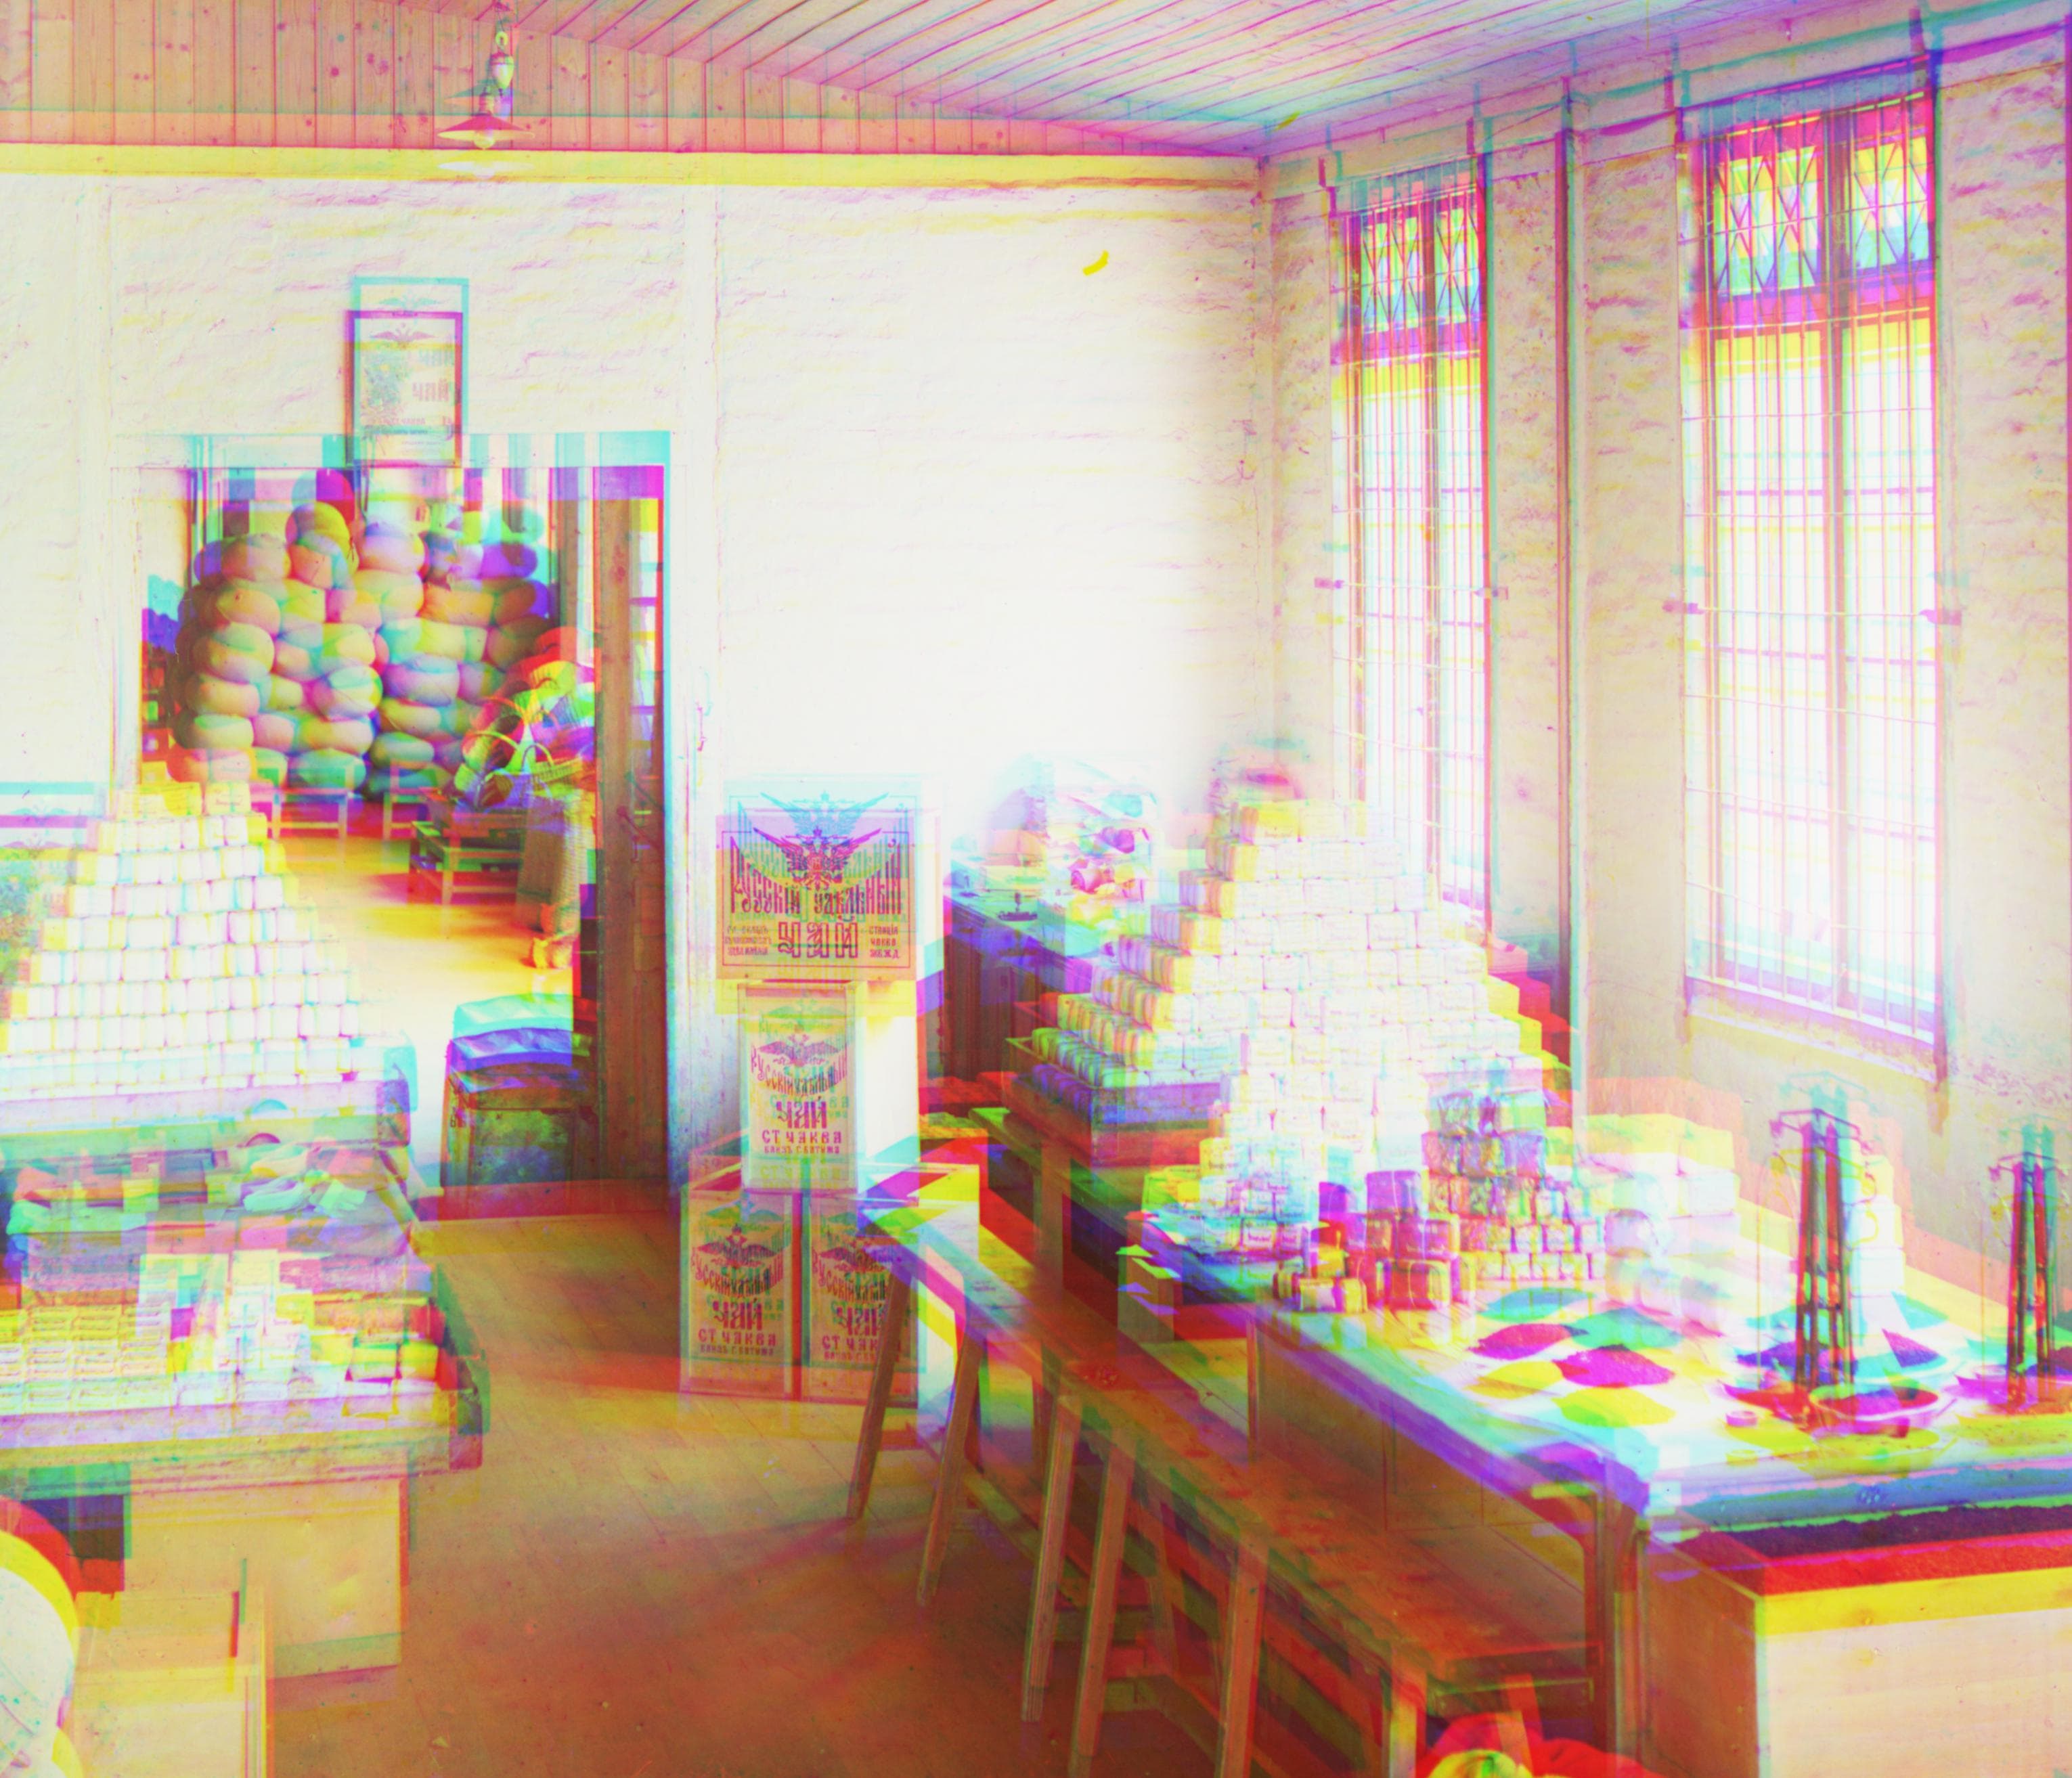
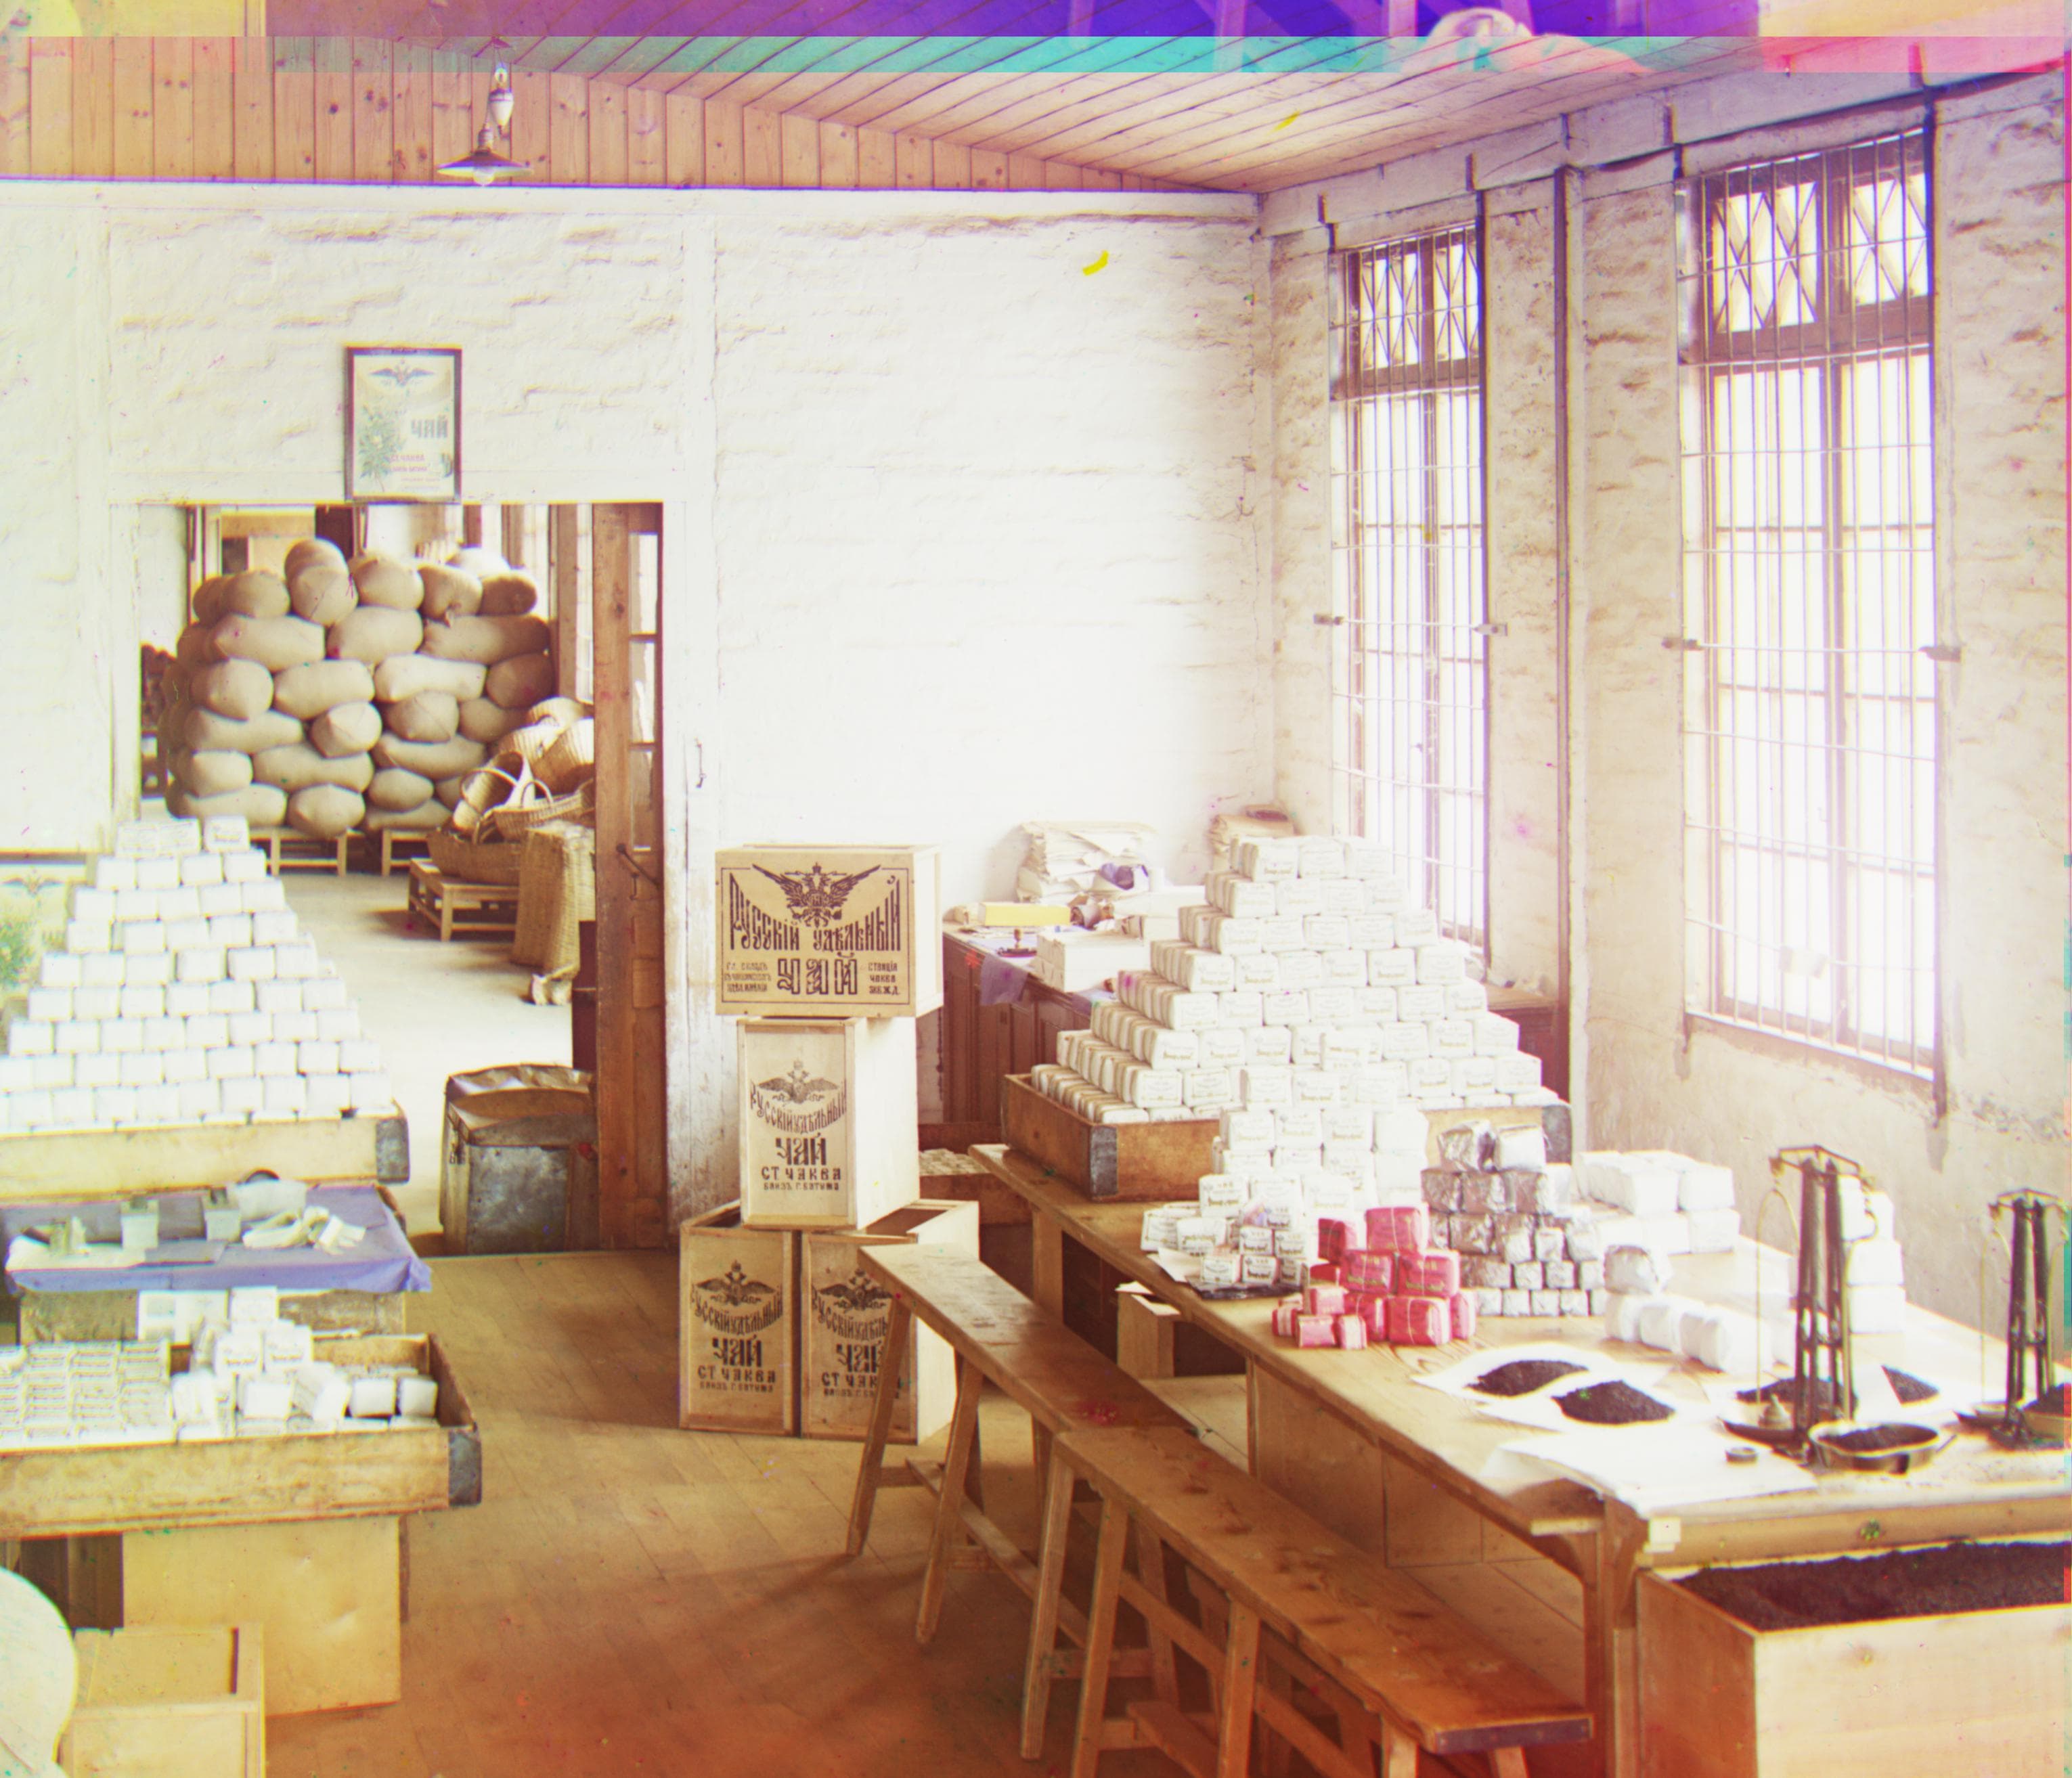
R Offset: (-12, 107)
G Offset: (-1, 54)
Other Results
Here are some other photos that I selected from the Prokudin-Gorskii Collection.
Kartina
R Offset: (19, 113)
G Offset: (13, 49)
Fire Squad

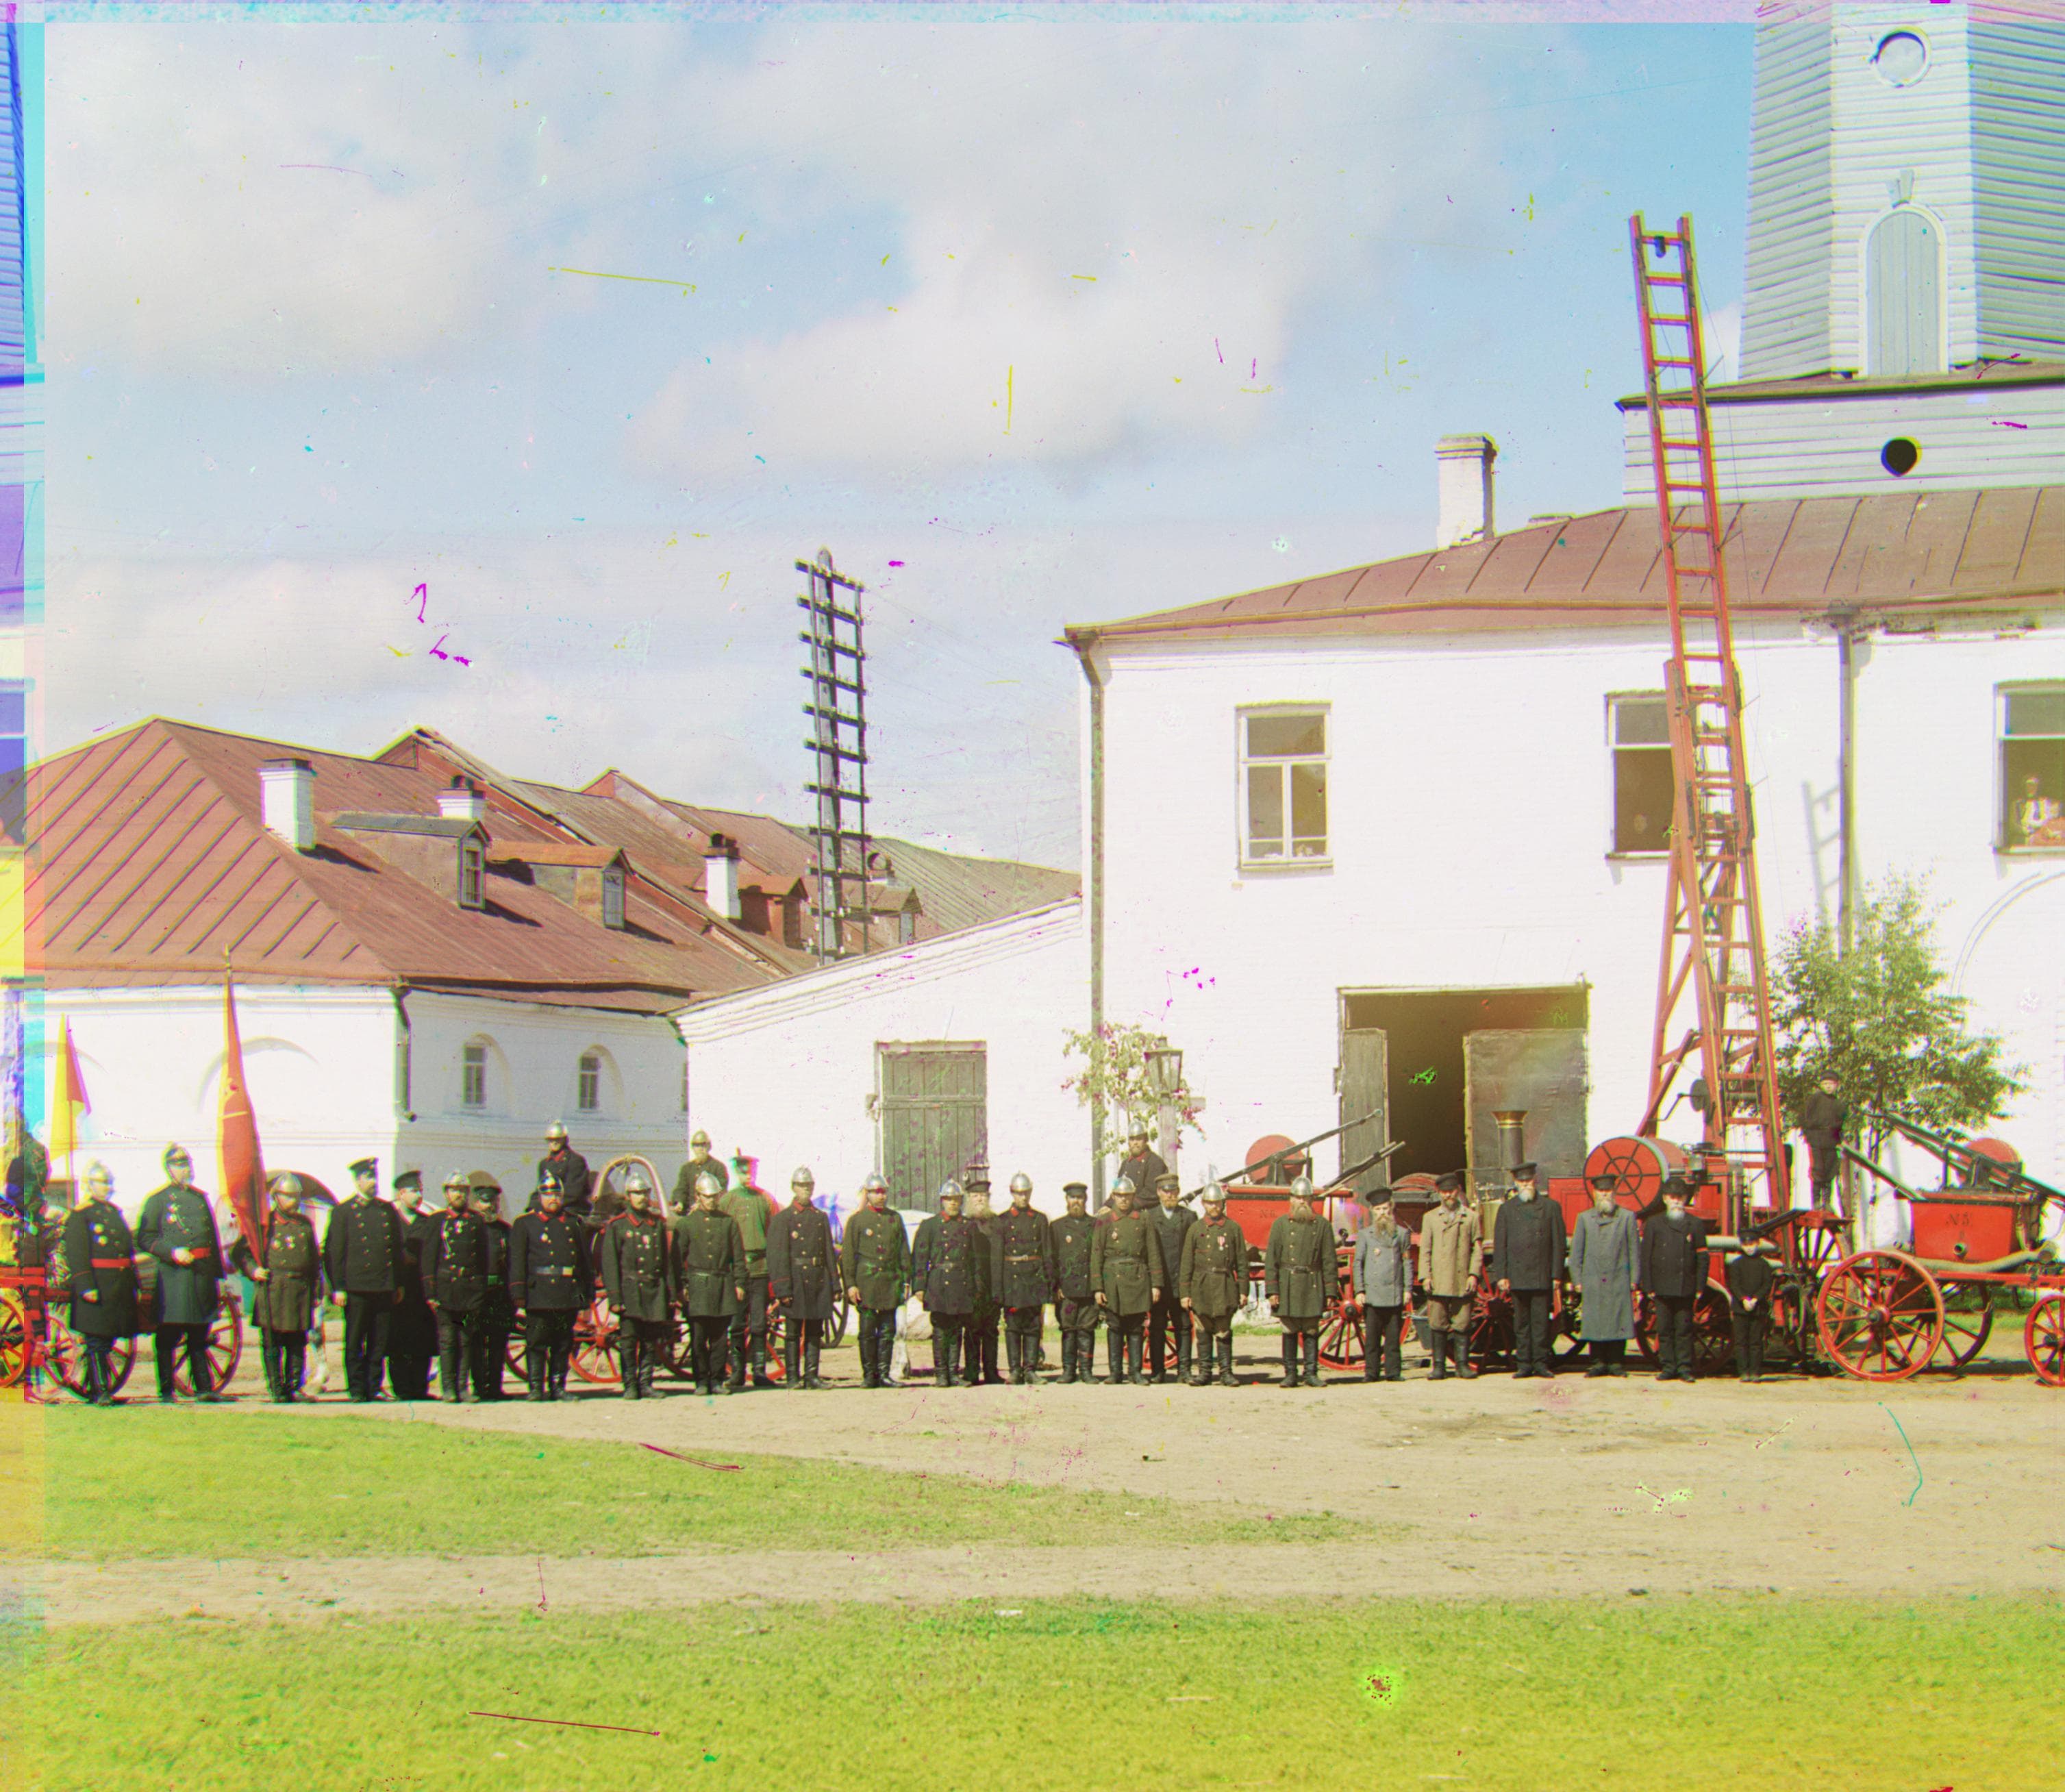
R Offset: (65, 35)
G Offset: (35, 5)
Peasant Girls
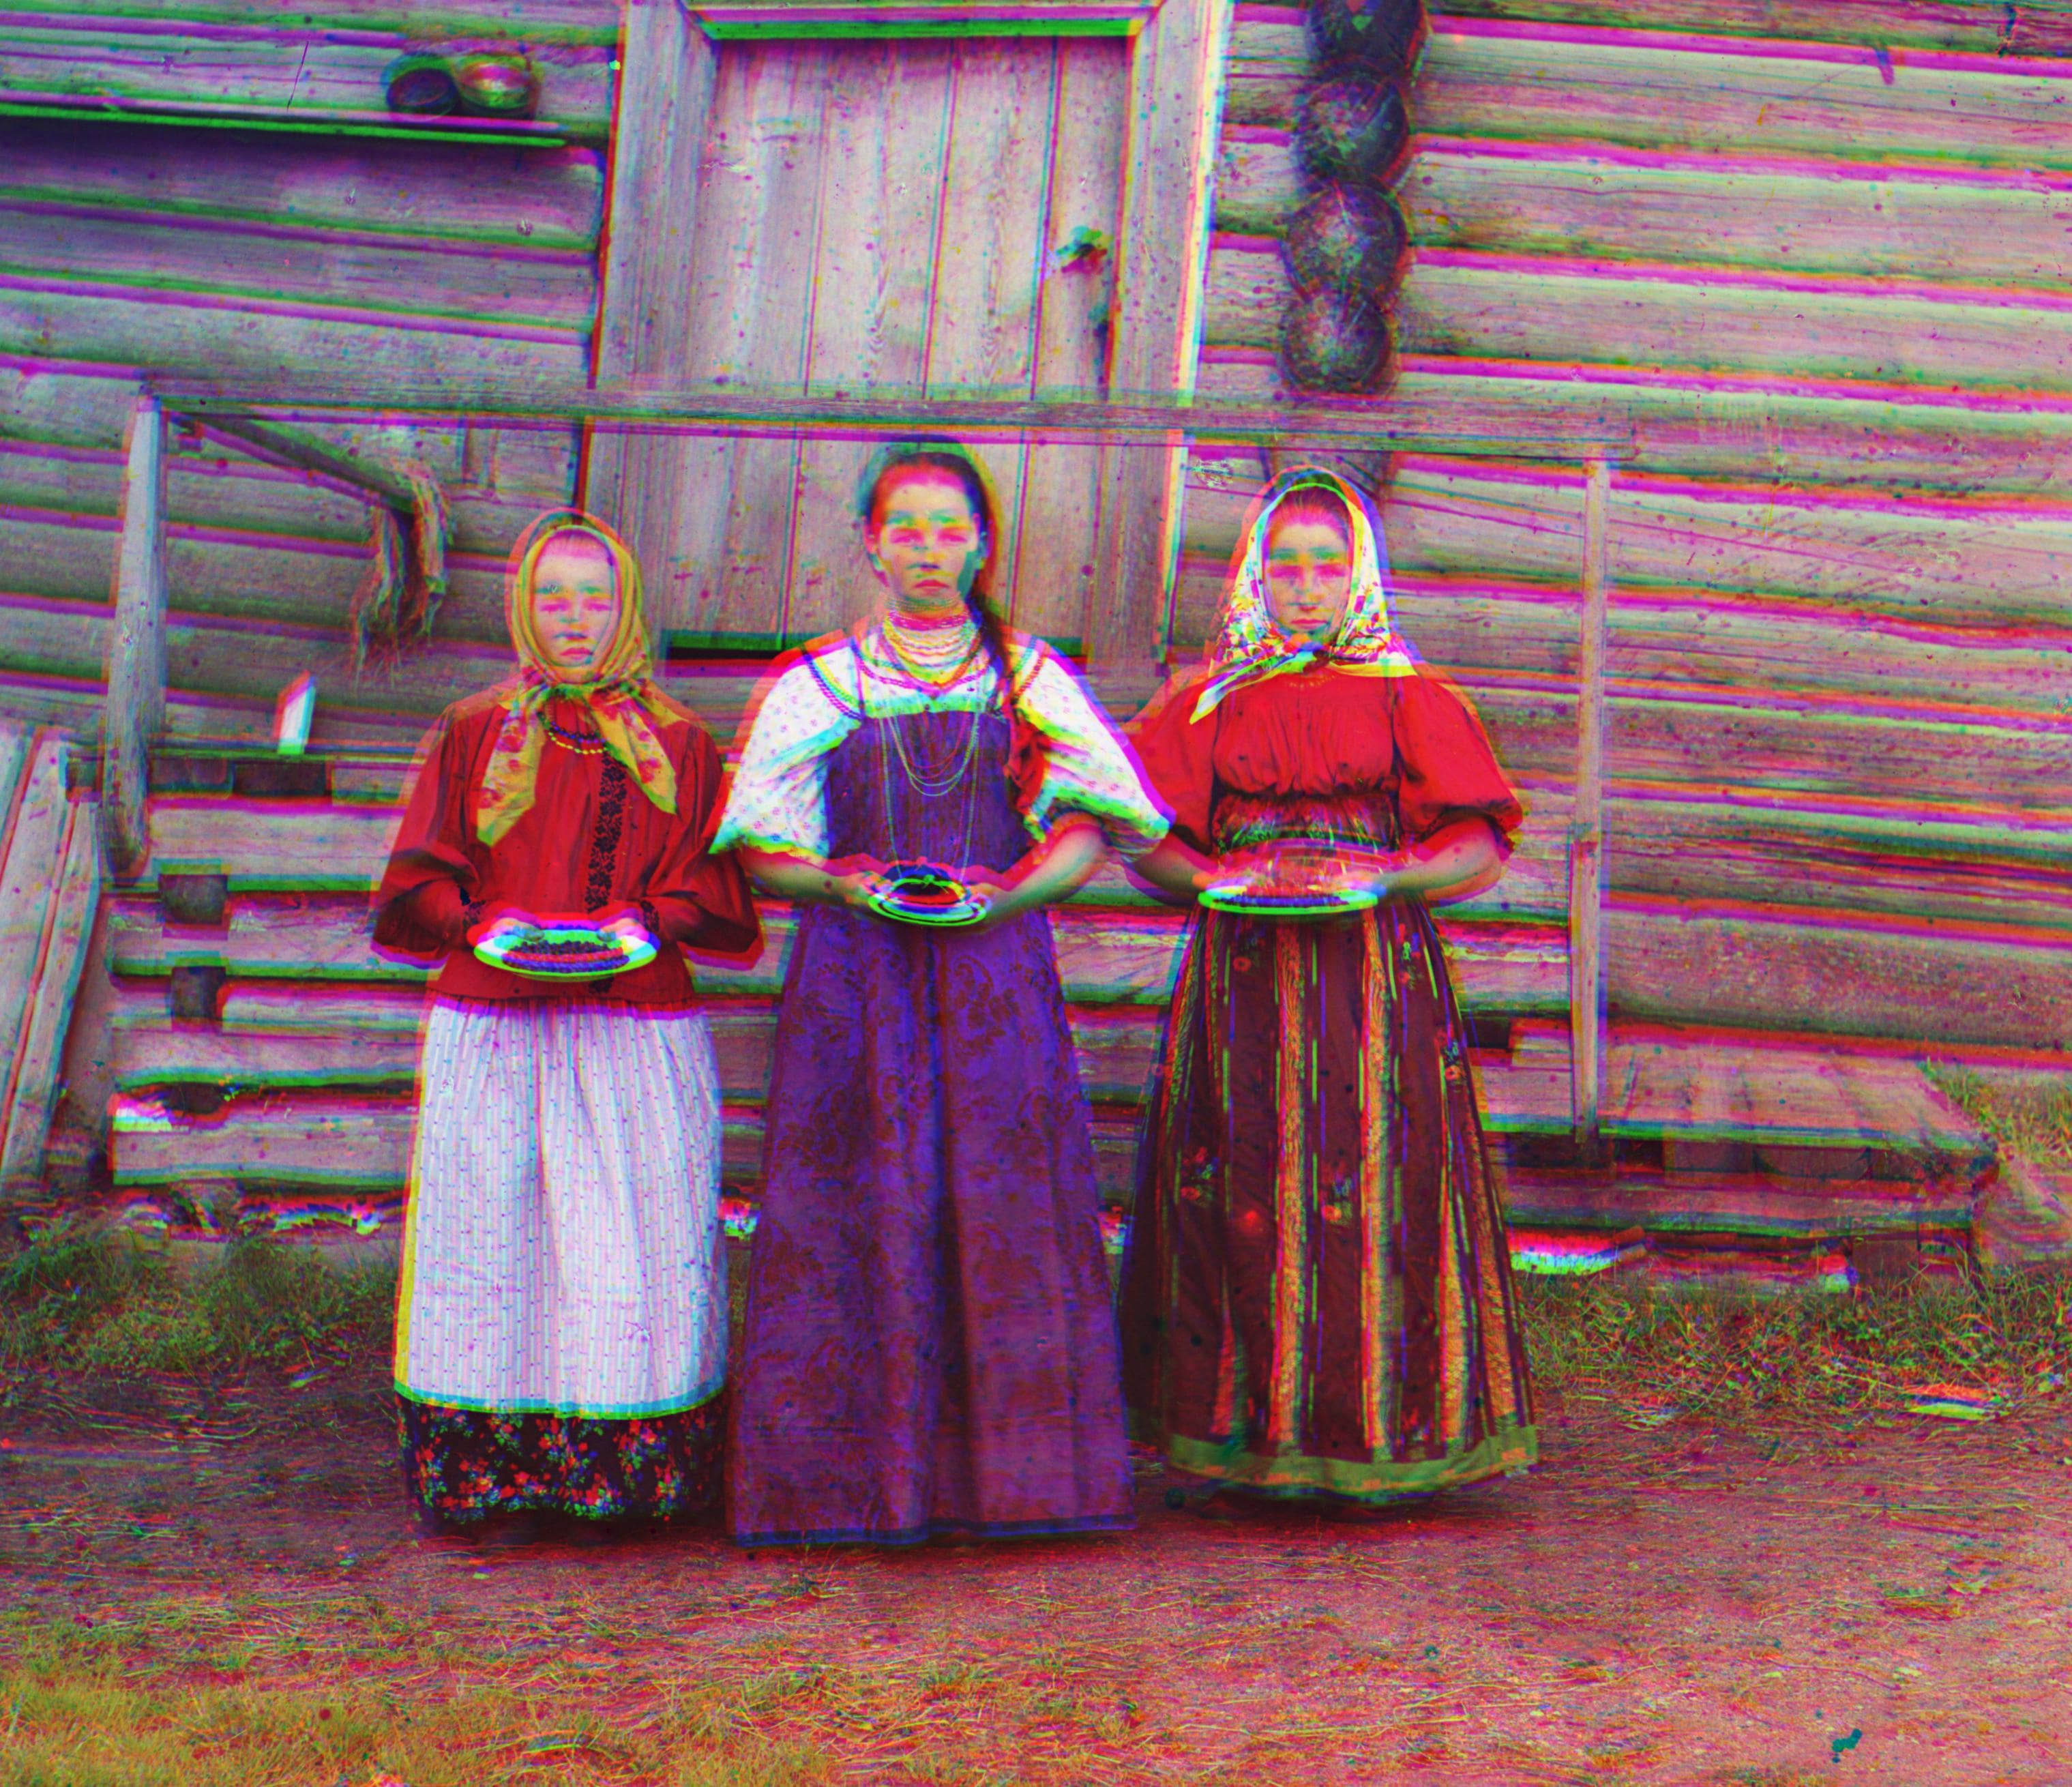

R Offset: (16, 12)
G Offset: (10, -14)
Vestment
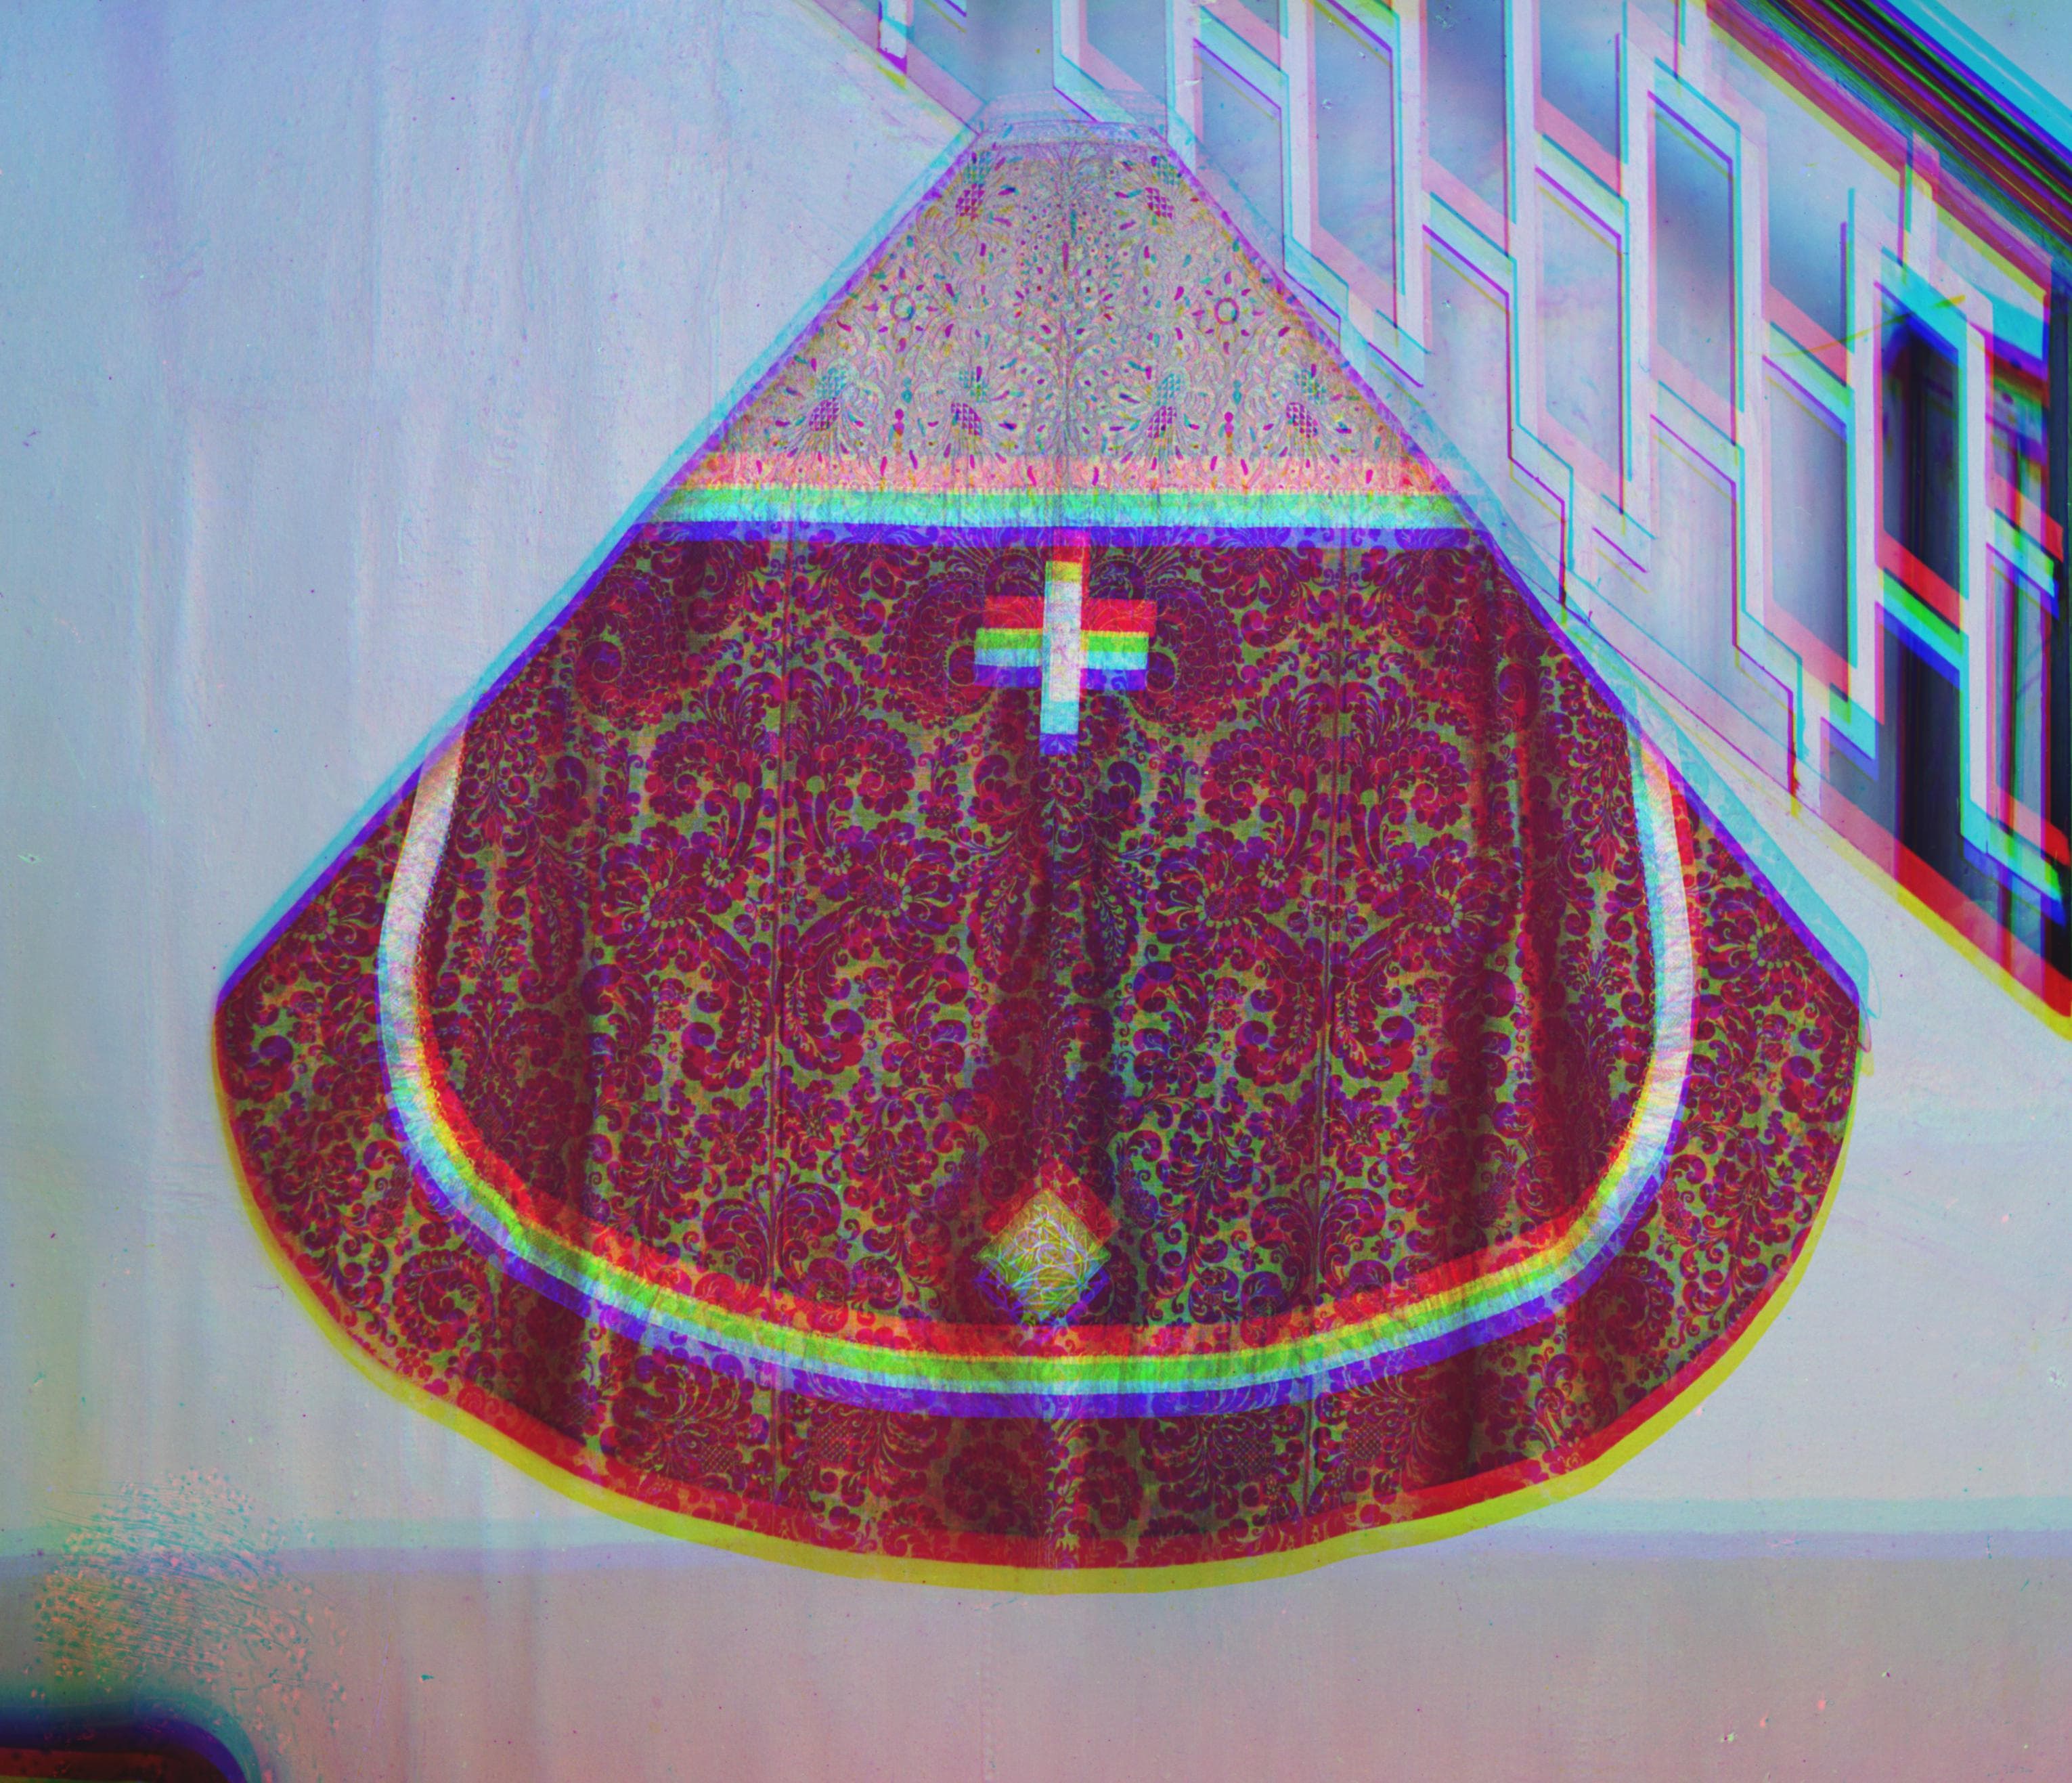
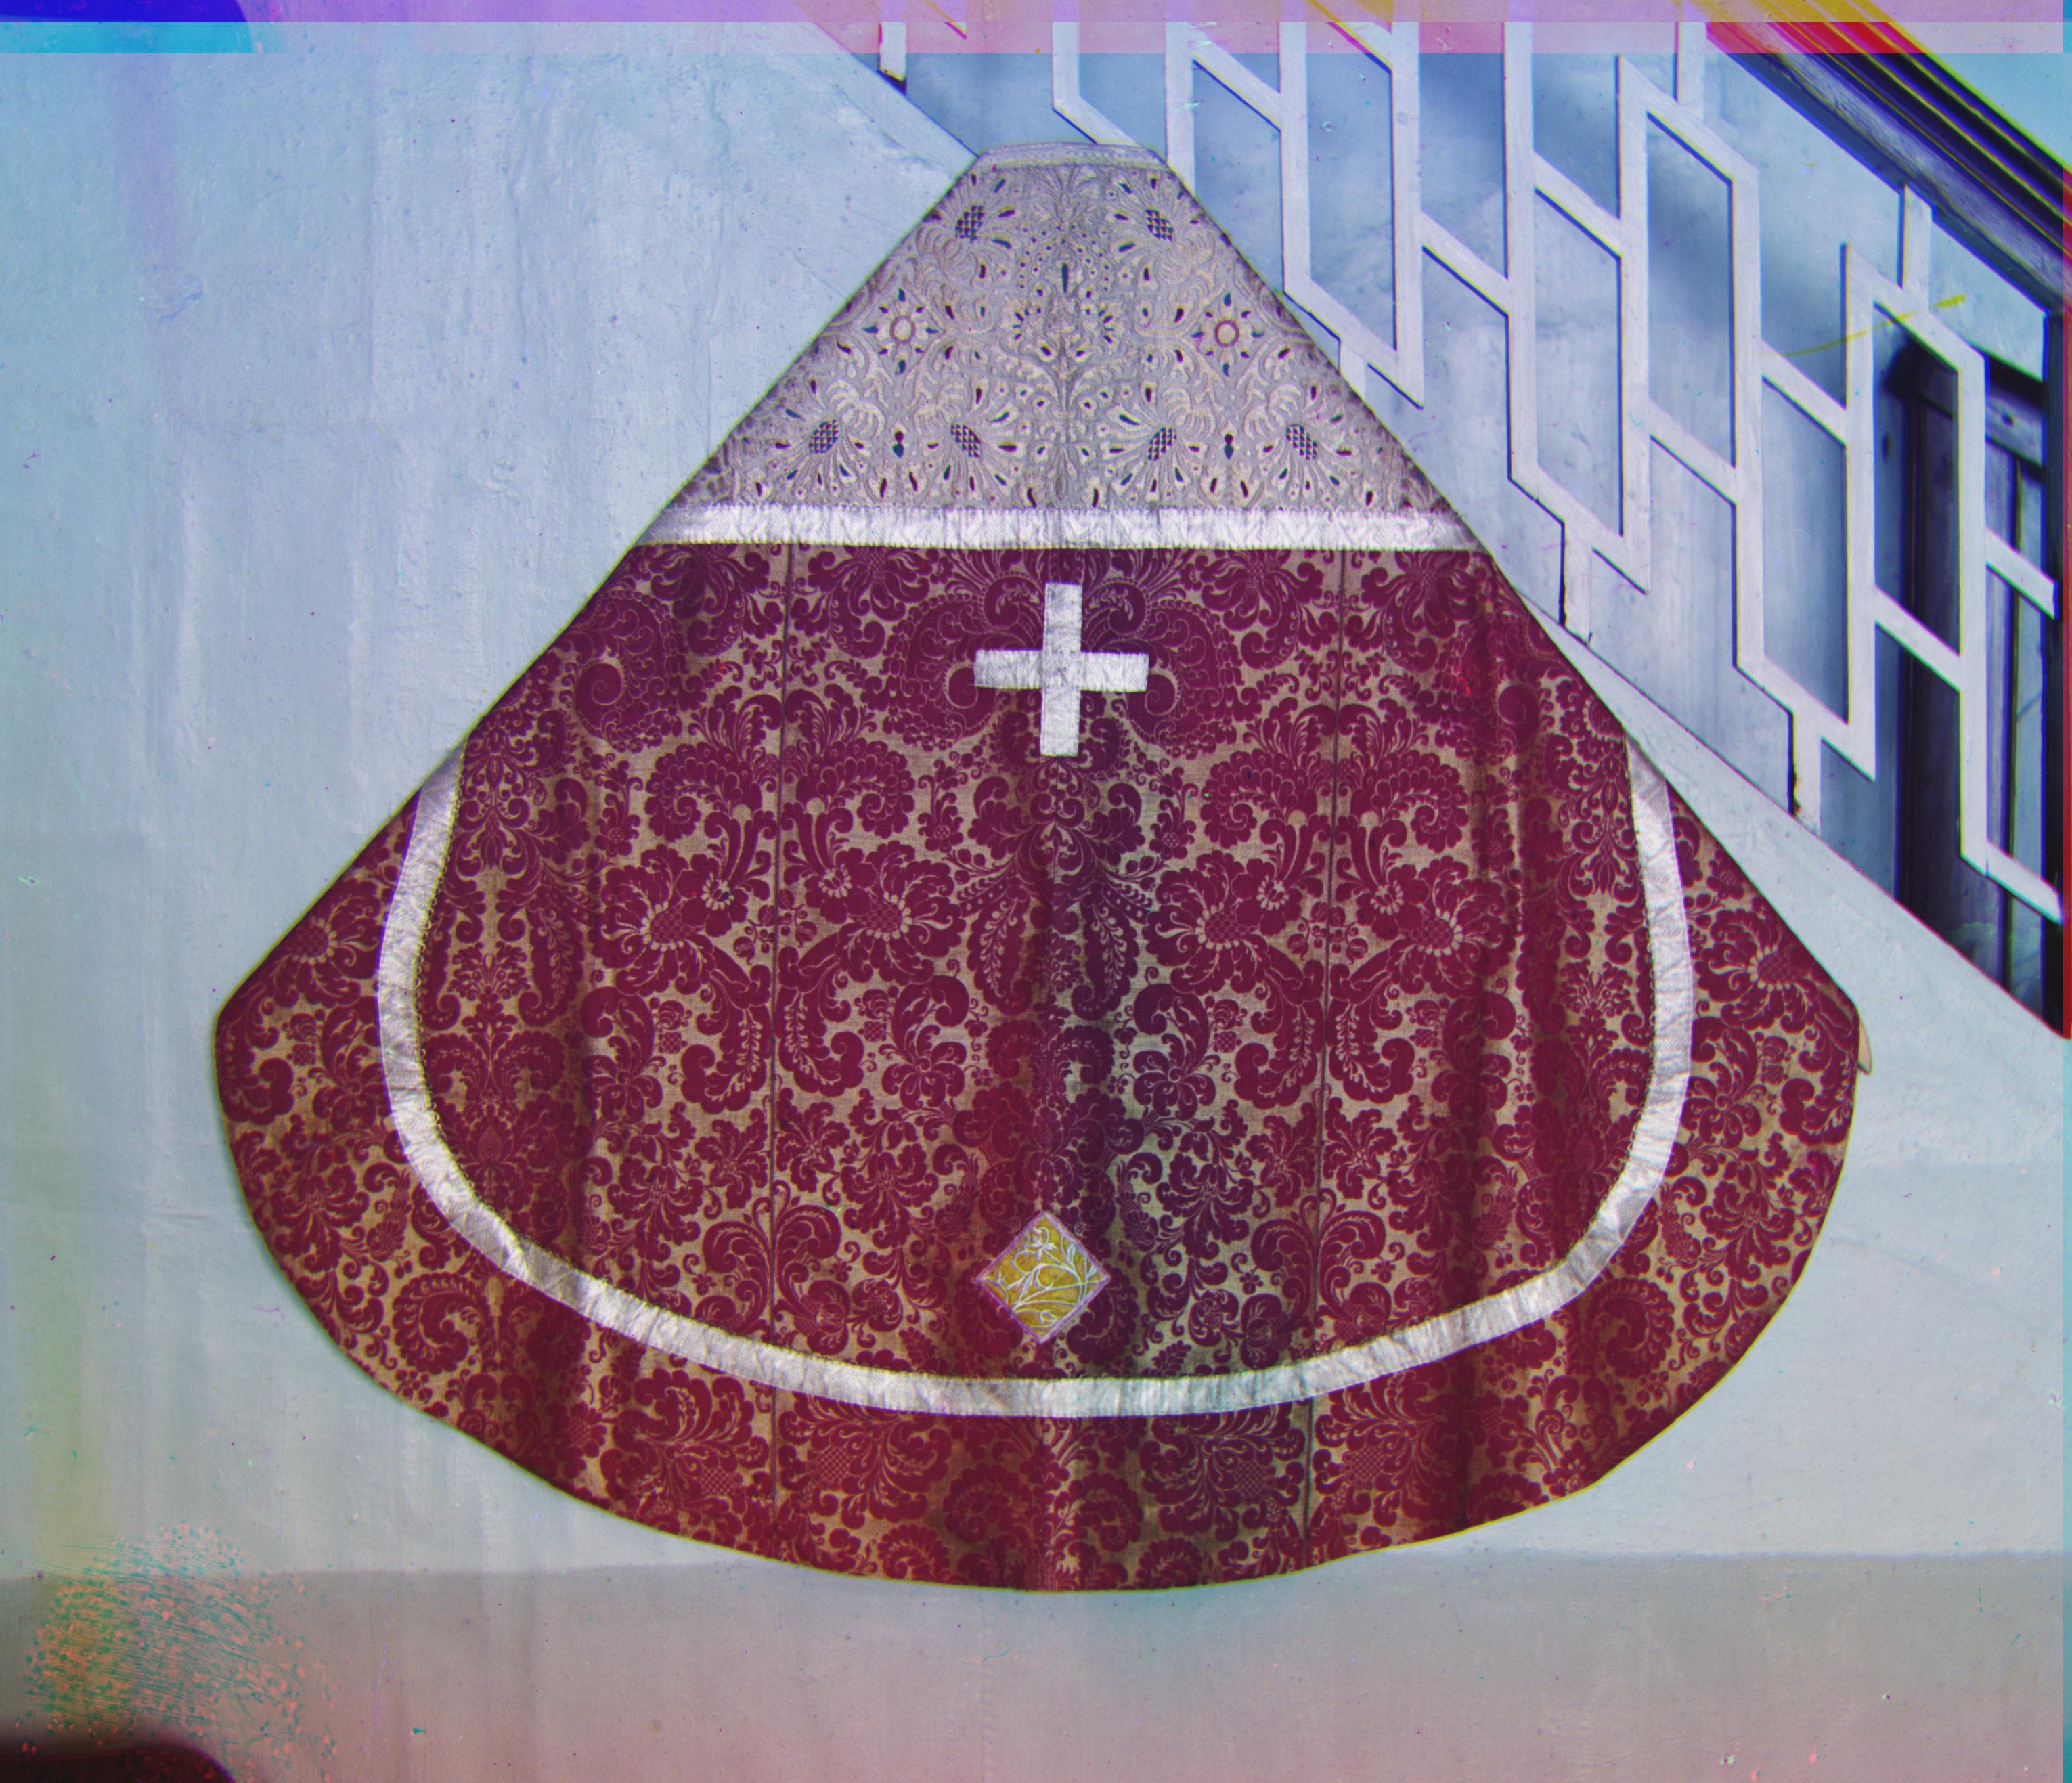
R Offset: (-13, 79)
G Offset: (0, 33)
Sart Types
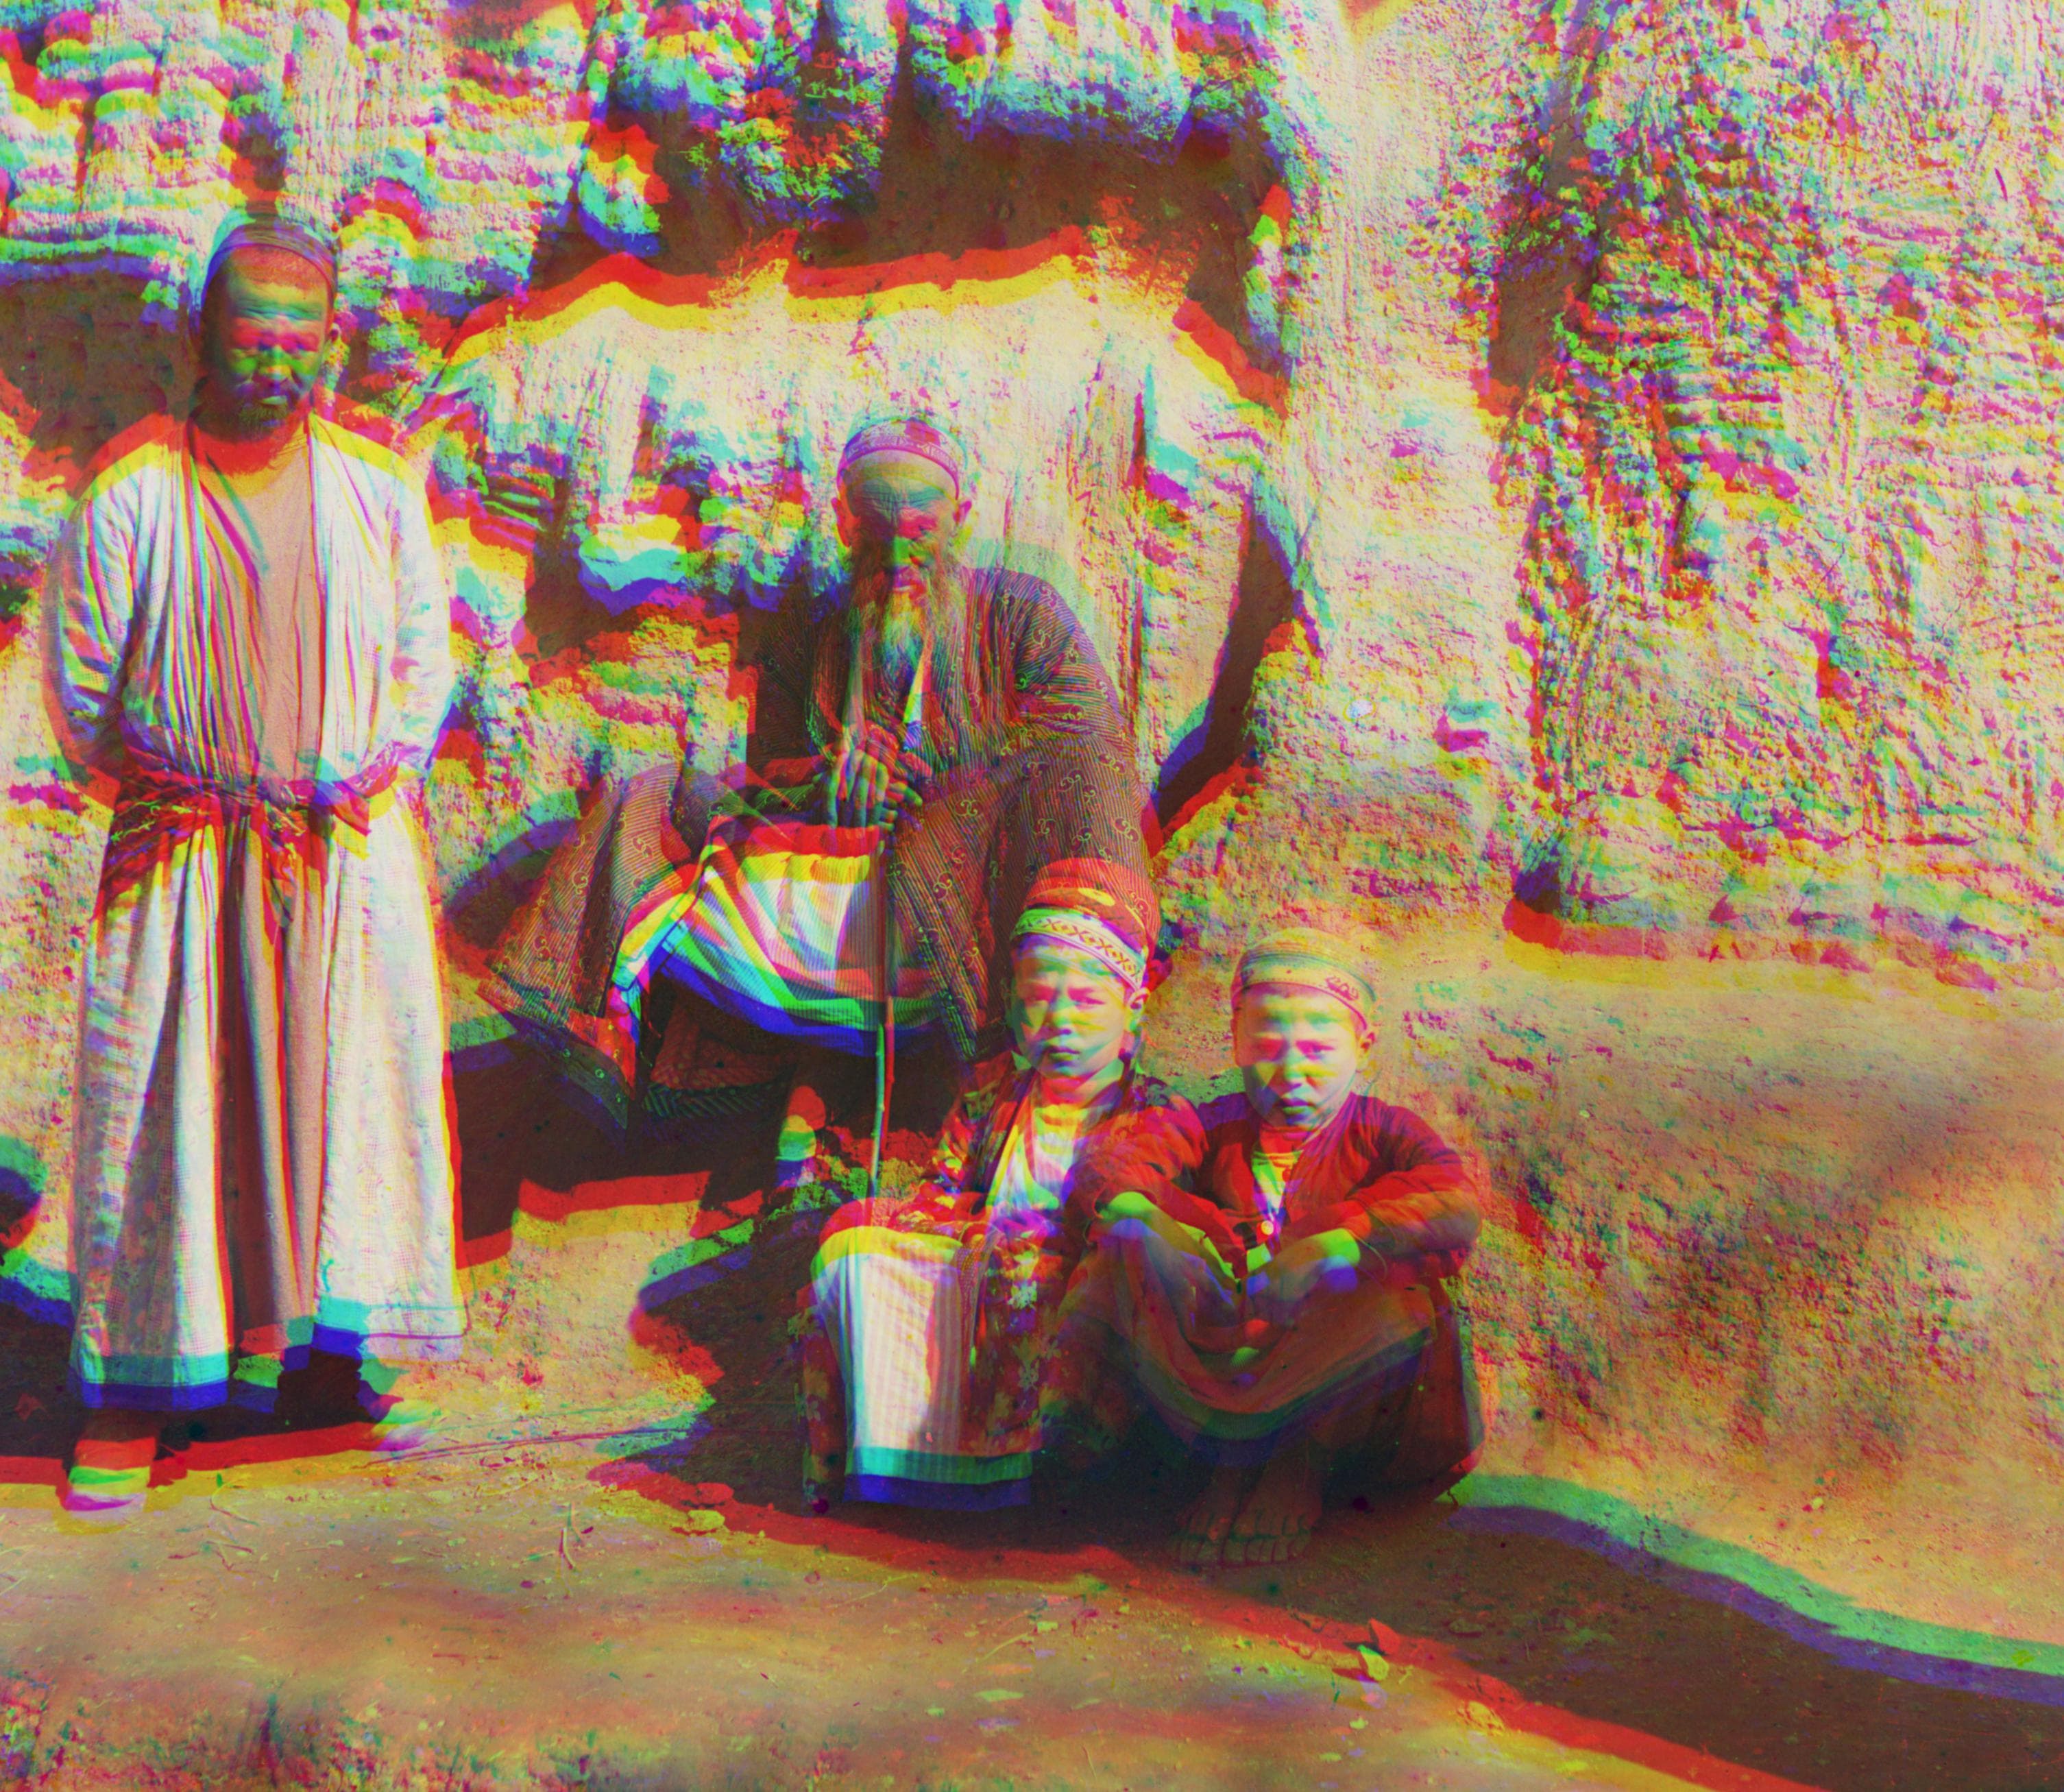
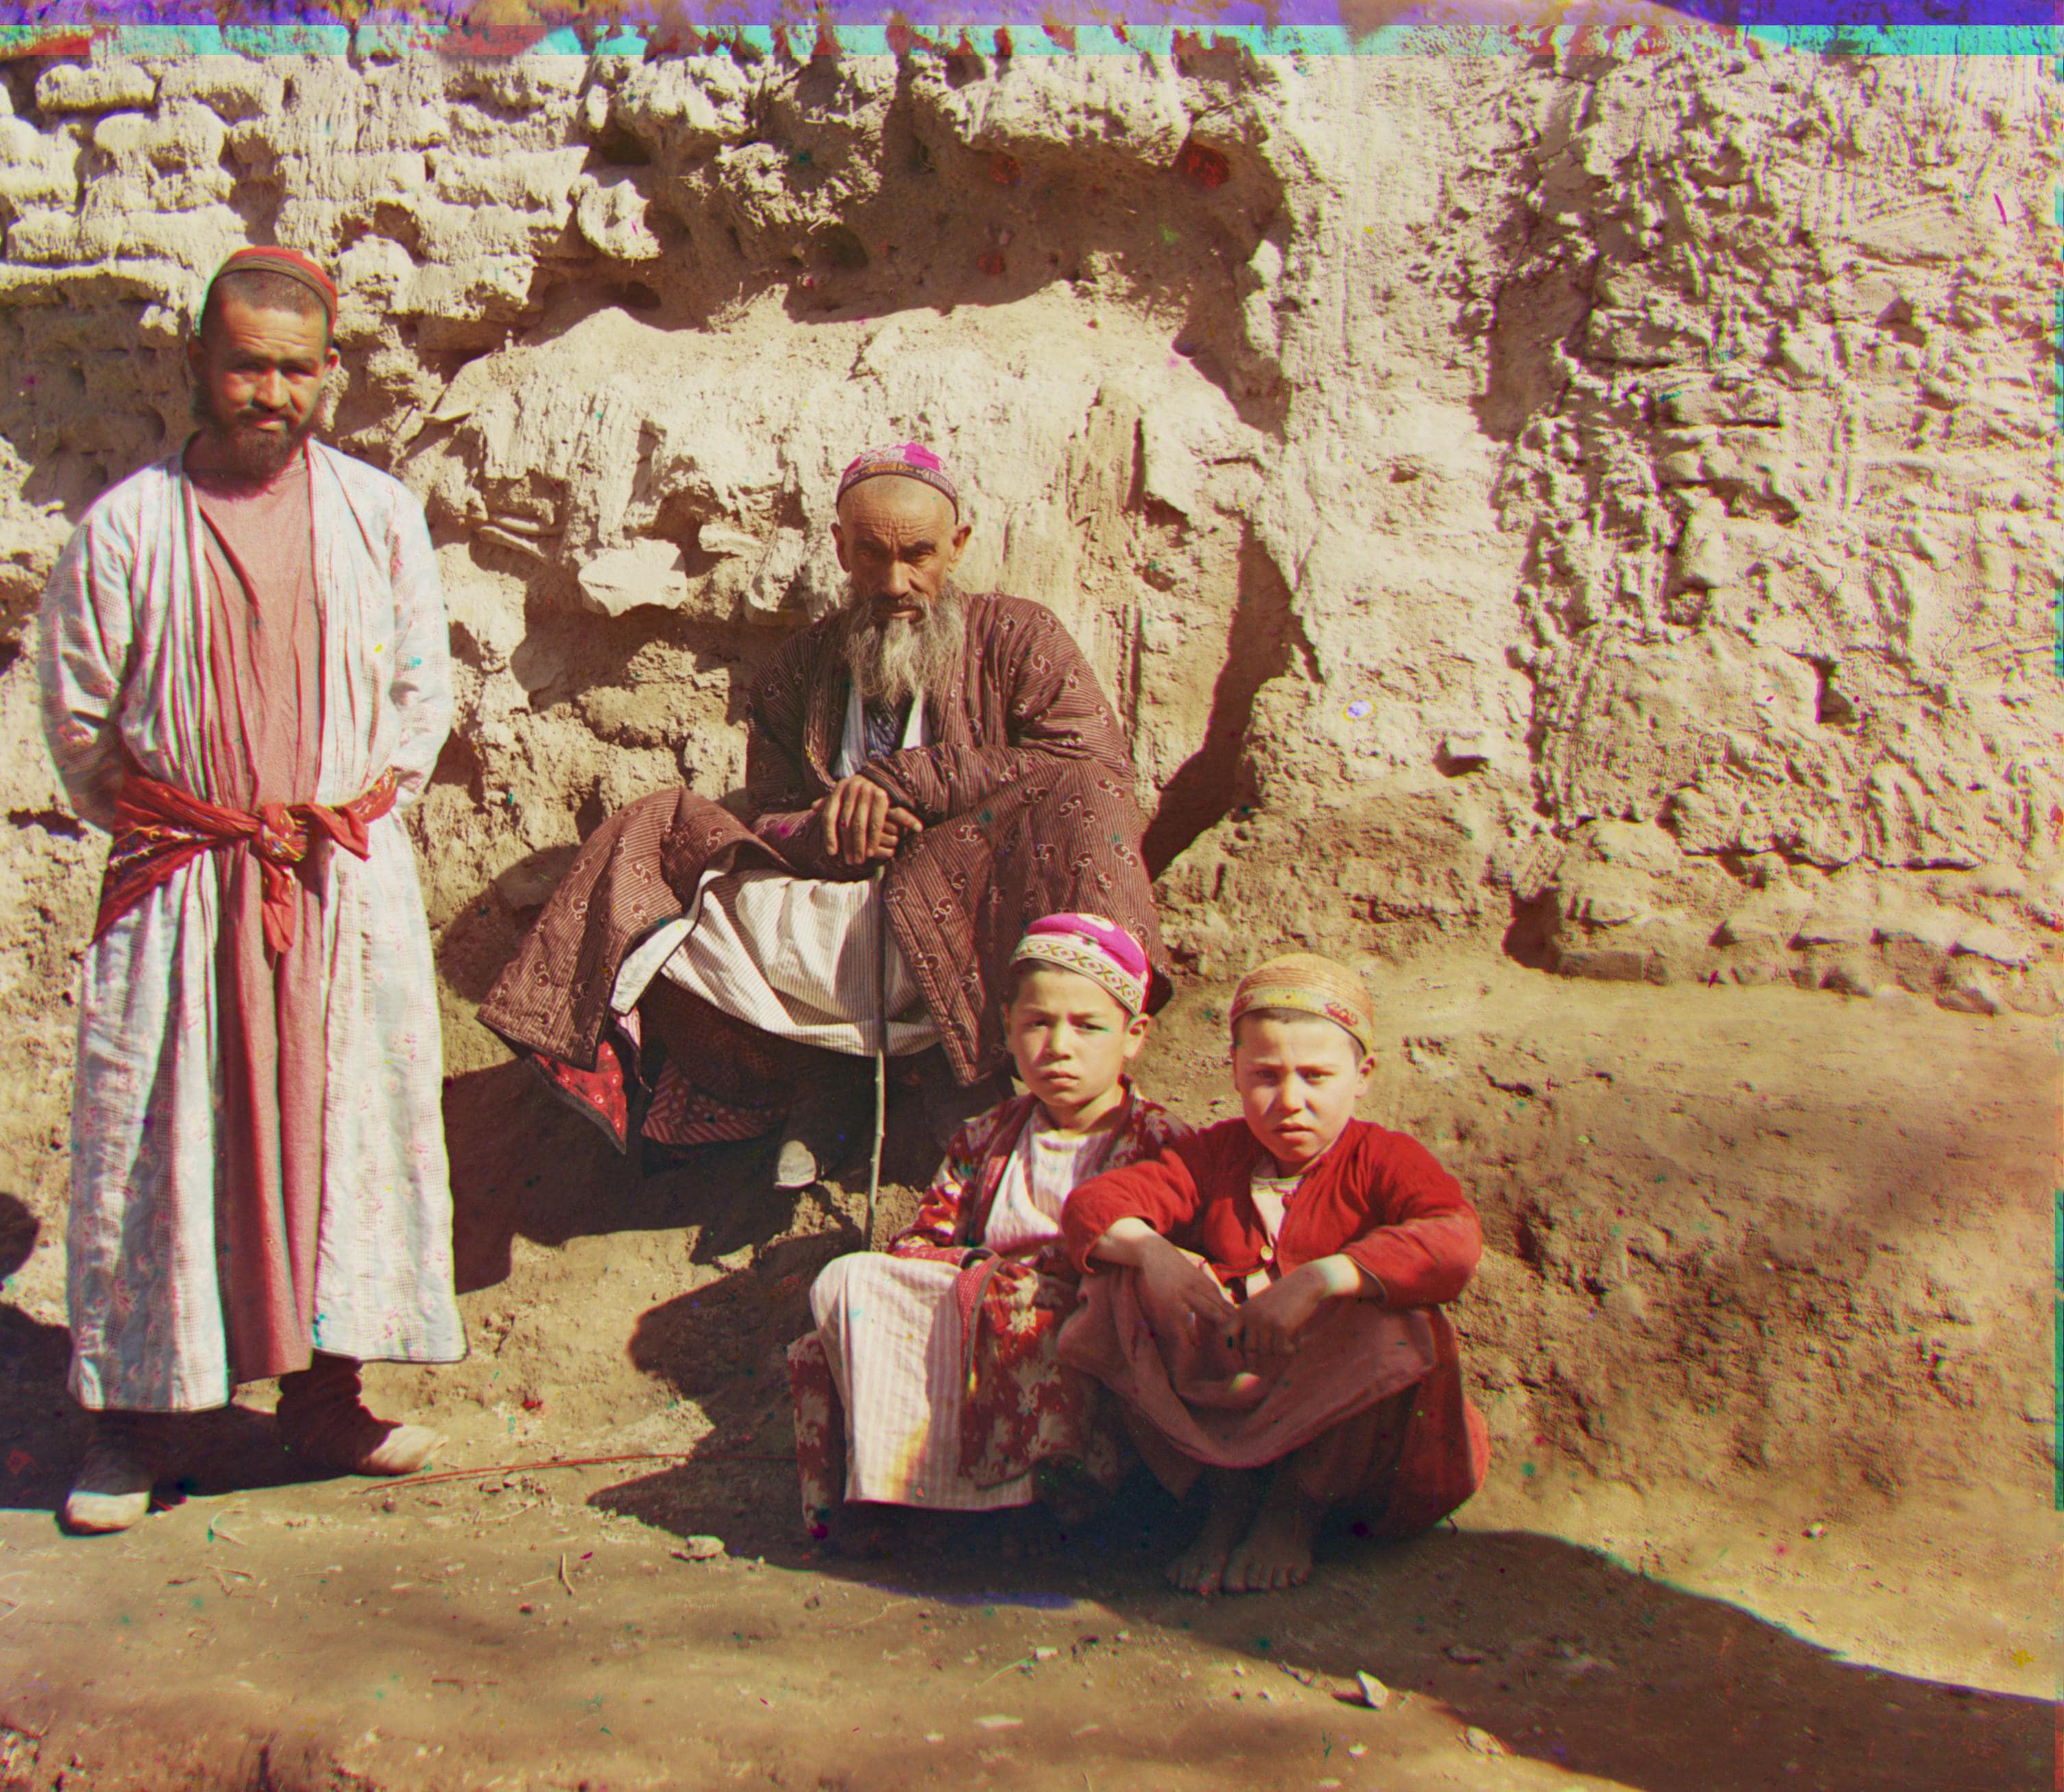
R Offset: (-13, 80)
G Offset: (-1, 37)
Challenges
This project definitely did not come without its challenges. There were a few parts of this assignment that gave
me more trouble than anticipated. This was my first time working with images in Python, so it took some time to
understand how image arrays could be manipulated. It took quite some time reworking my functions and playing with
parameters to get things as close to correct as possible. I went through a few revisions and ideas of functions
before settling on ones that gave me consistent results. I left some attempts of functions in my iPython notebook.
I mention this because in the end, I wouldn't say my results were perfect. As mentioned before, I had some trouble
with the select images. An example of this would be the photo of Emir. For some reason, I was not able to get a
perfect alignment of the image channels. At times, all of the other given images would produce expected behavior,
but Emir's photo was completely out of whack. I was a little disappointed with that result and got it as close to
aligned as possible.
Following the main photographs, I looked for photos that could be challenging for my script from the photo collection. I was
very pleased to see that my script performed quite well. Through the challenges of this assignment, I think I learned a lot
about image data in Python and how to use it. Figuring out a bug in the script or working with the correct functions was a bit
frustrating, but all aided in the learning process and final product I delivered.
Conclusion
I found this project to be extremely interesting, although frustrating at many points. It was quite difficult to wrap my head around how to work with images in Python. Regardless of implementation, I find the work and photos of Prokudin-Gorskii to be fascinating. It's incredible that Prokudin-Gorskii knew ahead of time that this process would be possible to create color images. In some photographs, I was not able to align the channels perfectly. I think I would need to approach the normalization of pixels in a different way to account for brightness and contrast differences in the photos. Since the scans are not perfect, I'd need to think of a better way to ensure I can find the best alignment for photos and have it work for any photo in the collection.