
CS194-26: Image Manipulation and Computational Photography
Student Name: James Fong
In this project, I created a tool that can automatically align three grayscale photographs taken with red, green, and blue color filters to produce a single color image. The input is a scan of glass negatives made by Russian photographer Sergey Mikhaylovich Prokudin-Gorsky. The output is a color composite with the original three grayscale images added directly to the red, green, and blue channels in a PNG image. We use an image pyramid to greatly speed-up the costly alignment procedure.
The technique proceeds in three steps:
In step 1, we first remove the white boundary surrounding the raw images. This is done by finding the median brightness for each row and column, and then removing the rows/columns on the edges of the image that have a median brightness above a tunable threshold. (30% of the maximum is chosen for this project.) Then, the resulting image is split evenly into thirds with horizontal cuts. These are our three channels.
In step 2, we search for a set of (x,y) translations to apply to each channel to maximize the amount of "correlation" with each other. To do this, an arbitrary channel is chosen as a "base" to establish the coordinate space, with the top-left corner being the origin. Then, the other two channels are aligned to this base. We choose the "green" channel for the base since it is closest in wavelength to the other two channels. We measure "correlation" as normalized cross correlation between the two translated images. If there is missing image data in the intersection between the two images, the missing values are filled in with the arithmetic average of the intersecting region.
In order to have a reasonable runtime when searching the translation with the maximum correlation, we use an image pyramid when performing matches. This image pyramid is constructed recursively by halving the vertical and horizontal resolution of the search space. This forms a "pyramid" of images each of varying resolution. We use the provided skimage.transform.resize function, which applies a blur to the image before re-sampling, to avoid aliasing artifacts. To match a given template image against the pyramid, we first find a match against the coarsest image. This gives an initial estimate for the true translation. To refine this estimate, we repeat this match against the pyramid, using layers of increasingly higher resolution. However, rather than search through all translations, we only search in a narrow window around the estimated yielded from earlier layers. This gives a massive speed-up to the translation search, running in less than 30 seconds, compared to the >1hr matches with the naive brute-force.
Prokudin-Gorsky’s original negatives do not have identical cropping between the three channels. That is, a feature visible near the edge of one channel might be absent from the other two. To avoid the matching issues that come from this, we simply trim a 10% border off of each side of the template and the base before matching. See "Bells and Whistles" below for another fix for this.
In step 3, we simply apply the translations found in step 2 to each channel, and then set each channel to the corresponding red, green, and blue channels of a PNG image.
![]()
The offsets listed below are translations that should be applied to the entire image. That is, for each channel, translate the entire image (uncropped) by the given (x, y) amount before combining to form a single 3-channel image.
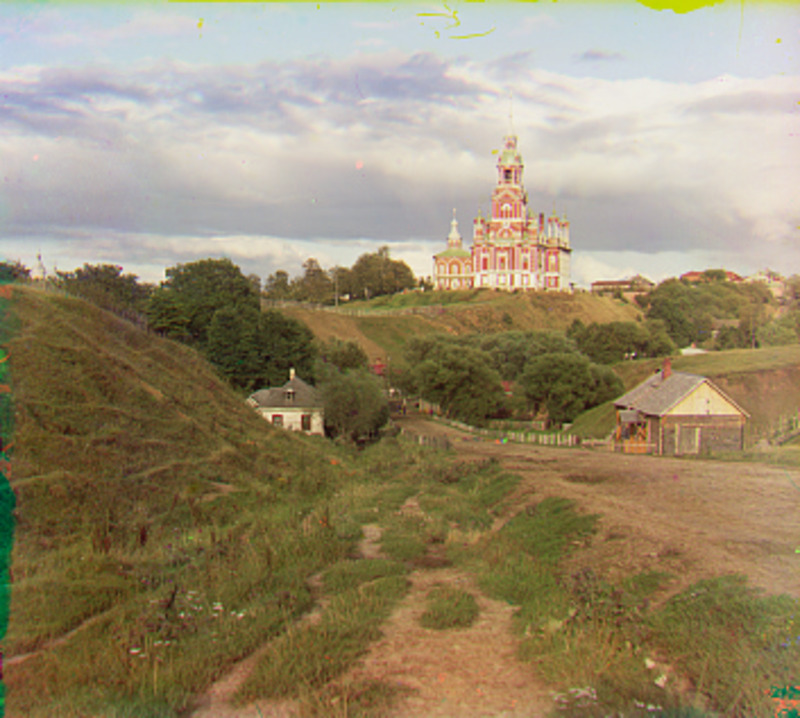
Offsets for: data/cathedral.jpg
Red: (14, 7)
Green: (13, 341)
Blue: (11, 677)
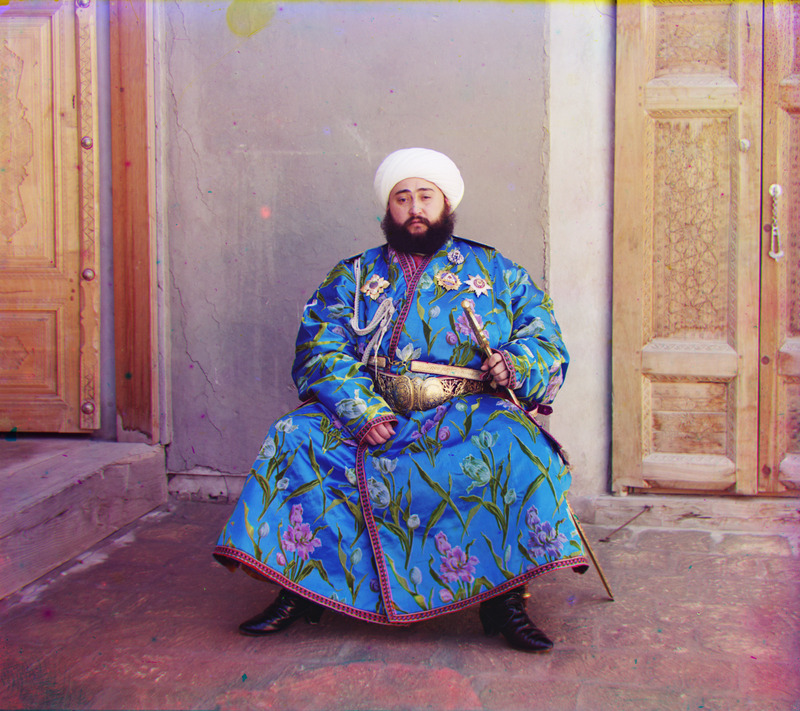
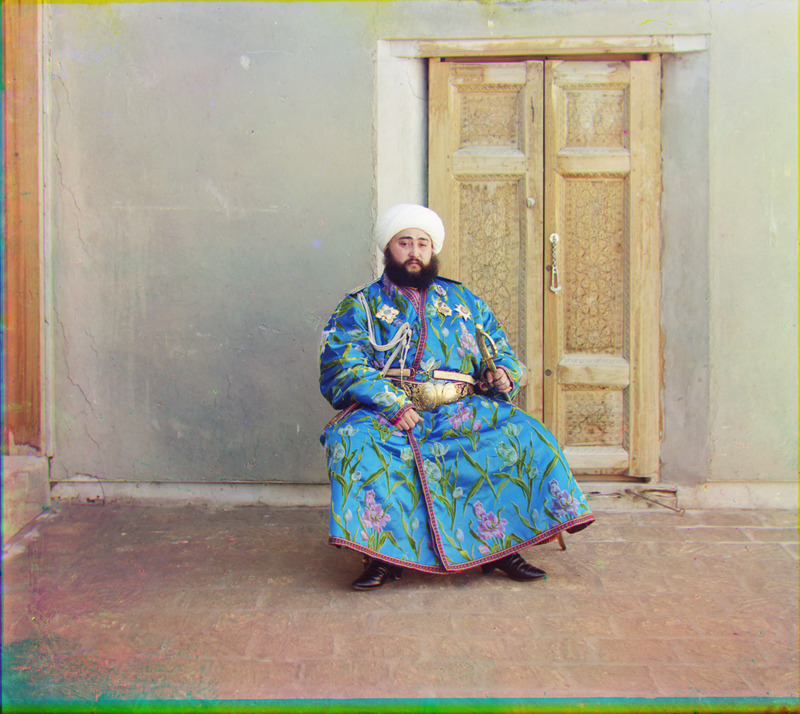
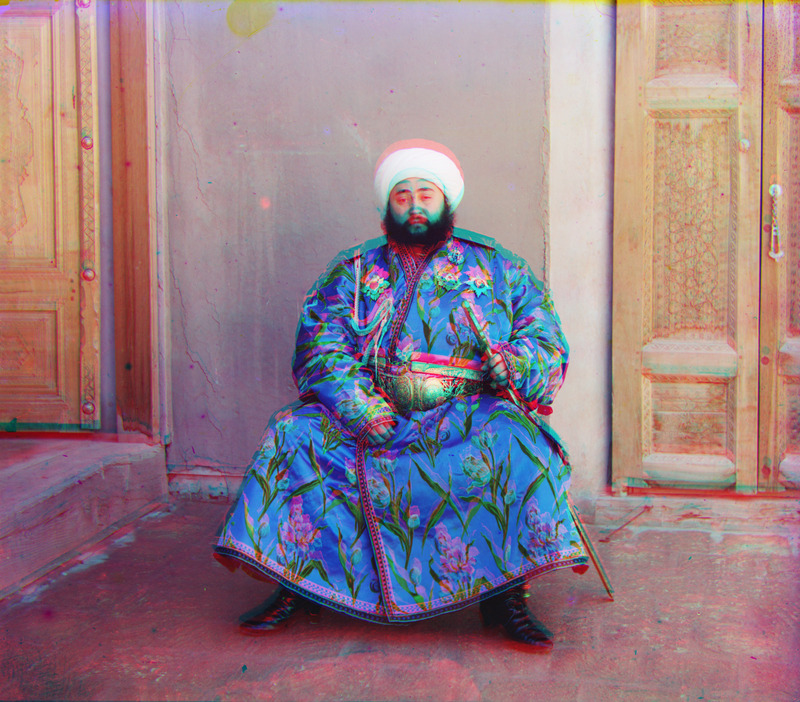
Offsets for: data/emir.tif
Red: (206, 71)
Green: (189, 3223)
Blue: (165, 6383)
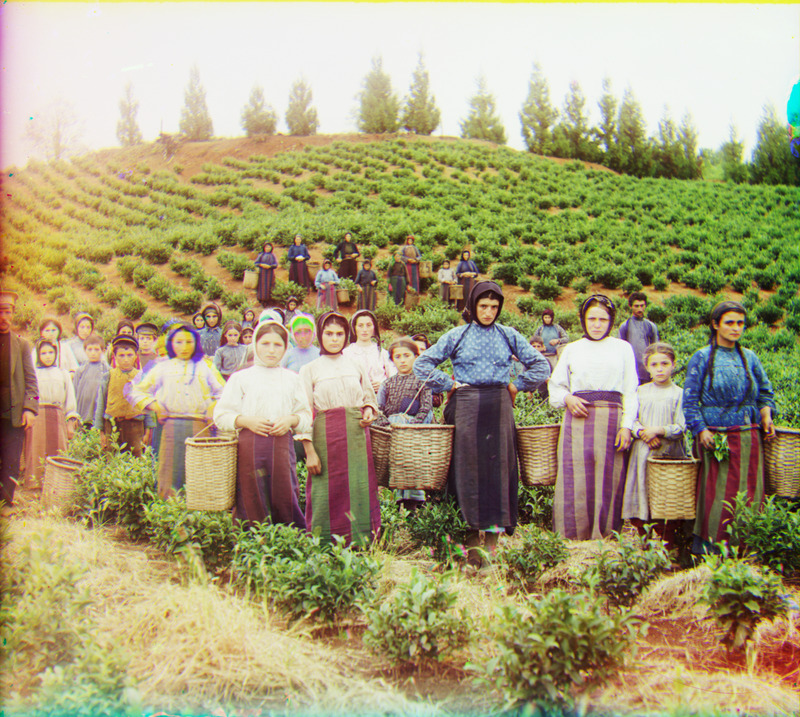
Offsets for: data/harvesters.tif
Red: (134, 134)
Green: (137, 3287)
Blue: (121, 6445)
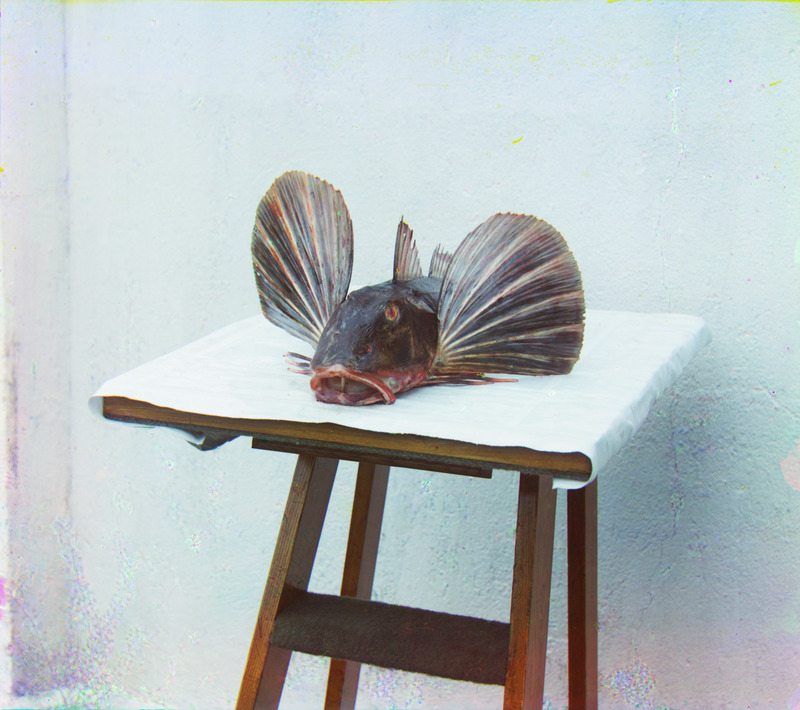
Offsets for: data/icon.tif
Red: (206, 168)
Green: (201, 3364)
Blue: (184, 6567)
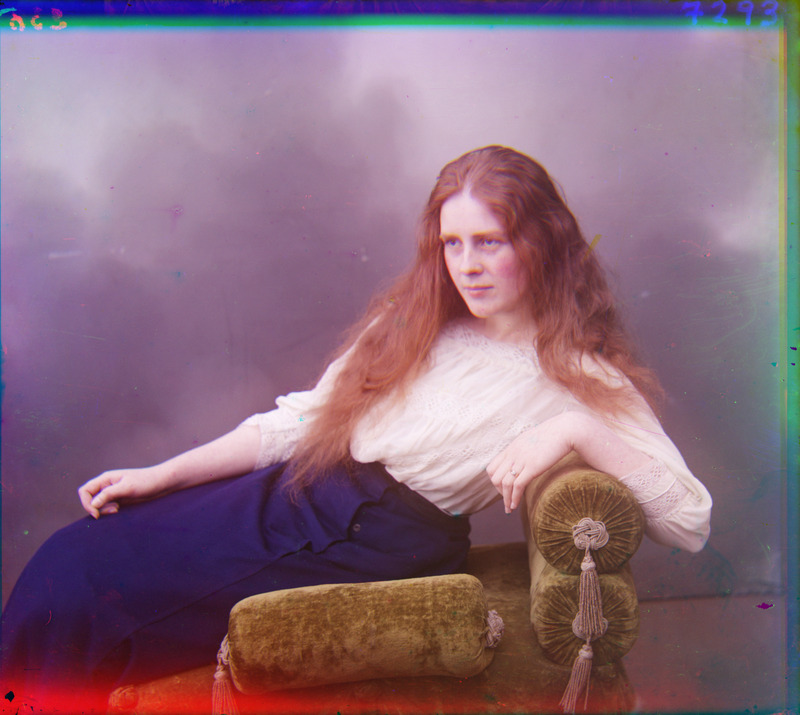
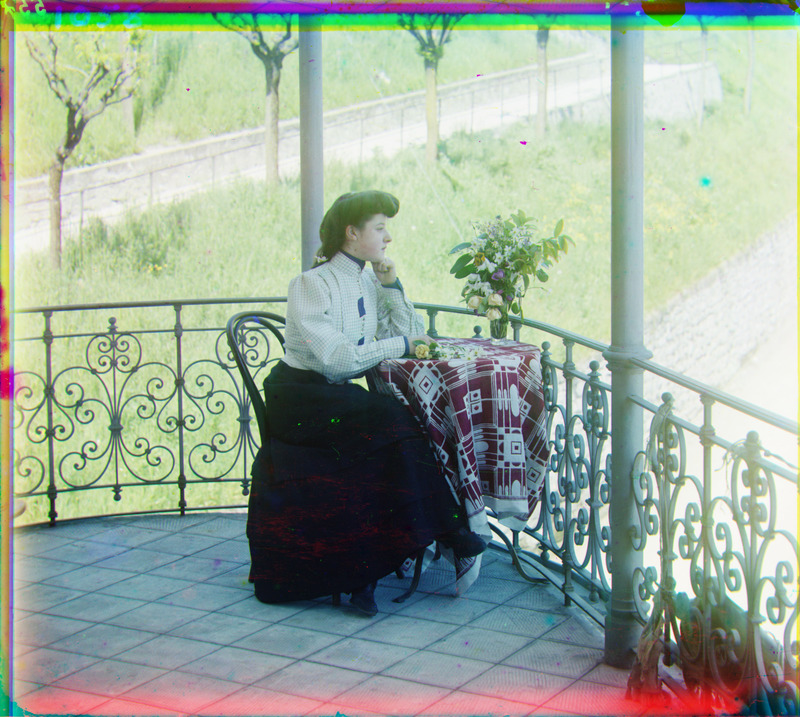
Offsets for: data/lady.tif
Red: (168, 83)
Green: (165, 3232)
Blue: (157, 6388)
Offsets for: data/melons.tif
Red: (182, 215)
Green: (179, 3360)
Blue: (169, 6518)
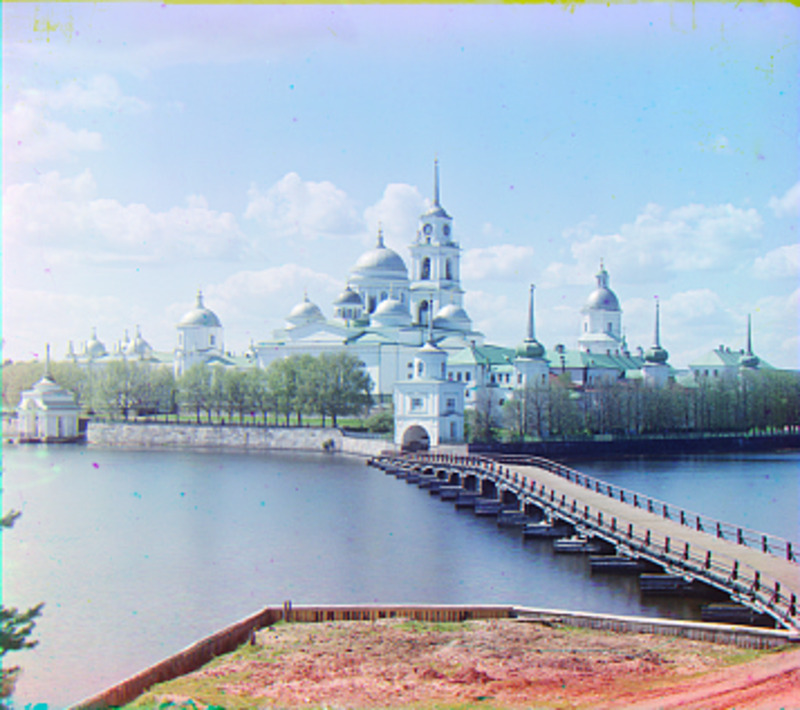
Offsets for: data/monastery.jpg
Red: (18, 10)
Green: (17, 345)
Blue: (15, 689)
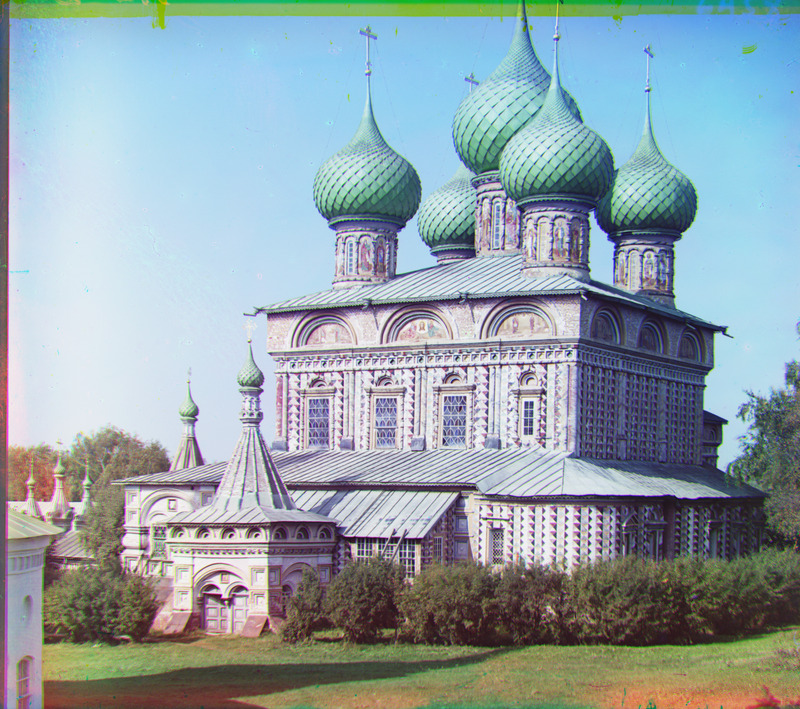
Offsets for: data/onion_church.tif
Red: (171, 127)
Green: (161, 3285)
Blue: (135, 6449)
Offsets for: data/self_portrait.tif
Red: (299, 140)
Green: (291, 3293)
Blue: (262, 6465)
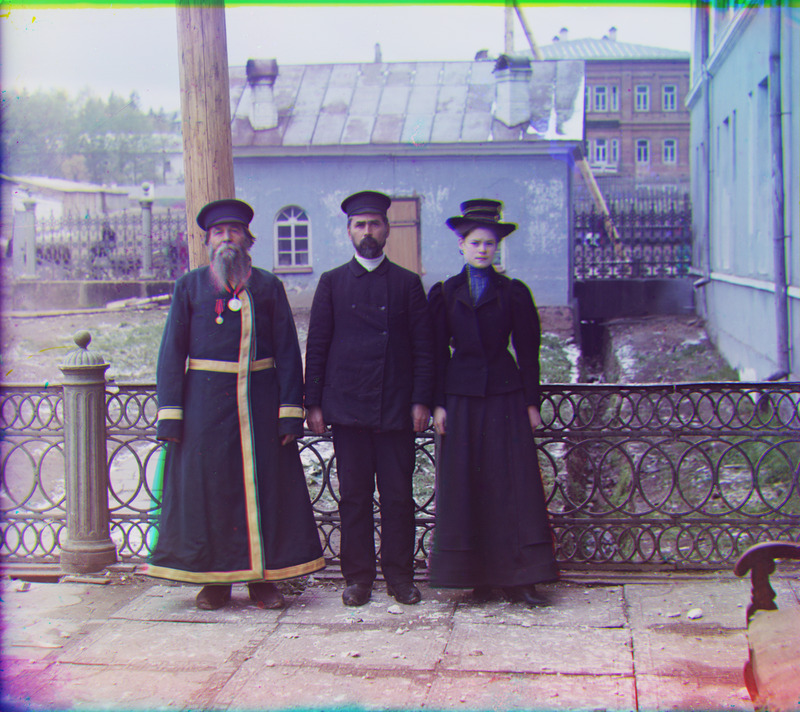
Offsets for: data/three_generations.tif
Red: (122, 152)
Green: (124, 3303)
Blue: (111, 6459)
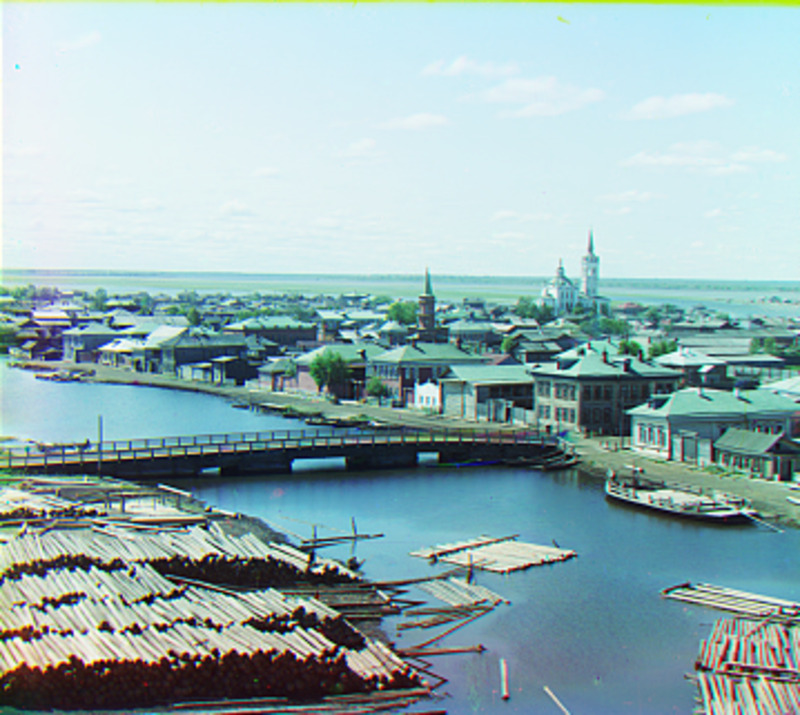
Offsets for: data/tobolsk.jpg
Red: (18, 3)
Green: (17, 340)
Blue: (14, 678)
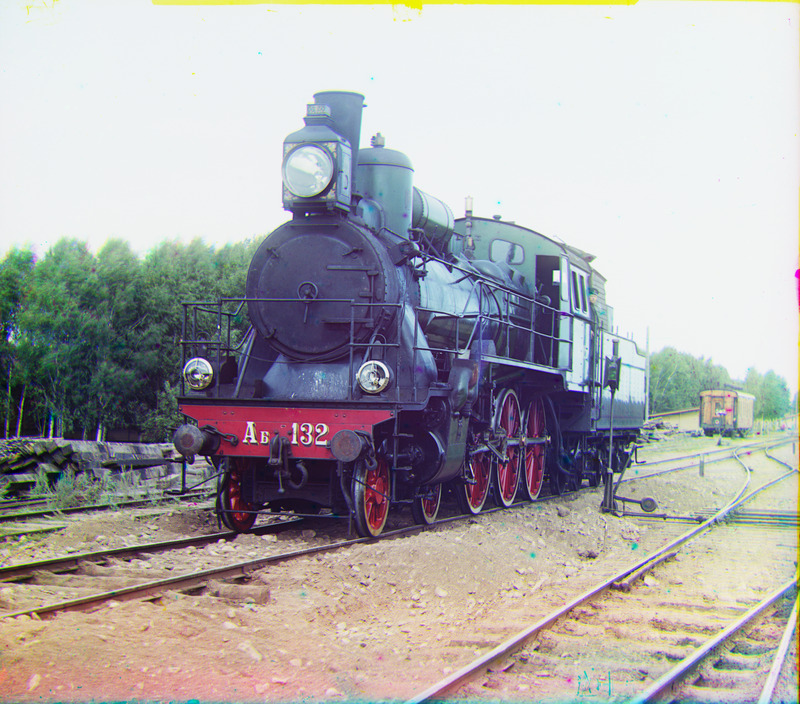
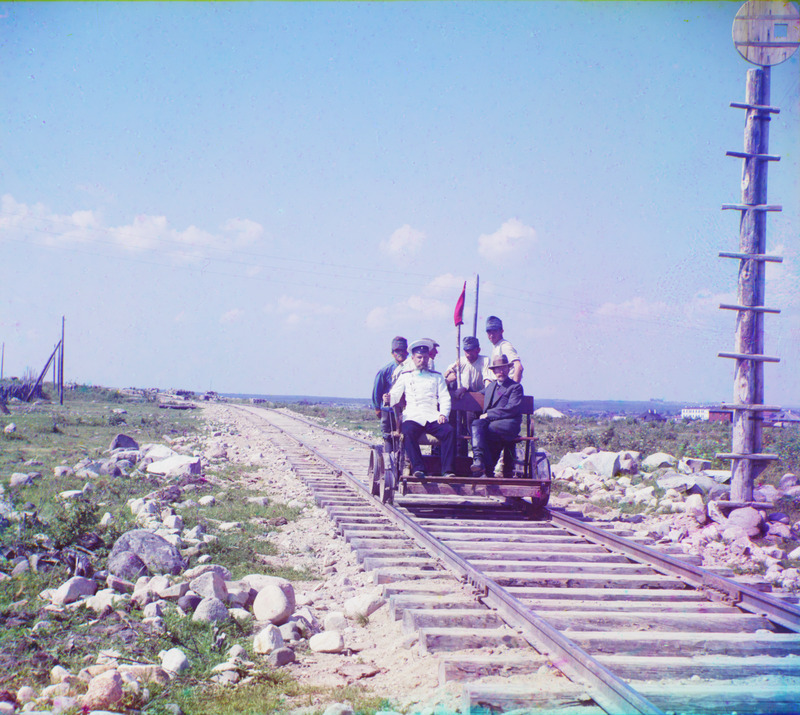
Offsets for: data/train.tif
Red: (191, 122)
Green: (164, 3317)
Blue: (158, 6512)
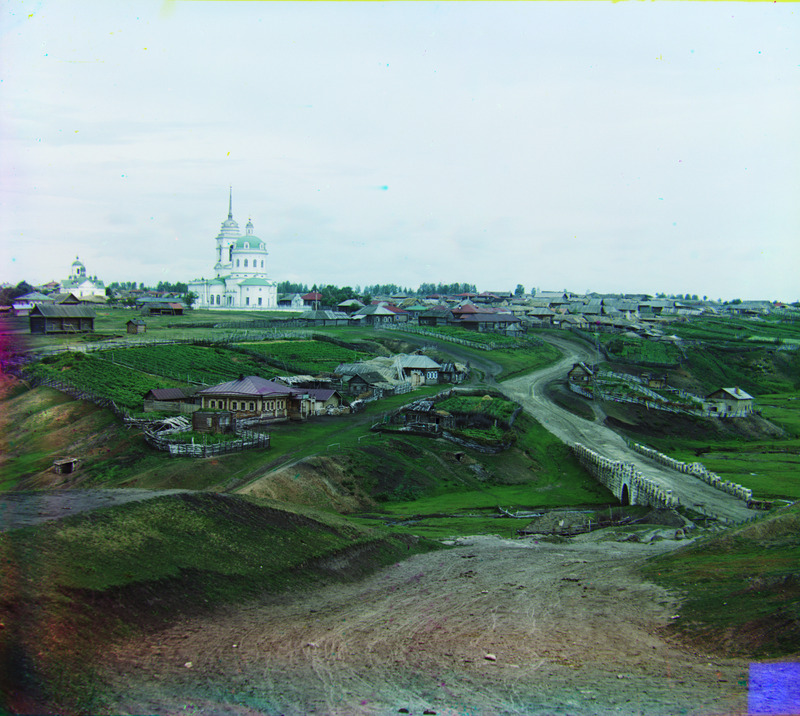
Offsets for: data/village.tif
Red: (219, 110)
Green: (209, 3307)
Blue: (197, 6512)
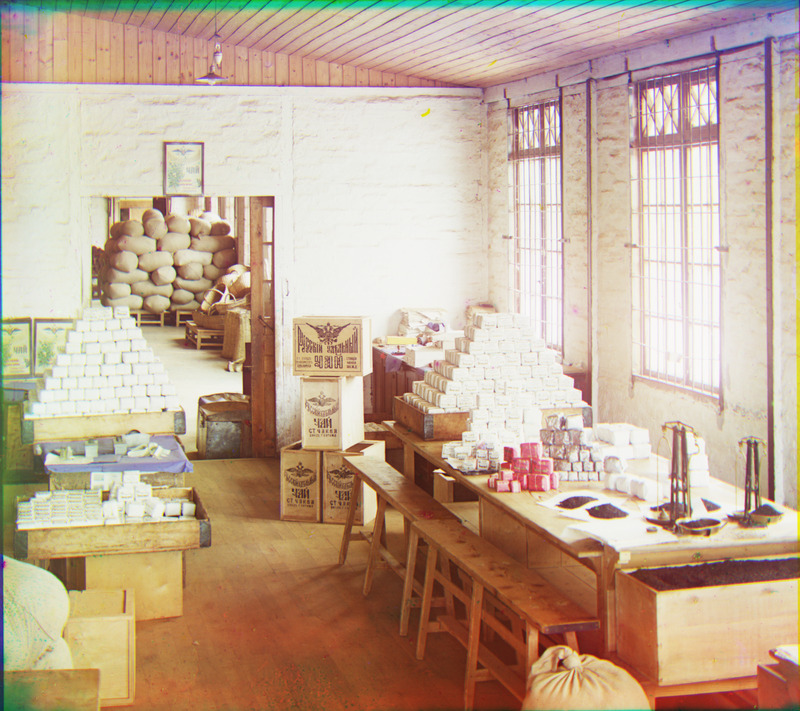
Offsets for: data/workshop.tif
Red: (150, 152)
Green: (161, 3309)
Blue: (161, 6465)I was not sure what the precise meaning of "offset" was in the spec, so in case these offset values are needed to be put into colorize_skel.py, you can input them into the skeleton like so: (emir.tif used for example)
# name of the input file
imname = 'data/emir.tif'

# read in the image
im = skio.imread(imname)
im = sk.img_as_float(im)
height = np.floor(im.shape[0] / 3.0).astype(np.int)
b = im[:height]
g = im[height: 2*height]
r = im[2*height: 3*height]

# INSERT OFFSETS HERE
red_off = [206, 71]
green_off = [189, 3223]
blue_off = [165, 6383]

ag = np.roll(g, green_off[0] - blue_off[0], axis=1)
ar = np.roll(r, red_off[0] - blue_off[0], axis=1)
ag = np.roll(ag, green_off[1] - blue_off[1], axis=0)
ar = np.roll(ar, red_off[1] - blue_off[1], axis=0)

# create a color image
im_out = np.dstack([ar, ag, b])
Links to the above source material:
The custom .tif files are also available alongside the source code uploaded to bCourses.
Instead of cropping out the edges of the frame to avoid mis-matches, we can instead pre-filter the images with an edge detection algorithm. In this case, we used the sobel filter built-in to skimage.filters. This technique helps to reduce contrast differences between the different channels. For example, Emir's dress appears quite different in each the channels, since his dress is very saturated. By reducing contrast differences, we make the "correct" matching location have a much higher correlation. This reduces the chance that another, lesser local maximum would confuse the image pyramid search.
Here we see the result of applying the filter to the 3 different channels.
The original 3 channels:
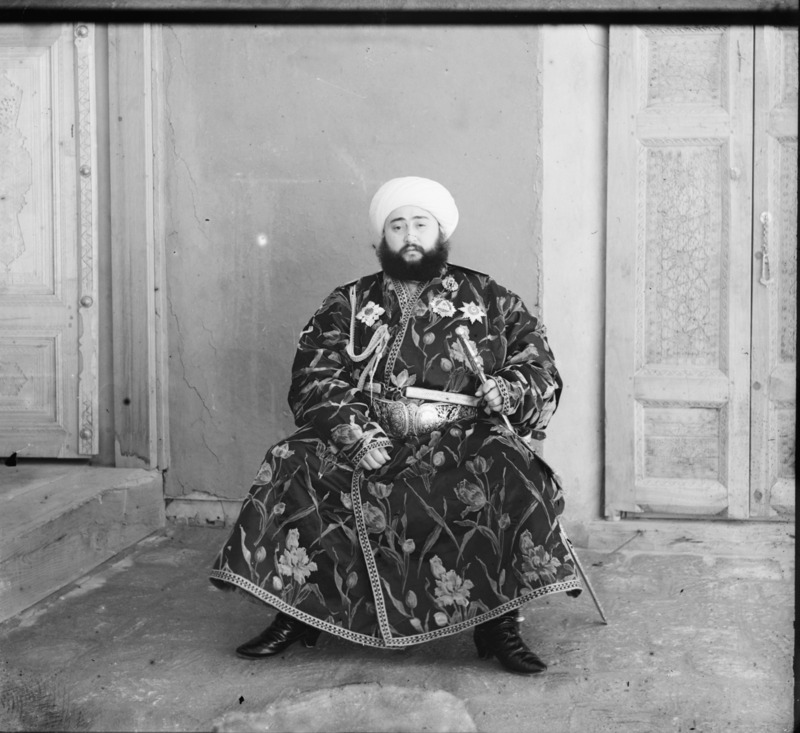
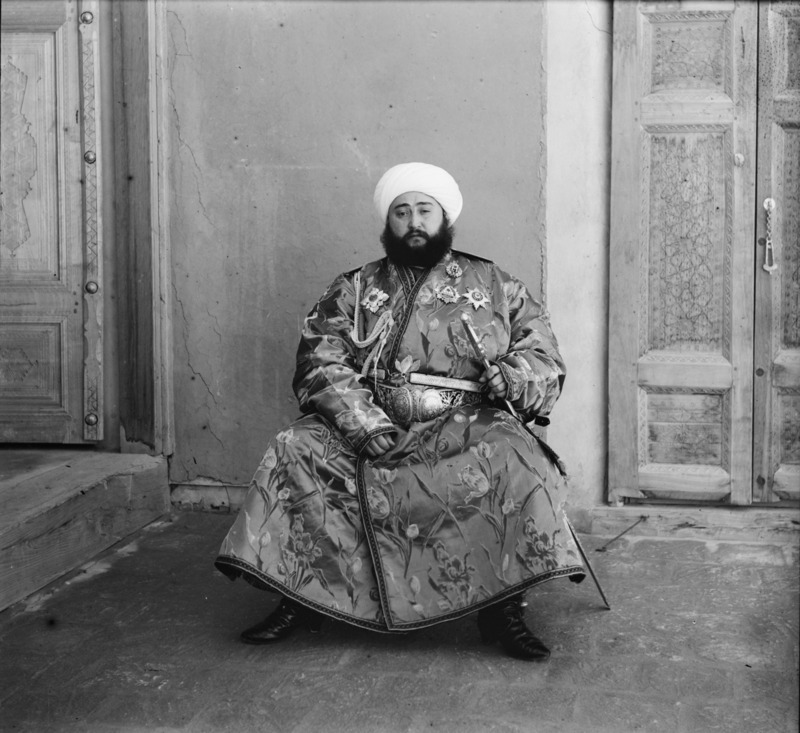
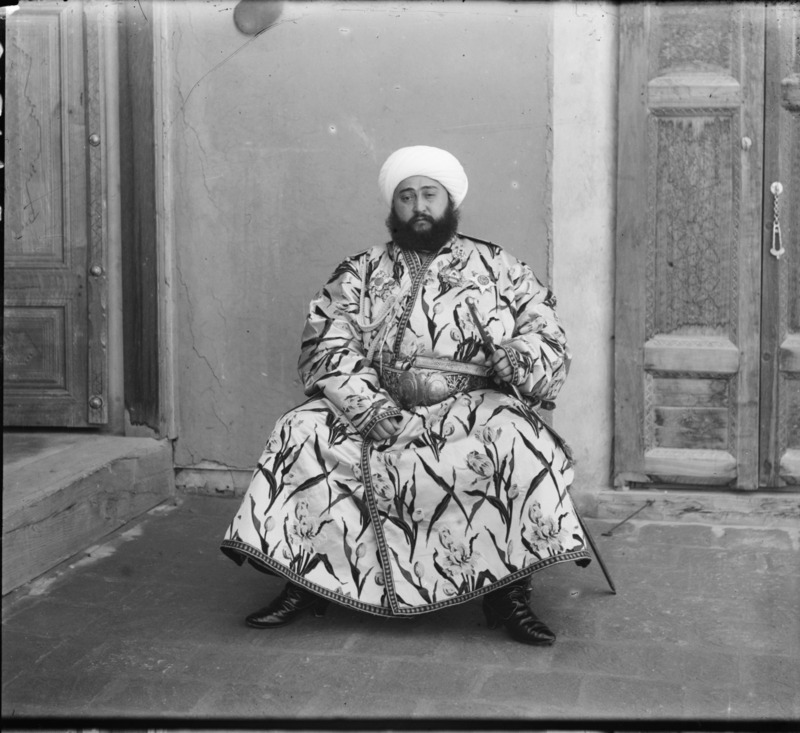
With sobel applied (contrast enhanced for easier viewing):
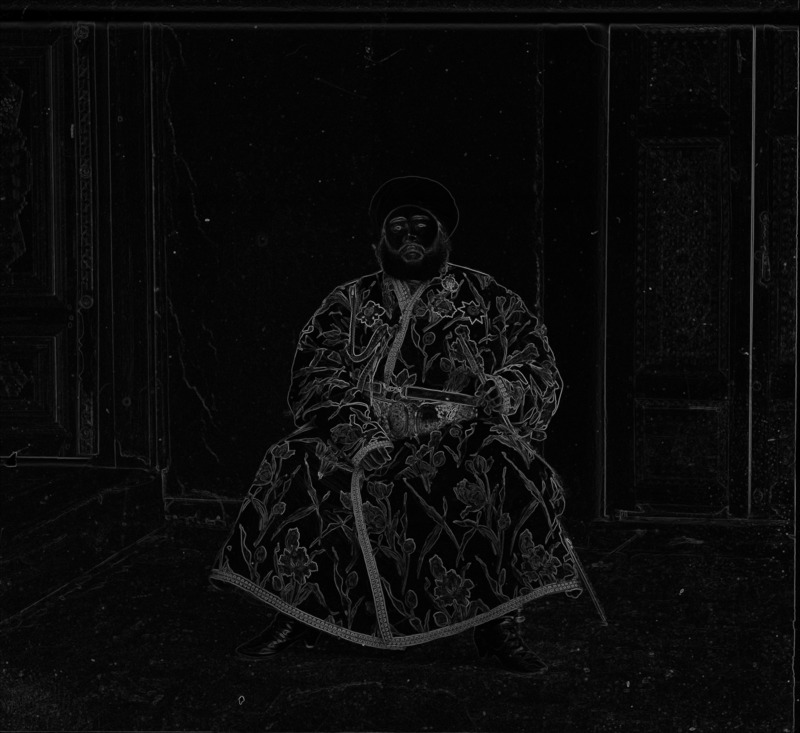
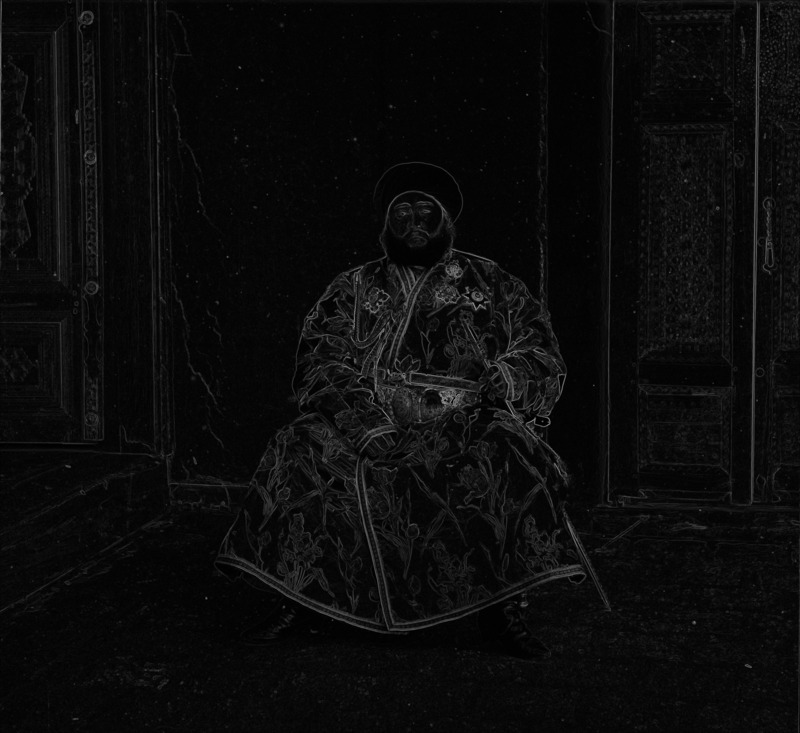

Matching with sobel (left) versus matching without removing 10% margin (right):

As we can see, sobel filtering can also be used to avoid mis-matches due to bad cropping.