Project 1 - Images of the Russian Empire: Colorizing the Prokudin-Gorskii photo collection
Evelyn Shen CS194-26-adm
Spring 2020
Overview

Sergei Mikhailovich Prokudin-Gorskii (1863-1944) was a pioneer photographer at his time who managed to take color photos with monochrome camera. The original photos were taken by three exposures onto a glass plate using a red, a green, and a blue filter. Then with these RGB glass plate negatives, we stack them together to create color.
In this project, we colorize greyscale images by stacking these three photos together.
Procedure
The idea was that, as the image was taken in red, green and blue channels, when we stack them together we can recover a colorized image. However, the three photos were taken at different moments and so cannot perfectly align with one another. Just stacking is not enough, so aligning the 3 channels is crucial to a successful colorization.
- We first divide the original glass image into 3 images (from top to bottom are Blue, Green, Red channels)
- Then we do two alignments: first Green and Blue, then Red and Blue.
- For each alignment, we choose a search window of (-15, 15) to enumerate over the difference in pixel value of the two aligning images.
- Of all the enumerations, use Sum of Squared Differences (SSD) distance to get the optimal alignment and thus shift the layer on top by this displacement vector.
- Stack the 3 layers adjusted by displacement vectors together, and we have our results.
Image Pyramid
However, doing exhaustive search along high resolution images is very costly. We can improve the algorithm by using the image pyramid technique.
We first downscale the resolution by 2 until a threshold. The threshold can’t be two big, otherwise it’s as costly as doing exhaustive search; also it can’t be too small, or there will be large errors since the more we downscale, the more resolution and information about the image we lose.
Then, for every layer in the image pyramid, we do the naïve search and get a replacement vector. Then we proceed onto the next layer, shift the layer by 2 * displacement vector amount, and use the center area of this layer to calculate a displacement vector. We adjust the 2 * displacement vector with this newly calculated displacement to account for offsets.
Using Edge Feature instead of Color to Align
In my first approach, I simply calculated the difference in color value. Yet, using edge feature renders better results:
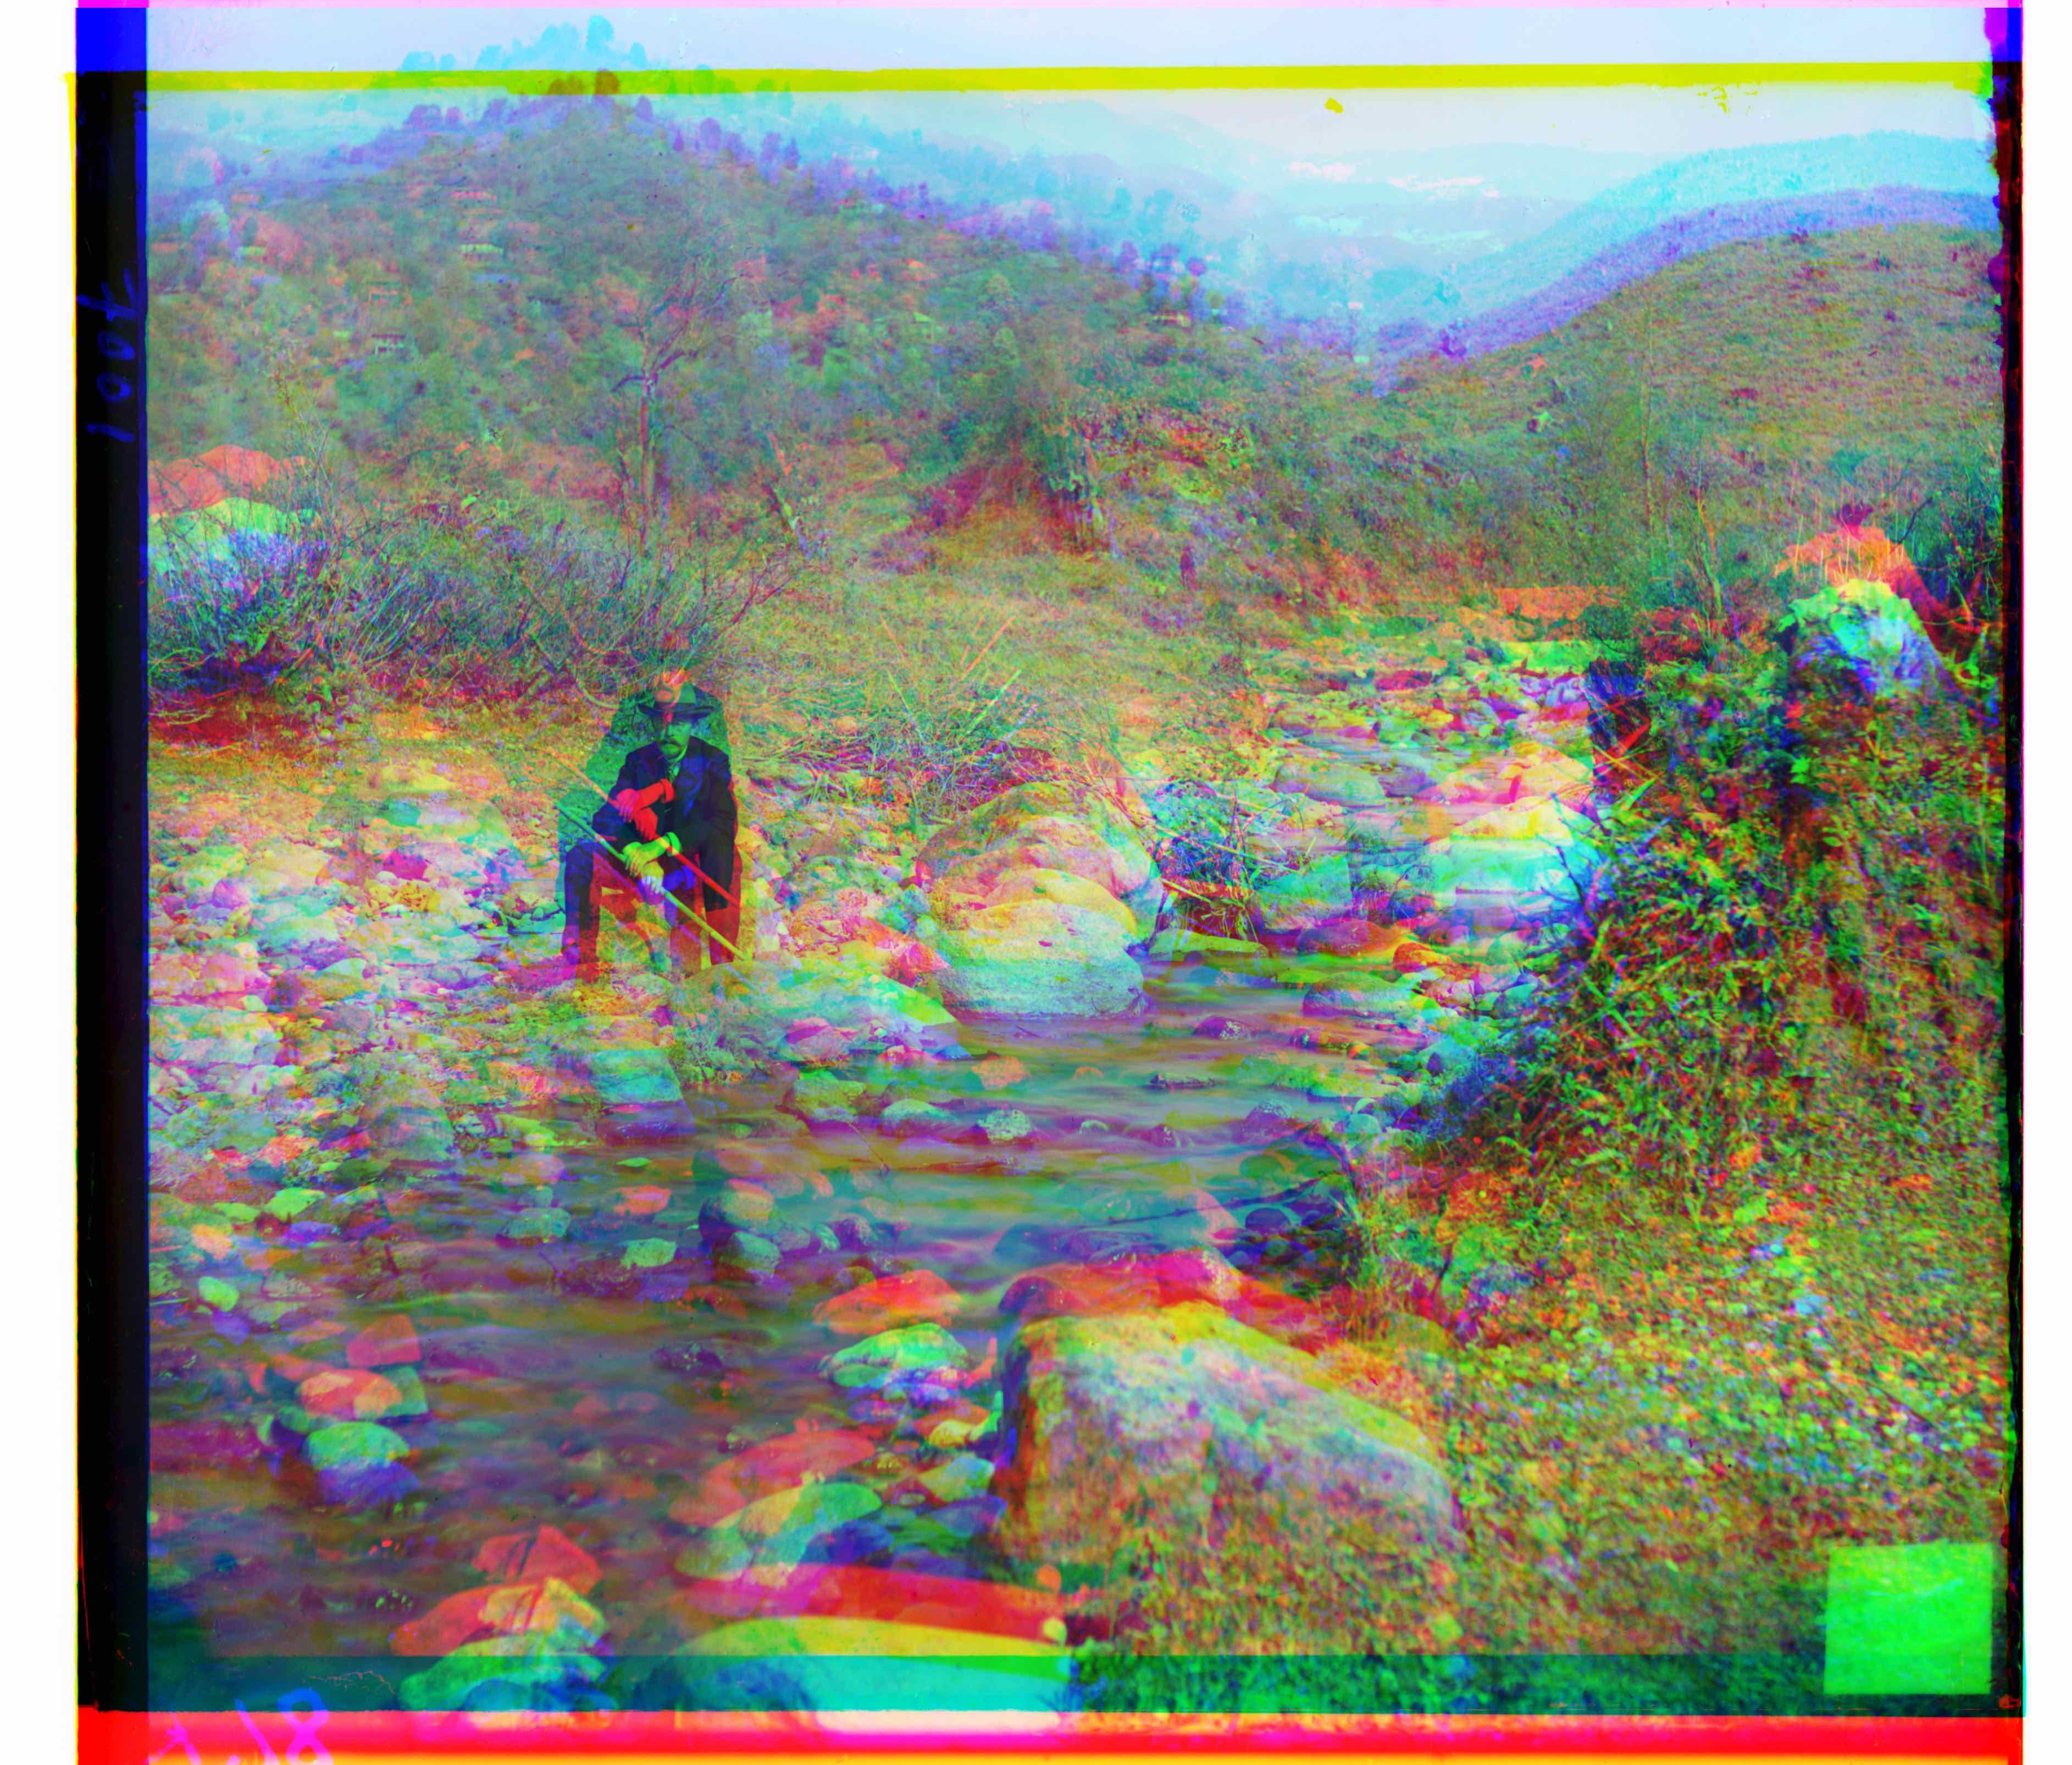
Difference in Color Value
Difference in Edge Feature
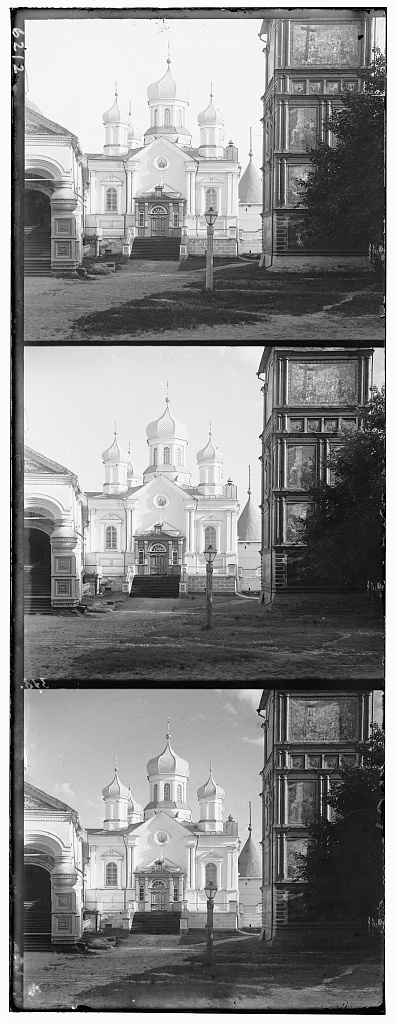
Glass image: Blue, Green and Red
Result Image
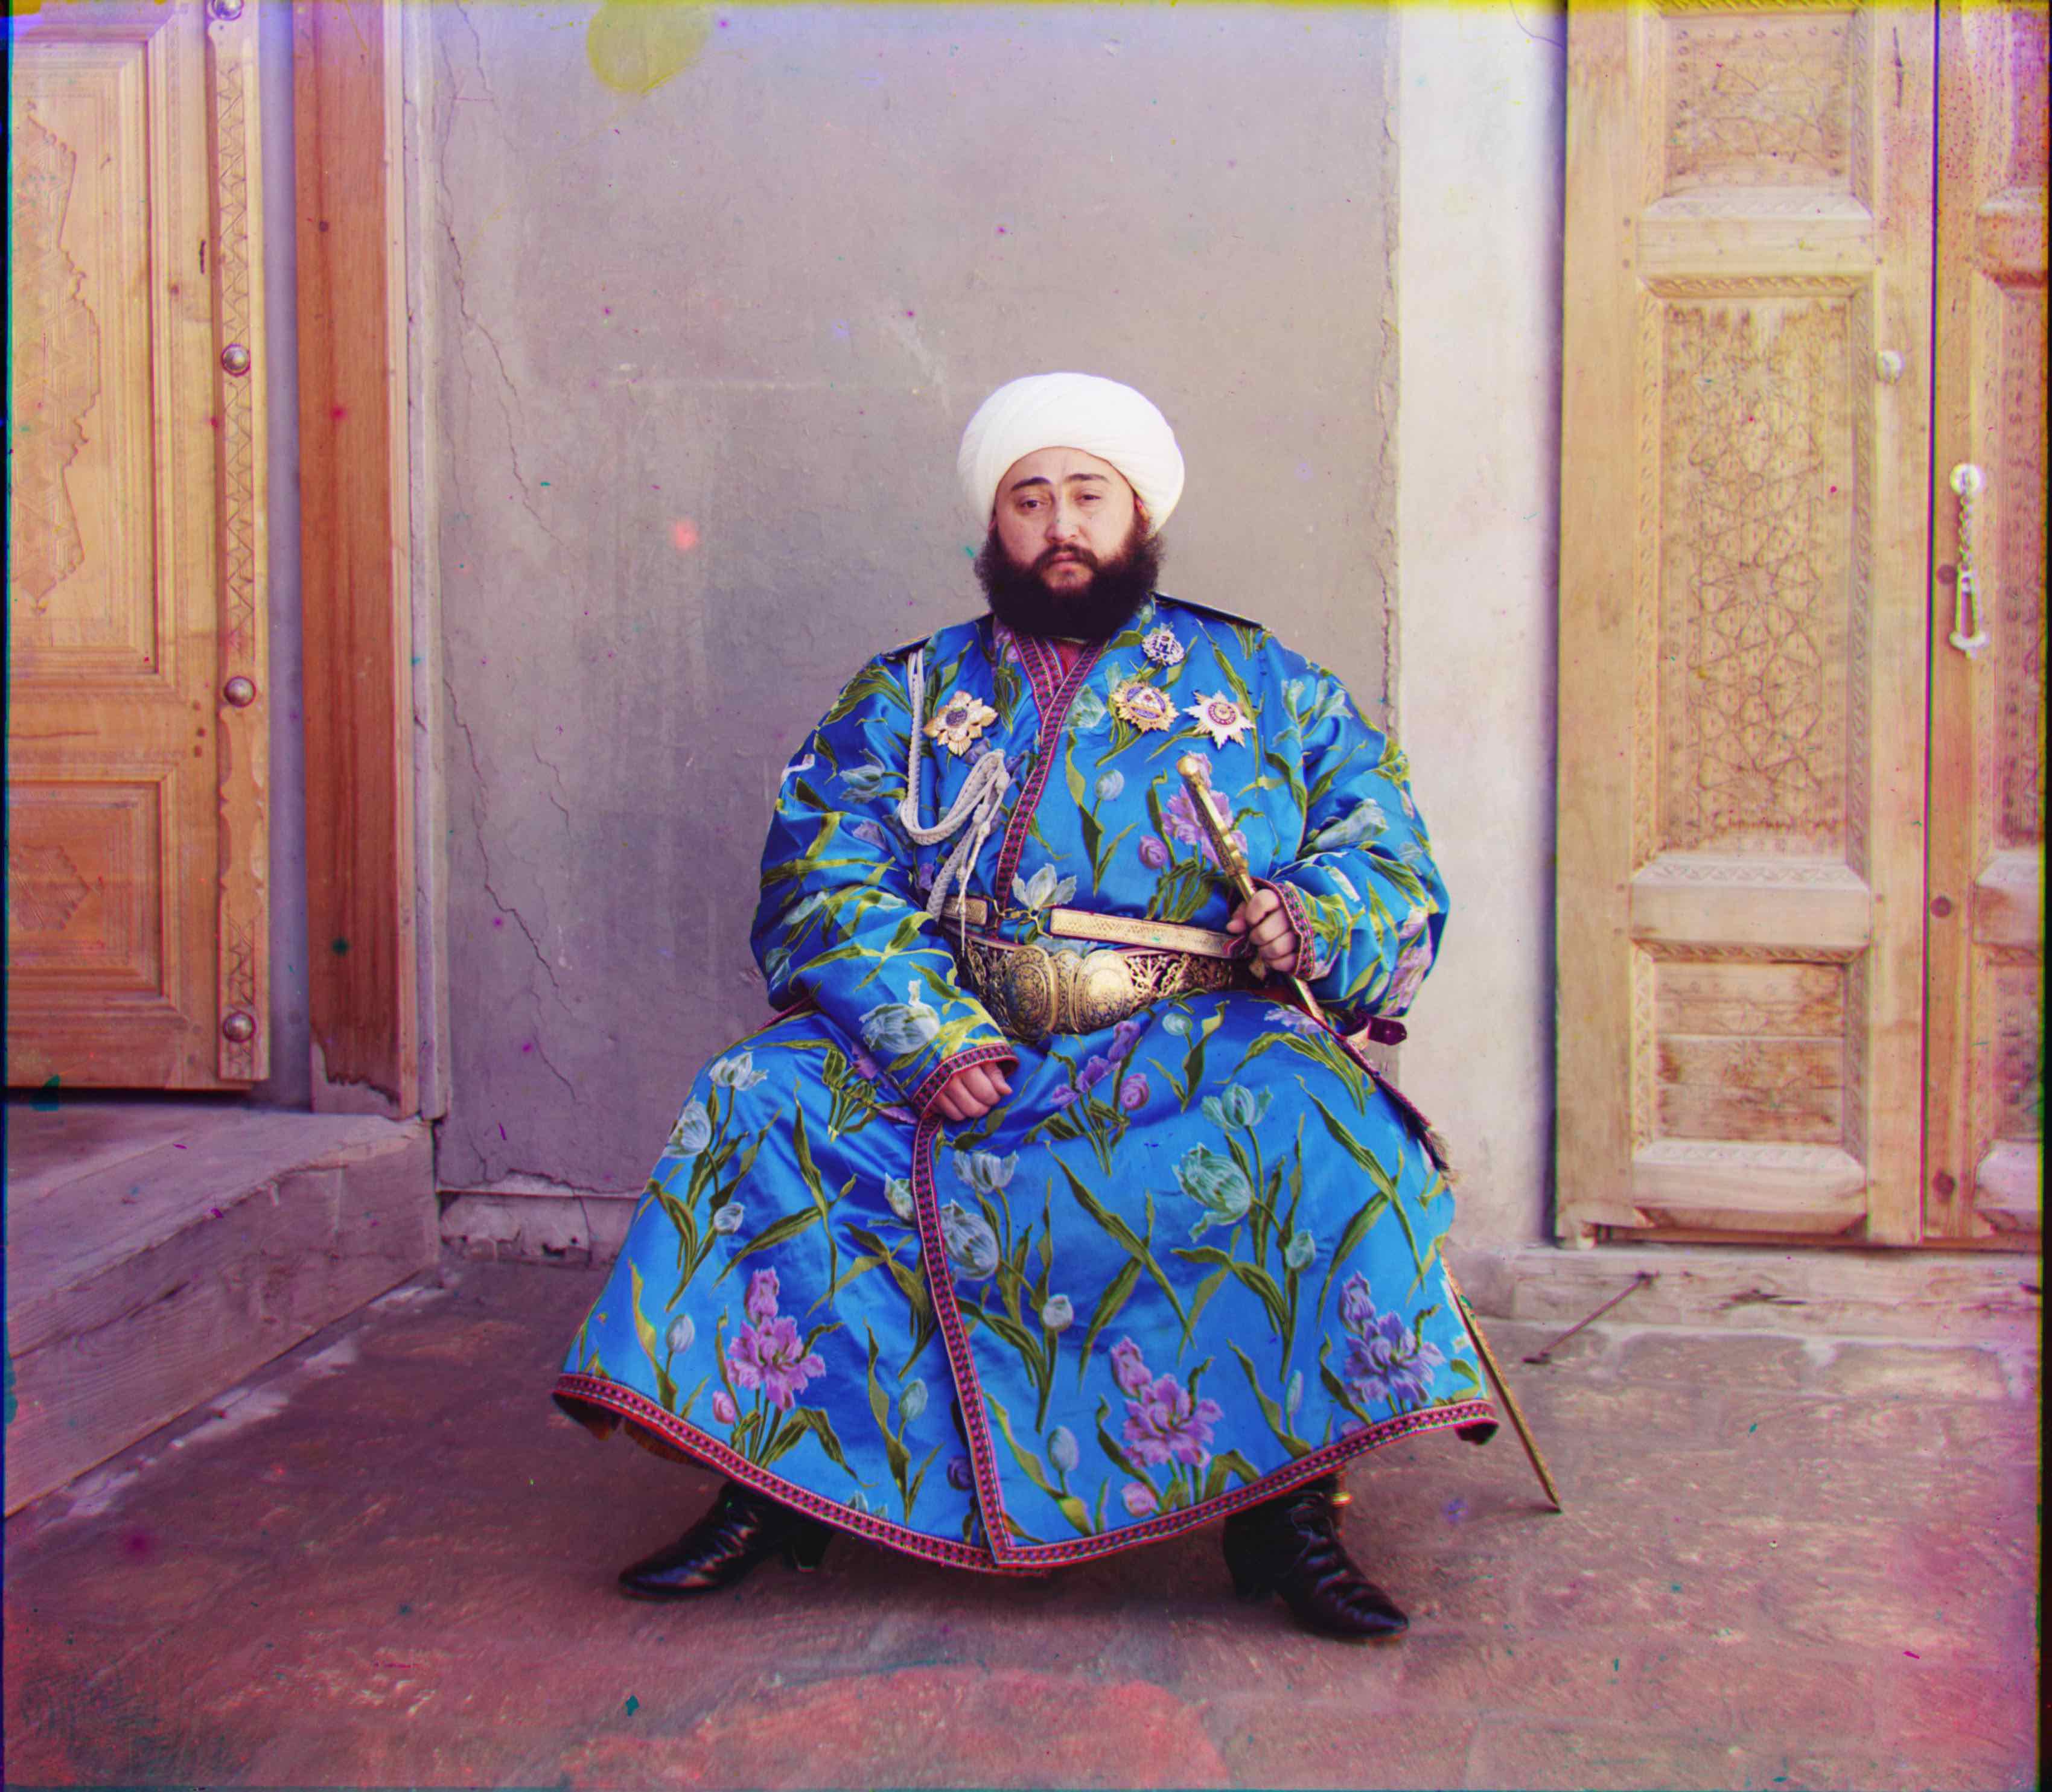
emir.tif
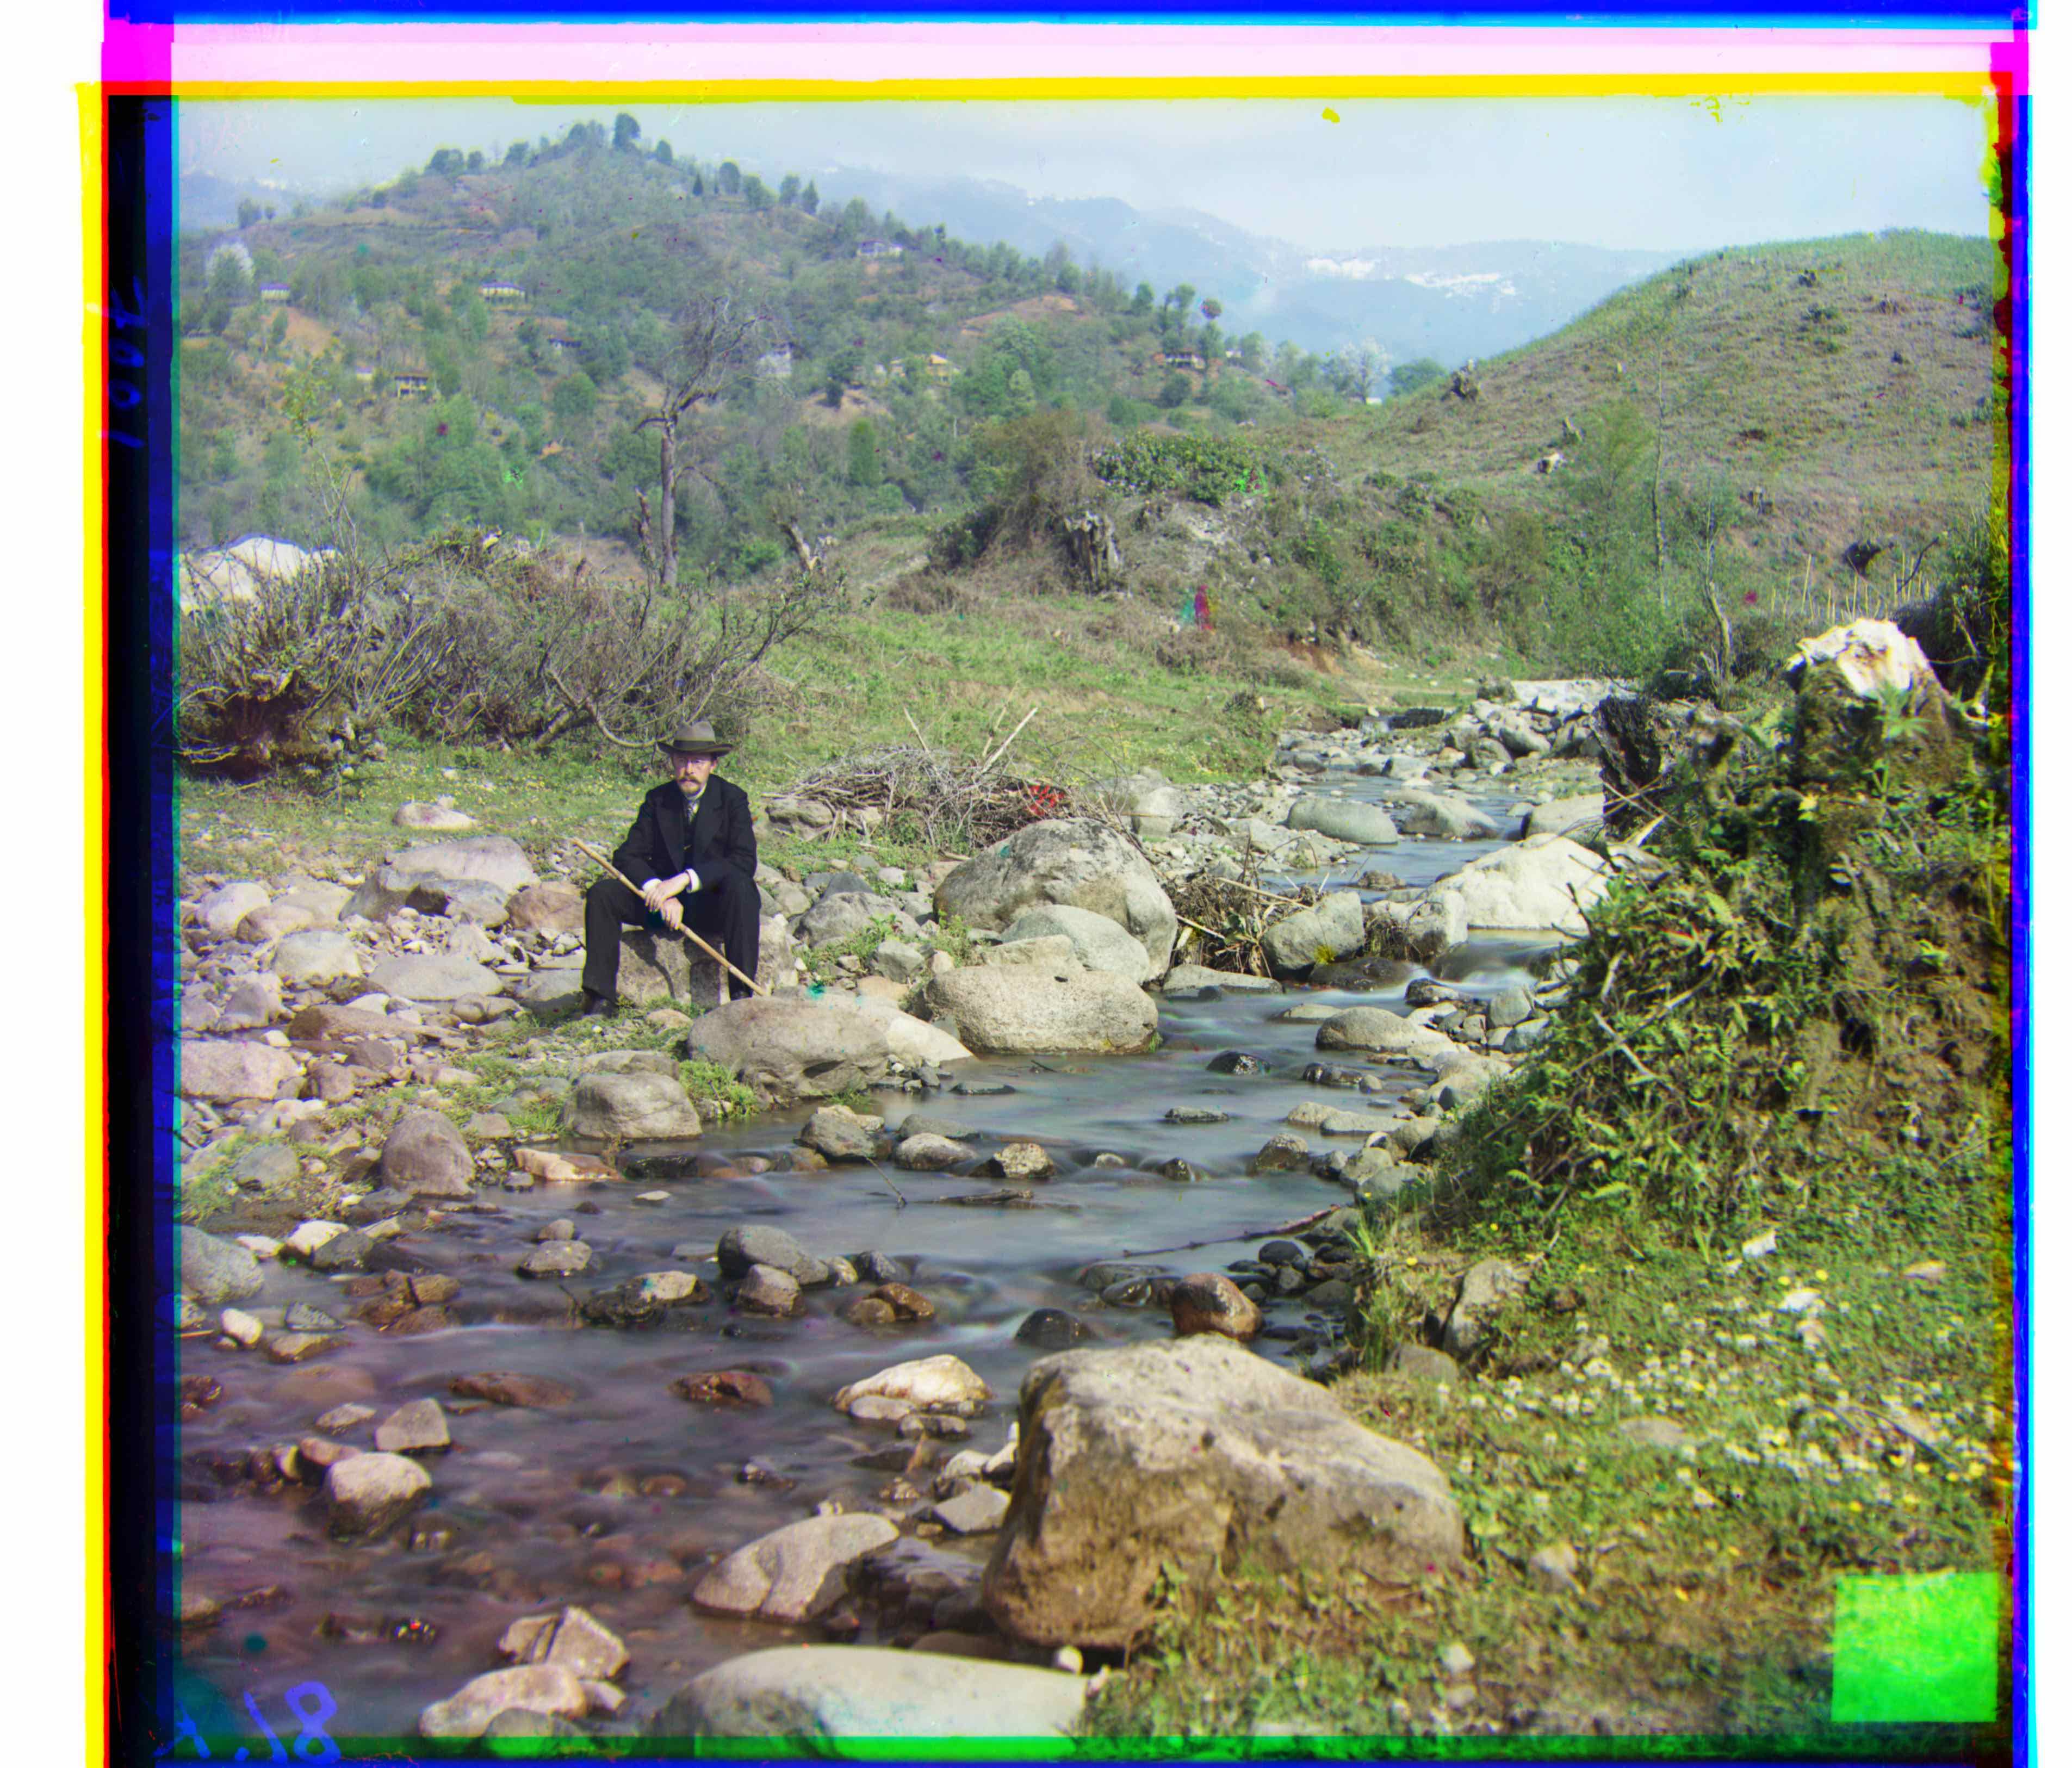
self portrait.tif
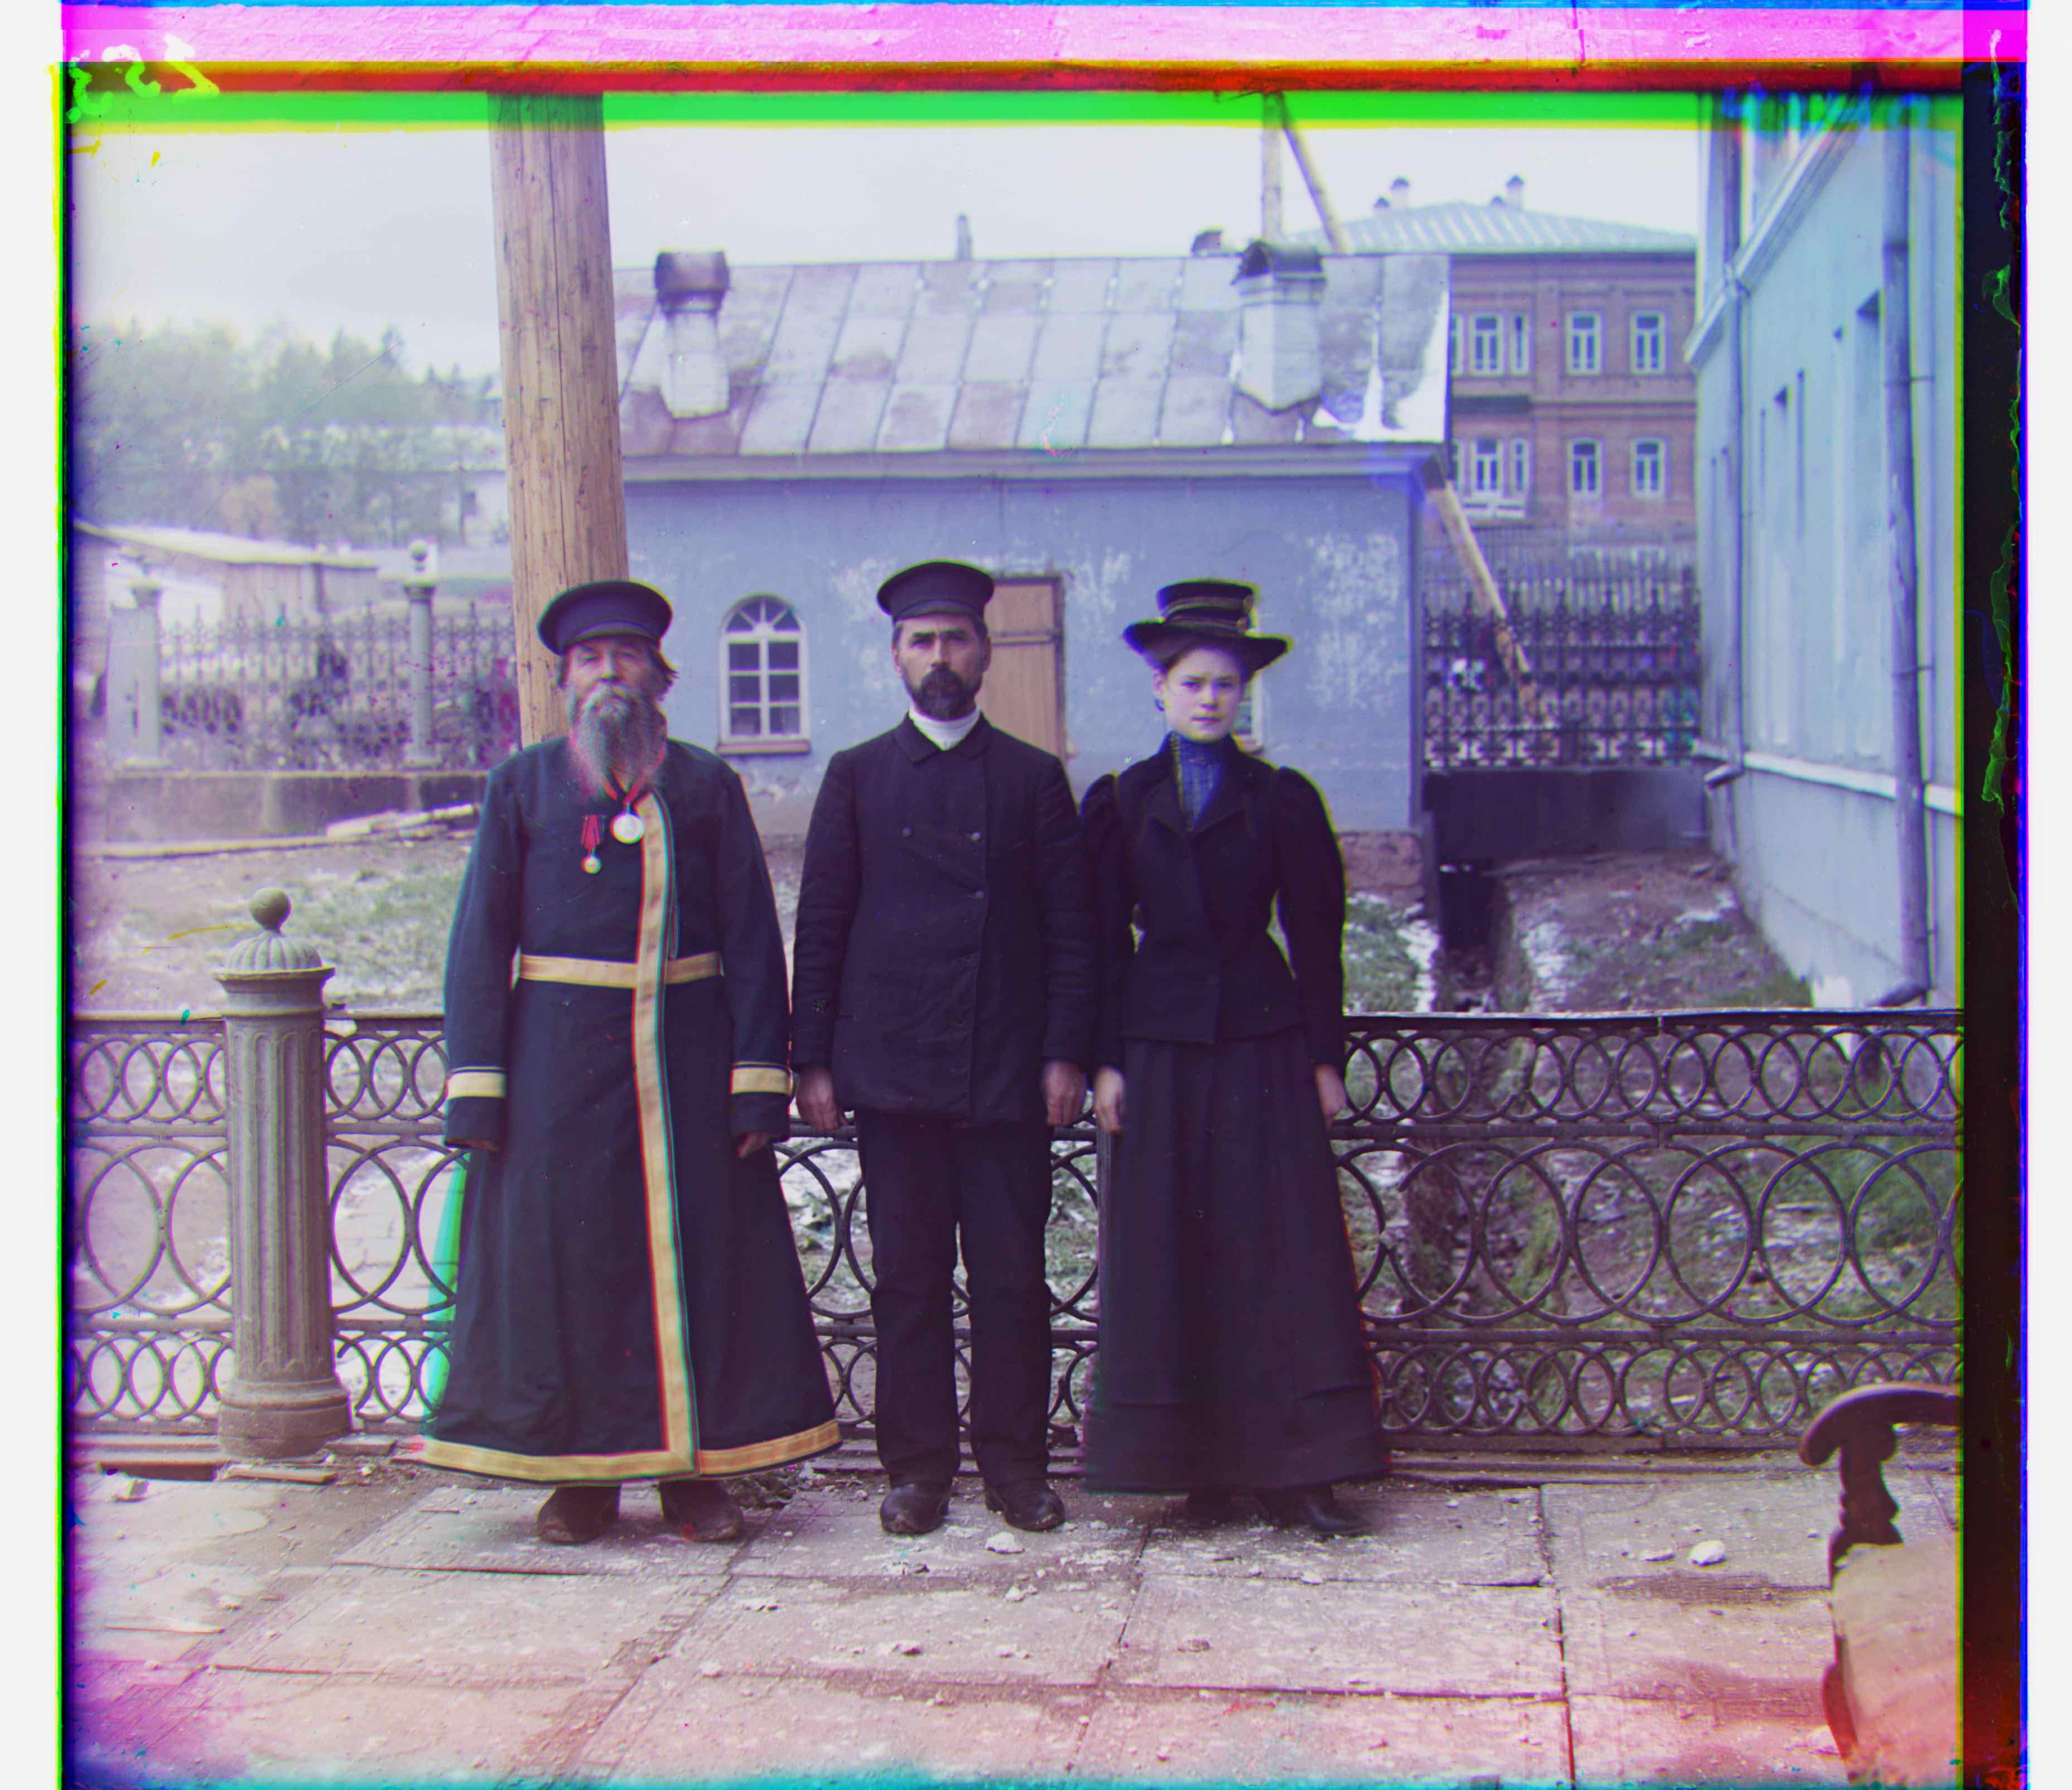
three generations.tif
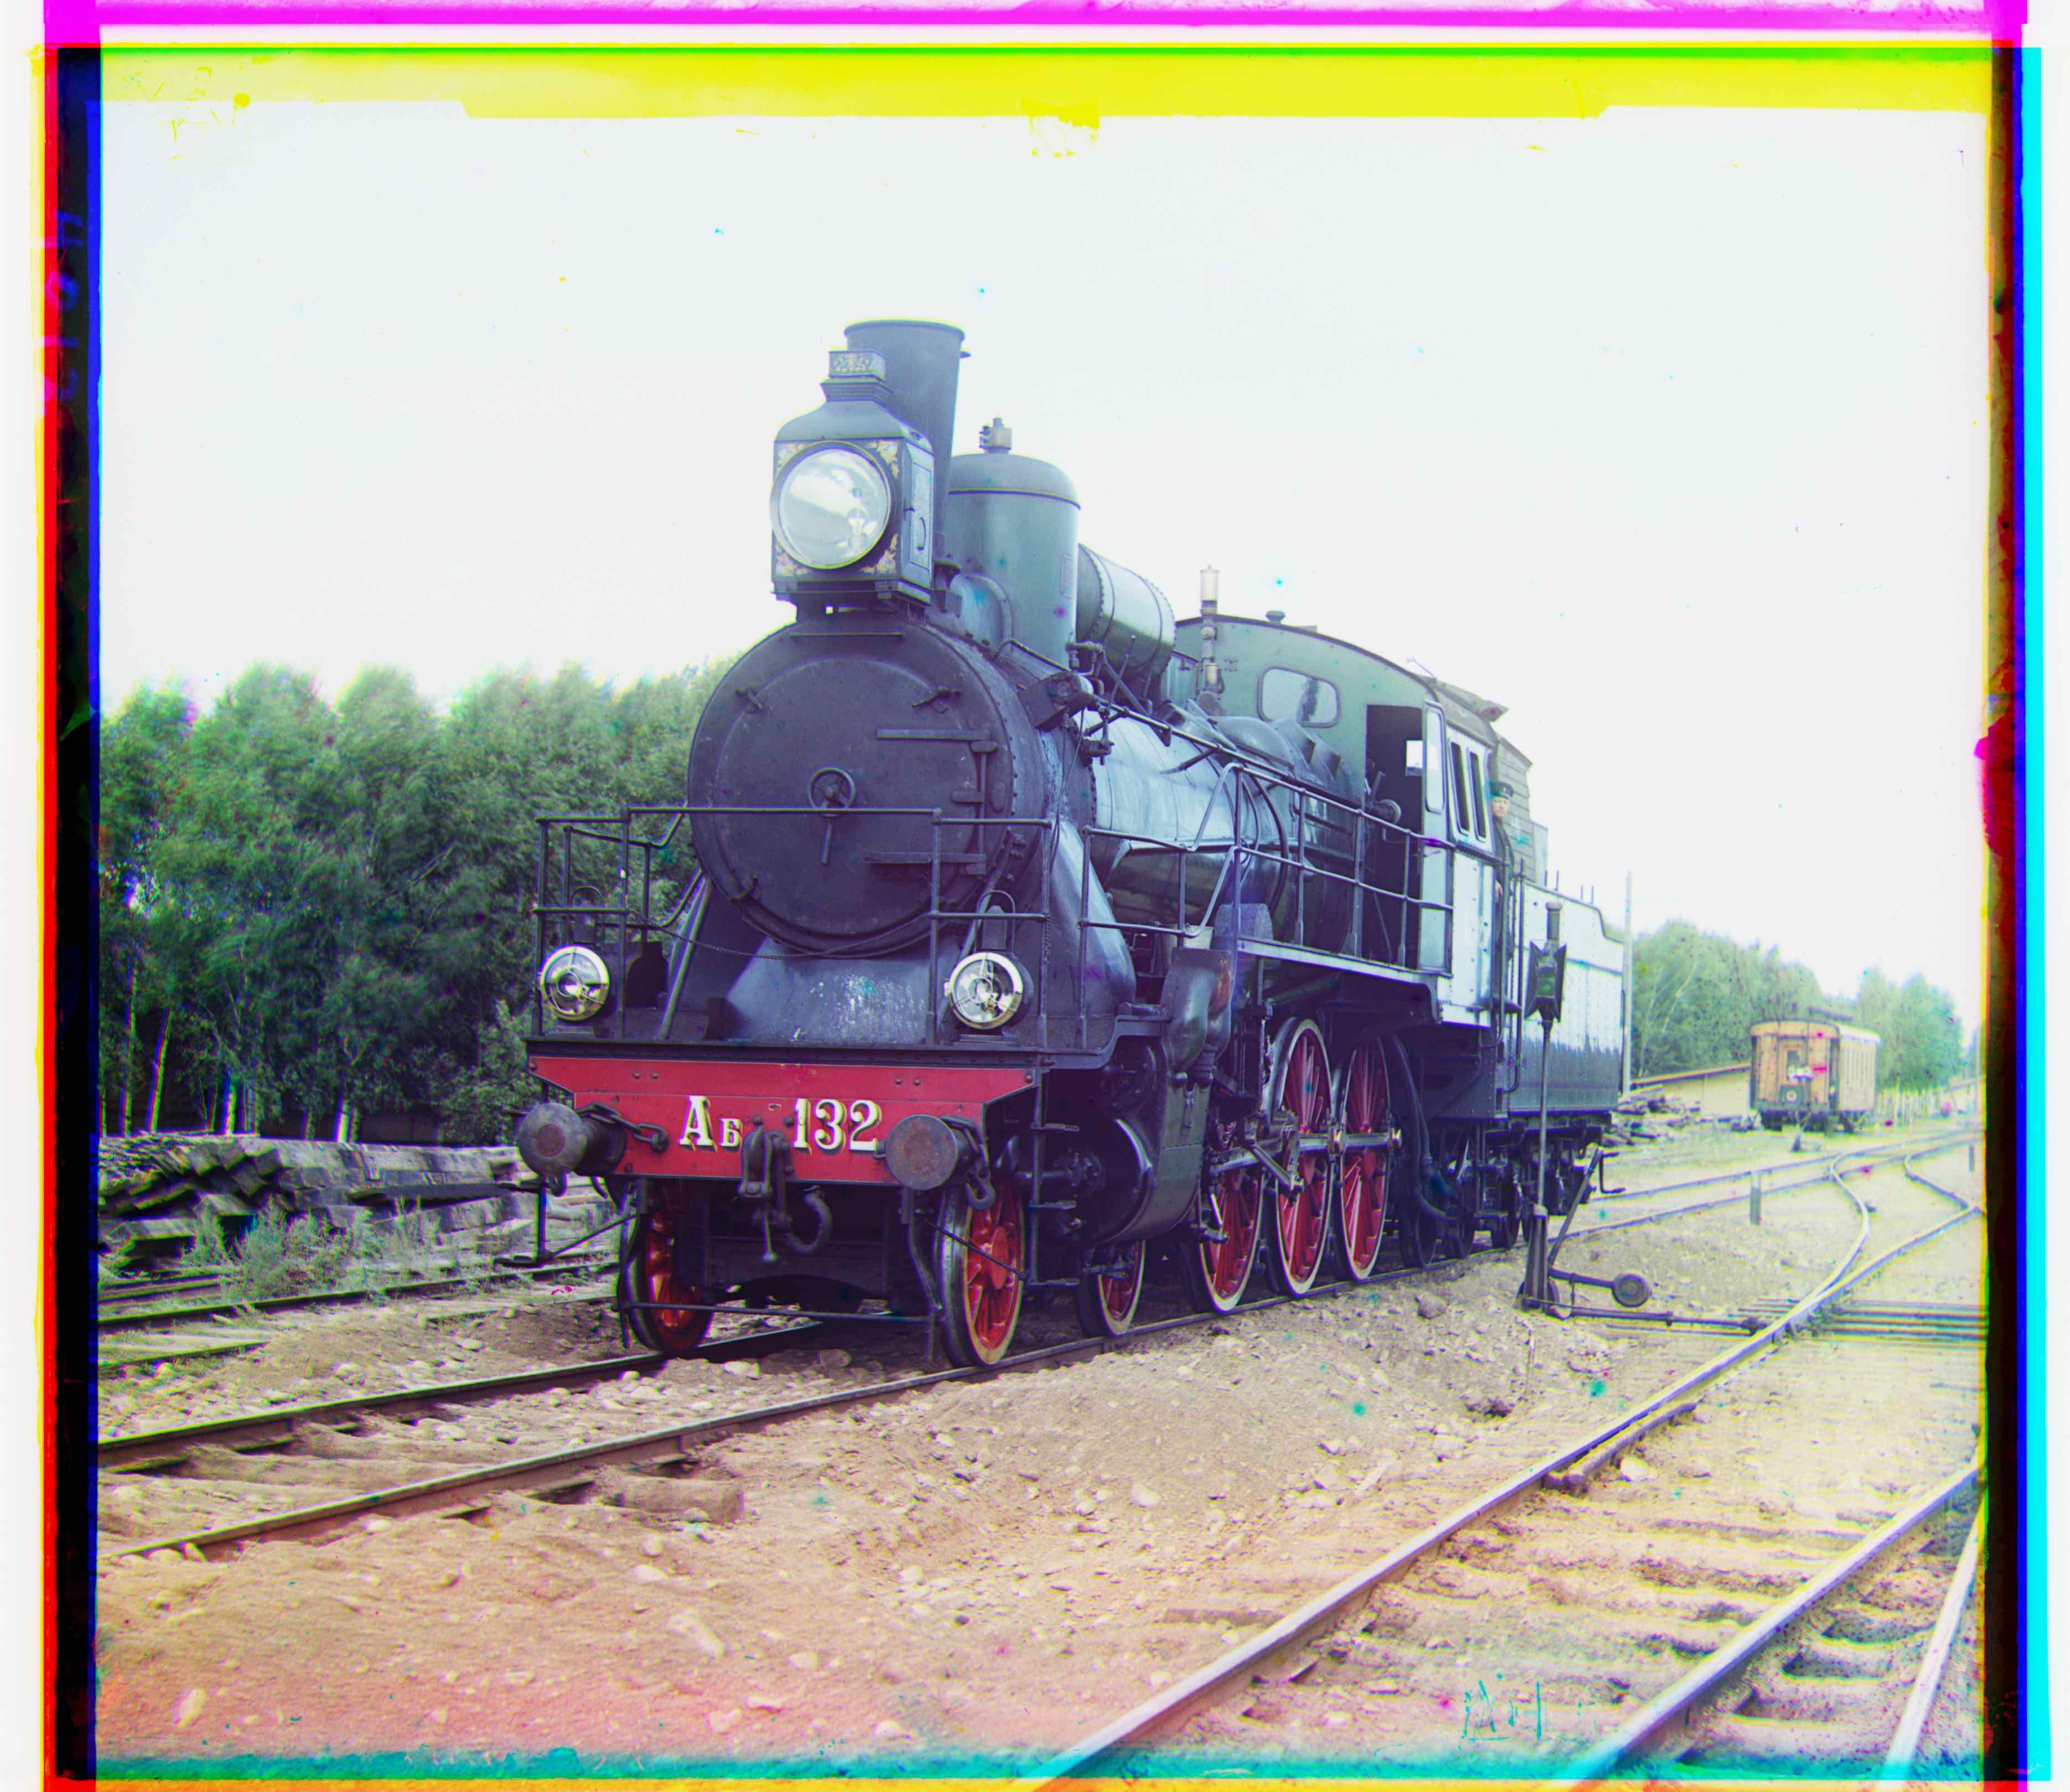
train.tif
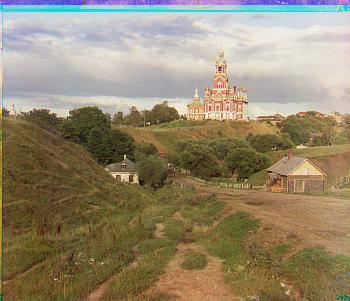
village.tif
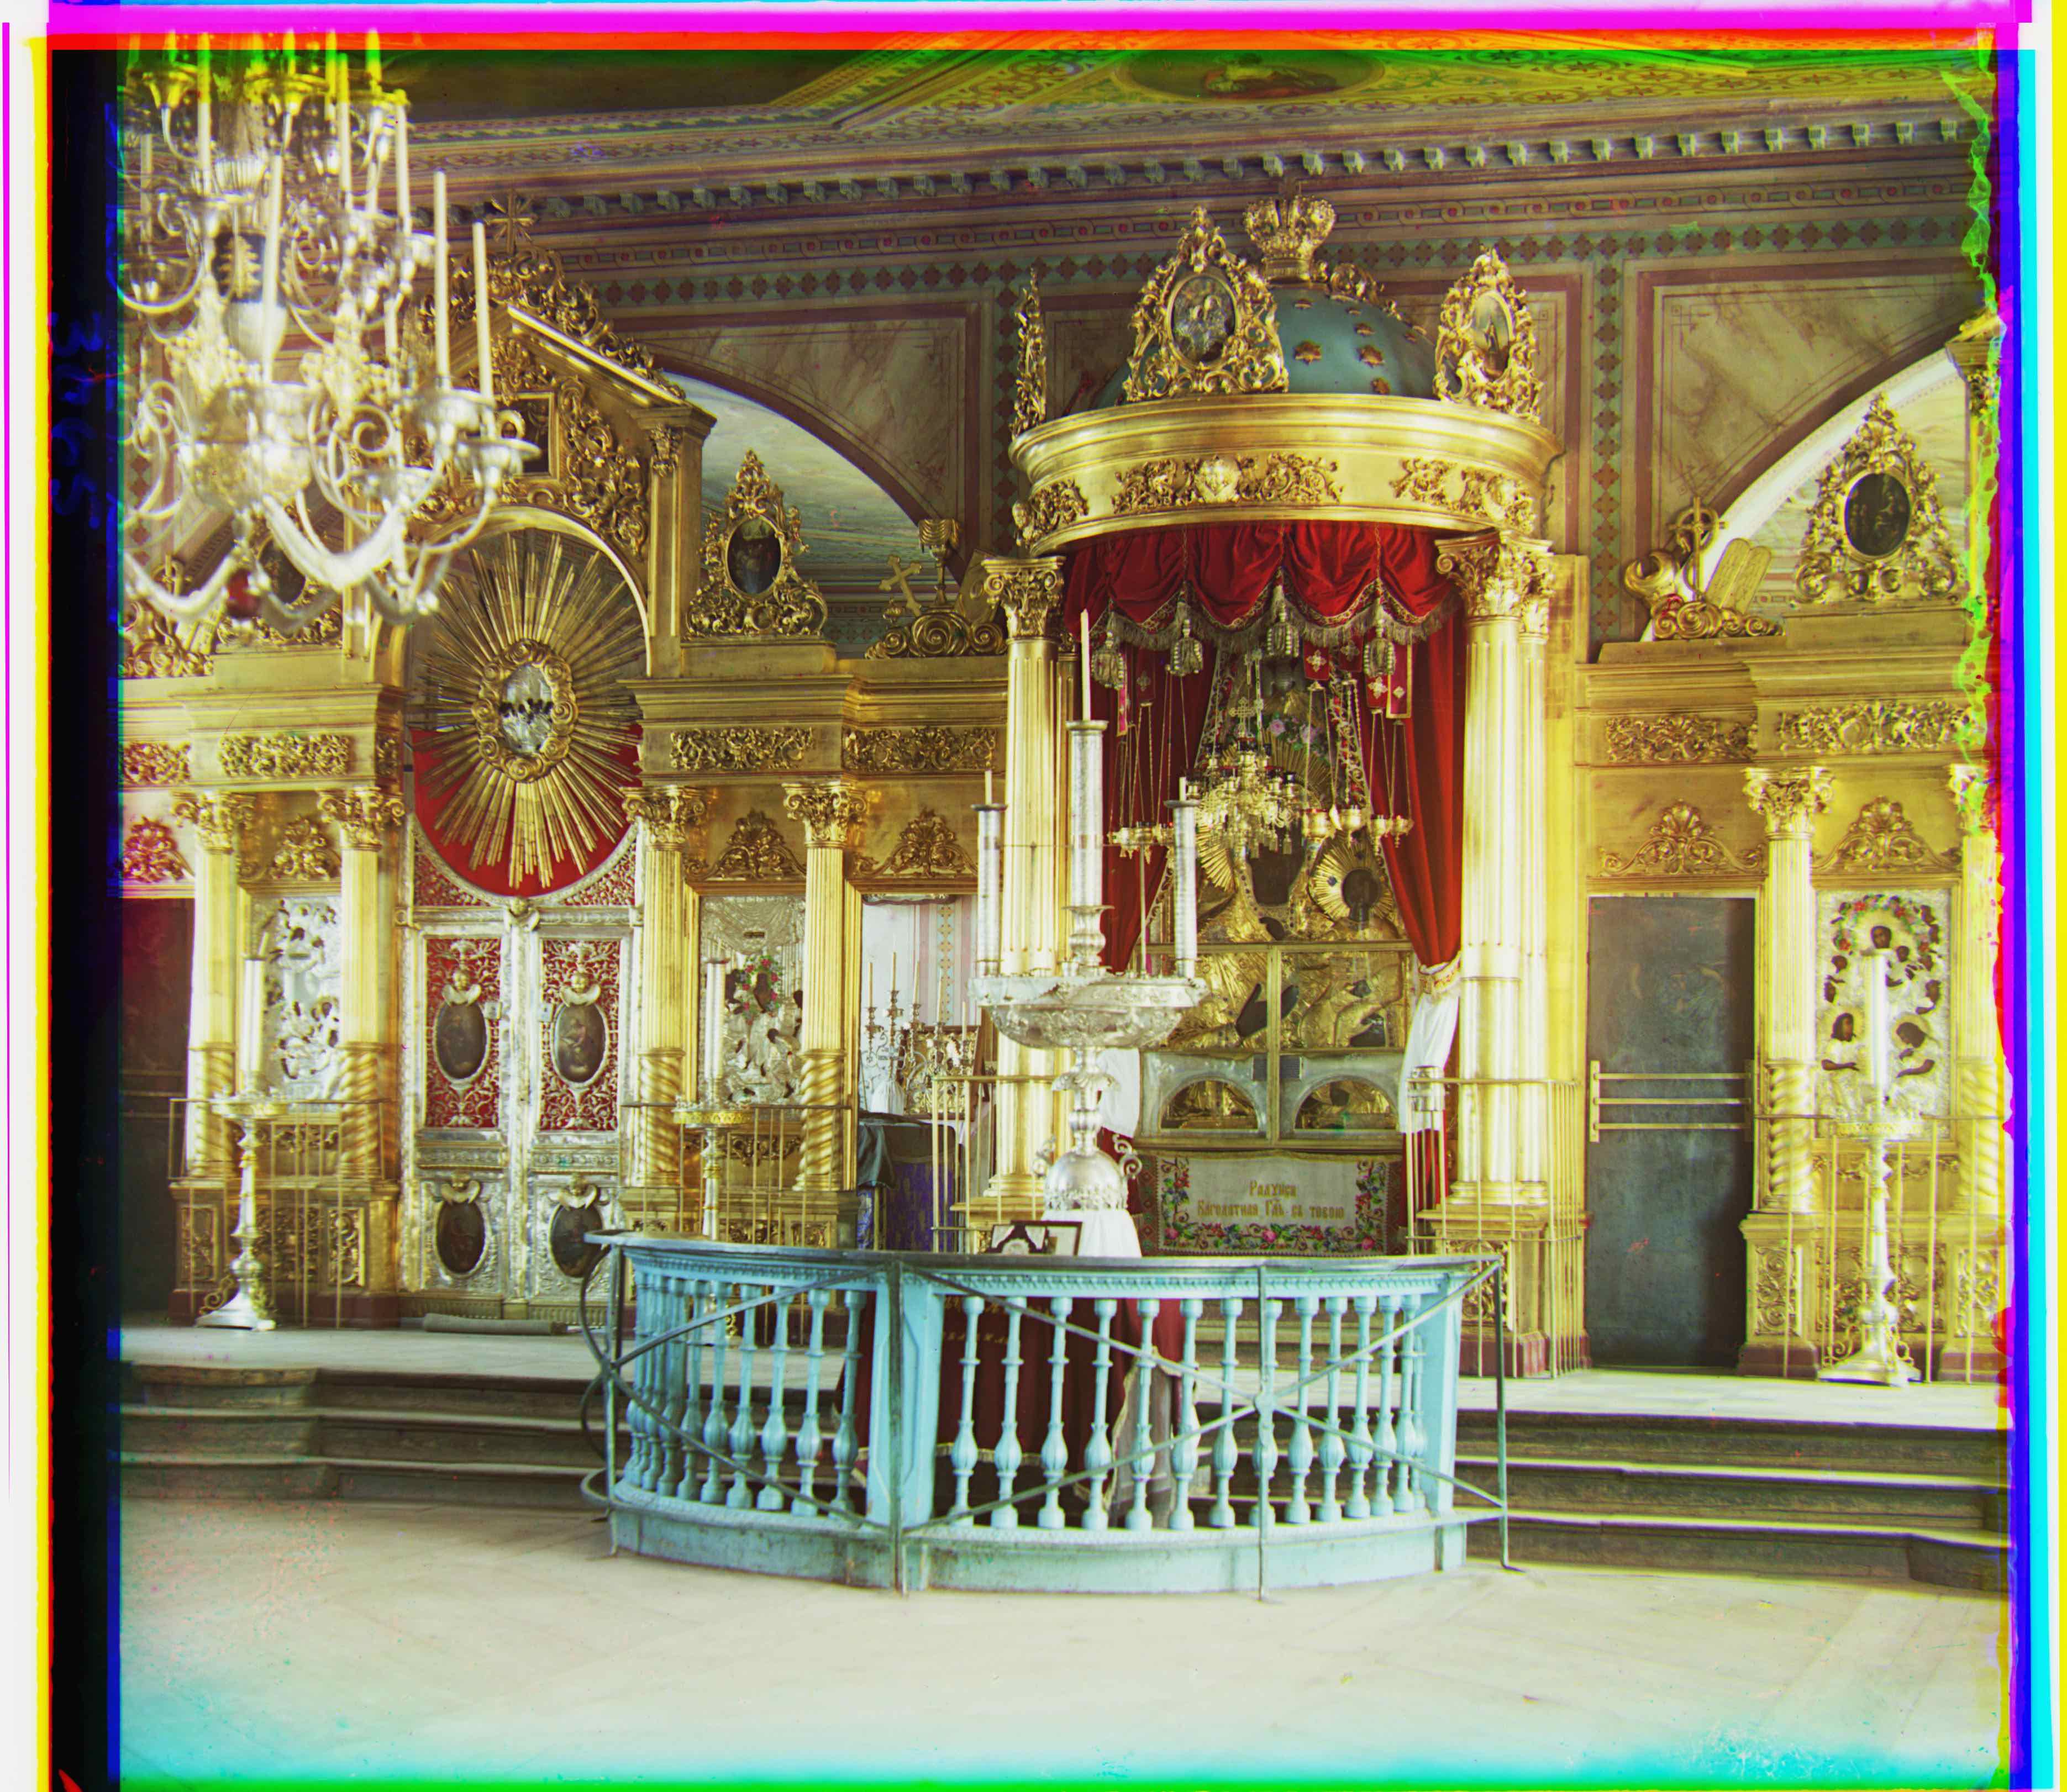
icon.tif
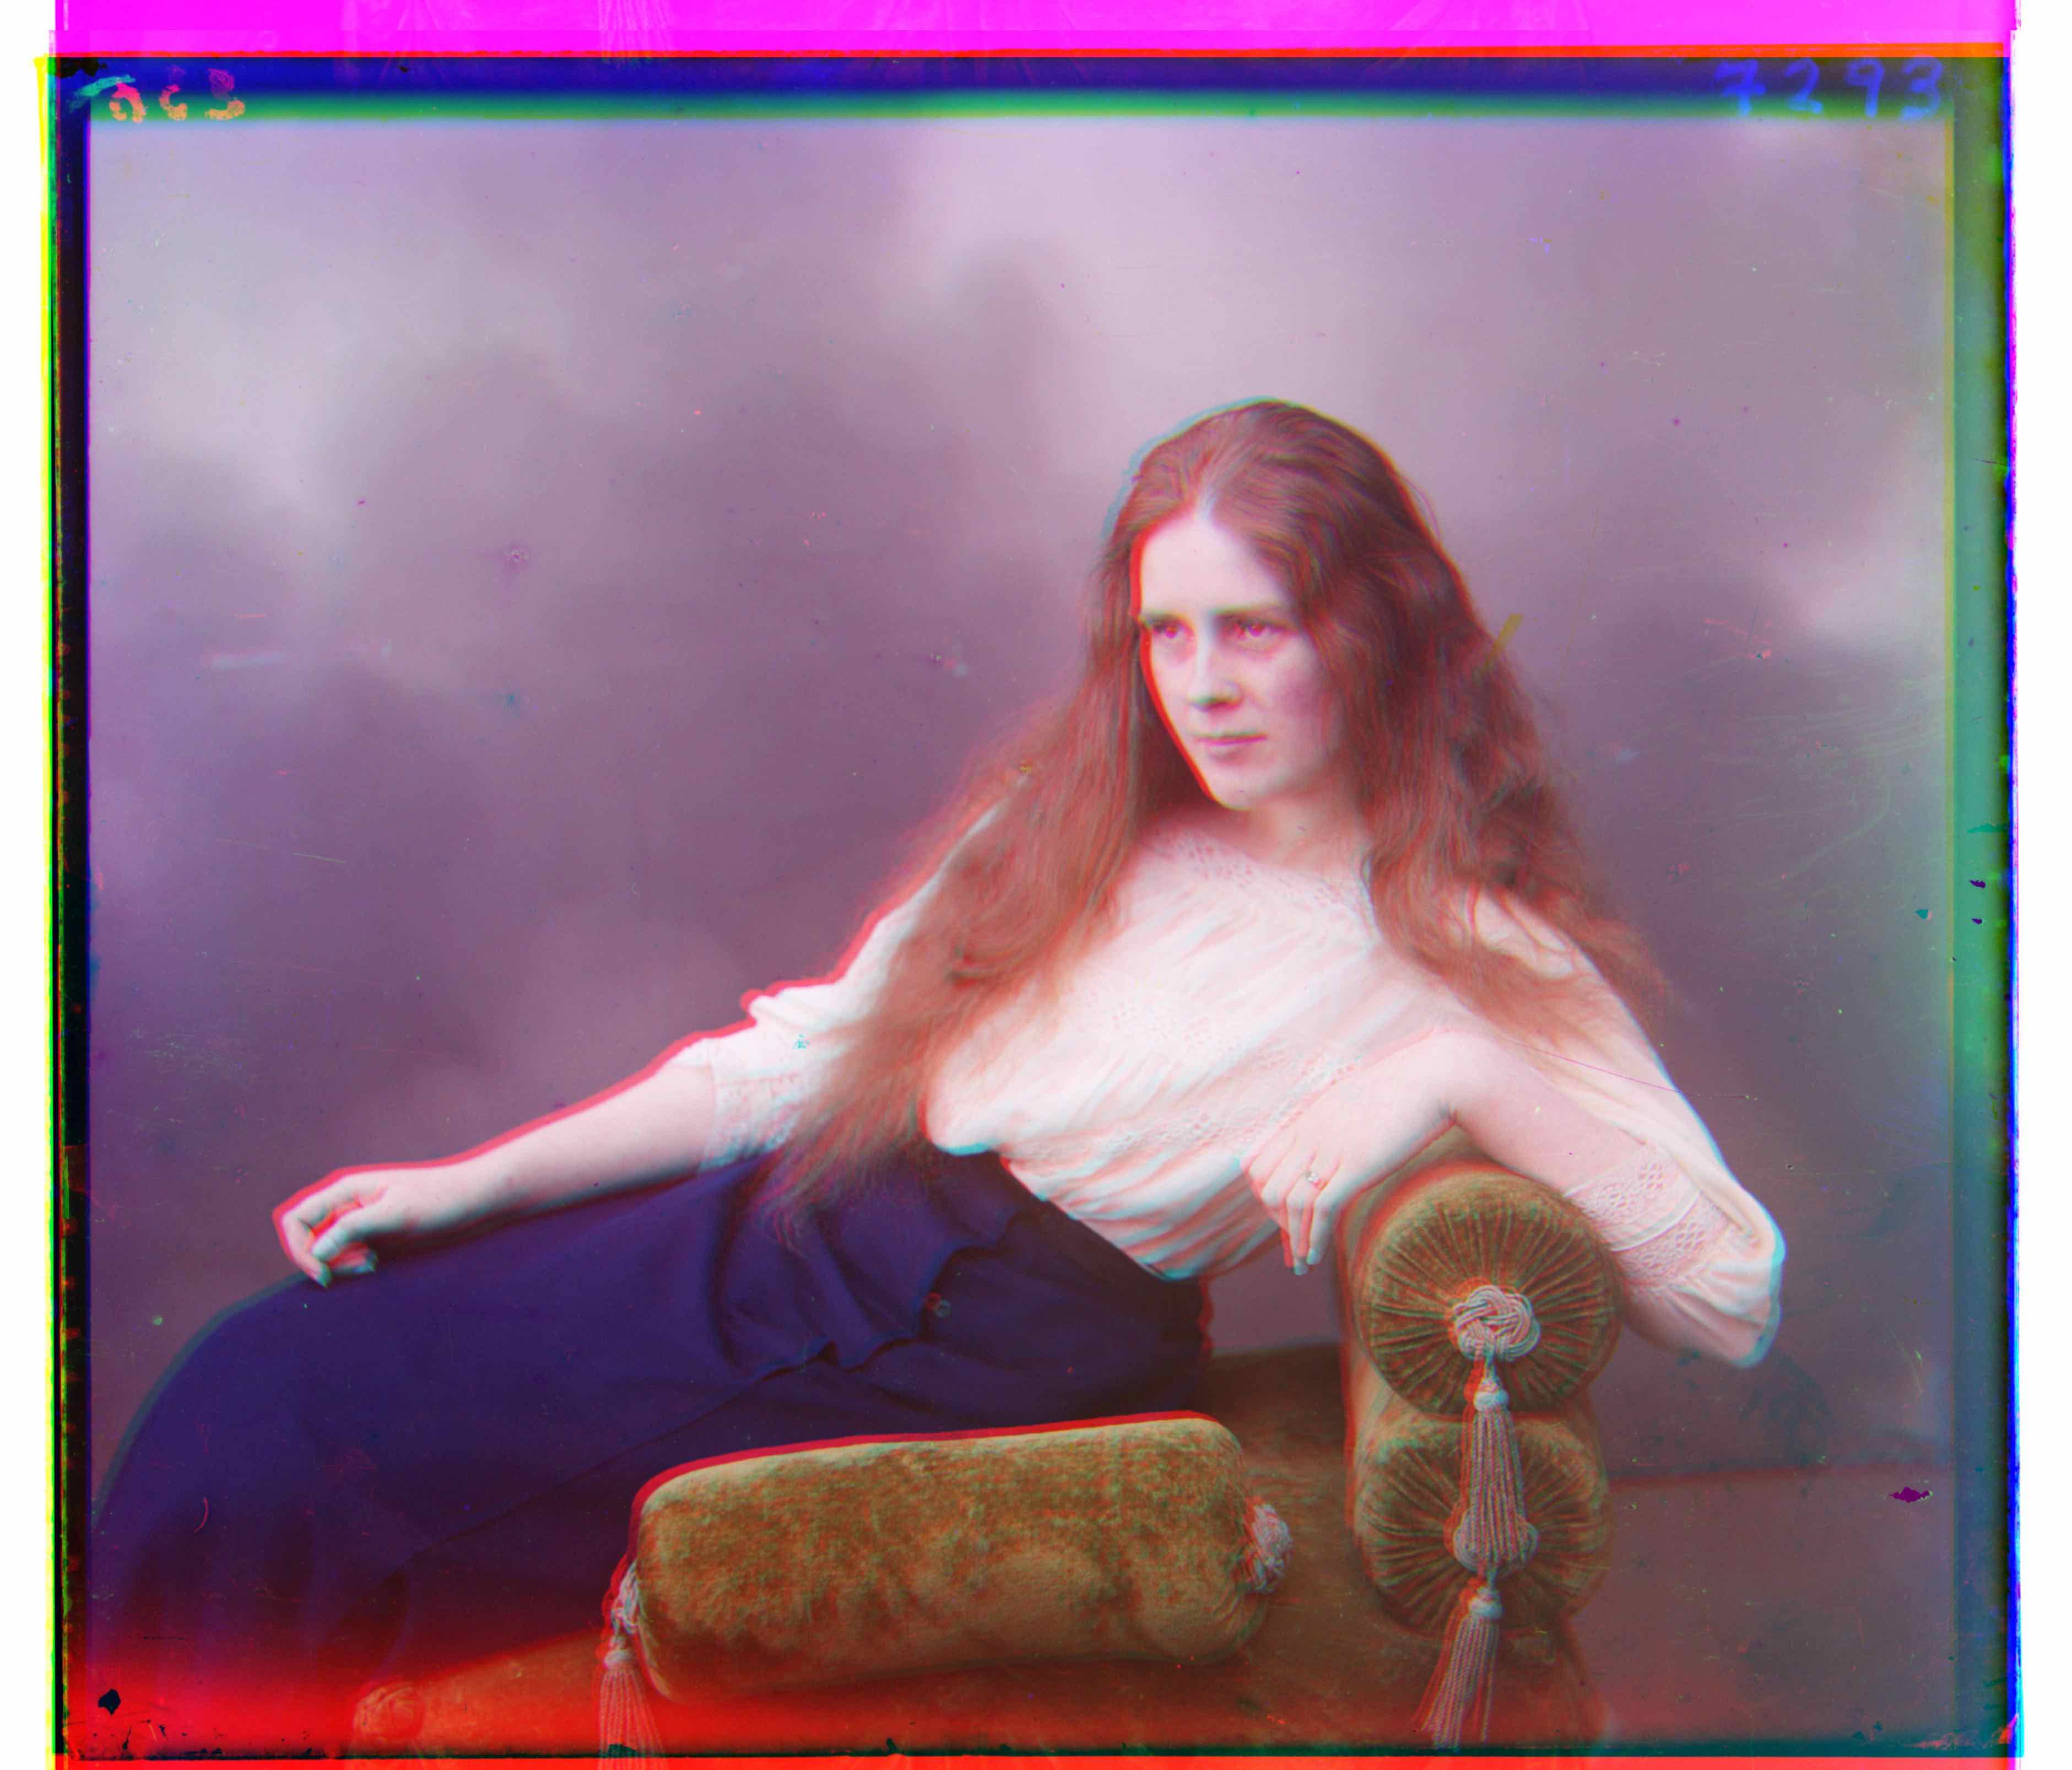
lady.tif
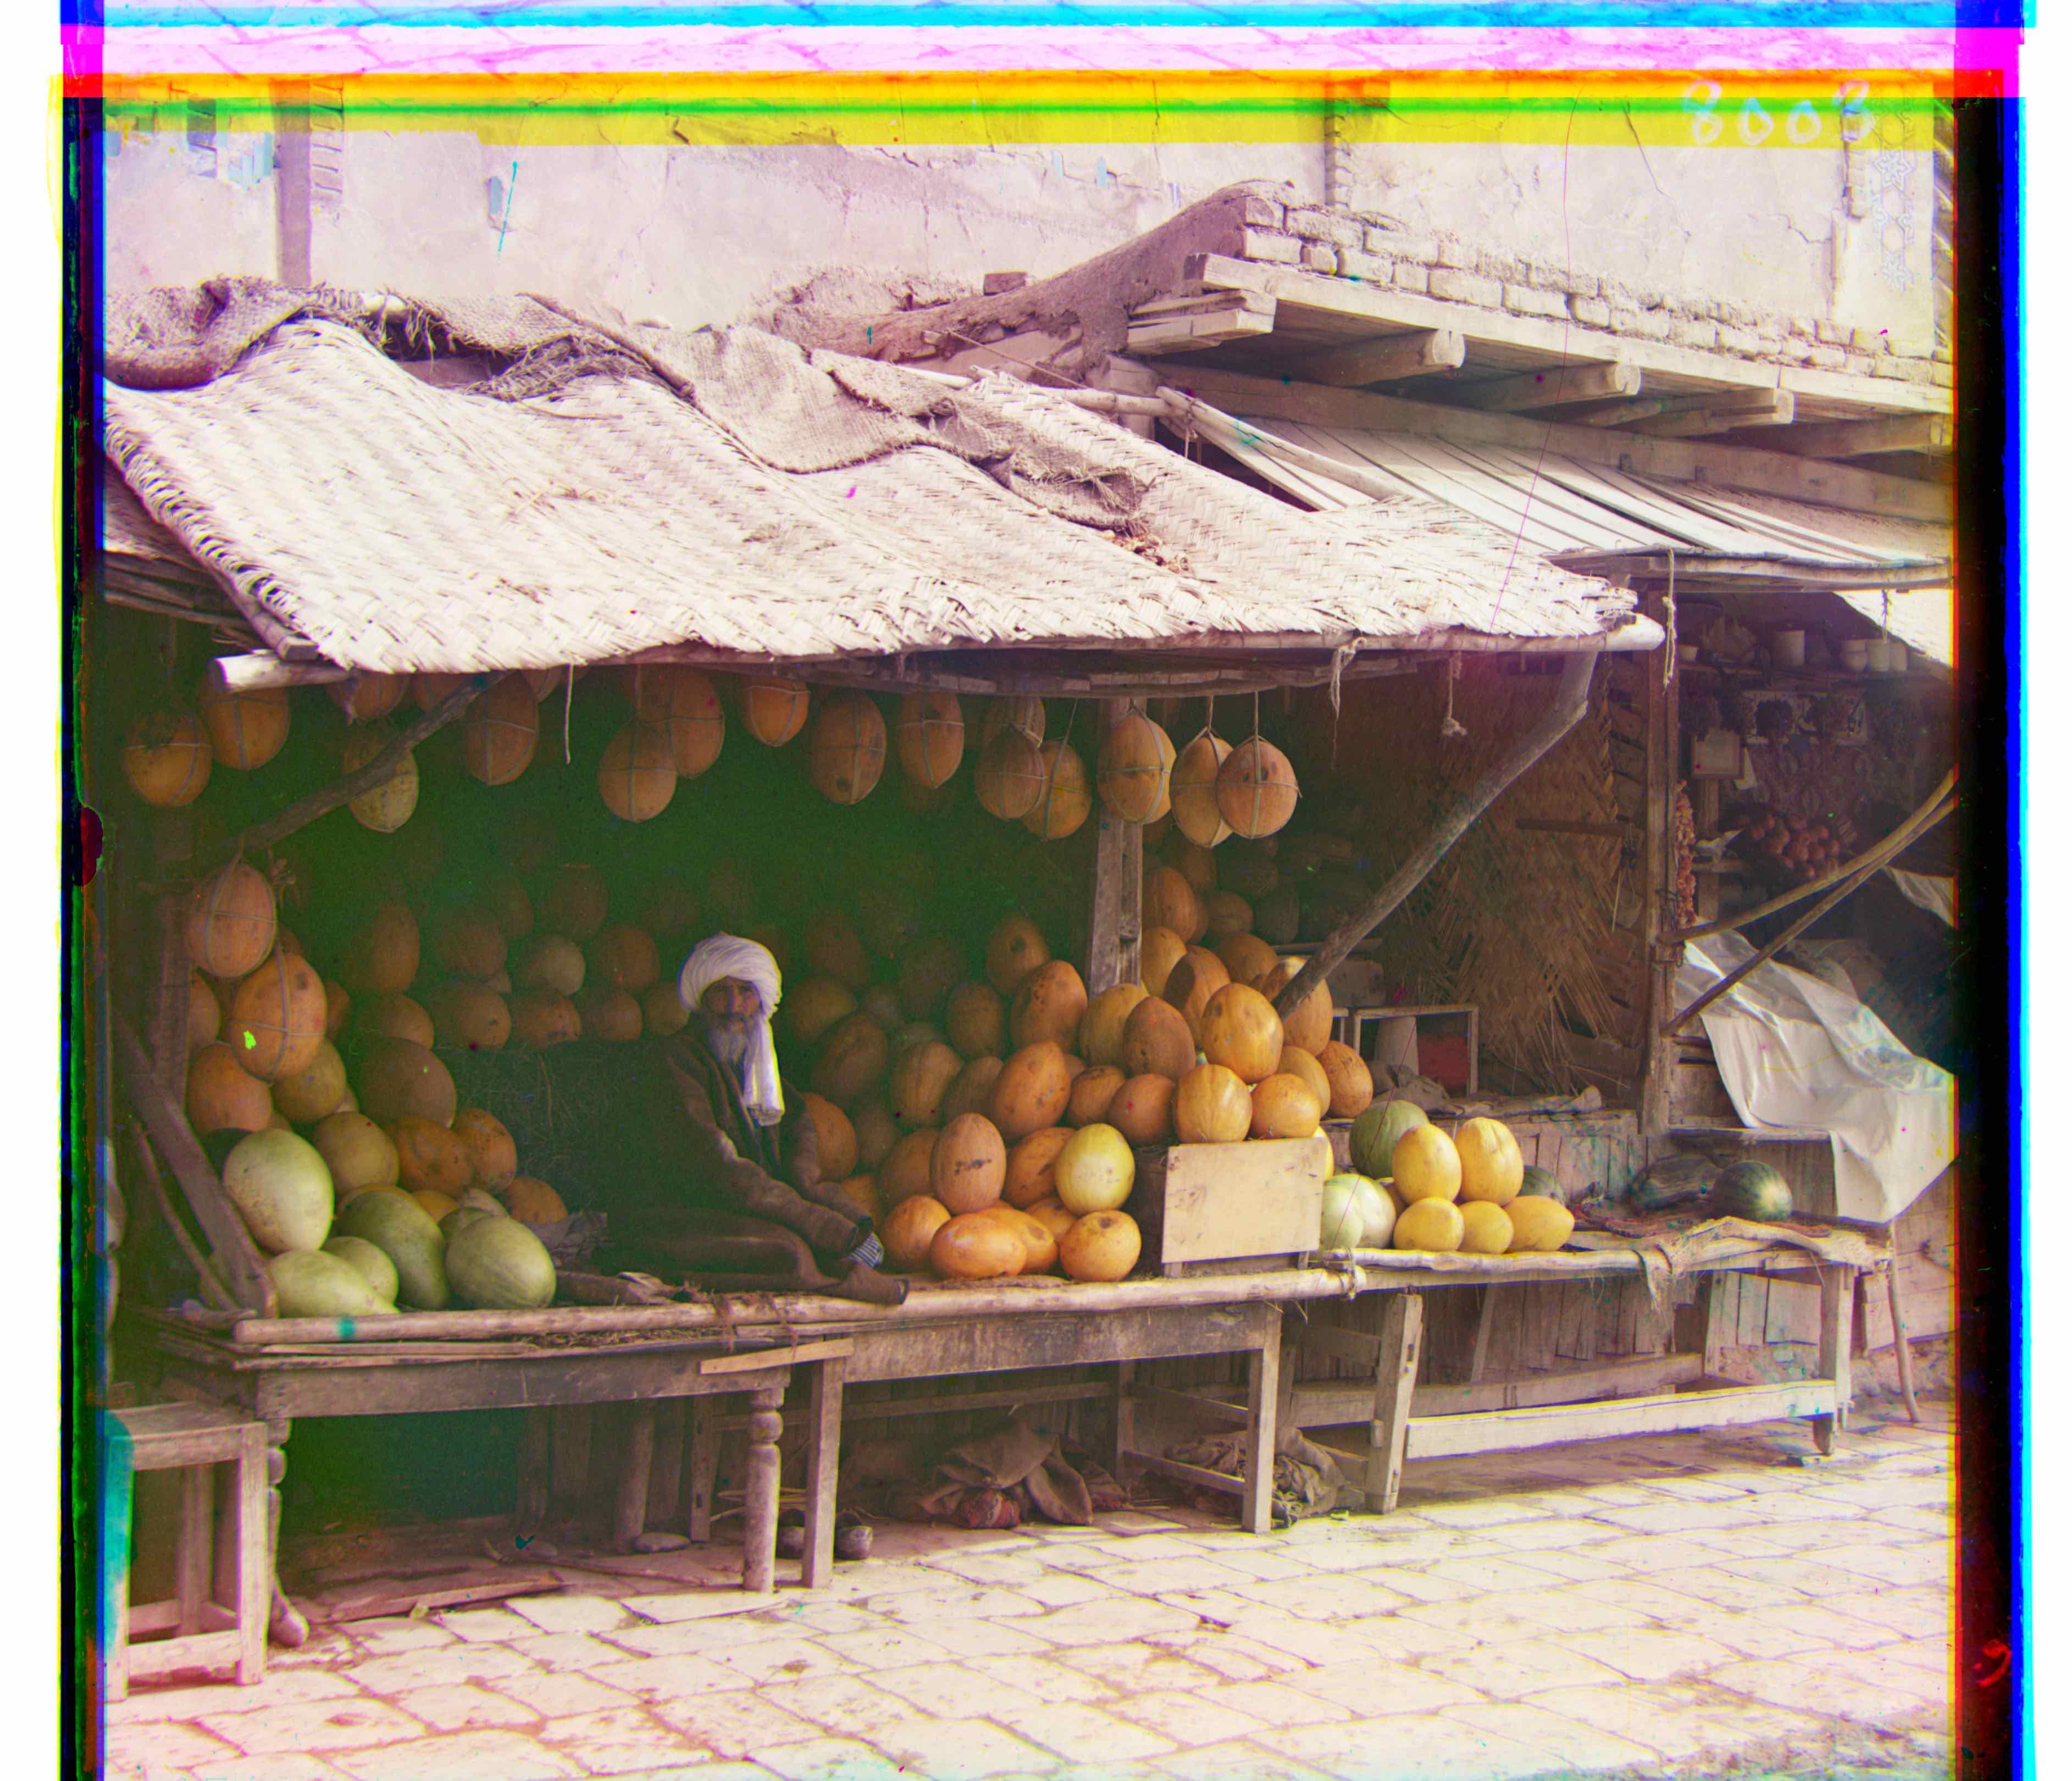
melons.tif
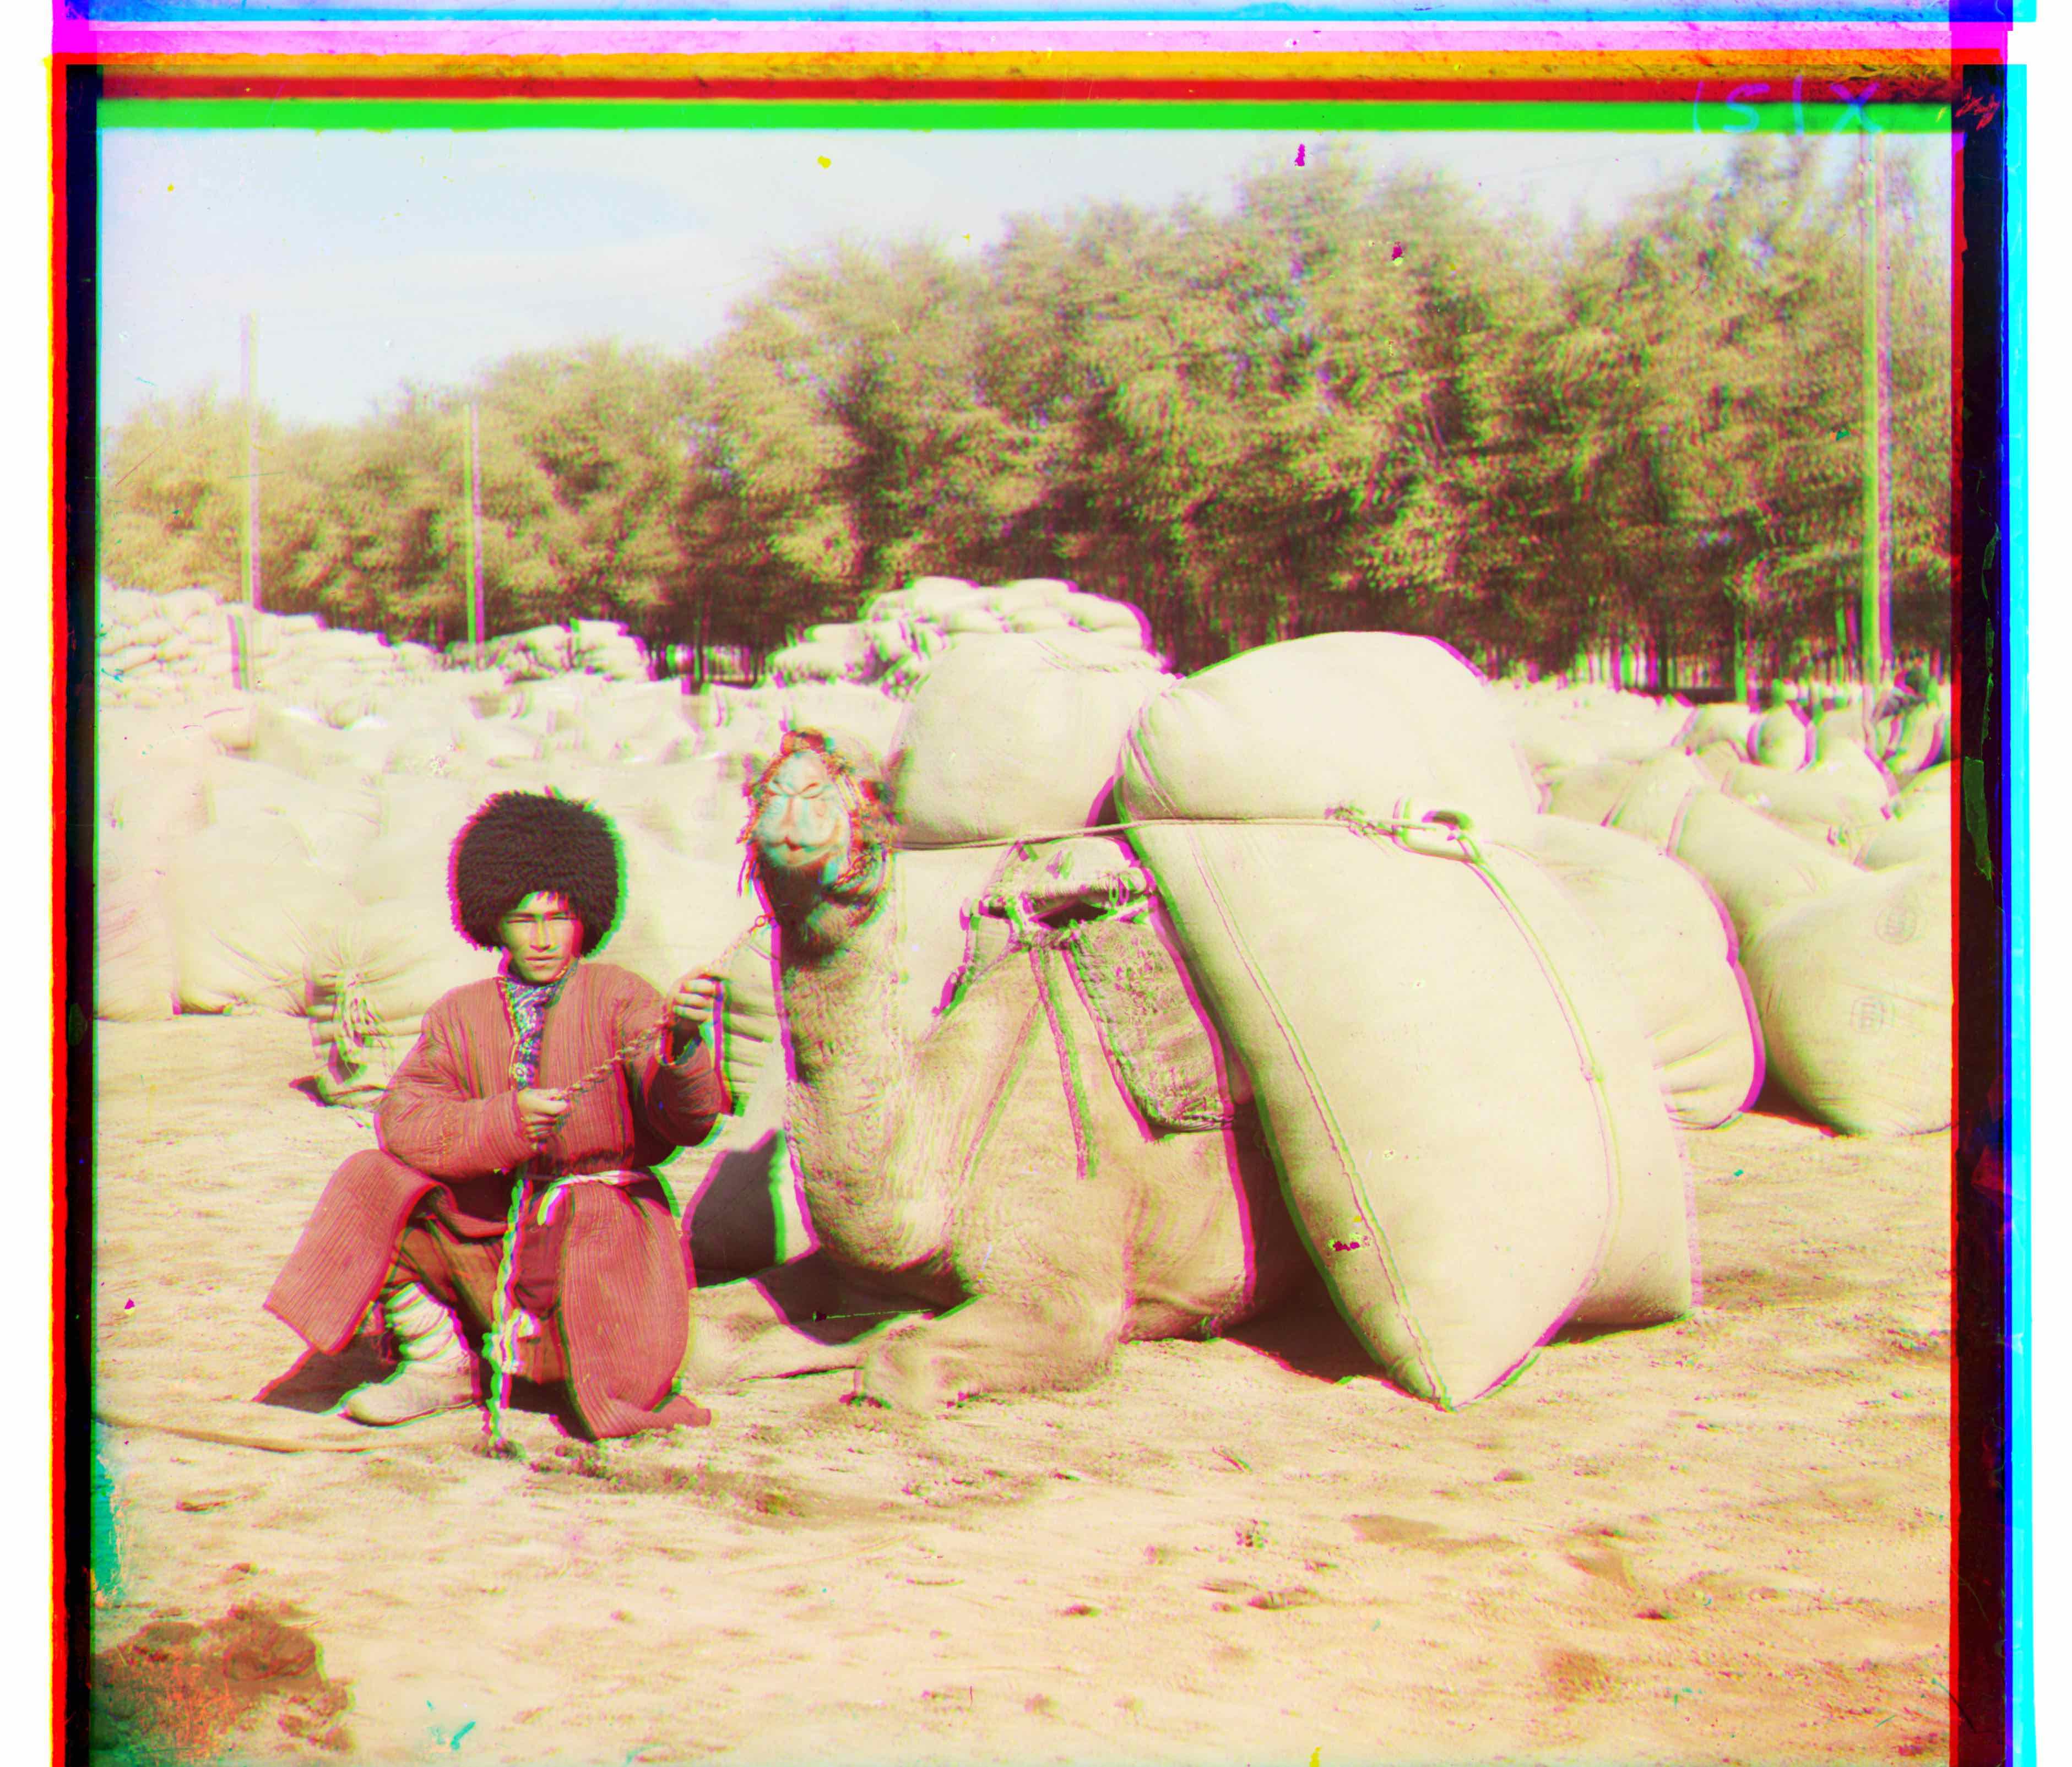
turkmen.tif
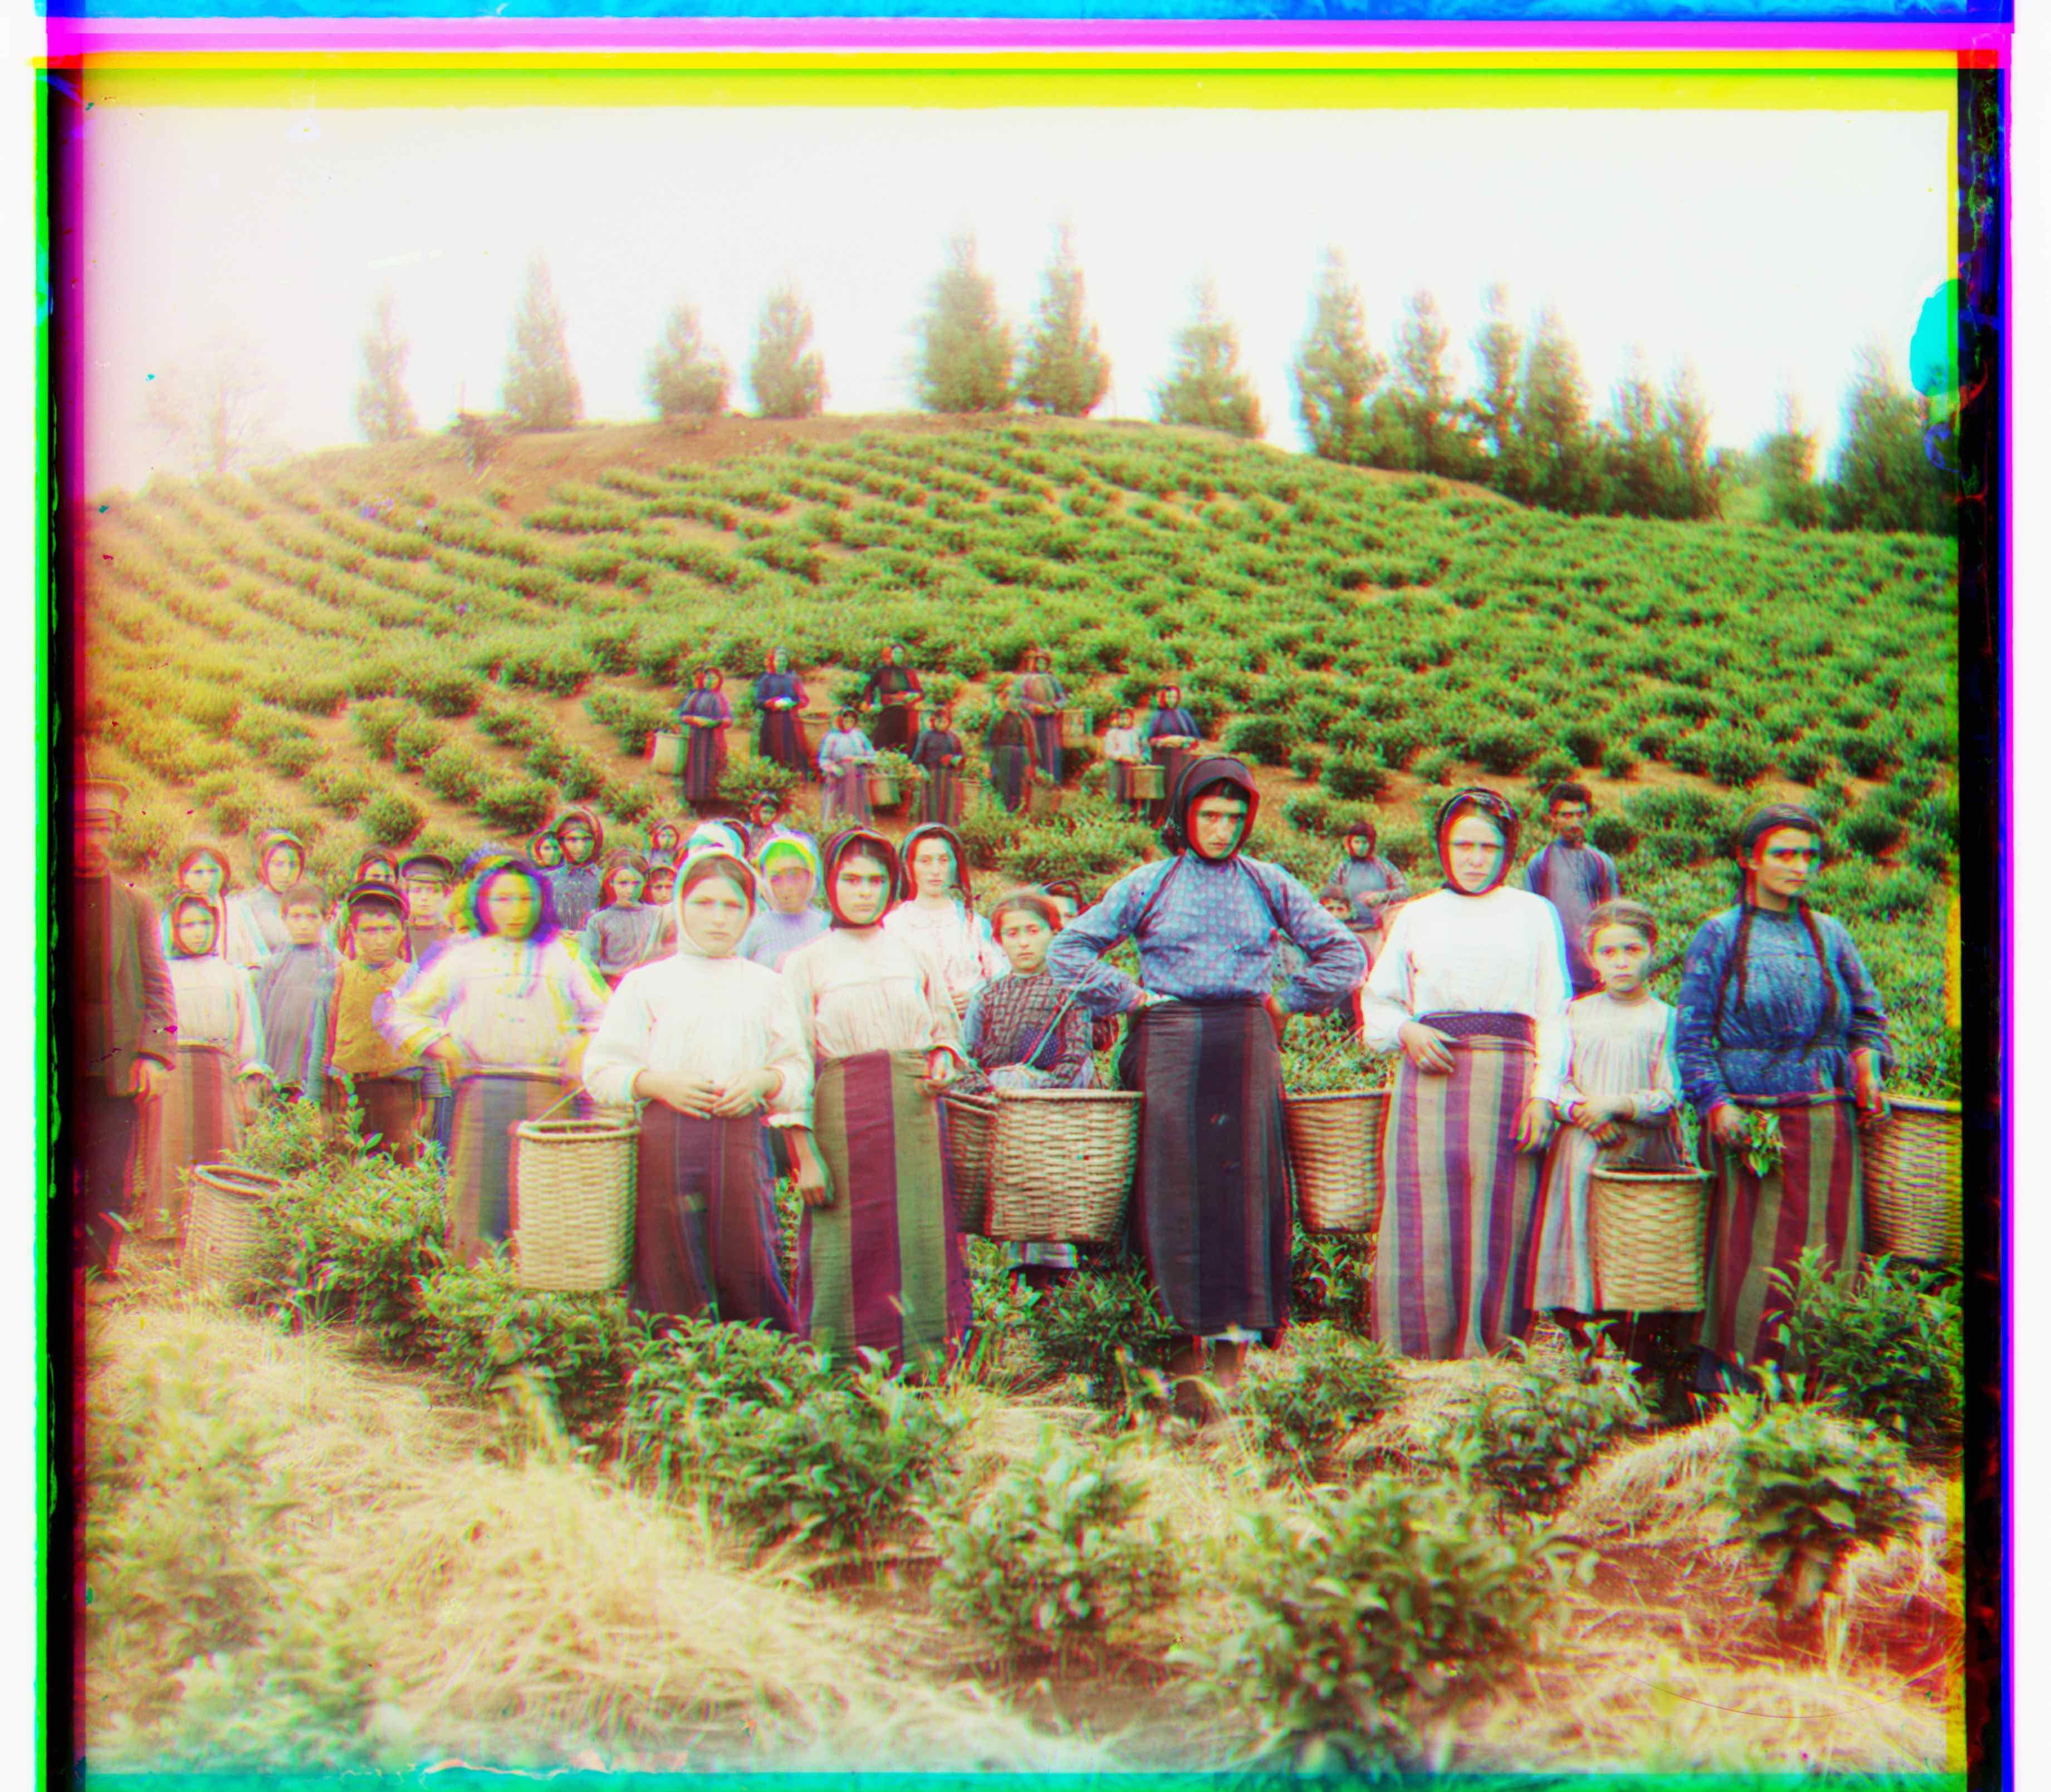
harvesters.tif
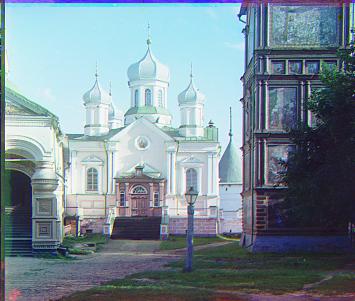
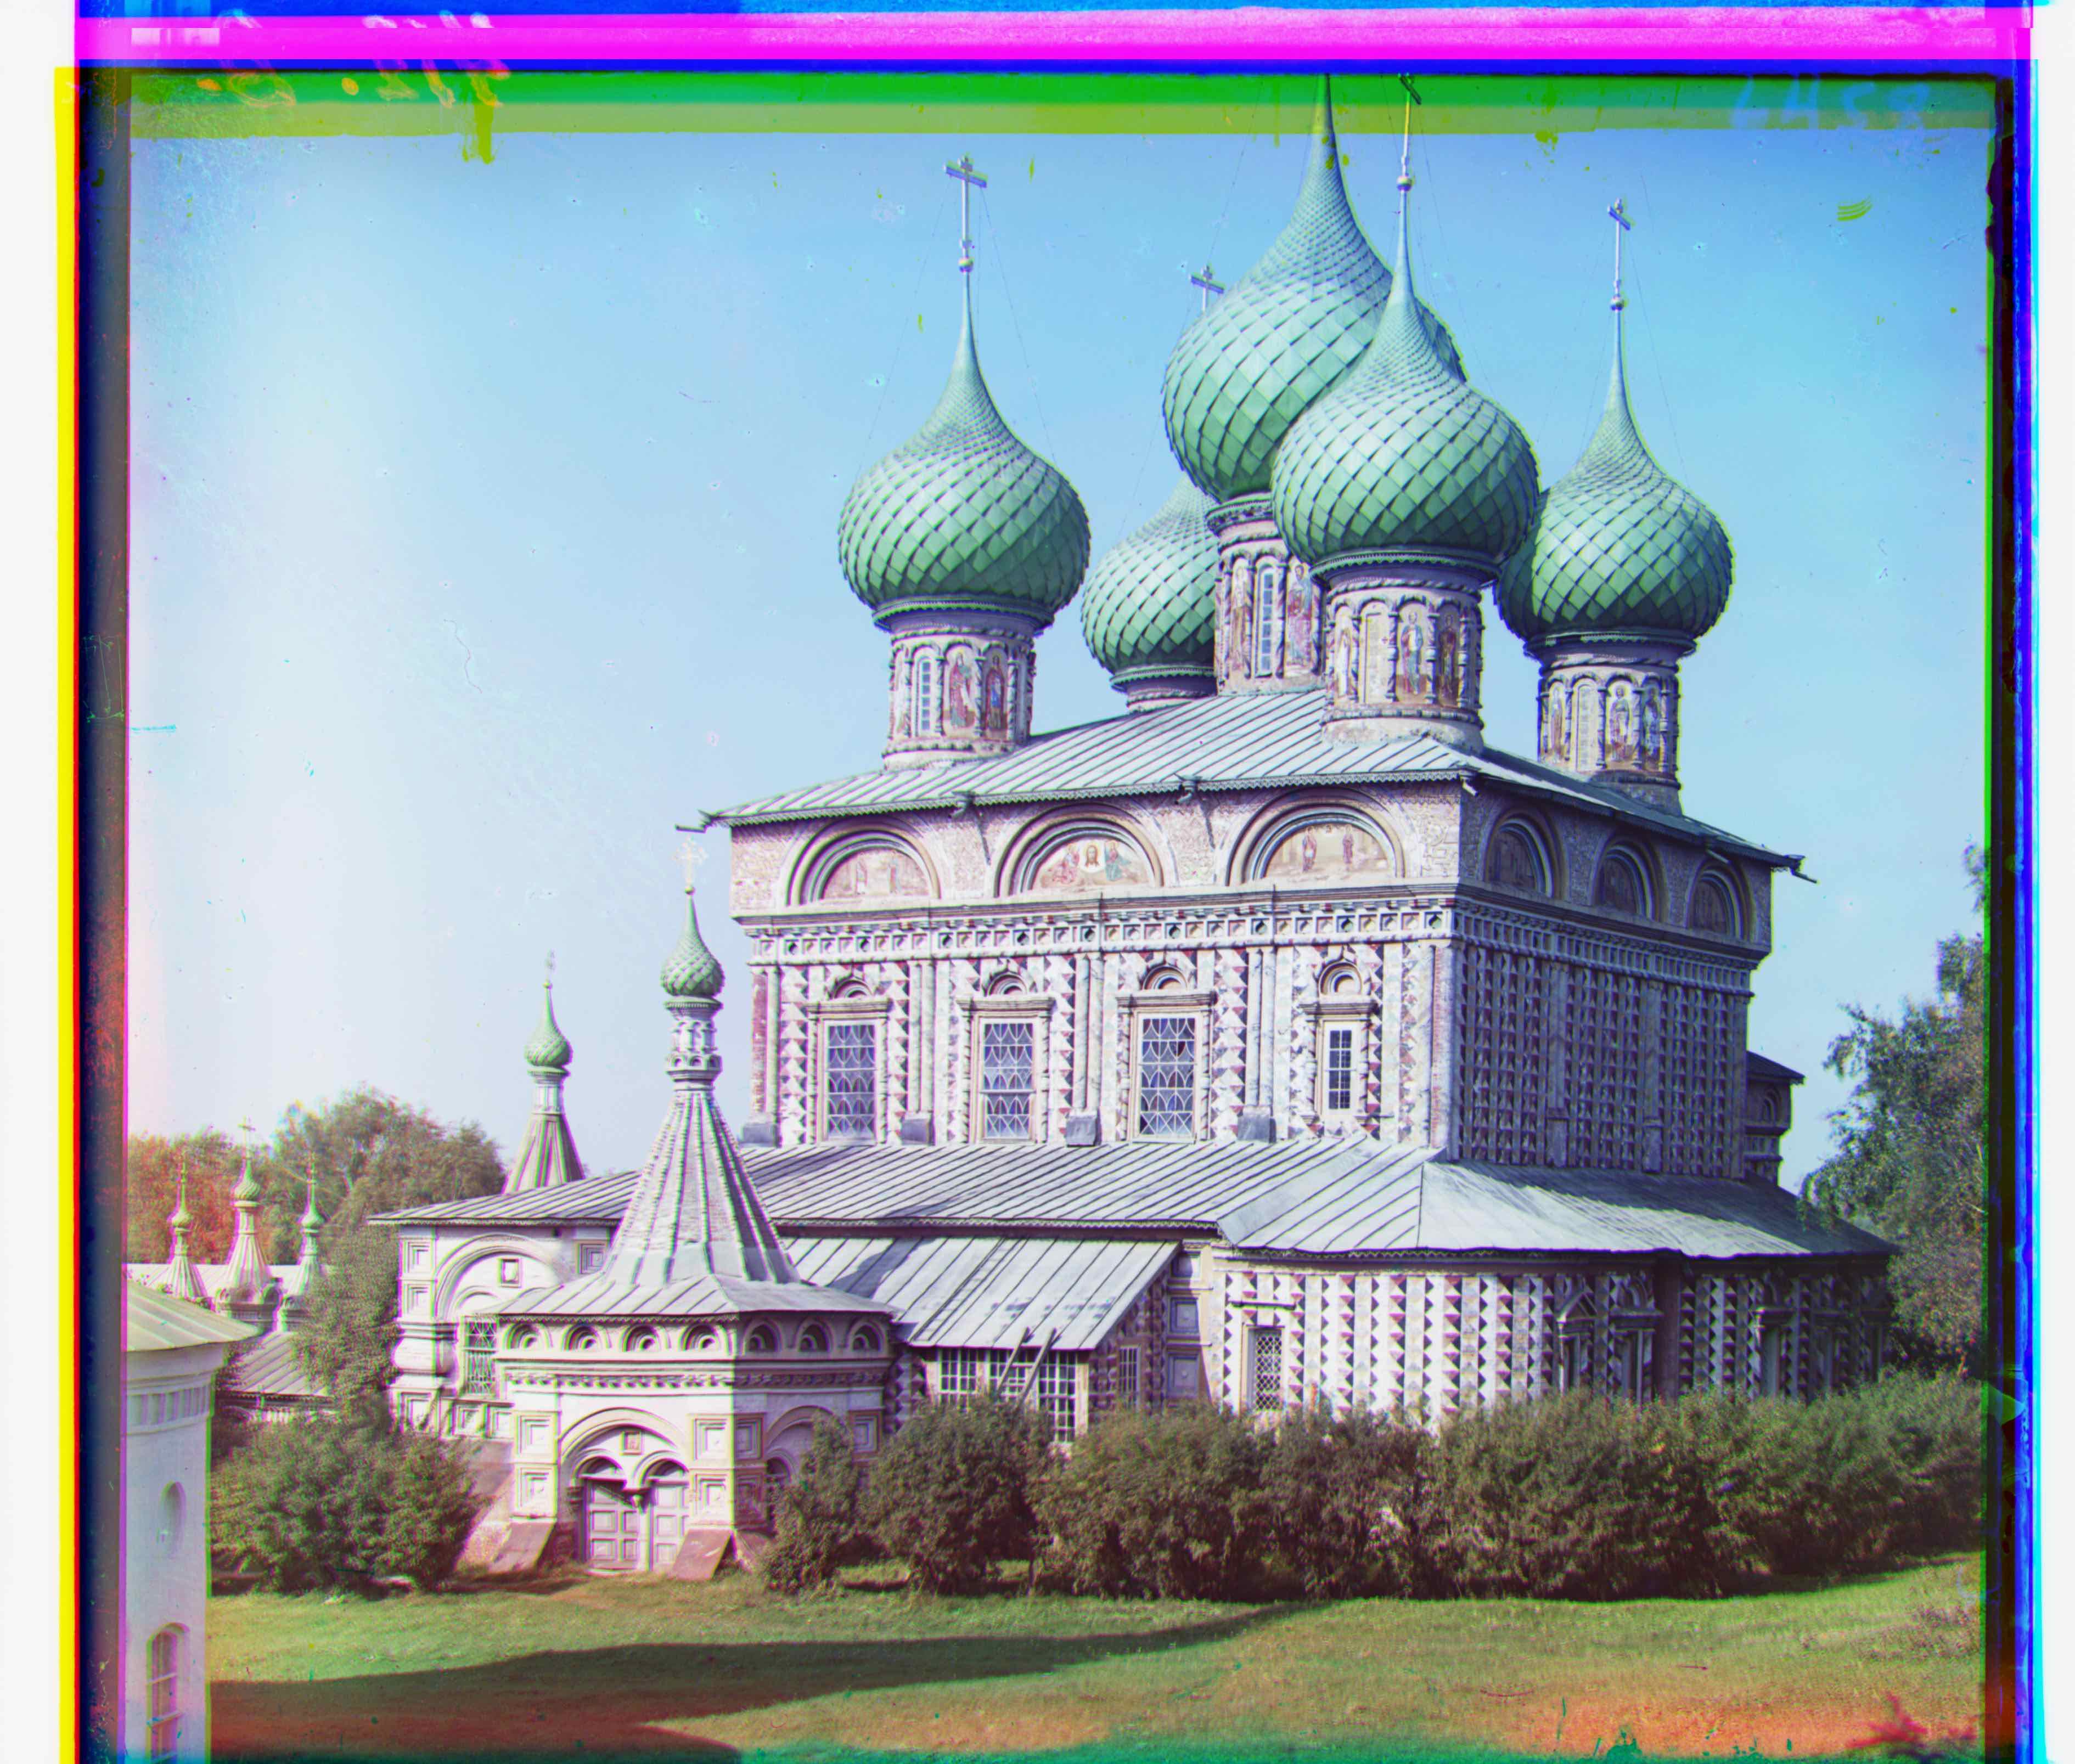
onion church.tif
cathedral.jpg
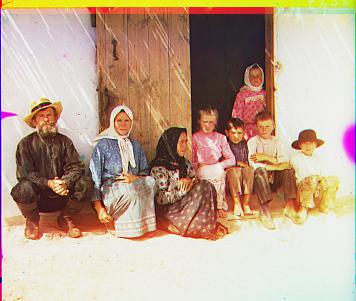
settlers.jpg
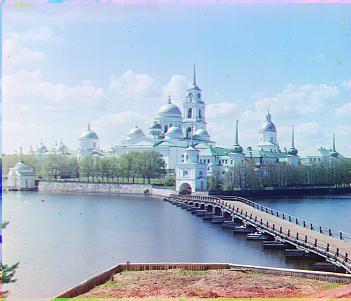
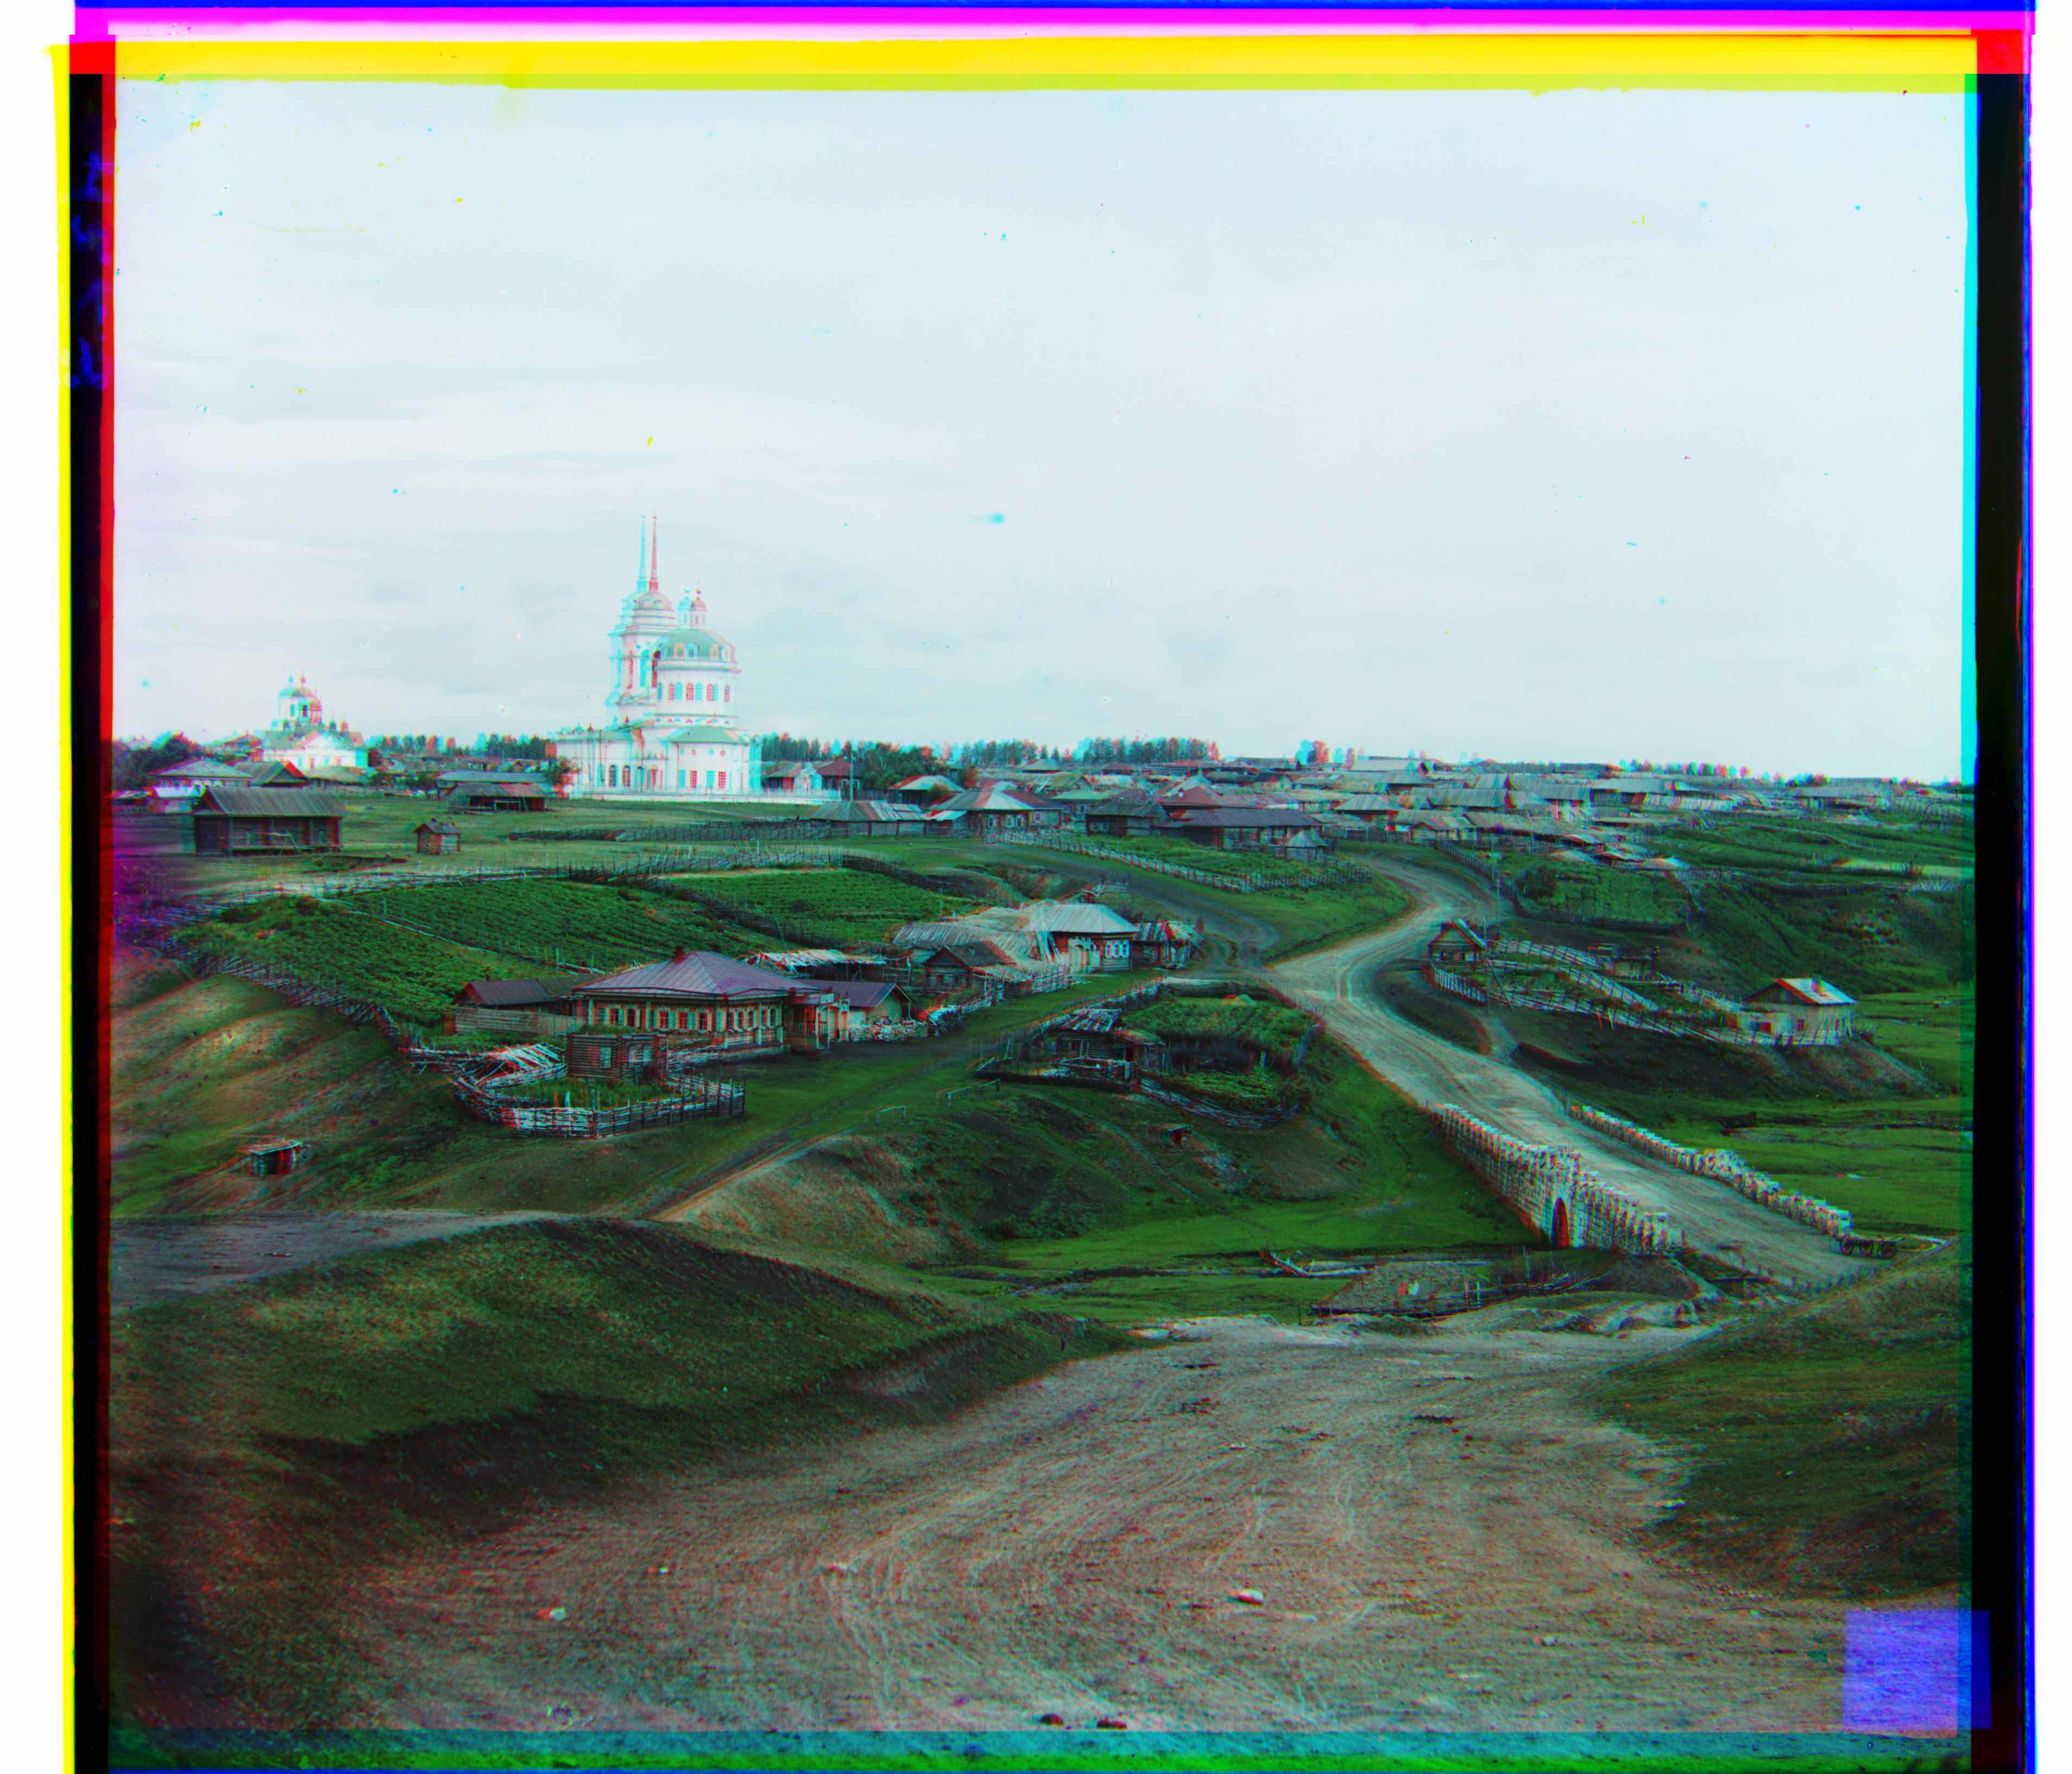
monastery.jpg
G:[5, 2] R:[12, 3]
G:[7, 0] R:[14, -1]
G:[-3, 2] R:[3, 2]
G:[49, 22] R:[107, 40]
G:[51, 27] R:[108, 36]
G:[78, 29] R:[130, 9]
G:[60, 18] R:[123, 14]
G:[53, 13] R:[111, 10]
G:[56, 22] R:[117, 29]
G:[43, 8] R:[86, 33]
G:[81, 11] R:[177, 14]
G:[64, 11] R:[137, 22]
G:[55, 6] R:[104, -8]
G:[41, 17] R:[90, 23]