Methods
With Prokudin-Gorskii and the LoC already doing much of the work in separating channels and digitizing the collection, the main task for me was to align the channel images. I began with a single-scale approach that exhaustively searched over a window of displacements, finding the (x , y) offsets that optimized an error metric. To decrease processing time for larger images, I then utilized a multi-scale adaptation that modified offsets, starting from a coarse rescale of the input image. Though I encountered some issues during the process, I was able to find resolutions without edge detection.
Single-Scale: Naive Search
Identify significant pixels > Test offsets + Measure similarity > Return optimal offsets > Modify original channels
1. pre-proccessing
Prior to creating an aligment procedure, I developed some intuition by observing the images after separating each 3 panel image into separate color channels. Each channel had large black borders, which stood out as problematic for estimating the similarities. To mitigate the issue, I decided to perform a 15% border crop before the images are put through an alignment procedure. This way, only the significant inner pixels would be compared.2. similarity metrics
After deciding on which pixels to test, I looked into 2 metrics to measuring how similar each channel is to another. The first was the Sum of Squared Differences (SSD) and the second was Normalized Cross-Correlation (NCC). SSD presents a minimization problem, where similar images have similar pixel values, which when subtracted and squared would produce low sums. NCC, on the other hand, focuses on the dot products of vectors, with greater similarity corresponding to a higher value. After testing each, SSD was faster when running and produced similar results to NCC, and, thus, was the one I decided to use.3. search window sizes
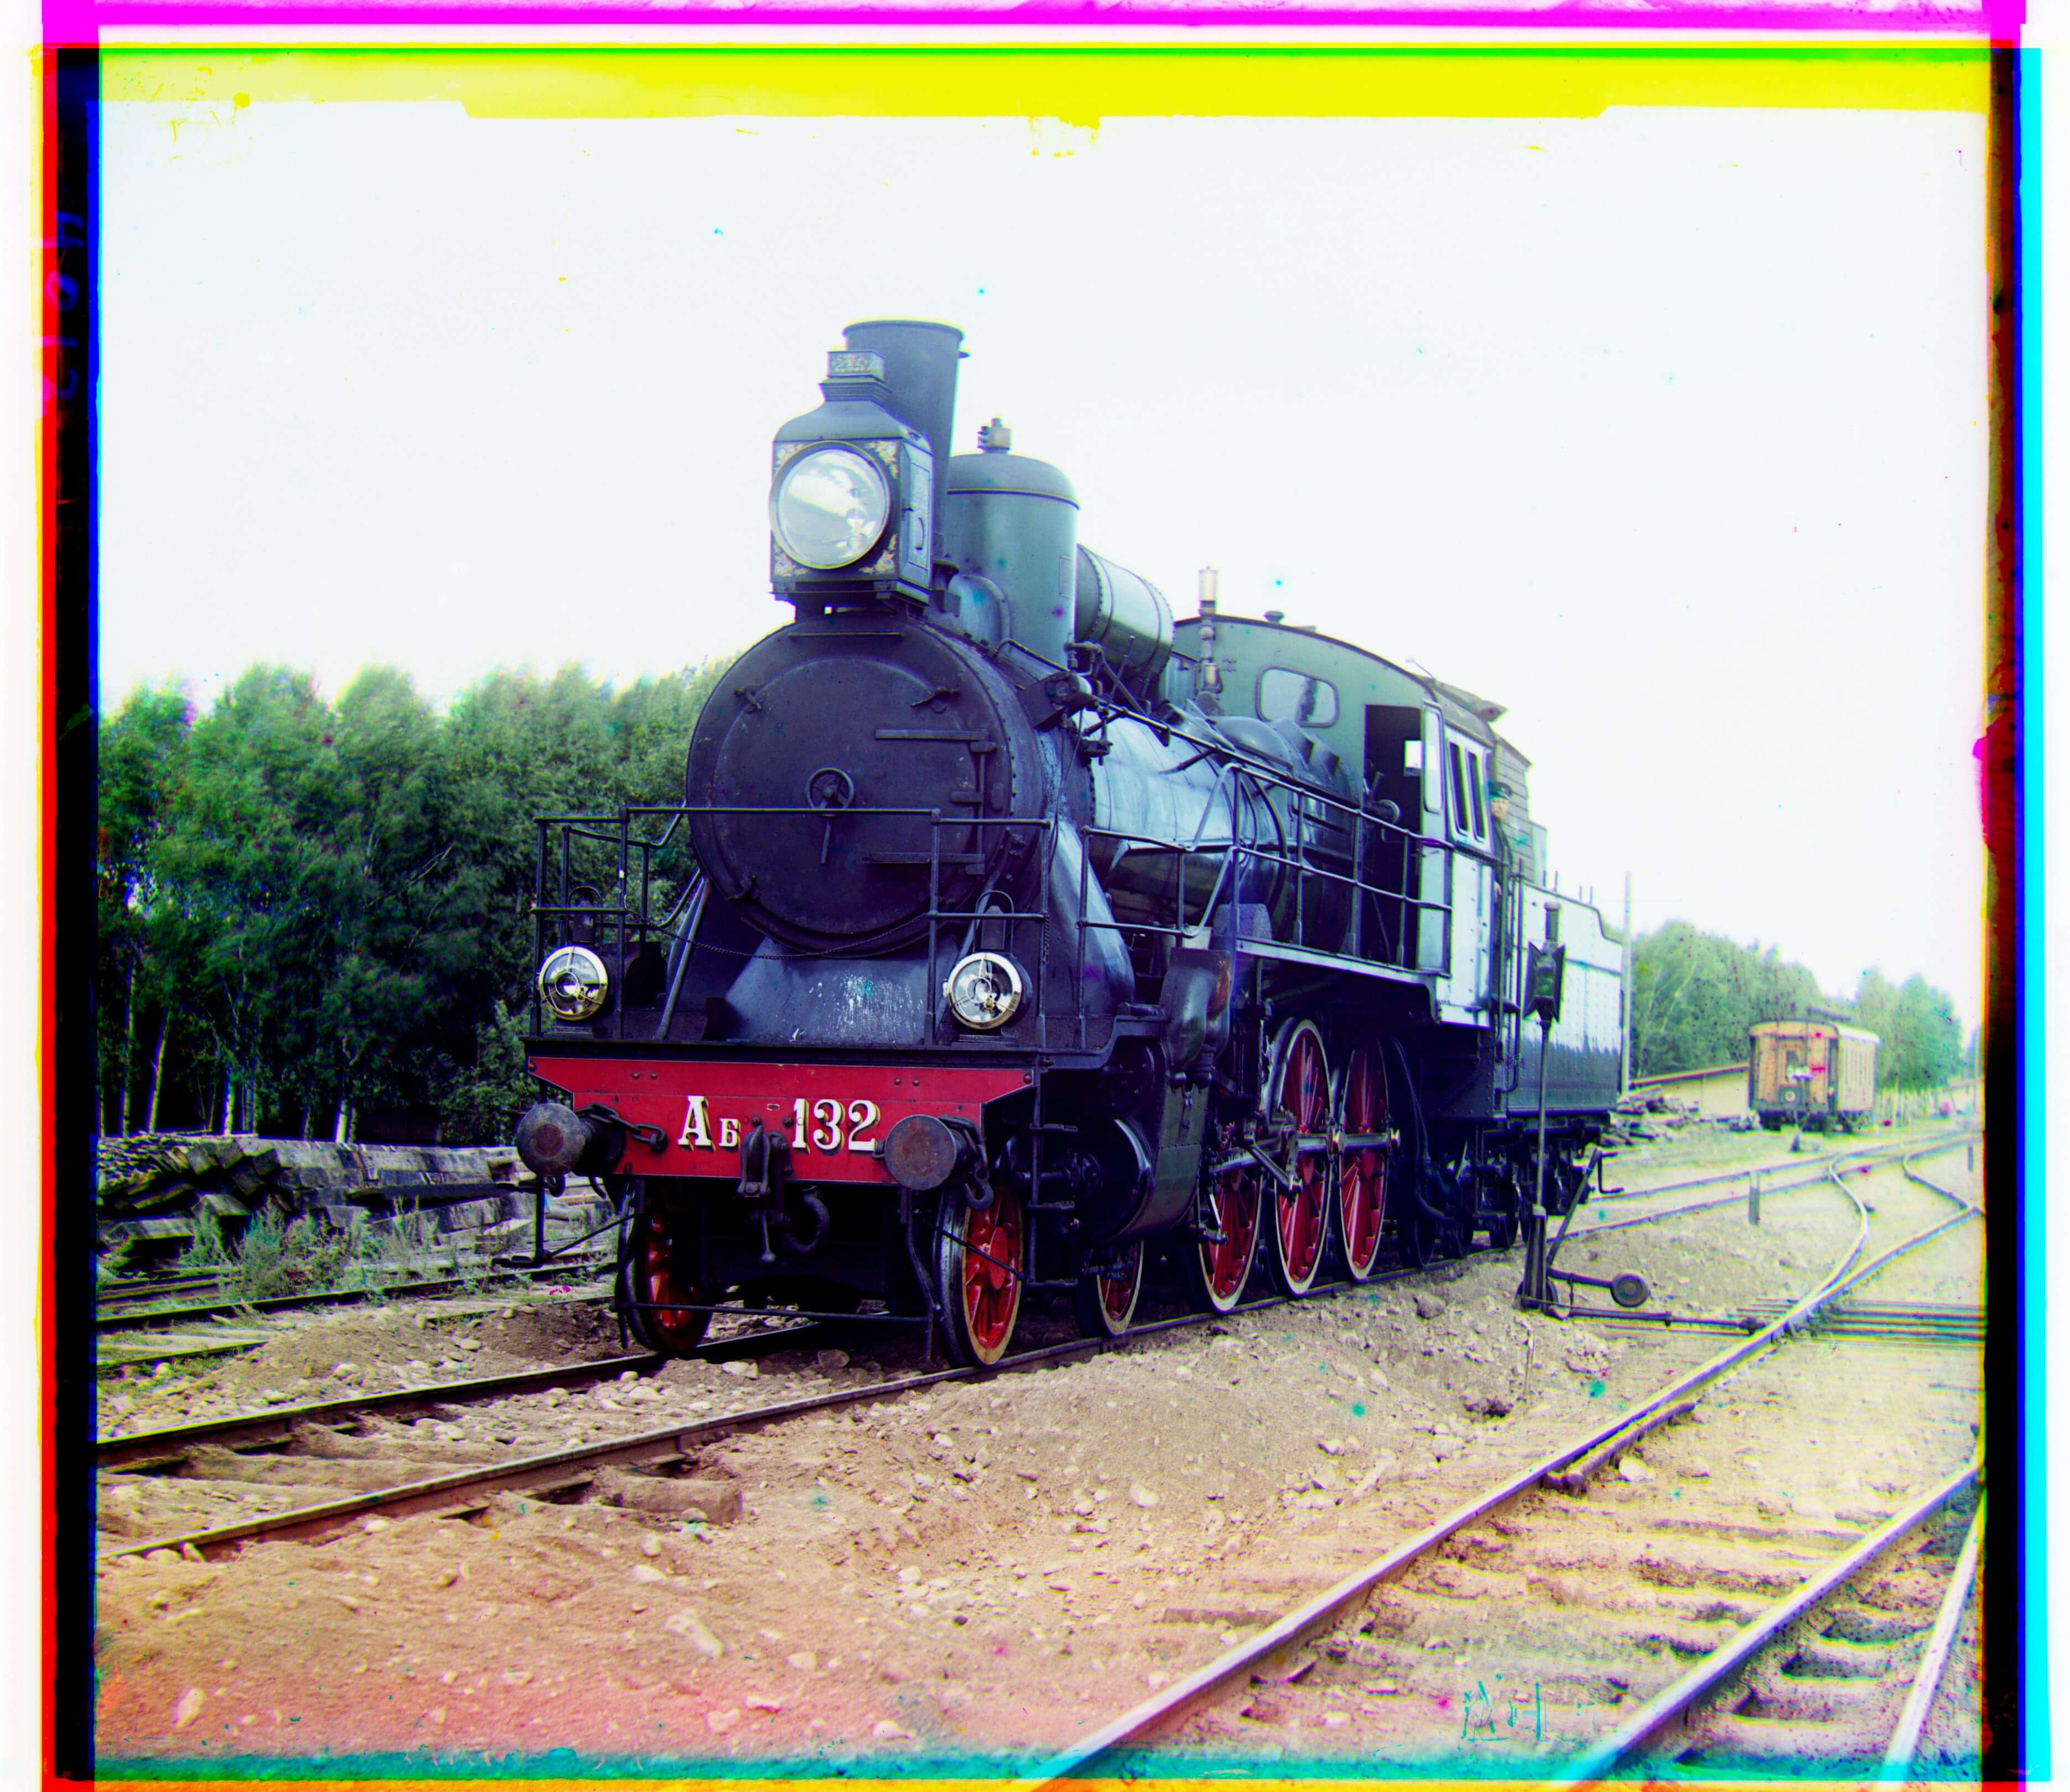
The simplest method of alignment on a small scale is exhaustive search, involving looping through combinations of offsets and comparing their corresponding similarity metrics. Testing search window sizes from [10, 10] to [-25, 25], I found that window sizes greater than [-20, 20] were costly in time without much improvement in accuracy. Anything below [-14, 14] was mis-aligned. Thus, I finalized my search window as [-15, 15], as suggested by the project documentation. The results of small-scale search are shown below:

Multi-Scale: Image Pyramid
Identify coarsest scale > Find best offset > Update image copy, offsets, search window > Repeat until full size
To allow for large tif file processing, I utilized an image pyramid approach. I limited my coarsest image to
around 100px by 100px, which is small enough to allow for significant translations within my predefined [-15, 15] window
and also large enough to prevent error from reduced information.
My implementation focuses on scaling the image by a factor of 2 each time until its full size is reached. The main
parameter is the scale itself. Each search window and optimal offset calculated naively is multiplied by the inverse of the scale and added between
each recursive frame. This way, as the image gets bigger, search is reduced and the offsets are refined. To account for possible error, I multiplied each
search window bound by 2 before multiplying the inverse of the scale. The processing time for a large image was around 20-25 seconds (when not showing the image).
For jpg files, it was around 0.2-0.3 seconds.
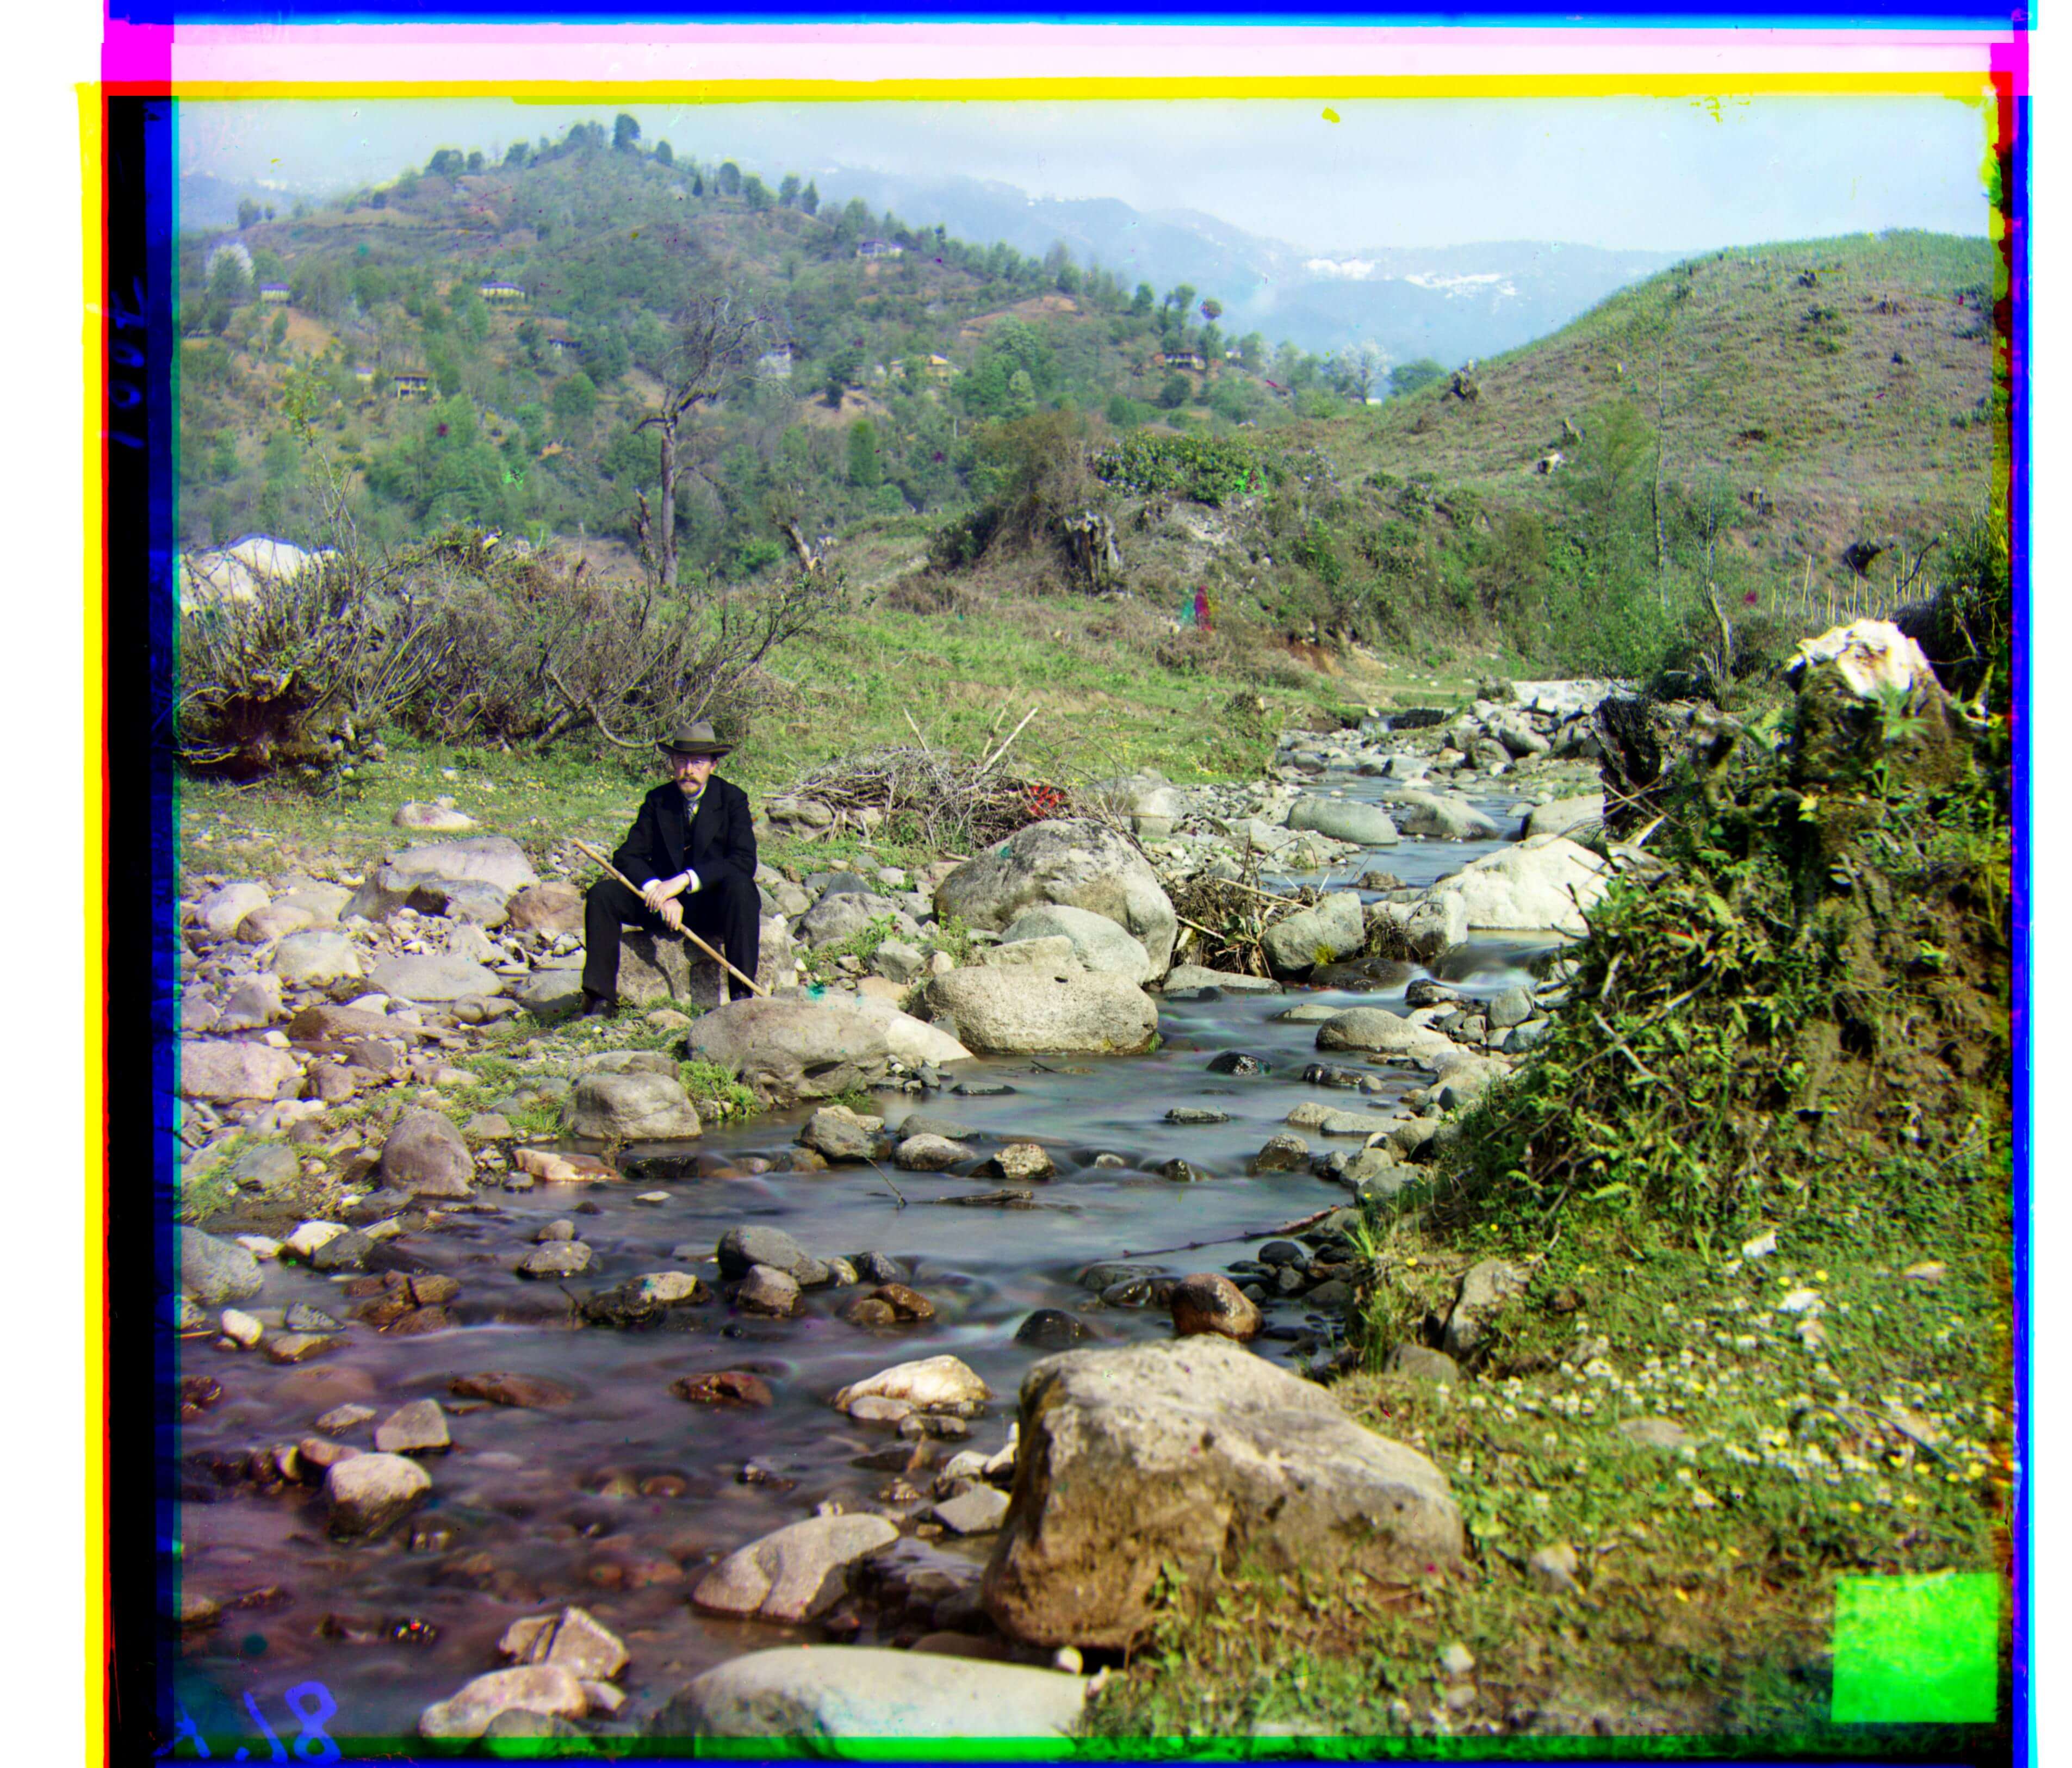
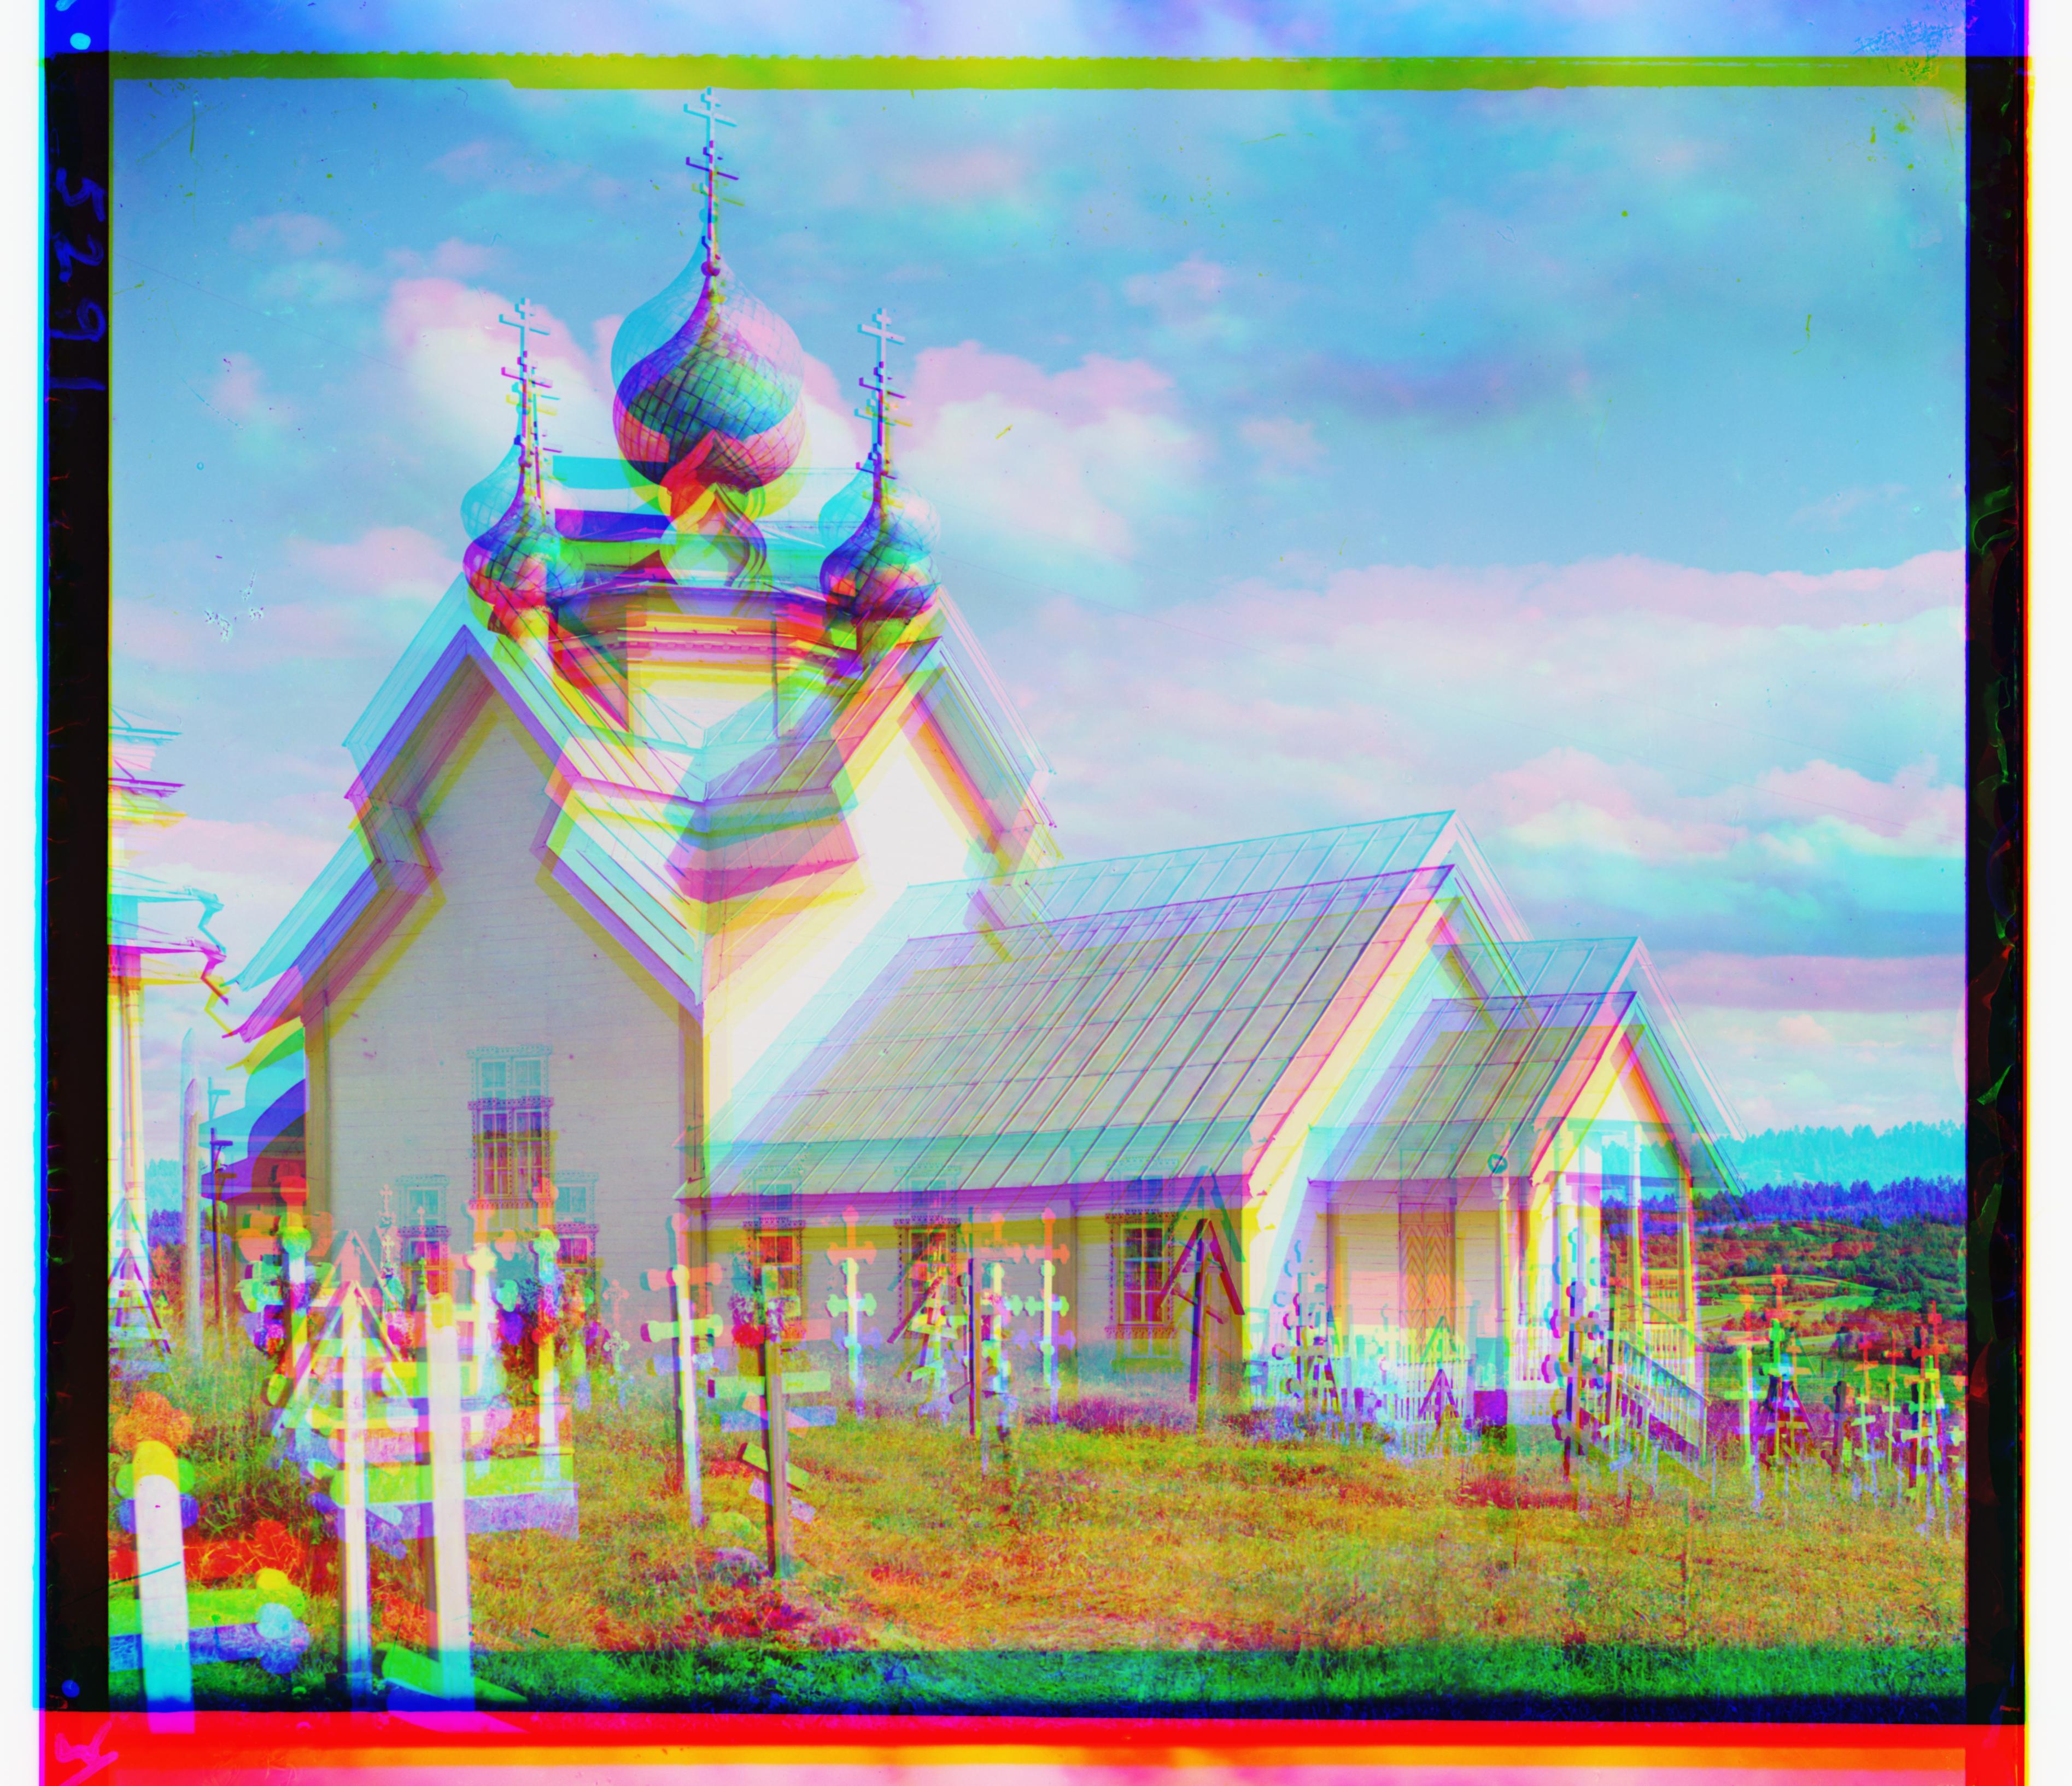
[Bells] Adding Contrast
Some of the photos seemed faded, as values were similar across the image. To subtly up the contrast, I used min-max feature scaling (input - min / max - min) to allow the brightest pixel to be 1 and the darkest pixel to be 0. I also increased the darks by adding 0.15 to the minimum value for aesthetic purposes.
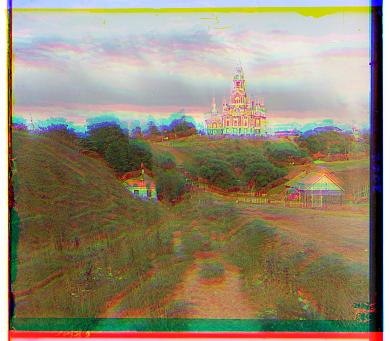
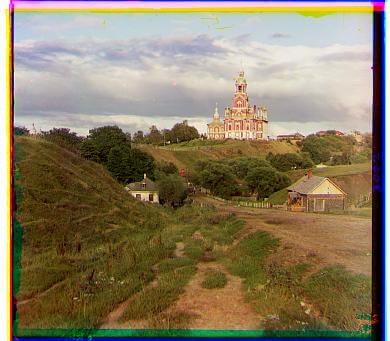
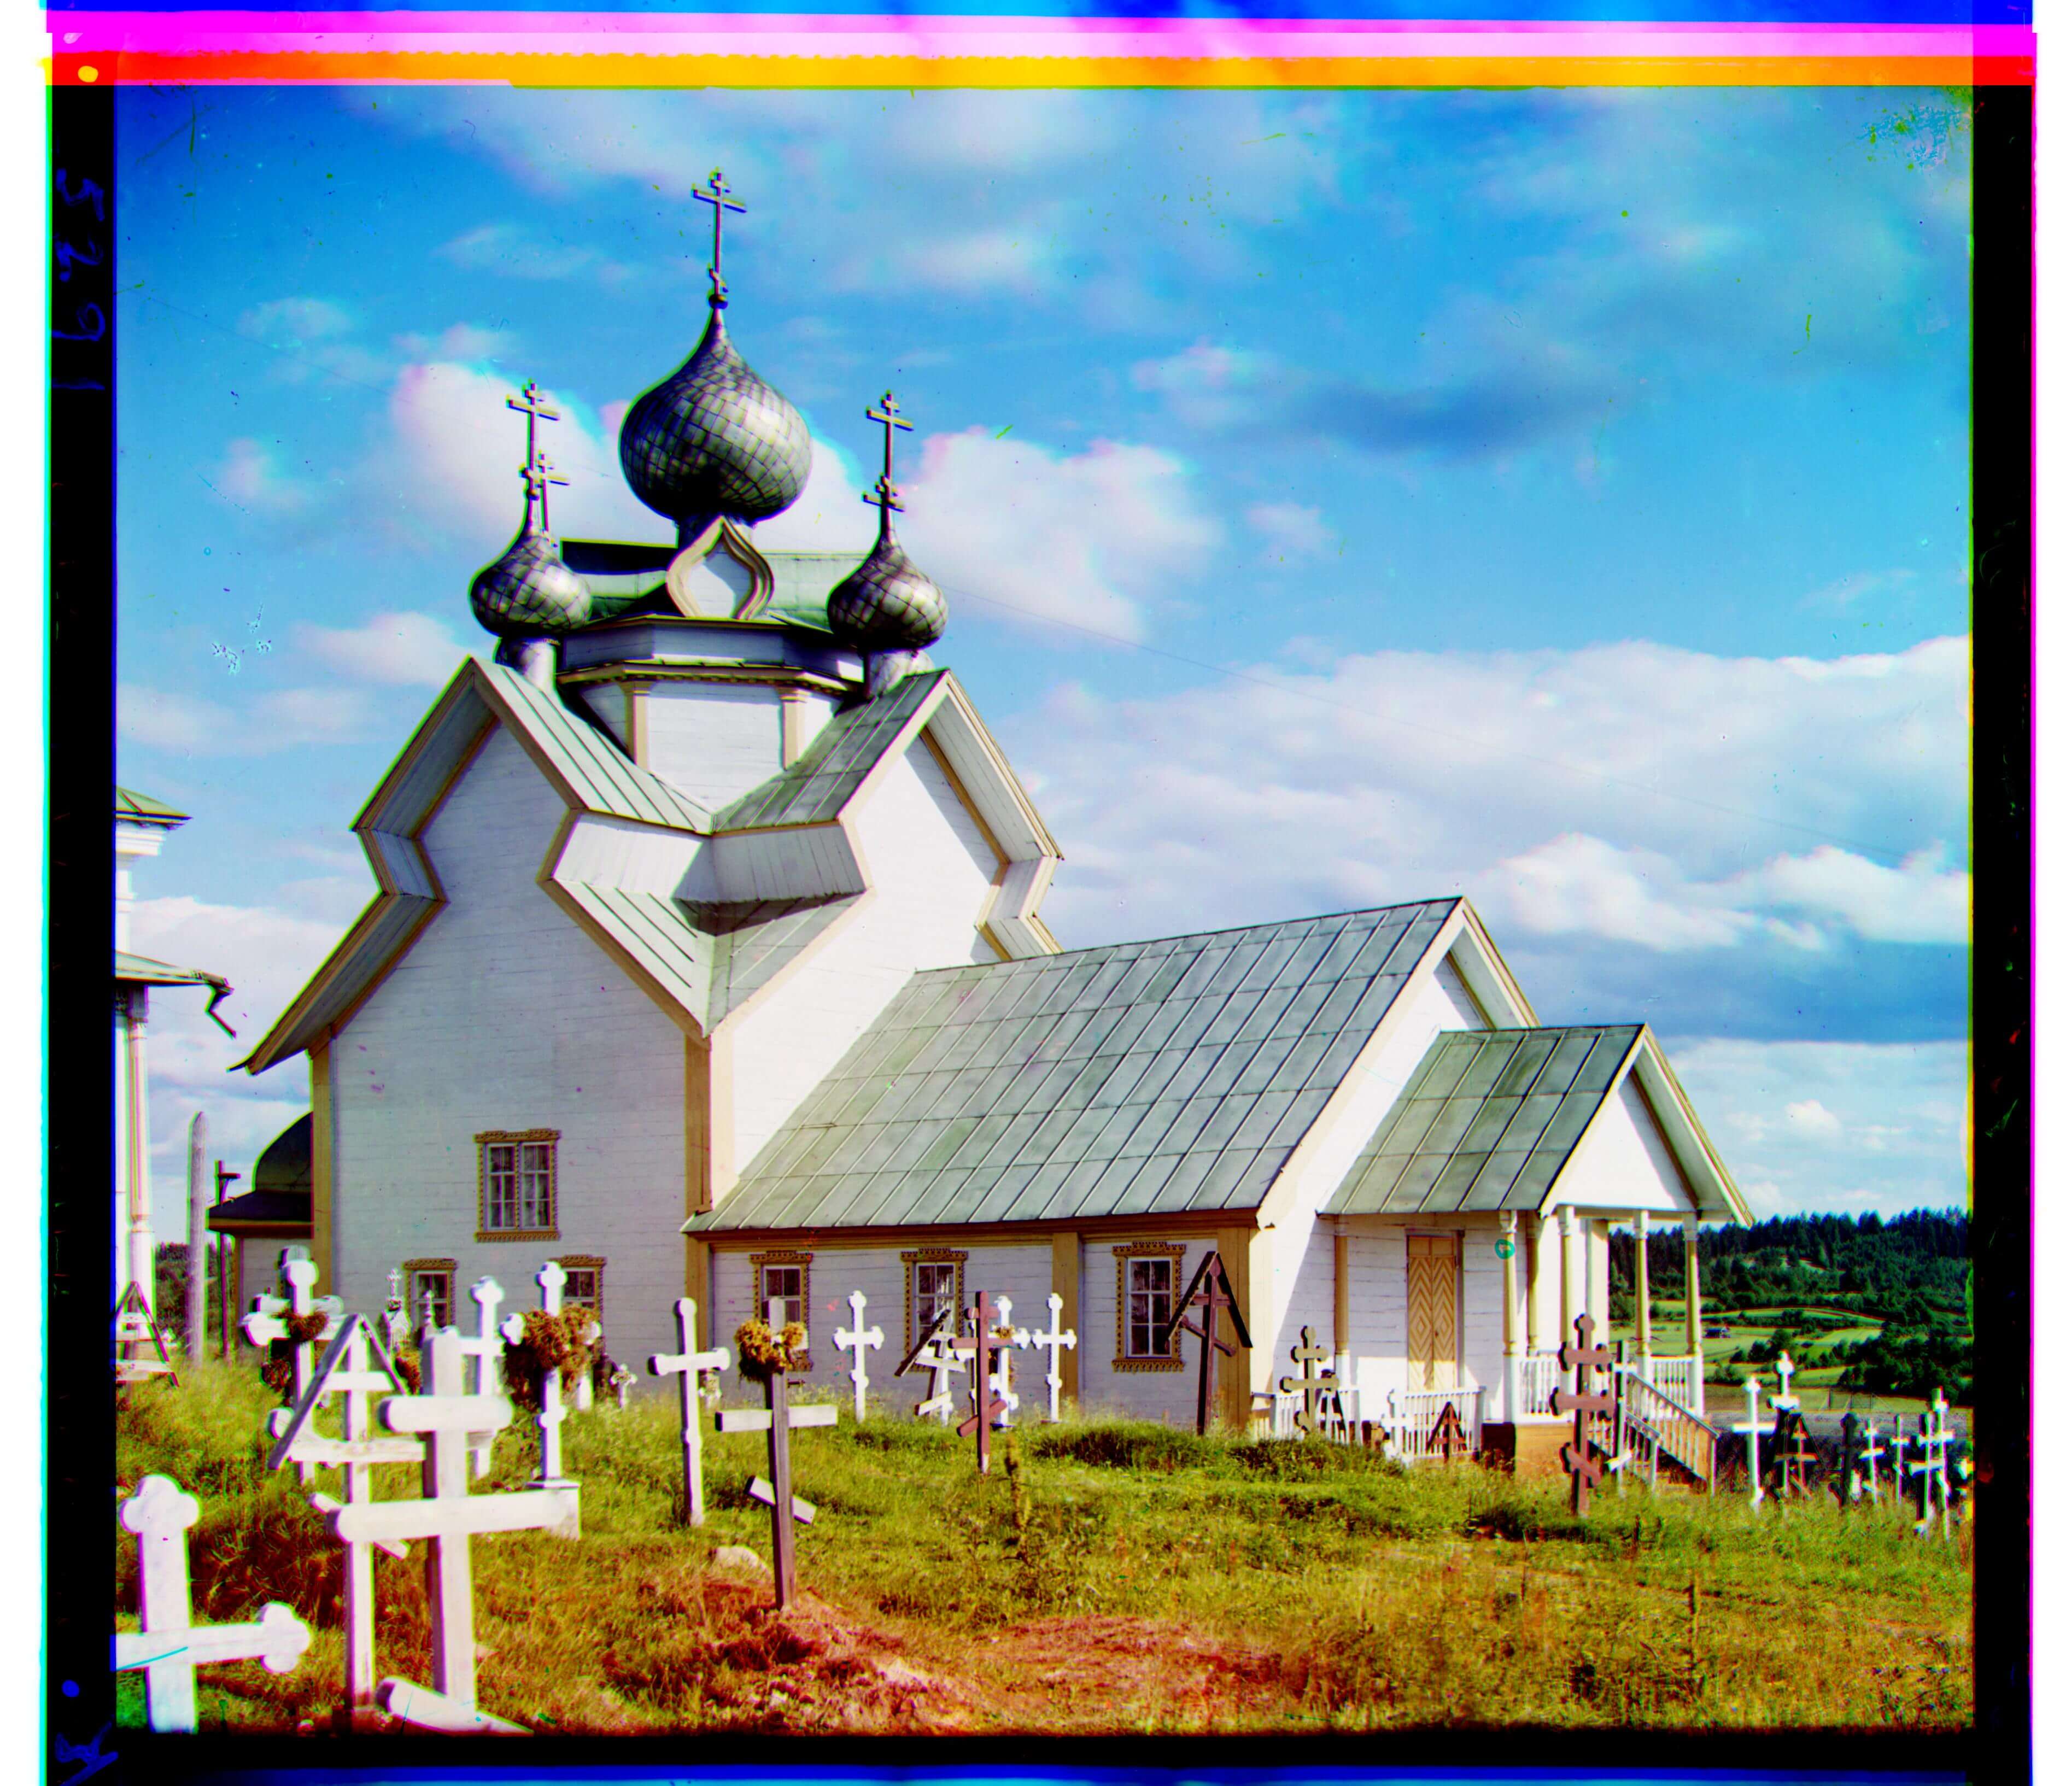
ORIGINAL
ALIGNED
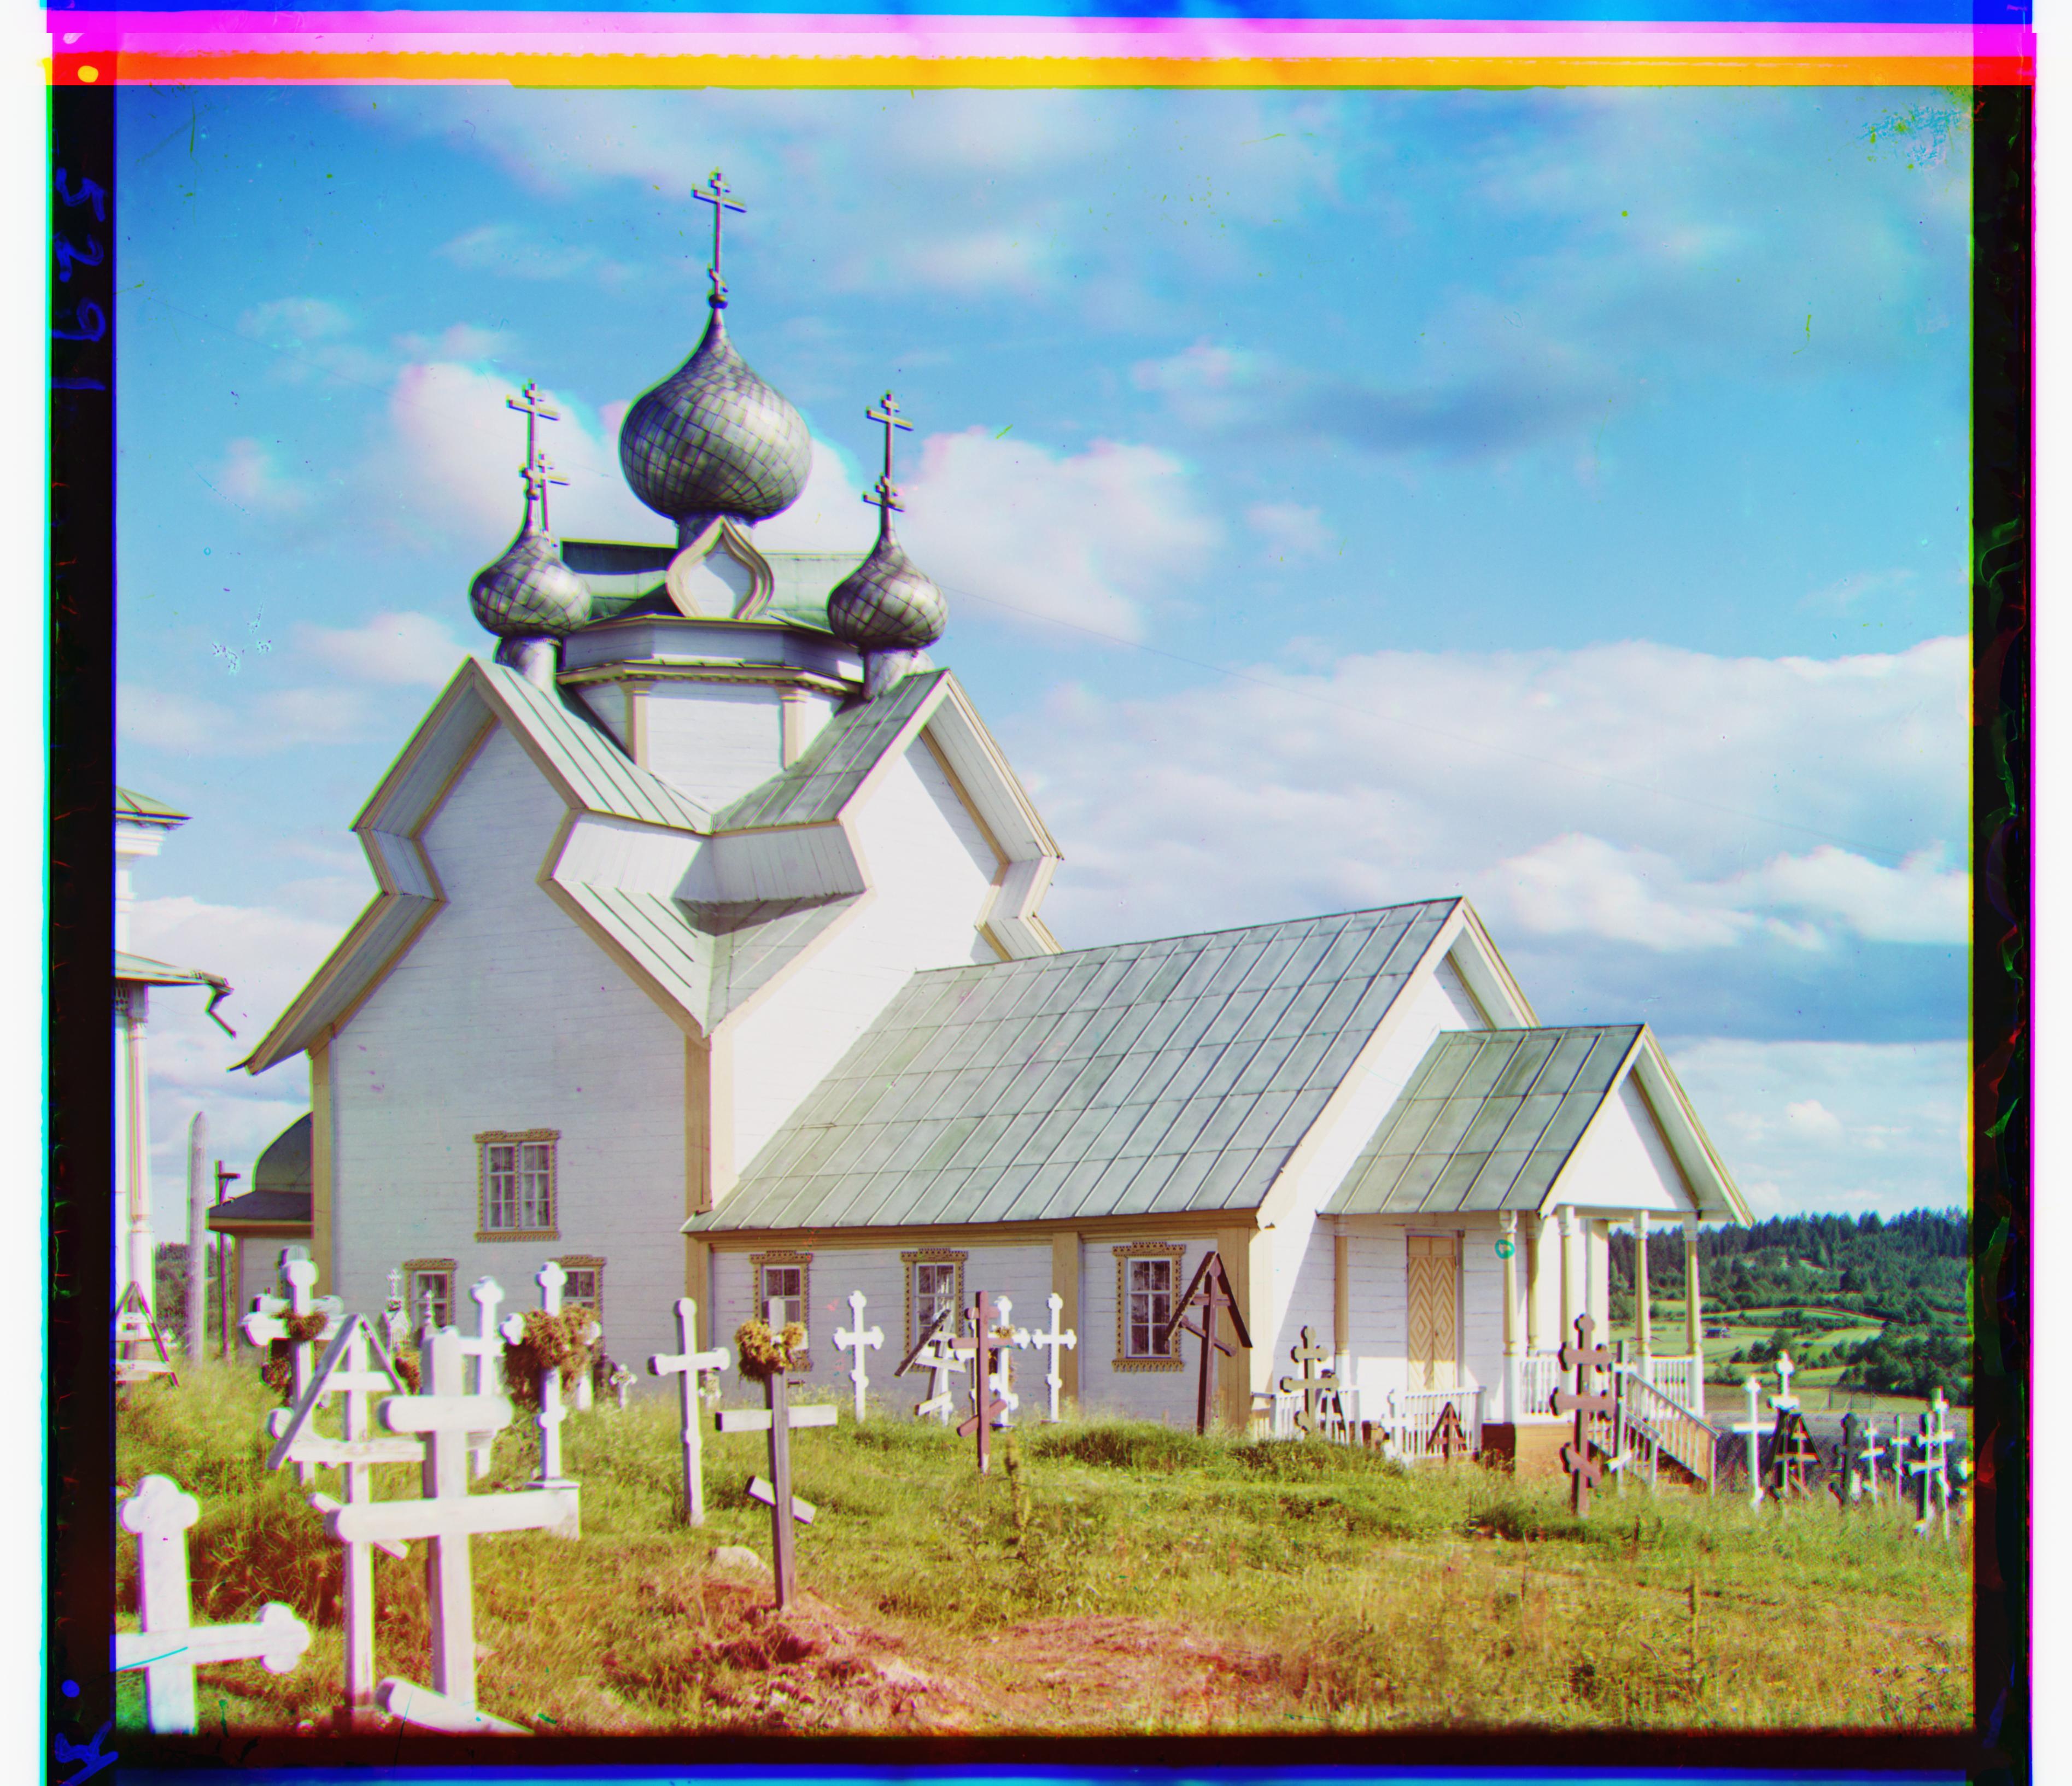
CONTRASTED
Errors Incountered
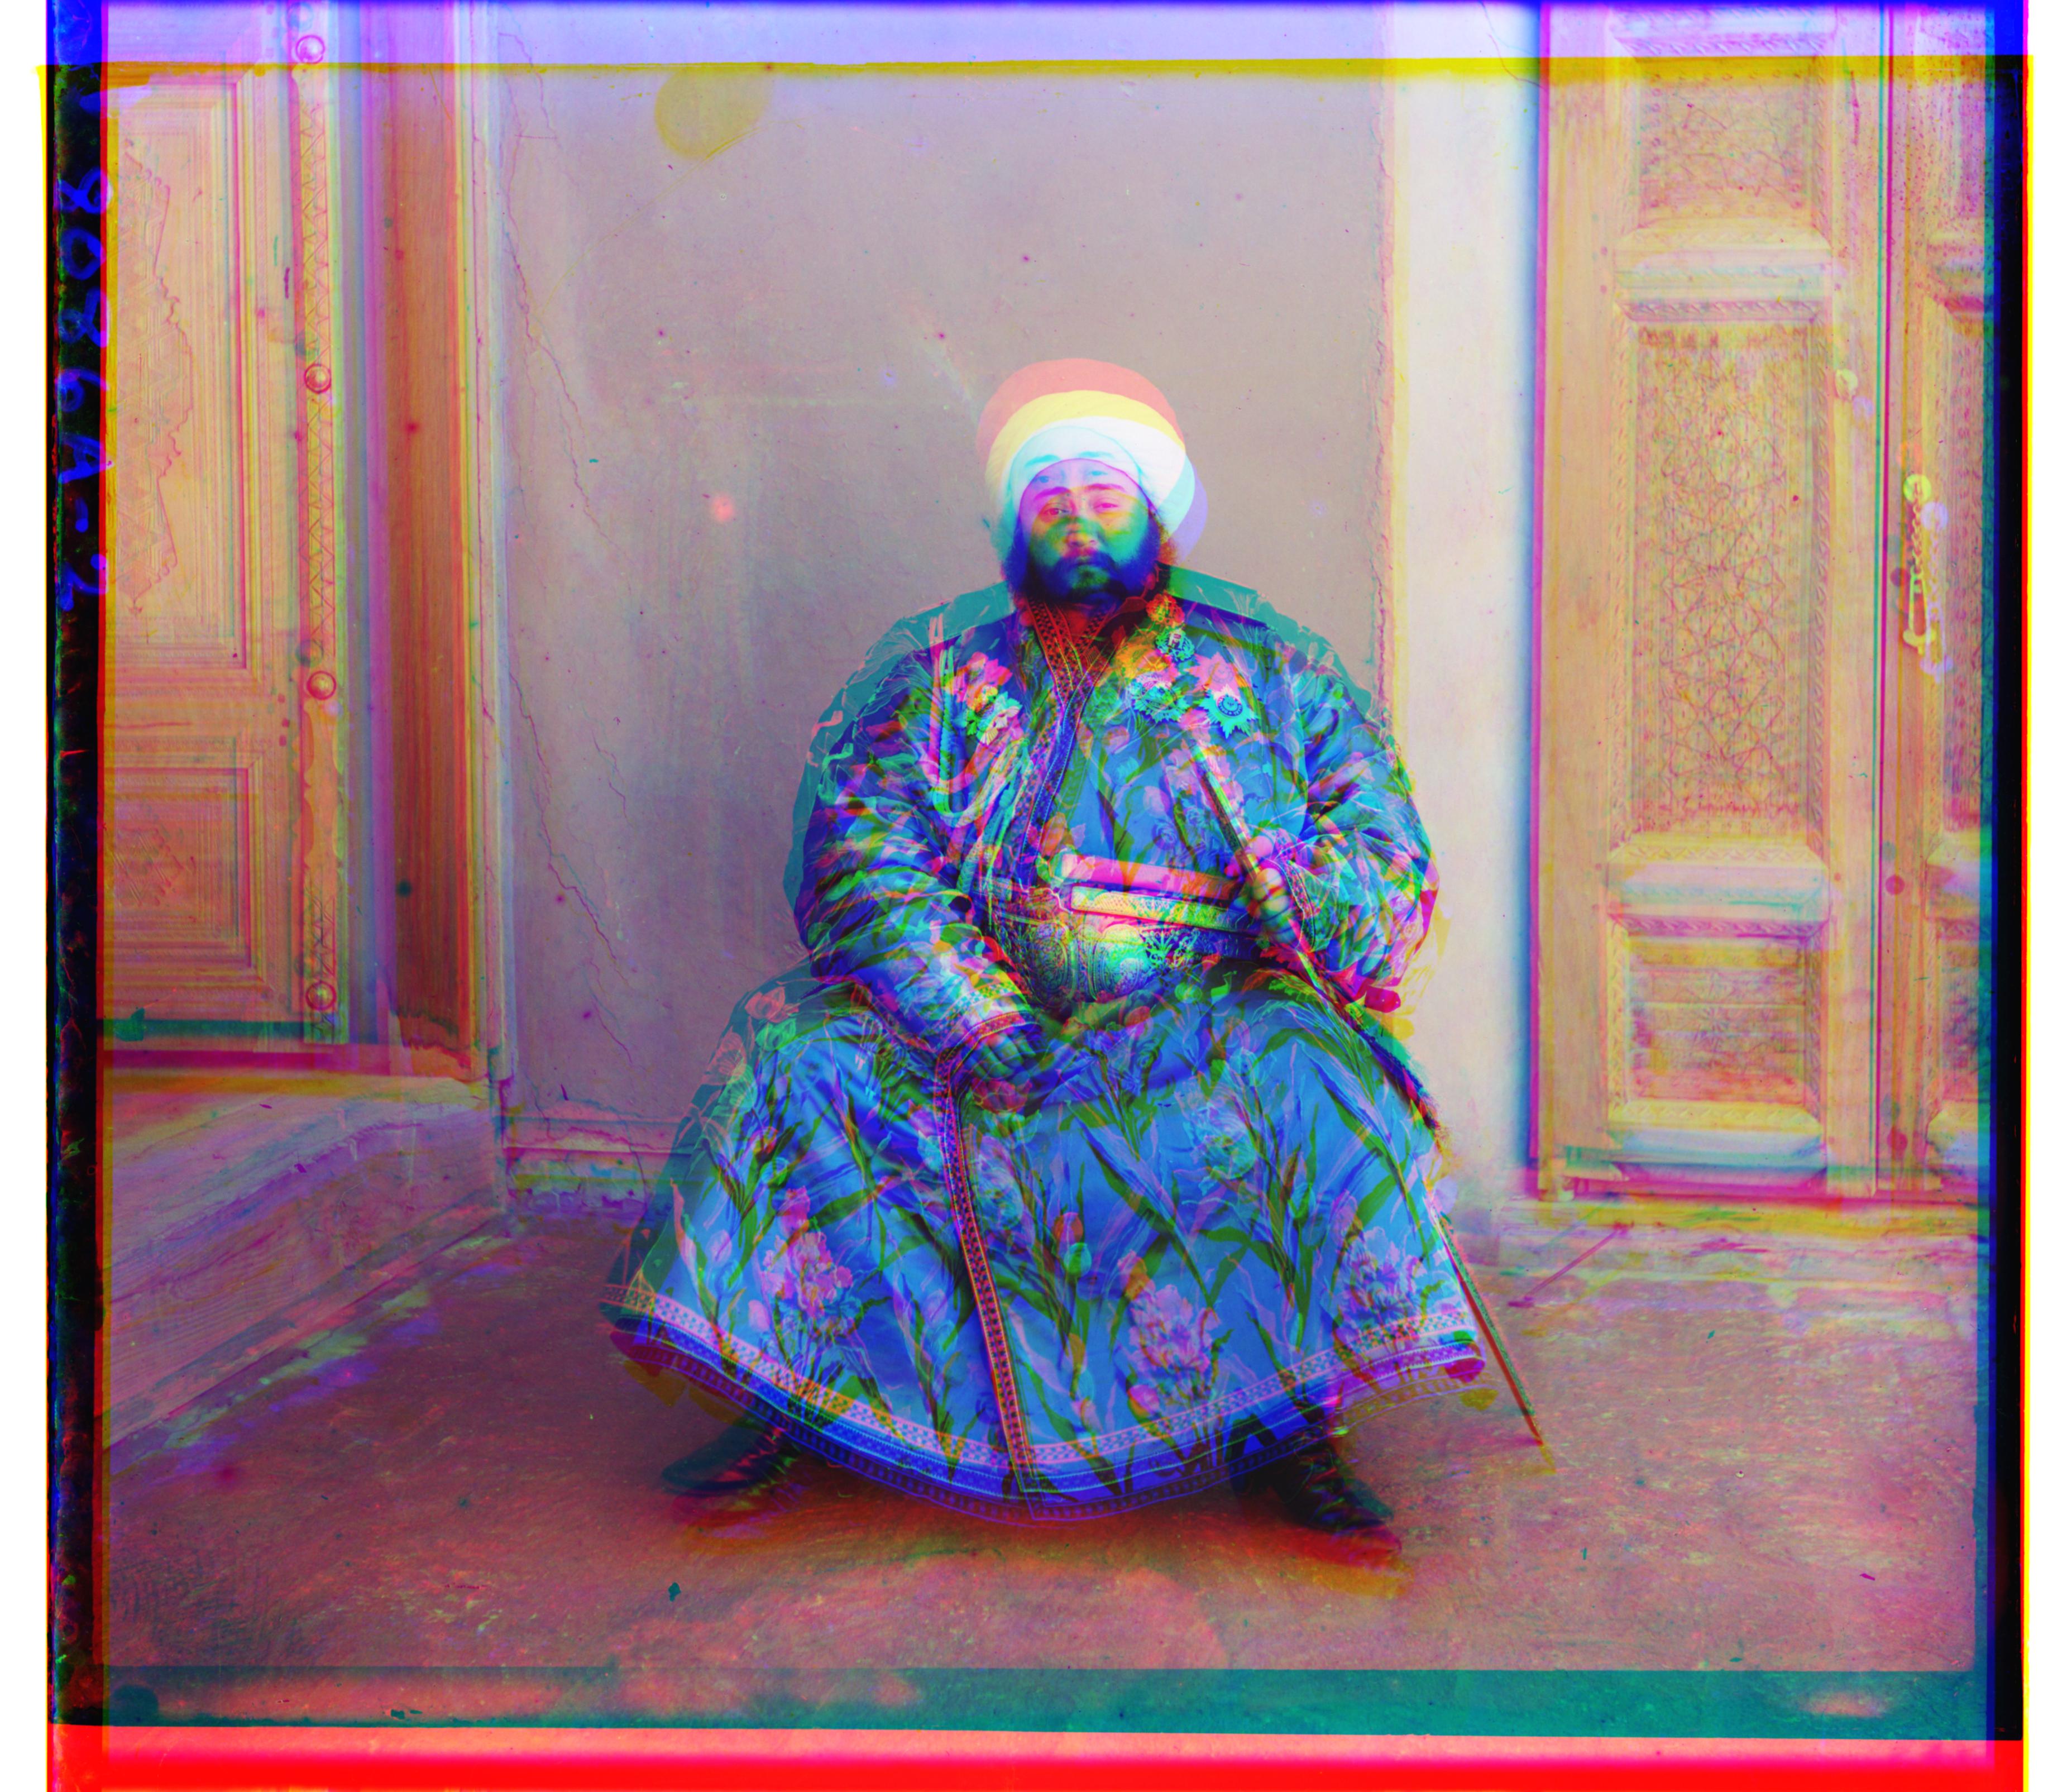
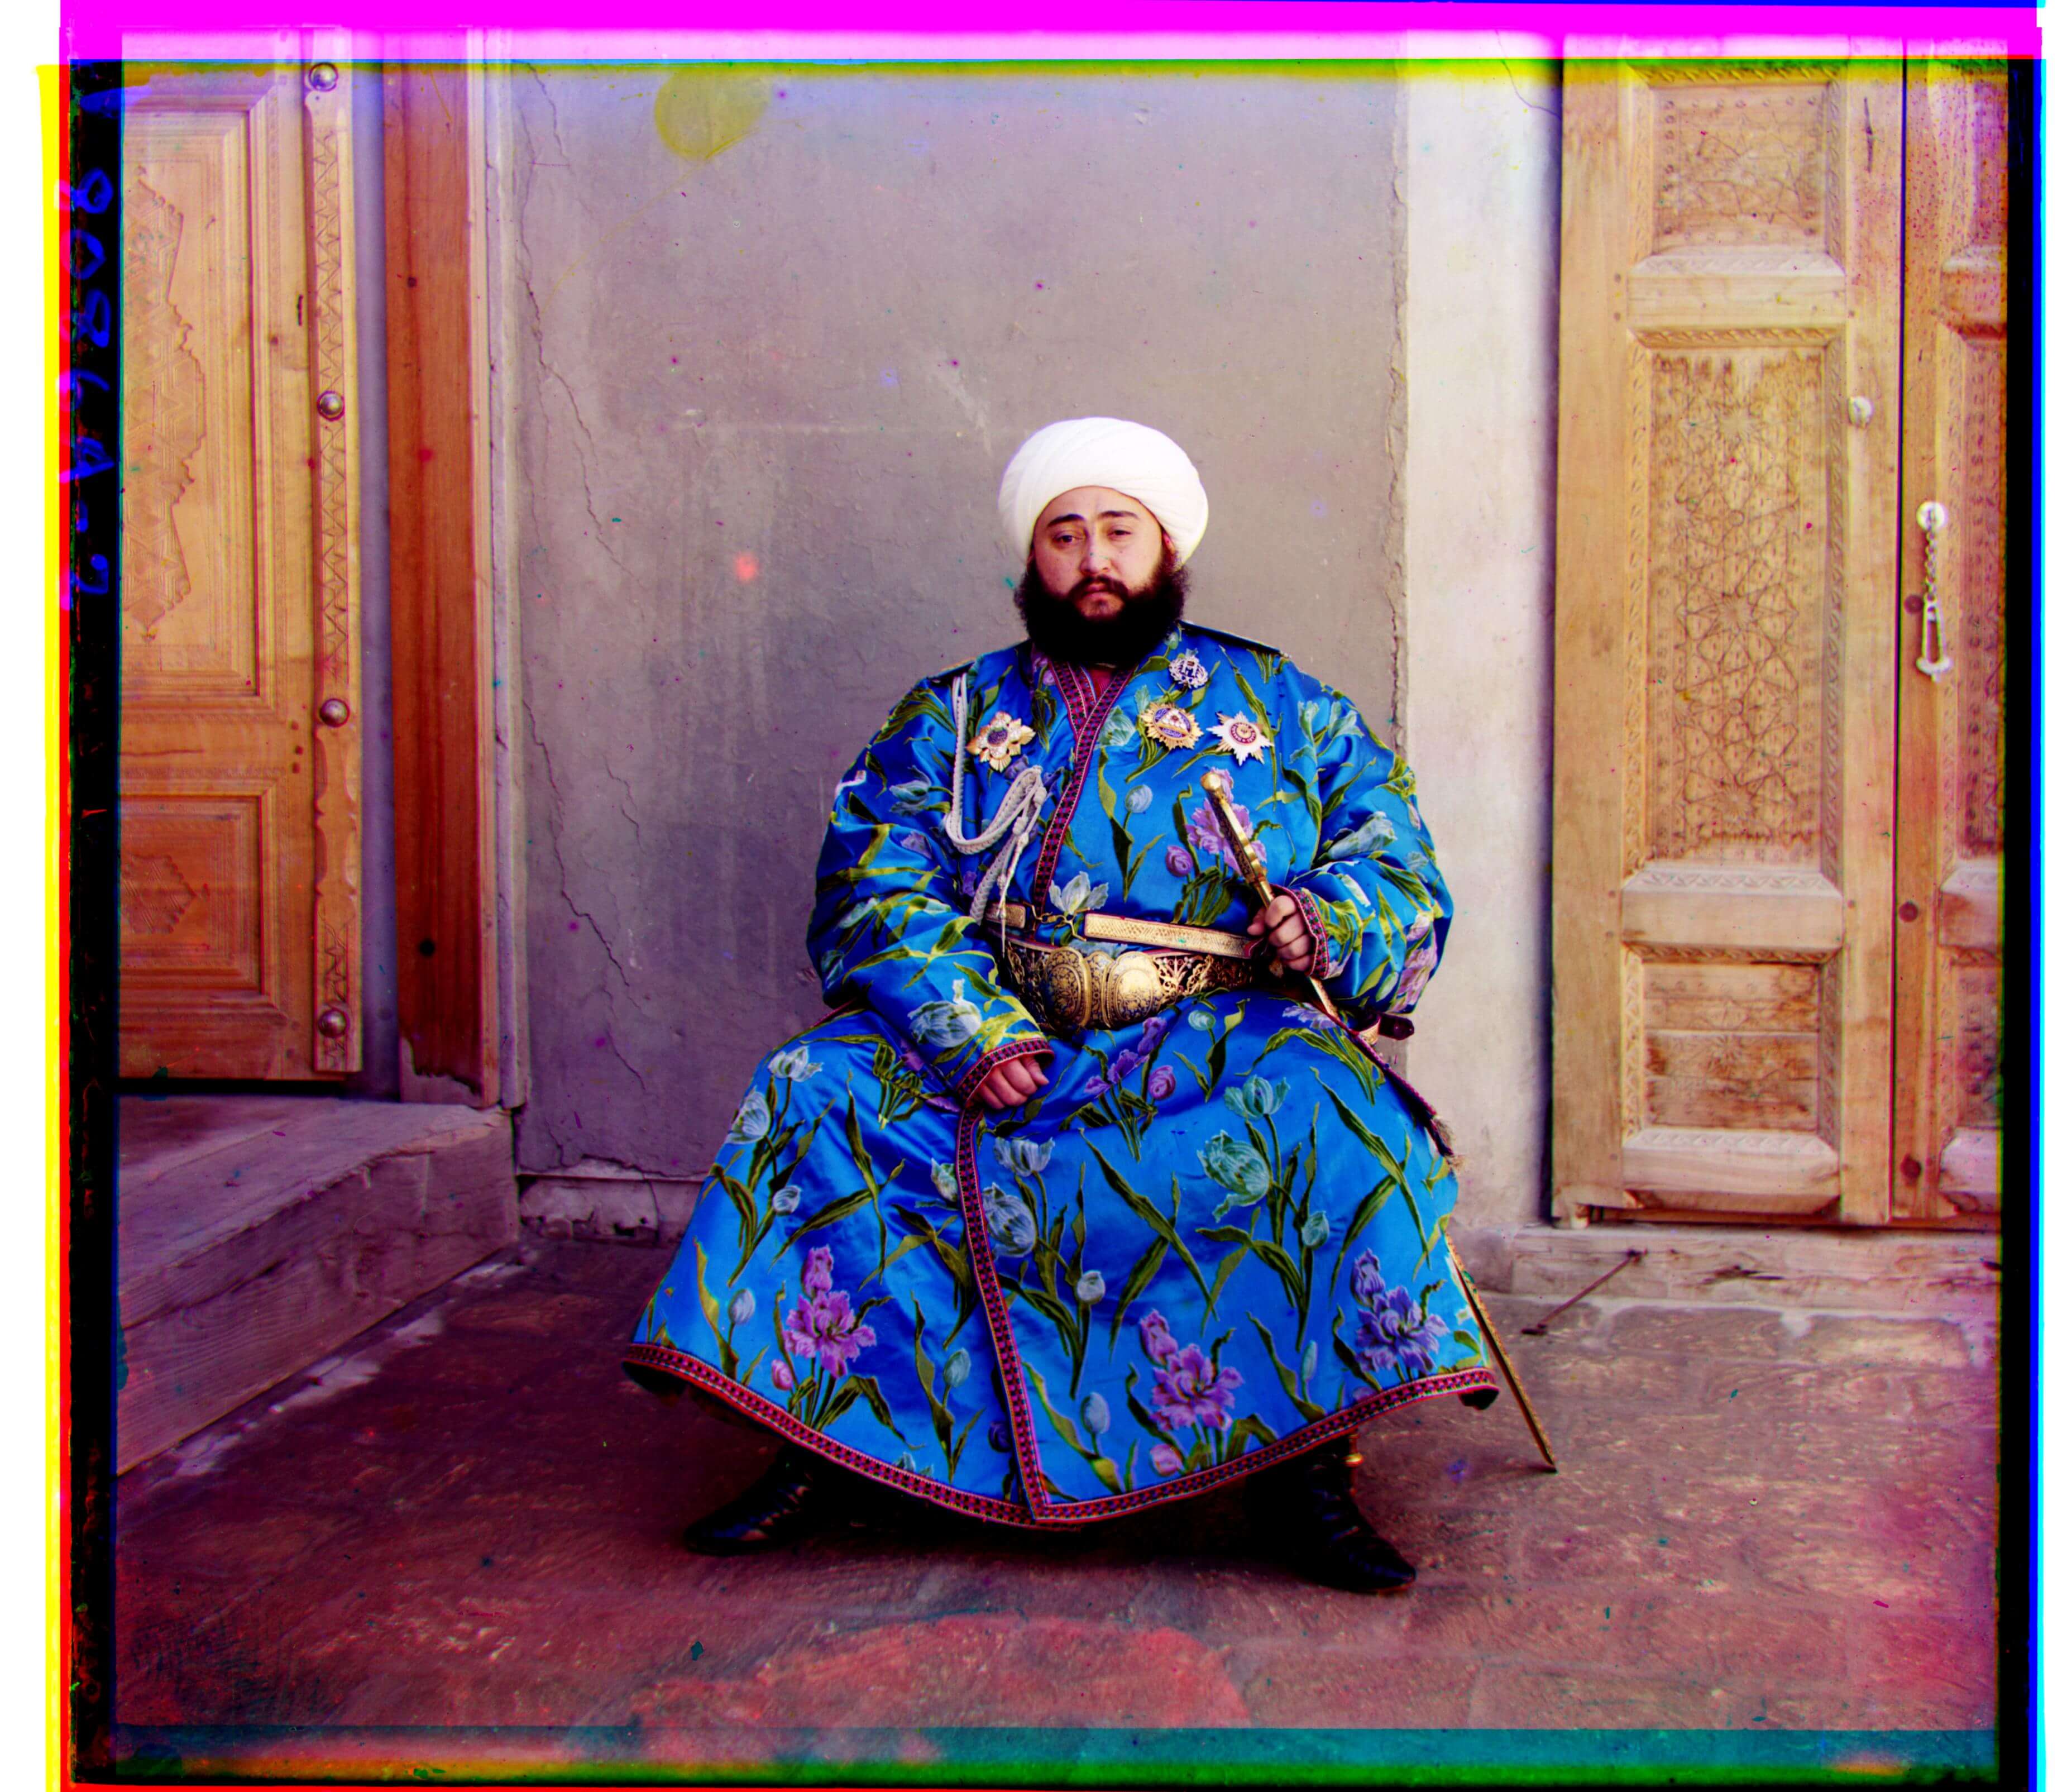
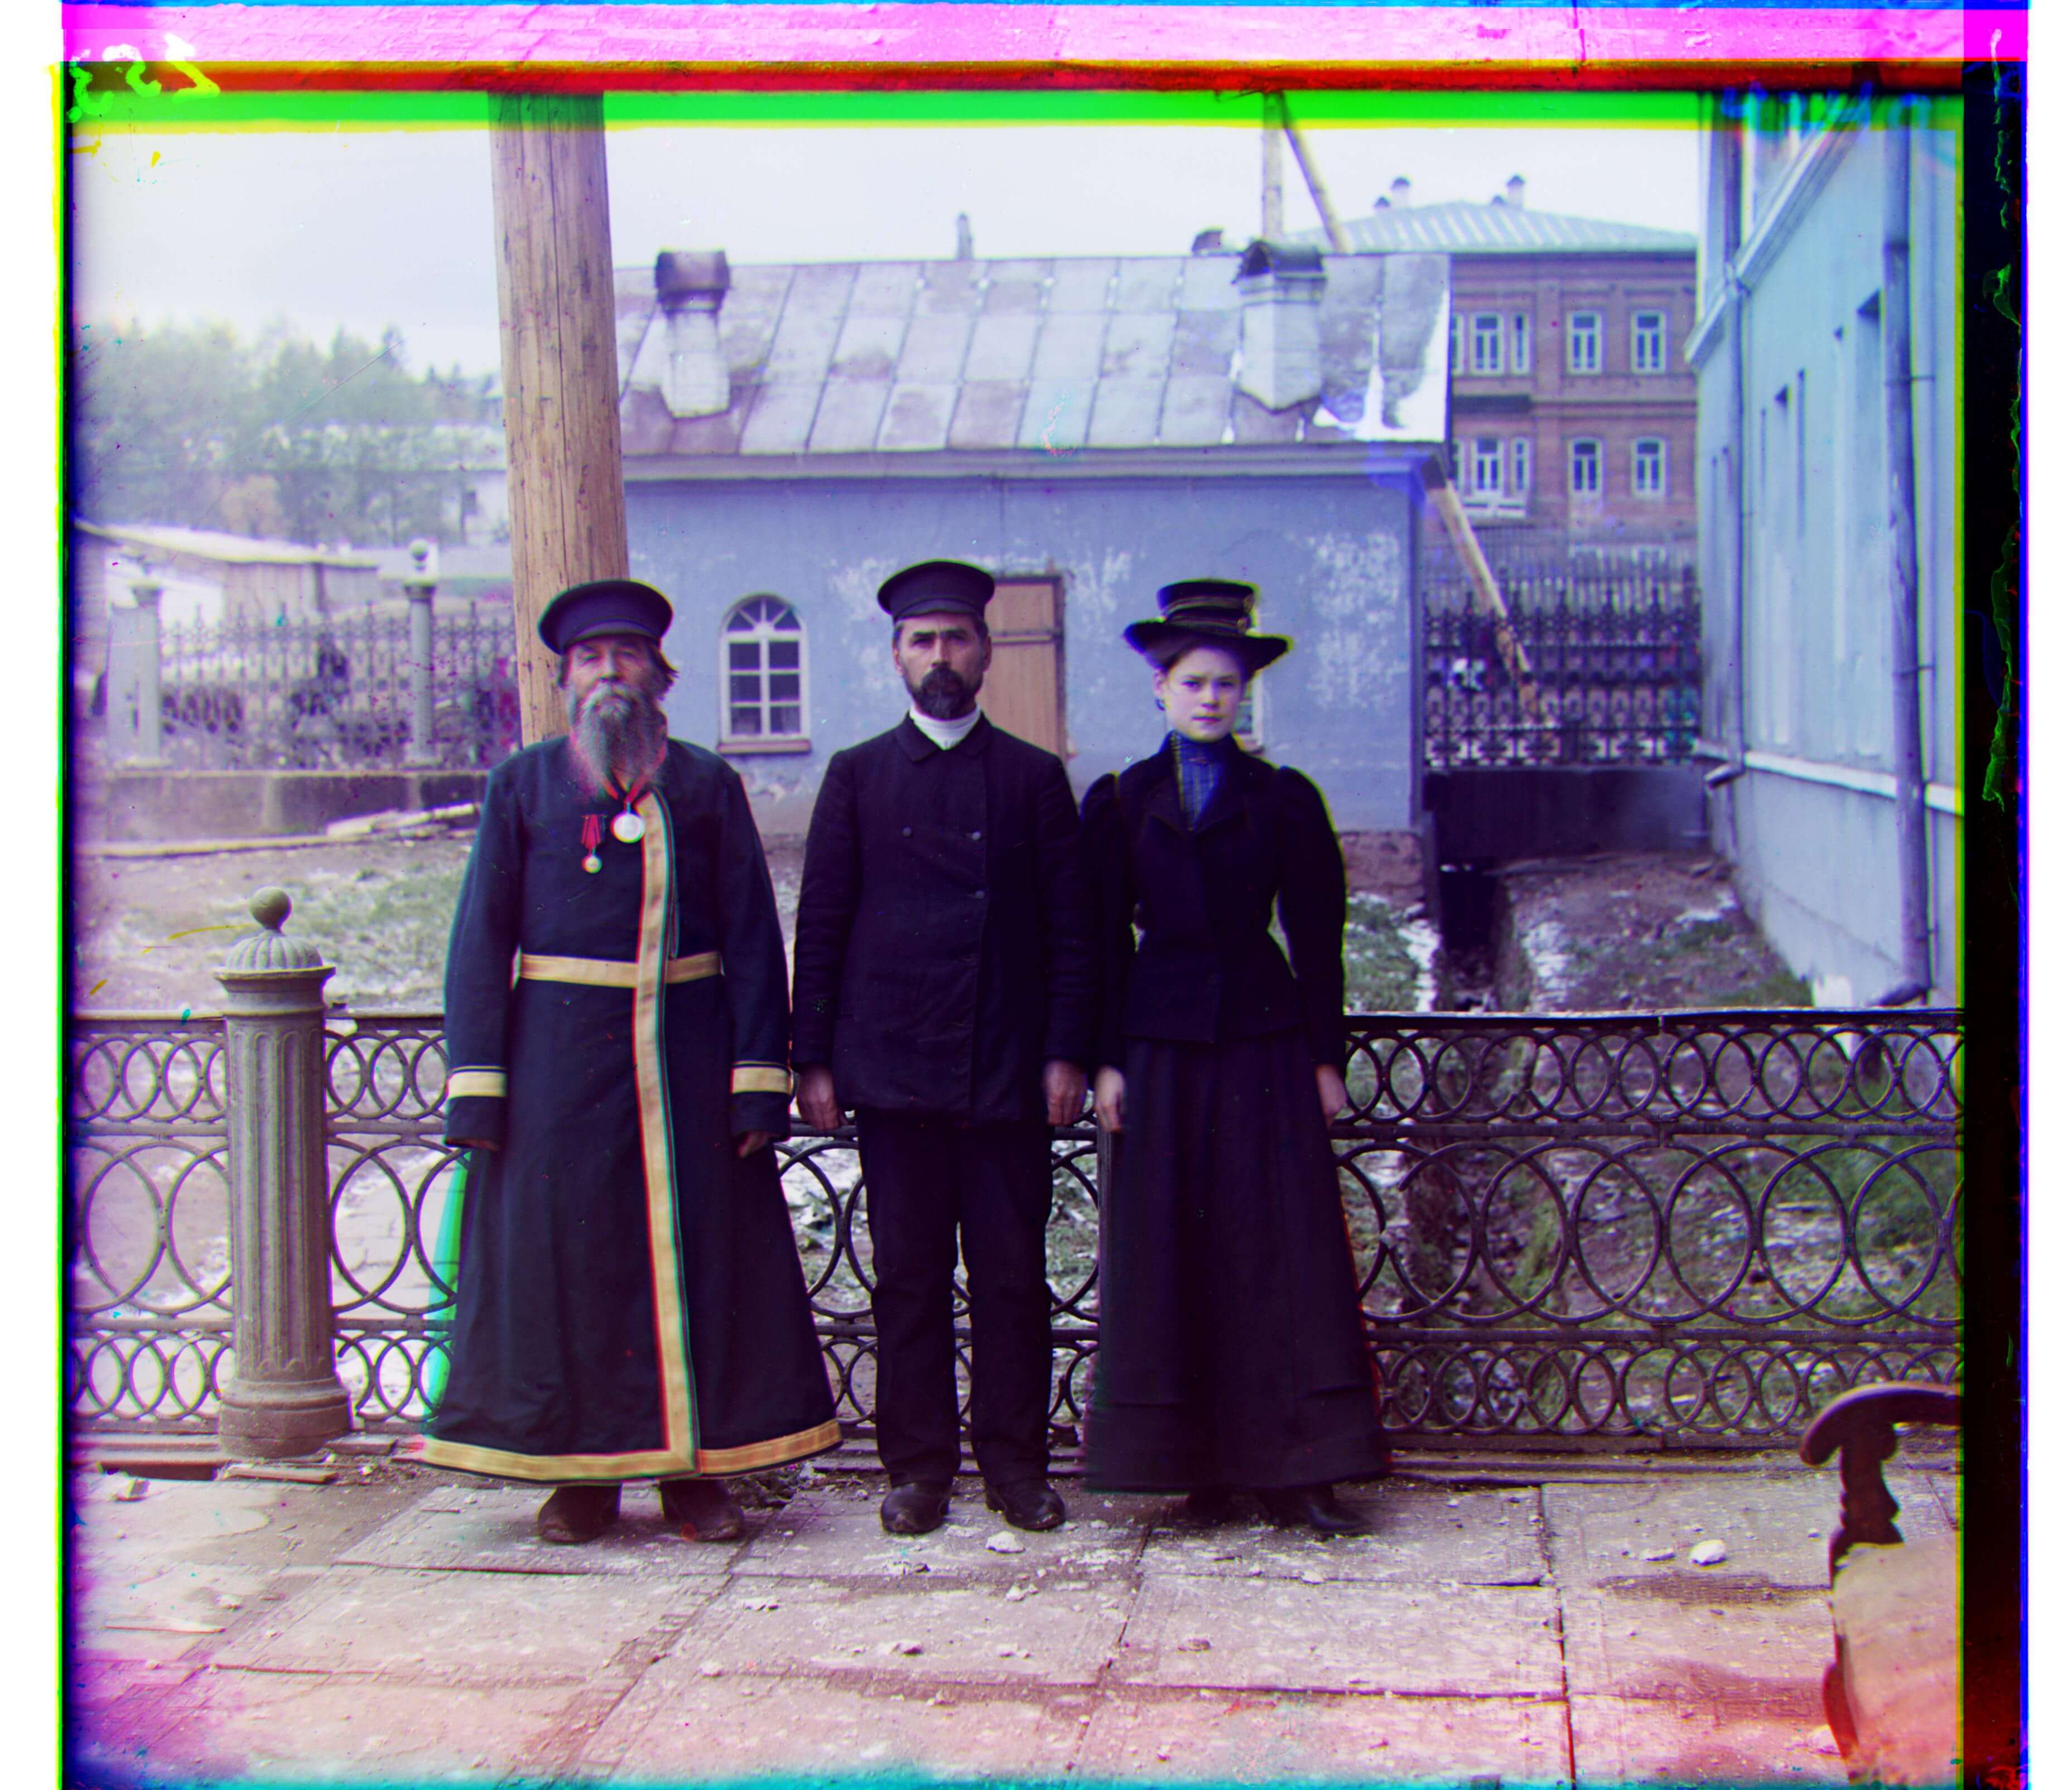
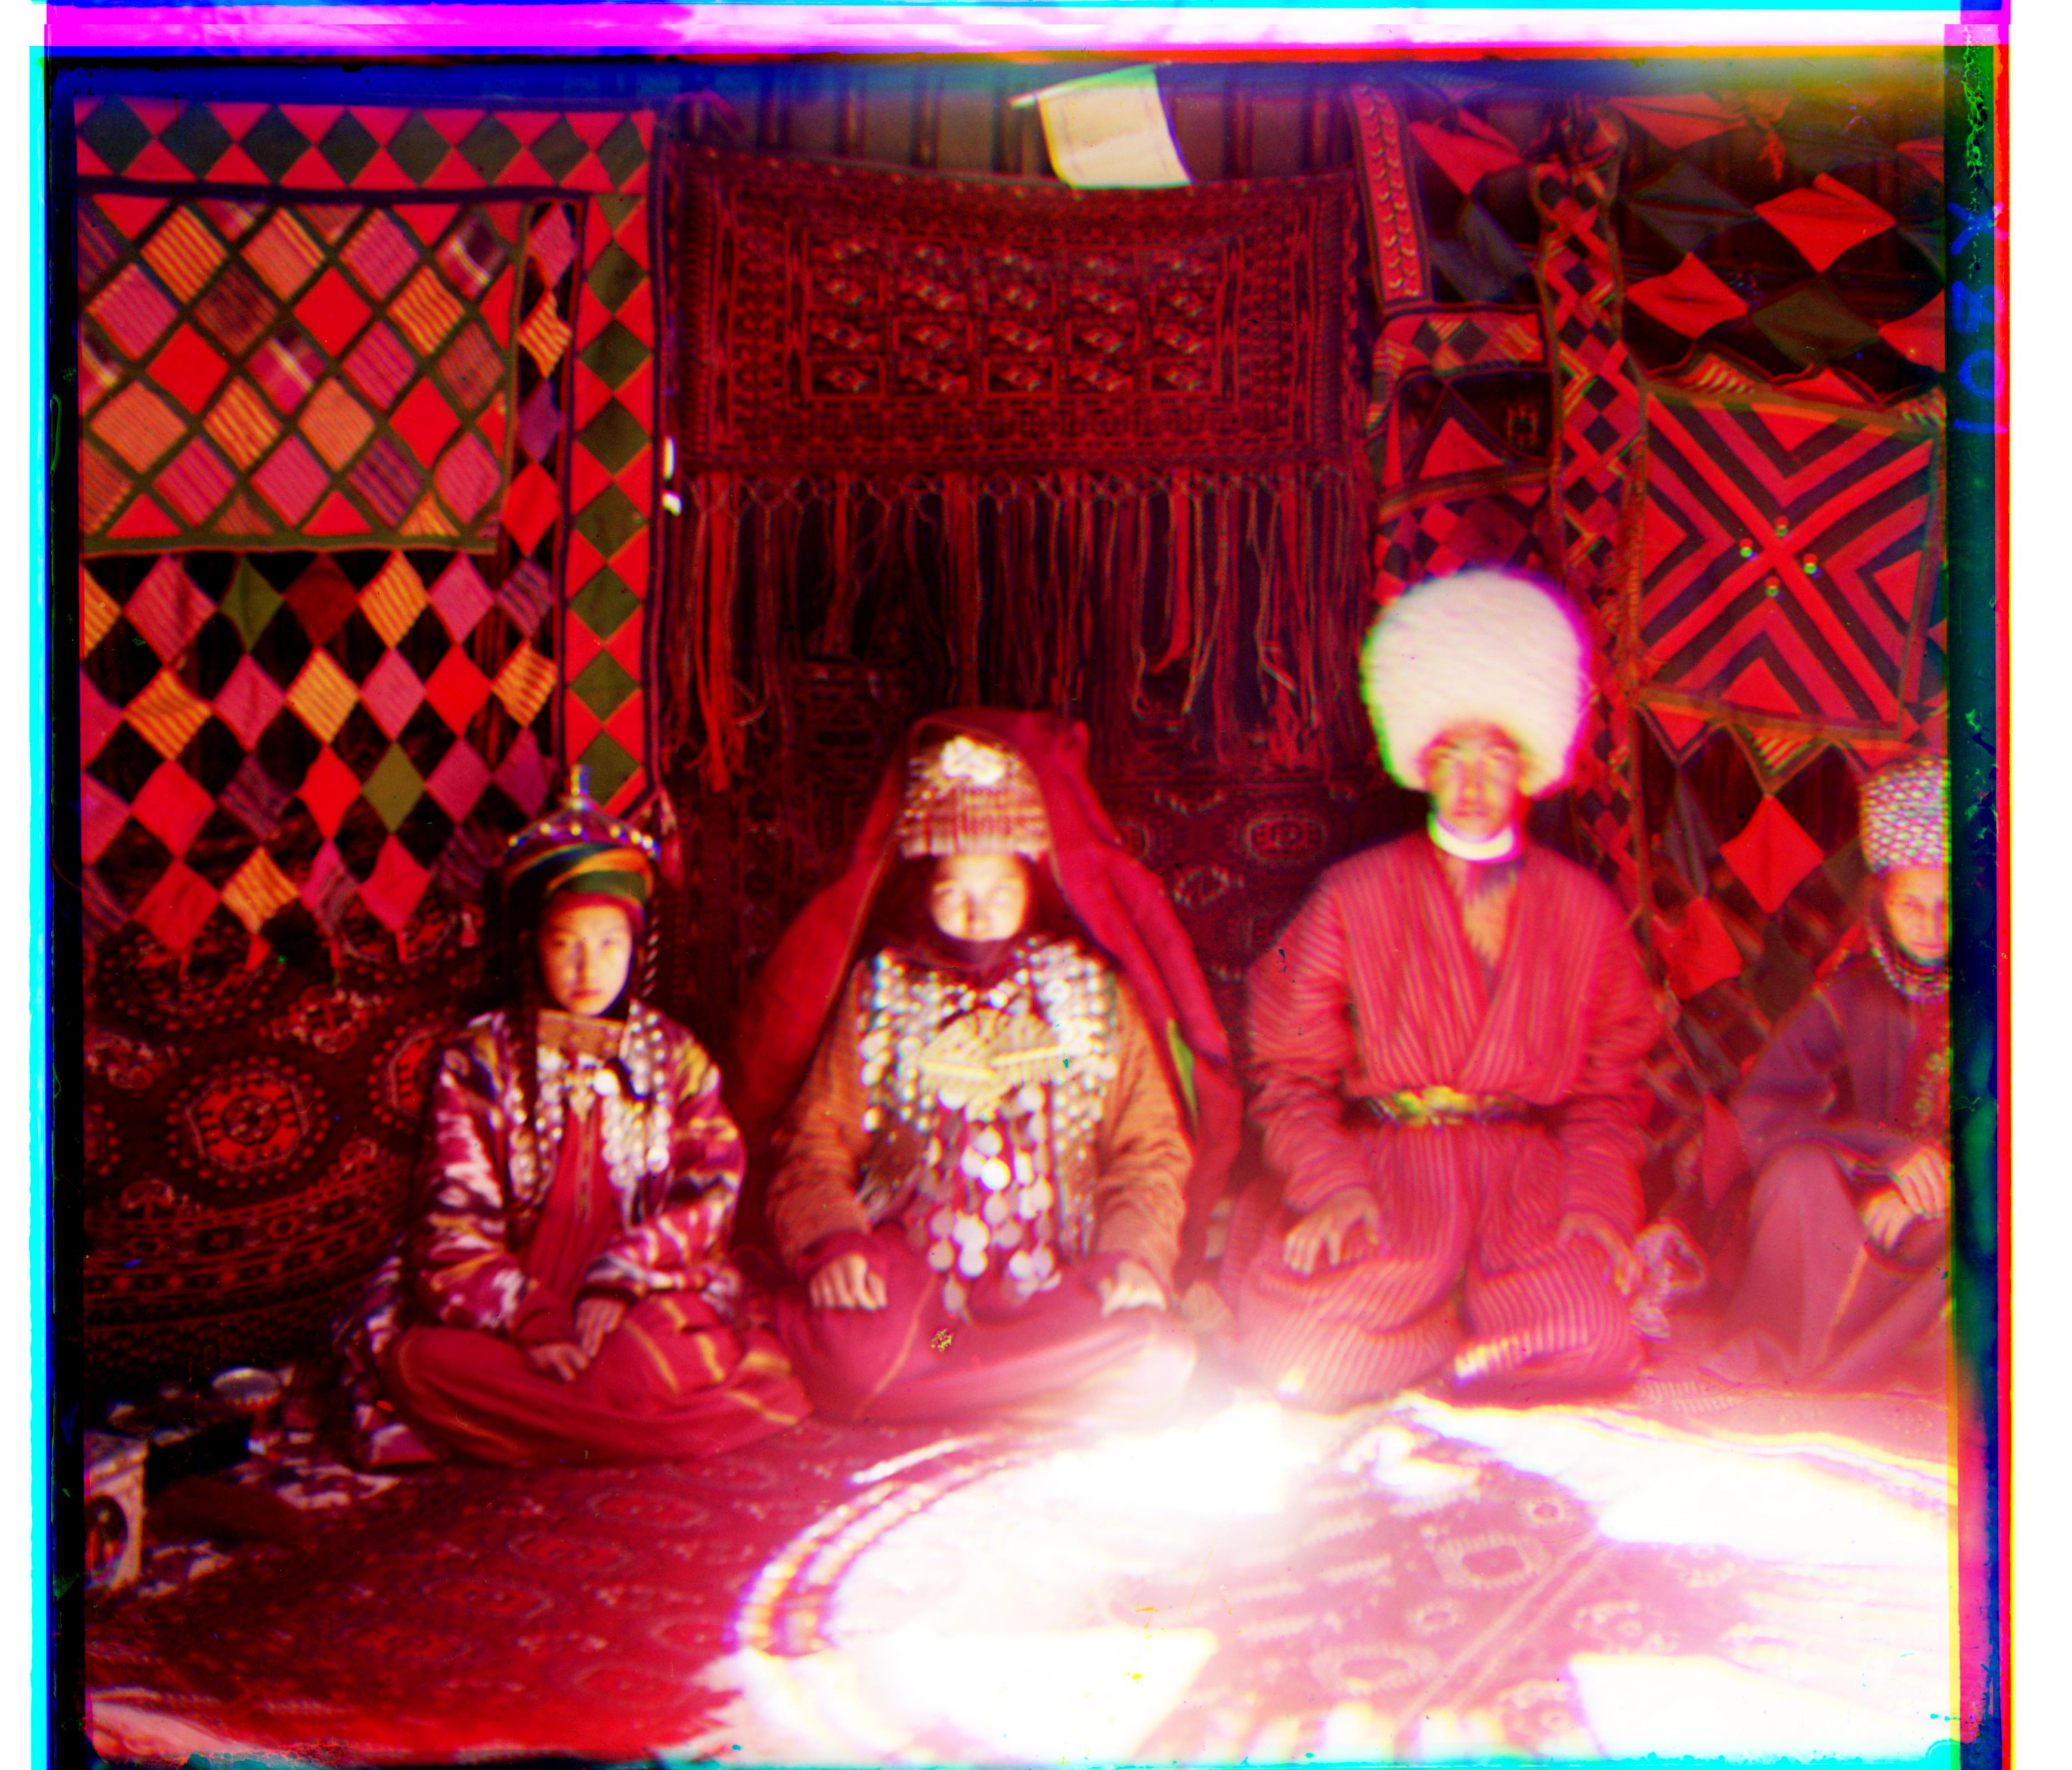
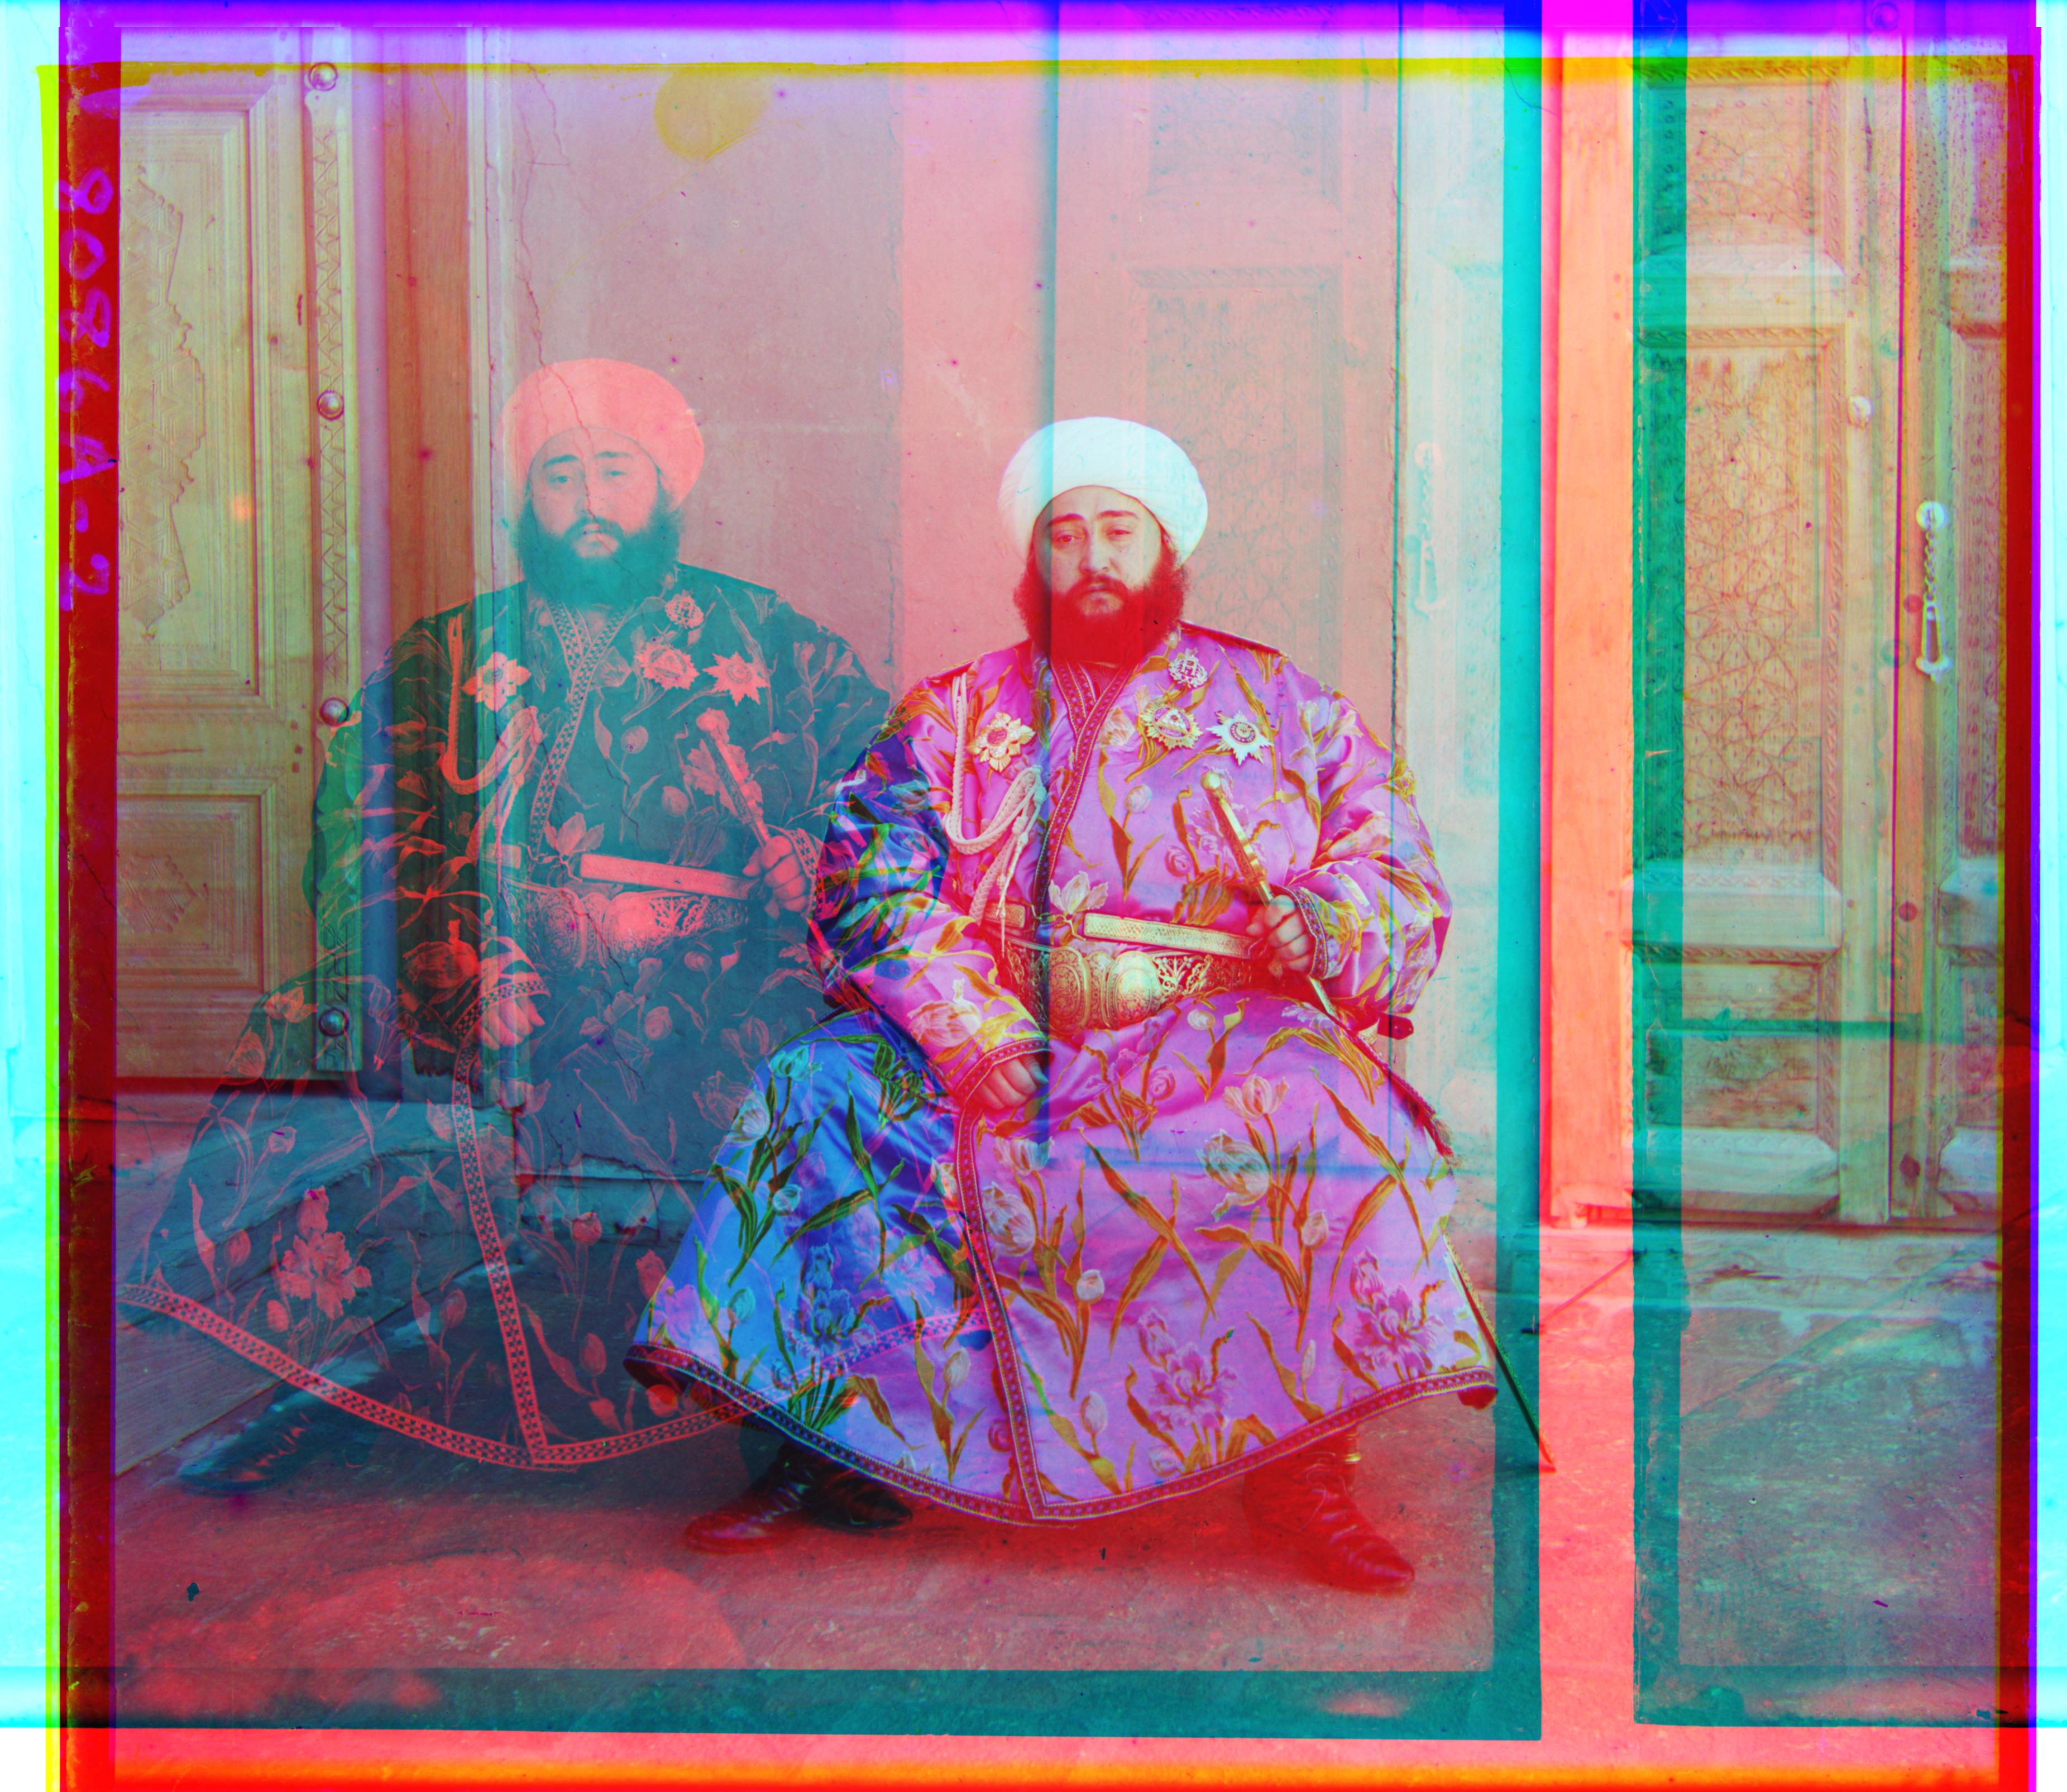
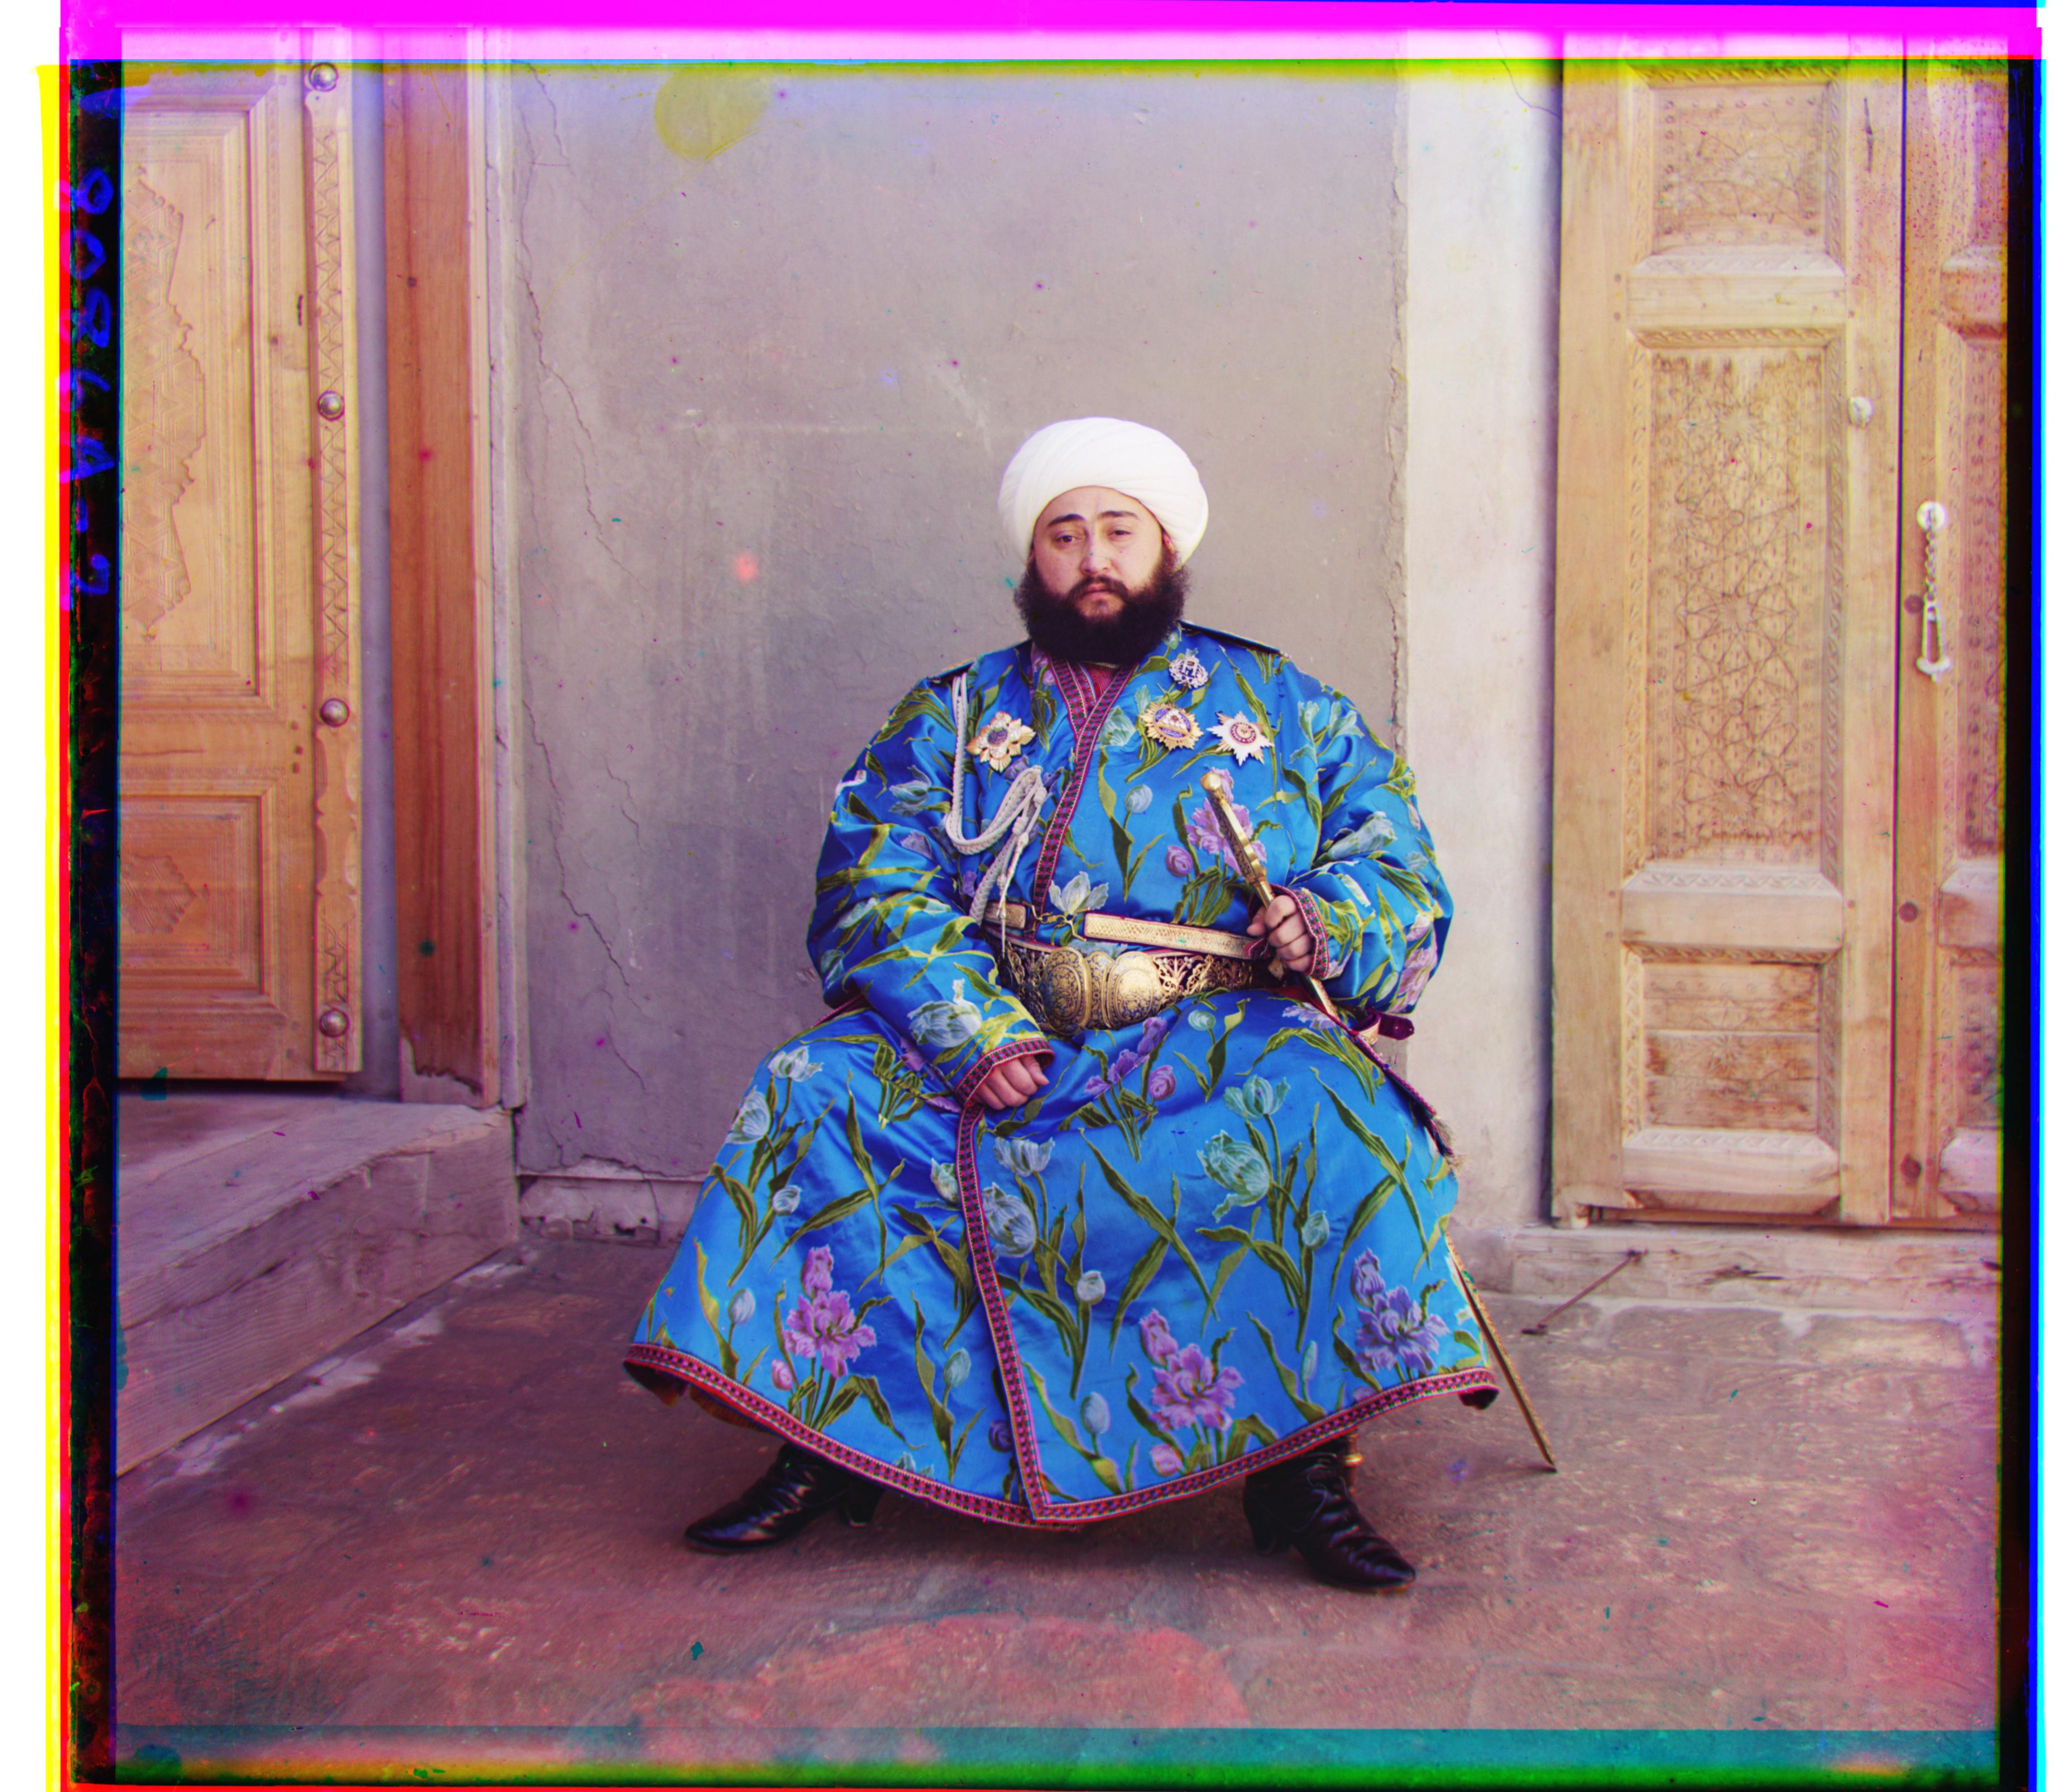
My procedure worked on all of the images that were assigned and the ones that I chose, except for Emir.
As you can see in the panel below, aligned Emir on the left somehow found a twin :(. This was mainly
due to the contrast differences between the channels from Emir's coat. The blue channel had high pixel values
for his coat, while the red channel had low pixel values. This makes sense since his coat is
mostly blue. Since his surroundings were darker, the error metric was better optimized when the coat matched with
wall, hence his shift.
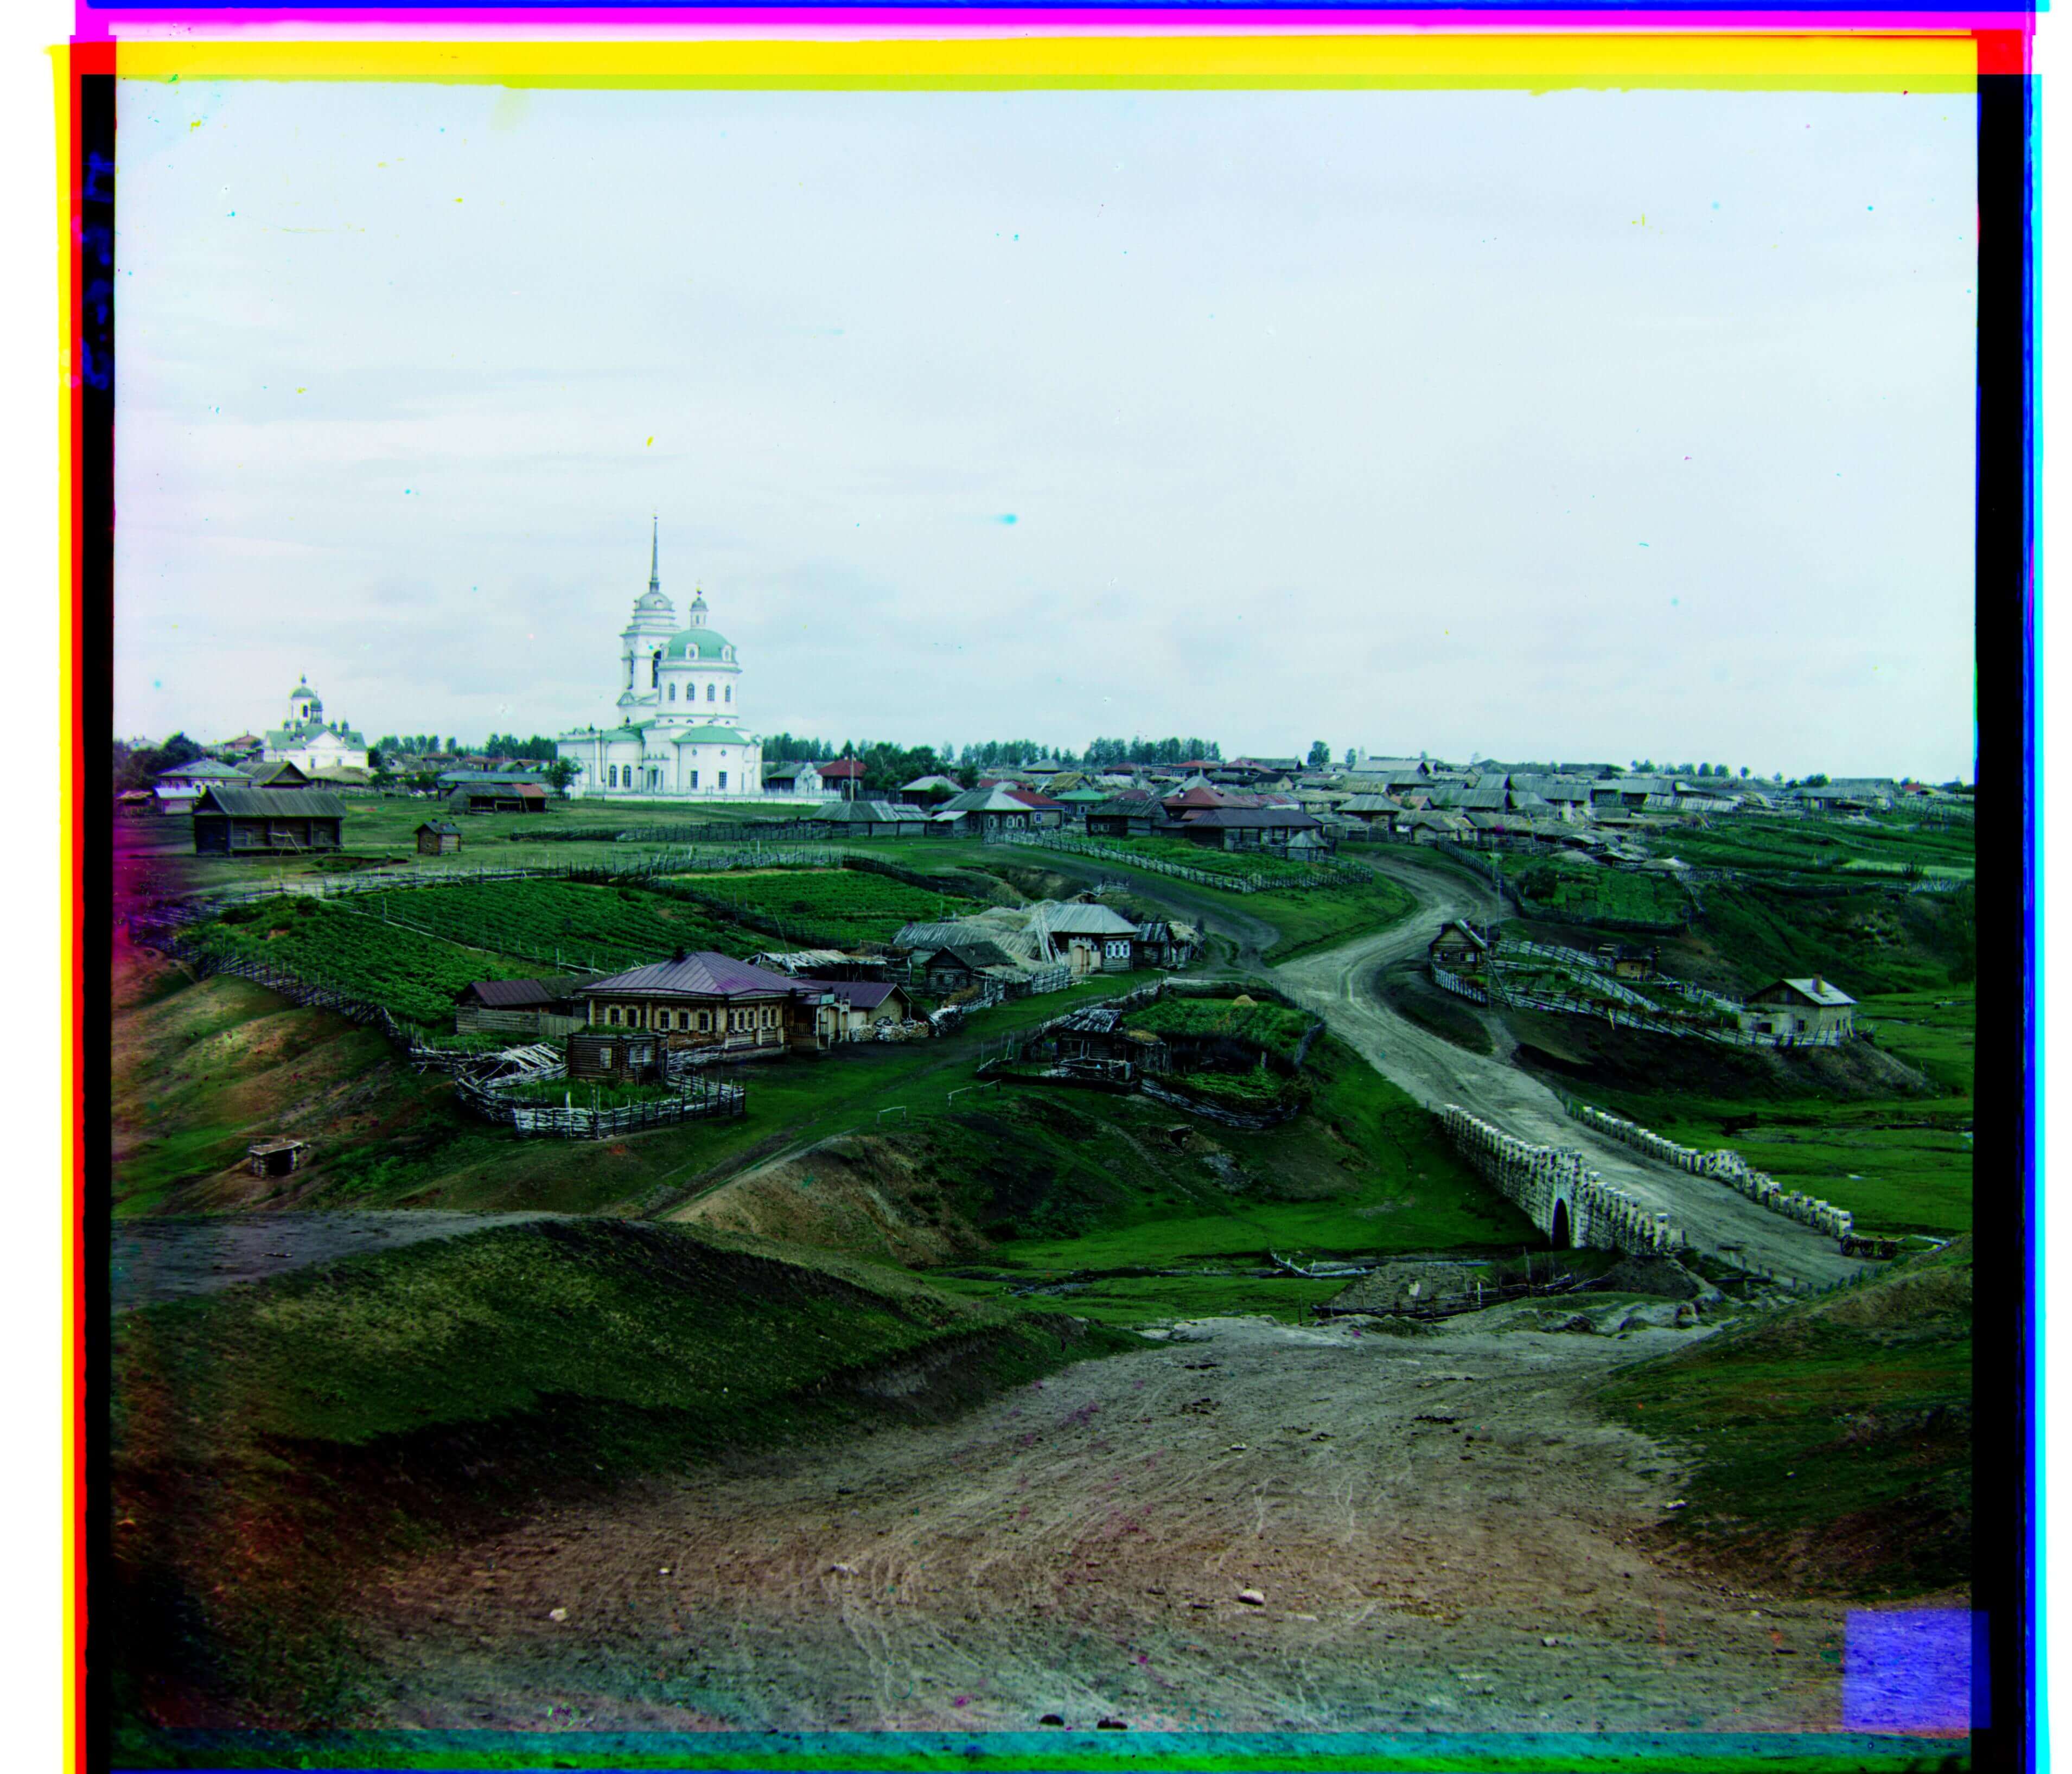
To resolve this issue, I adjusted the pixel values by subtracting by a constant (around the average pixel value) and finding the absolute difference.
This approach resulted in the better aligned Emir to the right. However, including it failed to align a majority of photos.
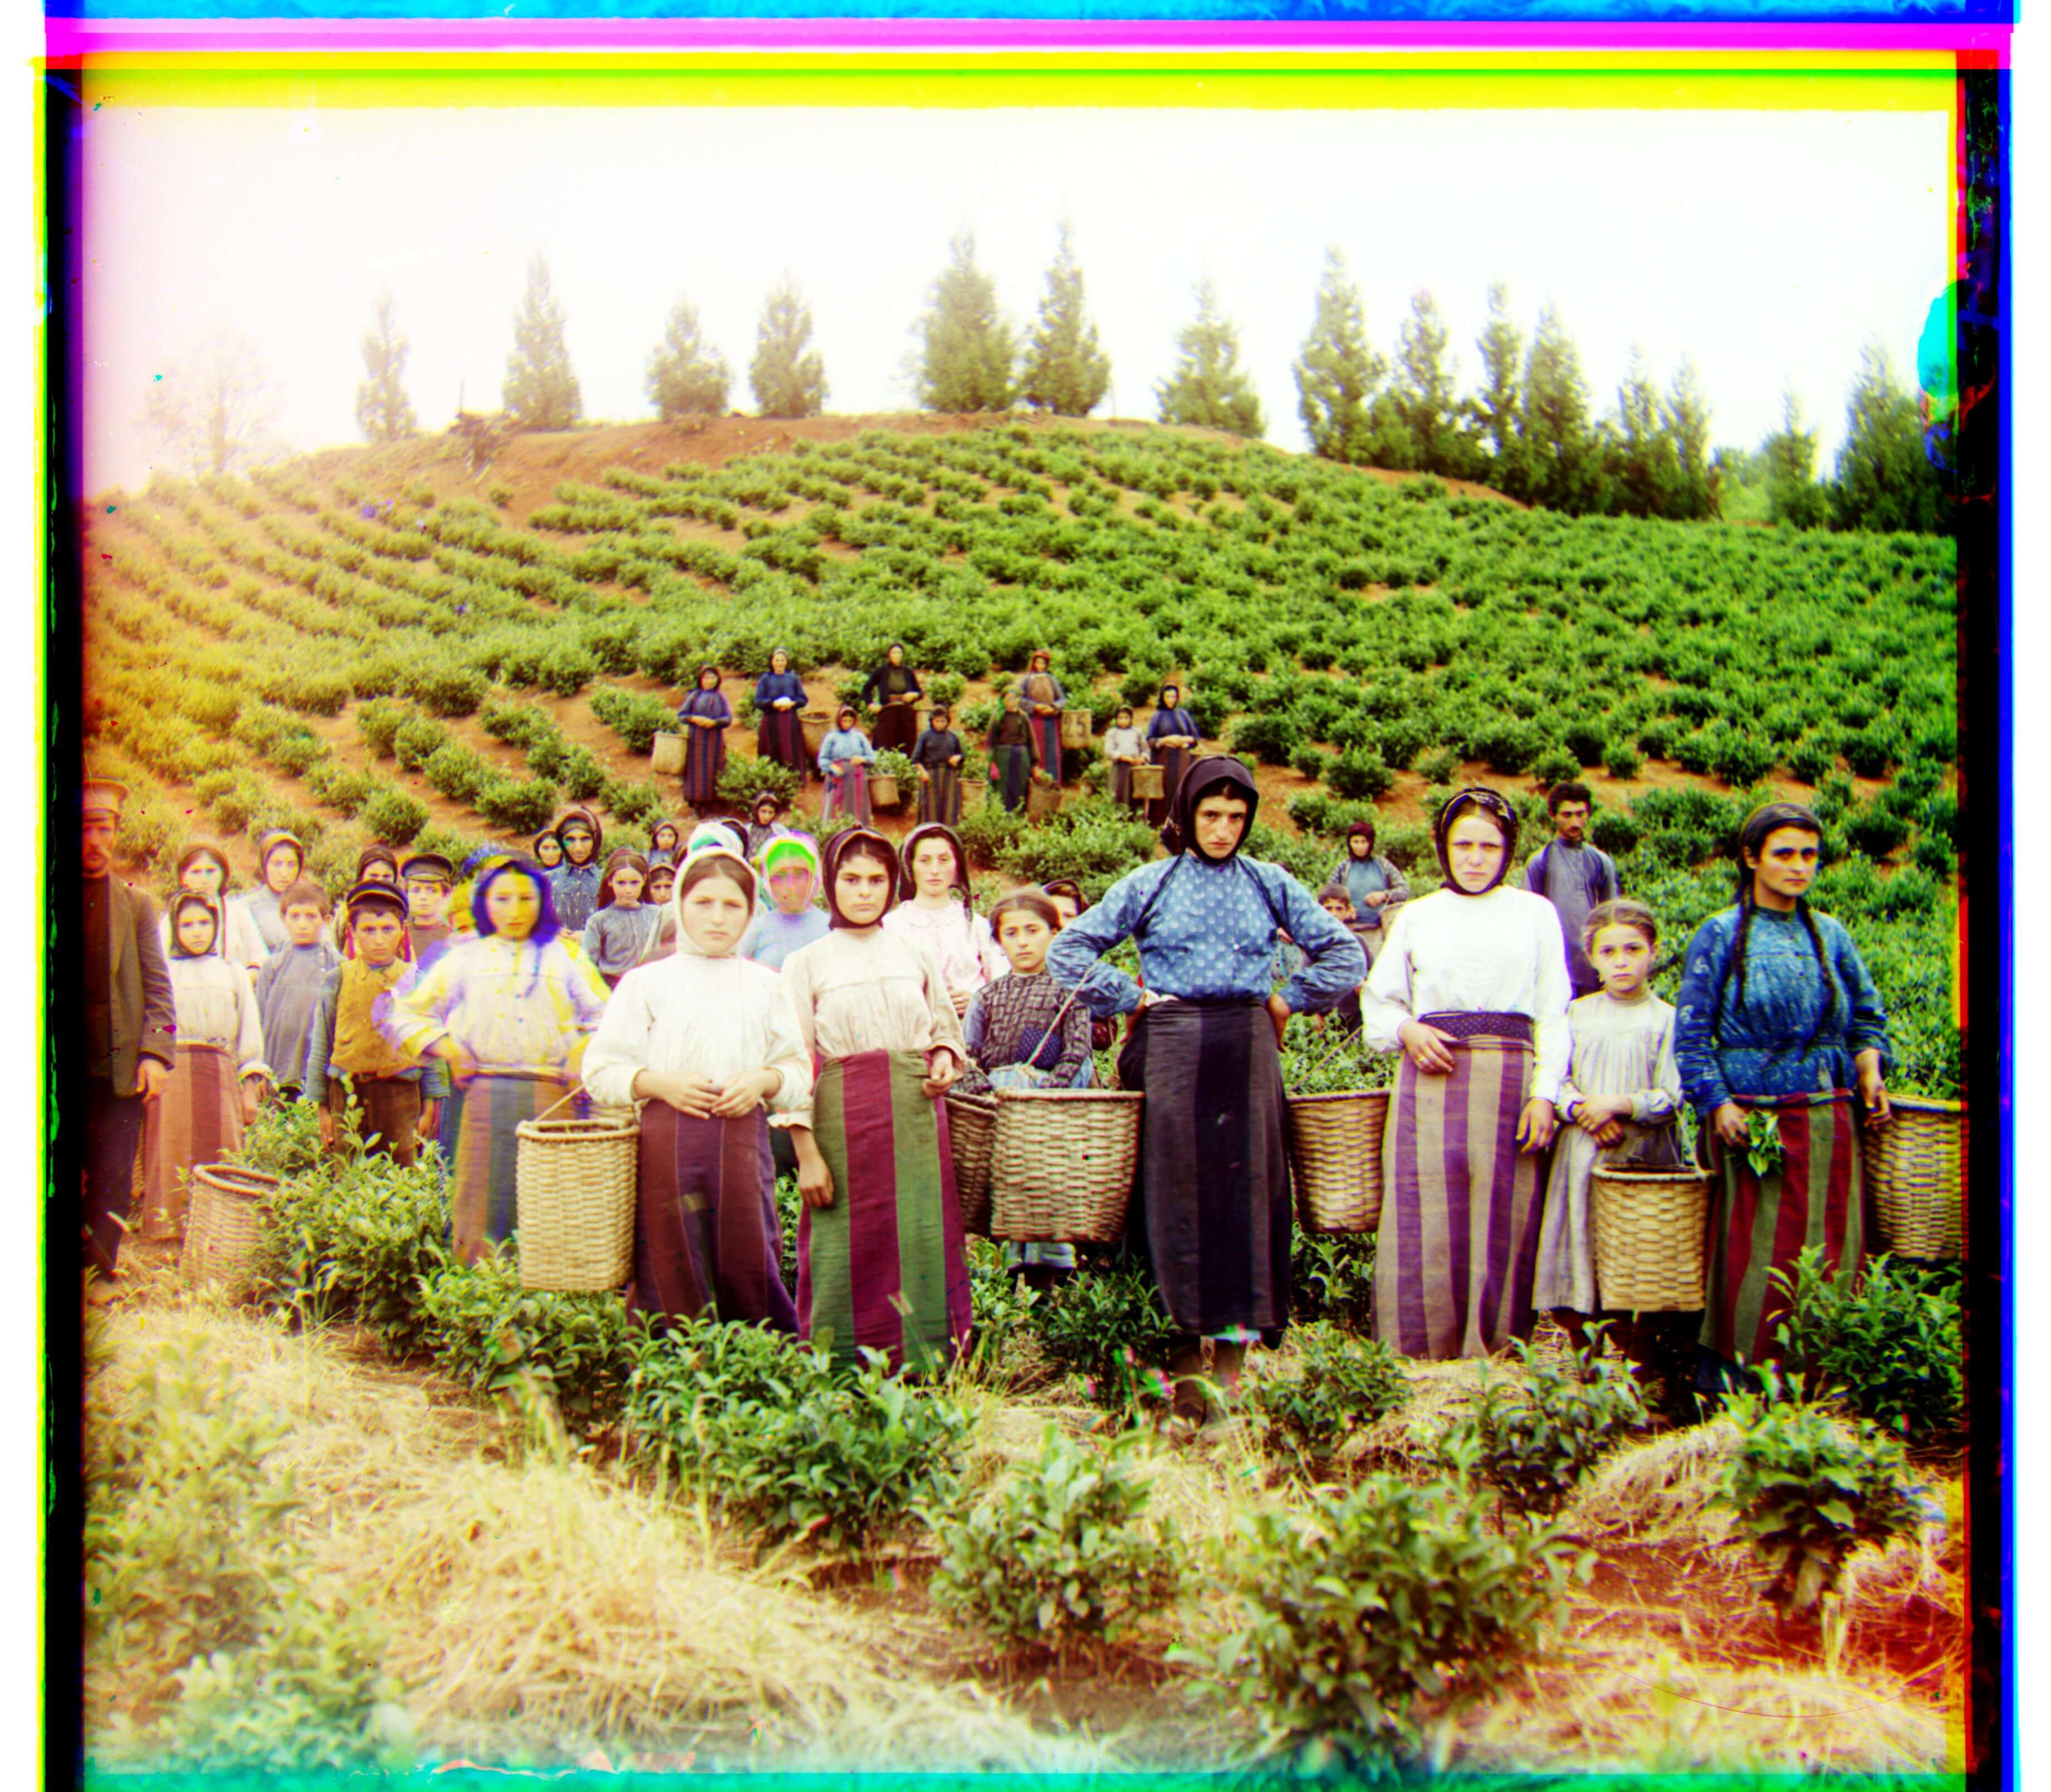
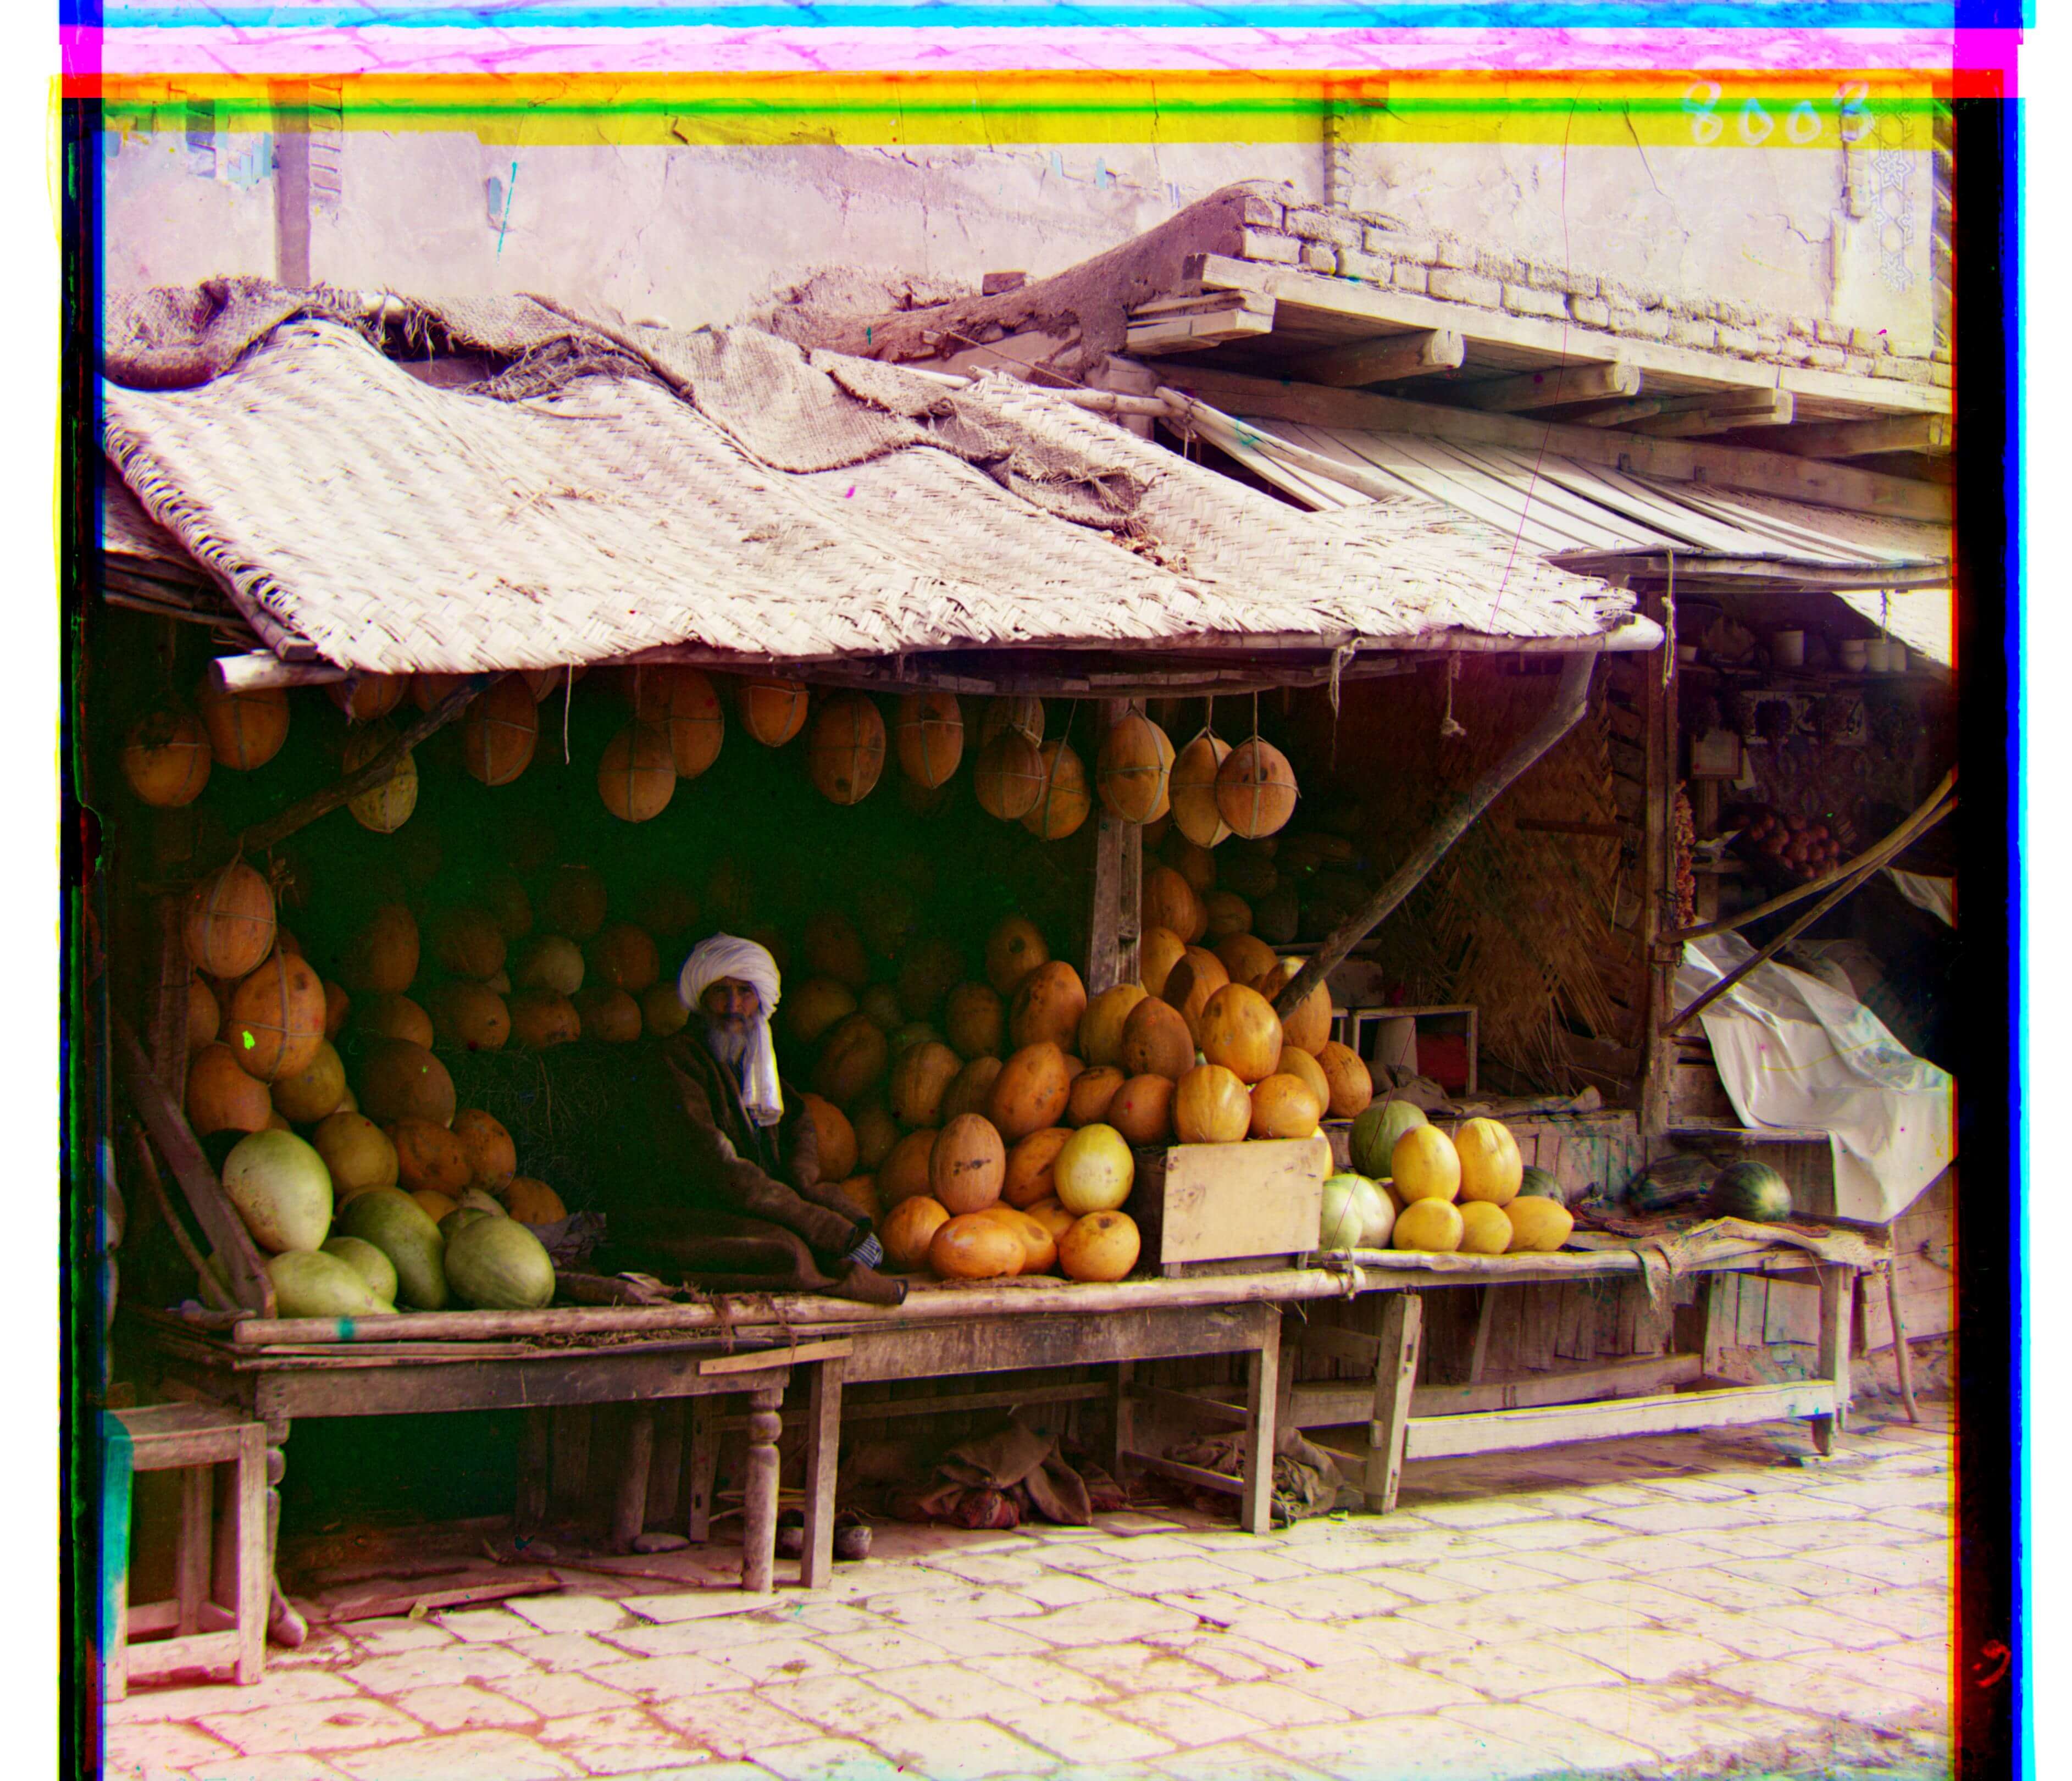
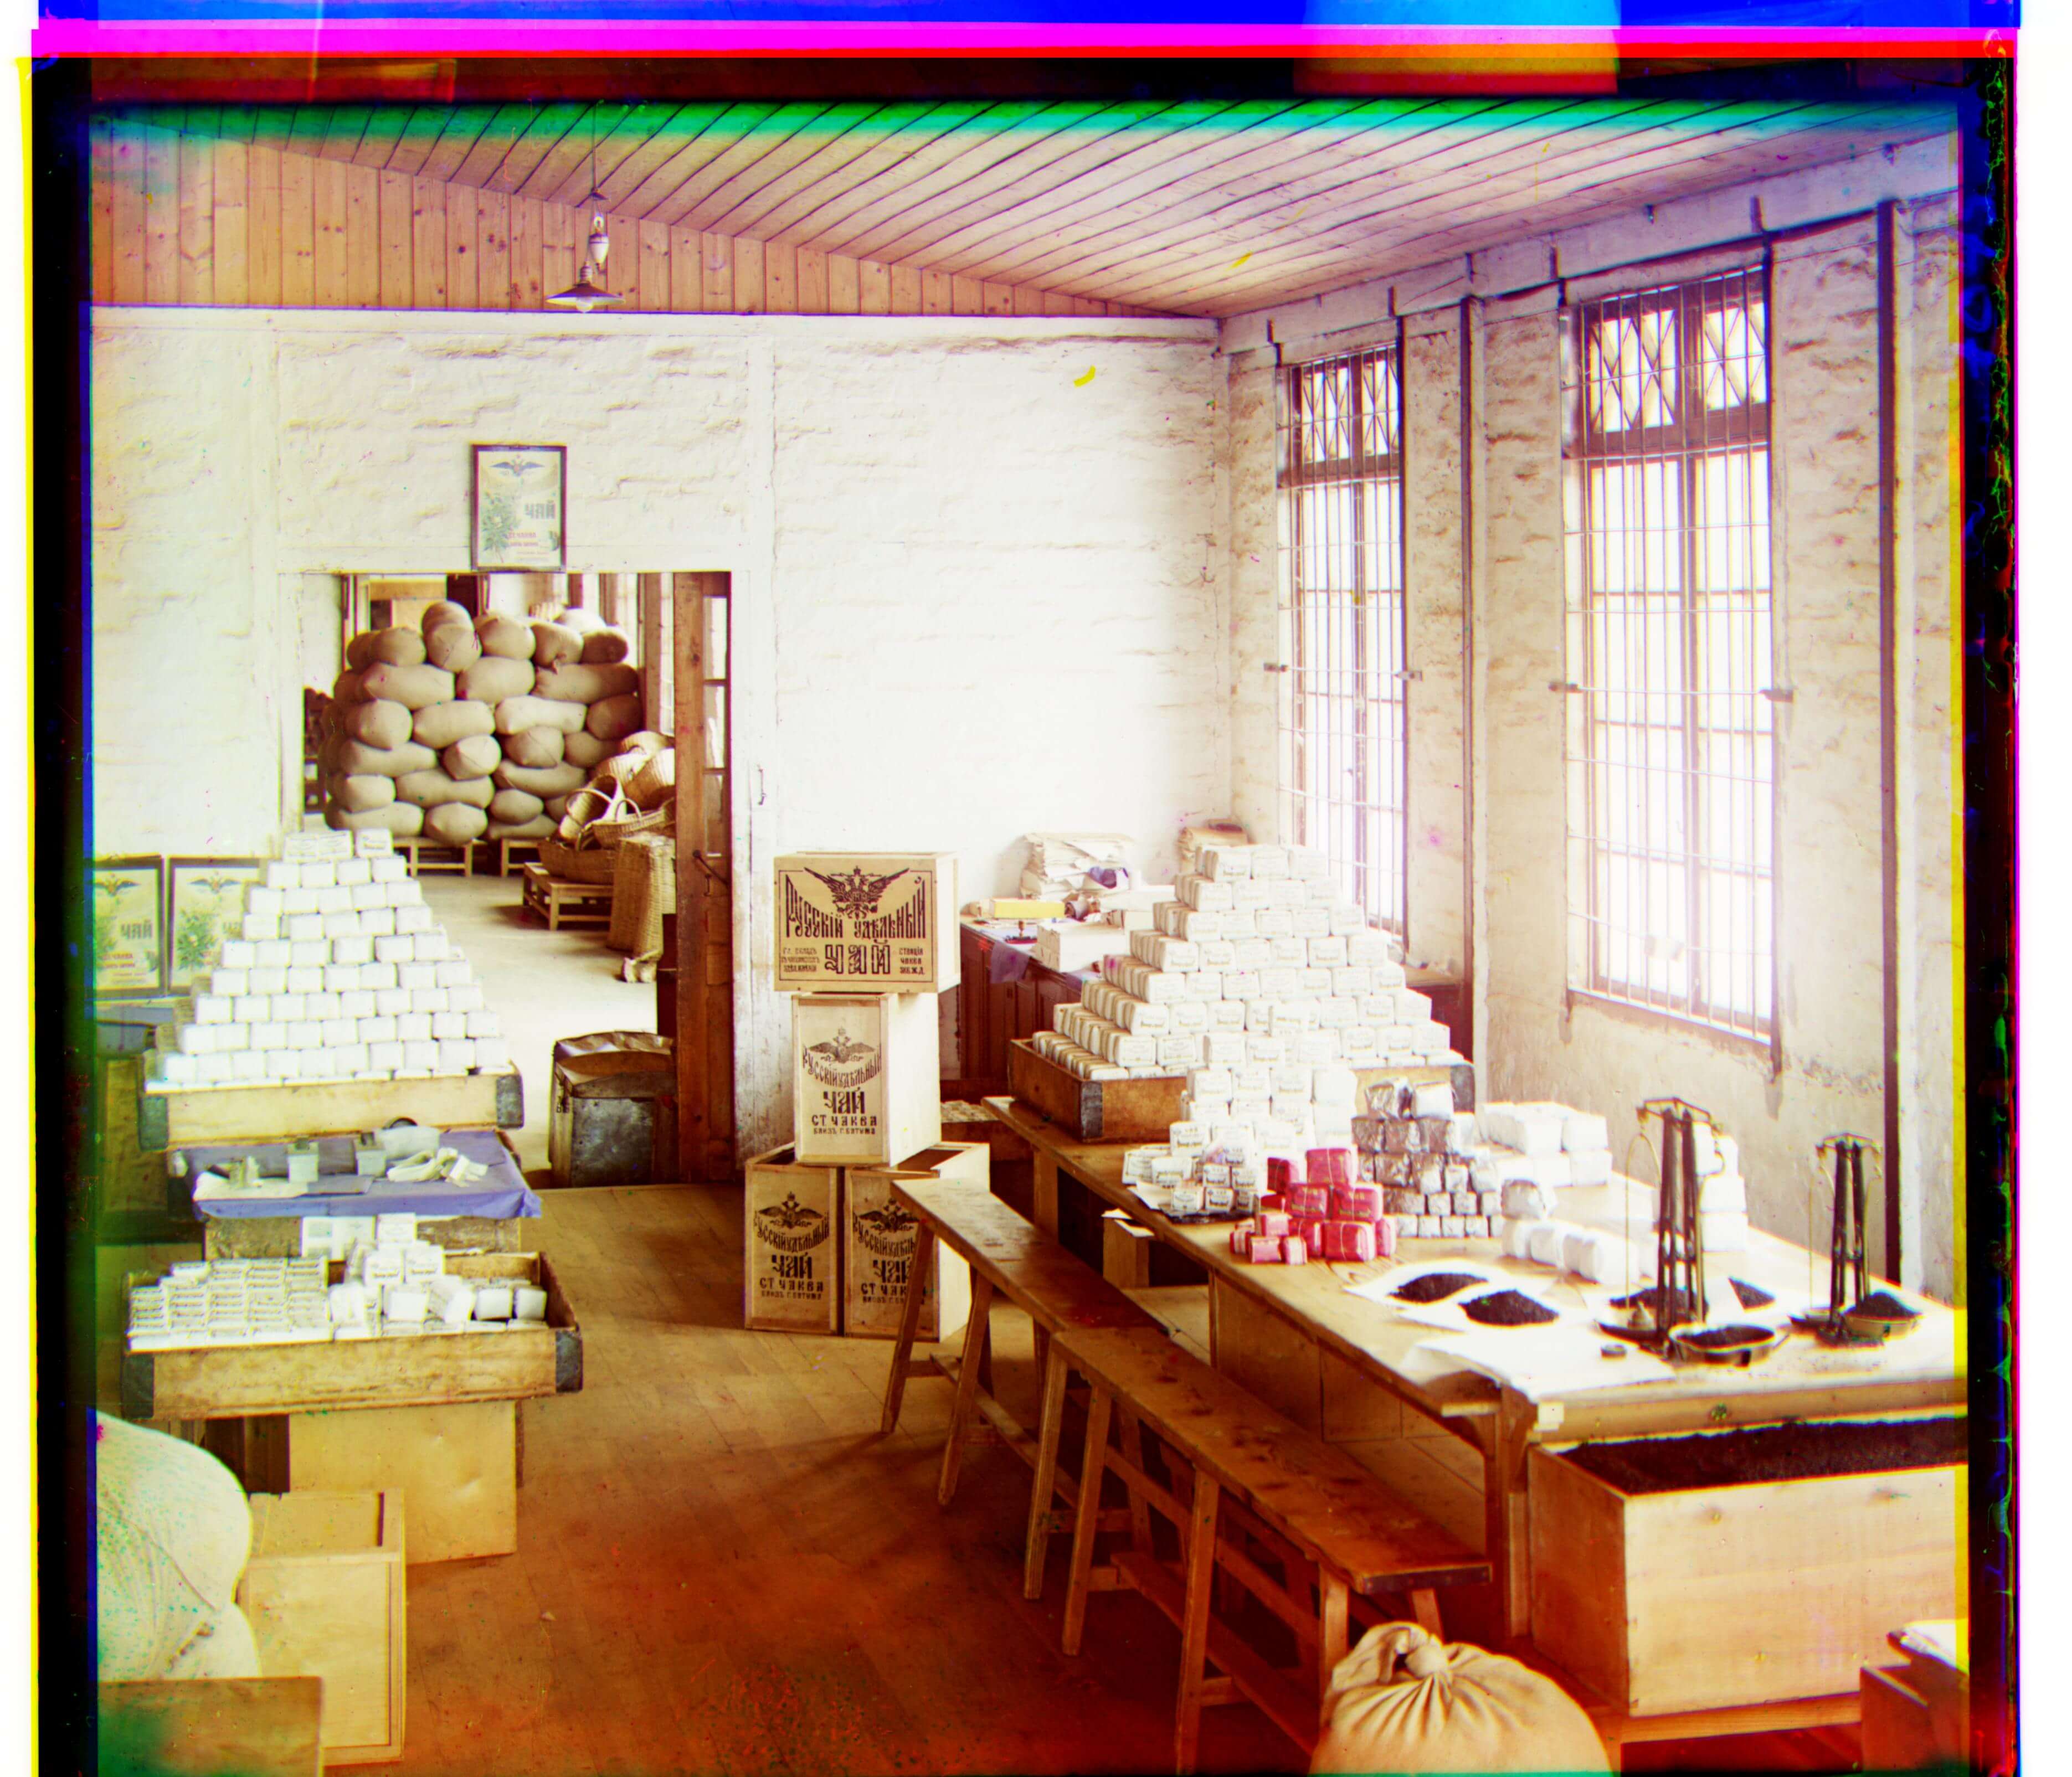
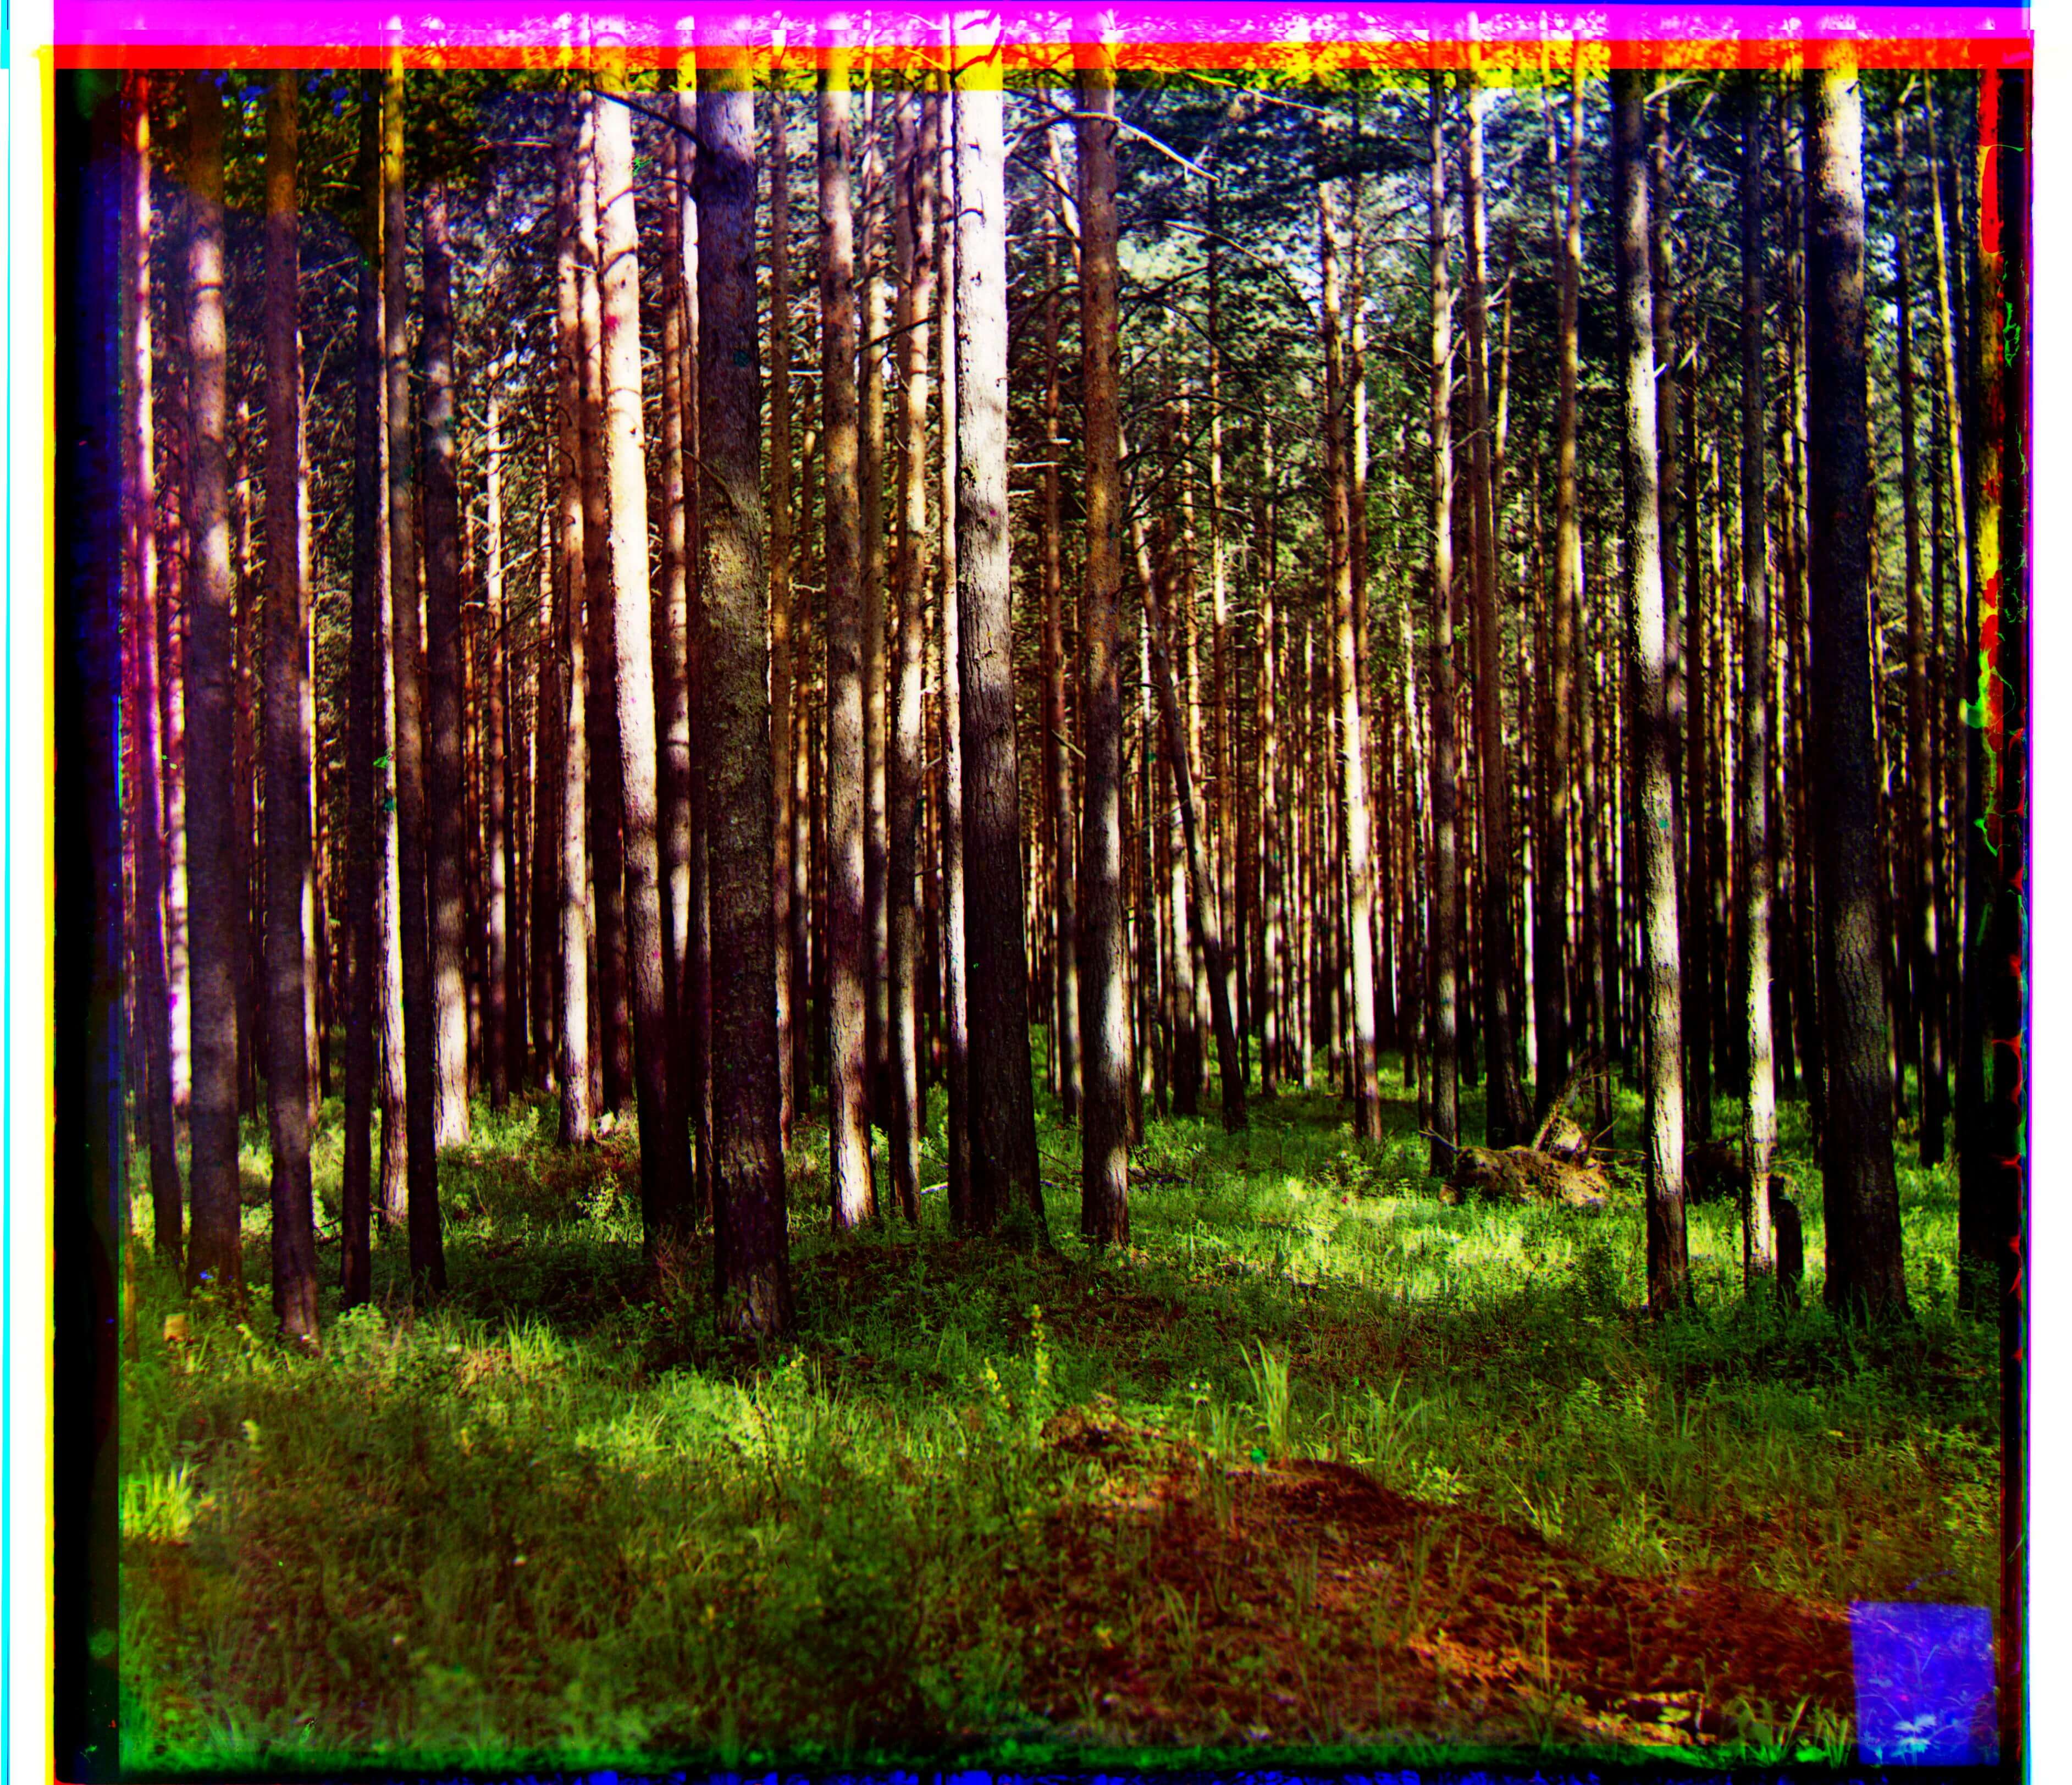
Only Emir, Village, and Workshop benefited from this extra adjustment.
I also learned some very important lessons. The first is to always be aware of
of the given content. Had I examined all of the original files closesly, I would have
been more aware of contrast differences (as in the Emir case) and perhaps incorporated
that to my cropping/pre-processing step. And the second is to optimize my approach to be
independent of the starting scale, which required more computation.
Overall, this was a really fun project. Check out my entire photo set with the buttons below!