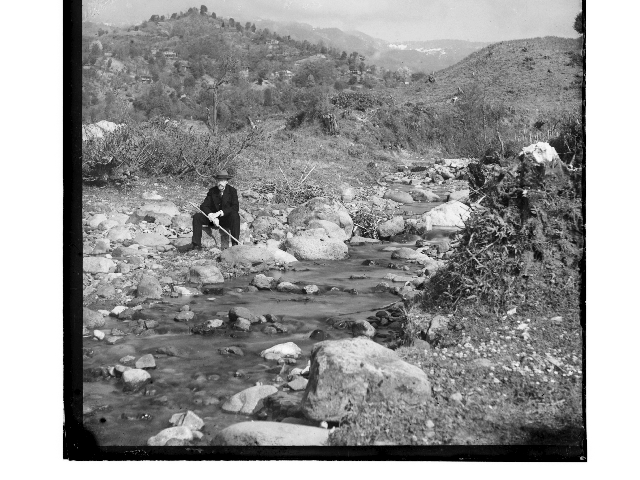
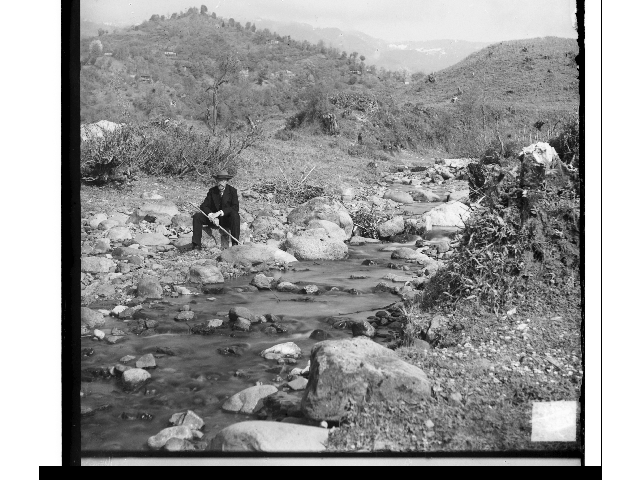
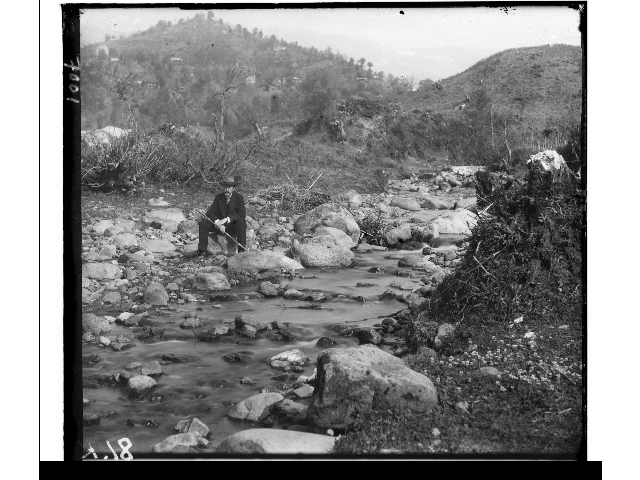
Project 1: Colorizing the Prokudin-Gorskii Photo Collection
Overview
This project aims to recreate colorized images using the Prokudin-Gorskii collection, which is composed of sets of three images taken under glass plates with different colors.
The main recreation workflow is as follows:
- Separate the three images corresponding to G, B and R channels, and switch to float mode for later part;
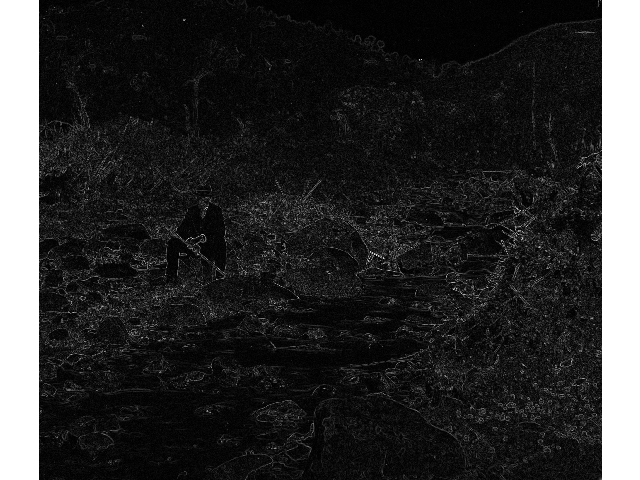
- Preprocess the image. We first crop out the center 80% w.r.t. to height and width for matching. Note that we only use this roughly cropped image to compute the displacement, not for the final composition. Then we apply the Sobel filter on each of the channels to find the edges (See bells and whistles);
- Find the best displacement to align the cropped channels. We will try to align the blue and green channel according to the red channel, and we will use a naive search to search for the best displacement. We use normalized cross-correlation, which is the normalized cosine similarity between the two images, to determine how two channels align.
- To speed up the process, we will use a resolution pyramid method. We first downscale the channels until the longest side is less than or equal to 32 pixels, and find an estimation of the best displacement in the grid of [-1, -1] to [1, 1]. Then repeat to process in images with higher resolution by a factor of two to refine the displacement, until the maximum resolution;
- Remove the borders of each of the channels. See bells and whistles);
- Merge the channels together to create the colorized images. Any non-existed pixels are created from edge-padding.
Result
Example Images
 |
 |
 |
 |
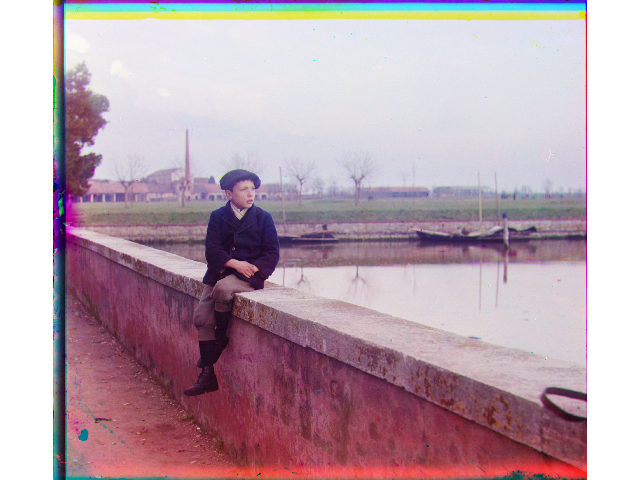
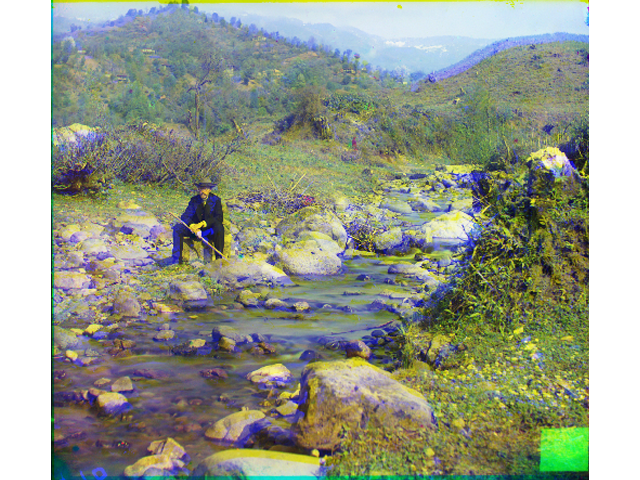
workshop
green displacement = [ 52 -11]
blue displacement = [105 -12] |
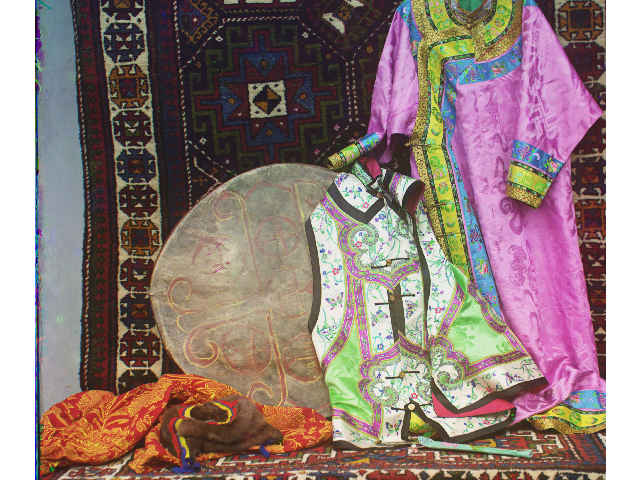
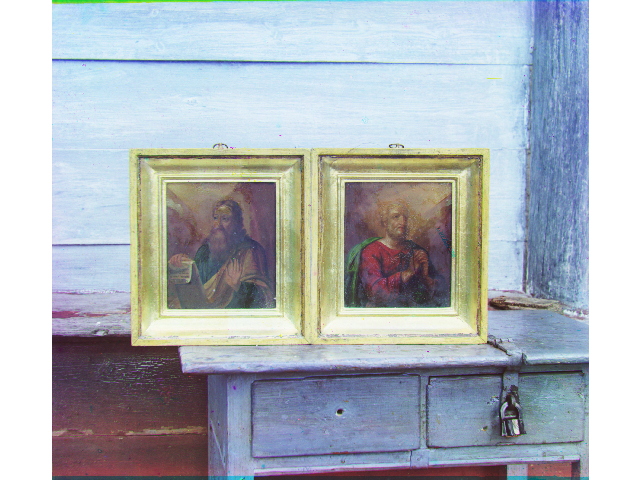
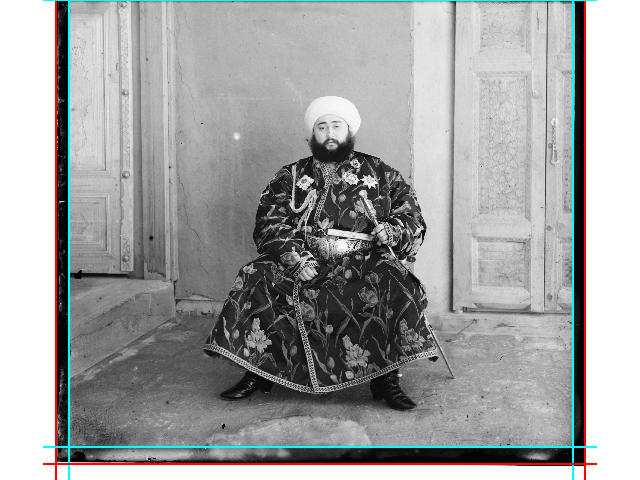
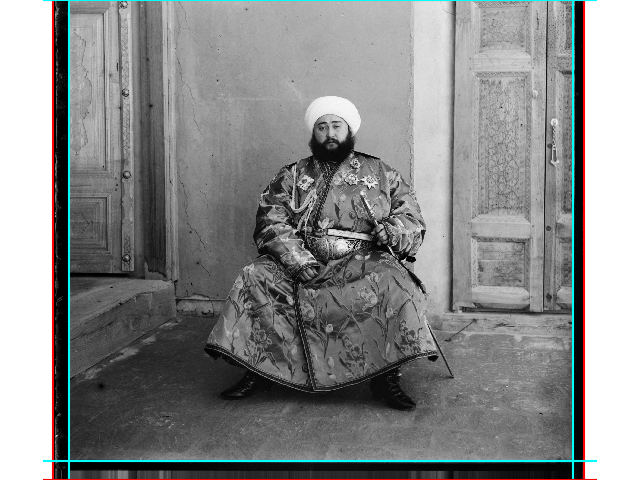
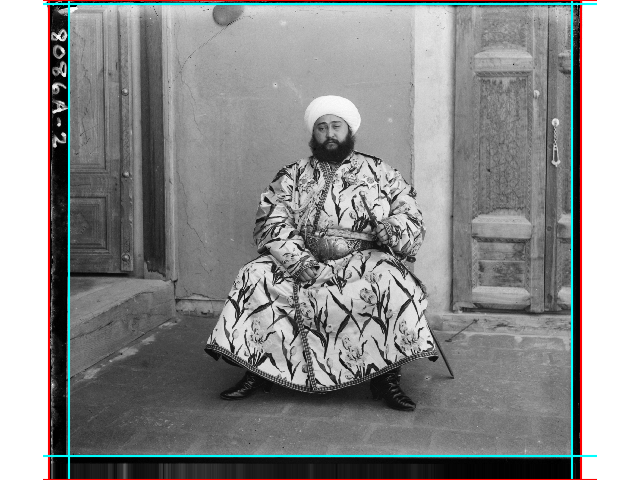
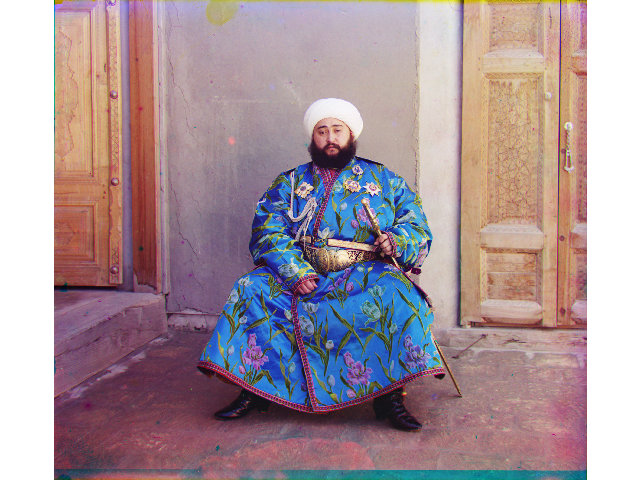
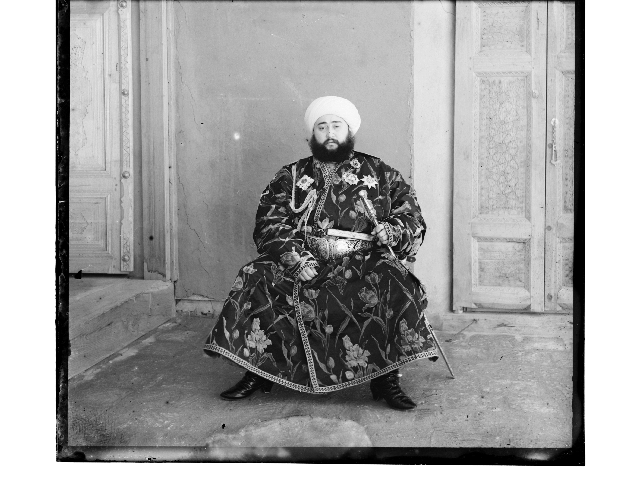
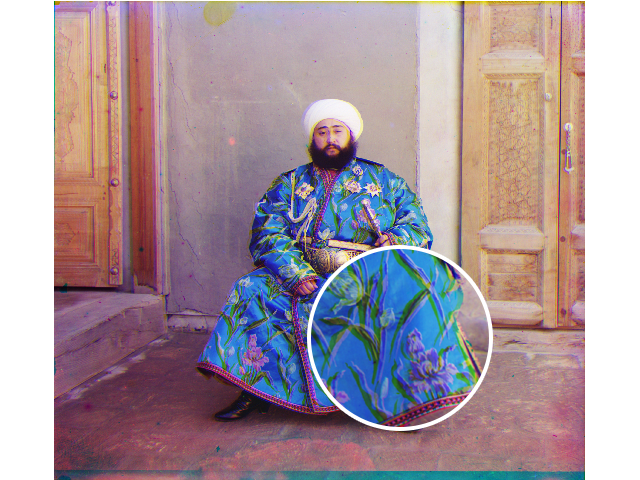
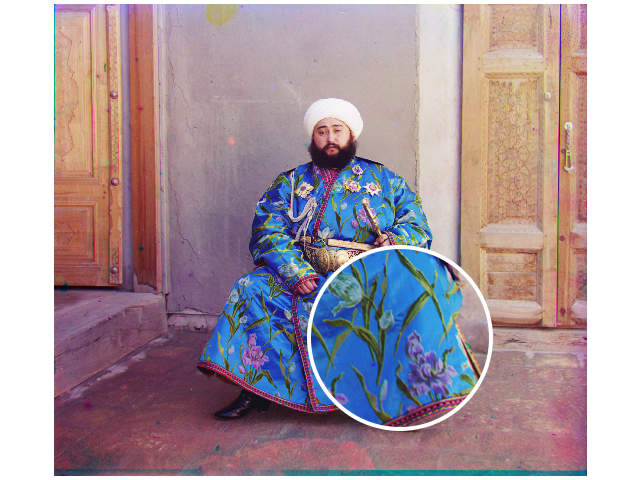
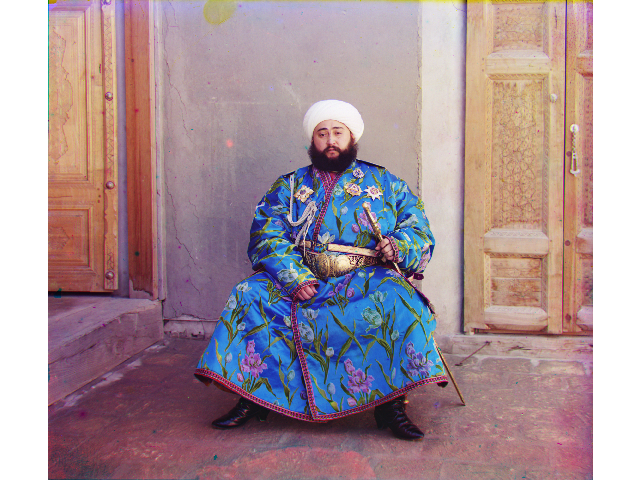
emir
green displacement = [58 17]
blue displacement = [107 40] |
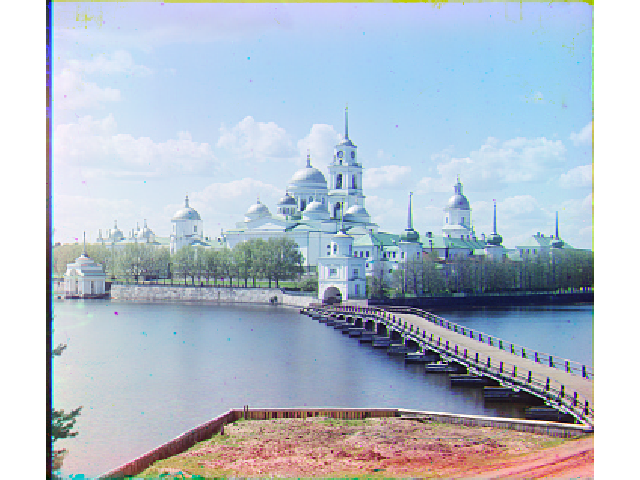
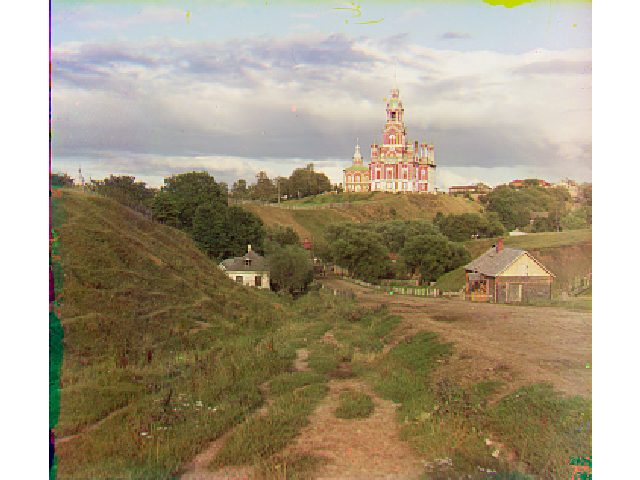
monastery
green displacement = [6 1]
blue displacement = [3 2] |
three_generations
green displacement = [58 -4]
blue displacement = [111 9] |
 |
 |
 |
 |
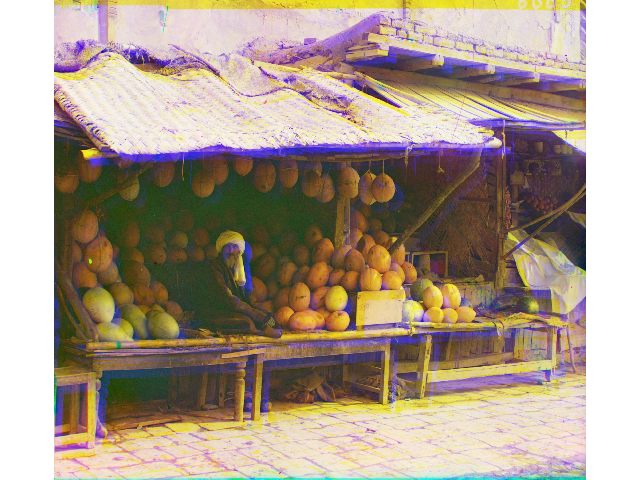
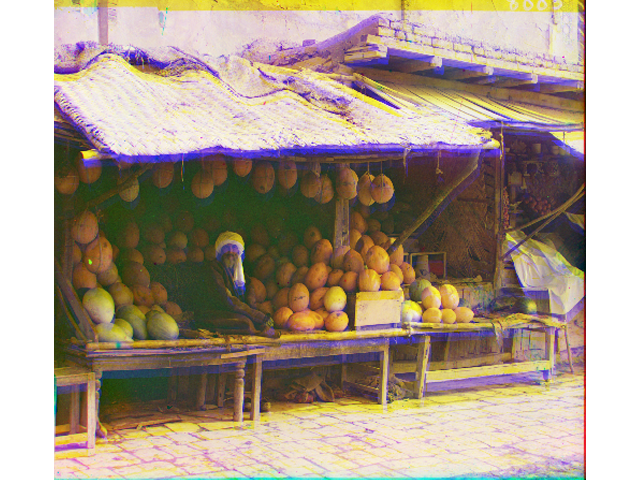
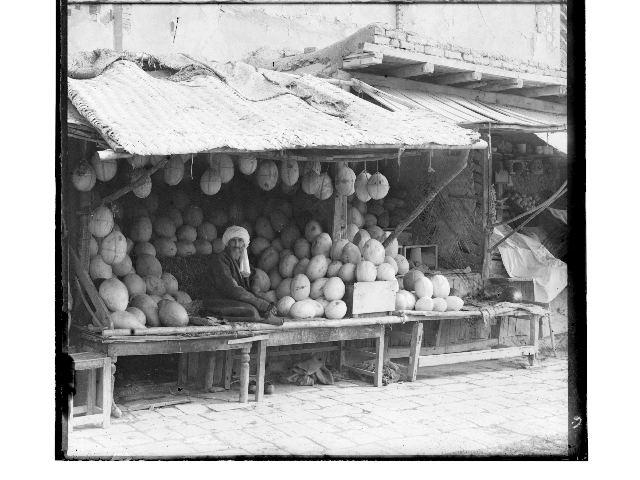
melons
green displacement = [96 3]
blue displacement = [127 -38] |
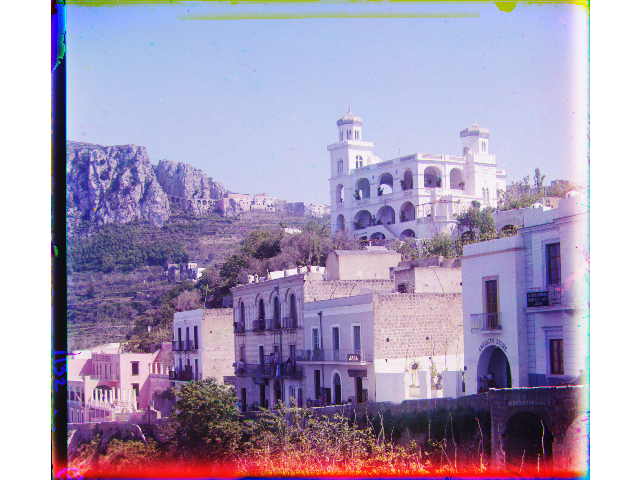
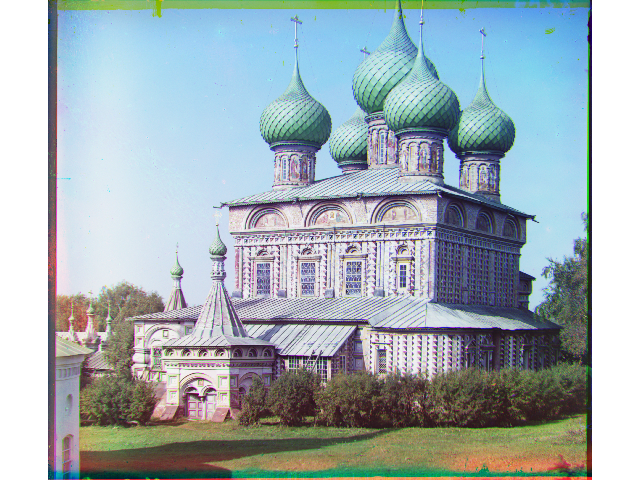
onion_church
green displacement = [57 10]
blue displacement = [107 35] |
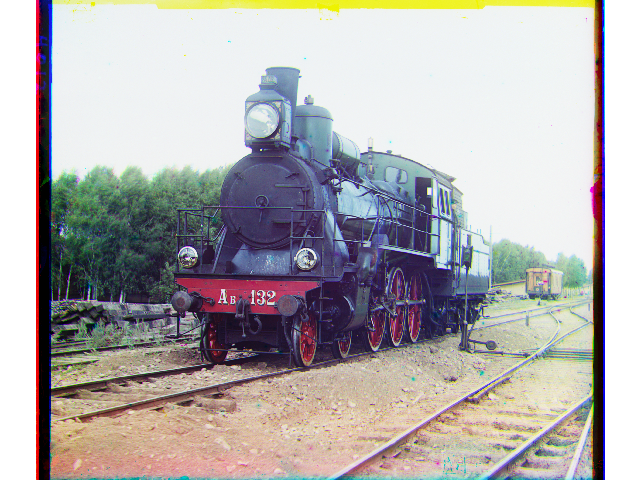
train
green displacement = [43 26]
blue displacement = [85 29] |
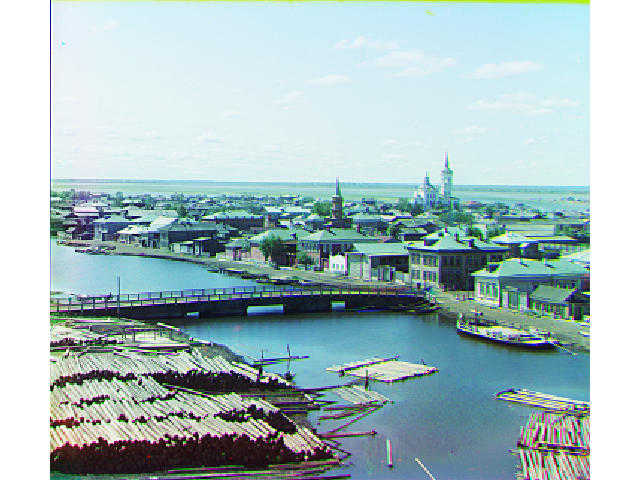
tobolsk
green displacement = [4 1]
blue displacement = [6 3] |
 |
 |
 |
 |
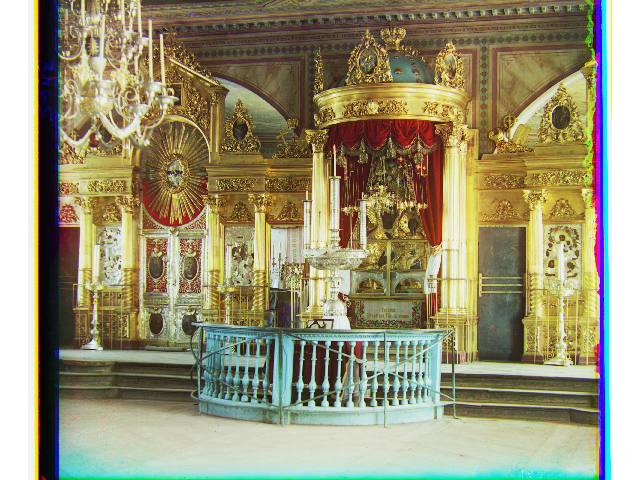
icon
green displacement = [48 5]
blue displacement = [90 23] |
cathedral
green displacement = [7 1]
blue displacement = [12 3] |
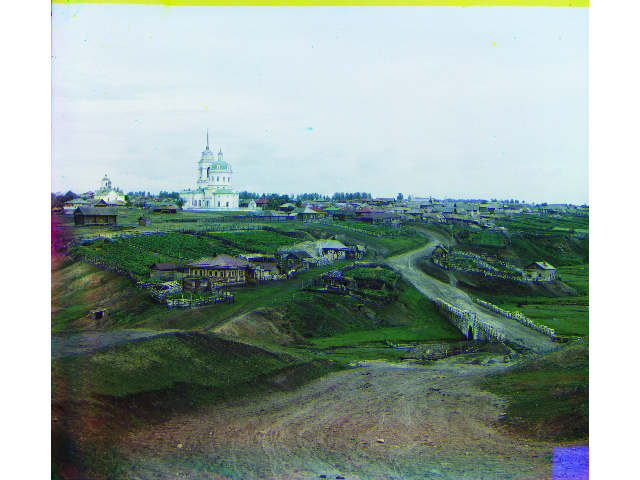
village
green displacement = [73 10]
blue displacement = [127 21] |
self_portrait
green displacement = [98 8]
blue displacement = [127 41] |
 |
 |
|
|
harvesters
green displacement = [64 -3]
blue displacement = [124 13] |
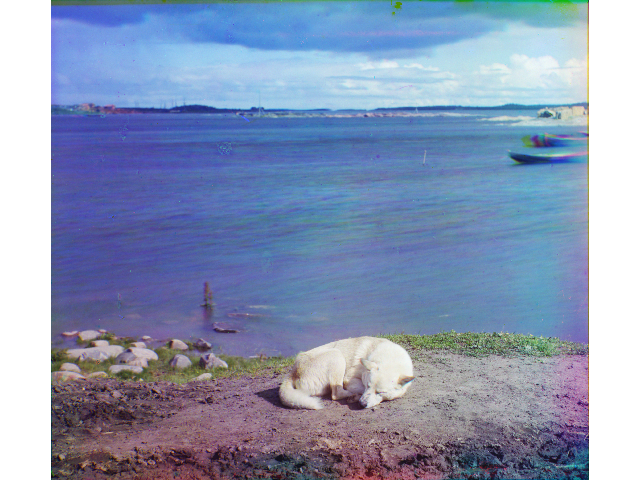
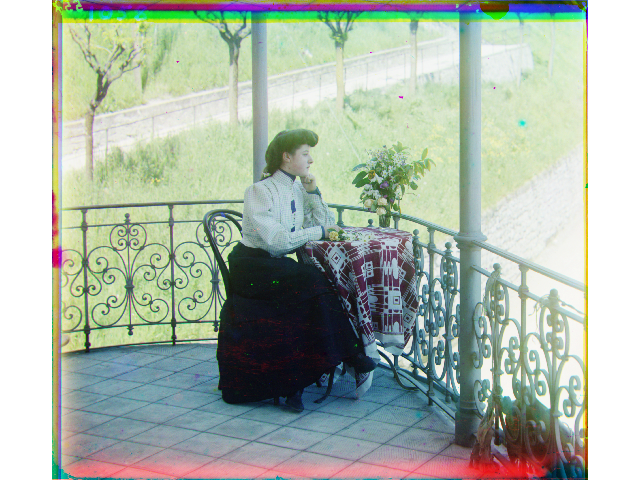
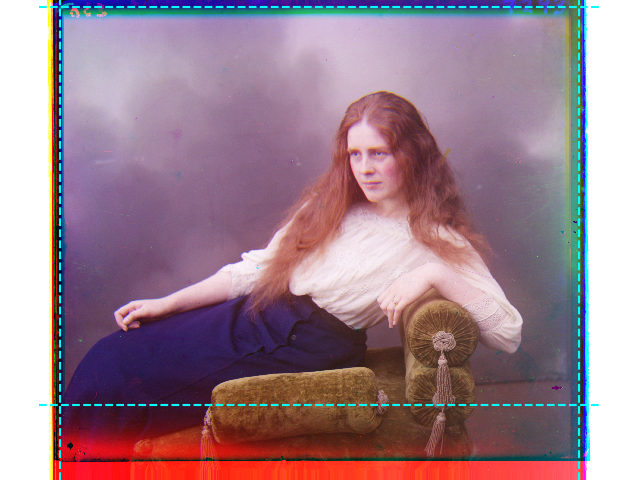
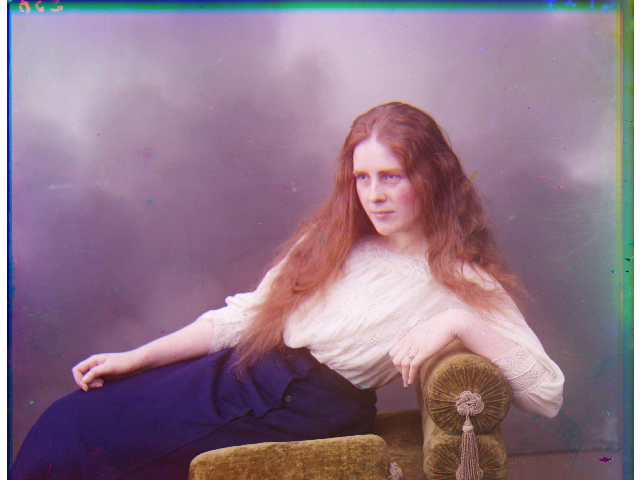
lady
green displacement = [63 3]
blue displacement = [120 13] |
|
|
Additional Images
Bells and Whistles
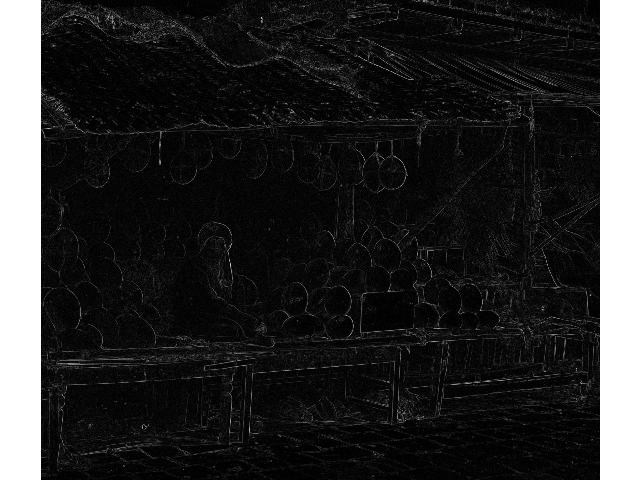
Edge Matching
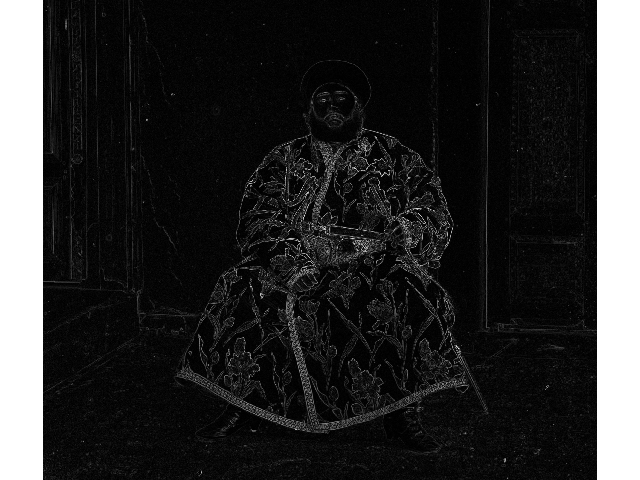
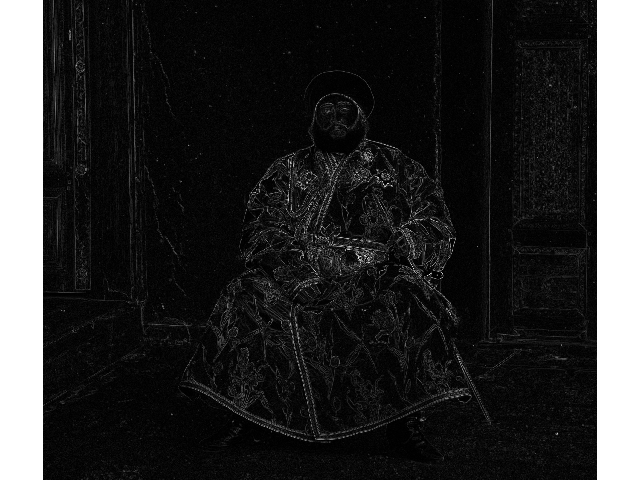
During the preprocessing phase, we apply a Sobel filter on each of the channels to apply edge detection, before searching for the best displacement. This is due to the fact that the channels may not have the same exposure nor have a similar intensity. For instance, in the following image, since the subject is wearing blue clothes, the intensity of the clothes in the blue channel is much higher than those in R or G channel:
 |
 |
 |
| red channel |
green channel |
blue channel |
If we use the naive normalized cross-correlation matching without edge detection, the algorithm could not yield a good result. By apply the Sobel filter, we could estimate the edges in the image:
 |
 |
 |
| applying Sobel filter on the red channel |
applying Sobel filter on the green channel |
applying Sobel filter on the blue channel |
Thus, by apply a simple edge detection, we could improve the matching quality on those images with clear, saturated color blocks.
 |
 |
| result of naive matching |
result of matching after apply a Sobel filter. Note the improvement in the blue channel shift |
Border Removal
We could also remove the border of the images before combining. Note that images have a white border followed by a black border, so we will try to remove them each by each. We define a white pixel is a pixel brighter than 5% gray, and black being darker than 20% gray. If a horizontal or vertical line at least 50% white or 50% black, we treat it as part of the border. We first search for the white border from each of the four sides, and then search for the black border from the end location of the white border. We take the intersection area of the result of the three channels, and crop the final image accordingly.
However, the edge between the two borders are sometimes neither black or white, we allow there to be a buffer of size 0.5% of height or width between the two borders. This may cause the false removal of 0.5% of actual image, but we considered this potential issue as acceptable.
The detected border location of the three channels. The red lines mark the end of the white border, and the cyan line mark the end of the black border
 |
 |
| The detected center area of the image, marked by the cyan dashed line |
The cropped image |
Failed Cases
Failed Matching
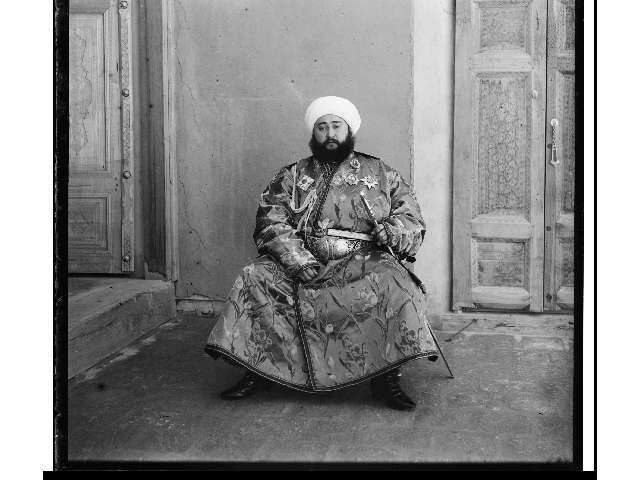
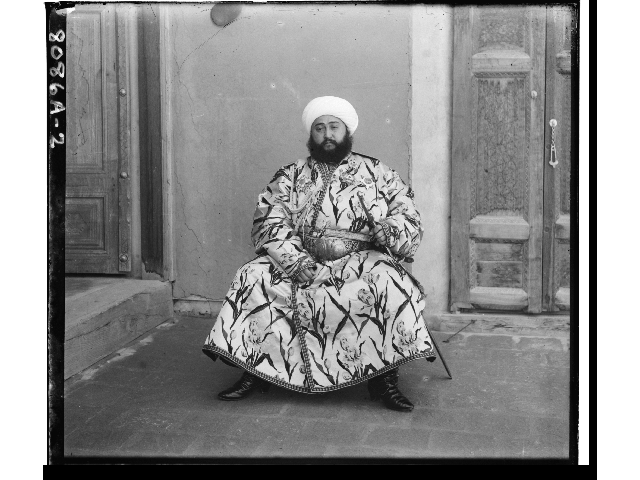
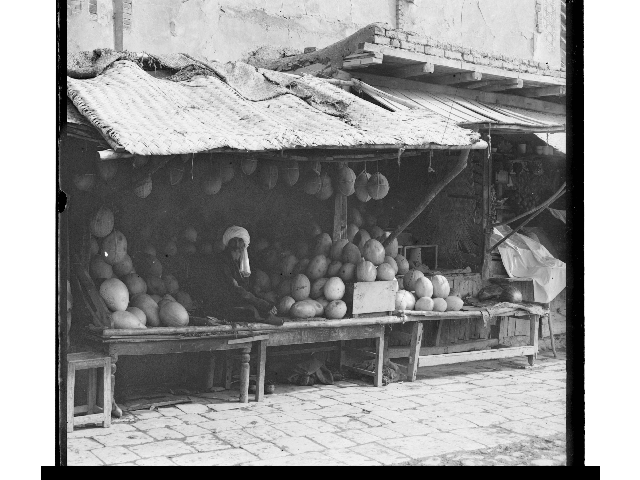
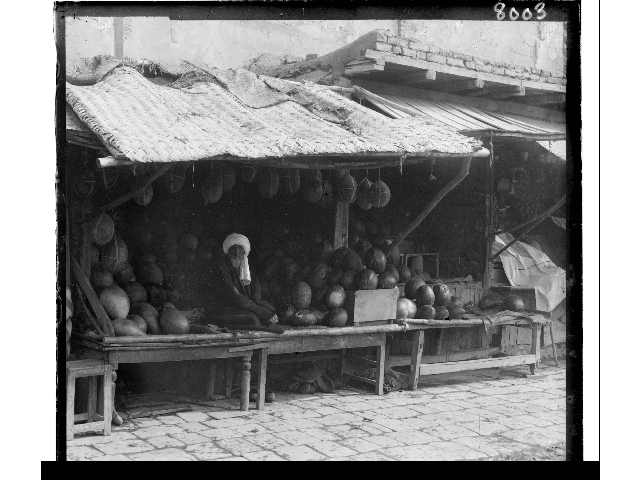
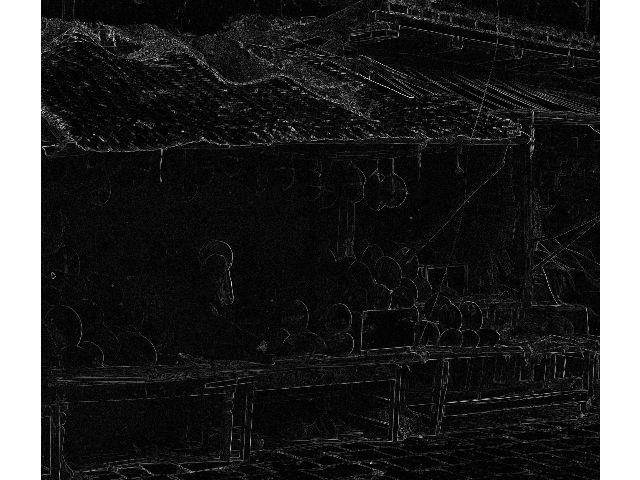
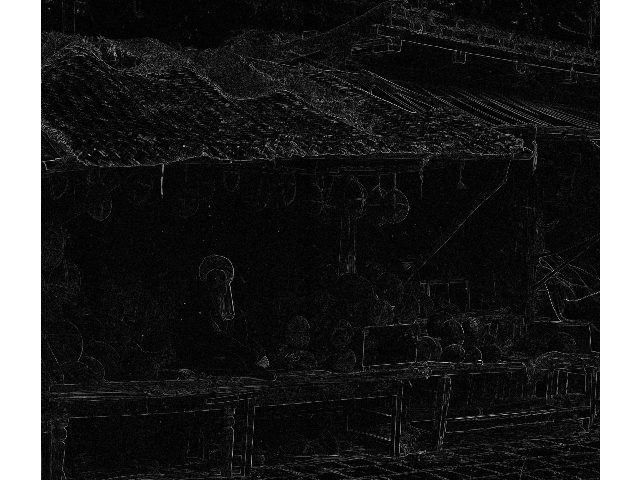
Matching after edge detection may cause some error if the channels are very noisy, as seen in melons and self_portrait:
| Naive Matching |
Edge Matching |
 |
|
 |
|
Note that although the naive method does not shift the channels perfectly, the error with the edge method is more significant. The difficulty is due to the significant difference between the blue channel and other channels:
| R Channel |
G Channel |
B Channel |
 |
 |
 |
 |
 |
 |
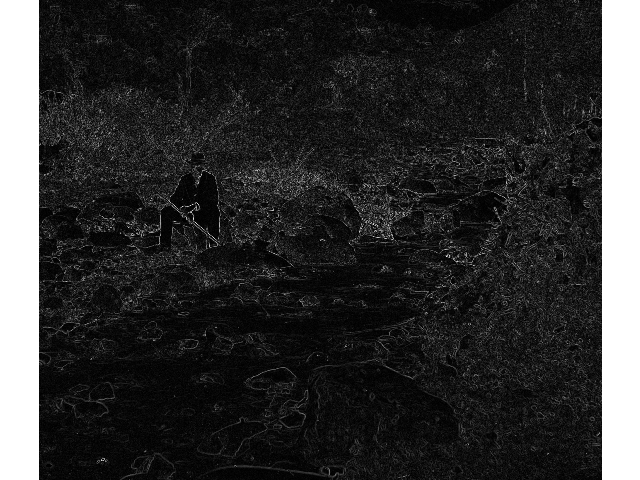
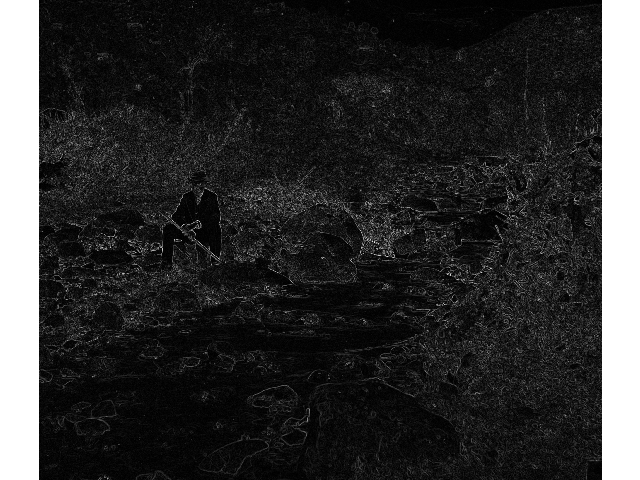
For the edge method, these images are more challenging since they are very nosiy, causing the edge map to be inconsistent:
| R Channel Edge Map |
G Channel Edge Map |
B Channel Edge Map |
 |
 |
 |
 |
 |
 |
Incorrect Border Detection
Both false positives and false negatives exist in the result of automatic border detection algorithm. It may accidentally treat the actual image as border, if the channel is dark enough:
It may also failed to crop out some borders, as seen in the following images:
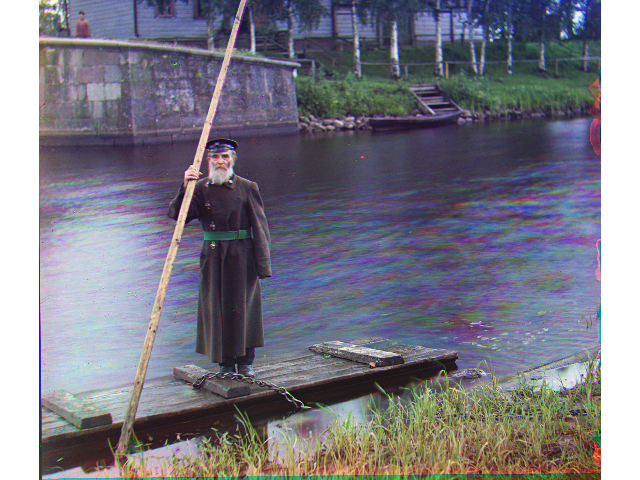
This is hard problem to tackle with our naive method, since our parameter (> 0.95 is white, < 0.2 is black, a line with 50% black or white is border) is arbitrary. Each image have a slightly different black border, and images like lady which have a dark content will cause the detector to fail. We can fix the problem by tuning the parameter for individual images, or switch to some BFS-based method.