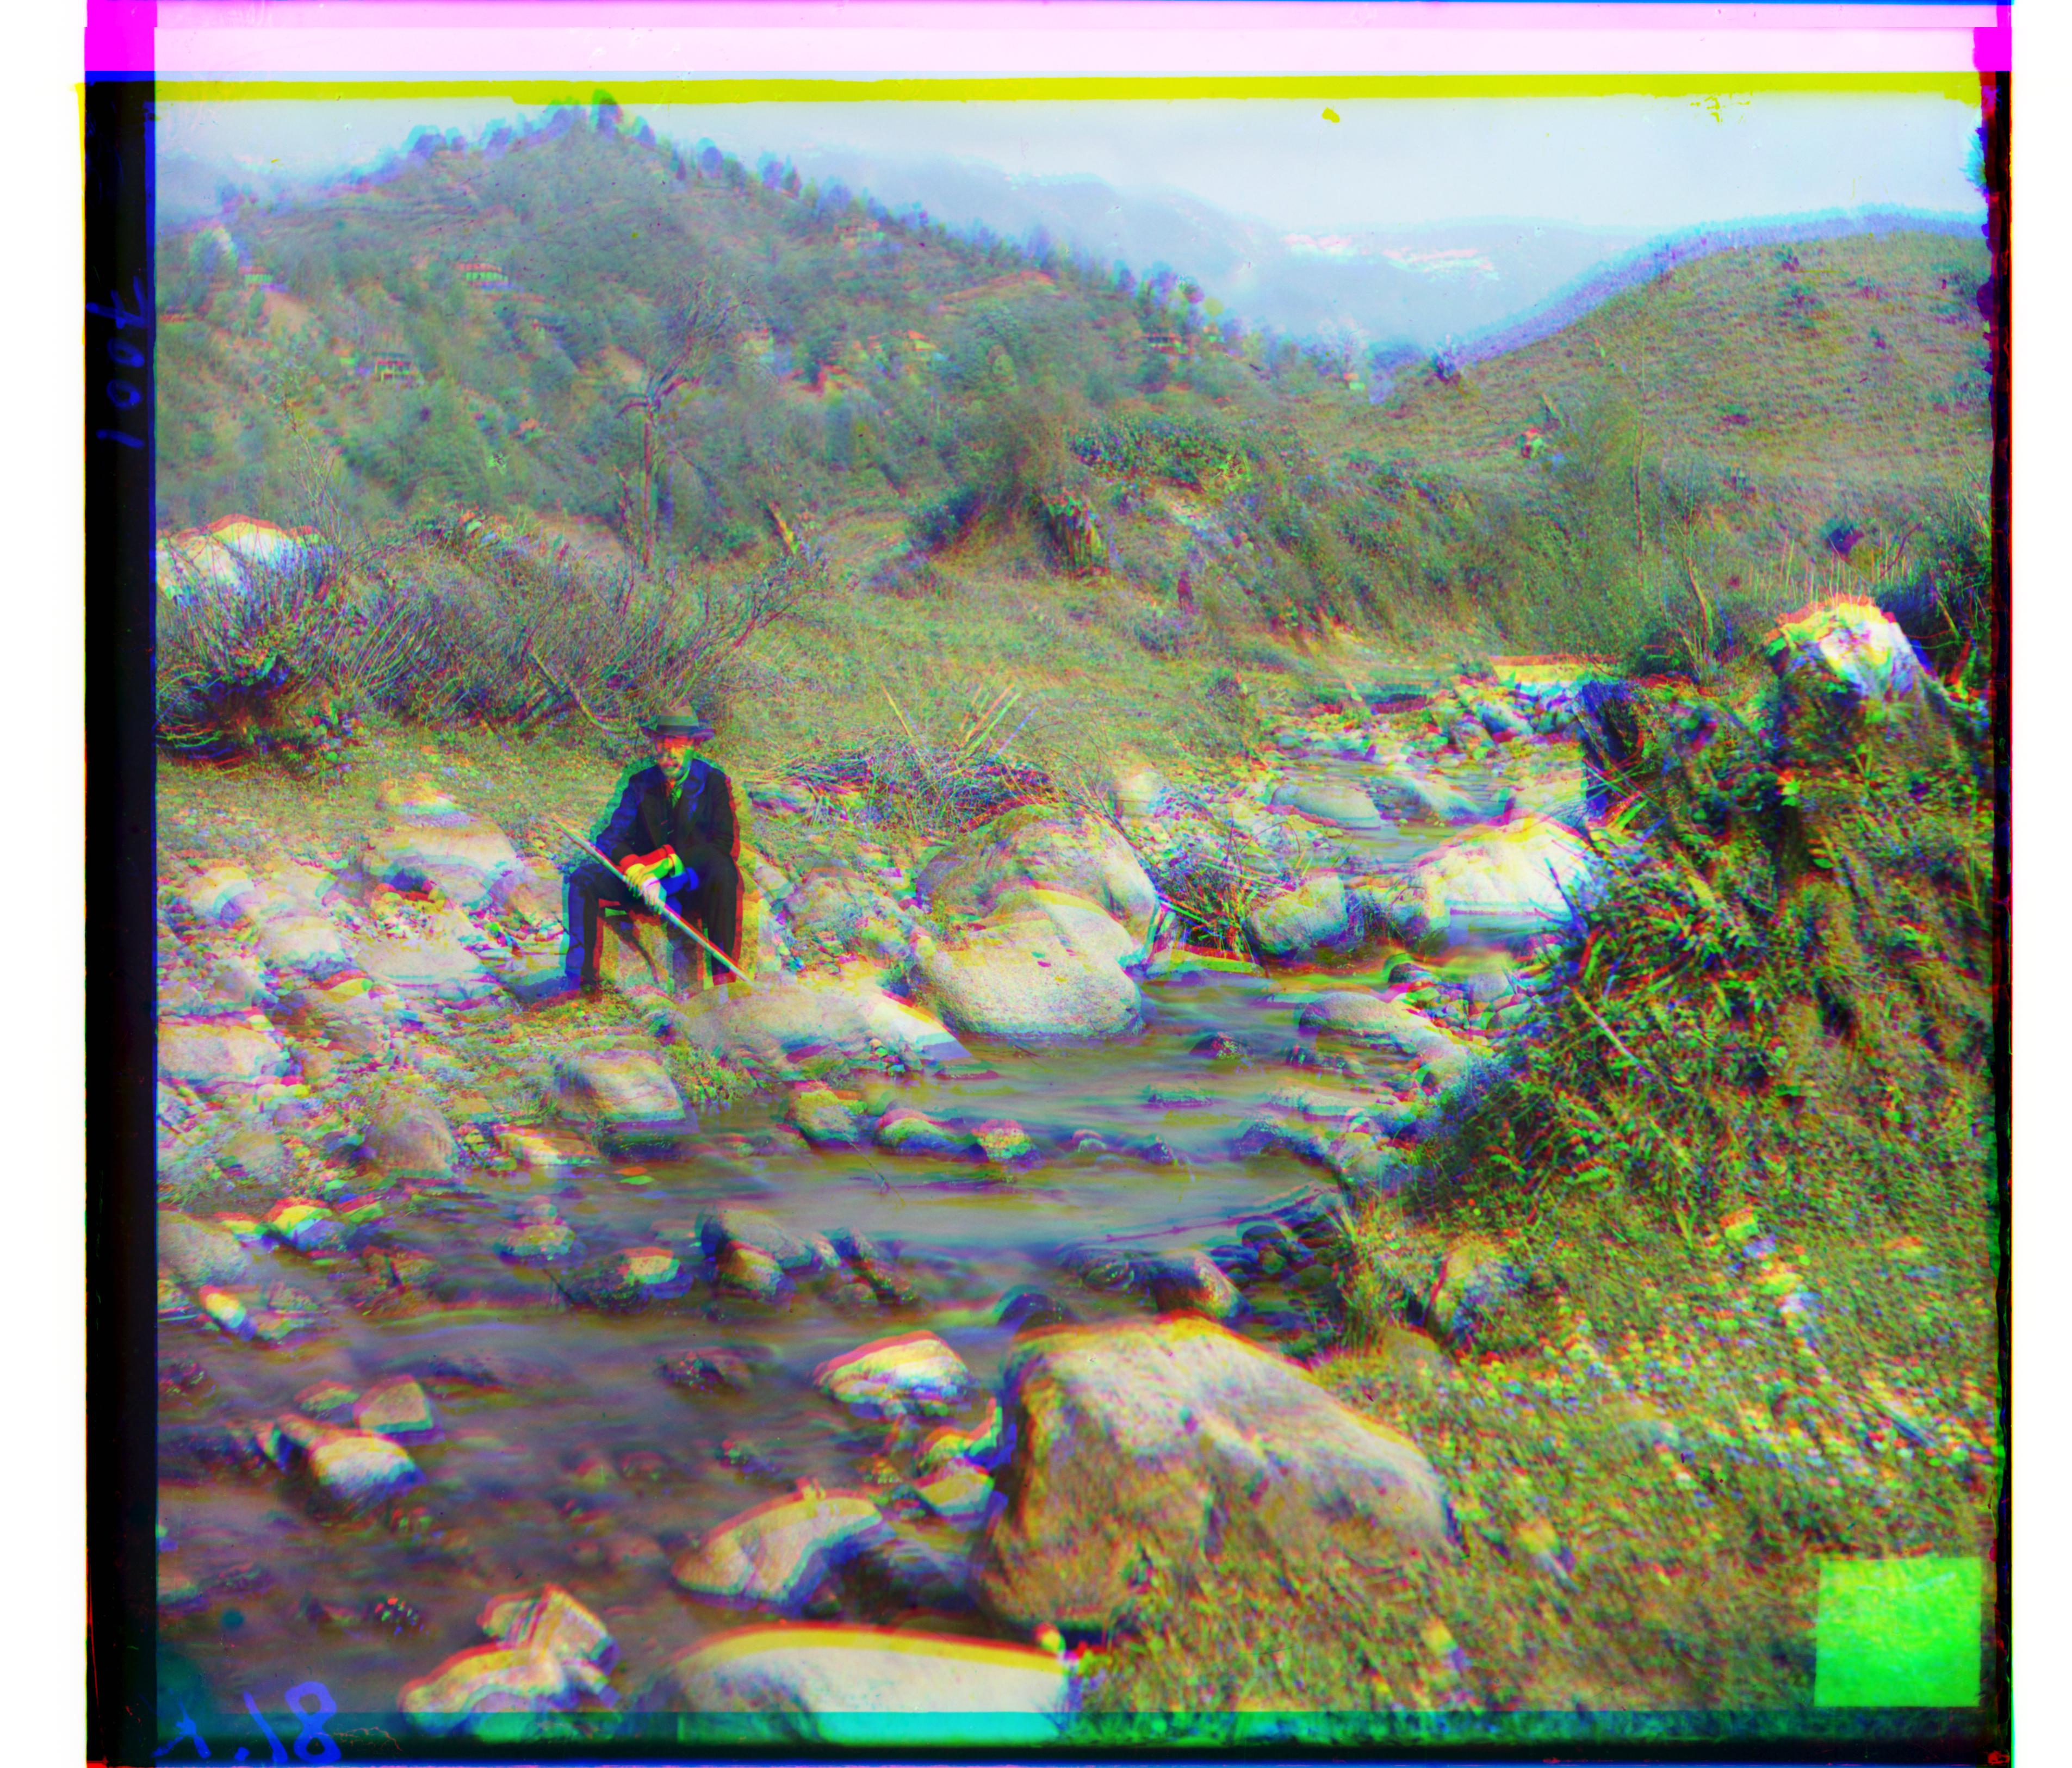
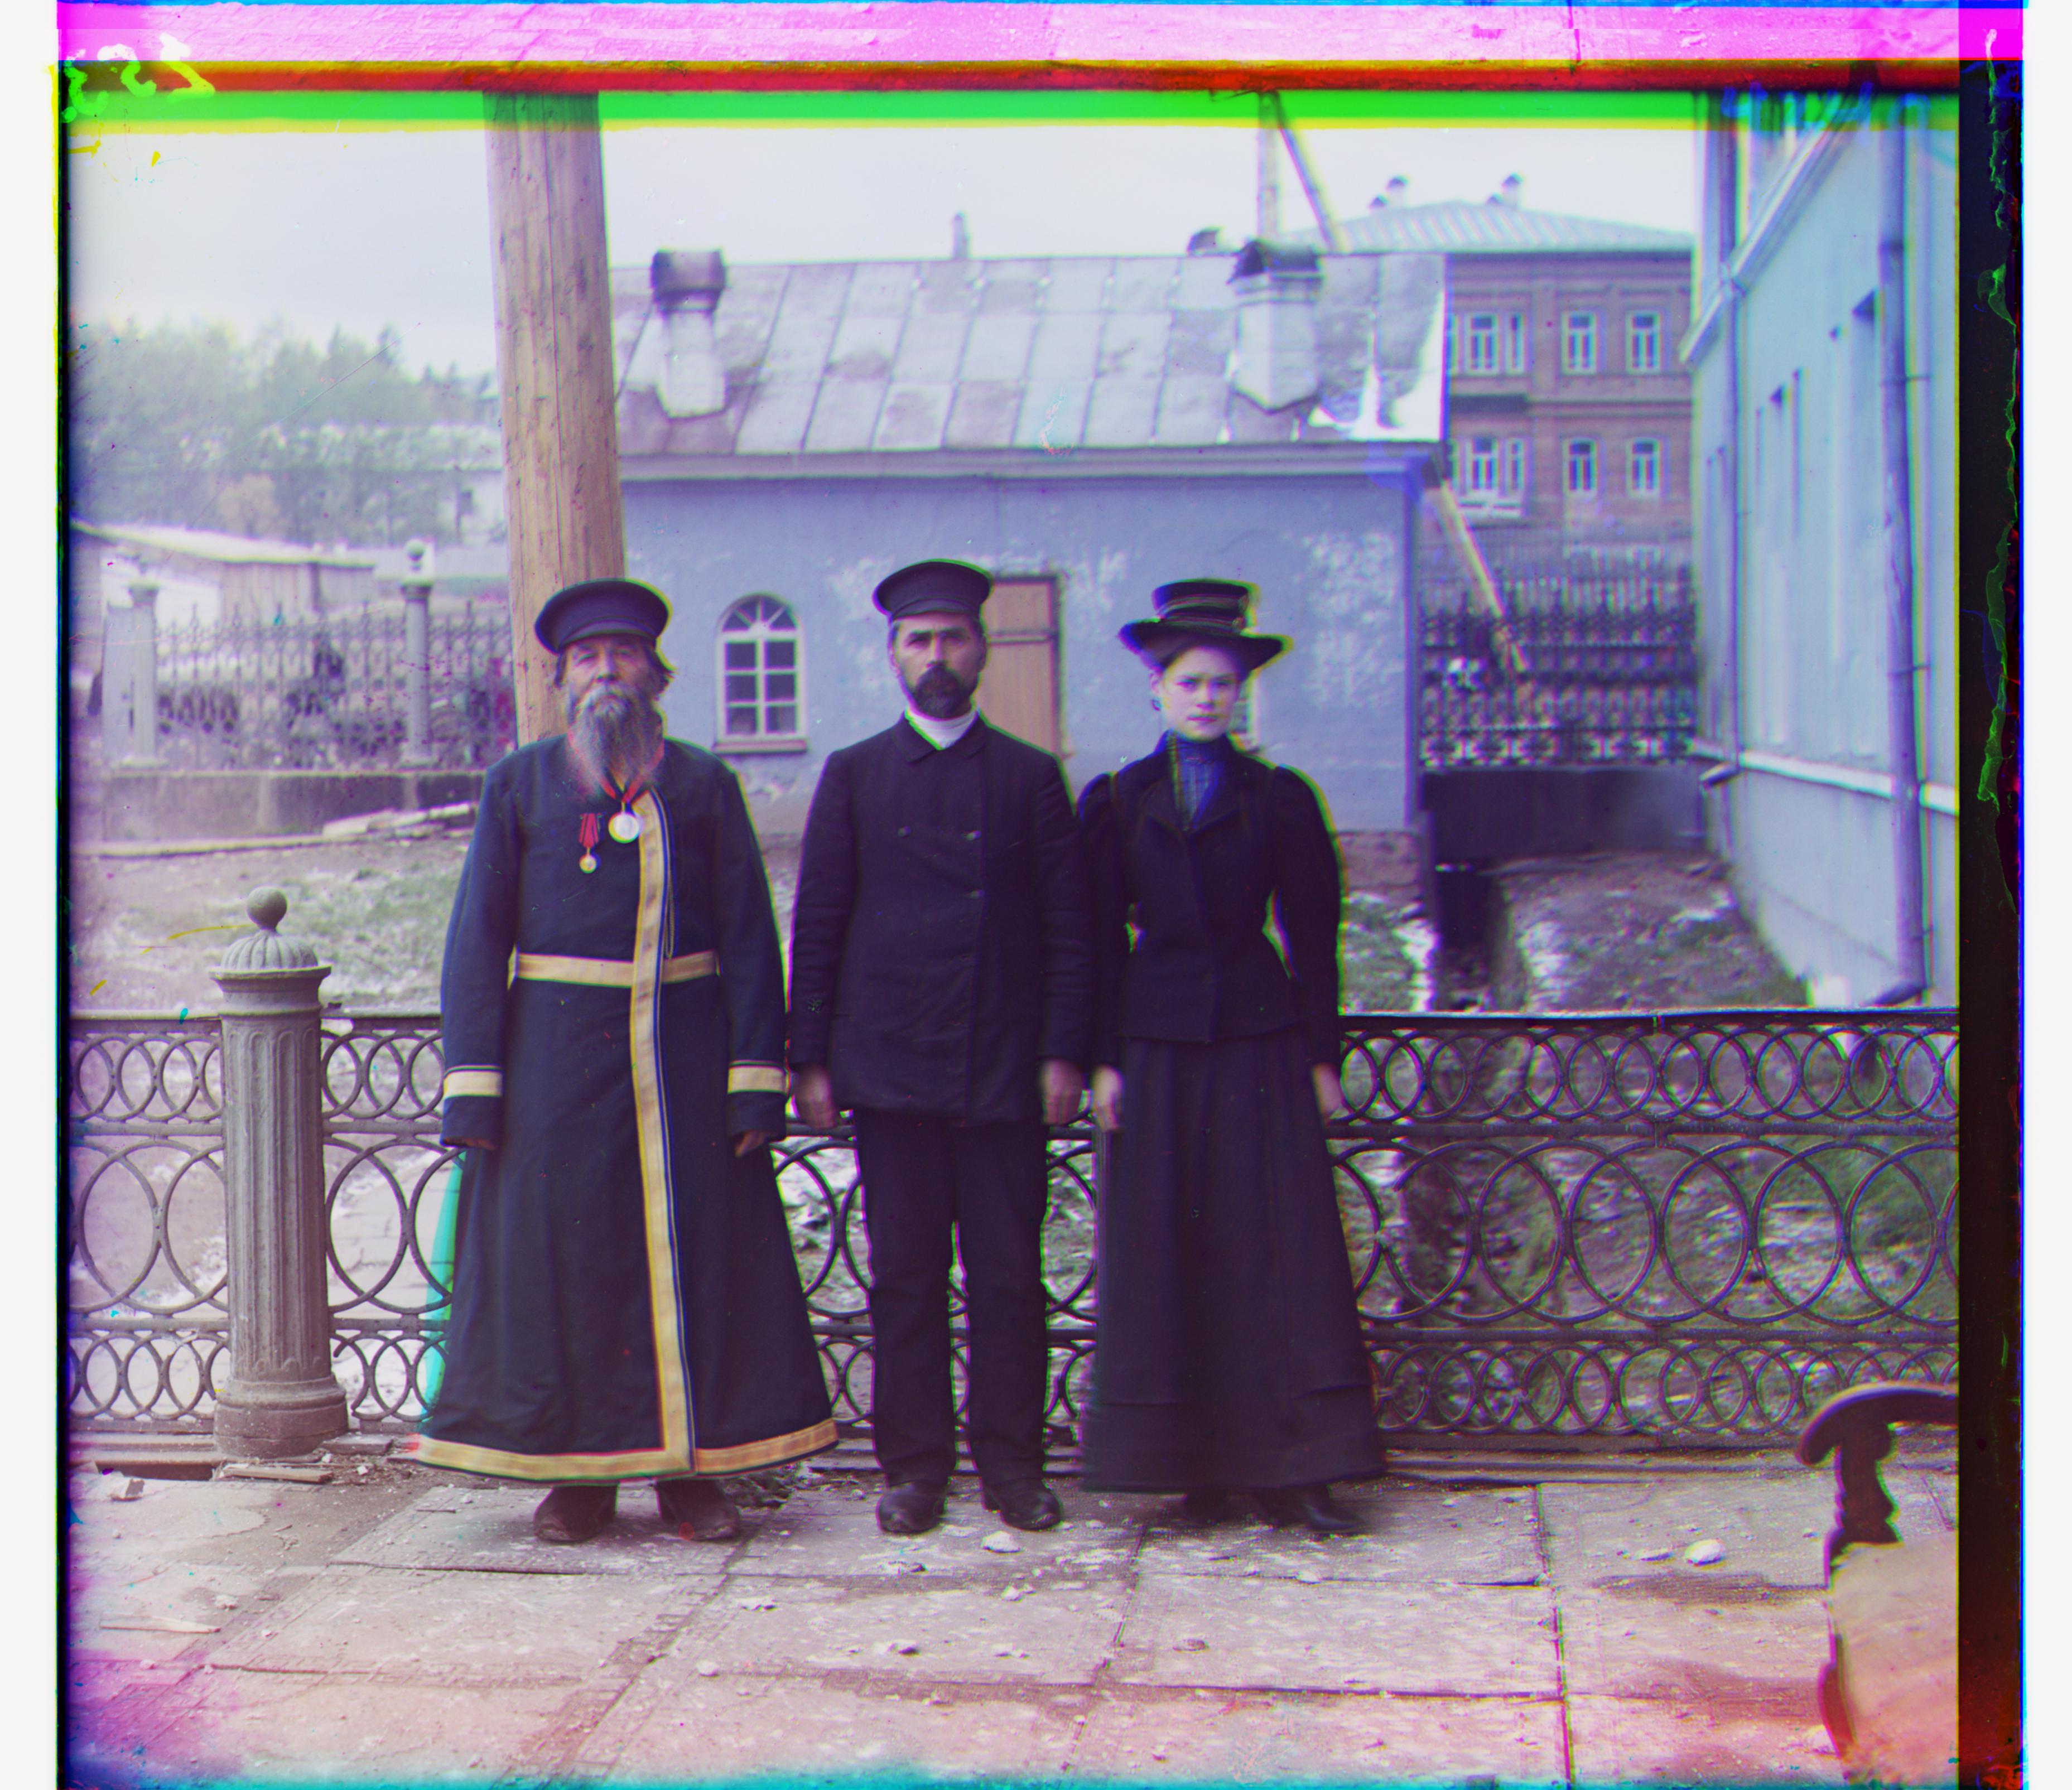
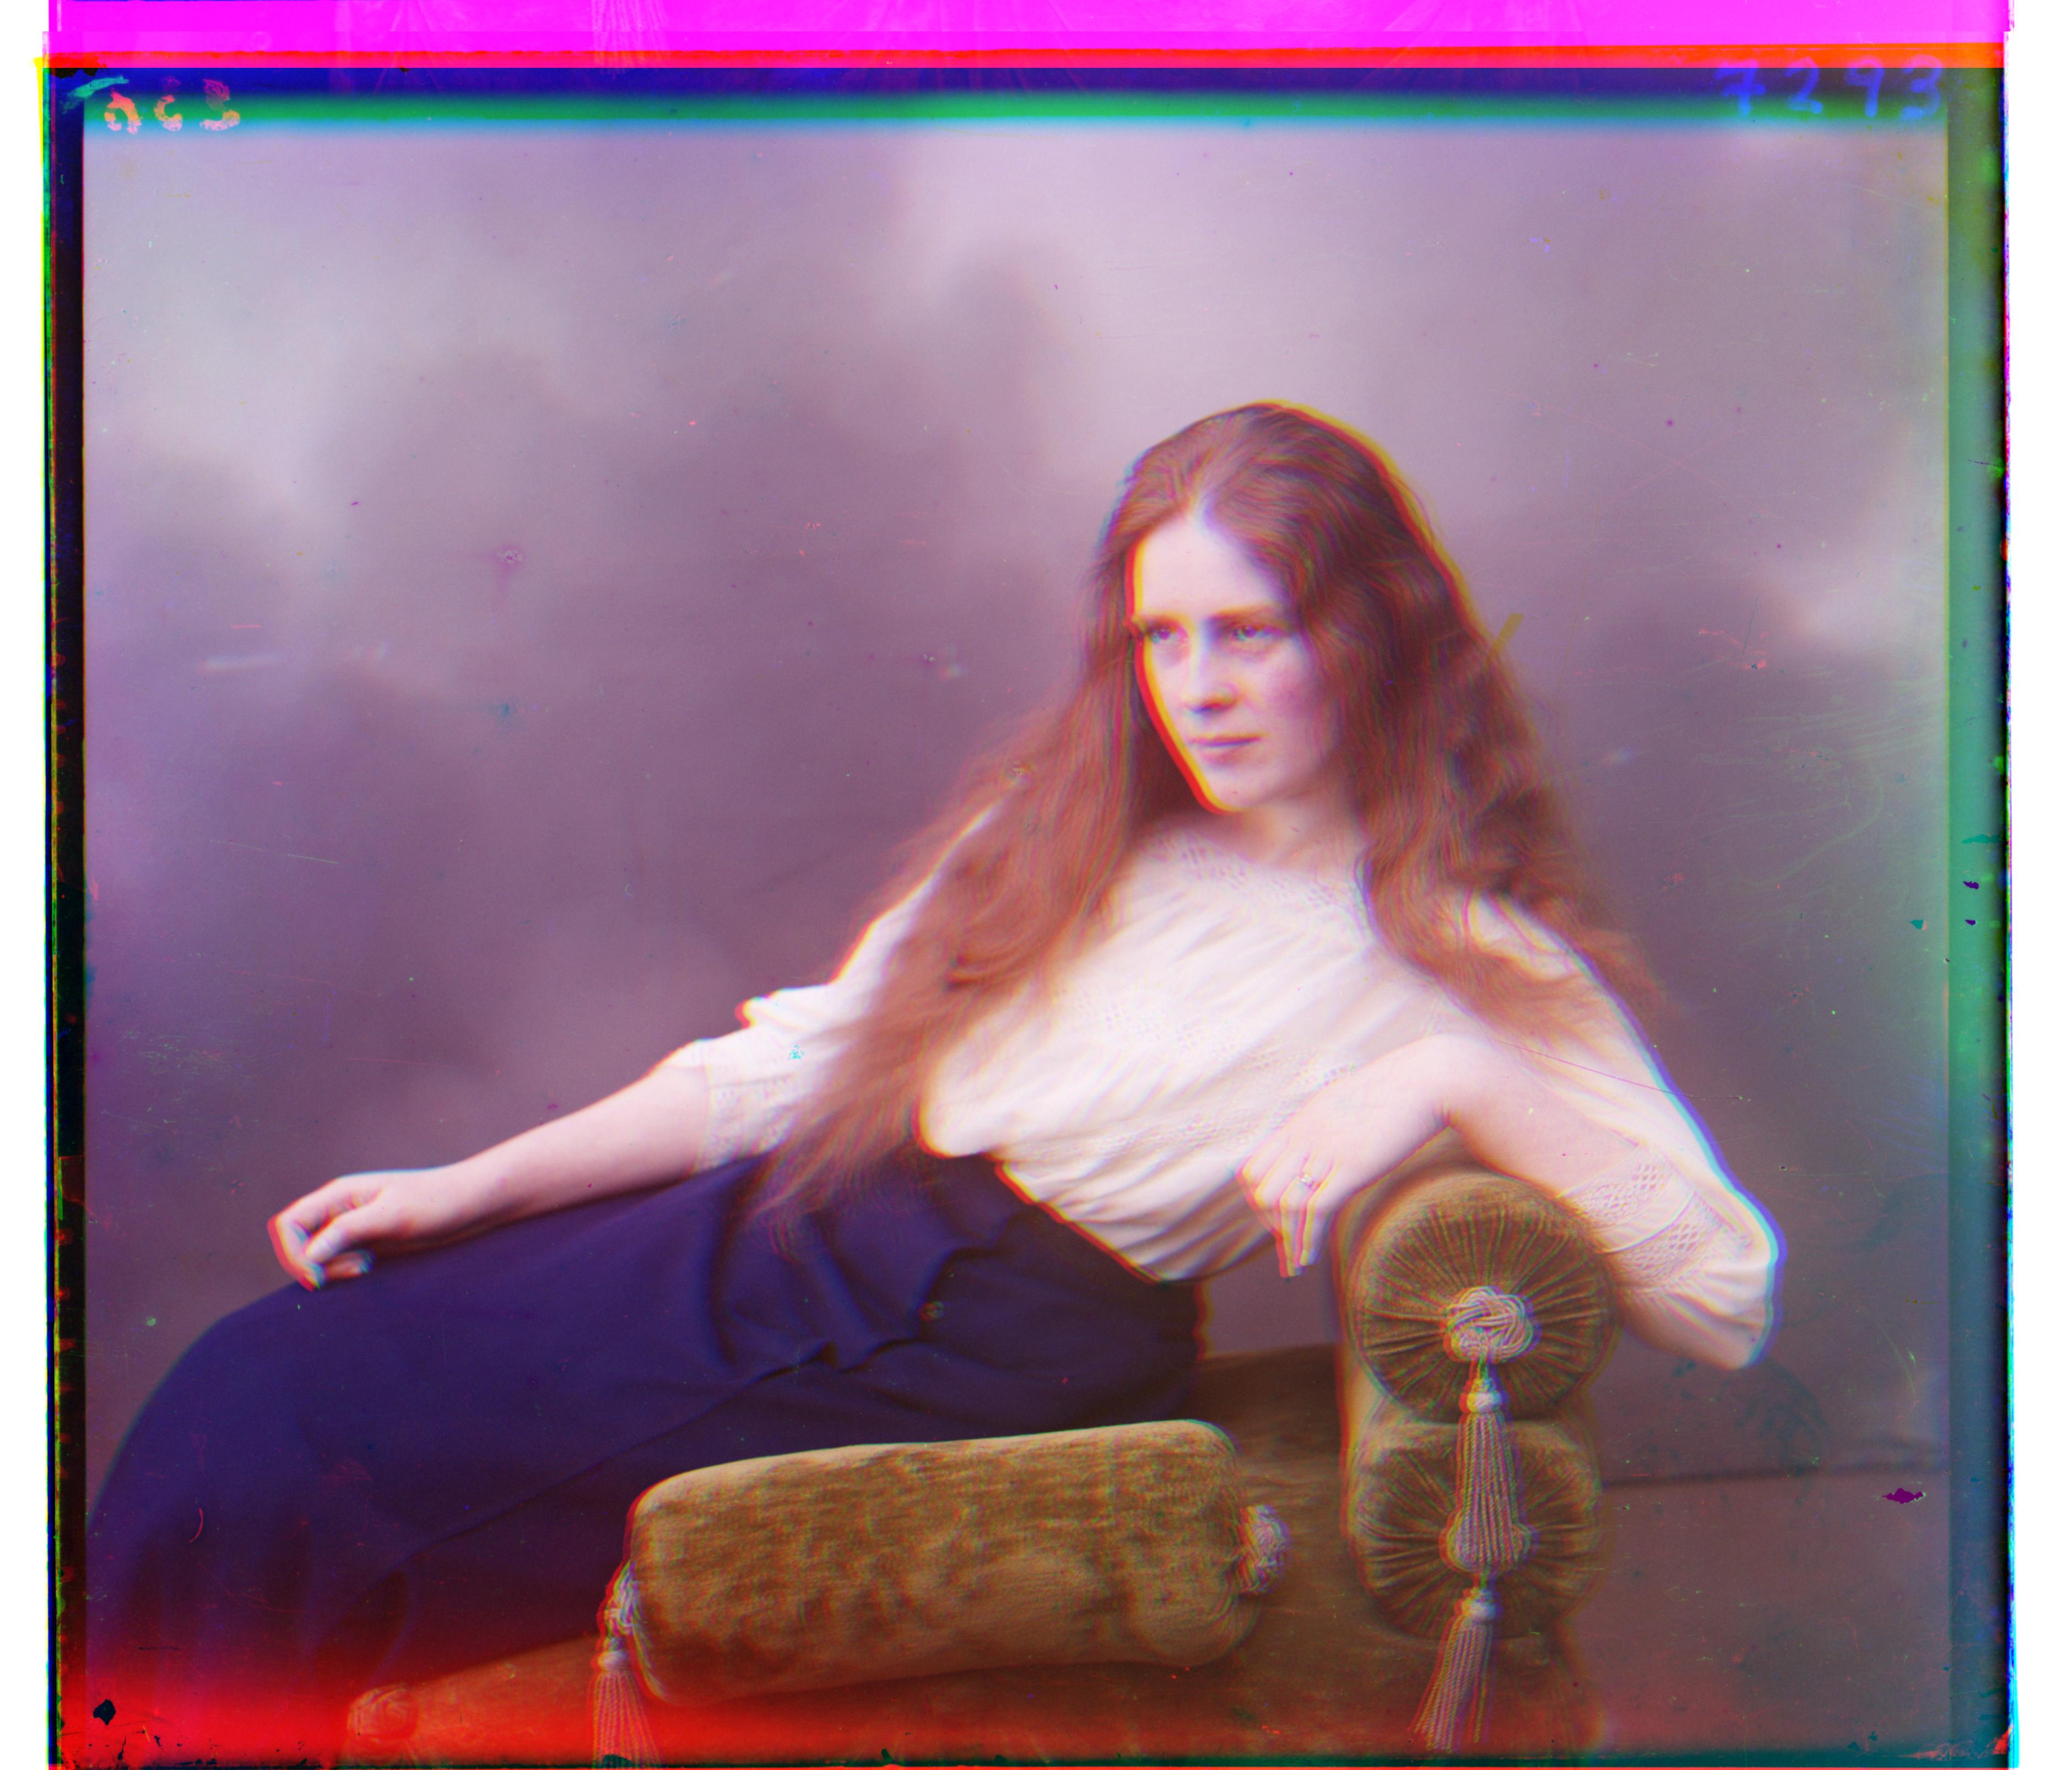
In the first project for Computational Photography, our goal was to colorize black and white photos from the Prokudin-Gorskii collection. Prokudin-Gorskii was a revolutionary photographer who lived and worked in Russia and took photographs that captured the life and culture of Russia before the revolution. In this project, we took the red, blue, and green negatives of his original images and aligned them together to create a color photograph. Though the process is deceptively simple, the end results are incredible and somewhat surreal; by seeing a moment in history through the perspective of today, this project manages to capture a unique, magical feeling of re-seeing history in a different way.
Part 1: Single Scale Implementation on Low-Res Images
In the first part of the project, I started out by implementing a simple version of the aligning algorithim. The idea is fairly straight-forward: we have three plates or images for each color (red, blue, and green) and we want to align them together to create a colorized photograph. In order to best align these channels, I specified a search window or a "displacement vector" that reresents the different (x,y) positions we are shifting the color channels. I chose a window of [-15, 15] and with this window, I tested the placement of each sample coordinate of one color channel onto another (green onto blue for instance). Whichever displacement vector gave me the best "score" was the actual (x,y) coordinates that I used to align the color channel. The score or metric of how well a displacement vector aligns two color channels was based of the Sum of Squared Differences. In other words, whichever displacement vector gave us the "smallest error" or difference between two images was the best displacement vector to use.
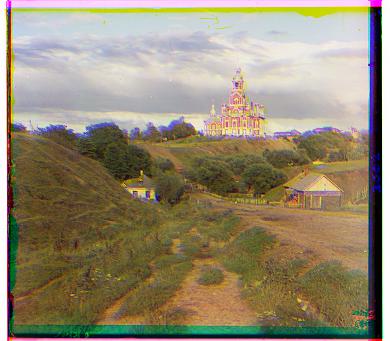
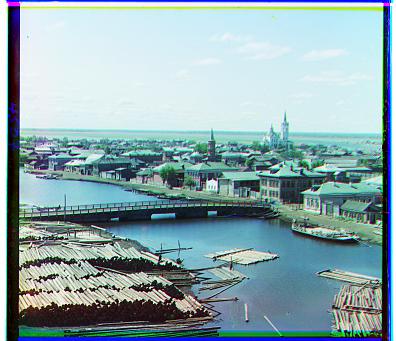
This algorithim worked quite well with smaller images such as the ones that came in a .JPG format. Below are some examples of the images that resulted from this method.
|
|
|
Part 2: Multiscale Guassian Pyramid on High-Res Images
Though the algorithim described in the previous section worked well, it was ultimately quite slow and an exhaustive way to search for an ideal displacement vector. It was able to find a result in a reasonable time with smaller images, however, with the larger .TIF files included in this project, this algorithim would have taken a significant amount of time. This is because we are basically telling our method to blindly search for an ideal displacement over a preset window of options, however the actual ideal option might take much longer to find due to the increased pixels. Consequentially, I implemented a Multiscale Guassian Pyramid to better and more efficently search for an ideal displacement.
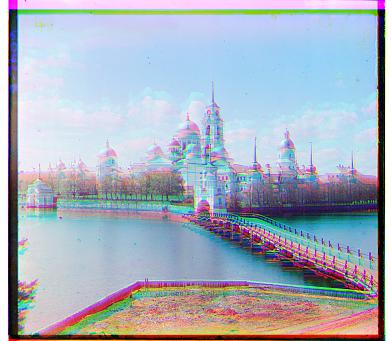
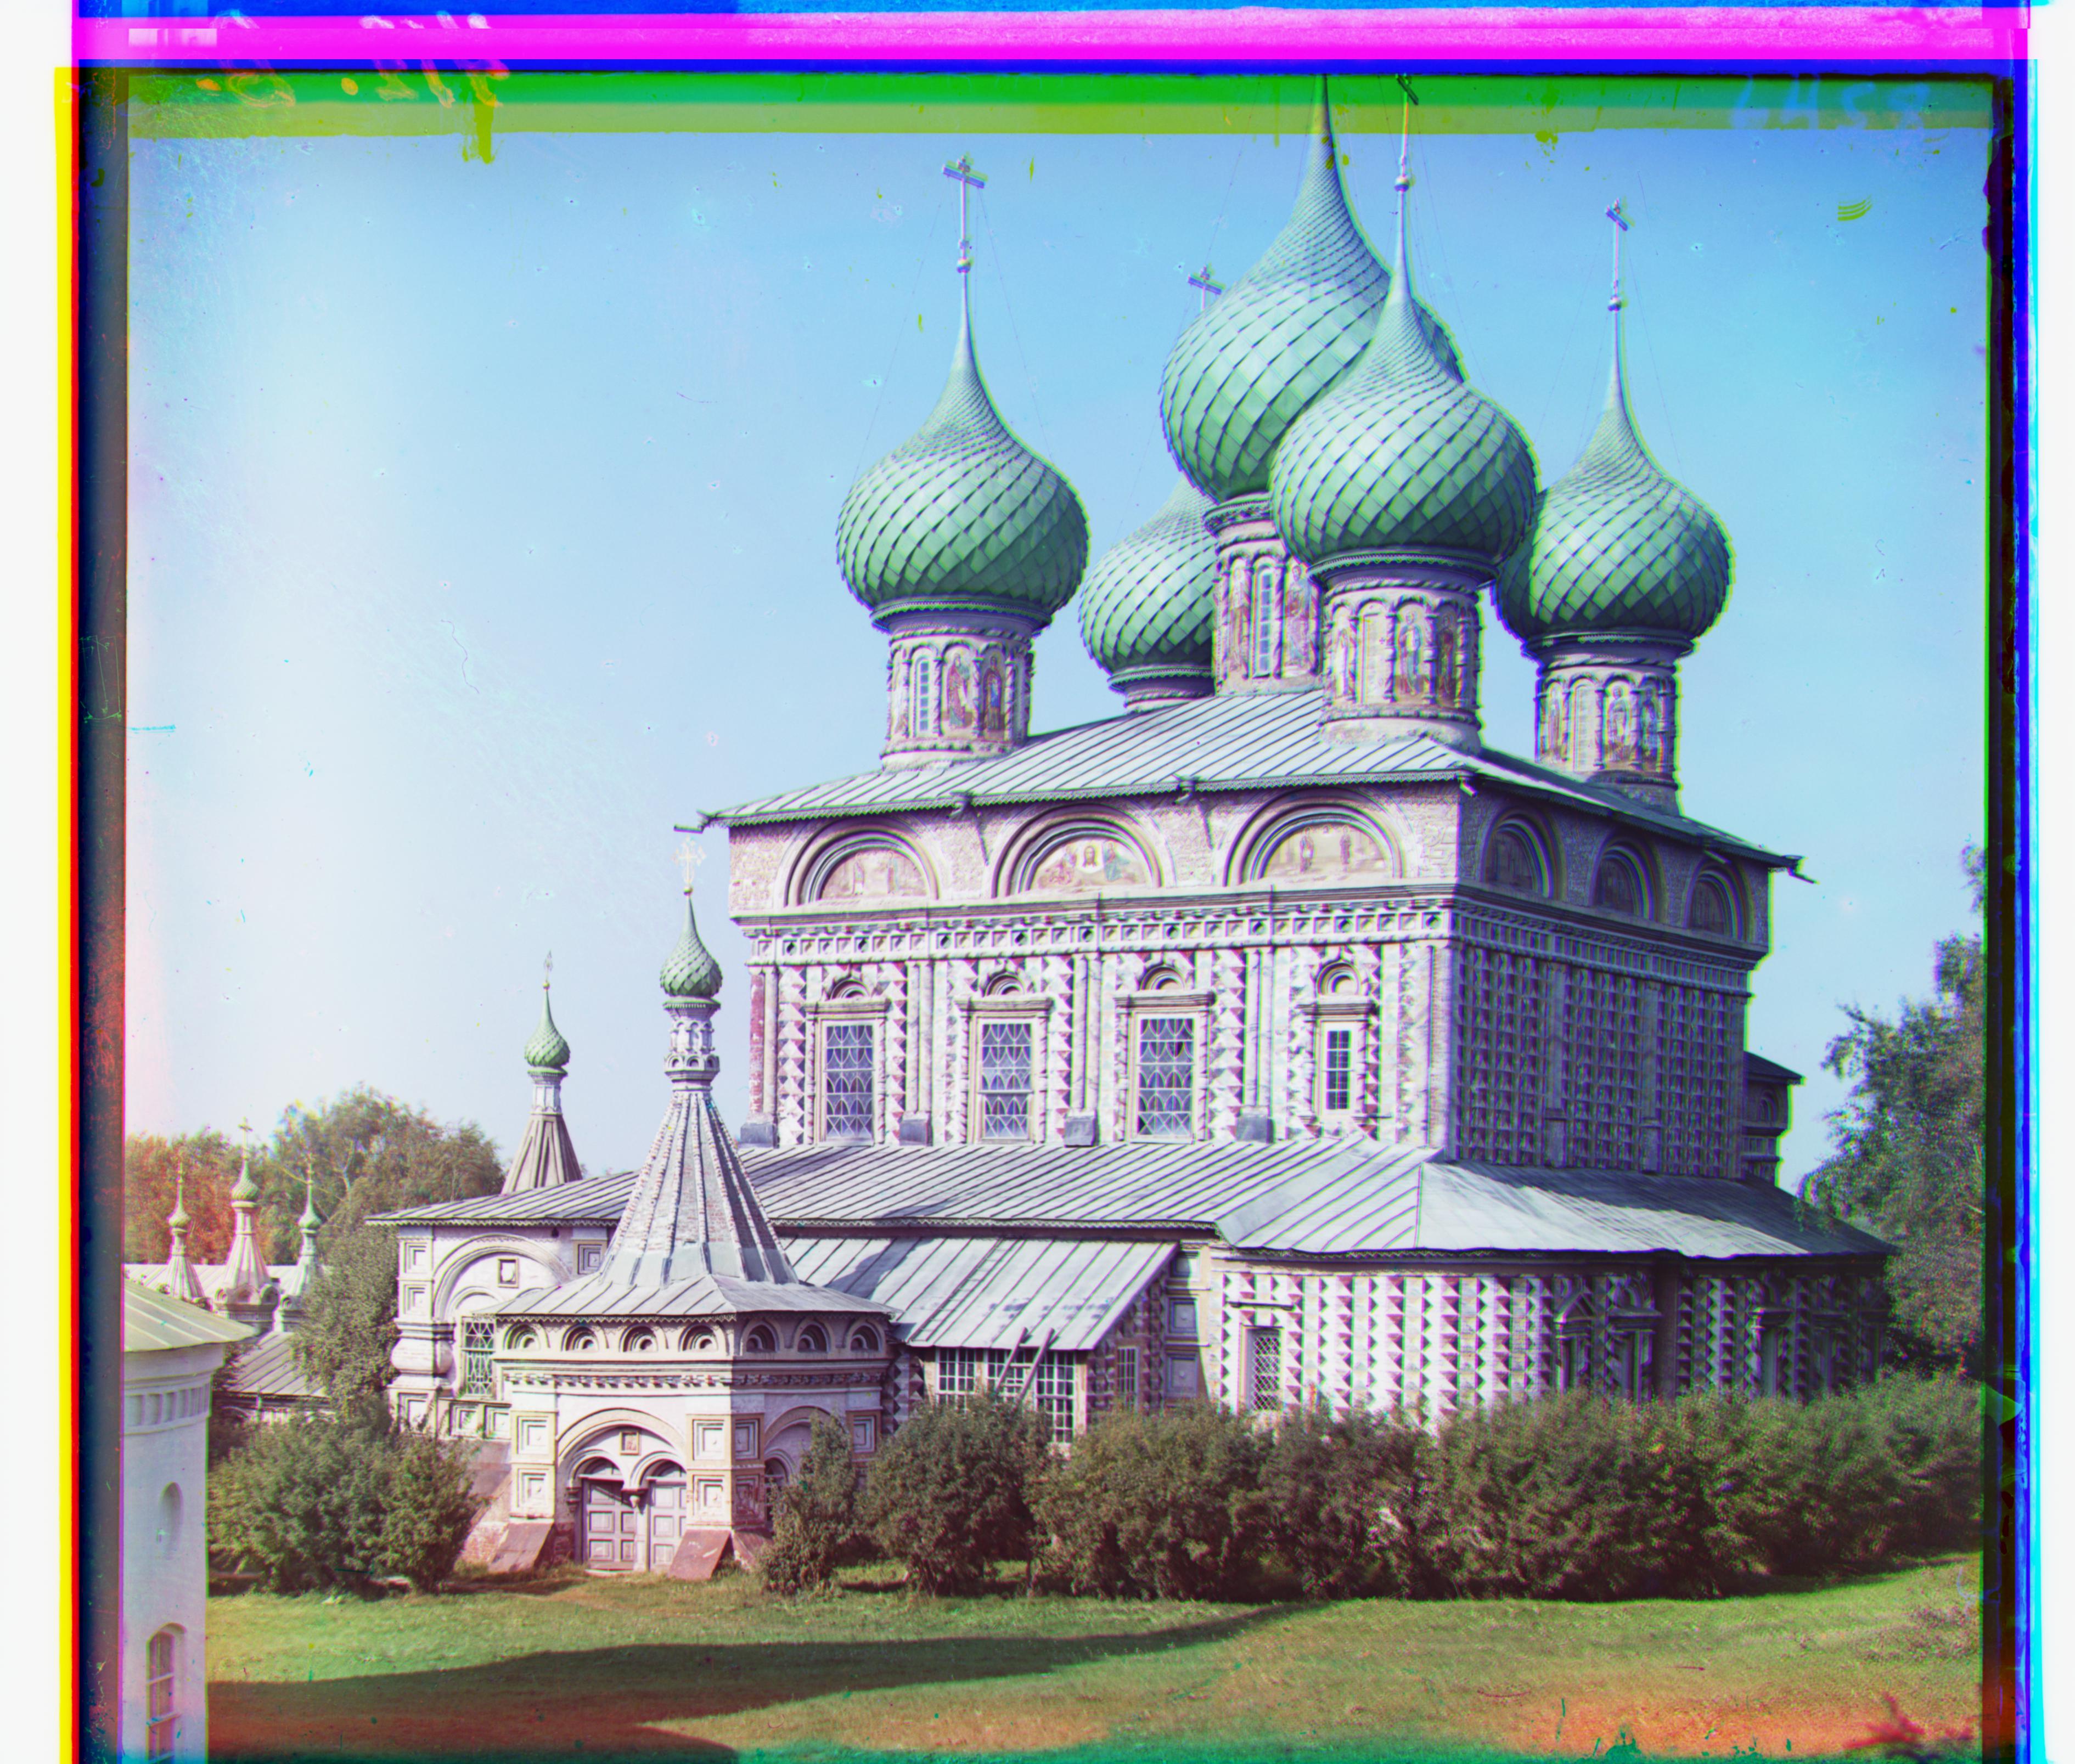
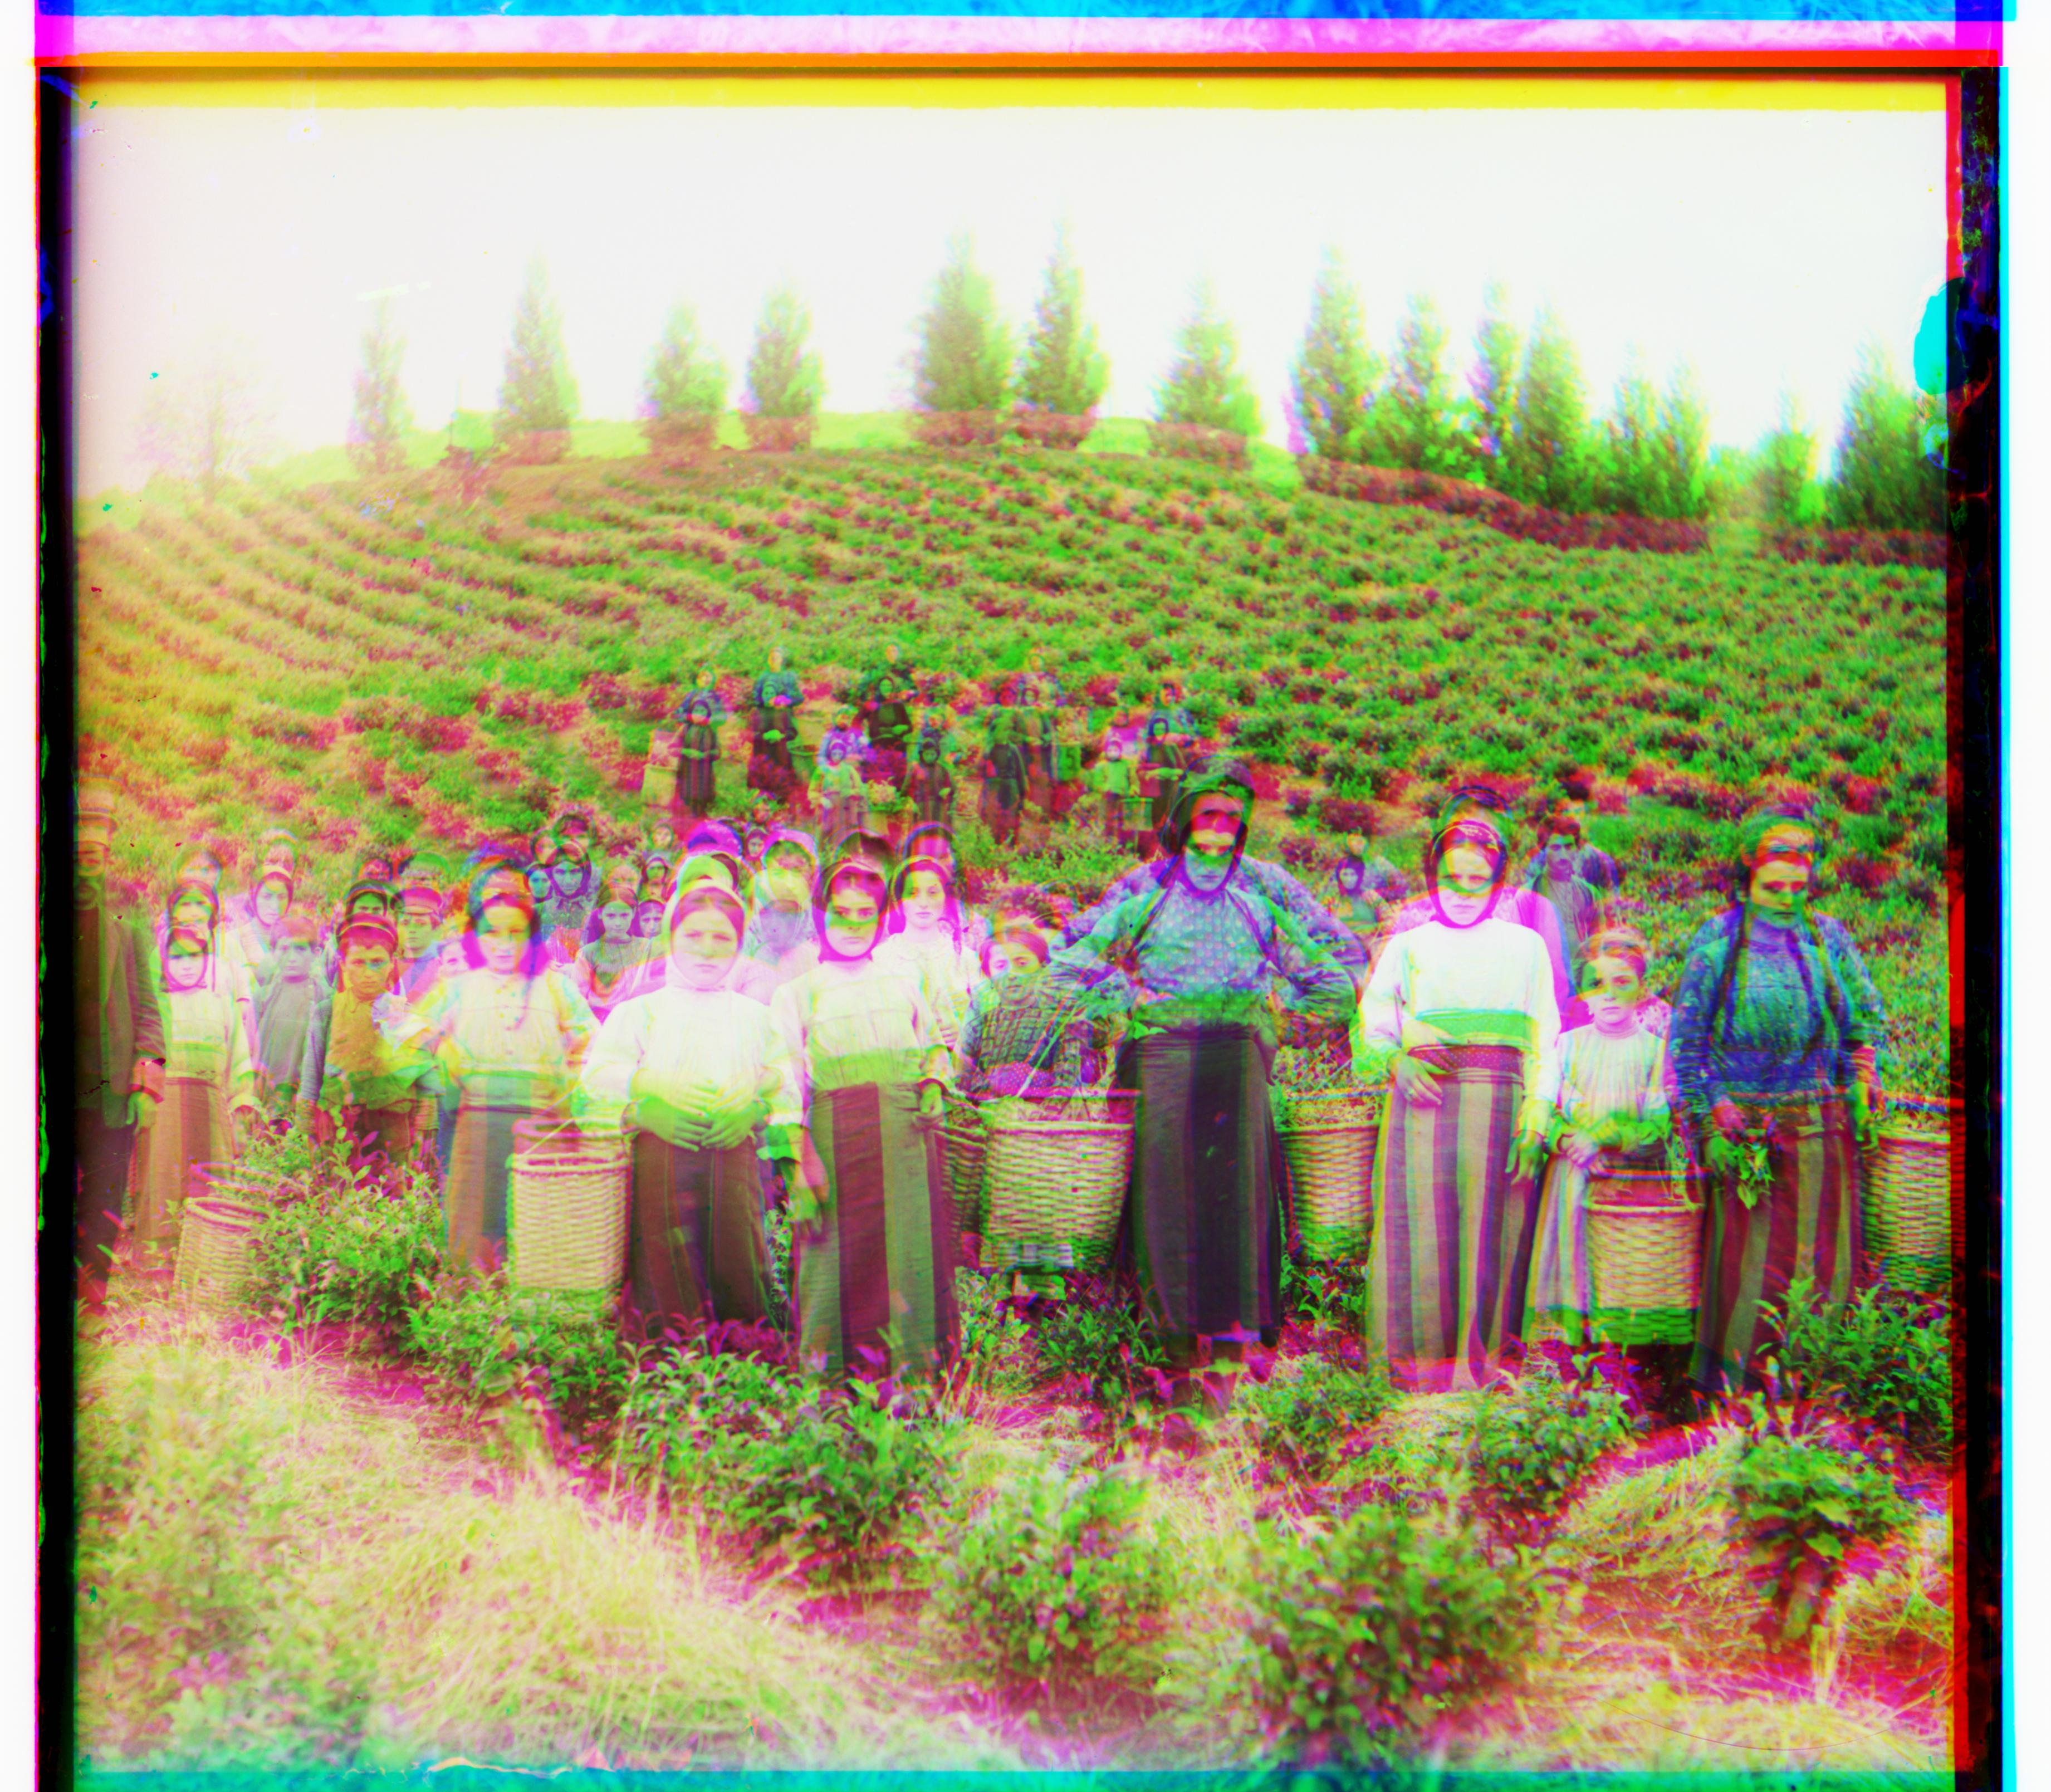
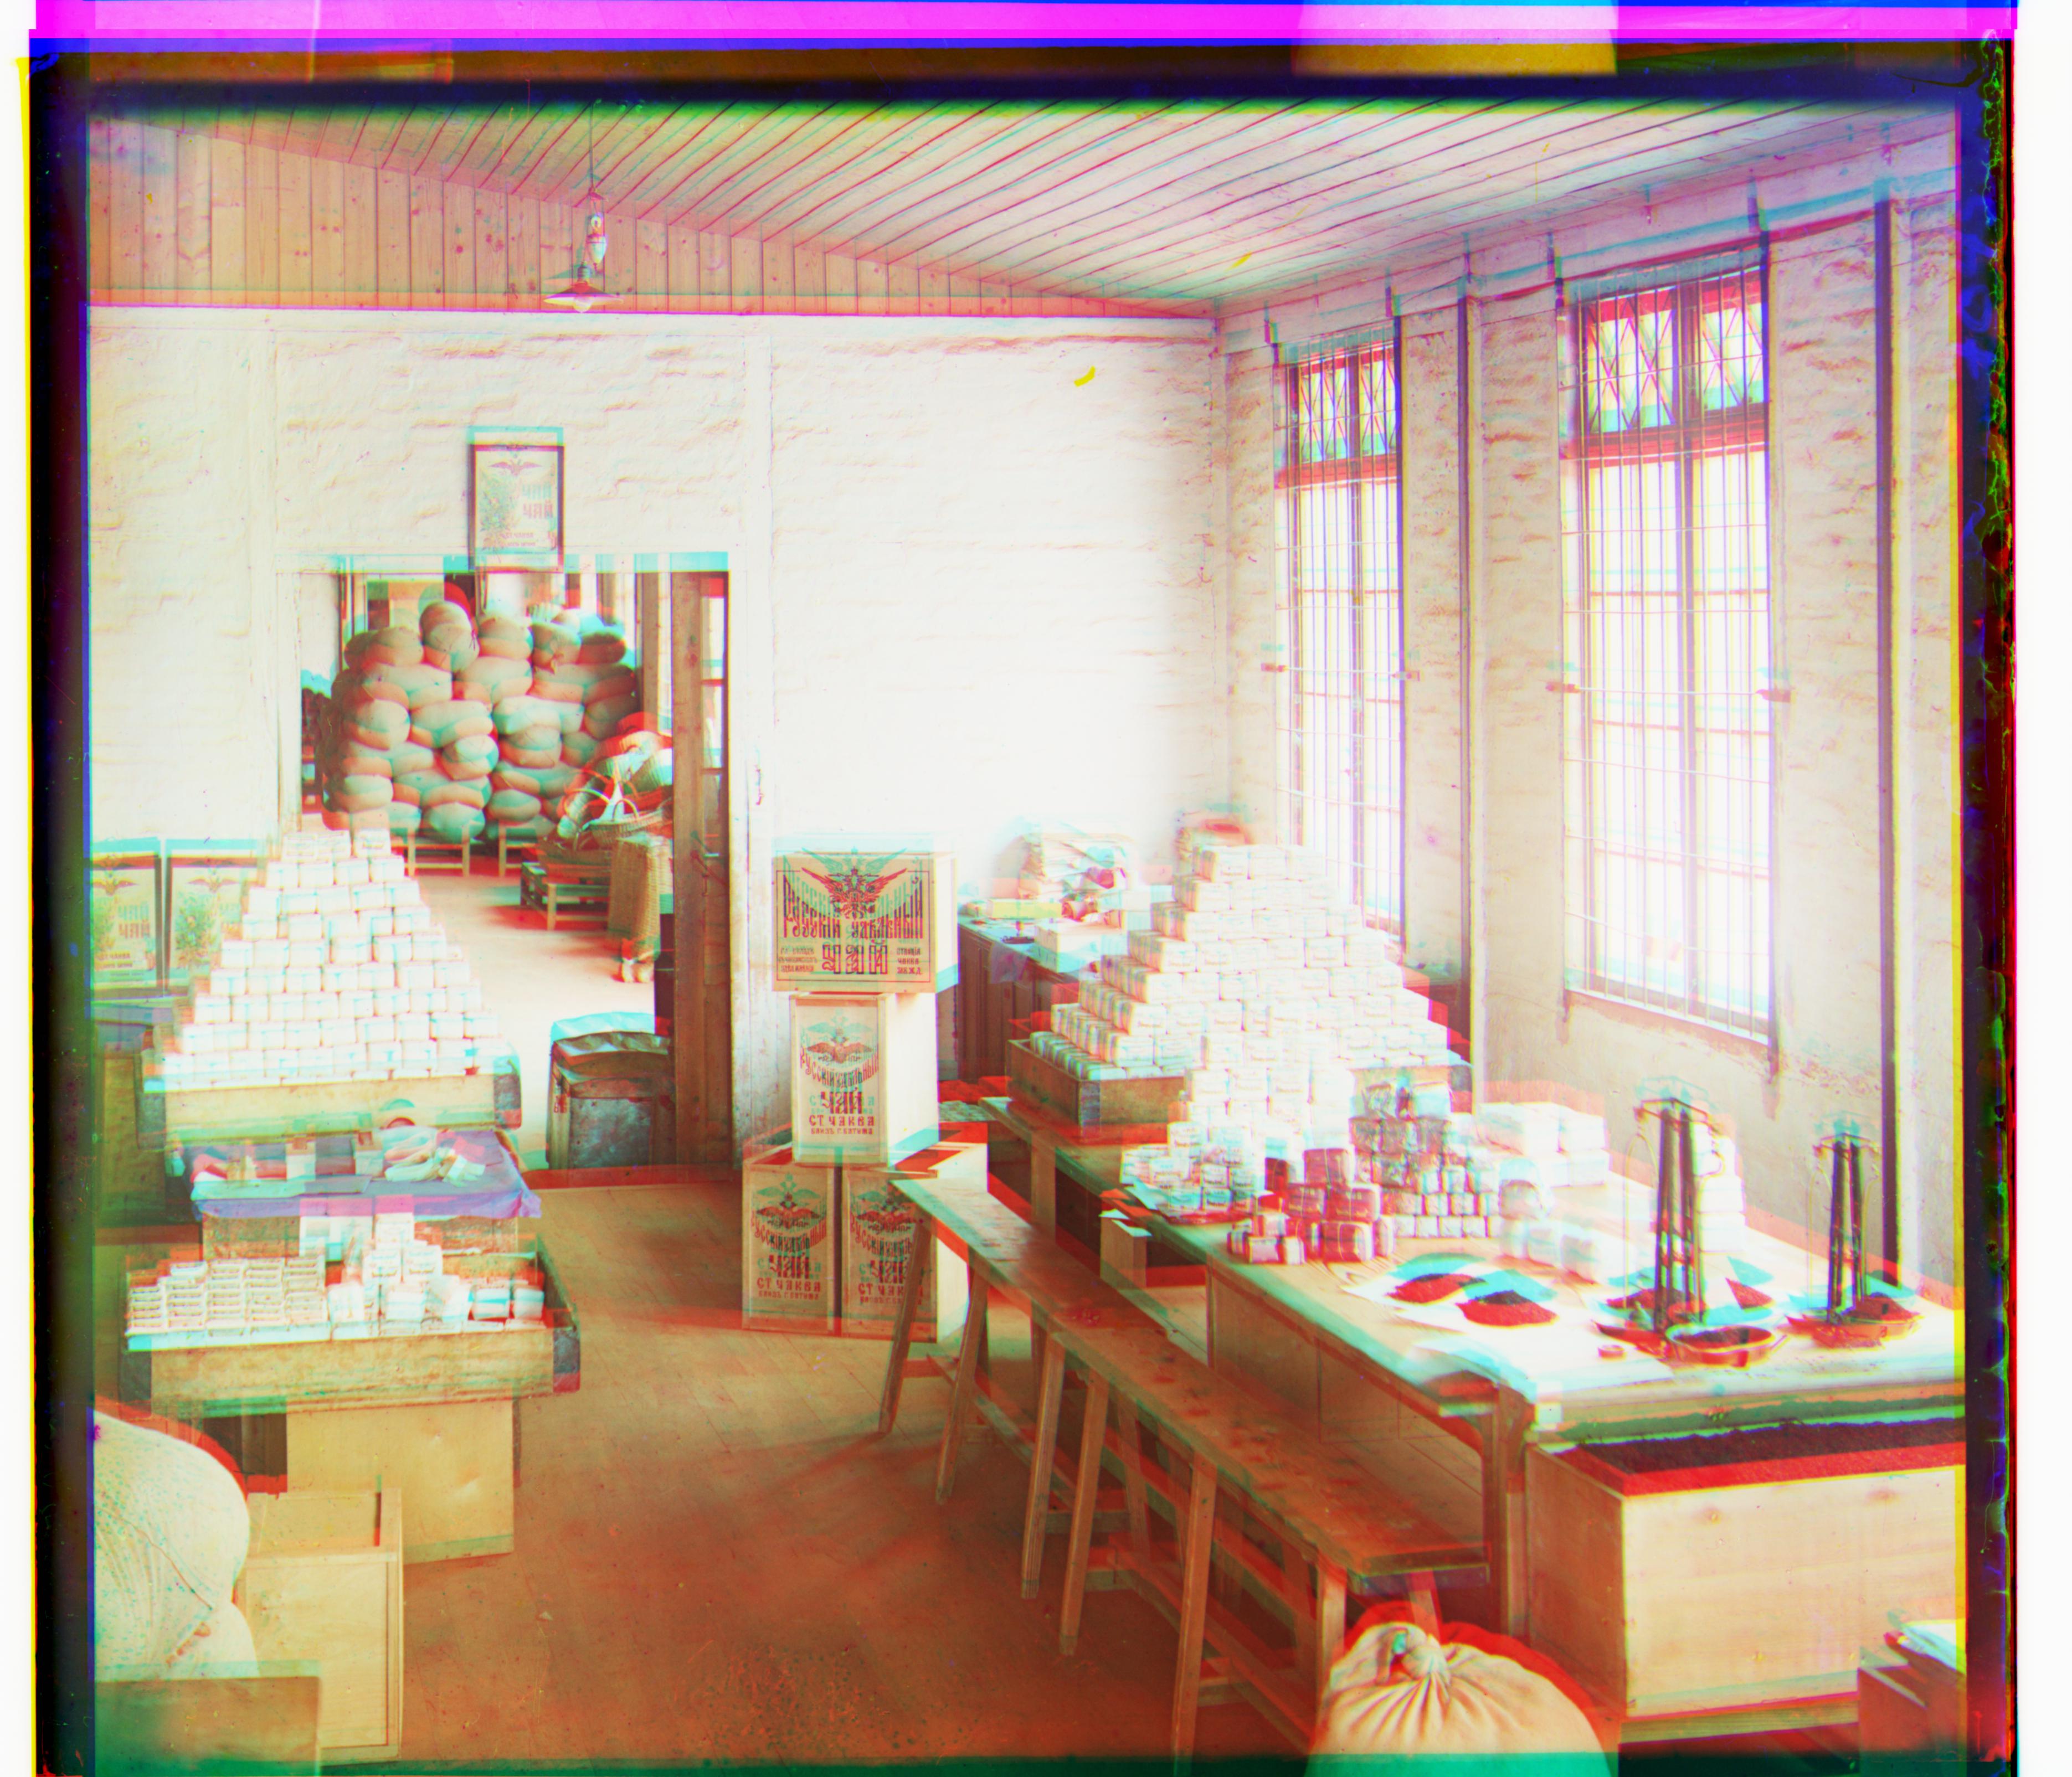
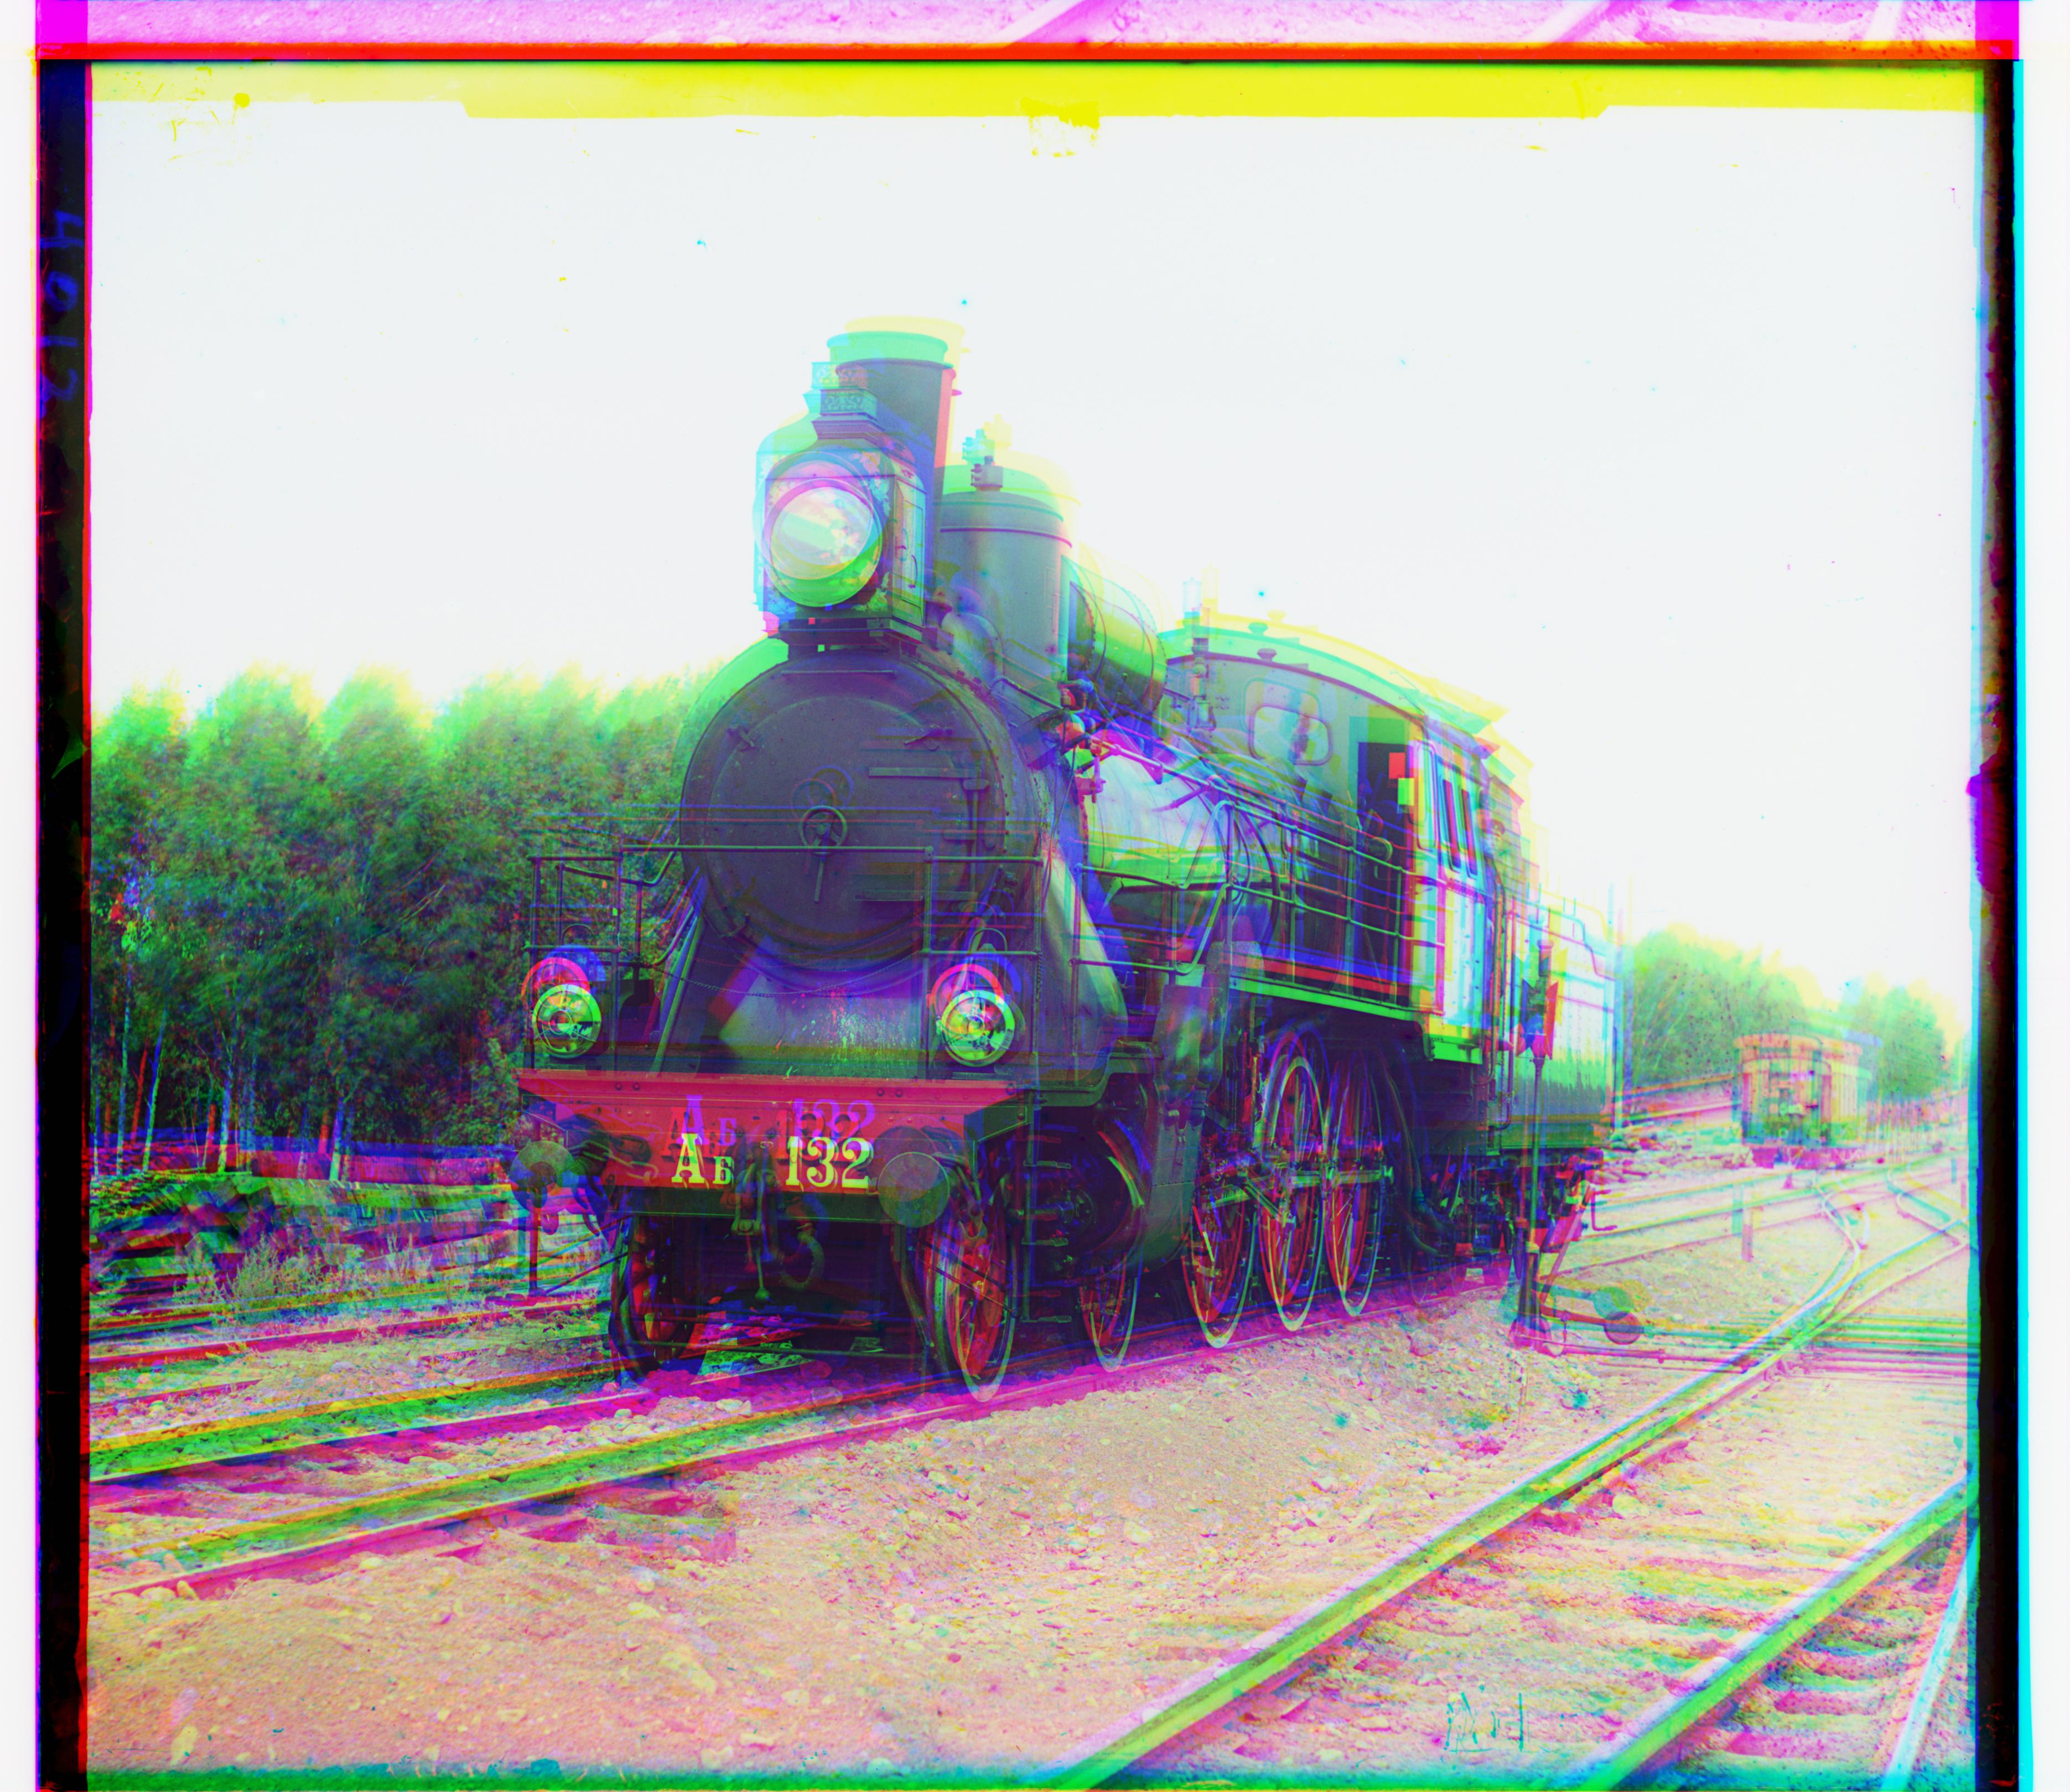
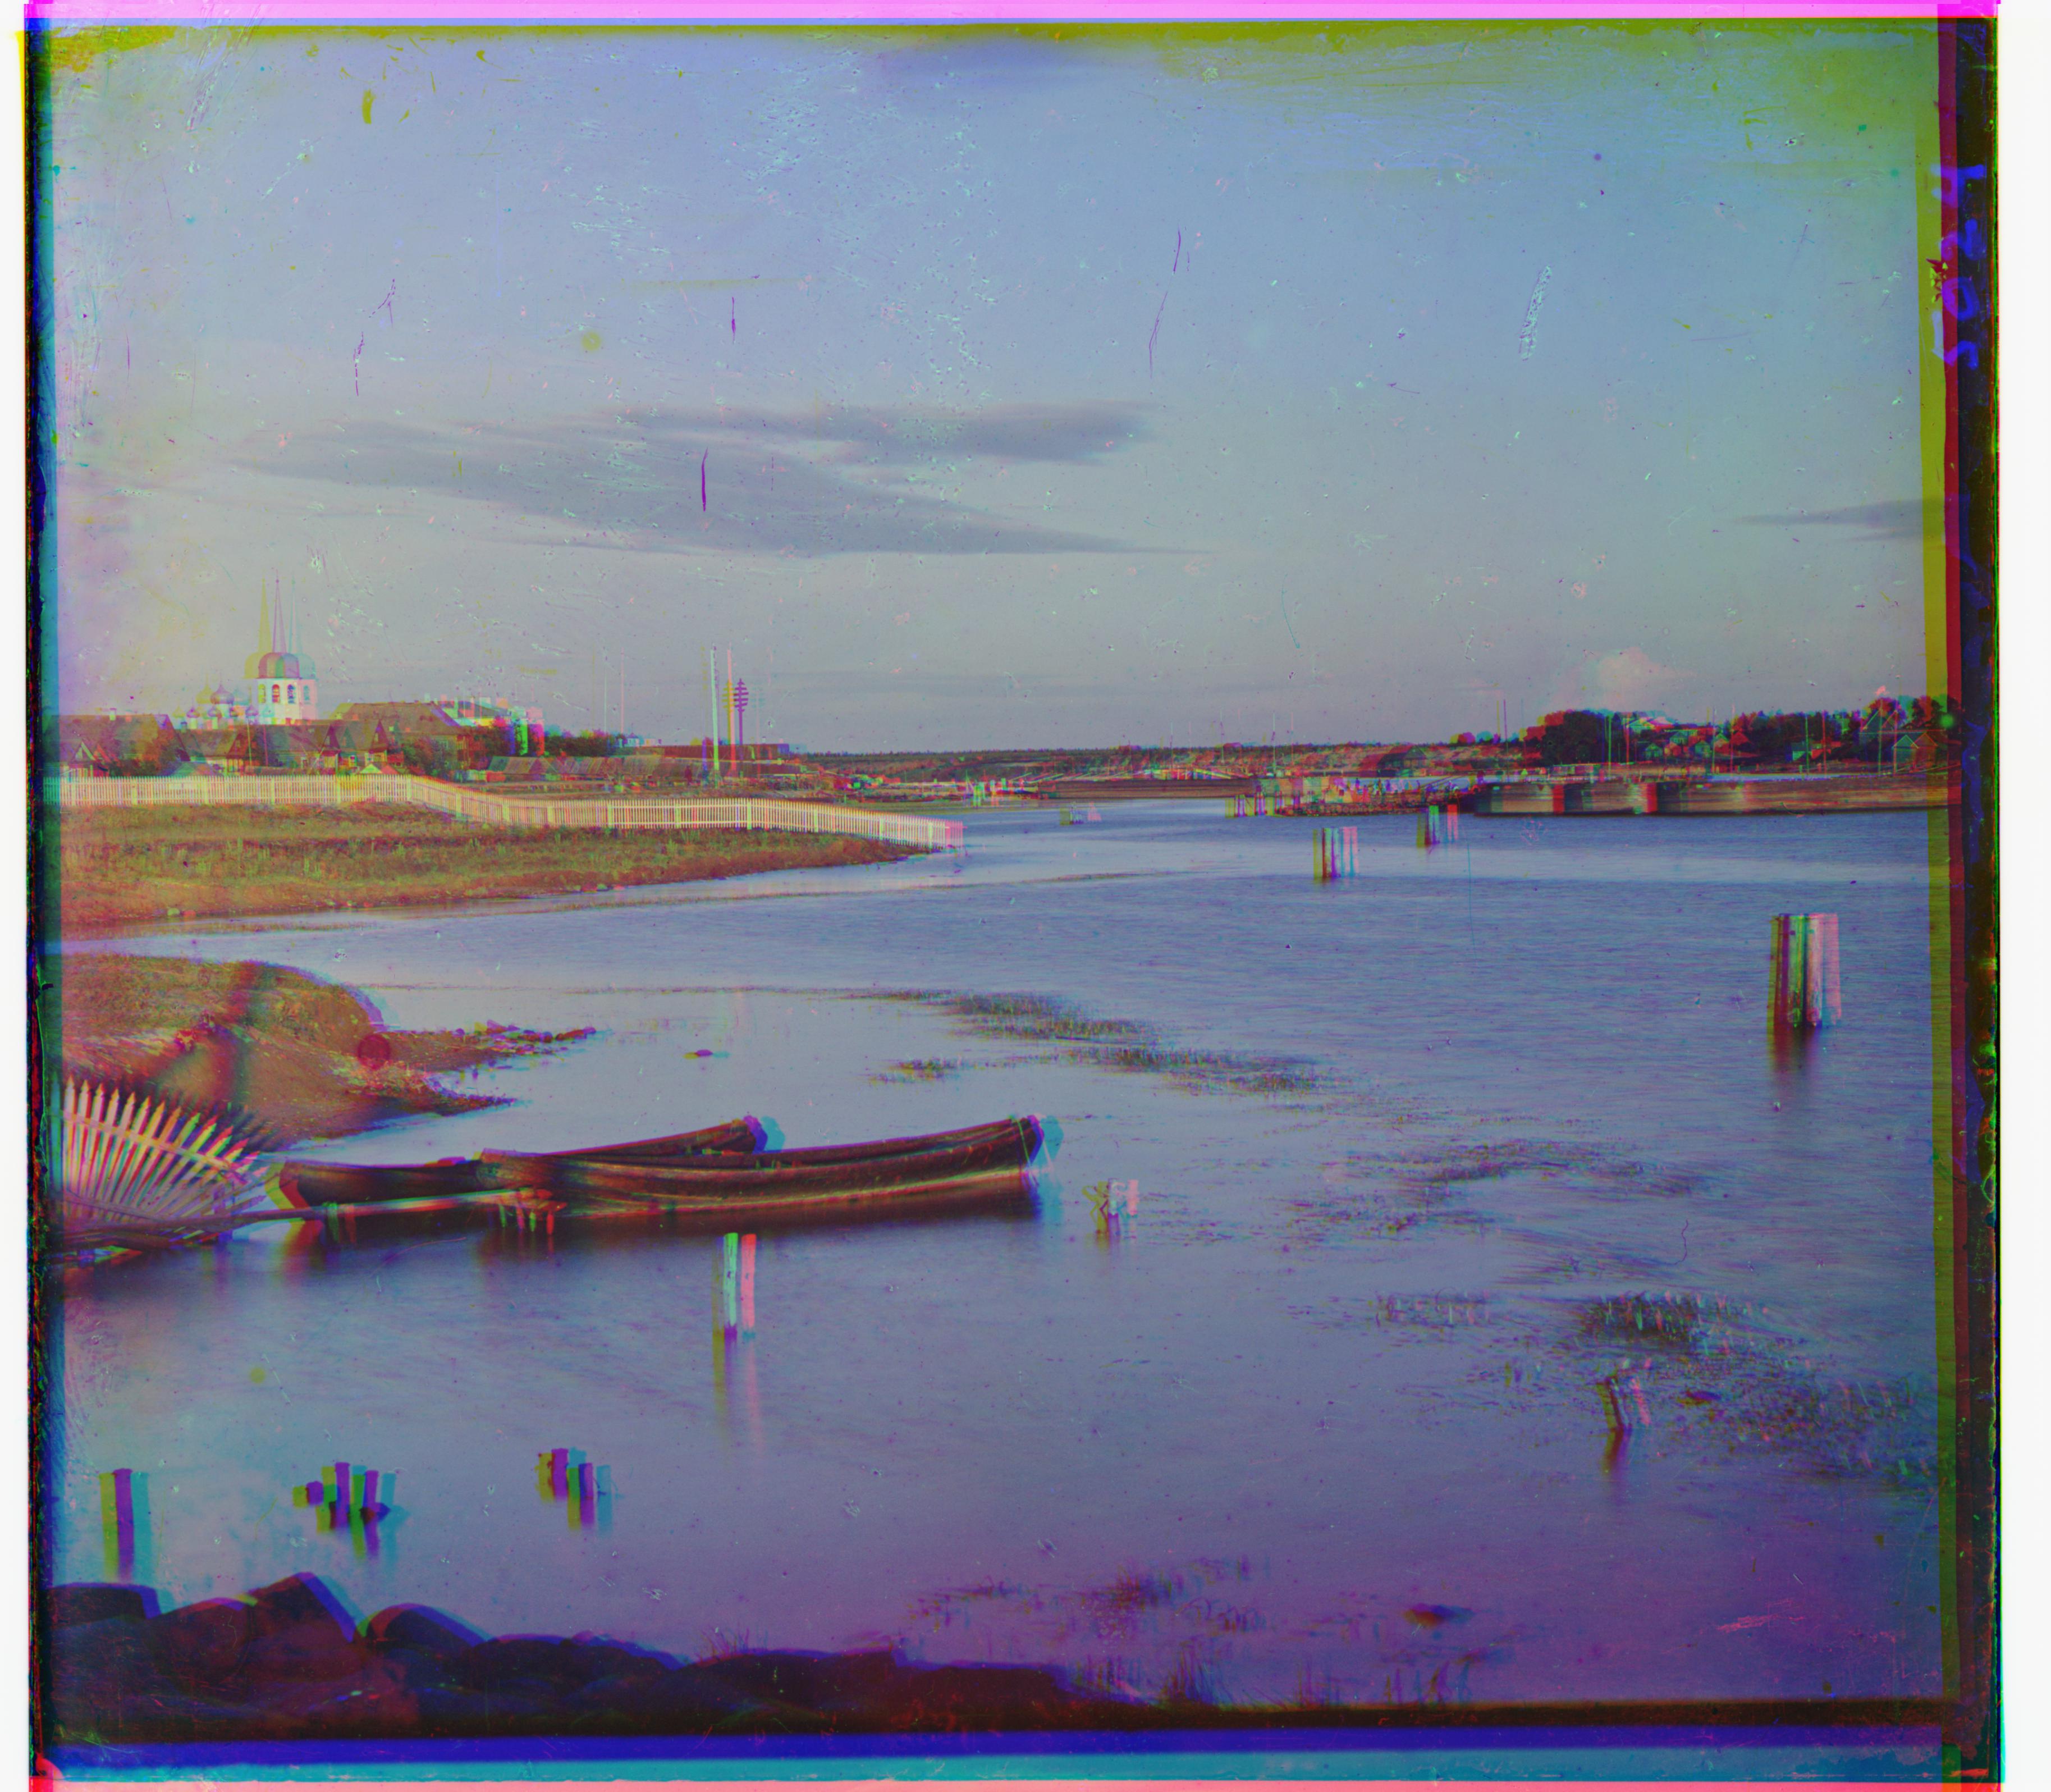
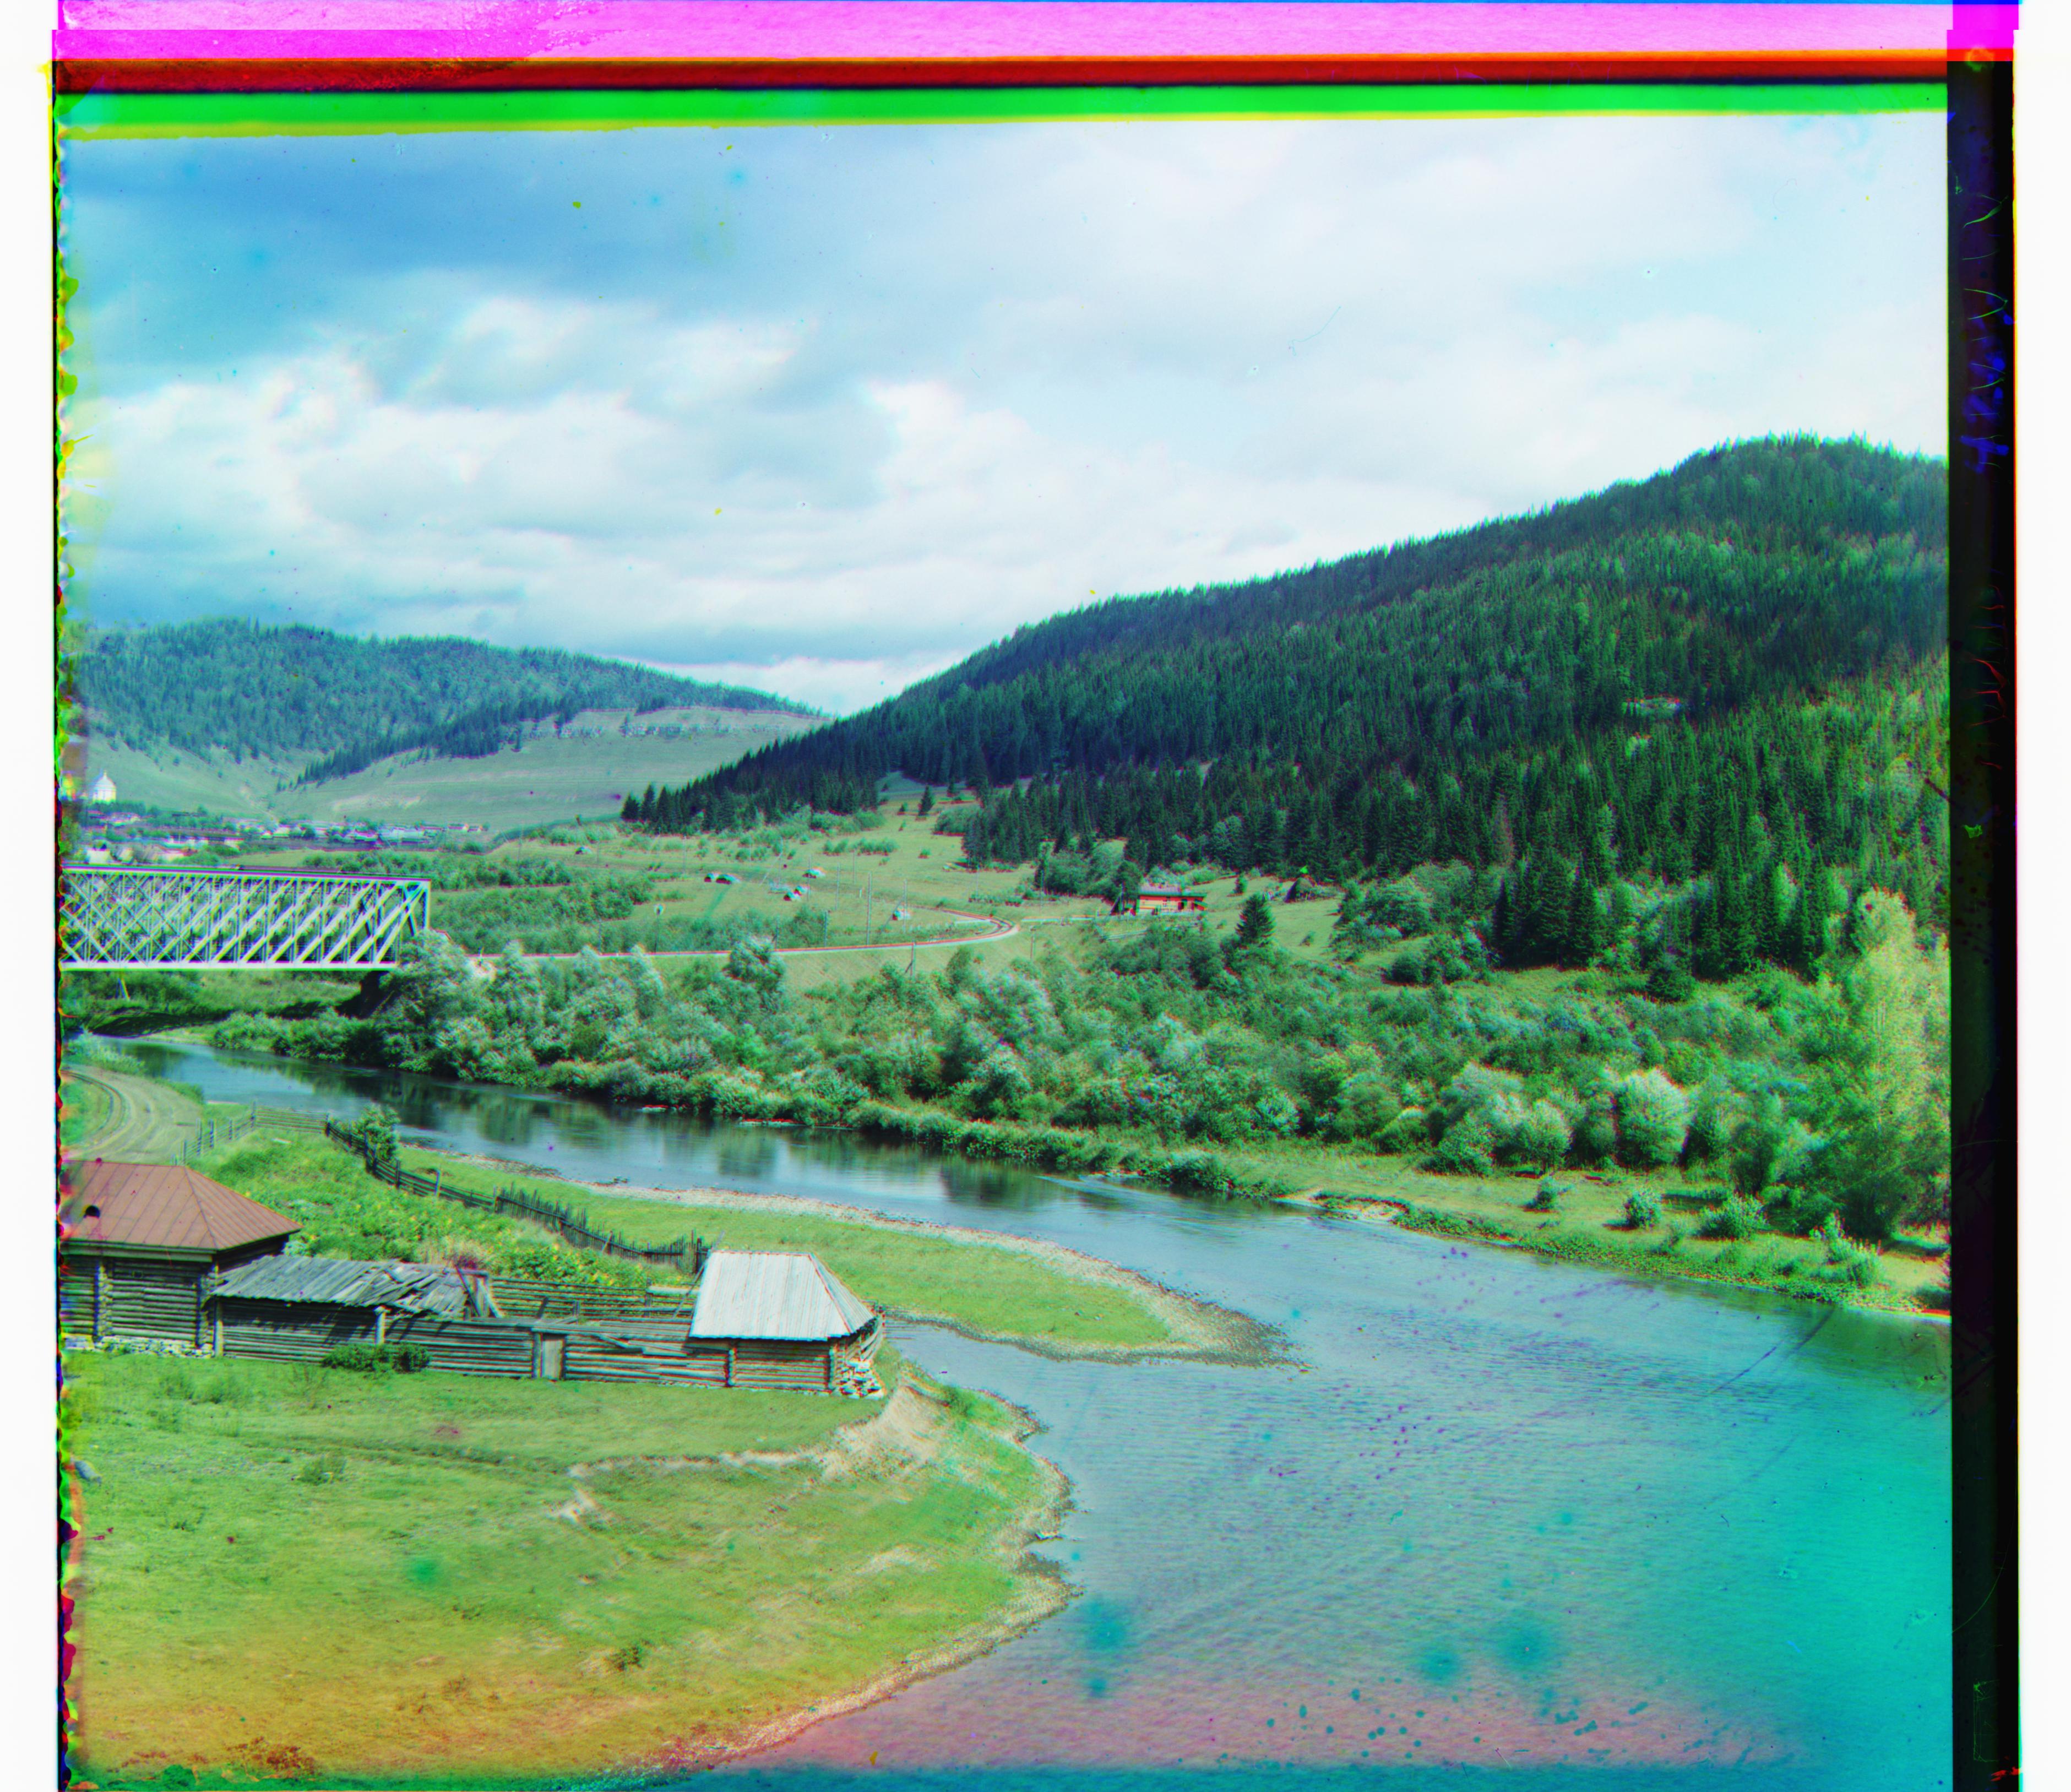
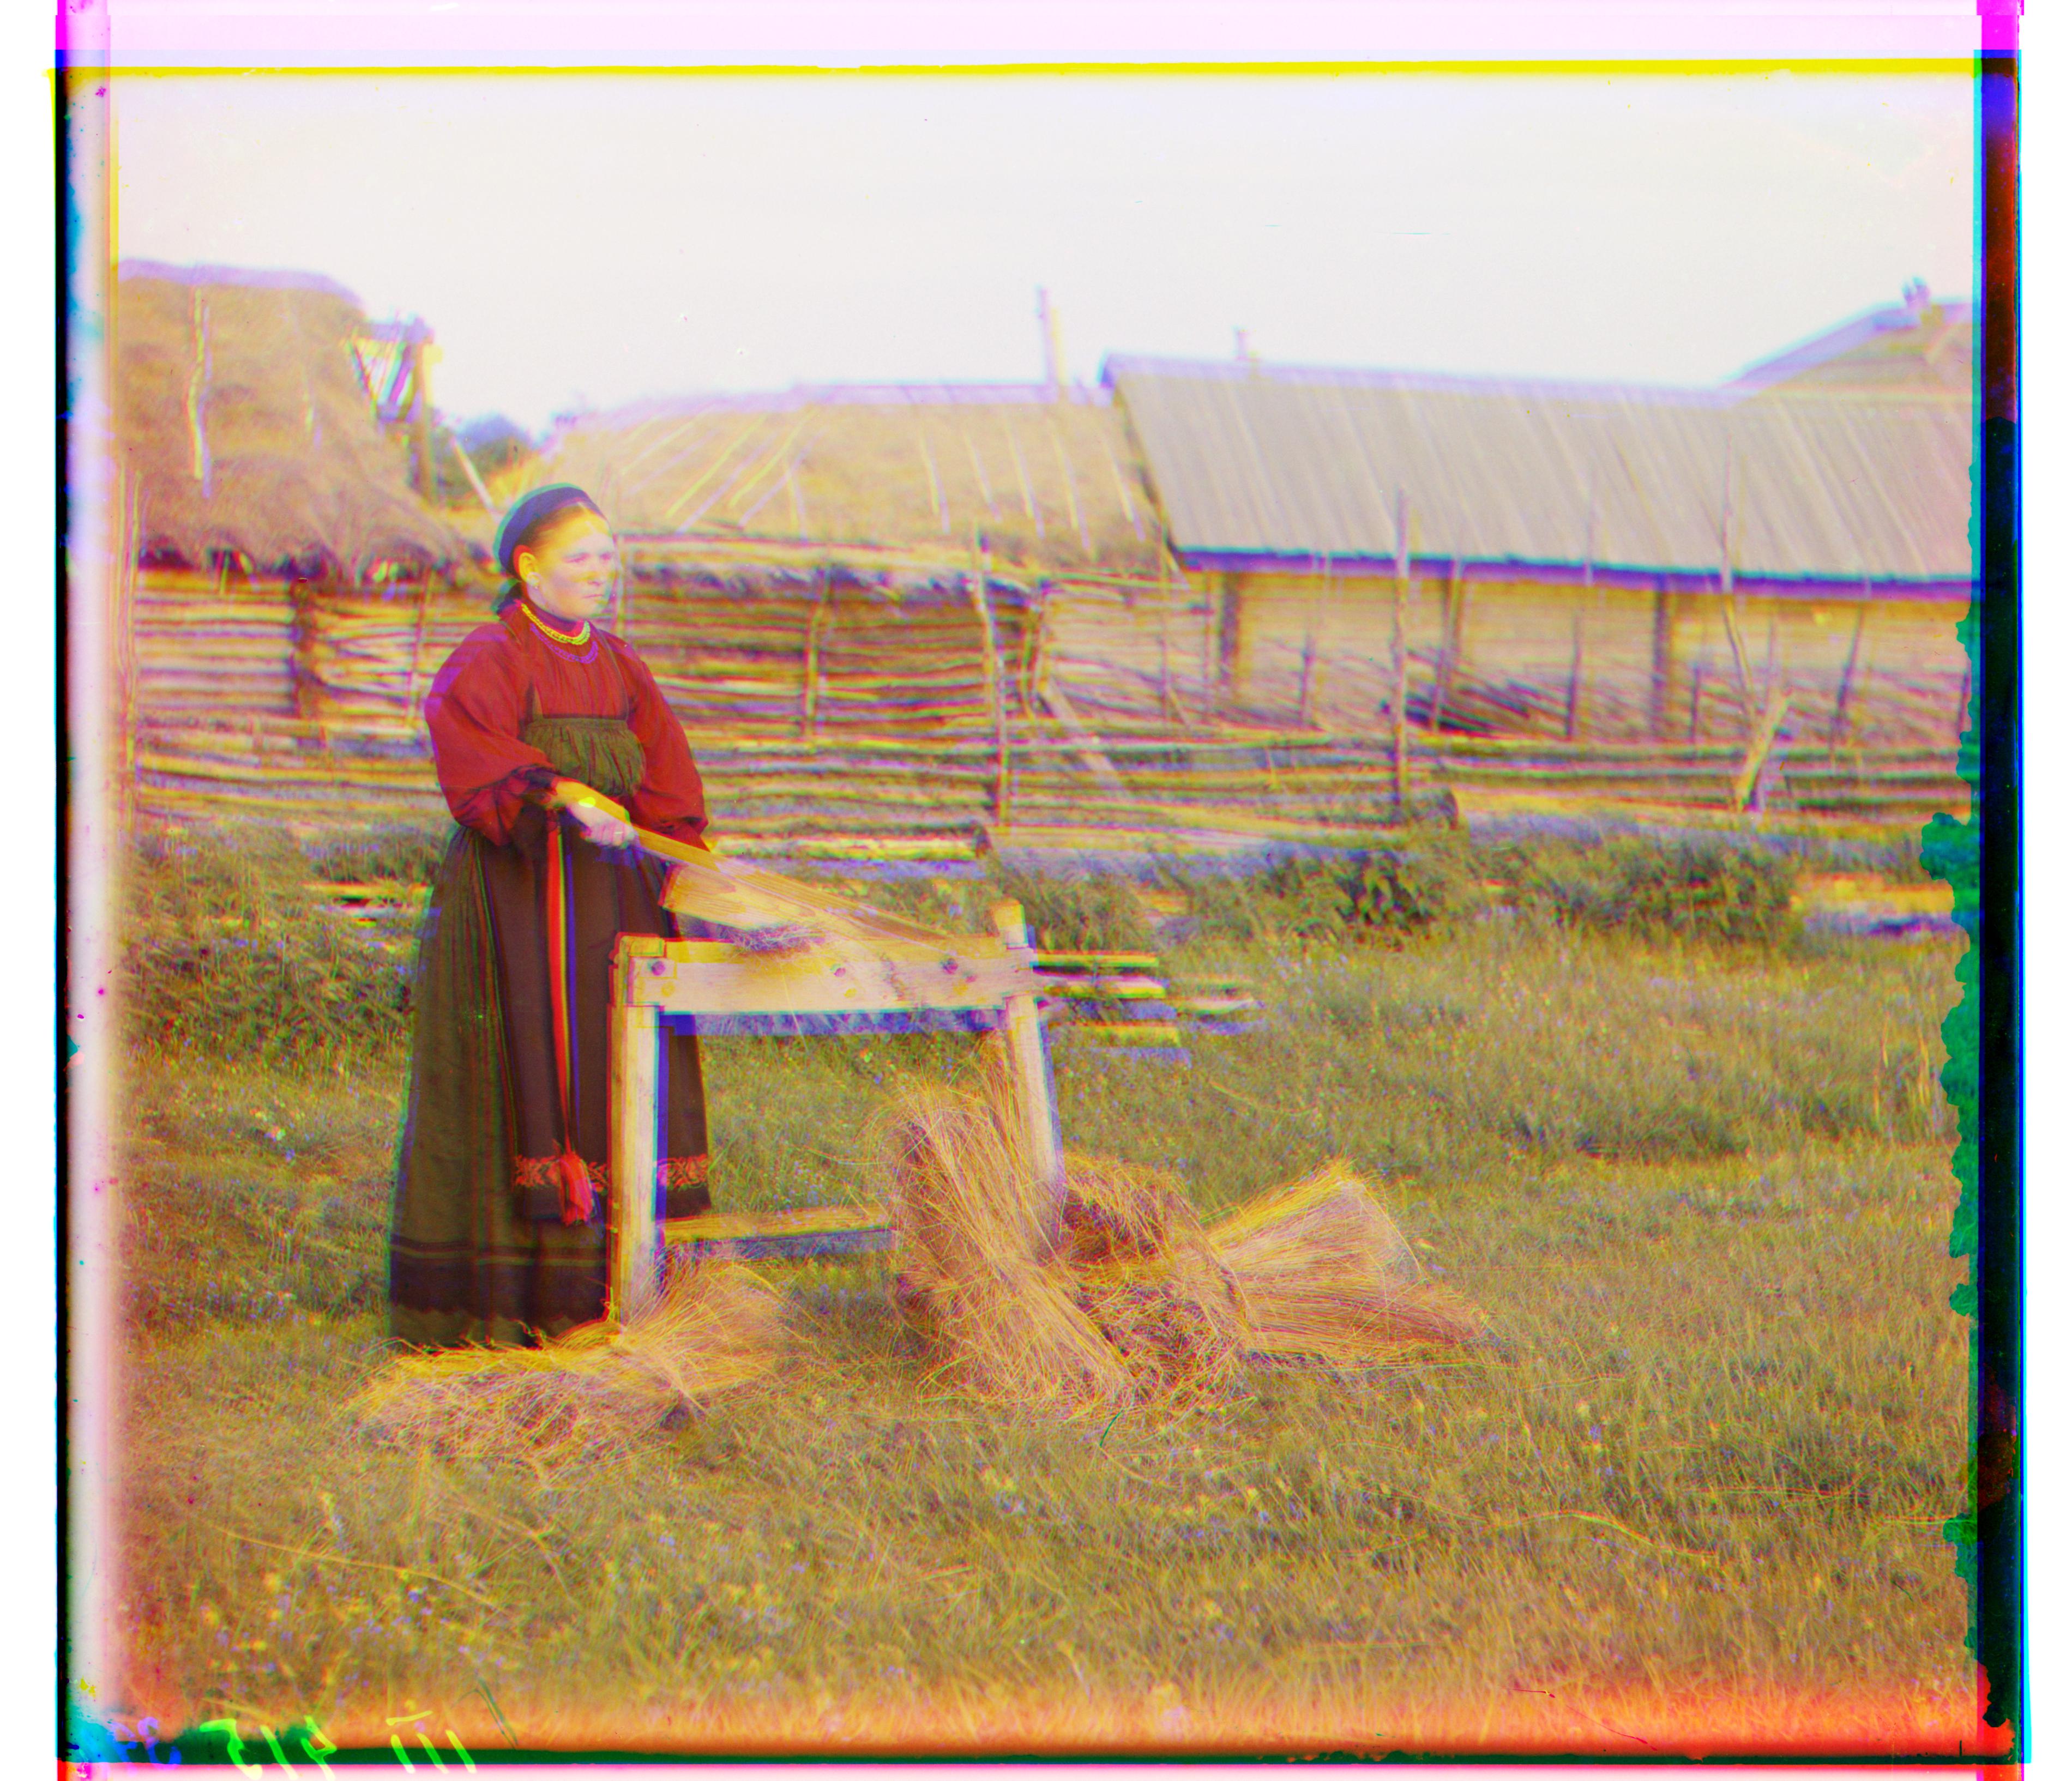
In this improved alogrithim, we scale our original image down several levels (I chose to scale the image down by a factor of 0.5 into 5 levels). At each level of our Image Pyramid, we essentially run the same search we did in the previous section, however, when we move onto the next level of the pyramid, we use the ideal displacement vector found in the previous level as an "offset" to adjust the range of (x,y) values we are searching through. This way, our algorithim has a more informed and specific range of values to test for the ideal displacement. This small, but significant addition, made our code much more efficient and capable of handling large images like the ones below. Each of these images were outputted in under a minute of time which is an improvement over the several minutes it used to take with our older algorithim. The offsets used for each image can be found in the captions underneath.
|
|
|

|
|
|
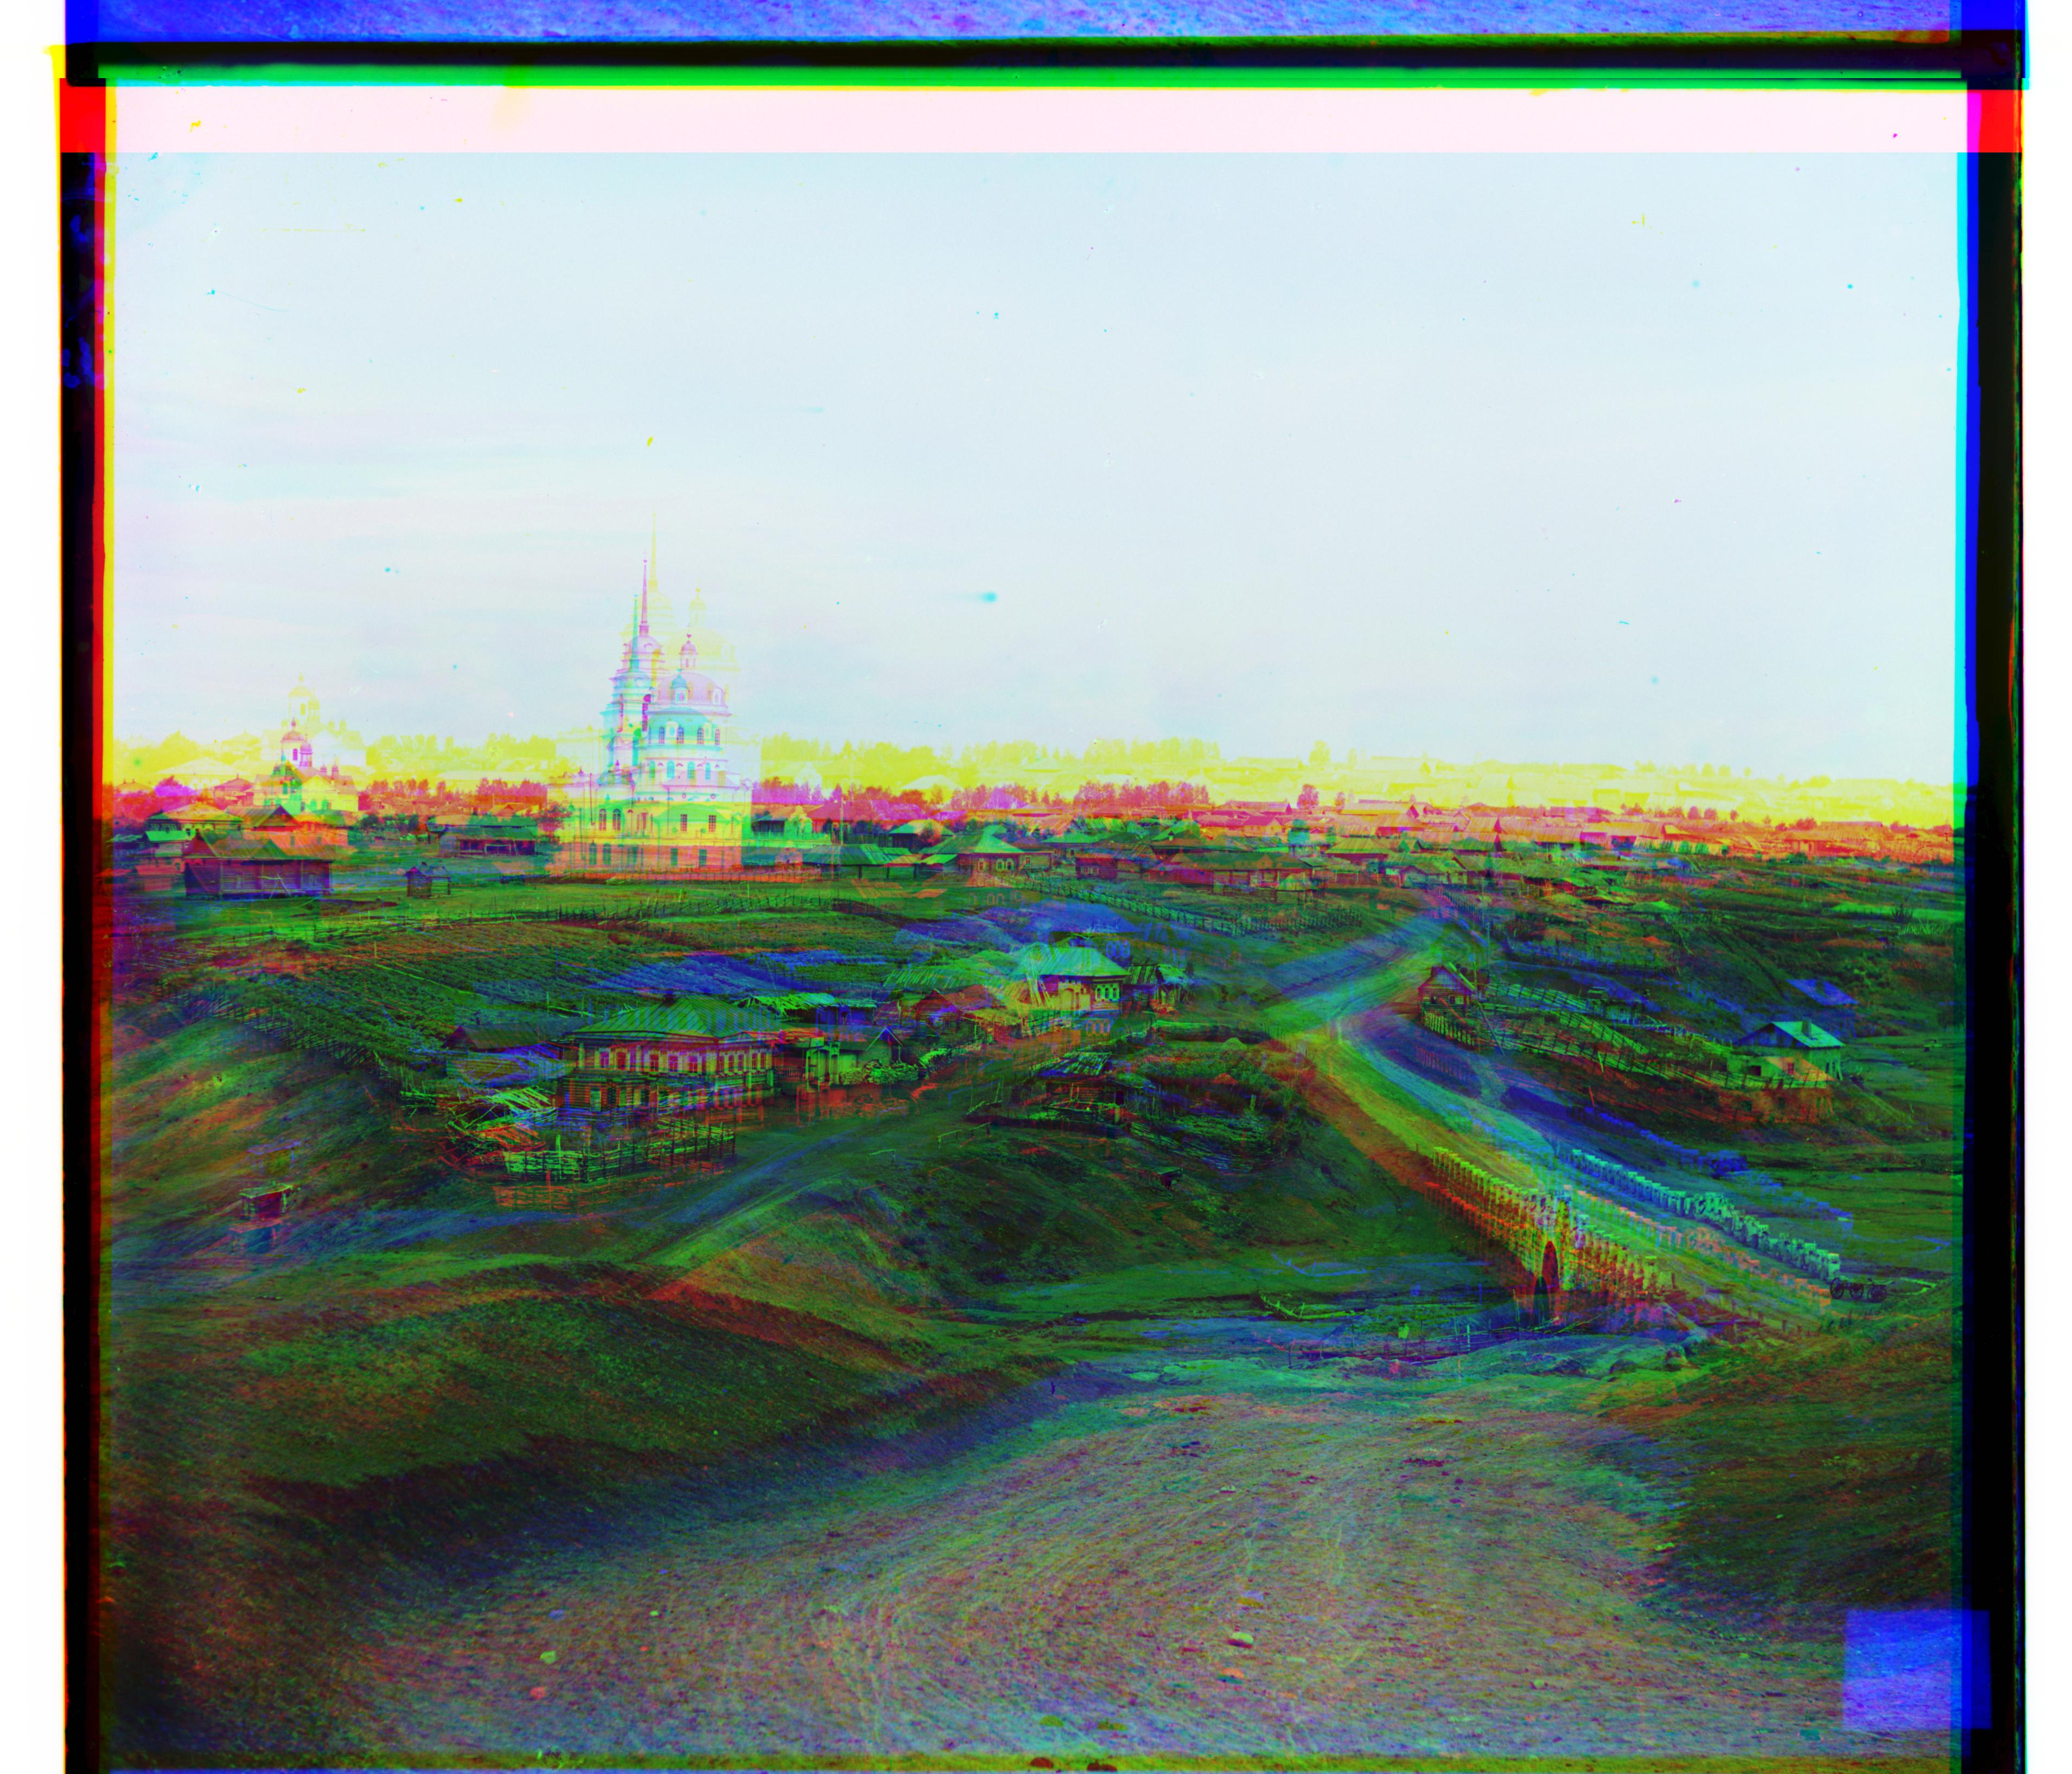
Imperfections and Misalignments
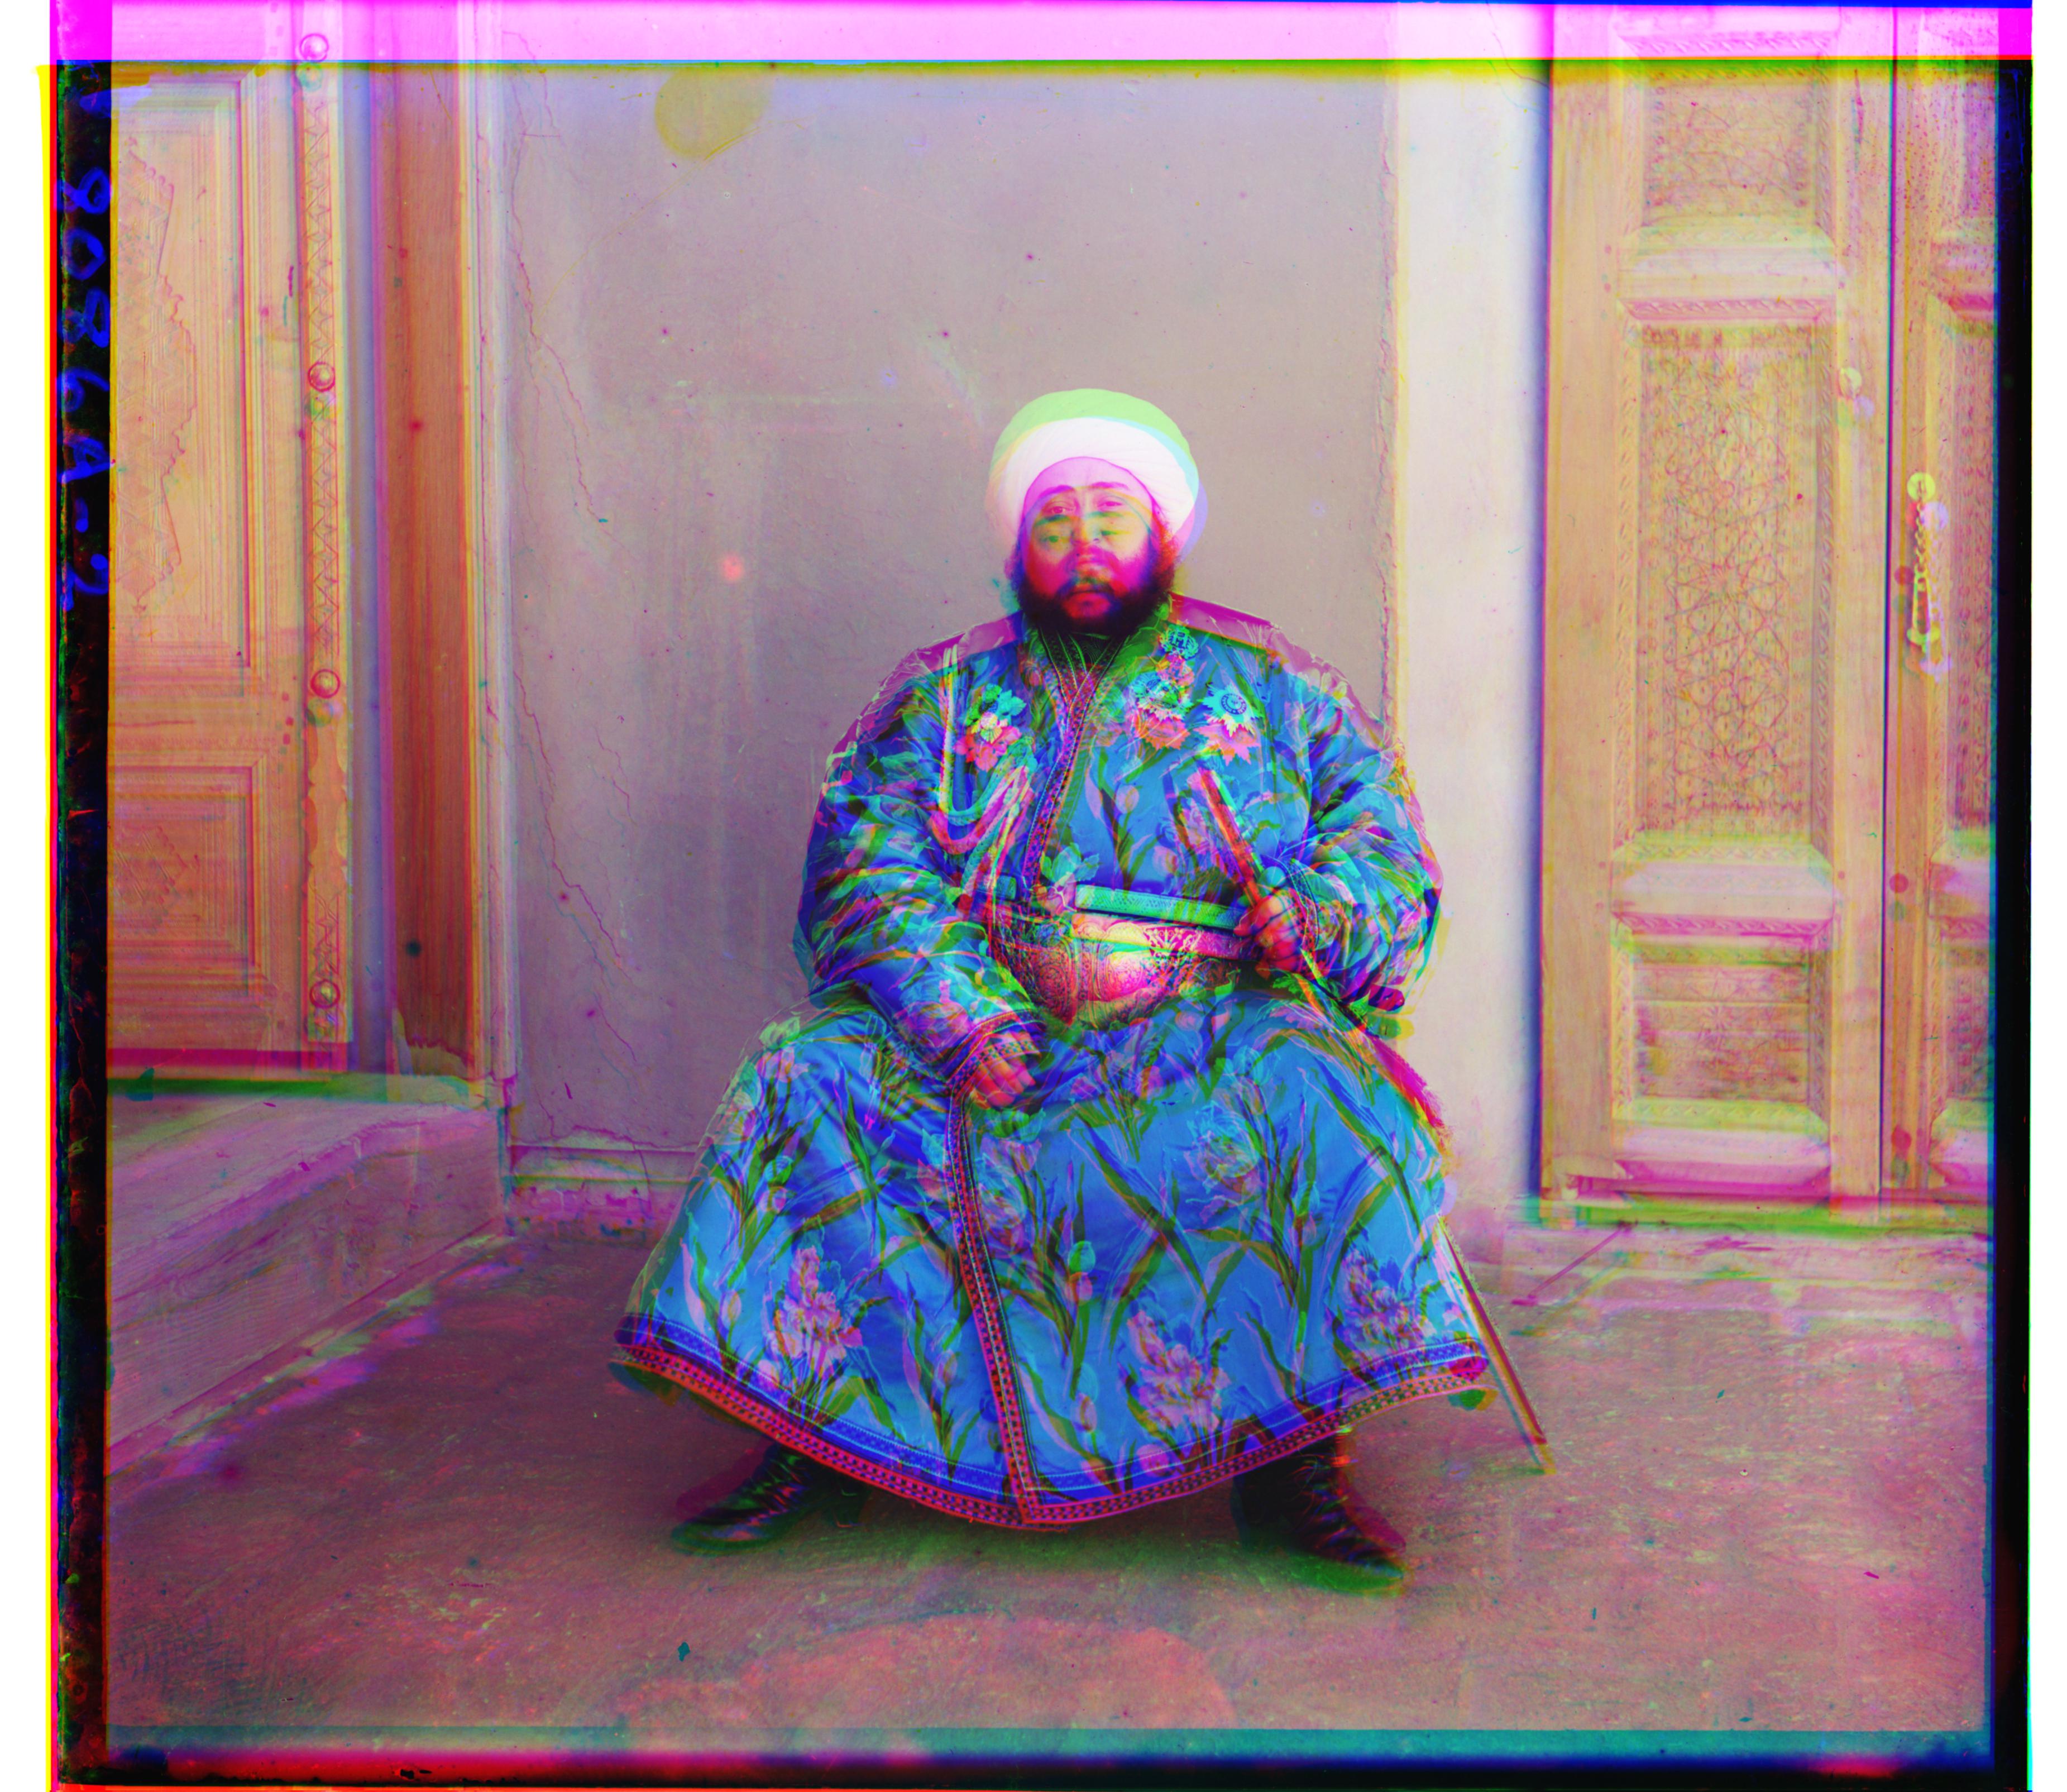
Though I was able to output some impressive results with the alogorithim described eariler, many of the images still had imperfections and misalignments in the end. This is most likely due to the fact that my metric for the ideal displacement vector (SSD) is not accurate enough to account for vast differences in darkness/brightness in the original images. For example, the photograph of Emir of Bukhara has different brightness values in its color channels and as such, the algorithim is unable to properly align them together. This happened on a few other photos as well, including the Monastery photo shown above in the previous section. Should I have more time to develop this project in the future I would like to see if there's a way to fix these slight imperfections. I would also be interested in looking for a way to crop some of the images near the edges where the alignments end.
|
|
|
|
|
Extra Images
Here are a few other examples of colorized photos from Prokudin-Gorskii's collection.
|
|
|