Overview
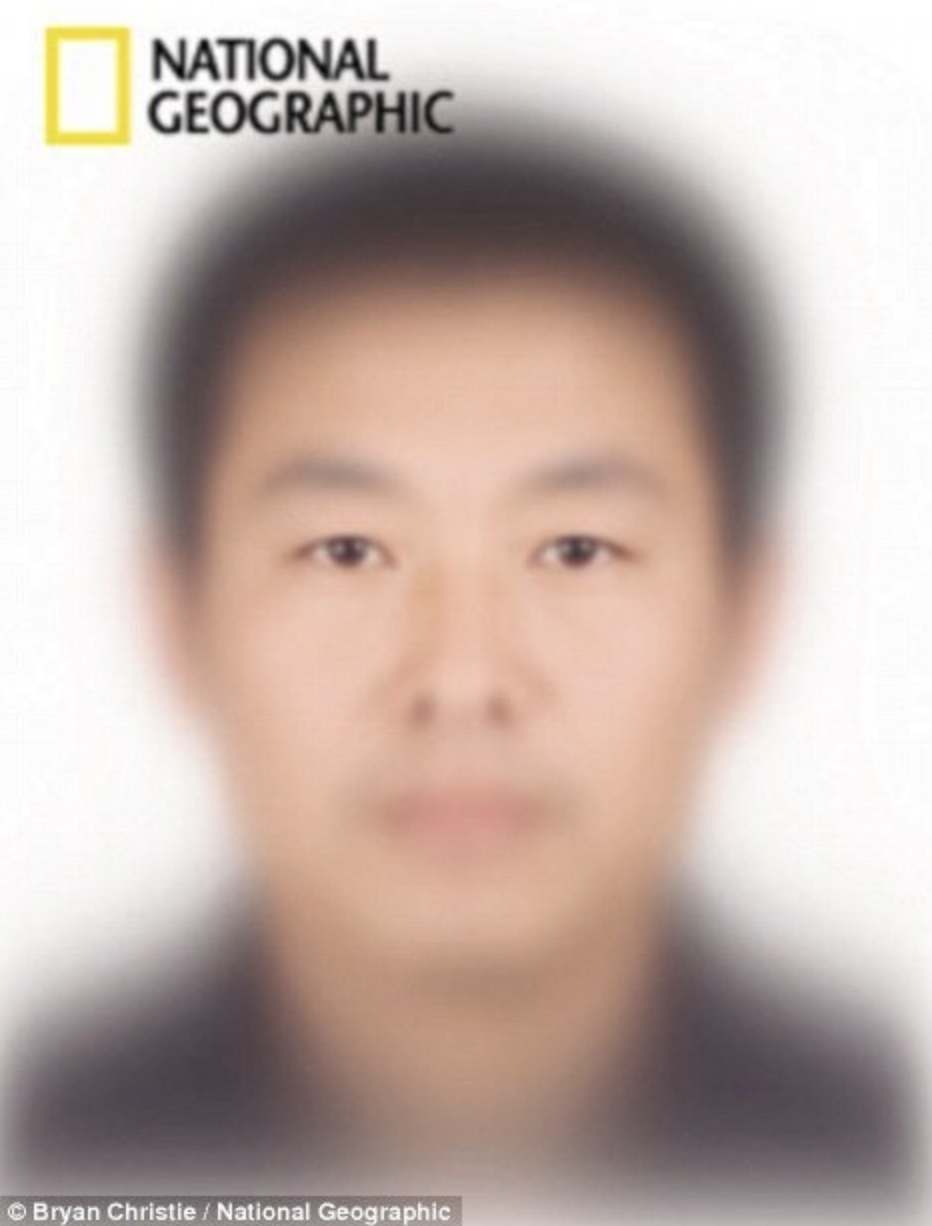 As a child, I distinctly remember the first time I saw a composite population photo in an old copy of National Geographic (likely the image to the right). I was amazed. The concept of someone manually aligning thousands of images blew my mind, and the resulting image that looked a little bit like so many people I knew was fascinating to look at.
Today, I now know that it's unlikely that one person spent hundreds of hours putting images together to look good. Instead, they likely used algorithms! On this page, I will be going over the steps involved, and my results, of creating facial alignments.
Step 1: Defining Points of Correspondence
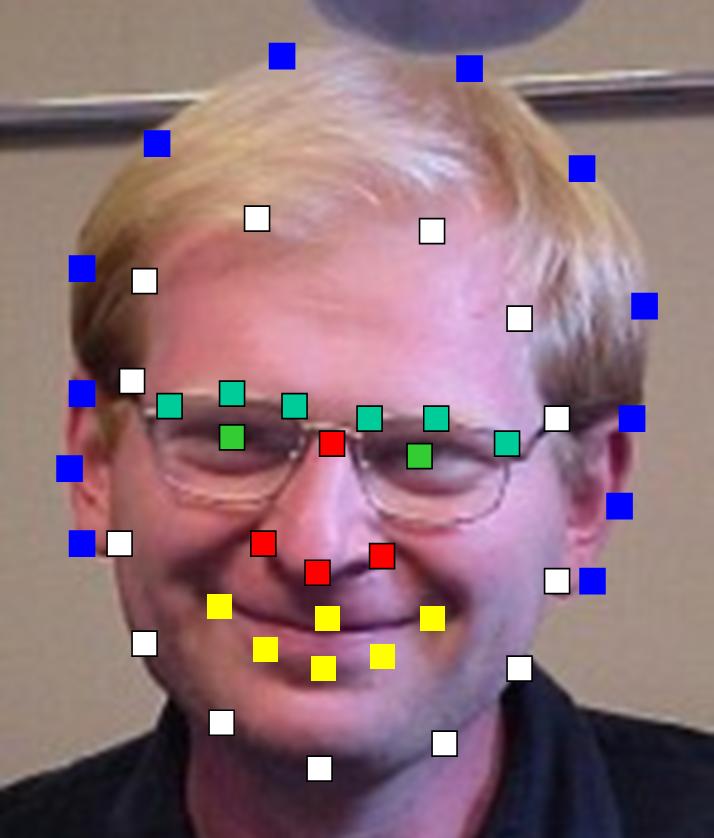
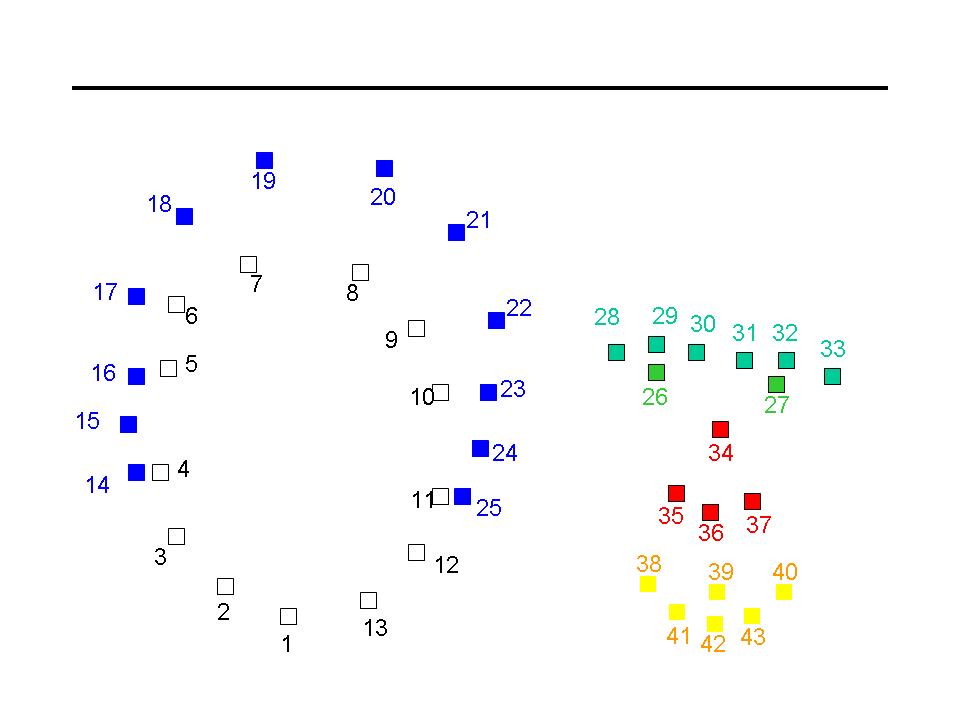
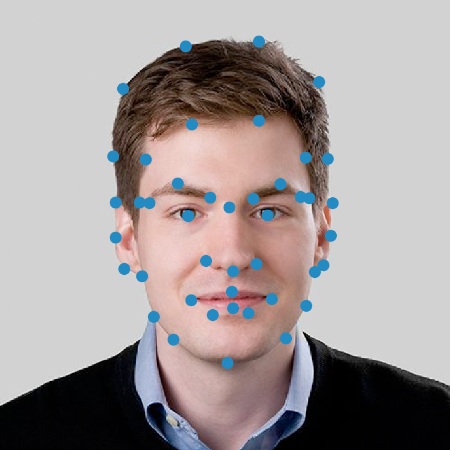
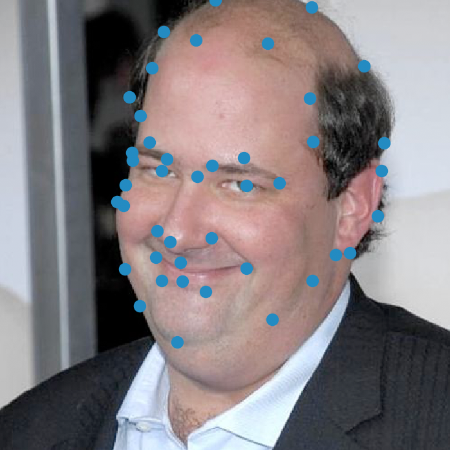
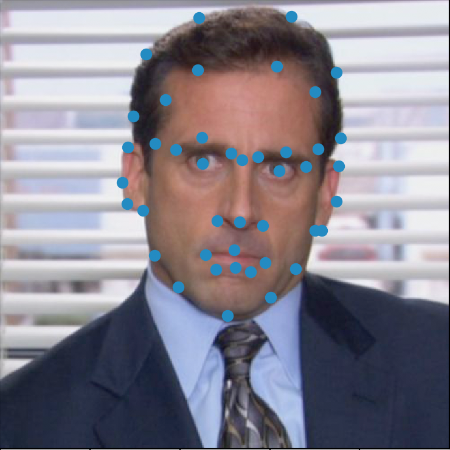
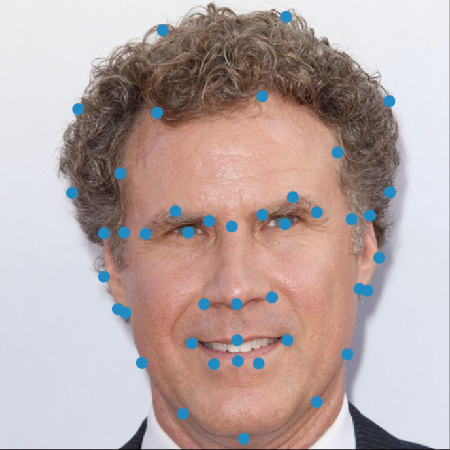
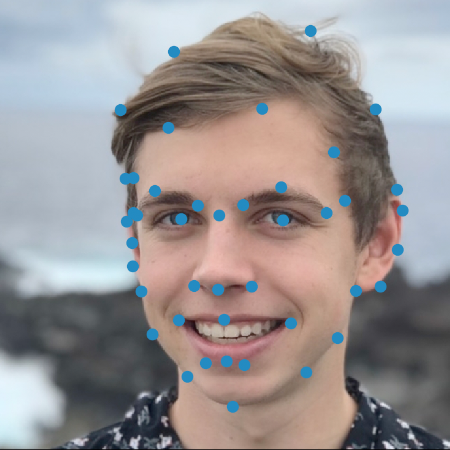
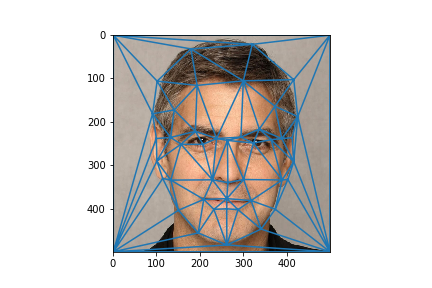
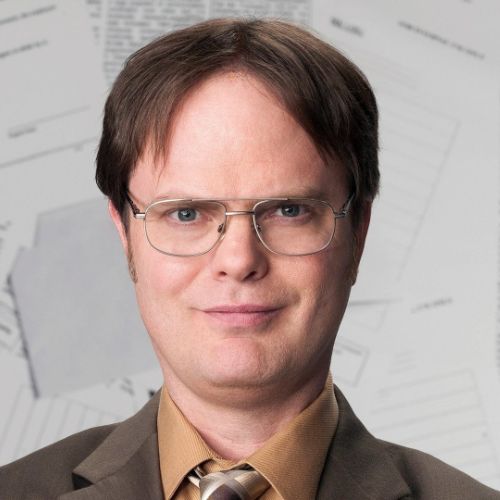
The most important part of creating good facial alignments is picking uniform points of correspondence that capture the interesting parts of the image. What do I mean by interesting? Interesting points are those that delineate parts of an image that lie on the edge of two features. On a face, good correspondence points are the pupils of the eyes, eyebrows, the hairline, and many others. I chose my correspondence points based on the example below. Notice how the points are centered on facial features. It is very important to maintain the same order of correspondence points between images, otherwise we may try to align an eye to an earlobe!
|
|
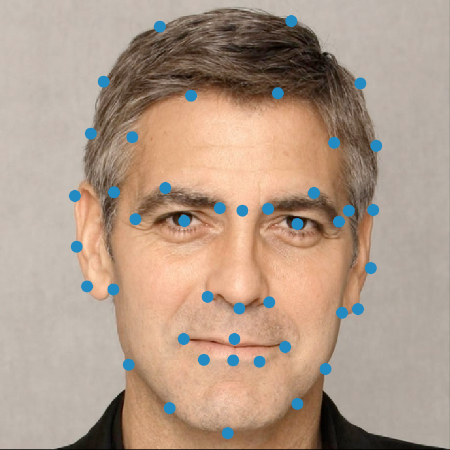
From these points, I created a simple python script that would display an image, and prompt me to label a desired point. This allowed me to take the thinking out of corresponce point labeling. All I had to do was follow the instructions.
|
|
|
|
|
|
Step 2: Triangulate
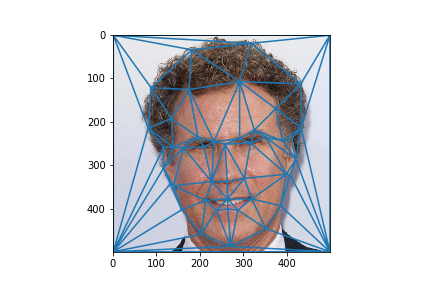
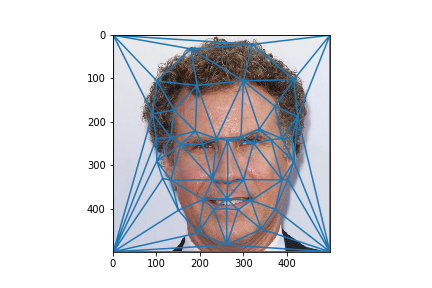
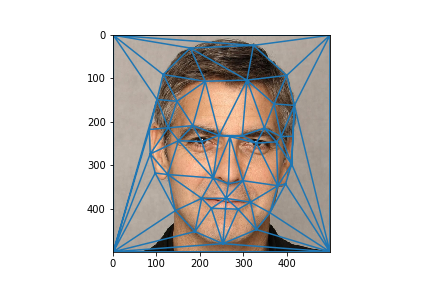
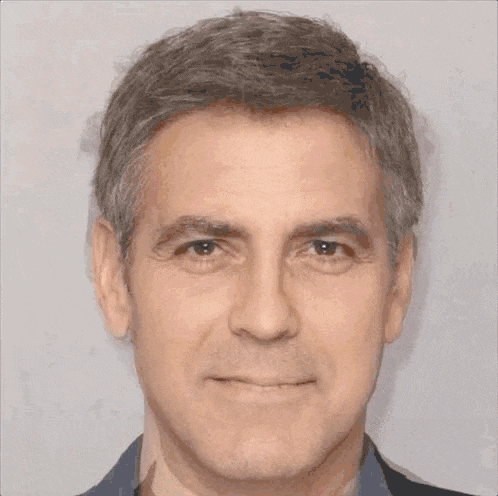
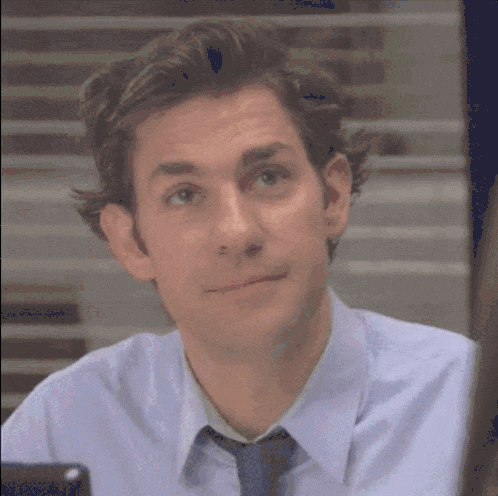
To calculate the midway face between two faces, we must first find the points that both images should be aligned too. Because we are looking for the exact middle between the two faces, we can simply average the correspondence points of the two images out. After we have found this average, we then compute a triangulation between them. A triangulation between points is useful, as we can then calculate the midway image from the original by warping each individual triangle. This result in a midway face that maintains the general look of the features and coloring of the original face, yet now warped to a new correspondence. I used the Delaunay function to calculate my triangulations, to take advantage of it's ability to maximize triangle areas. Note: It is important to maintain the same triangulation between all calculations. Changing the triangulation can have fairly drastic effects if we sample from the wrong area of the triangle.
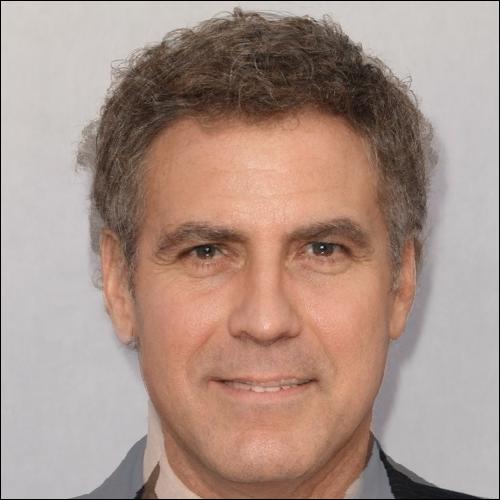
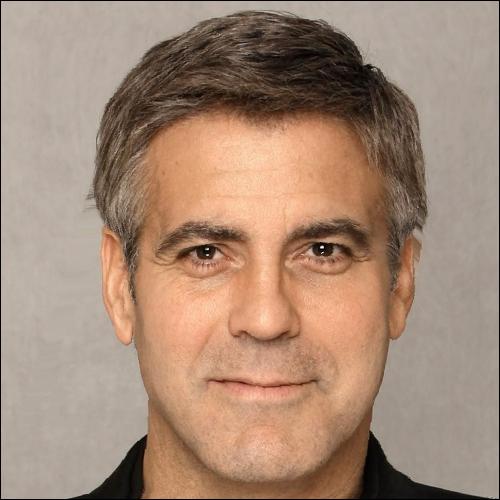
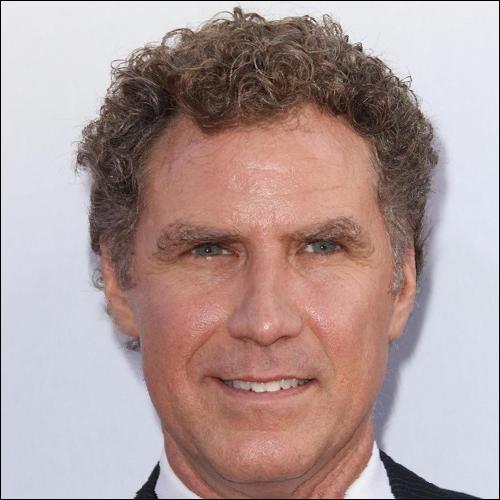
The triangulation between Will Ferrell and George Clooney
|
|
|
|
As you can see, the midway points are not far from either of the the two images. This is because both Will and George are positioned similarly in the image. This algorithm still works for faces that are not similarly oriented, as long as their correspondence points match.
Step 3: Calculate the Midway Face
To calculate the midway for both images, we iterate through all the triangles, and calculate the transformation matrix from the target triangle to the image triangle. We then multiply every pixel in the midway triangle by the translation matrix to calculate the pixel to sample from the first image. Once we run this on every triangle, we have the midway image for the source picture.
The step by step process through the triangle iteration
|
|
|
|
|
|
|
|
|
|
|
|
To go from these two separate images to the final image, we only have to average the values of the pixels between them. While this is not a perfect way to maintain the fidelity of the images, it still outputs a satisfactory result
|
|
Some other facial alignments

|

|

|
|
|

|
|
|
|
Facial Morph Animation
To create a smooth animation from one face to another, we can treat our images almost the same as making many midway faces. First we pick a triangulation to use, and then we run the midway formula with some linear interpolation between the points as our destination points. This allows us to see nearly every step of the way from one image to the next. We also change the opacity levels of the two faces, so that one image can show predominantly when we so choose.
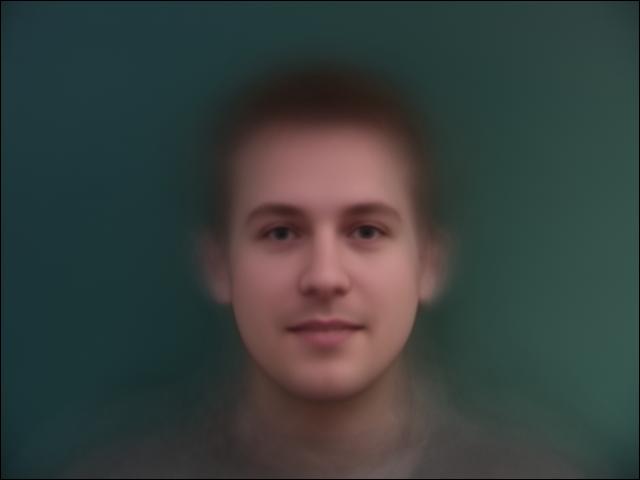
Average Face
It is quite simple to adopt our face morph function to find the average face of a population. After taking in a set of images and associated correspondence points, we then find the average of all of those points and generate a triangulation from that average. We then morph each images to that triangulation with those points, add them all together, and divide by the total amount of images. This gives us the average face of that group.
Below, we have an average of a Danish face dataset, and an average of a dataset I created from the main cast of The Office.
|

|
The Office Face Montage
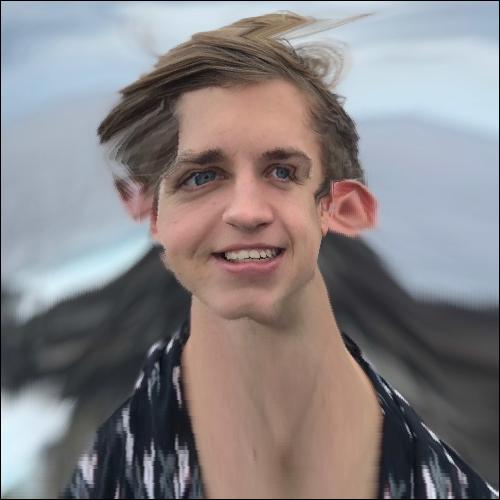
Caricature
The facial alignment algorithm can even be extended to caricaturizing the features of an image. For instance, setting the destination triangle to the average facial coordinates of a man will make the person appear more manly, often to a comical extent.
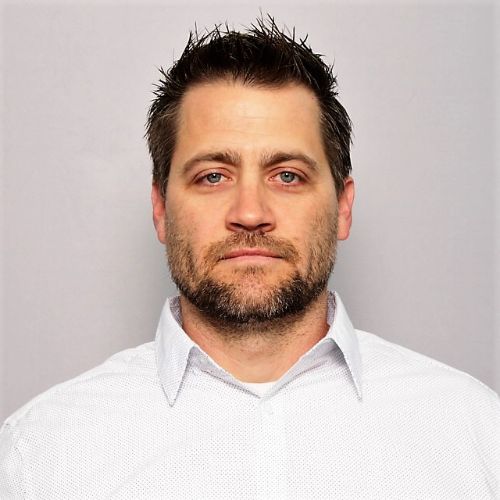
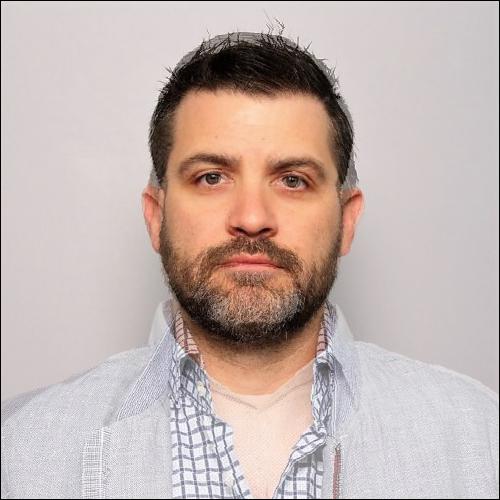
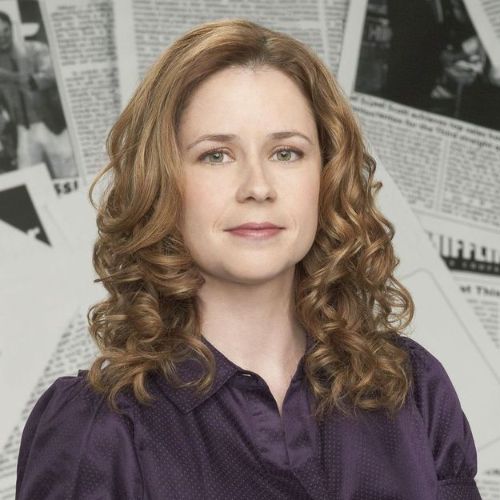
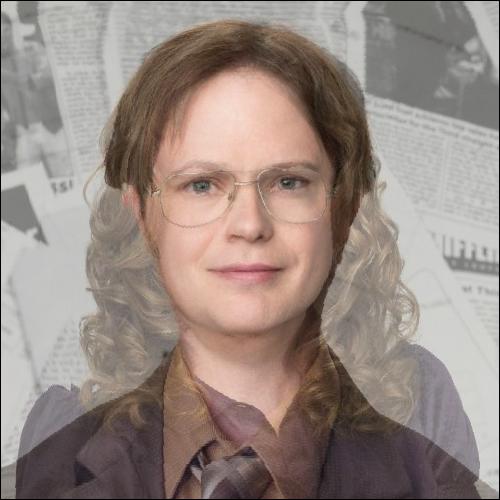
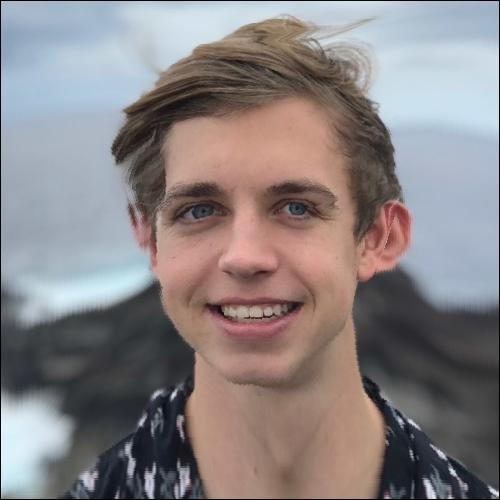
Two warps from Me to the average woman on The Office cast
|
|
As the above images show, caricature through warping is not ideal. When used slightly, it does create some interesting effects, such as the softening of some features, but because the initial photo is not included in the average data set, it appears quite cartoonish at a full warp