Face Morphing
Steven Cao / cs194-26-adx / Project 3
In this project, our goal is to morph one face into another. Morphing a face involves both warping the shape and altering the colors. We first implement a warping method that maps between corresponding triangles on both faces using a piecewise affine map. Then, we explore some cool applications of this method.
Interpolating Between Two Faces
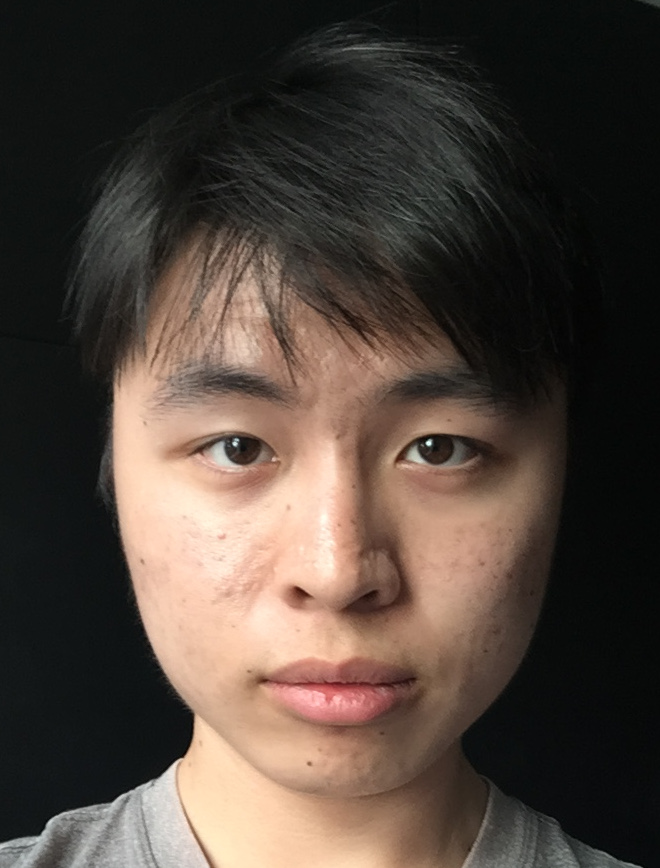
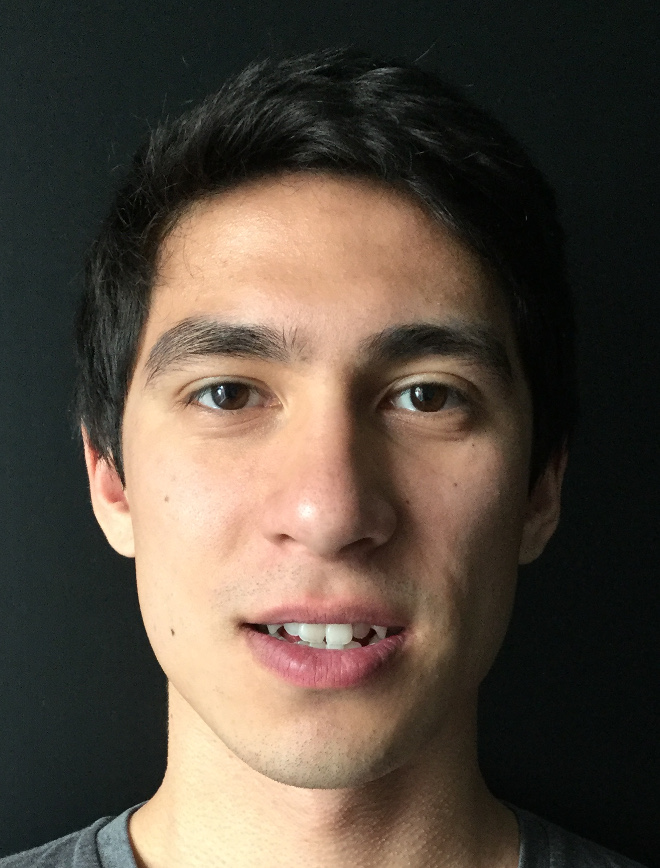
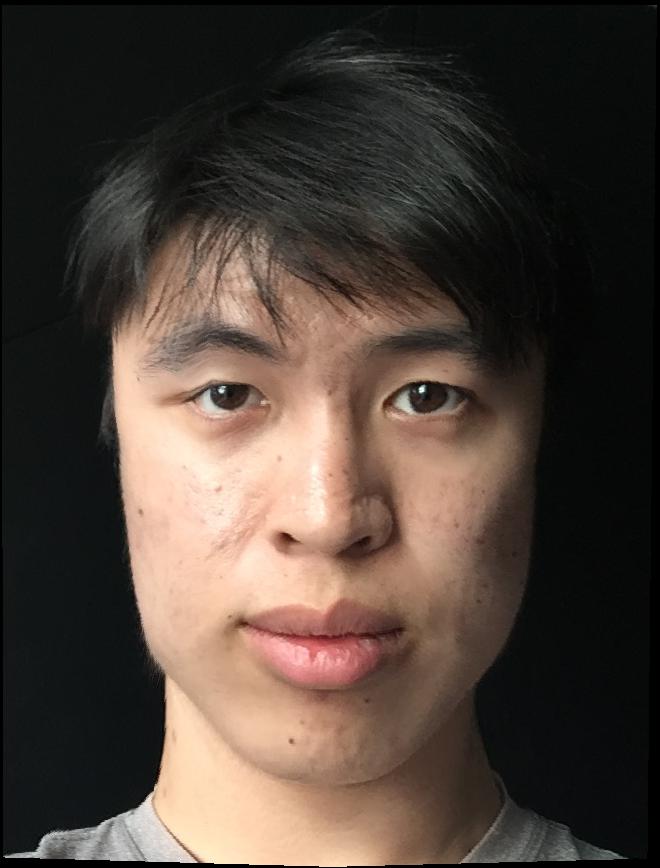
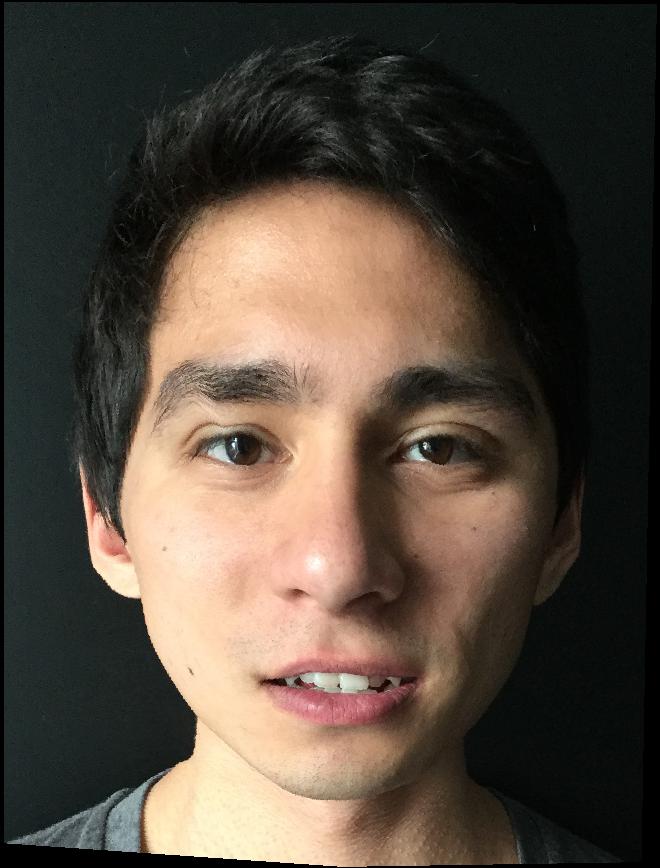
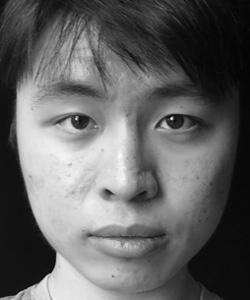
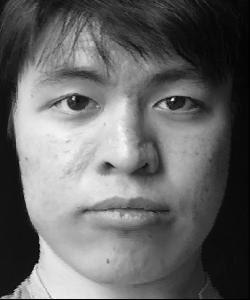
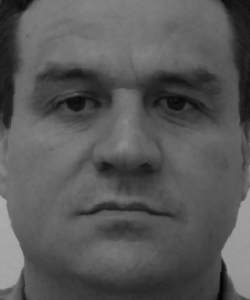
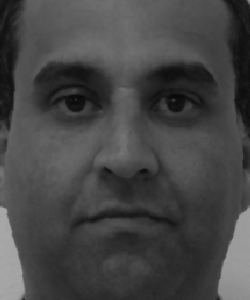
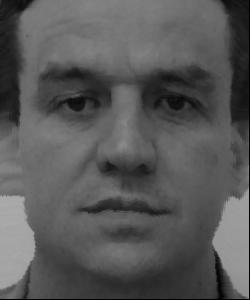
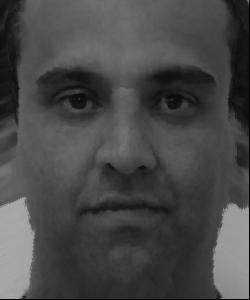
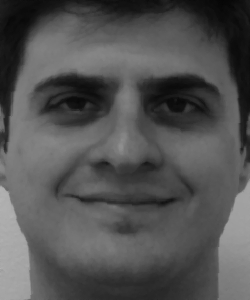
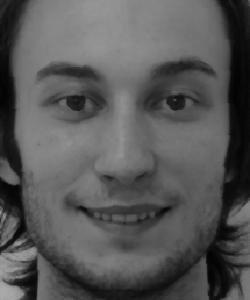
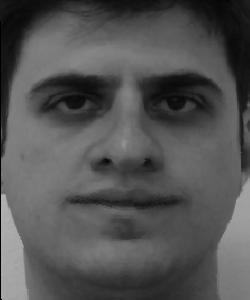
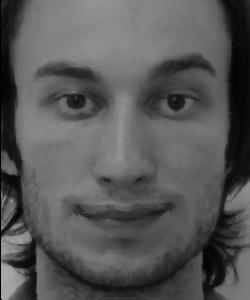
In this section, we describe the face morphing method. Using this method, we will be able to smoothly interpolate between two faces, as depicted below, where we morph between my face and my roommate's face.
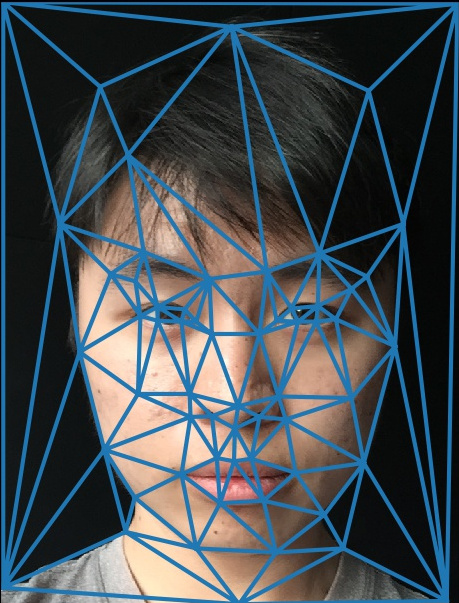
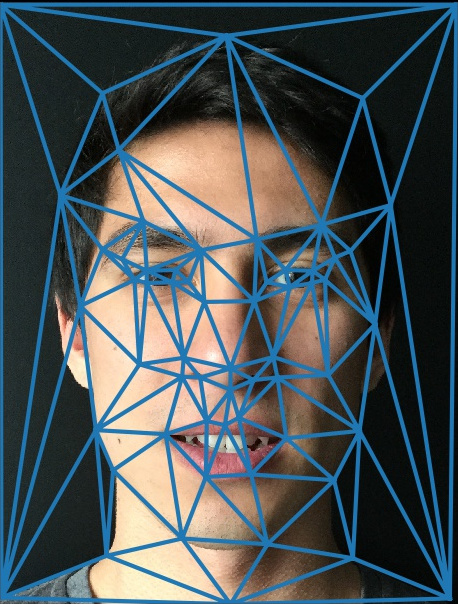
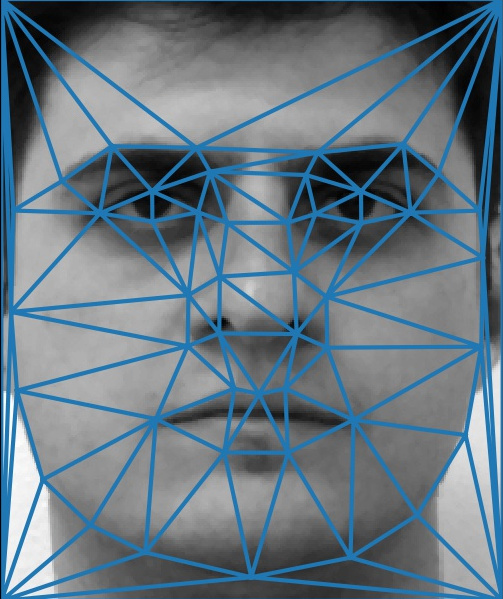
The first step is to define correspondences between the two faces, so that the algorithm knows which points in the images correspond to each other (e.g. eye to eye, nose to nose, etc.). Choosing the corresponding points was done manually, and I picked 60 points on each image. Next, I turned these point correspondences into triangle correspondences using the Delaunay triangulation. The triangle correspondences are depicted below.
Now that we have triangle correspondences, the next step is to map triangles to each other. Suppose I want the shape of the first image but the appearance of the second image. Then, for each triangle correspondence, we can map all of the pixel locations in the second triangle to locations within the first triangle. As our mapping, we use an affine warp \( y = Ax + b \) where \(x\) and \(y\) are 2D points in the source and target images. This warp is uniquely determined by the three point correspondences \(x_1 : y_2, x_1 : y_2, x_3 : y_3\) of the three points in a triangle. Therefore, our overall warp is piecewise affine because for each triangle, the warp is a different affine function. As a result, we can warp the images to each other, as shown below.
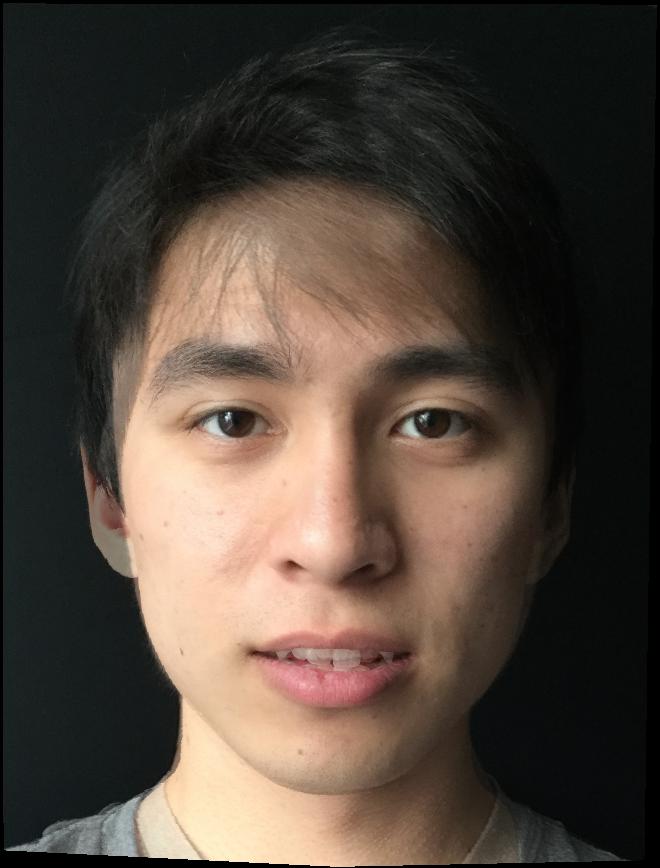
We can use a similar idea to perform interpolation. Specifically, for each triangle pair, we first interpolate between the triangles to get a midway triangle. Then, we can map both triangles to this midway triangle, and for each pixel in the midway triangle, we can take the average between the pixel values from the first and second triangles. Below, we show the "mean face," constructed by weighting both images equally. Then, we can accomplish smooth warping by altering the weighting factor between the two images.
Taking the Average of a Population
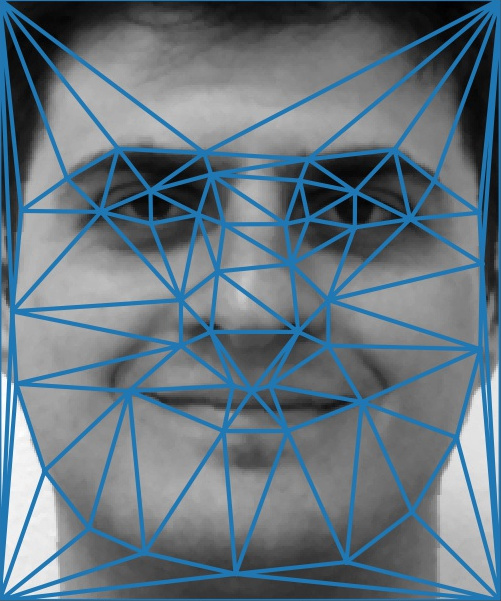
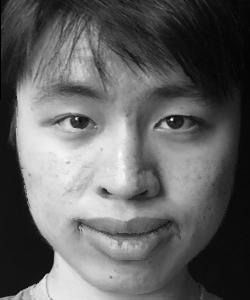
Now that we have the tools to warp between faces, we can apply them to entire populations of faces. As my face database, I used the FEI Face Database, which contains the faces of 200 people (100 male, 100 female), with or without a smile, collected at the Artificial Intelligence Laboratory of FEI in São Bernardo do Campo, São Paulo, Brazil. The faces come with annotated point correspondences. As a first step, I computed the Delaunay triangulation on the faces. One example is shown below.
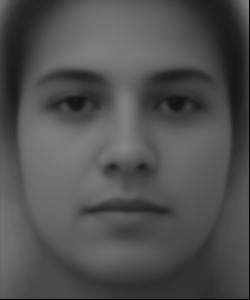
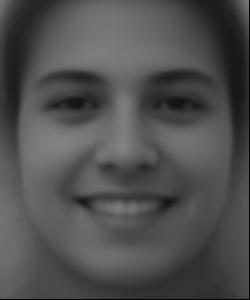
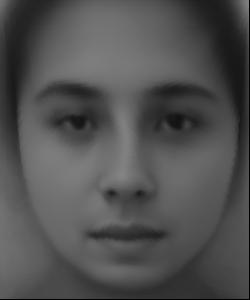
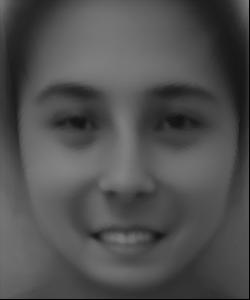
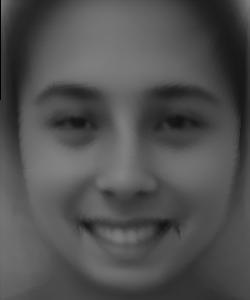
Next, I computed the average smiling and non-smiling face. First, for each triangle correspondence, I found the average triangle over all 200 triangles. Next, I warped each face to the average shape by mapping their triangles to the average triangle. Finally, I took the average pixel value. The results are shown below.
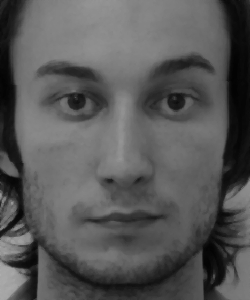
Next, I warped my face to the average shape, and the average face to my shape. I used the non-smiling subset because my picture is non-smiling.
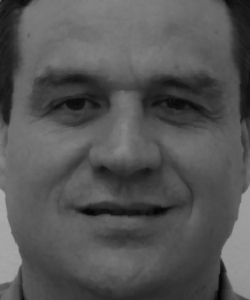
I also warped some of the faces in the database to the average shape. Below, we show some examples, where top is original and bottom is warped.

Finally, while we can interpolate between images, we can also extrapolate by choosing a weighting factor \(w\) greater than 1 or less than 0, such that we find the image \( w * \text{im}_1 + (1-w) * \text{im}_2 \). I extrapolated between my face and the average face by choosing \( w = 1.5 \) to exaggerate the features of my face that are different from the mean. The result is shown below, where left is the caricature, middle is my original face, and right is the average face.

Bells and Whistles: Turning Frowns Upside Down
In the section above, we computed the average non-smiling face and the average smiling face. In this section, we will use these averages to turn any non-smiling face into a smiling version. Intuitively, we can compute a "non-smile to smile" warp by warping from the average non-smiling face to the average smiling one. Then, we can apply this warp to a new face.
In more detail, suppose we have \(\text{im}_\text{frown}\), \(\text{avg}_\text{frown}\), and \(\text{avg}_\text{smile}\), and we want to compute the shape of \(\text{im}_\text{smile}\). We can first compute affine warps \( f_1: \text{im}_\text{frown} \mapsto \text{avg}_\text{frown} \) and \( f_2: \text{avg}_\text{frown} \mapsto \text{avg}_\text{smile} \). Then, to get the triangles in \(\text{im}_\text{smile}\), we can compute \(f_1^{-1} \circ f_2 \circ f_1(\text{im}_\text{frown}) \). Finally, we can map the triangles in \(\text{im}_\text{frown}\) to the triangles in \(\text{im}_\text{smile}\) to get the desired image.
With the above approach, the computed triangles in \(\text{im}_\text{smile}\) sometimes slightly overlap or do not cover the entire image, creating holes. To solve this problem, I iteratively applied a size 2 median filter to the resulting image to fill any holes. To prevent blurring, I only filled the holes, while keeping any non-zero pixels unchanged.
Below, we show the resulting transformed images. The top row contains the original image and the two averages, while the bottom row contains the results of transforming the shape, appearance, and both.
Finally, I also applied the warp to some images in the database, which have ground truth smiling versions. Below are the results, where the top row is the original, middle row is the ground truth smile, and bottom row is the smile computed by the algorithm. The algorithm seems to work better for their faces, perhaps because my face is farther from the average.
Original:
Ground Truth Smile:
Smile Computed by Algorithm:
Conclusion
It was fun to learn how to warp faces. I was surprised by how simple the methods are, and how effective they were despite their simplicity.