Overview
In this project, I was able to take what I learned from lectures and build and train a convolutional neural network with Fashion MNIST dataset. I experimented with hyperparameters in Pytorch in order to achieve a desired accuracy, training, validating, and then testing my data with results, and experimenting with various channel sizes, loss functions, learning rates, and more. I also implemented semantic segmentation, using an existing architecture and labeling each pixel of an image with a correct object class.
Part 1: Image Classification
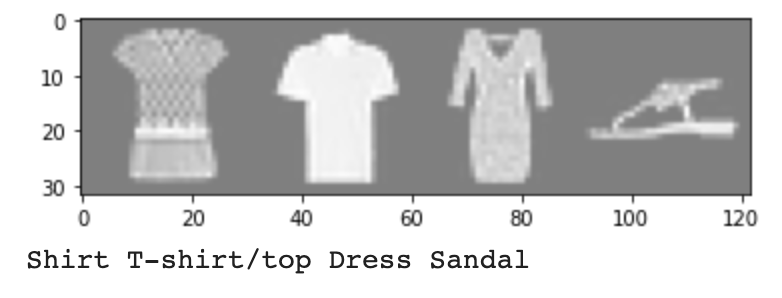
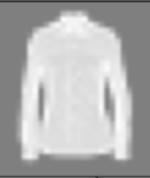
I built and implemented a convolutional neural network using Pytorch, with help from the provided tutorial from the project spec. The basis of this problem was that I wanted to be able to effectively classify grayscale clothing images into one of ten different categories. First, I used torch.utils.data.DataLoader to both load the Fashion MNIST dataset, and then split it appropriately into a training set, validation set, and testing set. Next I made sure that the whole process would run using the GPU in Google Collab, before writing a quick imshow function to be able to display images and labels. Below is one example of that function in action:
|
Next, I went onto implementing the actual neural network using torch.nn.Module. Although I originally implemented my neural network exactly as the spec described, I started tweaking the architecture and hyperparameters and retraining my data, in order to eventually settle on a final model that I thought worked well.
The architecture that I decided on was two convolution layers, two max pooling layers, and two fully connected layers. Essentially, I followed the same general architecture as the spec, doing Pool(ReLu(Conv2d(input))) two times first, before sticking that result through two fully connected layers, eventually getting it down to an ouput size of 10, for the 10 different class labels. I also with stuck with the recommended CrossEntropyLoss and optim.Adam functions for my loss and optimizer respectively.
The things that I actually experimented with were hyperparameters, and I tinkered with values until I found an overall accuracy rate that I was satisfied with. The hyperparameter values that I eventually settled on were:
- First Convolution Layer Channel Number = 32
- Second Convolution Layer Channel Number = 64
- First Convolution Layer Filter Size = 3x3, Padding = 1
- Second Convolution Layer Filter Size = 3x3, Padding = 1
- First Fully Connected Layer Input Size = 64 * 7 * 7
- Second Fully Connected Layer Input Size = 1000
- Learning Rate = 0.0001
- Weight Decay (for optimizer) = 0
- Number of Epochs = 10
Additionally, experimenting with my learning rates, I found that a lower learning rate somehow correspond to eventually better results, maybe because there is a fine line when overfitting data on the training set and getting a good amount. Weight decay was not something I found to be really that effective to change for some reason, so I left it the same as the default, and I settled on 10 epochs because it seemed to converge around that time as I experimented with numbers.
Essentially, for the input of a 1-channel (grayscale) 28x28 image, the process is as follows:
- Layer 1: 28x28x1 -> (convolve1) -> 28x28x32 -> (relu) -> 28x28x32 -> (maxPool) -> 14x14x32
- Layer 2: 14x14x32 -> (convolve2) -> 14x14x64 -> (relu) -> 14x14x64 -> (maxPool) -> 7x7x64
- Layer 3: 7x7x64 -> (fullyConnected1) -> 1000 -> (relu) -> 1000
- Layer 4: 1000 -> (fullyConnected2) -> 10
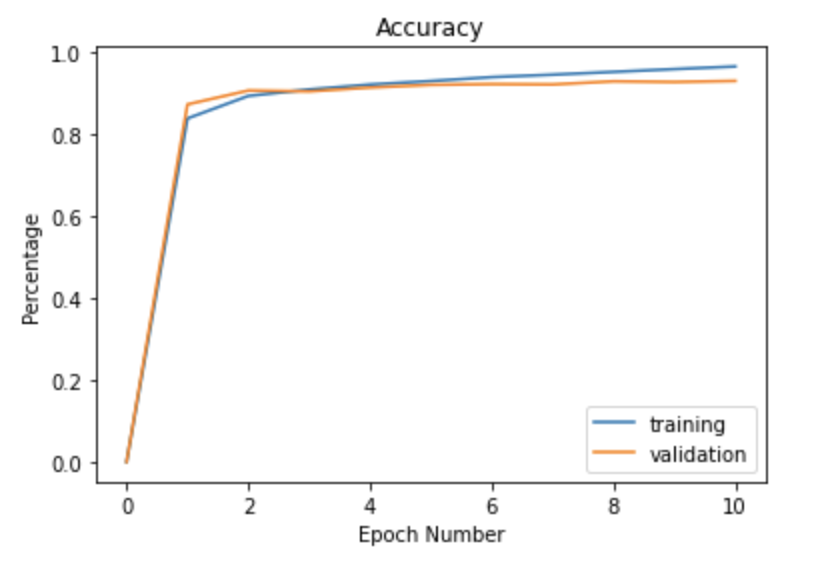
The following is my the learning curve for the data, both the training and validation datasets. The x-axis is in terms of epochs, and my y-axis is in terms of percentage. Each epoch consisted of 12,500 samples, and I recorded and plotted training accuracies every epoch to illustrate the growth in accuracy over batches. Additionally, the validation dataset was only used once every epoch to make sure that my model wasn't overfitting too much. Notice how by the end of training, the training accuracy has increased slightly above the validation accuracy, showing the downside of training for too many epochs, which can inevitability lead to some overfitting on the training data after awhile.
|
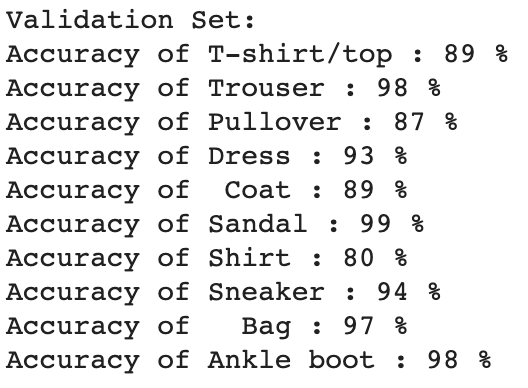
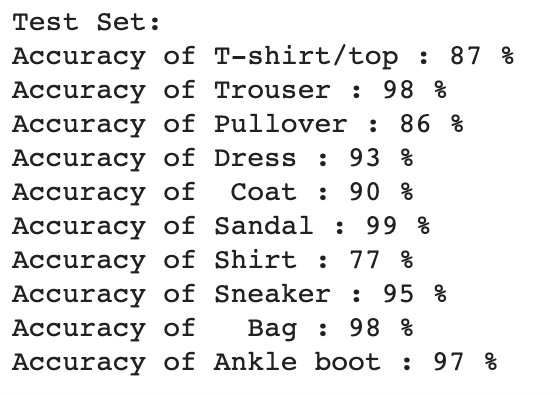
After training, I ran my classifier on the testing dataset to see how accurate I had managed to make it. Below are the accuracy results per class of my classifier on both the validation set and the testing set:
|
|
Overall, the classifier didn't seem like it overfit too much to the training data, and managed to perform relatively well, up to an overall accuracy of 92% on the test dataset! Certain classes seemed to be rather difficult for the classifier to differentiate though, with Shirt, Coat, and T-shirt/Top performing the worst as a whole. This is most likely caused by the similarity between those classes in appearance, and the large variation within the classes, and it can be very easy to look at one and recognize features of another.
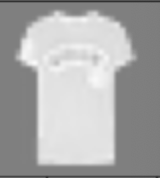
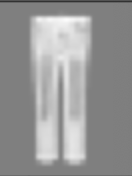
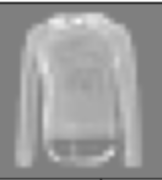
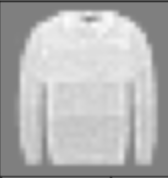
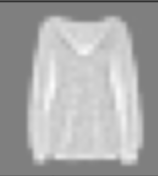
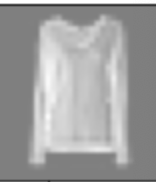
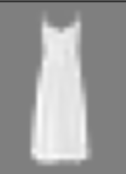
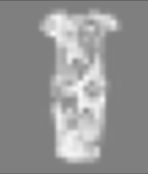
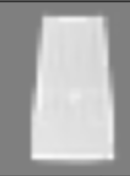
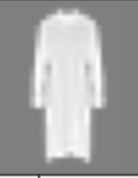
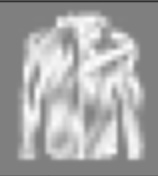
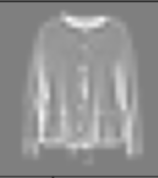
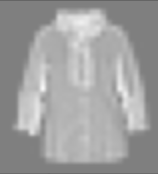
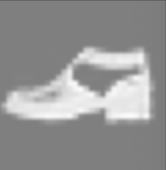
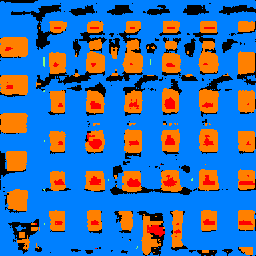
For more analysis, below are four images from each class, two that were classified correctly, and two that were classified incorrectly:
|

|

|

|
|

|

|

|
|
|
|
|
|
|
|
|

|

|
|
|

|

|

|

|
|

|

|
|

|

|

|

|

|

|

|

|

|

|
|

|
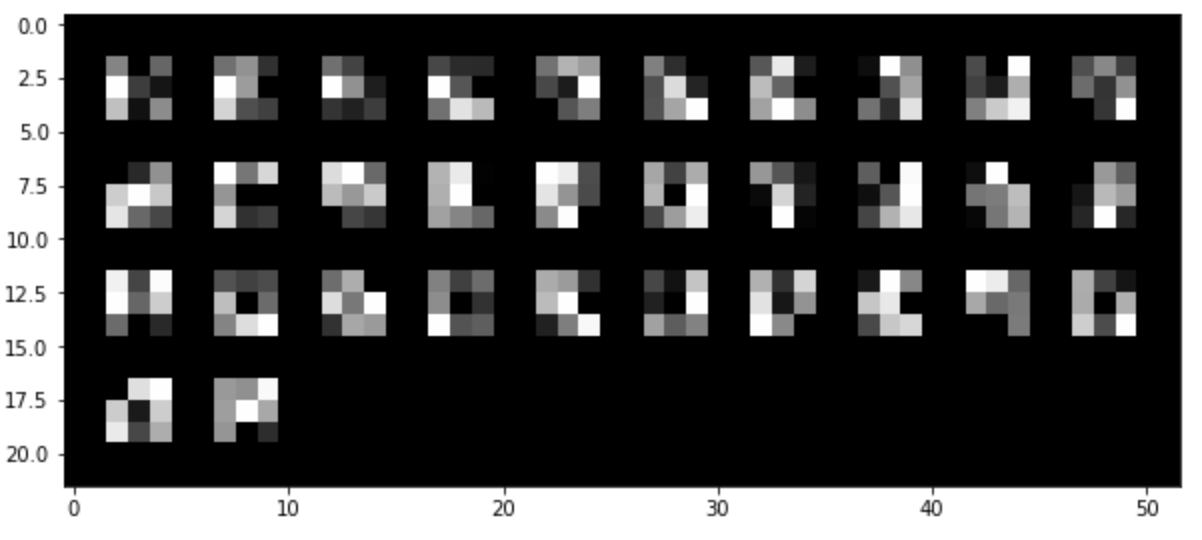
Lastly, below I've added a grayscale visualization of the learned filters in my neural networks: specifically, the ones learned from the first convolution layer. There are 32 filters, cooresponding to the 32 channels of my first convolutional layer. Notice how the darker areas correspond to some sort of tendency for that directional edge to appear in the images in the dataset:
|
Part 2: Semantic Segmentation
The idea behind semantic segmentation involves taking an image, and labeling each of its pixels with a certain class. Using the Mini Facade dataset, I trained another convolutional neural network in order to attempt to semantically segment images in the dataset. Starting from the provided skeleton code, I took the provided training data and split it into training and validation sets, with 90% training and 10% validation. I also just took the testing samples provided and used them for my testing set.
After some experimentation with hyperparameters, the architecture that I decided on was five convolution layers, with four ReLU's, two max pooling layers, and two transposed convolution layers. Essentially, I followed the same general idea as my previous neural network, doubling channels between convolution layers, and then using max pool to halve the size. The main difference however, was that after using halving twice, I then upsampled using transposed convolution layers, essentially reversing the effects of max pool in order to upsample to the desired dimensions eventually of 256 x 256 x 5, since we have 5 different class labels and 256 x 256 pixels per image. Written out more concretely, my hyperparameters that I eventually settled on were as follows:
- First Convolution Layer Channel Number = 64
- Second Convolution Layer Channel Number = 128
- Third Convolution Layer Channel Number = 256
- Fourth Convolution Layer Channel Number = 128
- Fifth Convolution Layer Channel Number = 5
- First Convolution Layer Filter Size = 3x3, Padding = 1
- Second Convolution Layer Filter Size = 3x3, Padding = 1
- Third Convolution Layer Filter Size = 3x3, Padding = 1
- Fourth Convolution Layer Filter Size = 3x3, Padding = 1
- Fifth Convolution Layer Filter Size = 3x3, Padding = 1
- First Transposed Convolution Layer Input/Output Size = 256
- Second Transposed Convolution Layer Input/Output Size = 128
- Learning Rate = 1e-3
- Weight Decay (for optimizer) = 1e-5
- Number of Epochs = 10
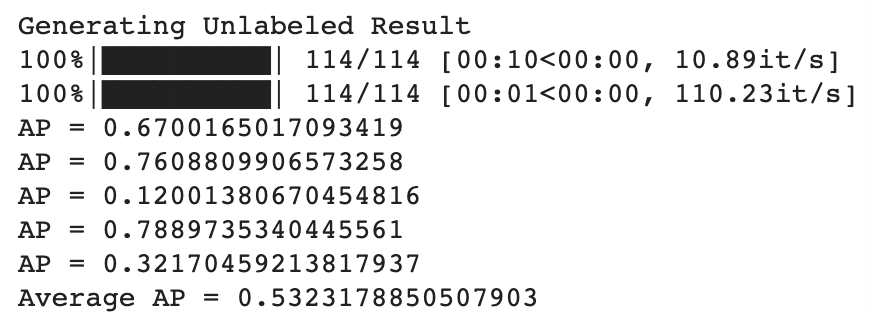
Additionally, I also just stuck with the default CrossEntropyLoss for my loss funtion and torch.optim.Adam for my optimizer, since I managed to get relatively good results without changing them! Below is a graph of my training and validation loss between epochs, as well as my Average Precision per class, for an overall Average Precision of about 0.53 on my testing set:

|
|
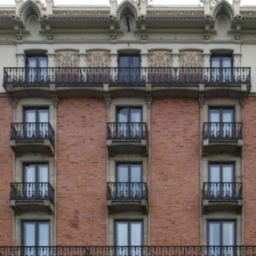
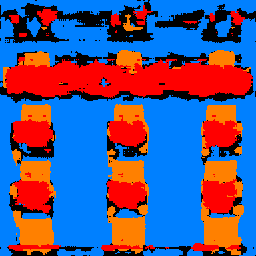
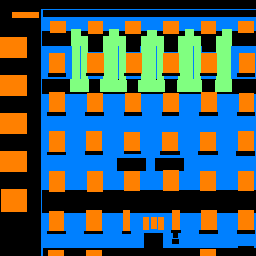
Below are results of running my model on different pictures from the collection! I noticed that my model clearly has issues with correctly detecting Pillars and other objects (classes 0 and 2), but is pretty good at identifying facades, windows, and balconies (1, 3, 4).
|
|
|

|
|
|