CS194 - Computer Vision and Computational Photography
Project 4 - Classification and Segmentation
By Nalin Chopra
In this project, I learned about applying convolutional neural networks to different problems regarding image classification and segmentation using PyTorch.
Part 1: Image Classification
Fashion MNIST Dataset
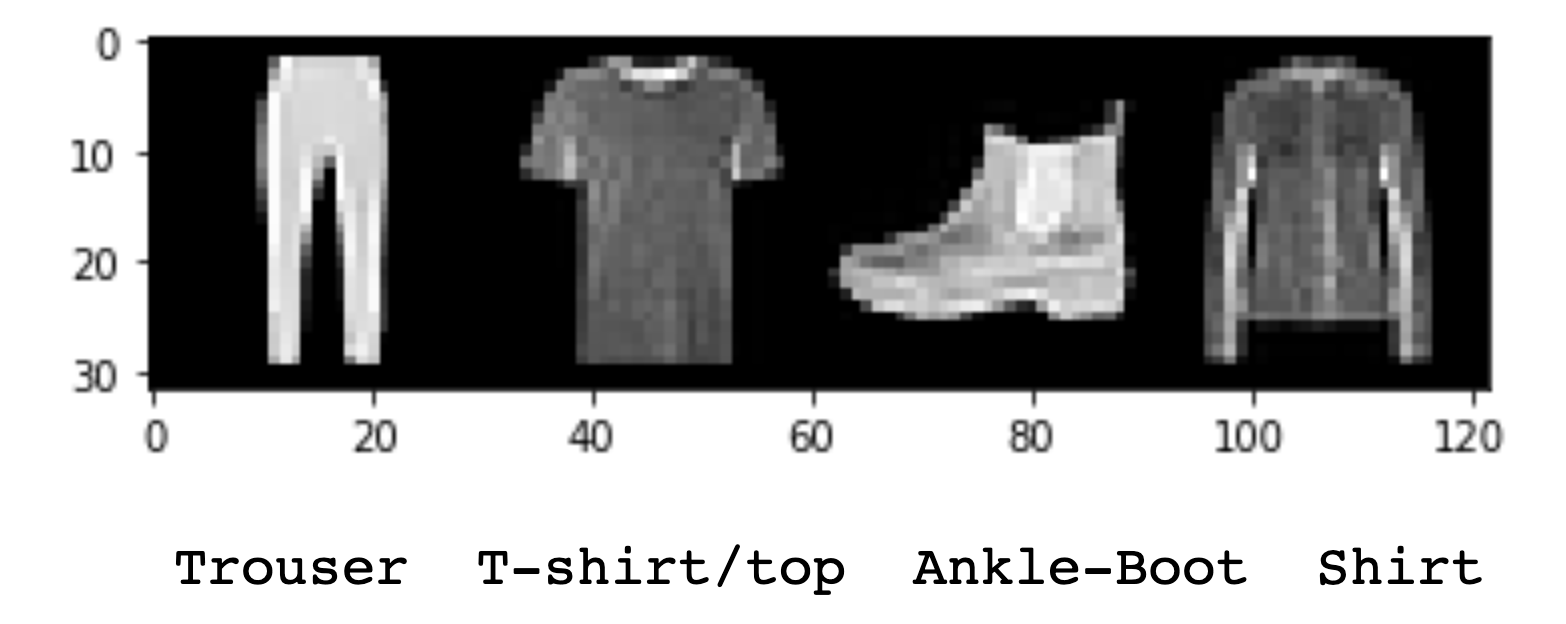
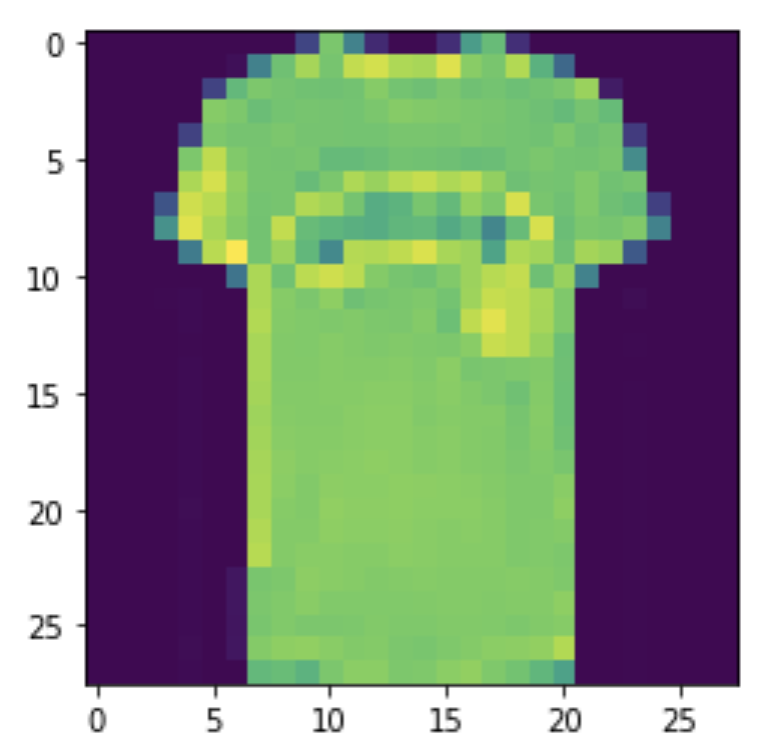
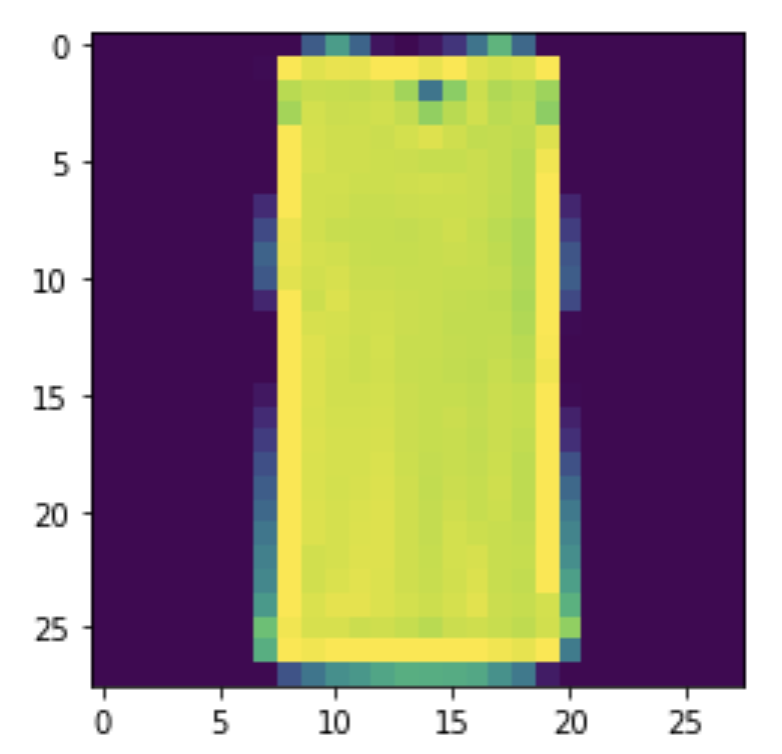
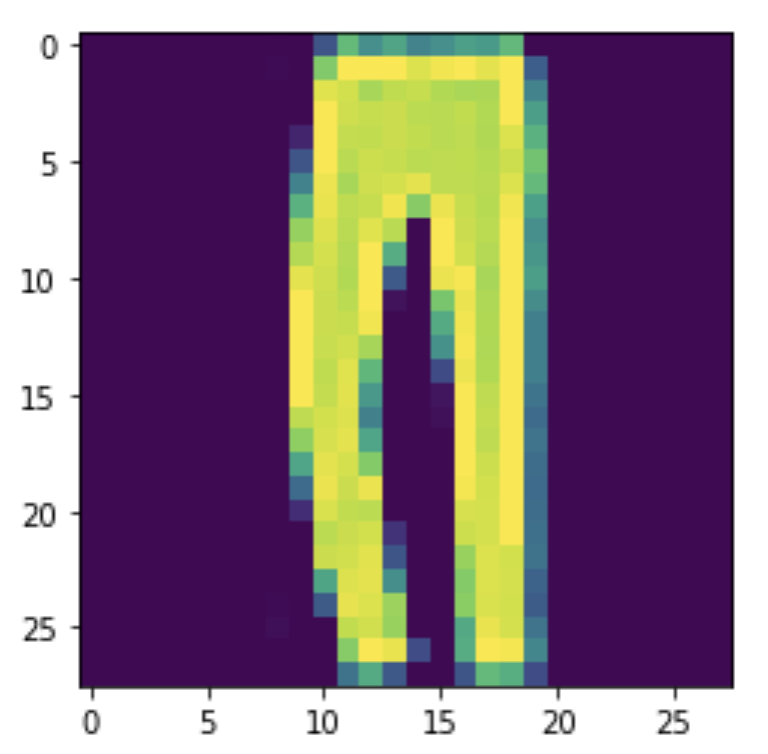
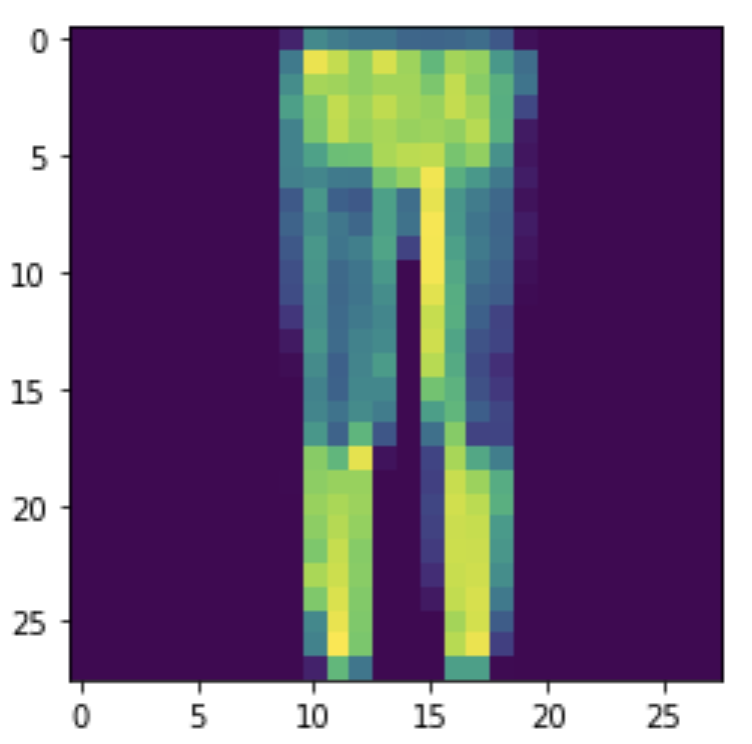
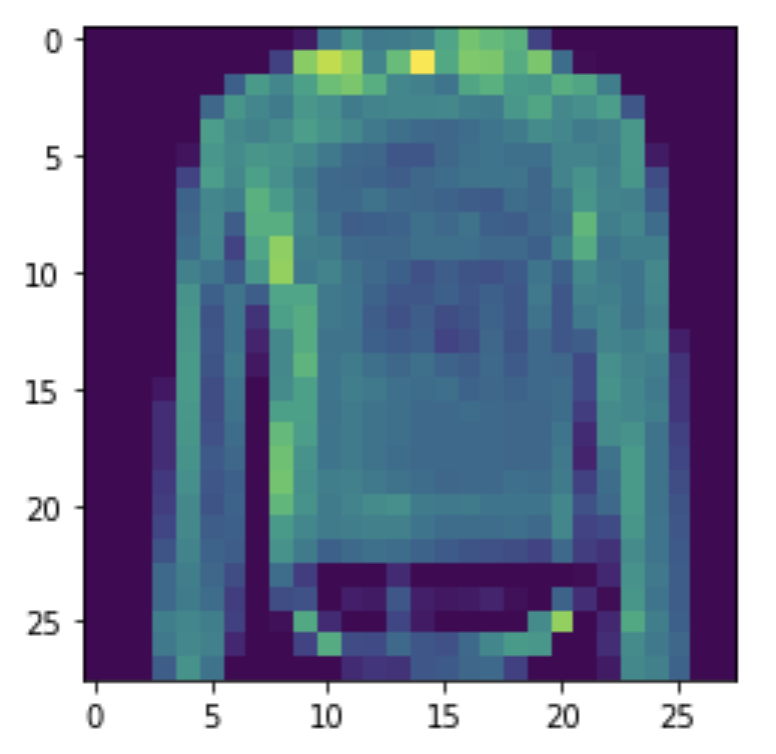
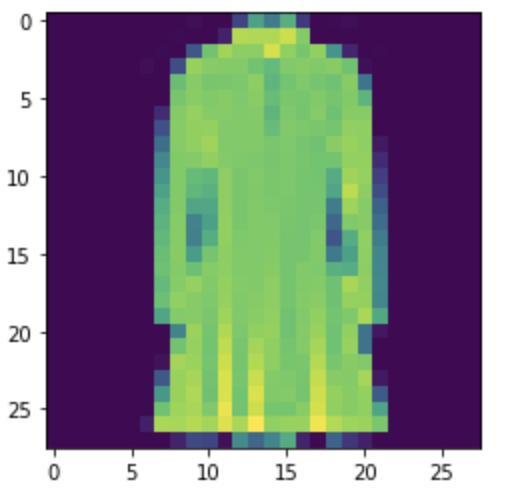
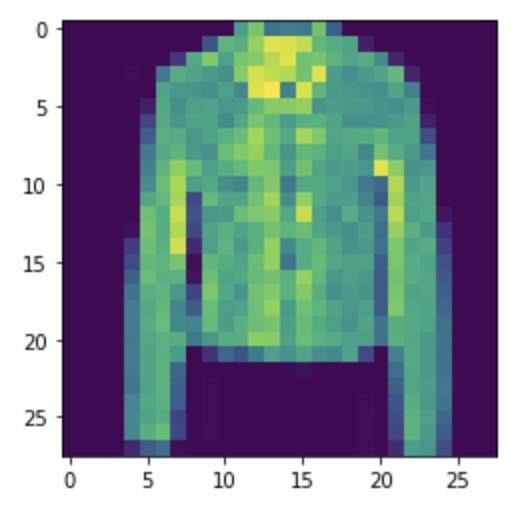
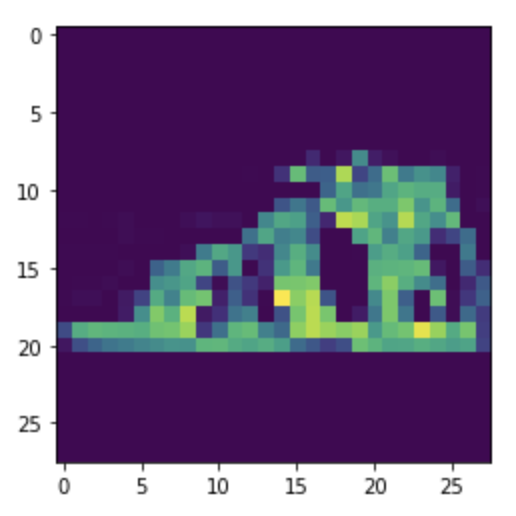
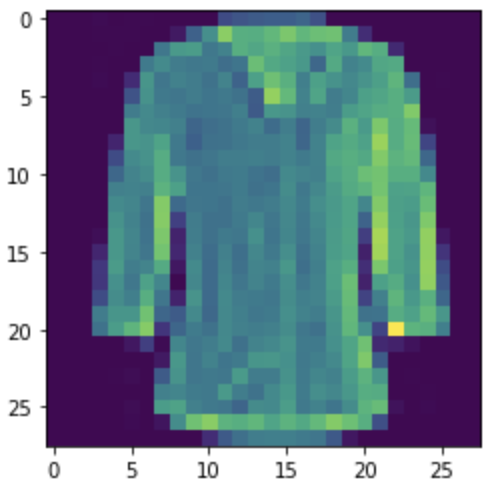
I used the Fashion-MNIST dataset (torchvision.datasets.FashionMNIST), consisting of 60,000 28x28 pixel images of different clothing items. There are 10 types of images in the dataset,
'T-shirt/top', 'Trouser', 'Pullover', 'Dress', 'Coat', 'Sandal', 'Shirt', 'Sneaker', 'Bag', 'Ankle-Boot'. Below are a few examples of what the images look like.
CNN Architecture
So what are CNN's? A quick description taken from here:
A Convolutional Neural Network (ConvNet/CNN) is a Deep Learning algorithm which can take in an input image, assign importance
(learnable weights and biases) to various aspects/objects in the image and be able to differentiate one from the other. The pre-processing
required in a ConvNet is much lower as compared to other classification algorithms. While in primitive methods filters are hand-engineered,
with enough training, ConvNets have the ability to learn these filters/characteristics.
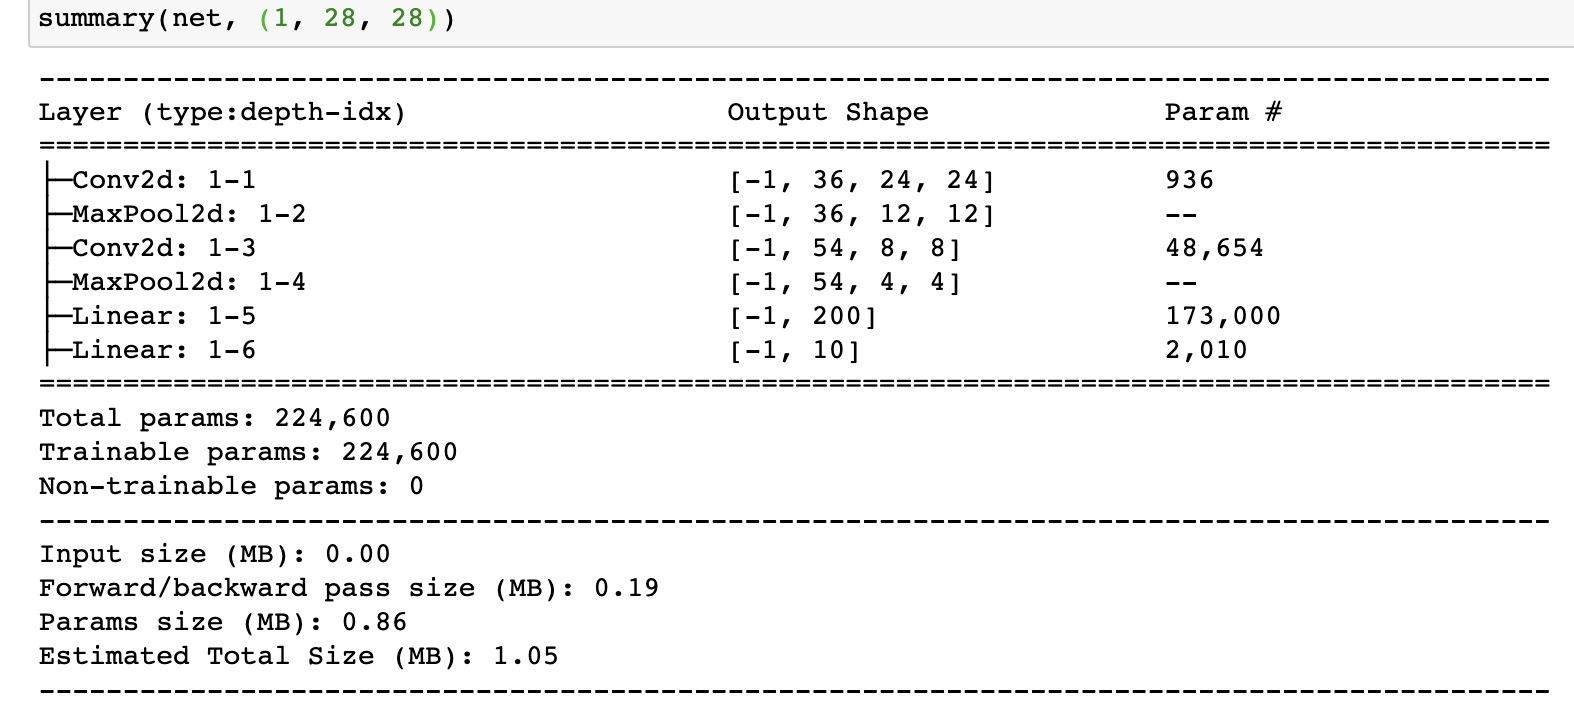
The network design for this portion involved for this portion of the project involved 2 convolutional layers and 2 fully connected linear layers.
I optimized the cnn using the Adam Algorithm (torch.optim.Adam).
I split the 60,000 images into 50,000 for training and 10,000 for validation, and after tuning, I chose hyperparameters of 0.001 for my learning rate and 10^-8 for my weight decay
(l2 regularization) within the optimizer. I was able to get solid results experimenting with a larger kernel size (5x5 compared to 3x3), but there is definitely room for toggling and improving that parameter.
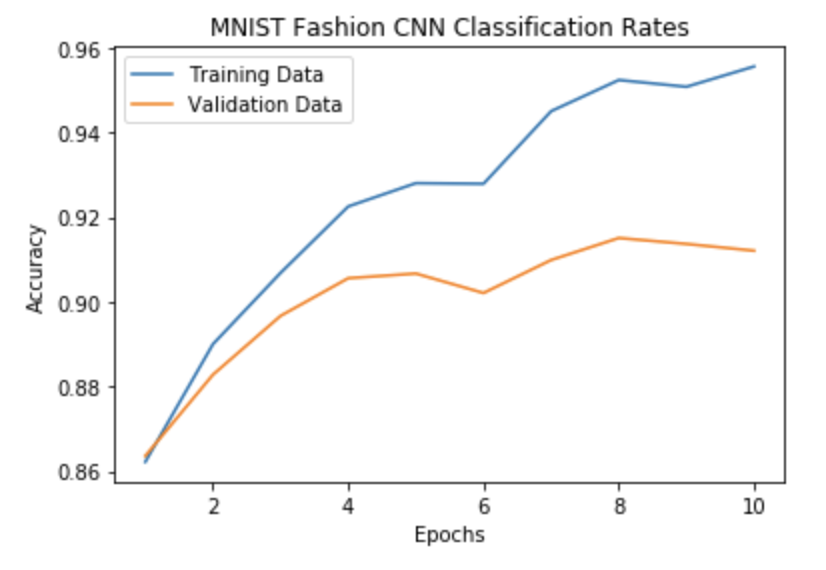
Training vs. Validation Losses
I used a cross entropy loss function (torch.nn.CrossEntropyLoss()) to measure how well the net fit the training data at every iteration. Here we can see a breakdown of how the training and validation loss vary for each additional epoch the net is trained (one pass training through entire dataset = one epoch).
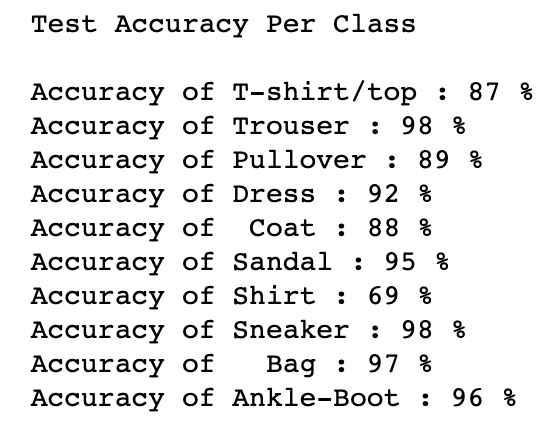
Results
Here displayed is a per class accuracy comparison on both validation and test data sets.
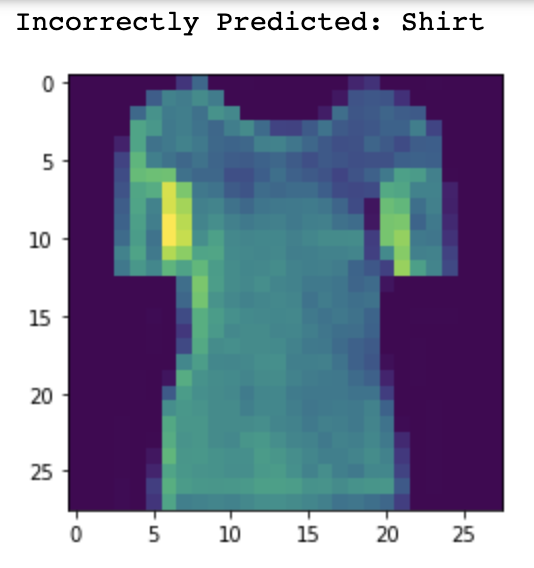
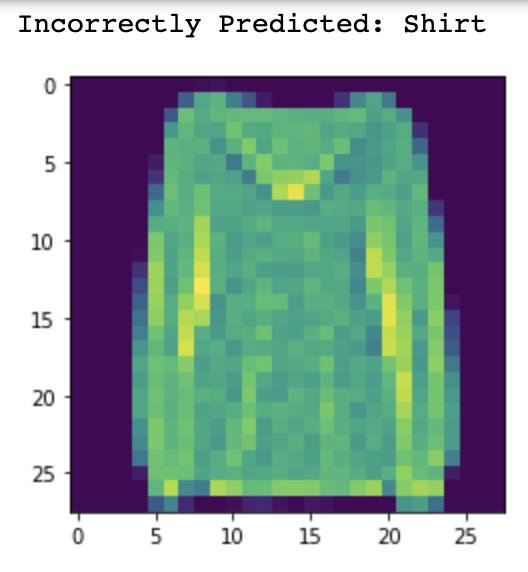
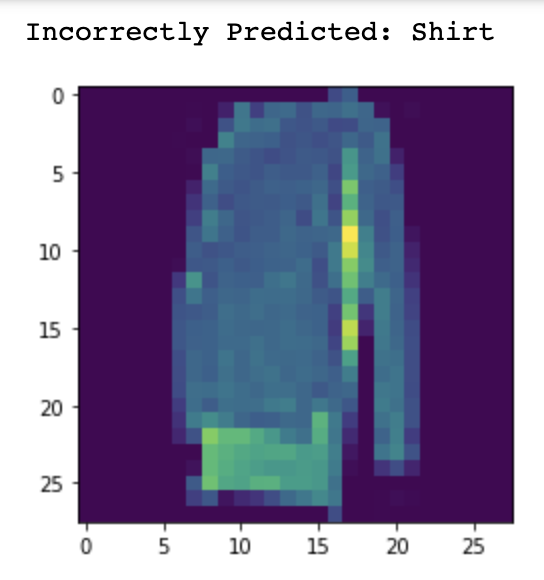
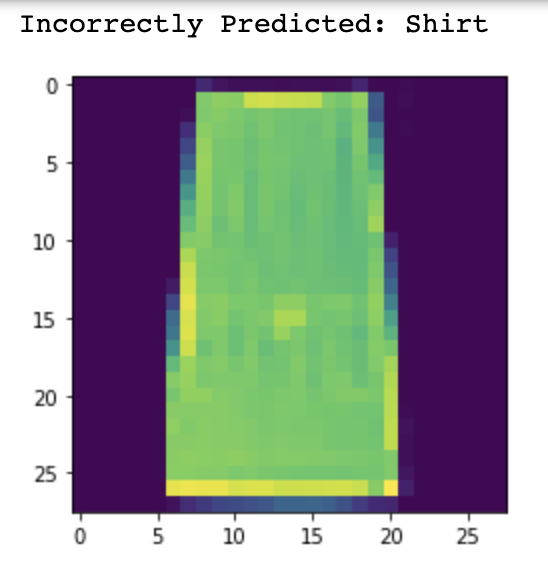
The shirt class struggled the most with a test accuracy of 69% - no other category was below 85%.
The t-shirt/top was the second least-accurate classified piece of clothing at 87%. I achieved an overall accuracy of 91.44% on the 10,000 test set images.
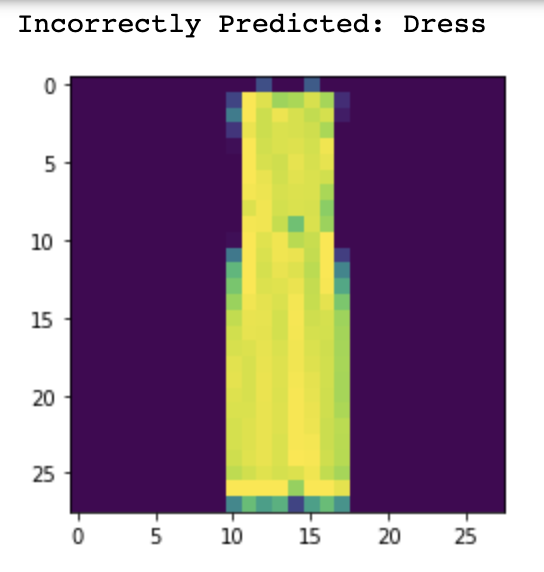
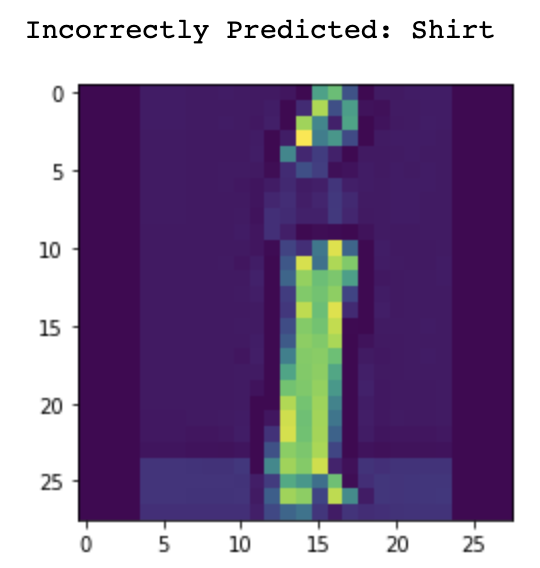
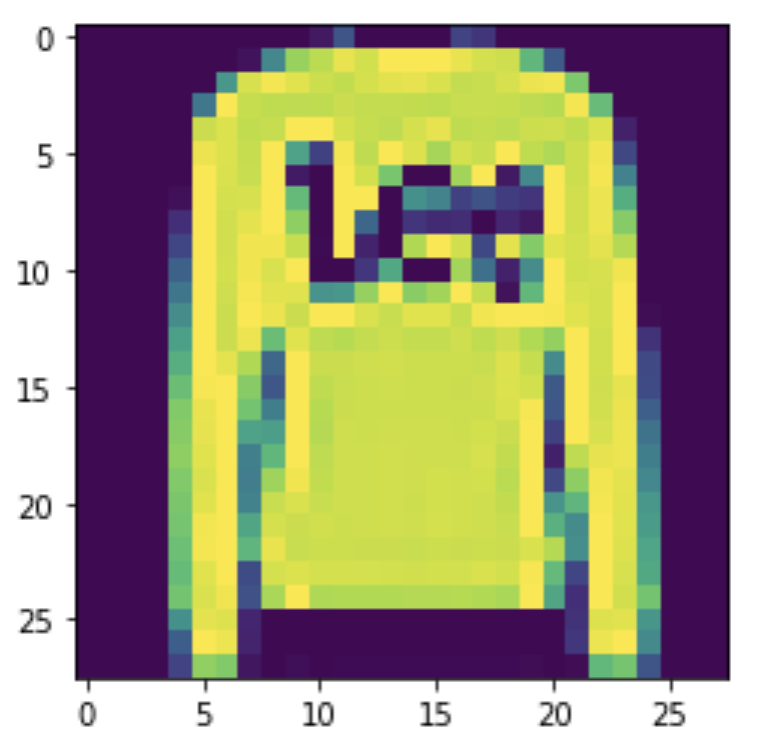
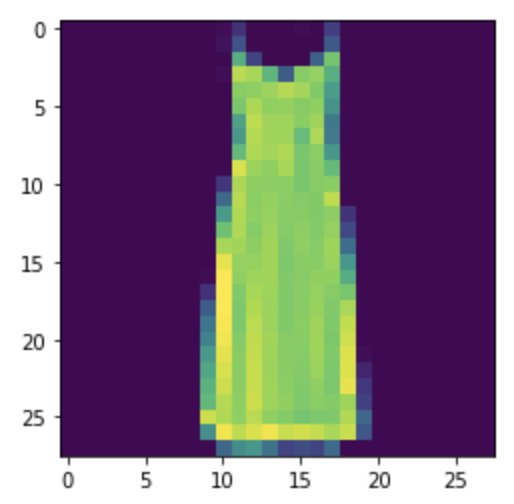
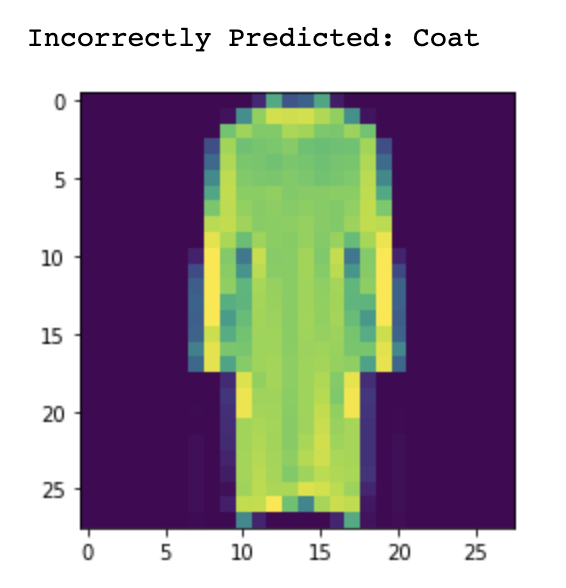
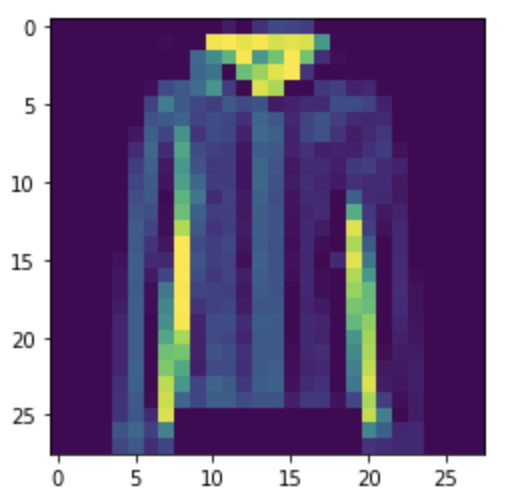
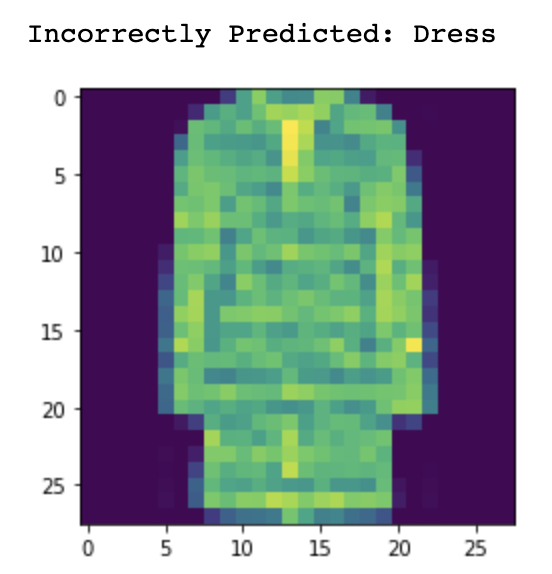
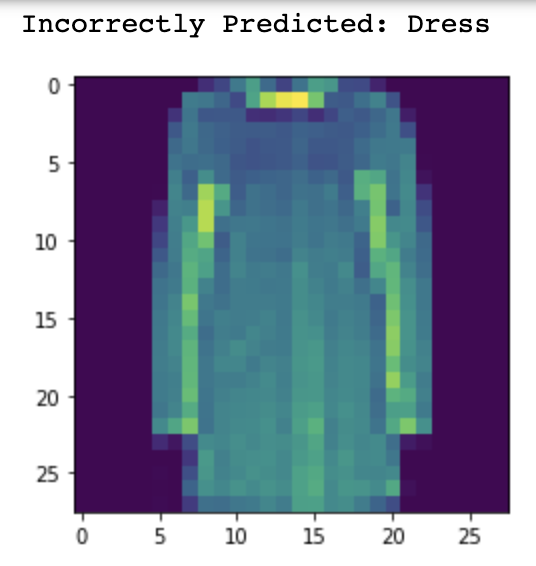
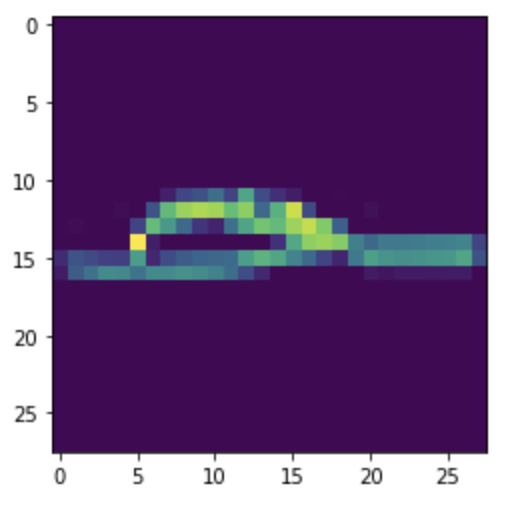
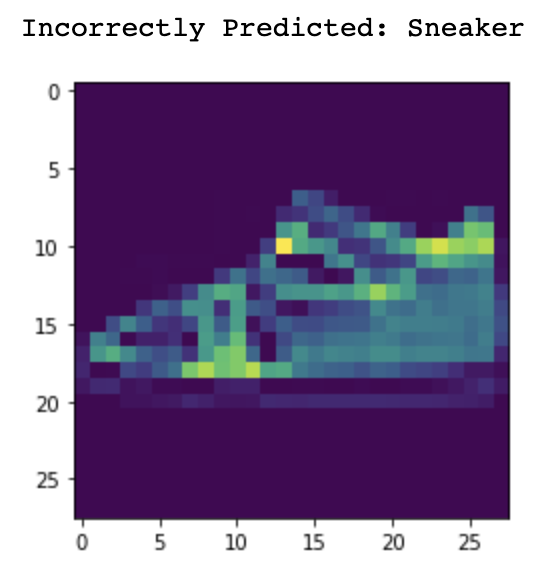
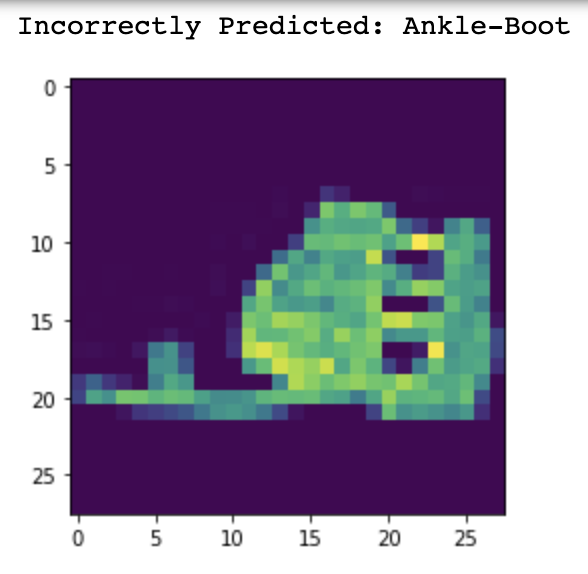
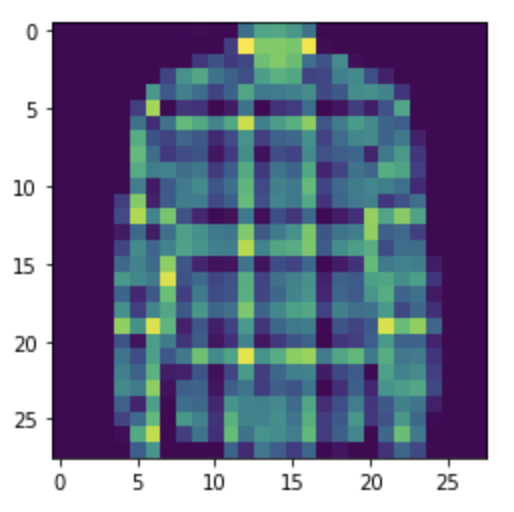
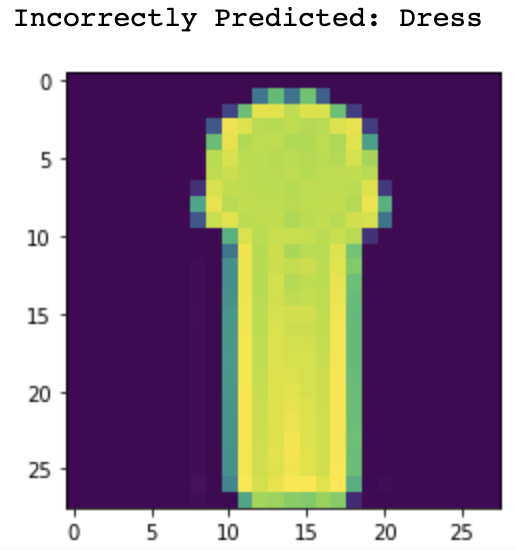
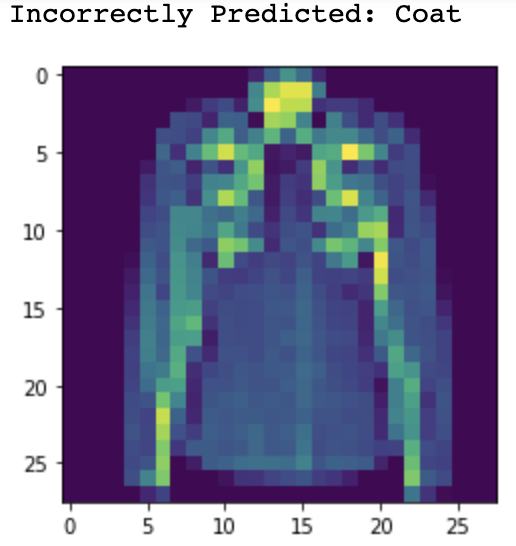
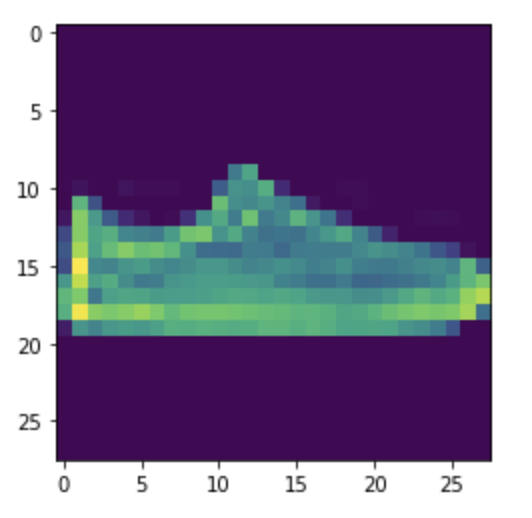
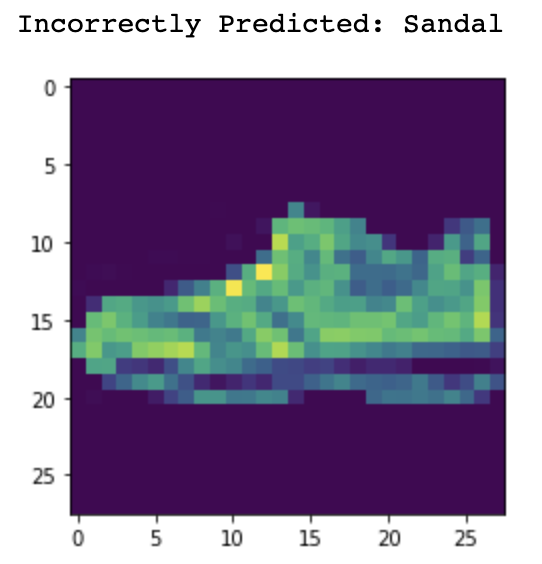
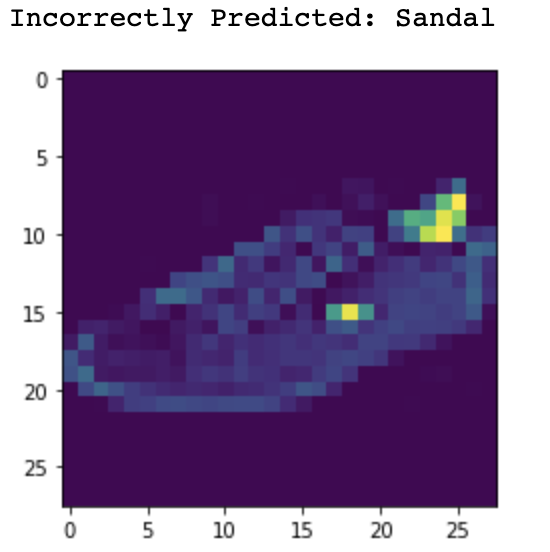
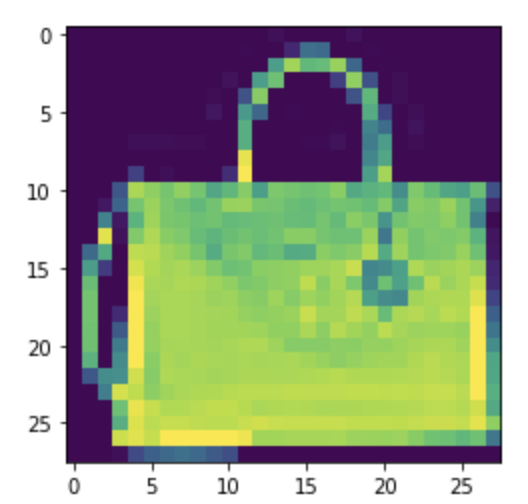
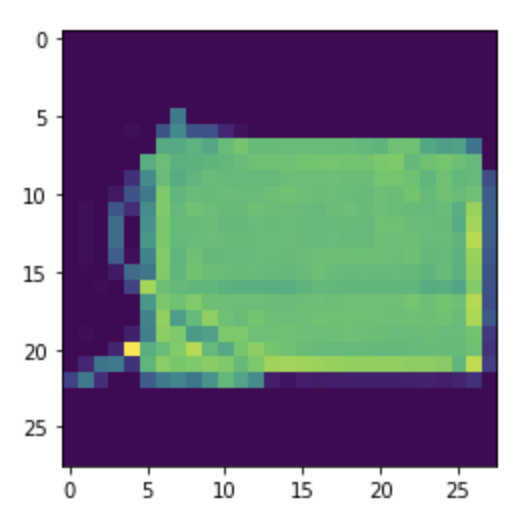
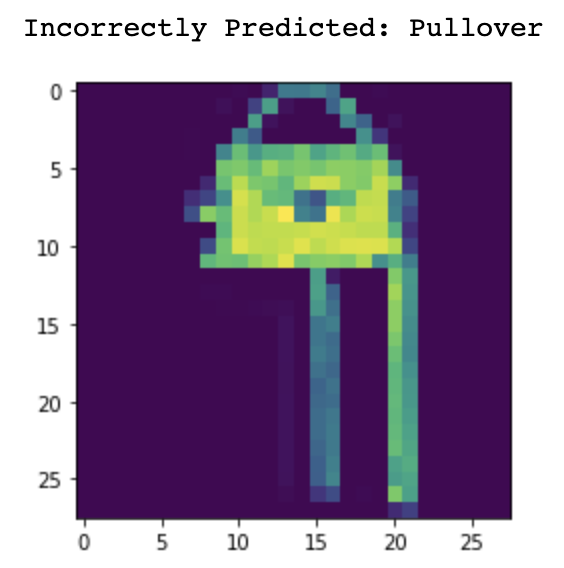
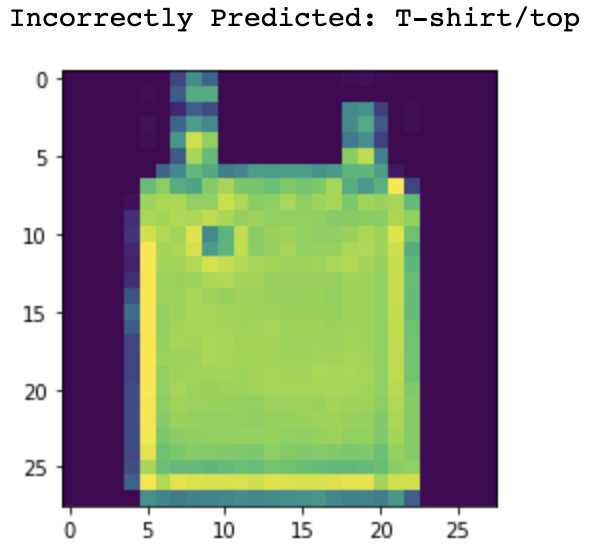
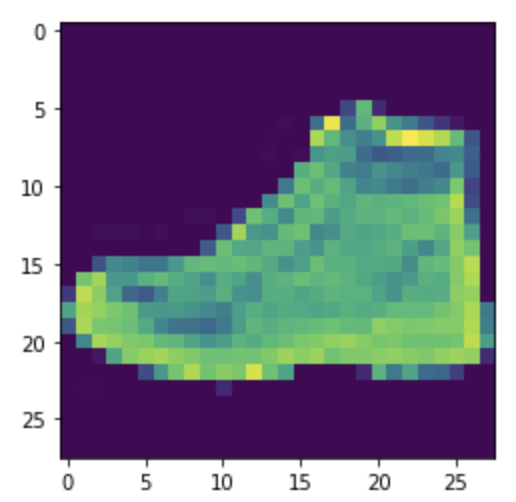
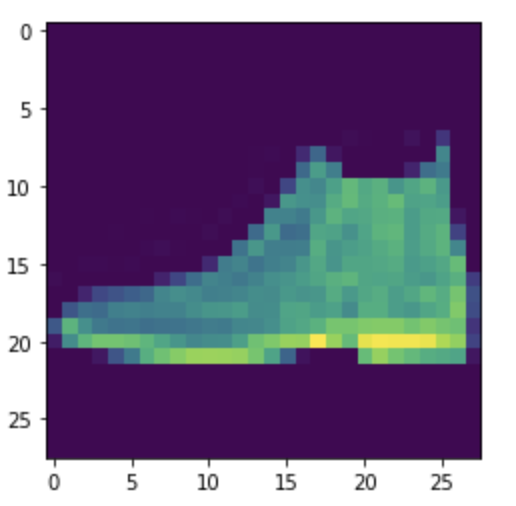
Now let's take a look at some of the images that were misclassified and correctly classified.
Clothing Type
Correct
Incorrect
T-Shirt/Top
Trouser
Pullover
Dress
Coat
Sandal
Shirt
Sneaker
Bag
Ankle Boot
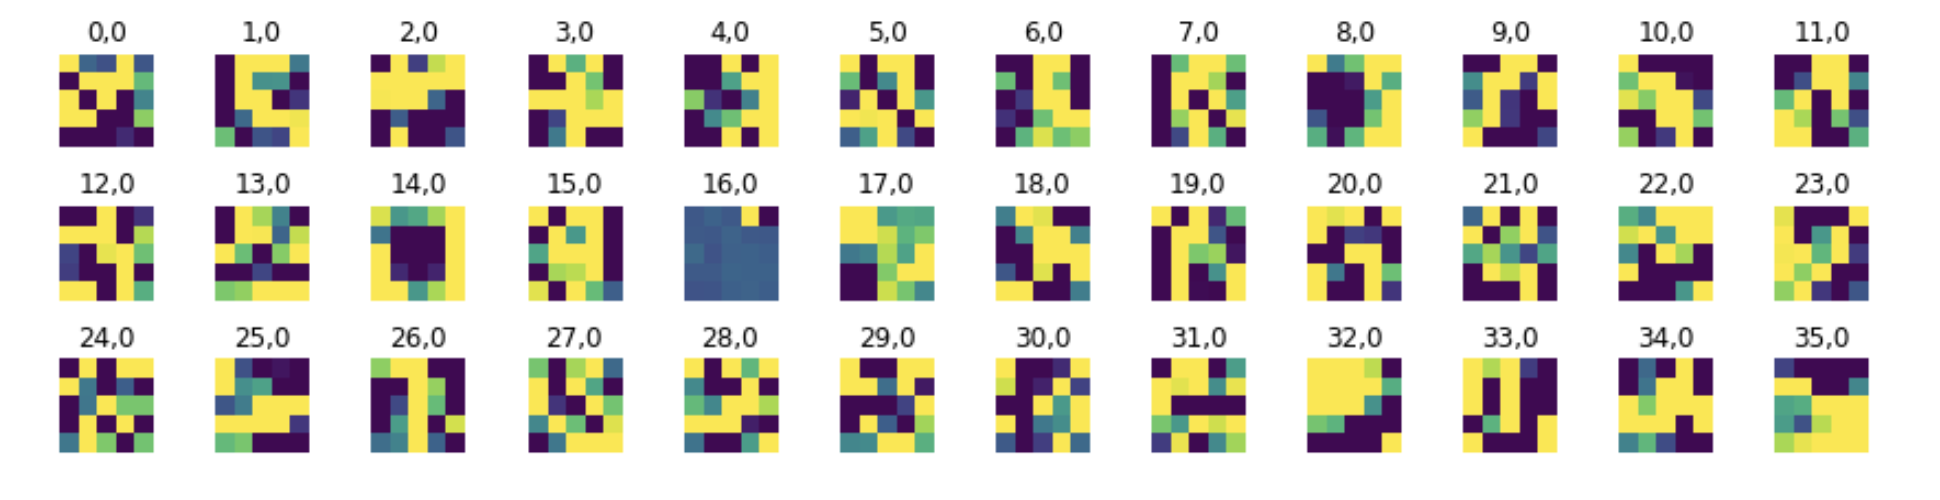
Additionally, we can visualize the filters learned by the different layers of our CNN. It's interesting to try to pick
up on any potential patterns on the filters, as they have somewhat optimally chosen to weight different aspects of our input
image, potentially picking up on unnoticeable structure within an input. Let's take a look at the 36 filters from our first layer:
36 Channel Convolutional Layer of MNIST Fashion CNN
Part 2: Semantic Segmentation
In this section, the goal was to take CNN's a step further and to be able to detect major segments
or features of an image, by trying to classify every pixel within the image. Here I used the
Facade architecture dataset, consisting of many buildings and other structures.
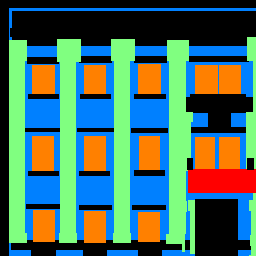
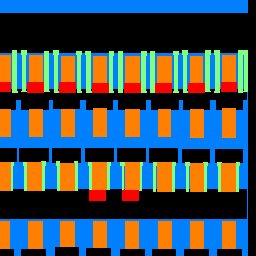
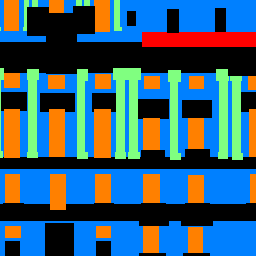
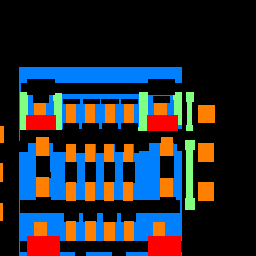
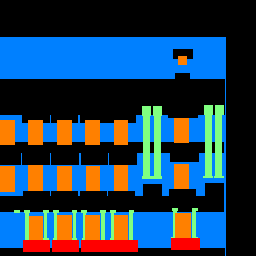
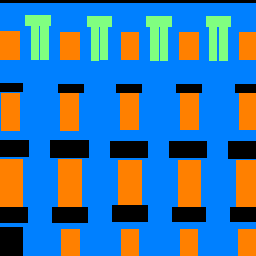
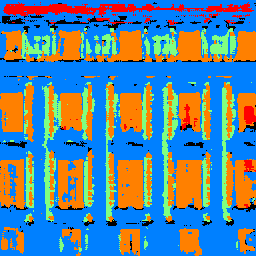
The dataset looks like this, with normal images and then hand-created corresponding labelled "ground truth"
images, where each pixel can fall under the following categories: 'others', 'facade', 'pillar', 'window',
or 'balcony', each representing a digit from 0-4 in that order.
Colormap Key
Other
Facade
Pillar
Window
Balcony
Original Image
Ground Truth Labelled Image
Original Image
Ground Truth Labelled Image
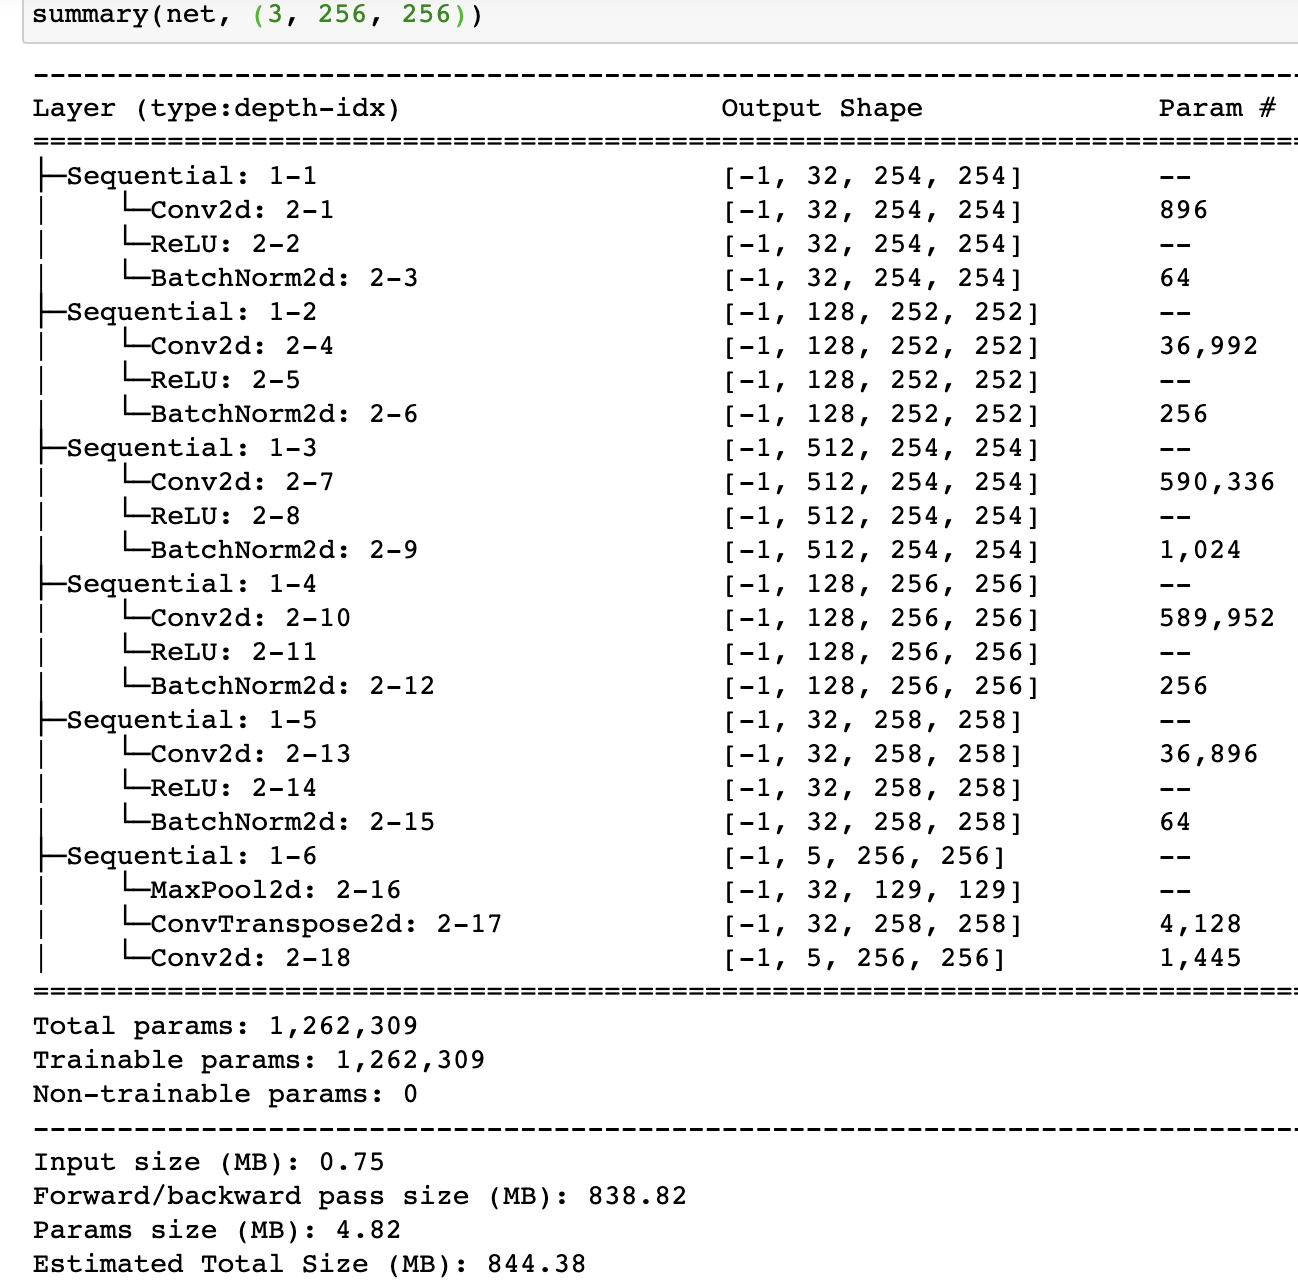
CNN Architecture
The network design for this portion involved for this portion of the project involved 6 convolutional layers.
I optimized the cnn using the Adam Algorithm (torch.optim.Adam).
I split the 906 images into 806 for training and 100 for validation, and after tuning, I chose hyperparameters of 0.001 for my learning rate and 10^-5 for my weight decay
(l2 regularization) within the optimizer. I found that a smaller kernel size appeared to work more effectively (3x3 compared to 5x5). Batch normalization helped significantly after each ReLu layer,
and interestingly enough, my results seemed to show that adding maxpool layers in between a majority of the layers to further reduce the input dimension wasn't very effective.
The architecture and fundamental concepts were inspired by this article
alongside this paper. Below is the detailed architecture, and assumes an 3 color-channel image input, 256 by 256 pixels.
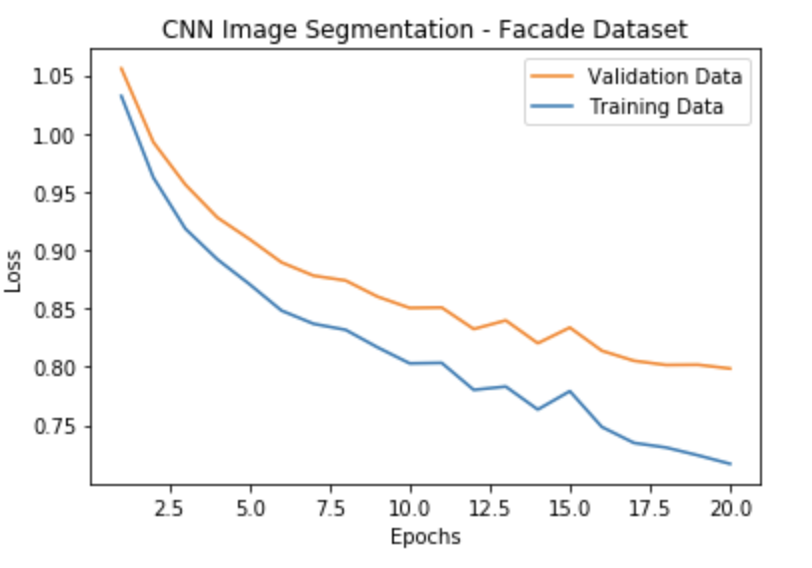
Training vs. Validation Loss
I used a cross entropy loss function (torch.nn.CrossEntropyLoss()) to measure how well the net fit the training data at every iteration. I used parameters of 10^-3 for a learning rate, 10^-5 for weight decay (l2 regularization).
Here we can see a breakdown of how the training and validation loss vary for each additional epoch.
Results
Overall, I achieved the goal of getting past an average precision of 0.45 on the test set,
with an accuracy of 54.3%. The per class results for 'others', 'facade', 'pillar', 'window',
or 'balcony' respectively are here:
Class / Type
Accuracy
Other
66.52%
Facade
73.92%
Pillar
12.88%
Window
77.41%
Balcony
40.81%
Overall
54.33%
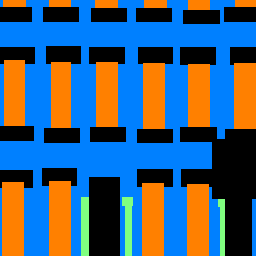
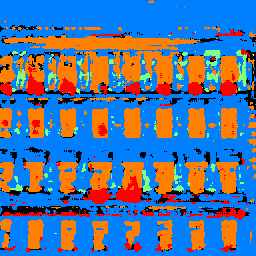
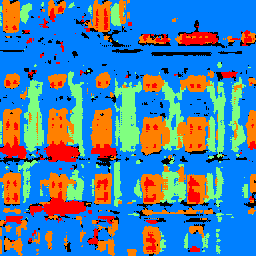
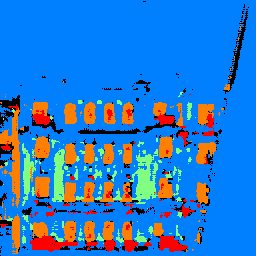
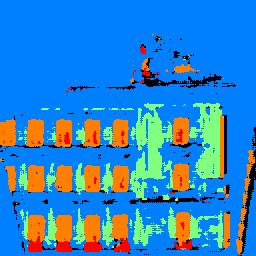
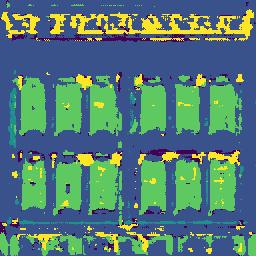
Now let's go ahead and visualize some of the results.
Colormap Key
Other
Facade
Pillar
Window
Balcony
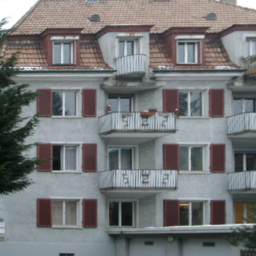
Original Image
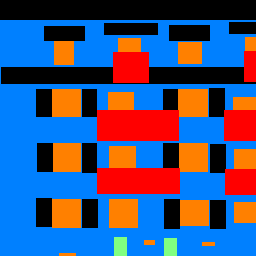
"Ground Truth" Labels
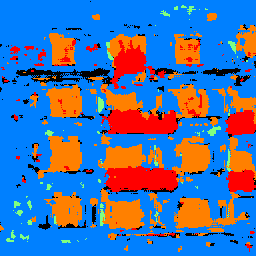
CNN Image Output
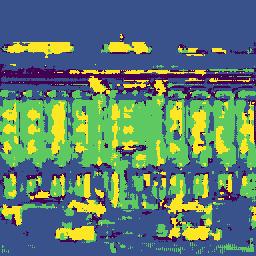
Overall, the results are beginning to get at the core structure of the images, but there's still quite some ways to go. The classifier does a great job of detecting windows and balconies,
but often mislabels random space as a pillar, and struggles with the general open space identification (other/facade), which sometimes are completely off.
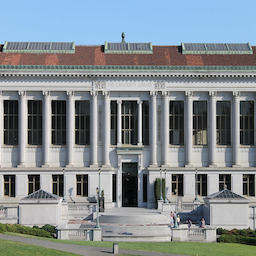
Here's also the results applied on some general buildings not from
the dataset or testset (featuring Doe Library @ UC Berkeley).
Reflection
Overall, this was a challenging but rewarding project - I really enjoyed the semantic segmentation portion which went a step beyond
overall image classification. It proved to be much trickier to train from an architectural and design perspective as well as from a training
perspective. It was a good experience working through the ups and downs of Google colab to use a GPU for the second part, and I'm excited to continue improving on these results.