|
|
|---|
This is a placeholder introduction because I still need to truly understand what i just coded :) I would rather just leave this blank than write some garbage math that is not correct.
I will also add more explanation to the tasks themselves later; for now, it's just my photos.
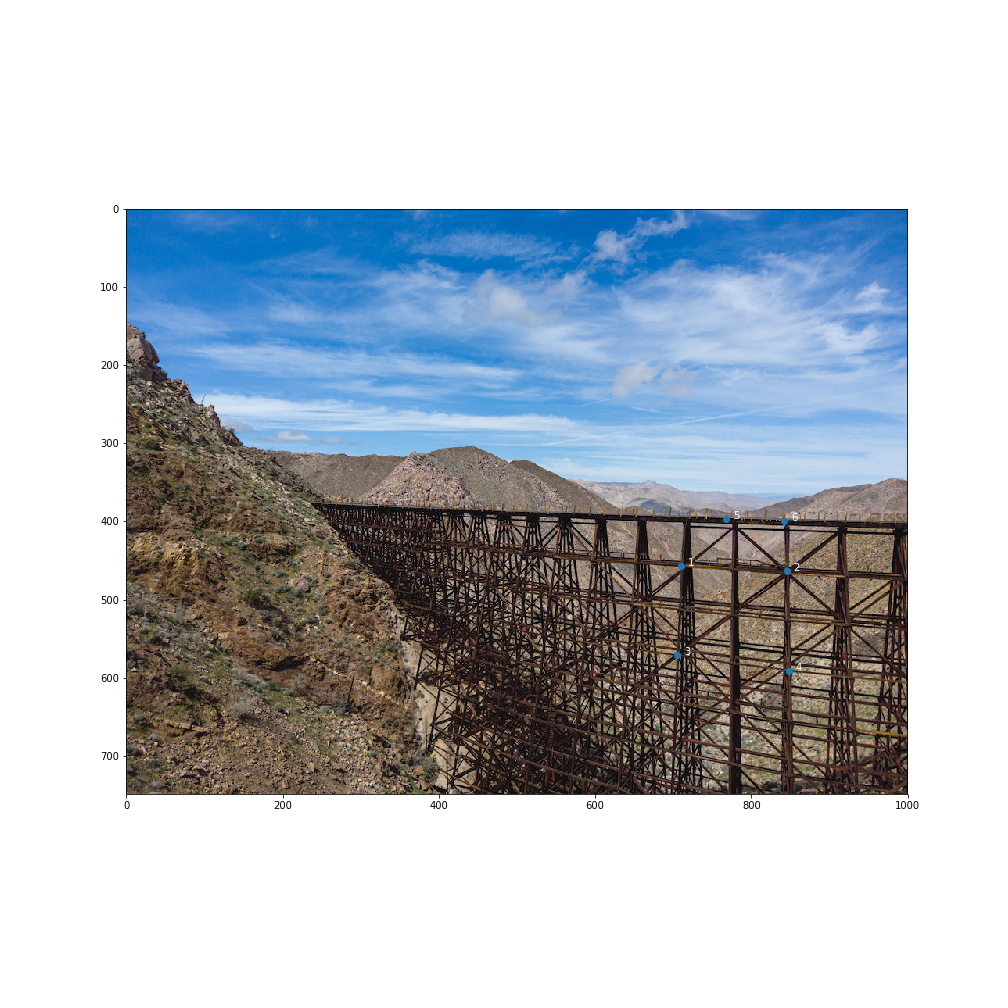
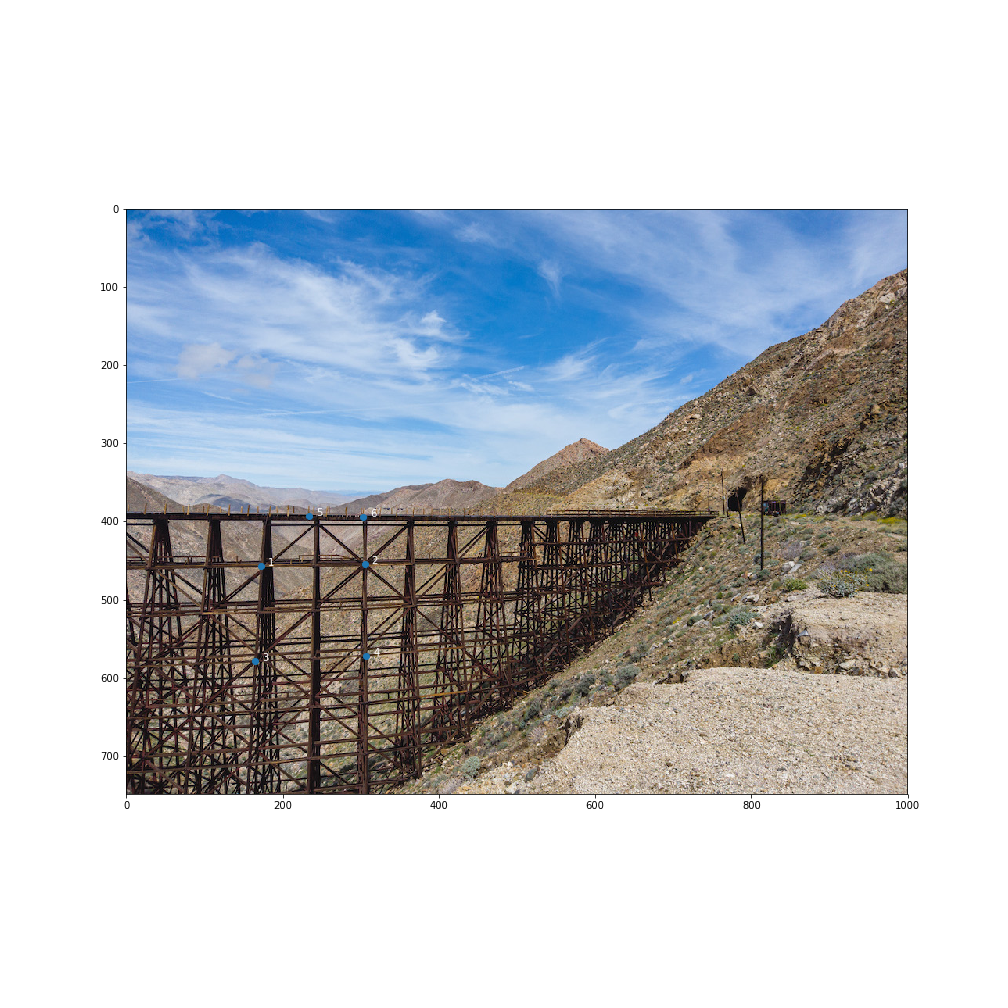
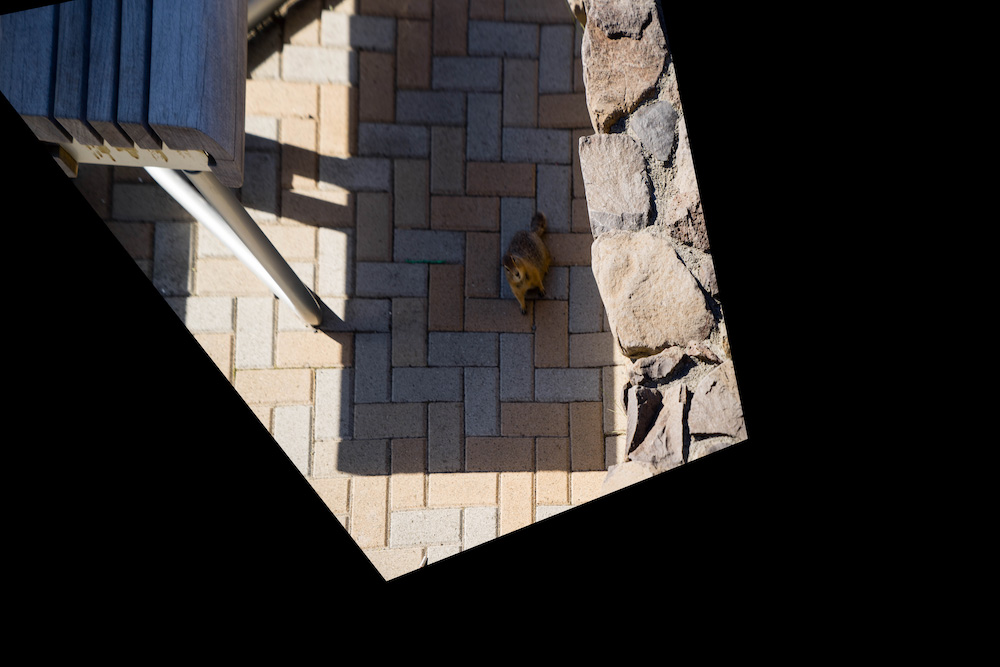
These are the photos and five correspondence points I will be using for the remainder of this project. You might have to zoom in to see the points.
|
|
|
|---|
Going to be honest, not sure what to put here yet
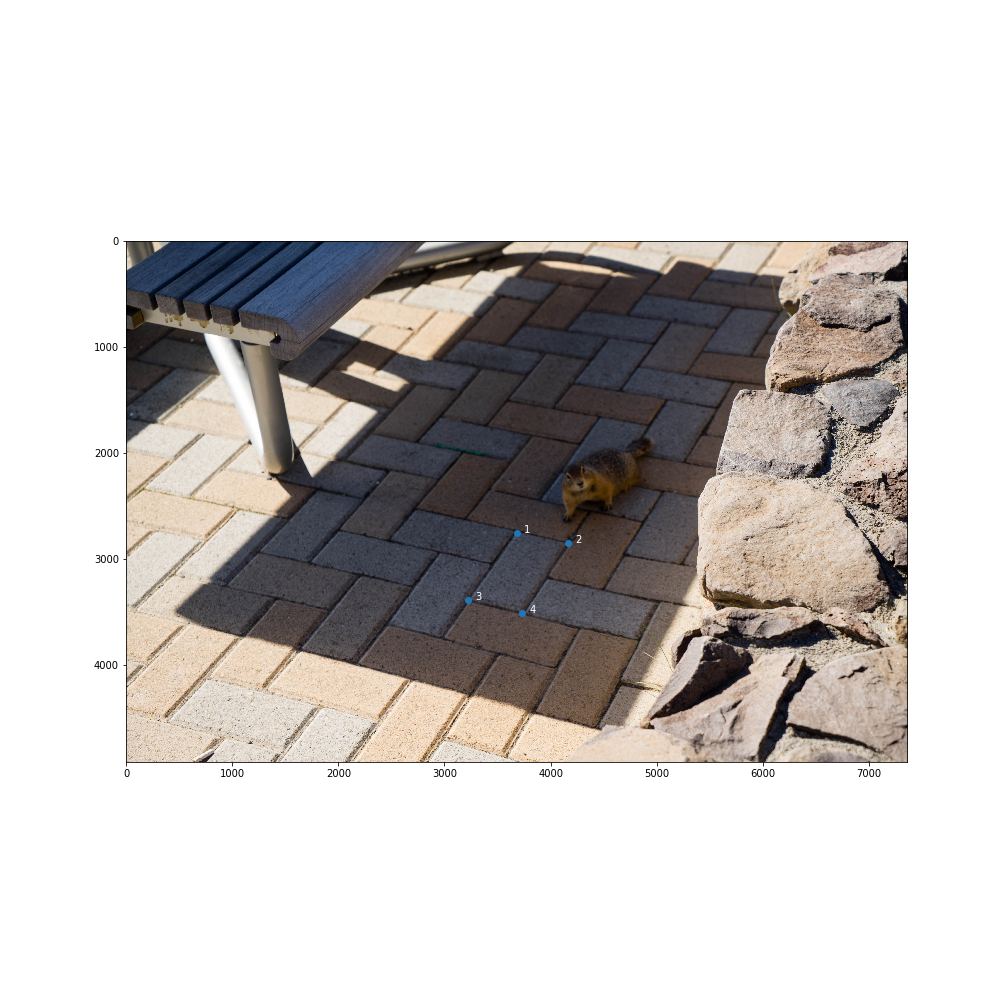
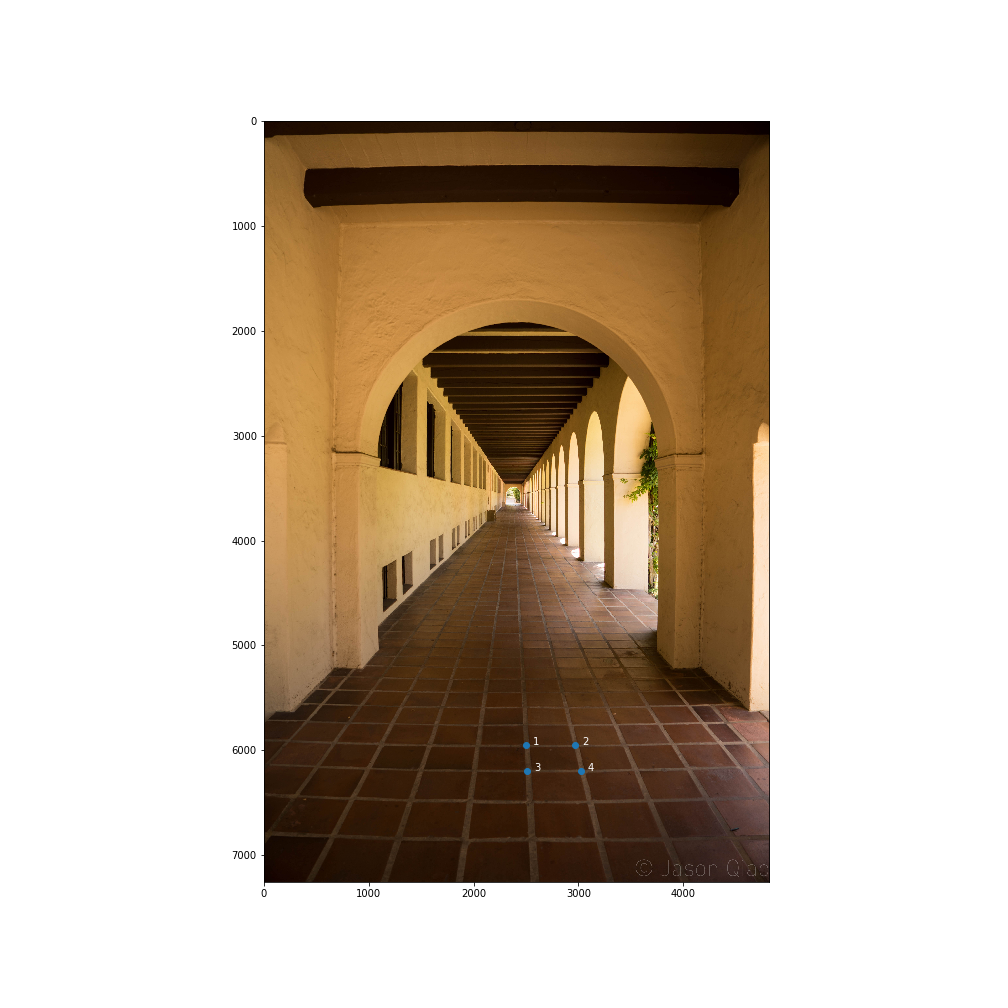
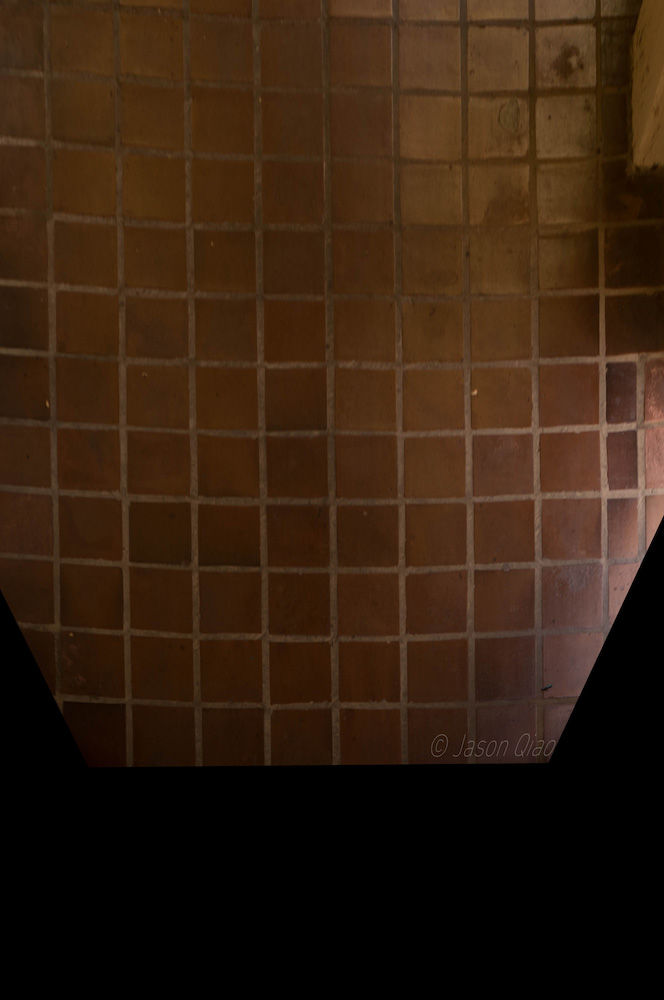
For this part I had to use two different images because my original panorama images did not have a good warped grid I could unwarp. These are the two photos I used for this part and the grids I am trying to rectify:
|
|
|---|
This was the result after rectification:
|
|
|---|
(I cannot get these images to show up on the website; if they still aren't here, just pretend they are. You can seem my mosaic result below anyway).
In the second photo, you can see that even after rectification, the tiles further away are still distorted. This is because I did not properly correct for lens distortion (You can see this in the beam above the archway in the original photo. It is not straight when in reality it is).
I used Laplacian stacking to blend my mosaic (i.e. I just used code from project 2).
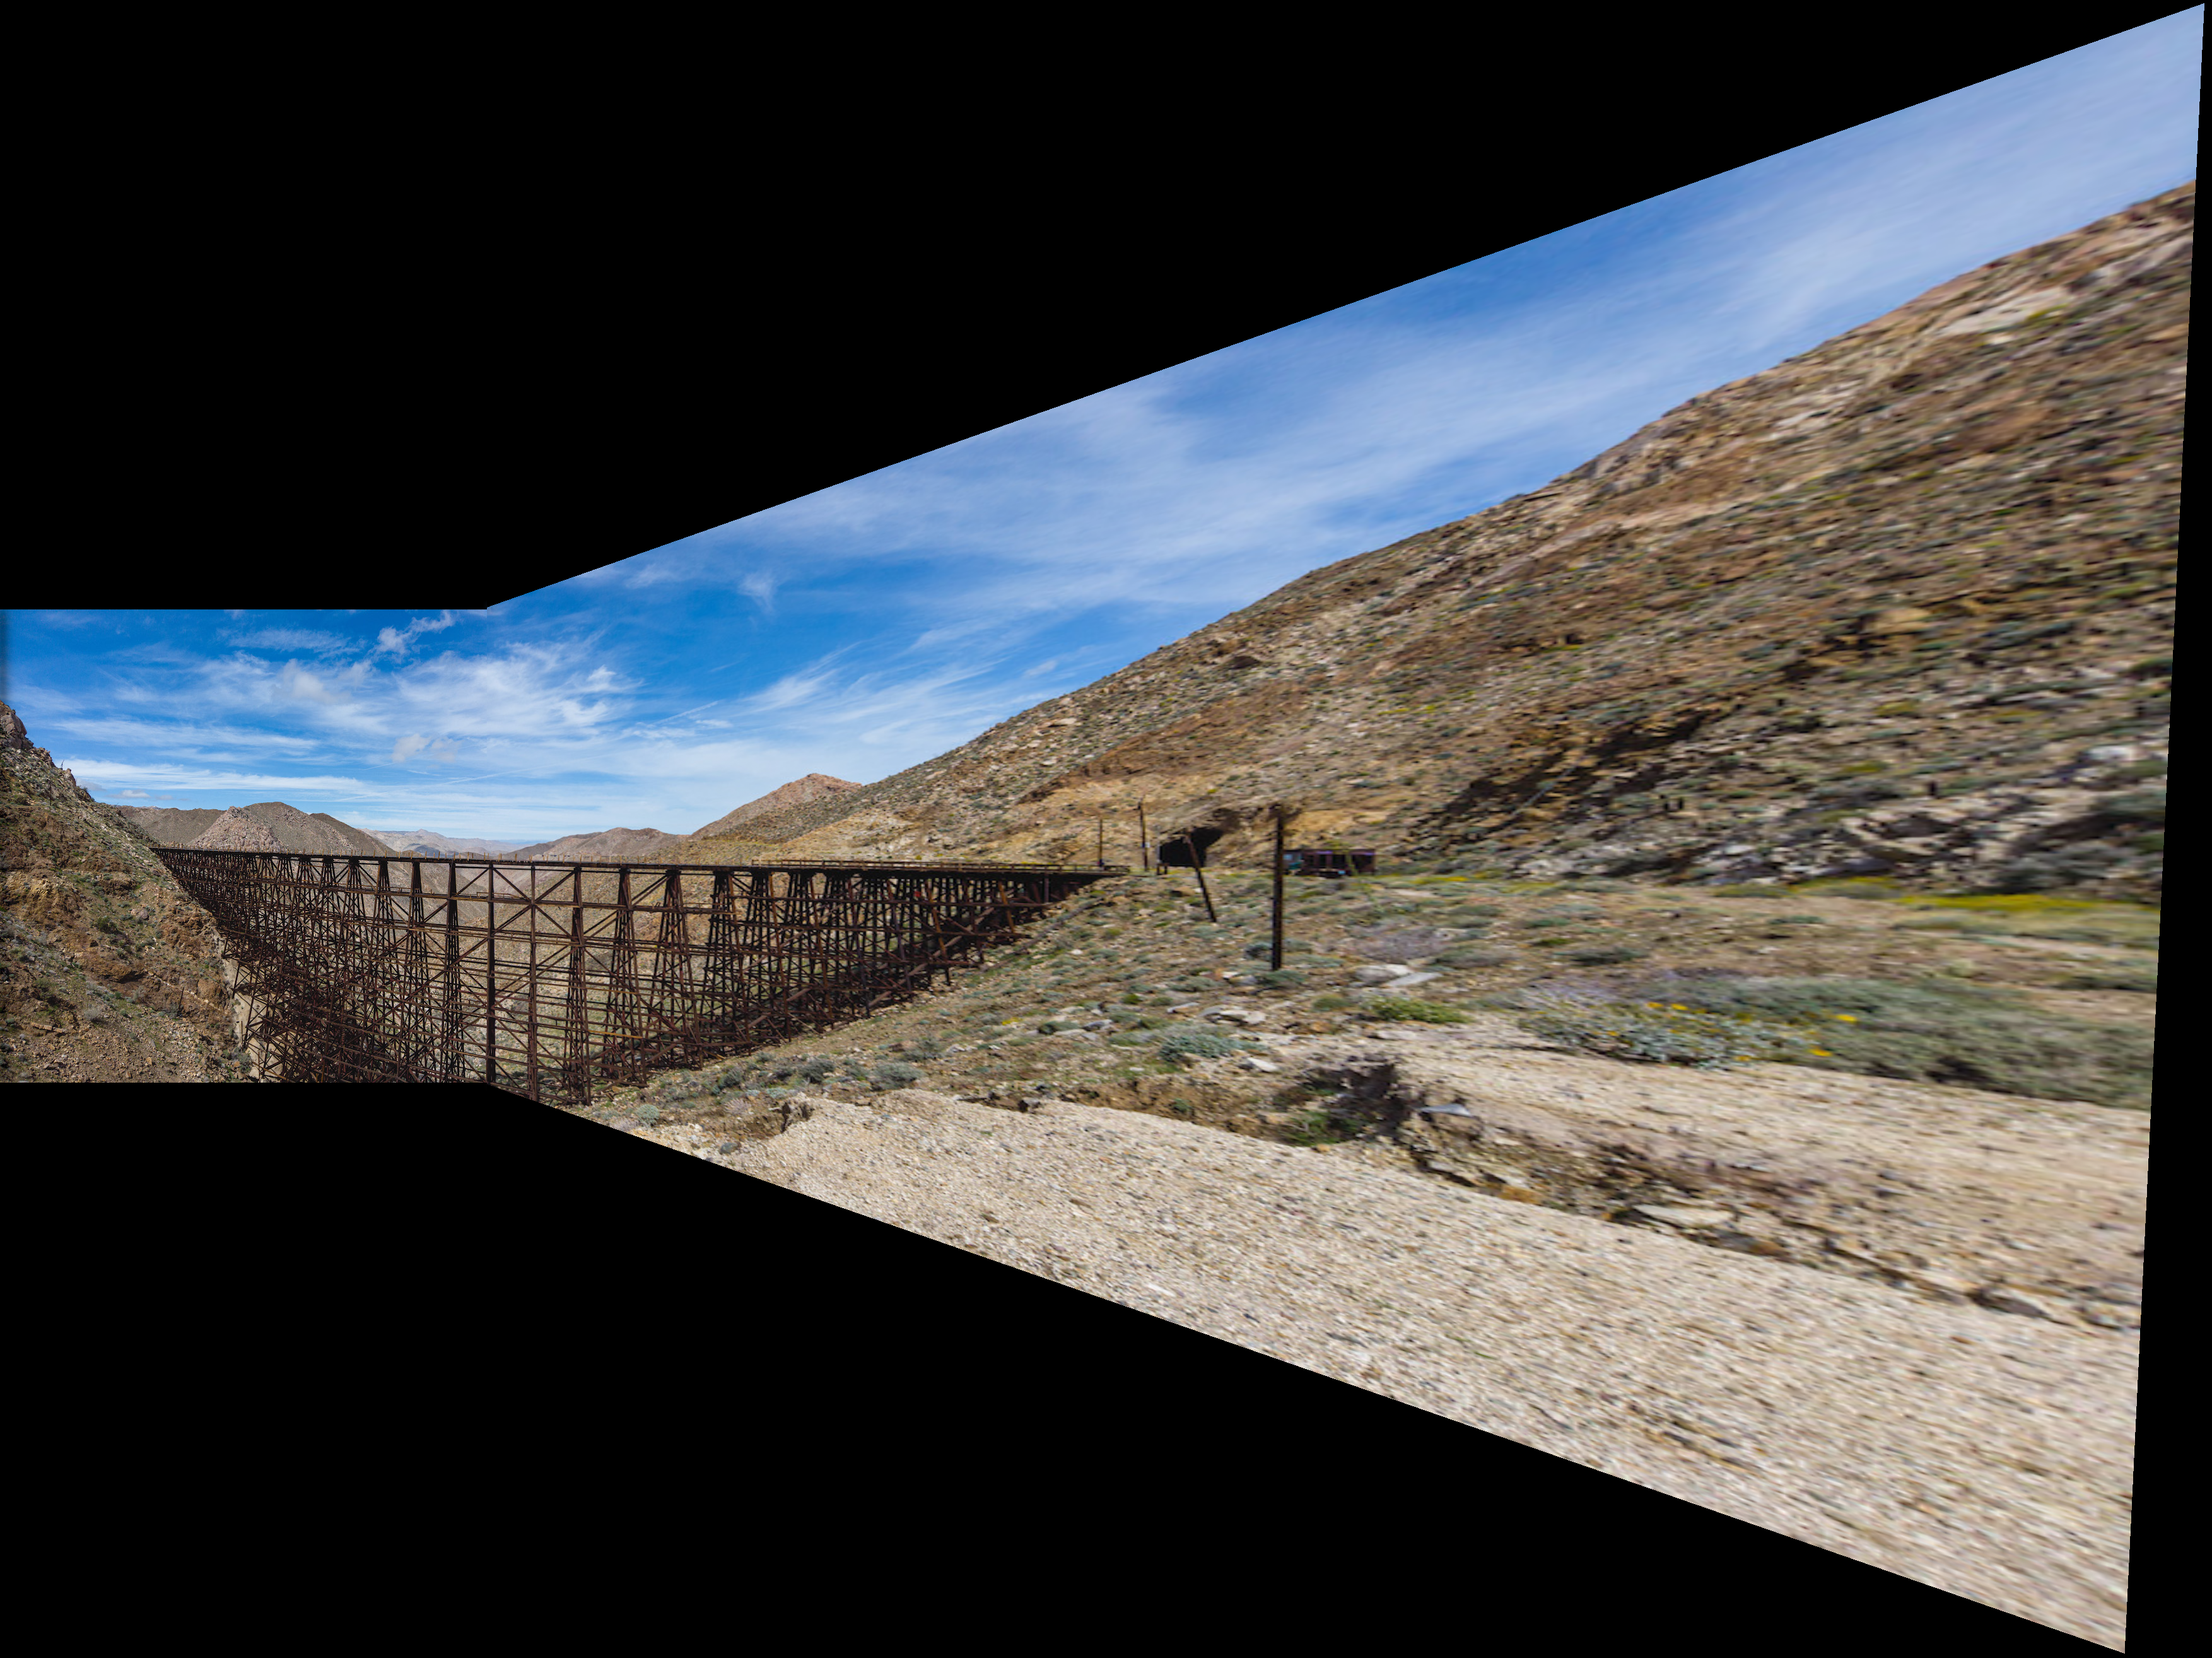
Ideally, I transformed both images into a new space halfway between the two so one image isn't super warped, but that's evidently not what I did.