Part 1: Image Warping and Mosaicing
In this section, I took photos around my house to produce rectified images
and blended some into cool mosaics.
1.1 Recover Homographies
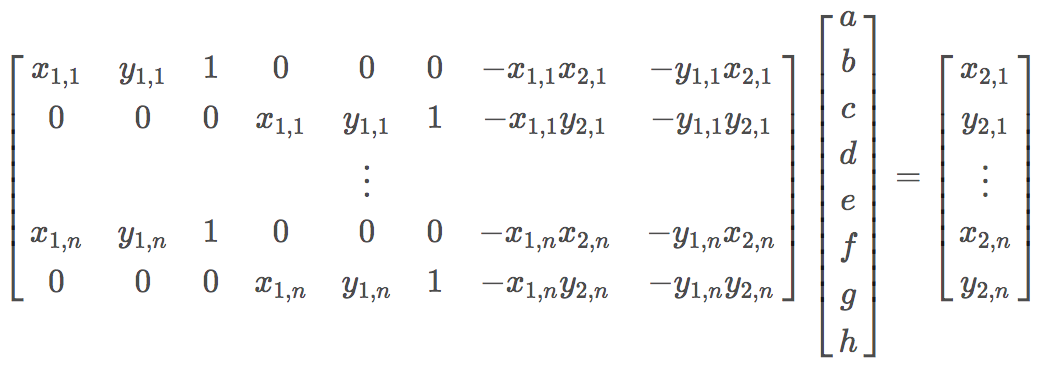
In order to warp my images, I recovered the 3x3 homography that relates the a pair of images. I first used Python's ginput() function to pick 10 points on each pair of images. With the equation below, I used least squares to recover [a, b, c, d, e, f, g, h] which would be the values in H (and i = 1).
1.2 Image Warp and Rectification
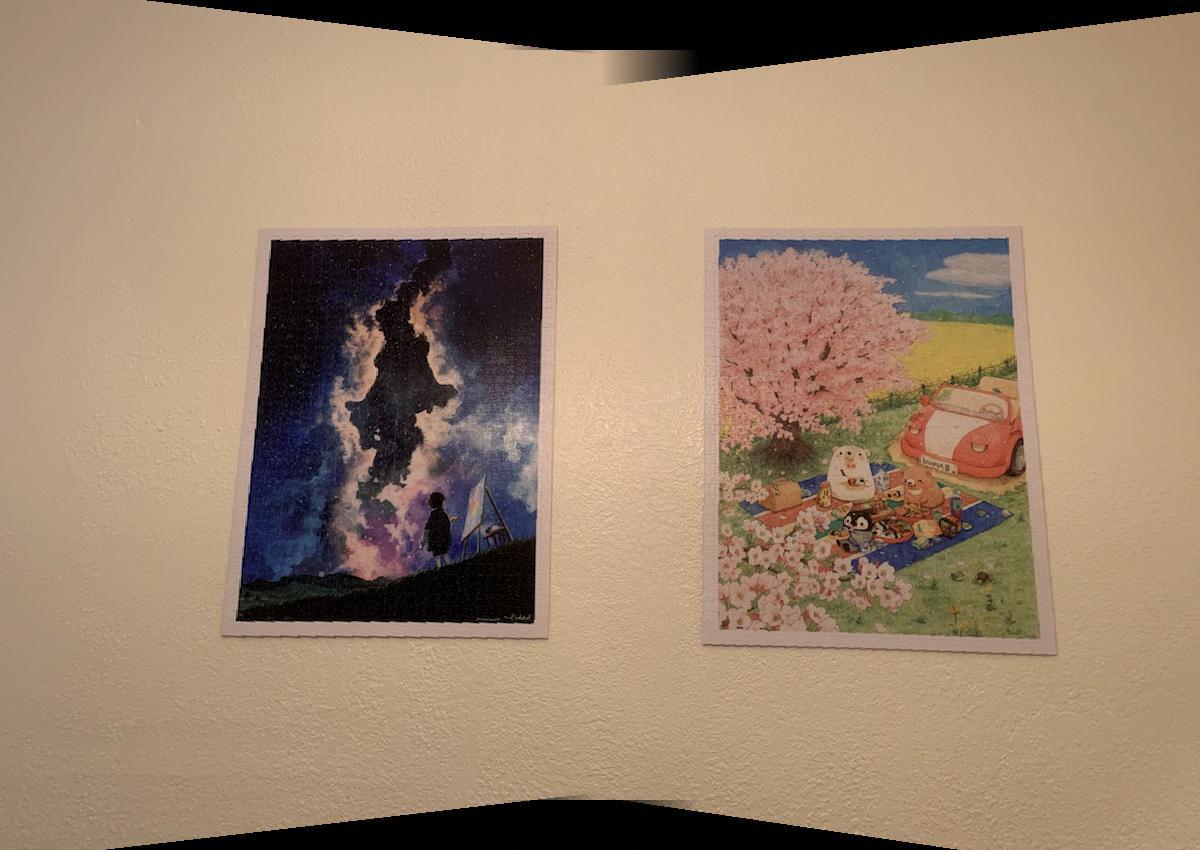
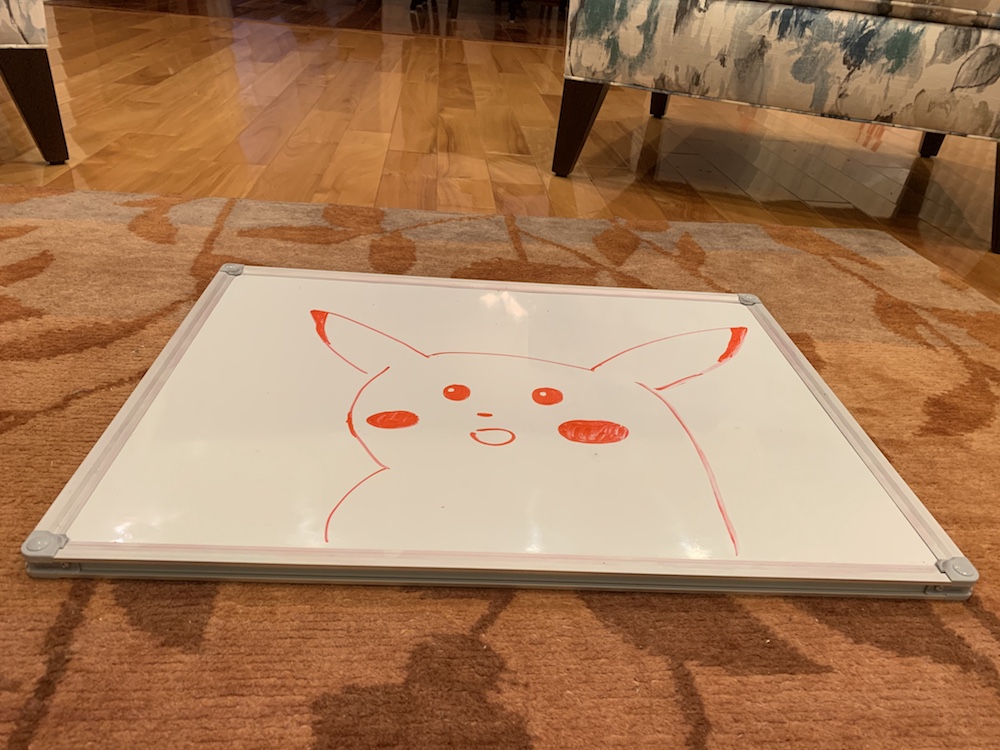
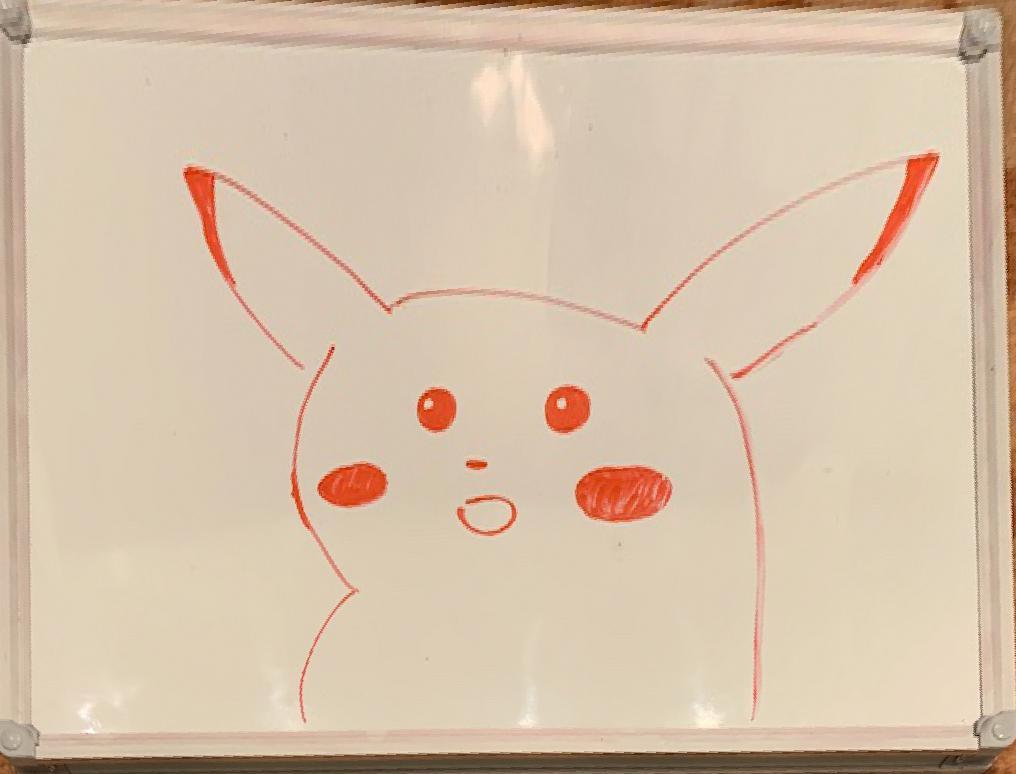
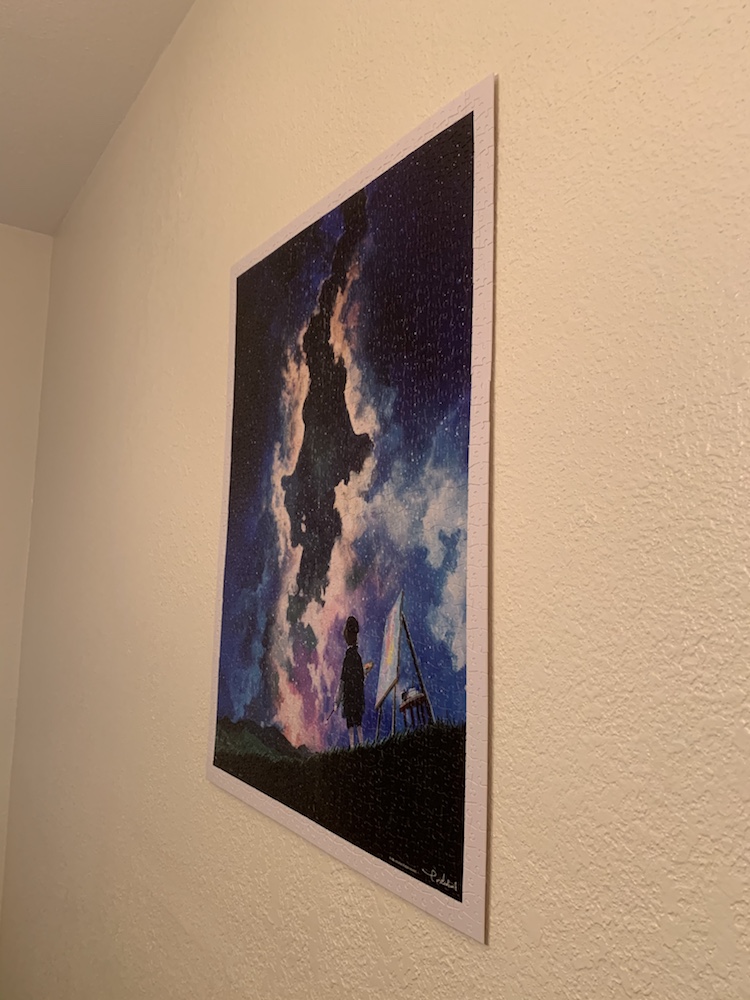
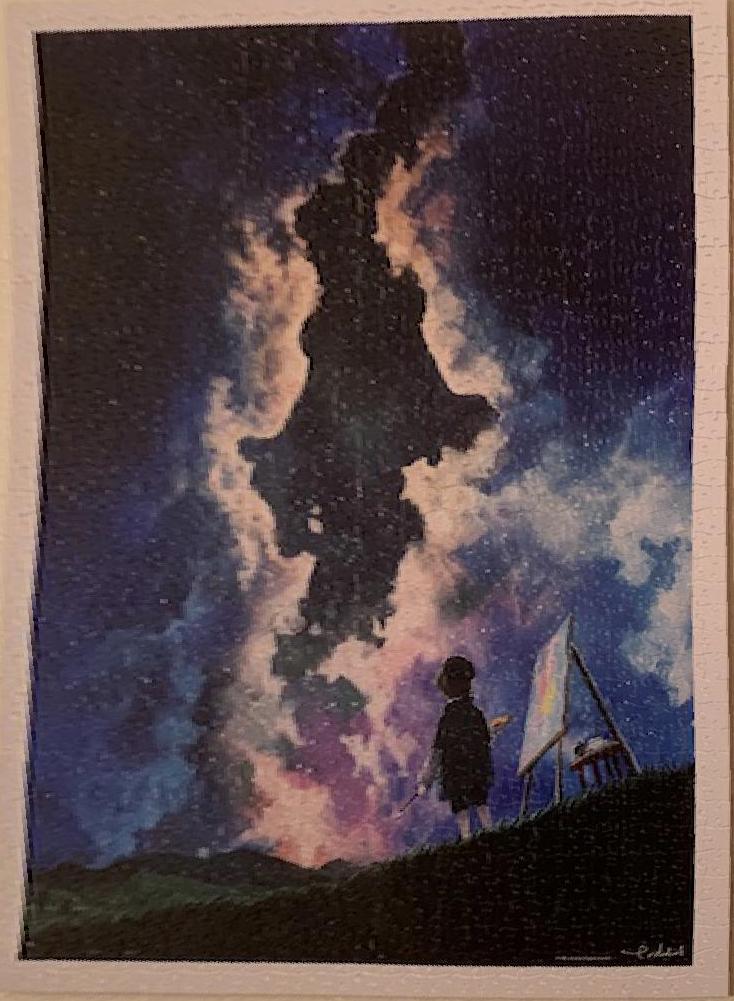
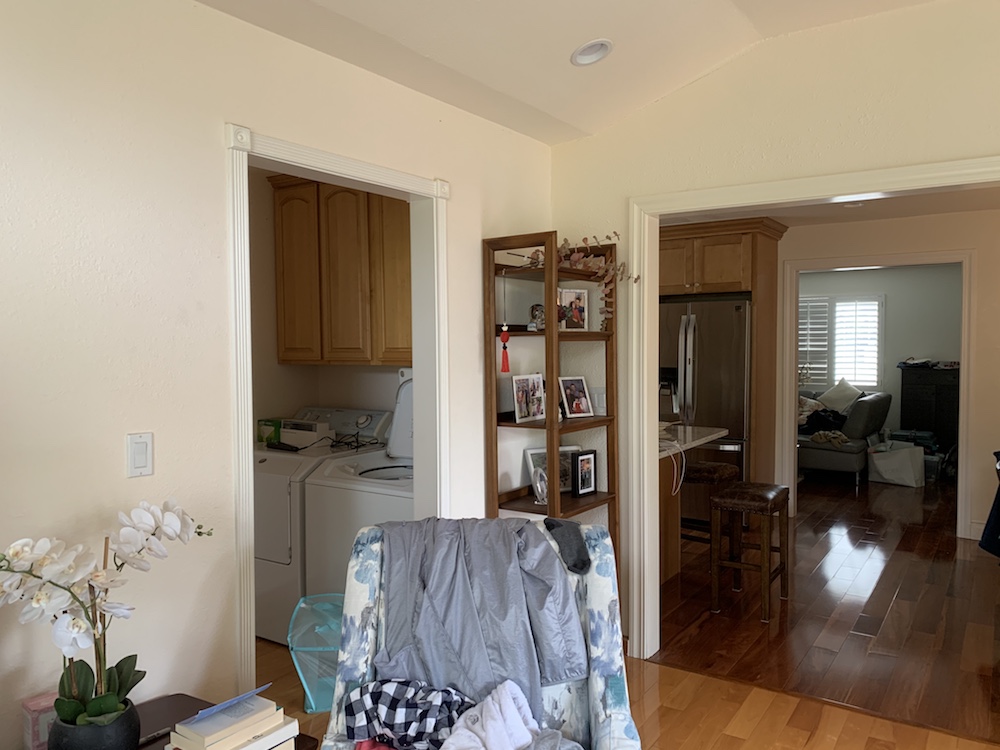
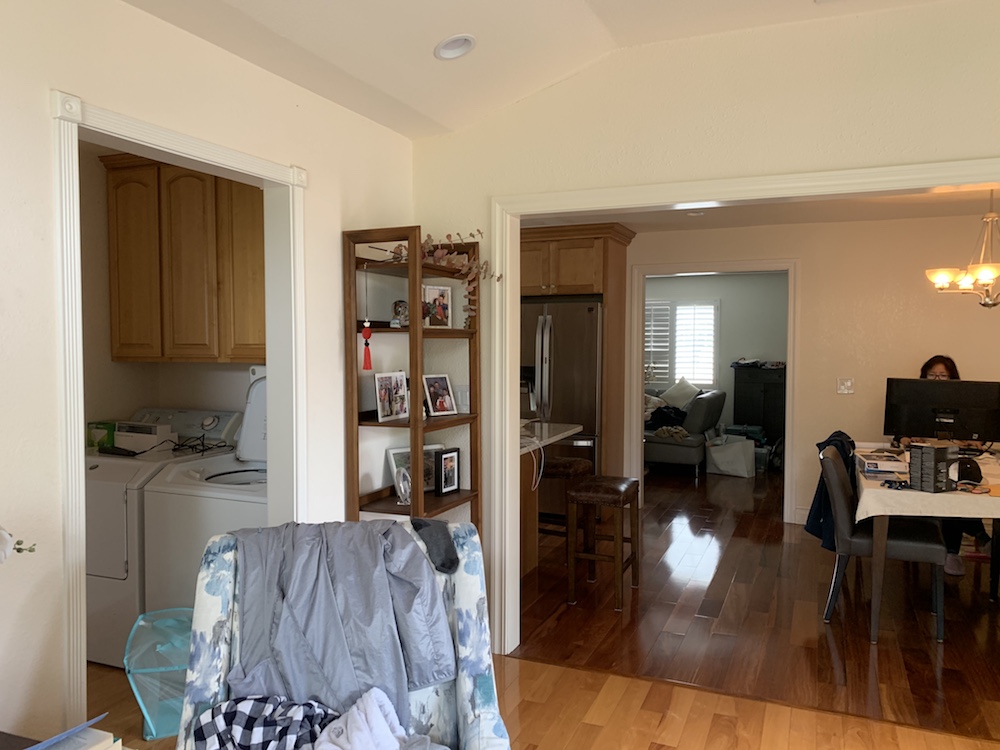
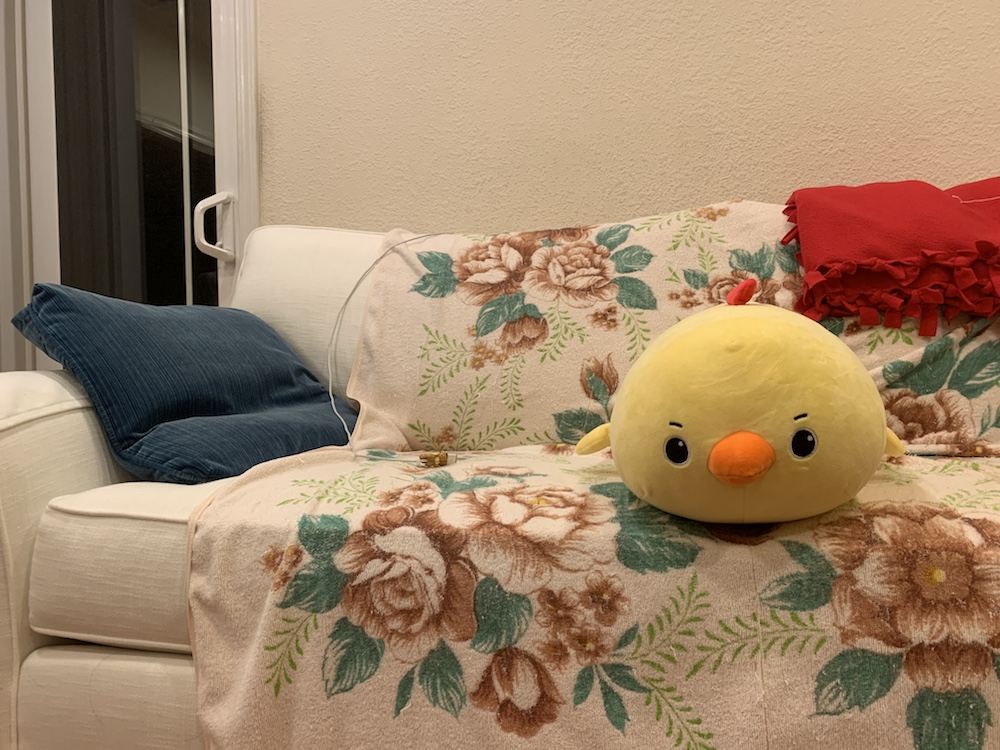
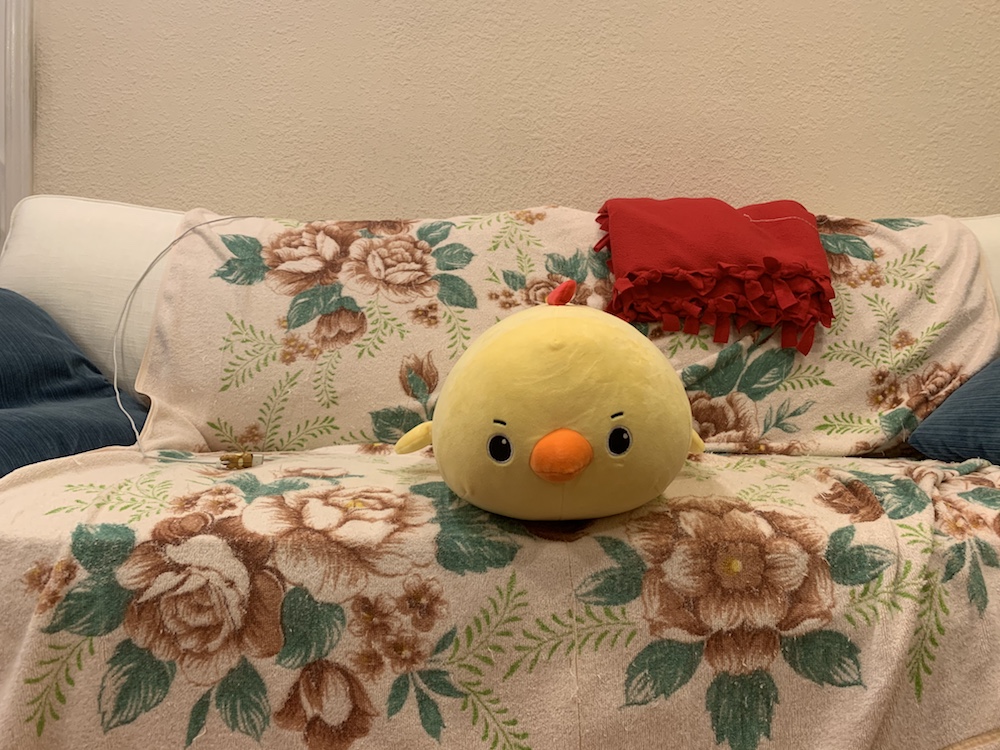
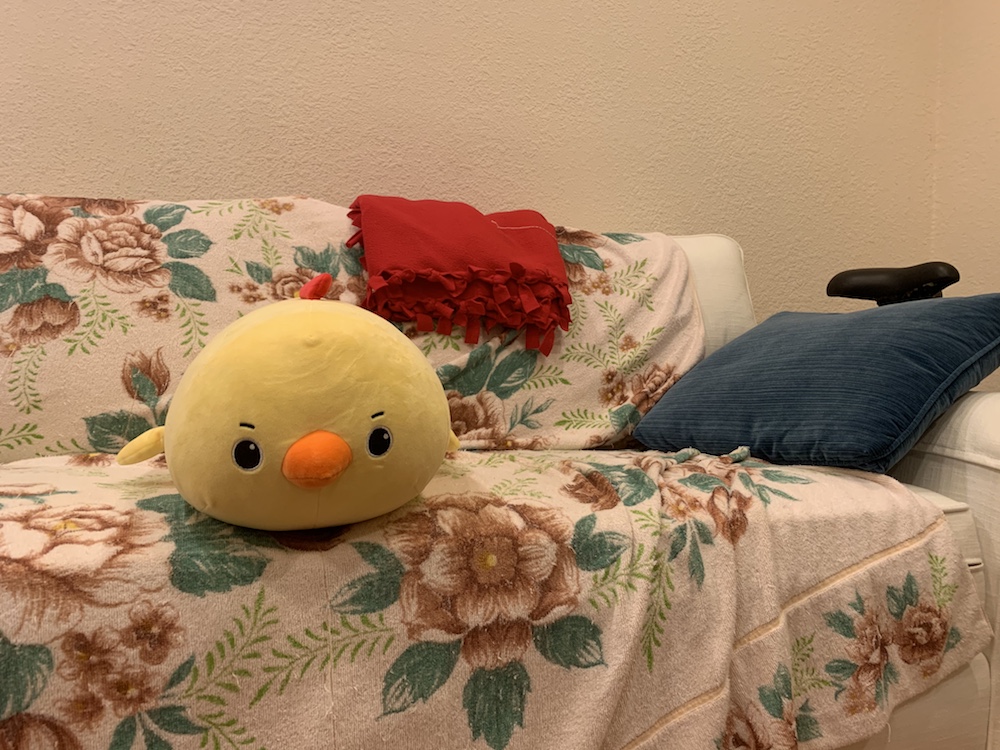
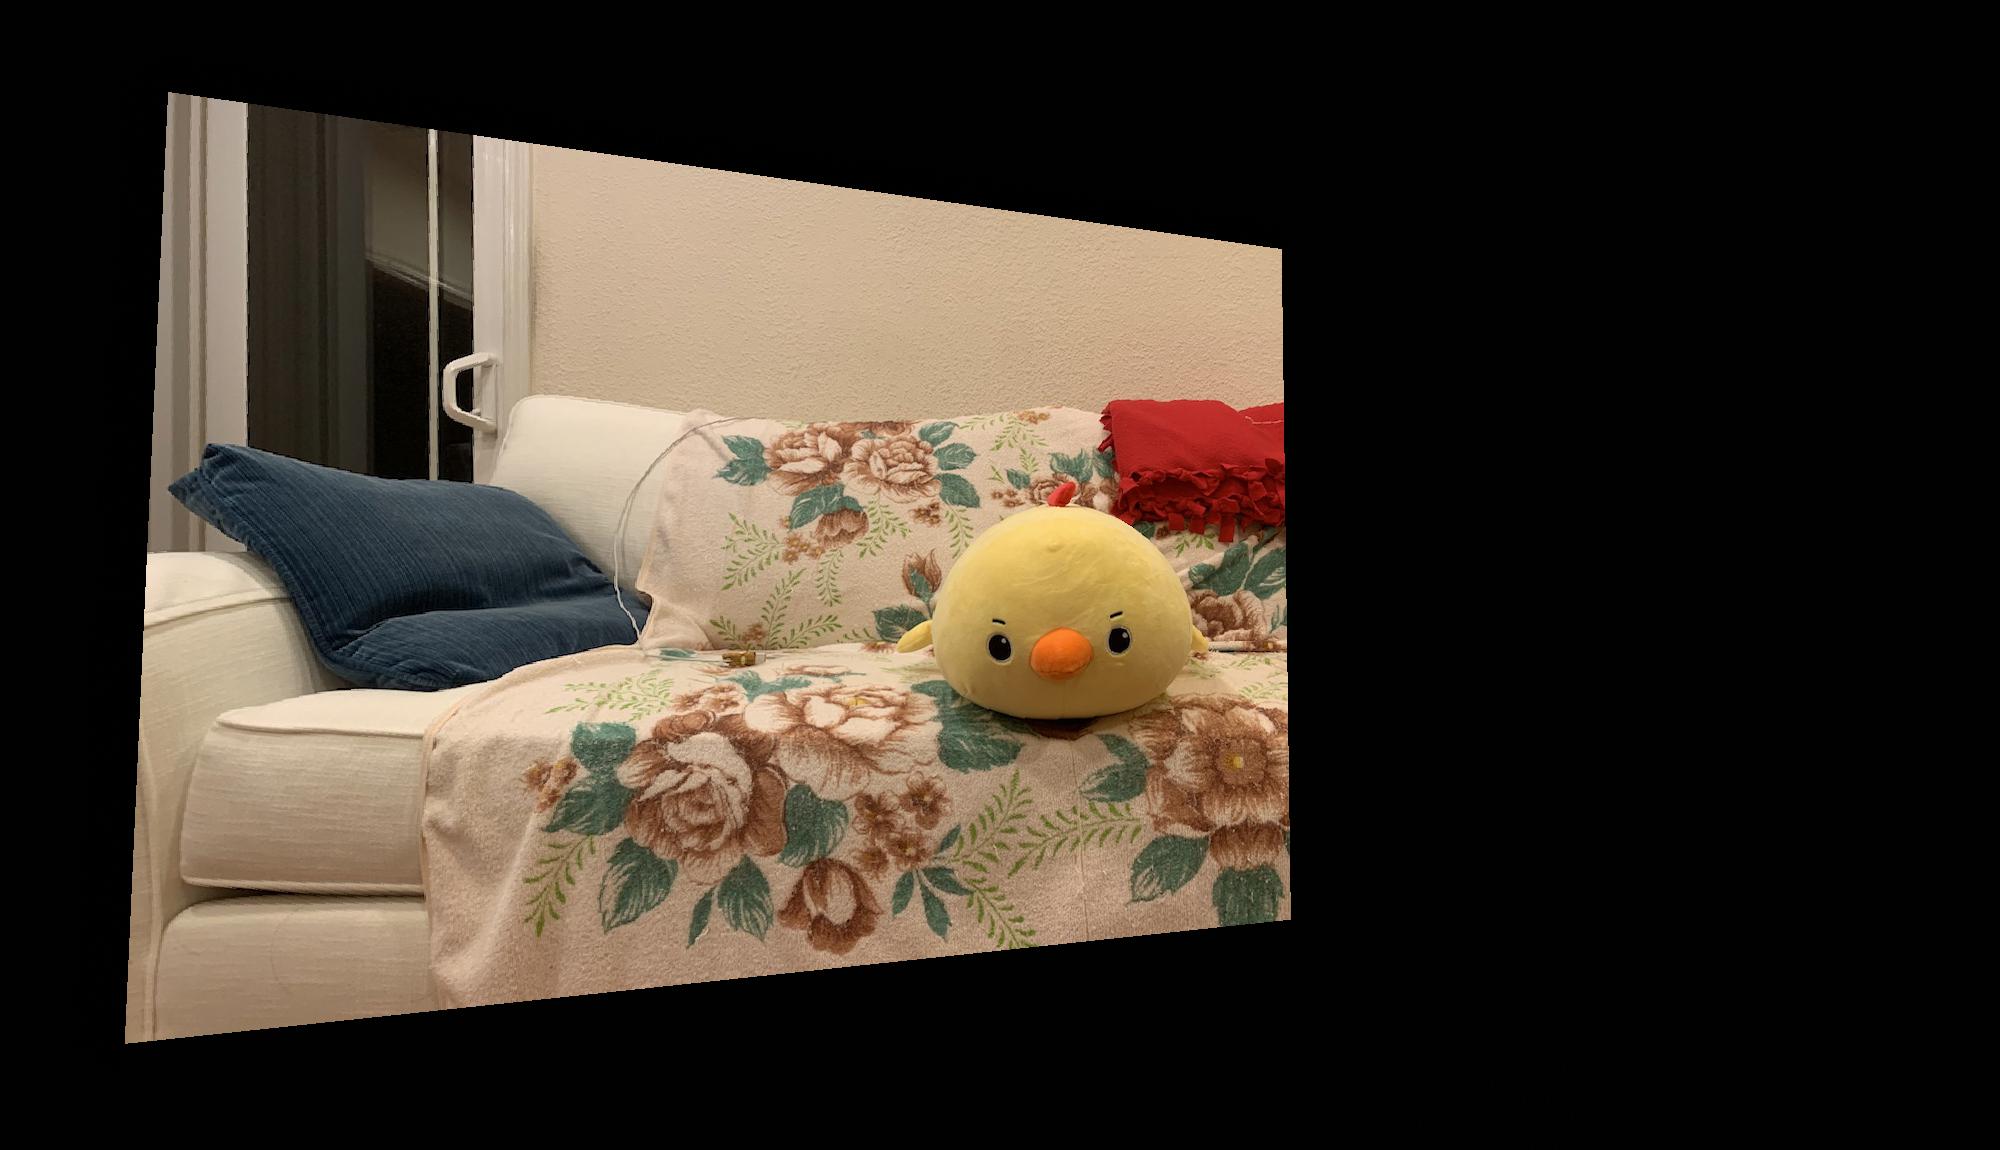
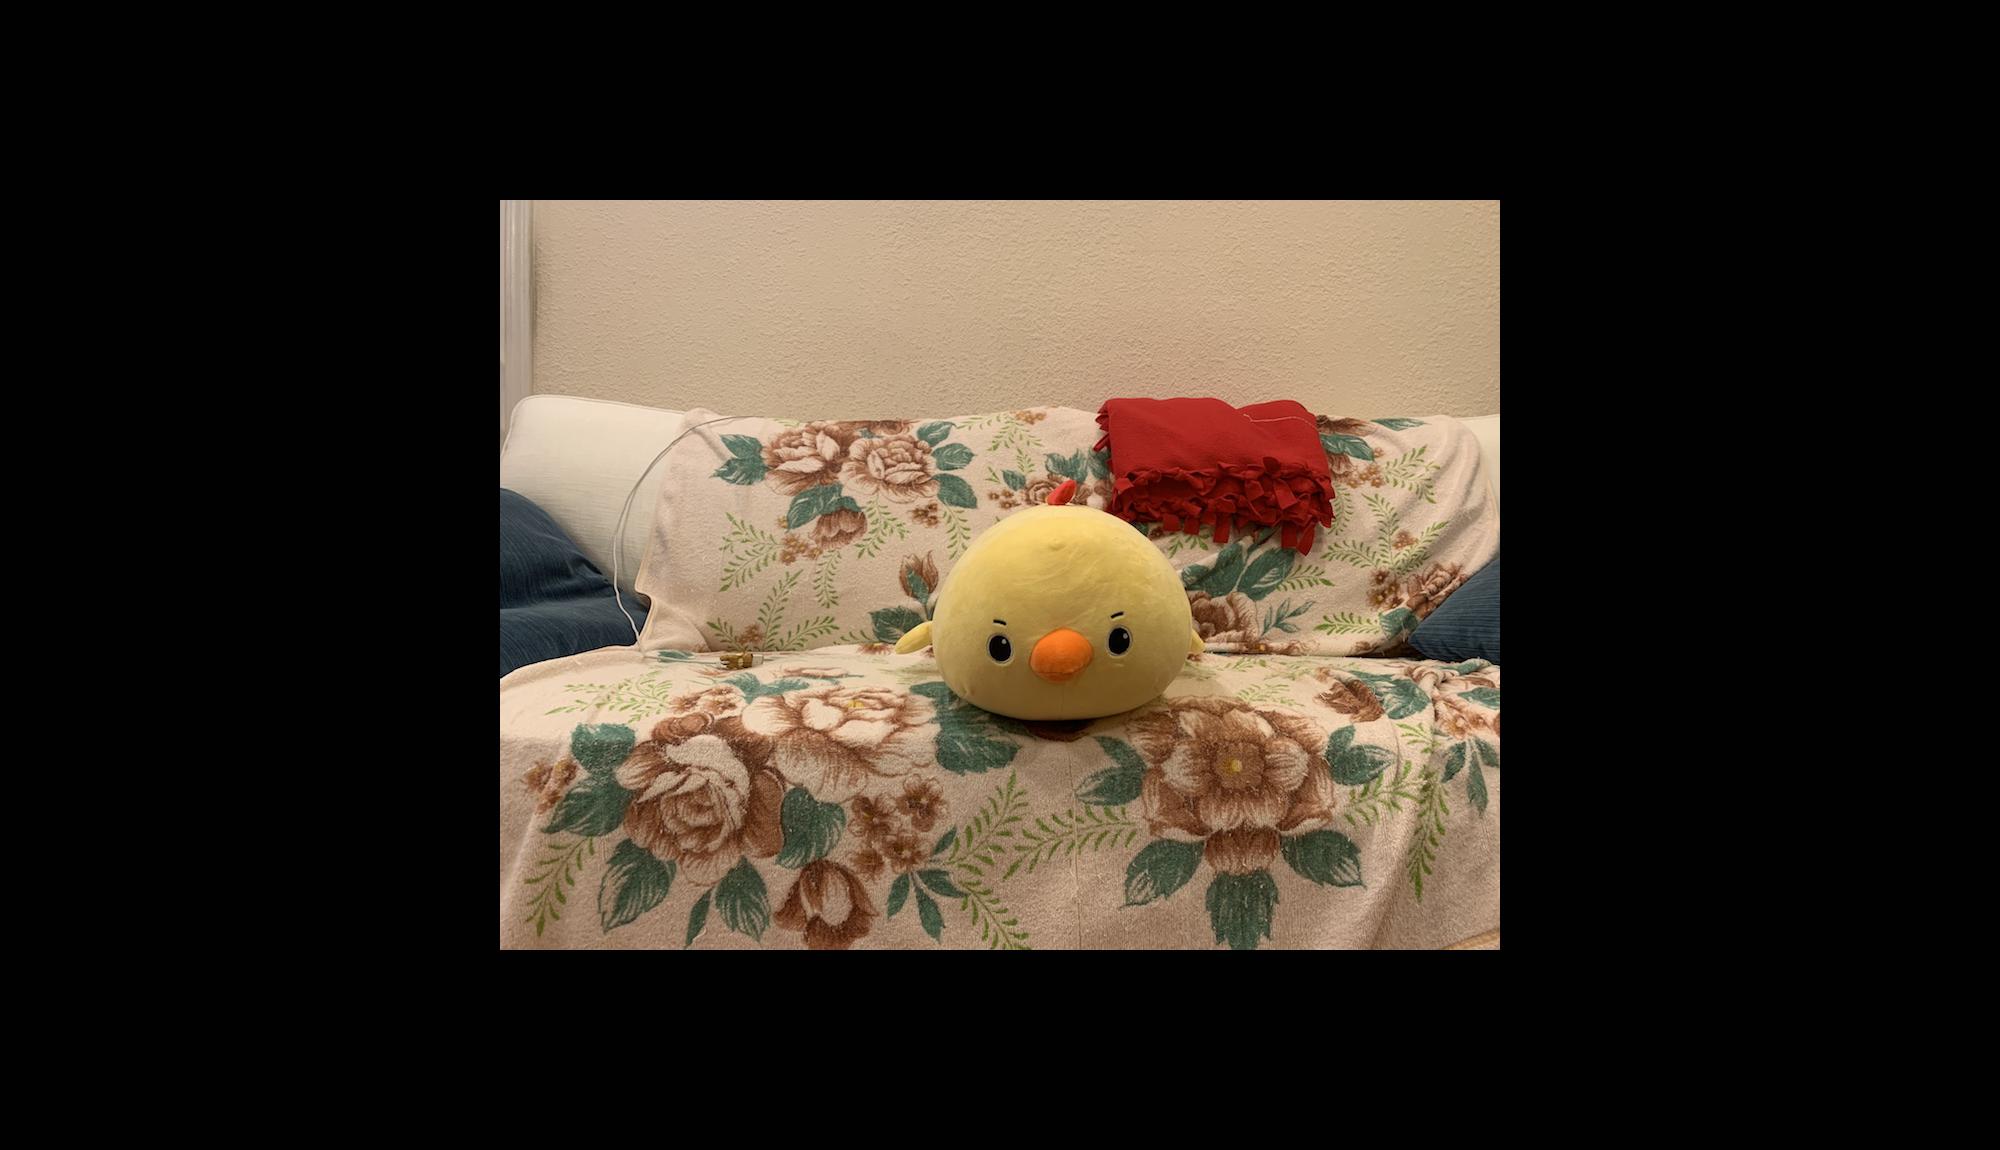
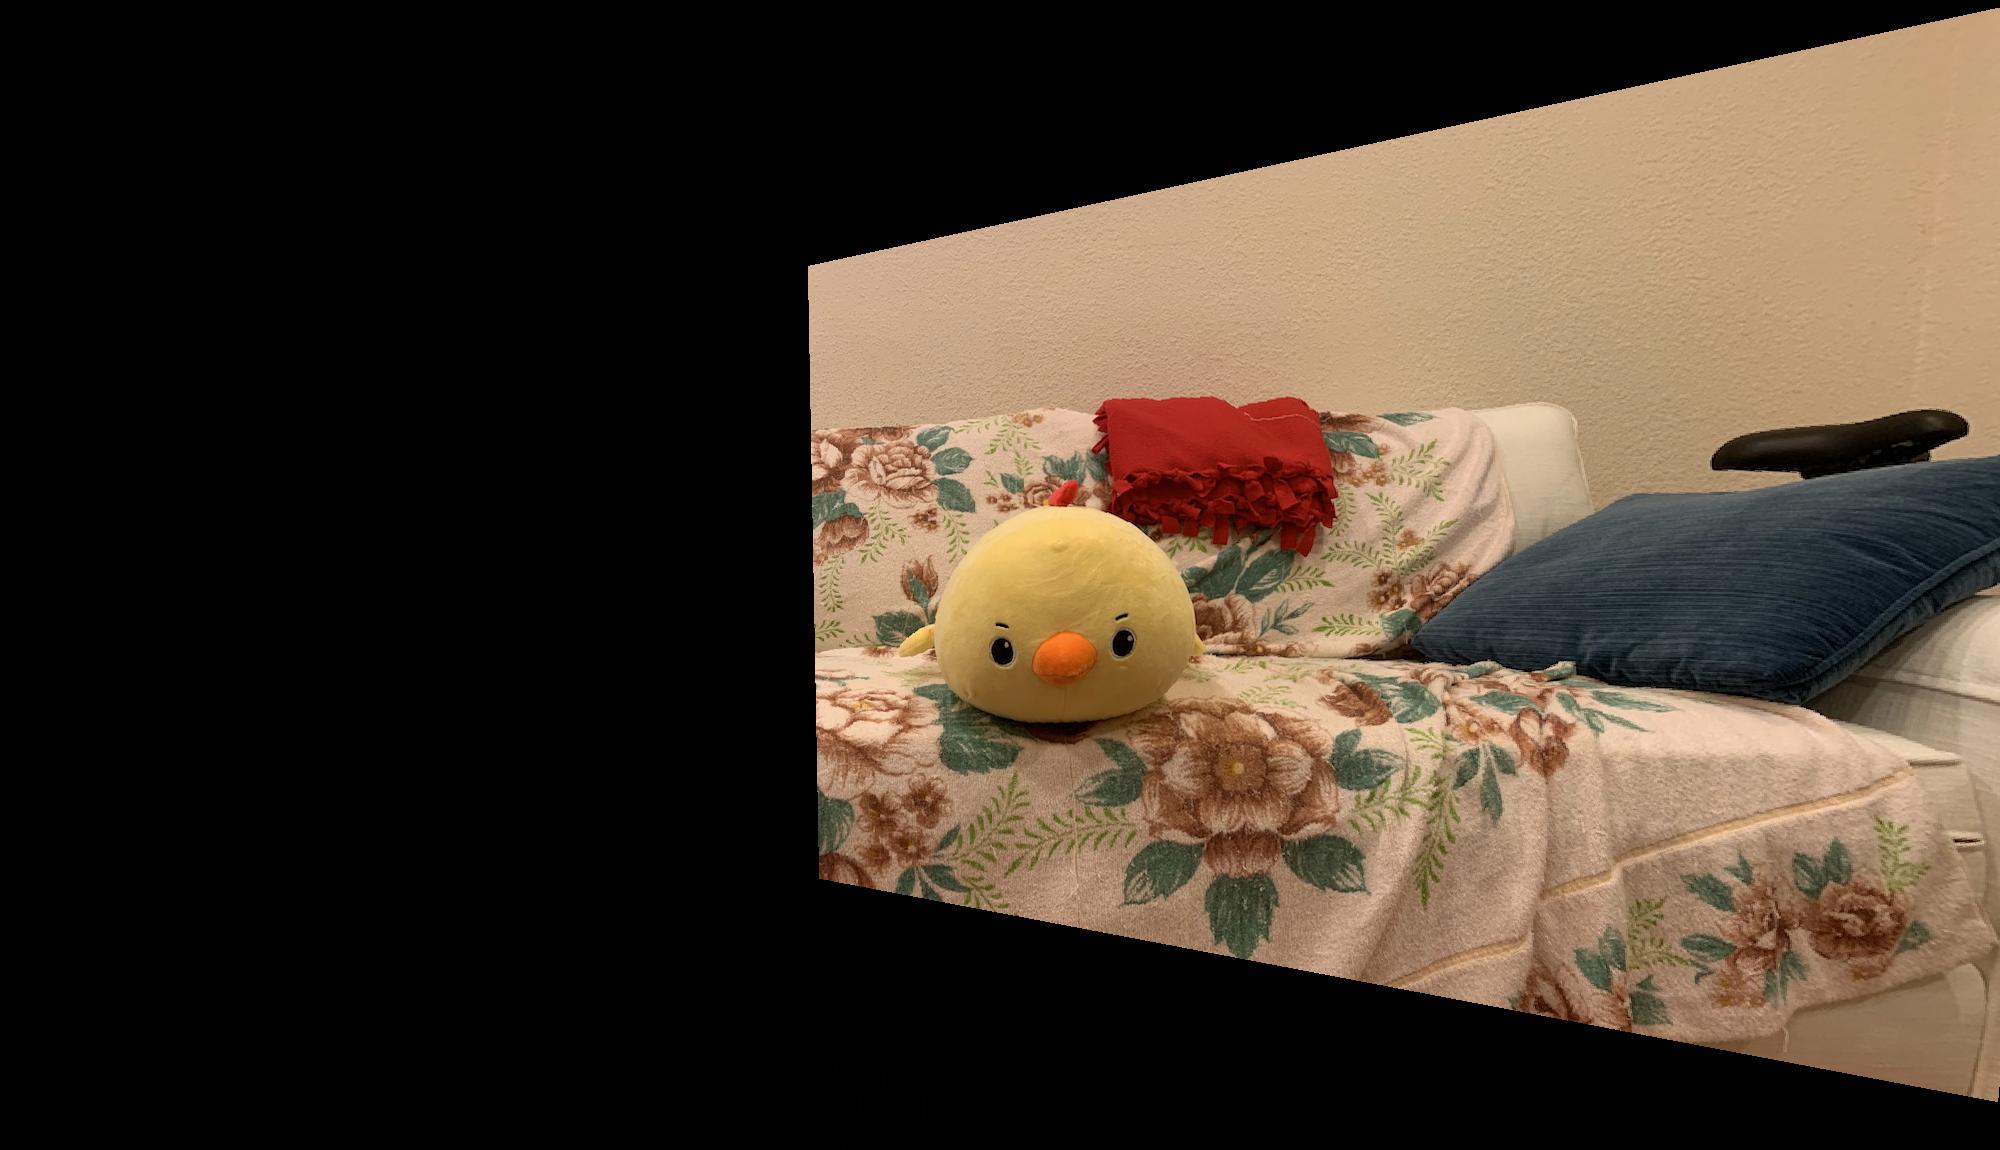
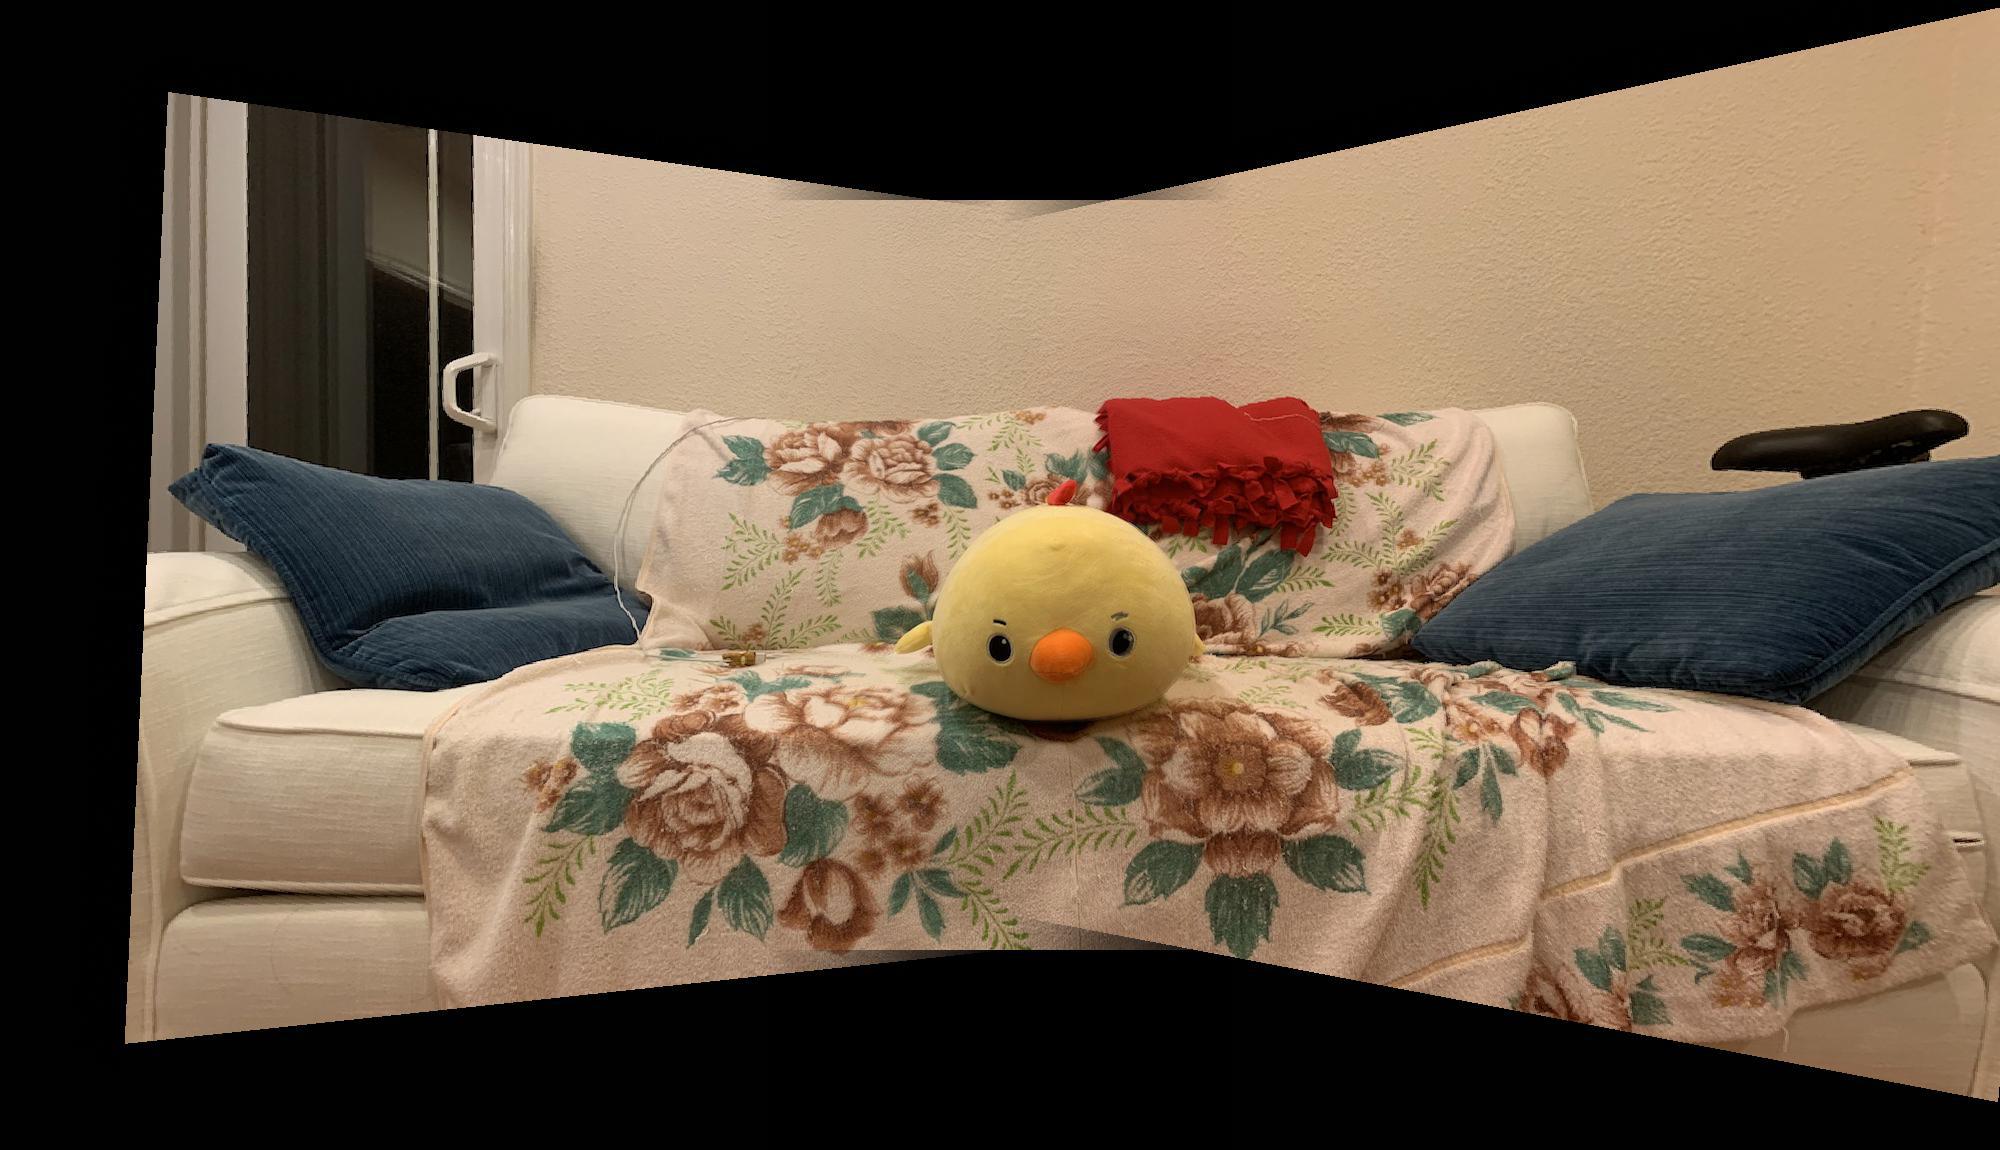
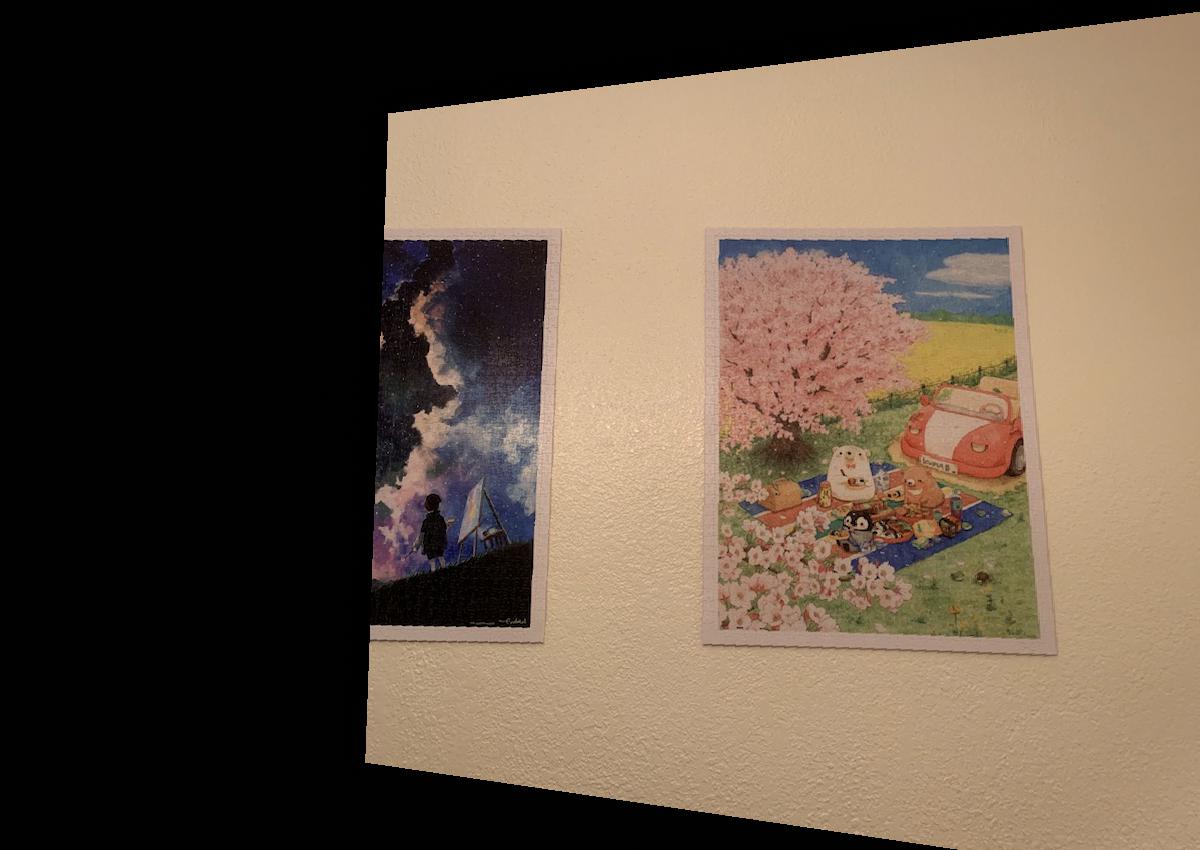
Given the equation p' = Hp, I solved for p by applying the inverse homography matrix on the set of all coordinates, then normalizing all the x,y coordinates to 1 by dividing by w. To prevent aliasing during resampling, I applied linear interpolation so there wouldn't be any holes in the output. Below are some examples of rectification. For these two specific images, I specified 4 points on the image, and 4 corners of a blank destination image that would be used to reproduce H.
 |
 |
 |
 |
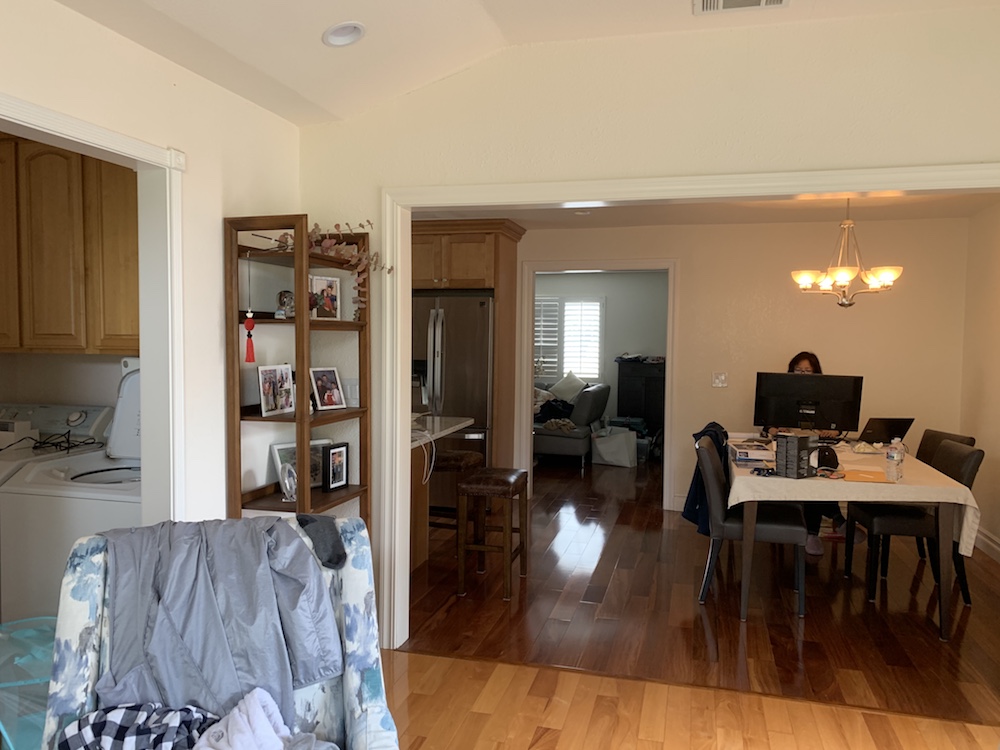
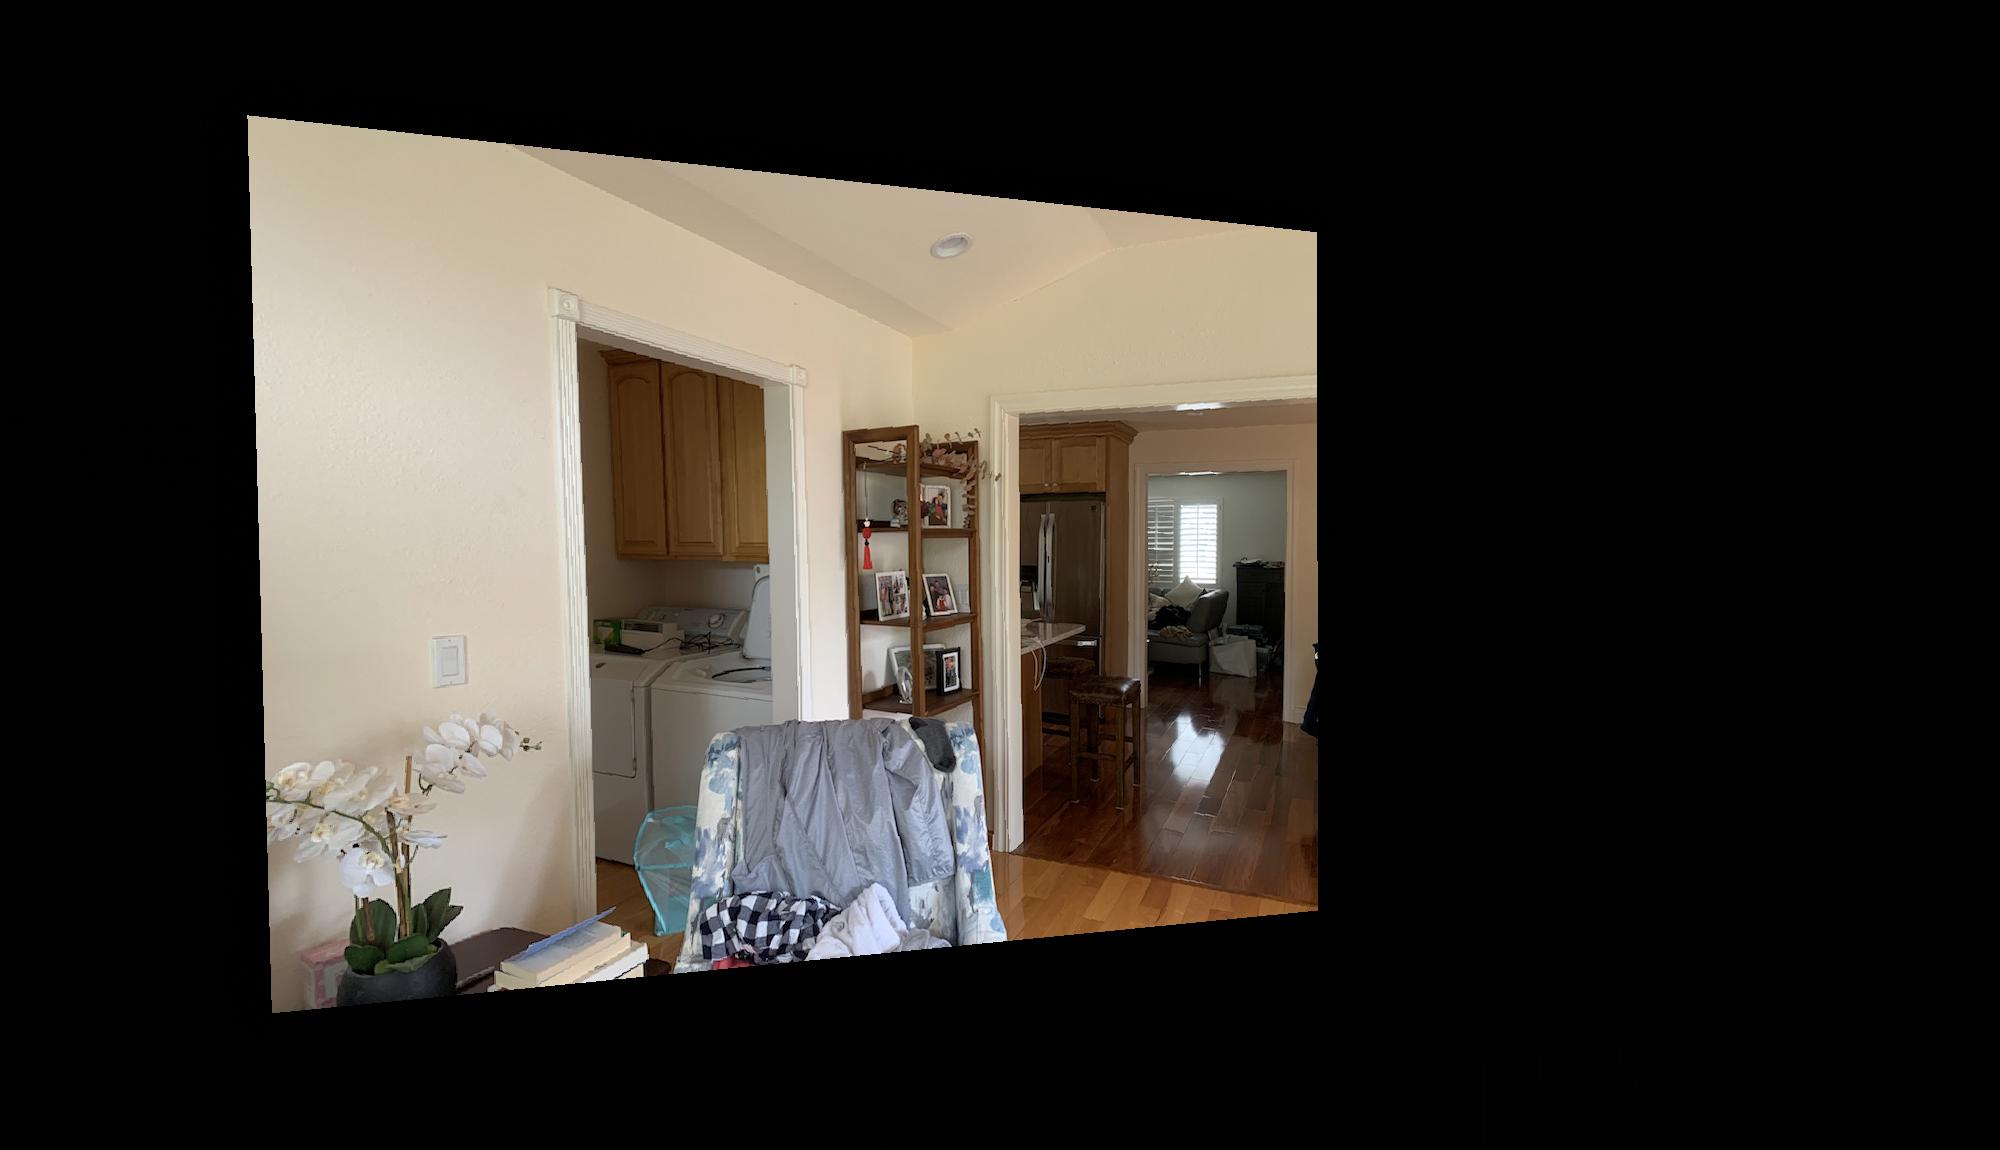
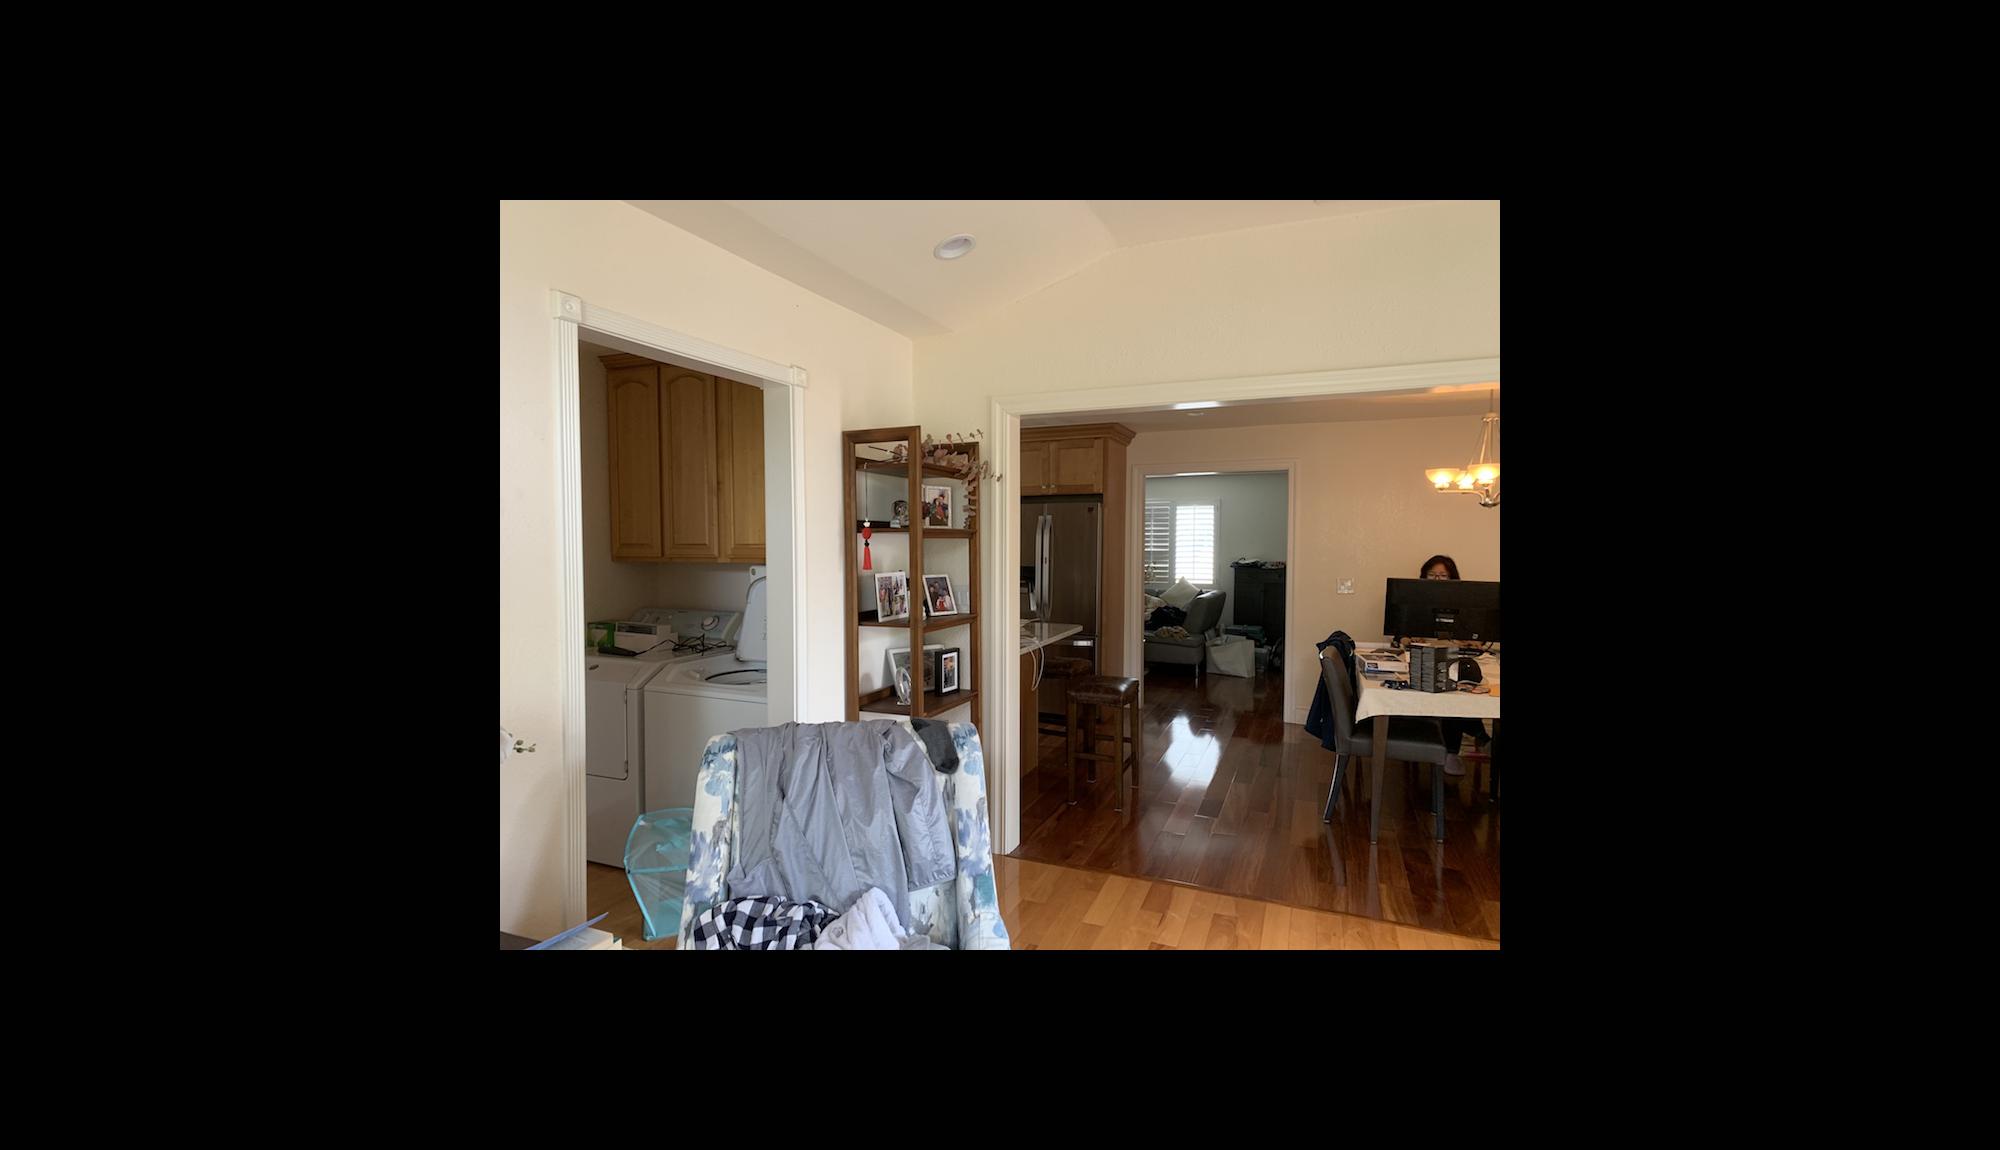
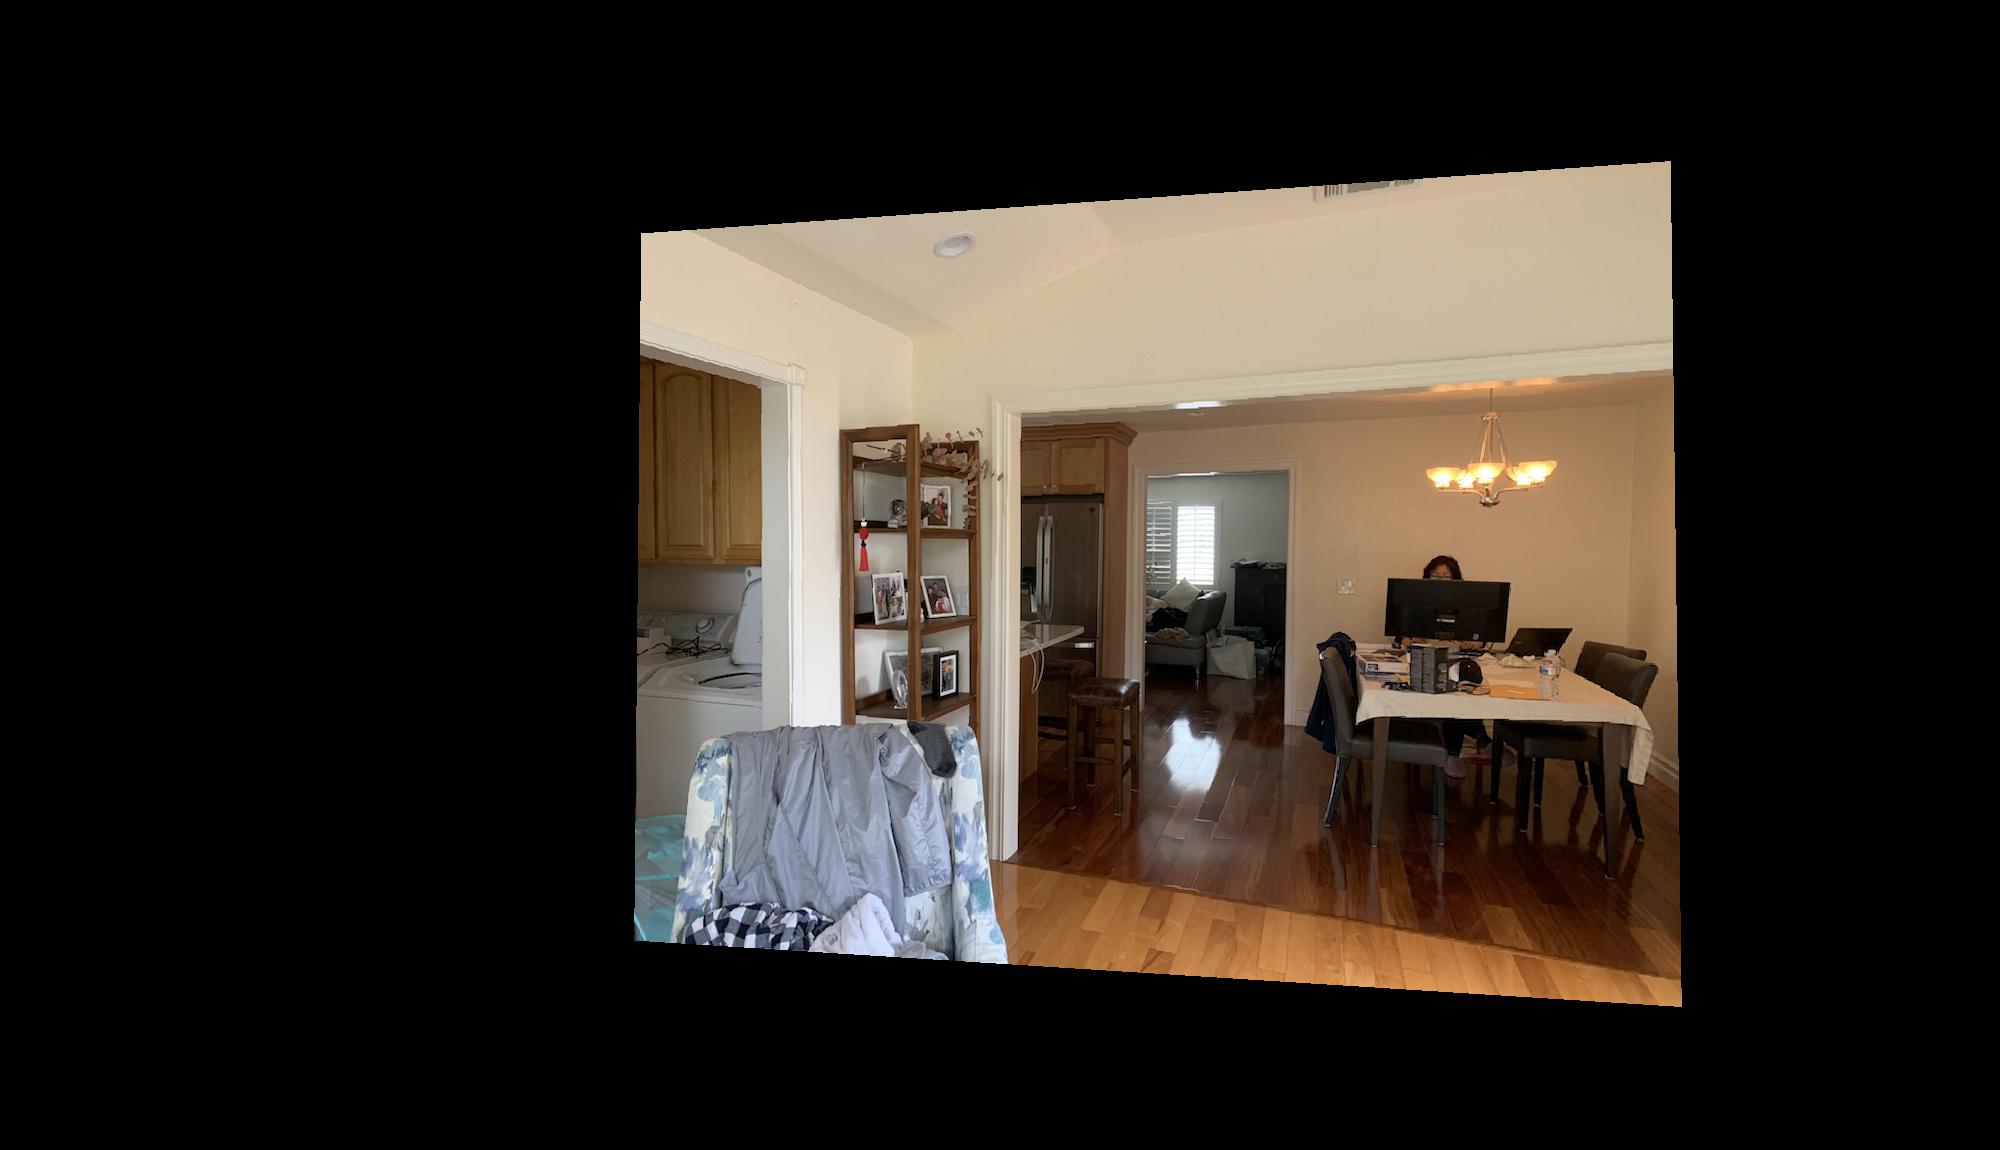
1.3 Image Stitching
For each panorama, I took 3 images (left, middle, right) and stitched them together to produce one final result. I recovered the homography transformation from the left→middle images as well as the transformation from right→middle images. I warped the left and right images to the middle image using the method specified in the section above. Once I had all 3 images in their correct rectified form, I played around with masks and applied alpha blending to each image.
|
|
|
|
|
|

|
|
|
|
|
|
|
|
|
|
|
|