CS194-26 Project 5: [Auto]Stitching Photo Mosaics
by Heidi Dong
Part 1: Image Warping and Mosaicing
The goal is to be able to warp one image into the perspective of another with a homography, in order to put together a mosaic.
Shoot the Pictures
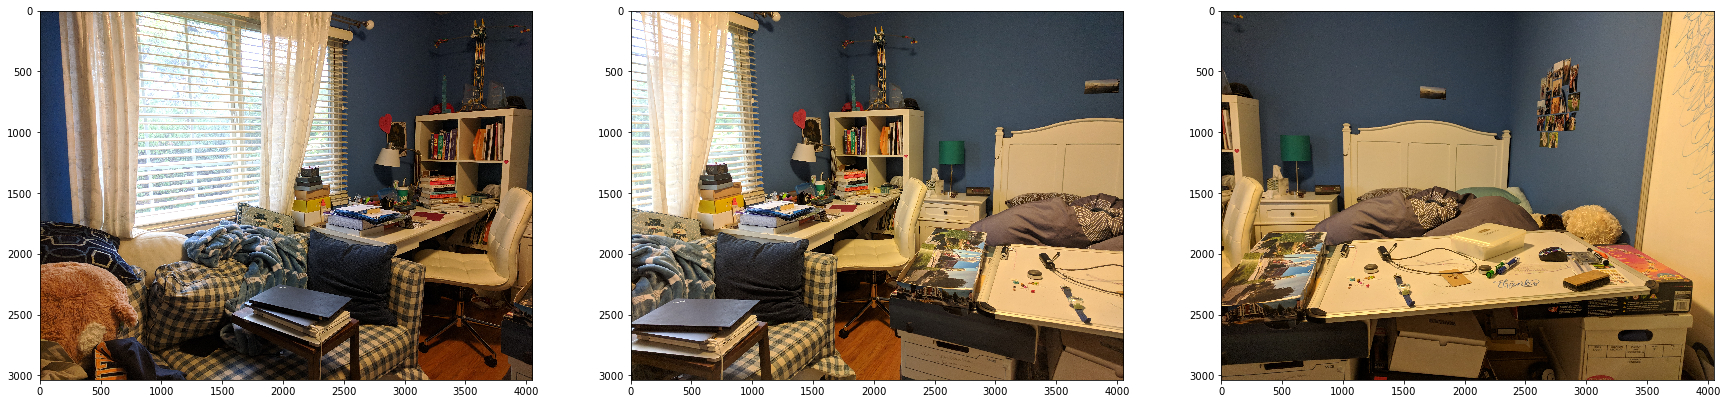
I chose to take pictures of my messy room because in my high school photography class, I manually stitched together a panoramic picture of the same room, and I wanted to see the difference between my manually and algorithmically created panoramas. Here is my room:
Recover Homographies
Each transformation from one image to another can be modelled as a homography, p' = Hp, where H is 3x3 matrix with 8 degrees of freedom (the scaling factor is set to 1), like so:

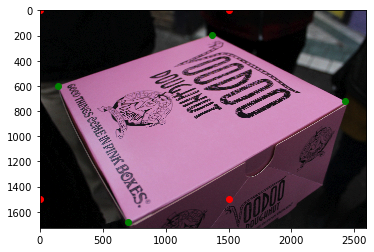
To recover H, we specify point correspondences to create an overdetermined system of equations, and solve with least squares. For example, these are the corresponding points I chose using cpselect:

Warp the Images
To warp the image with the homography transformation, I used inverse warping. One issue I encountered was that the warping would cause there to be negative coordinates, so I had to pad my original image. Here is how one of my bedroom images was warped:
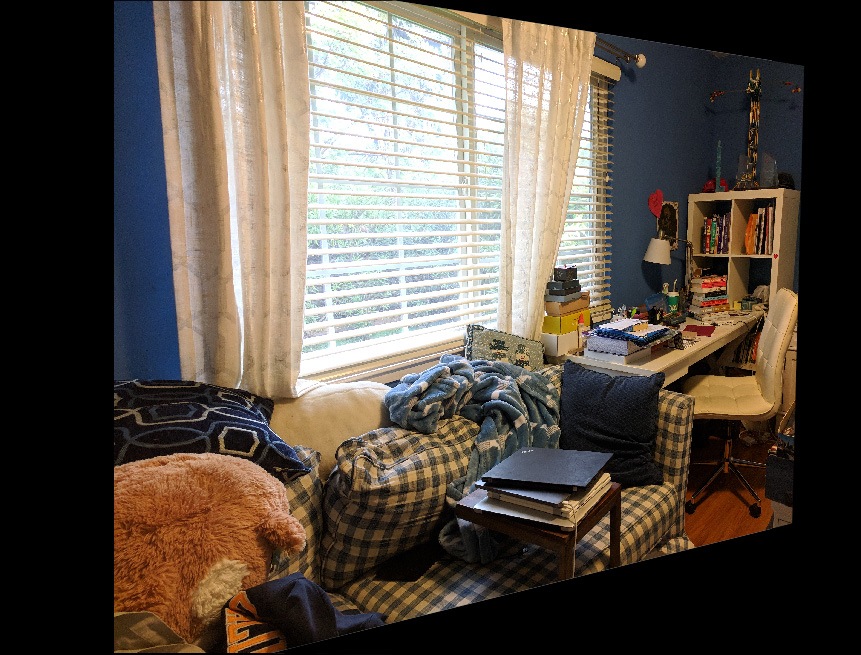
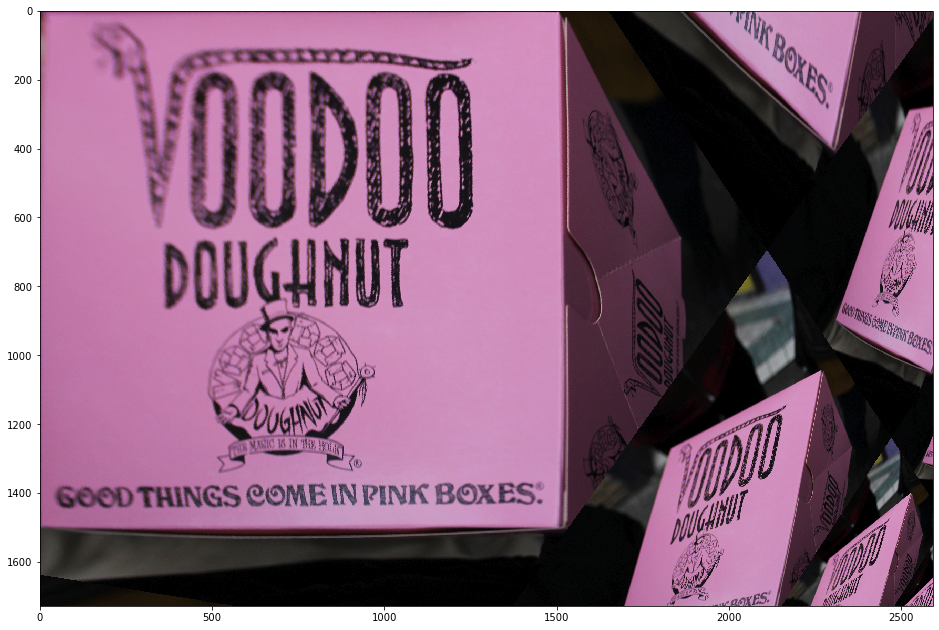
Image Rectification
These are some examples of my image warping. If I know that something is square or rectangular, then I can recover the surface.
| Image with annotated points | Rectified image |
|---|---|
 |
 |
 |
 |
Final thoughts on Part 1
I thought it was really cool learning about how image mosaics are stitched together! I struggled on the math for a while, all because I forgot to normalize my points (by dividing by w) after transforming them.