Image Warping and Mosaicing
Jingwei Kang, cs194-26-abr
Overview
Part 1: Image Warping and Mosaicing
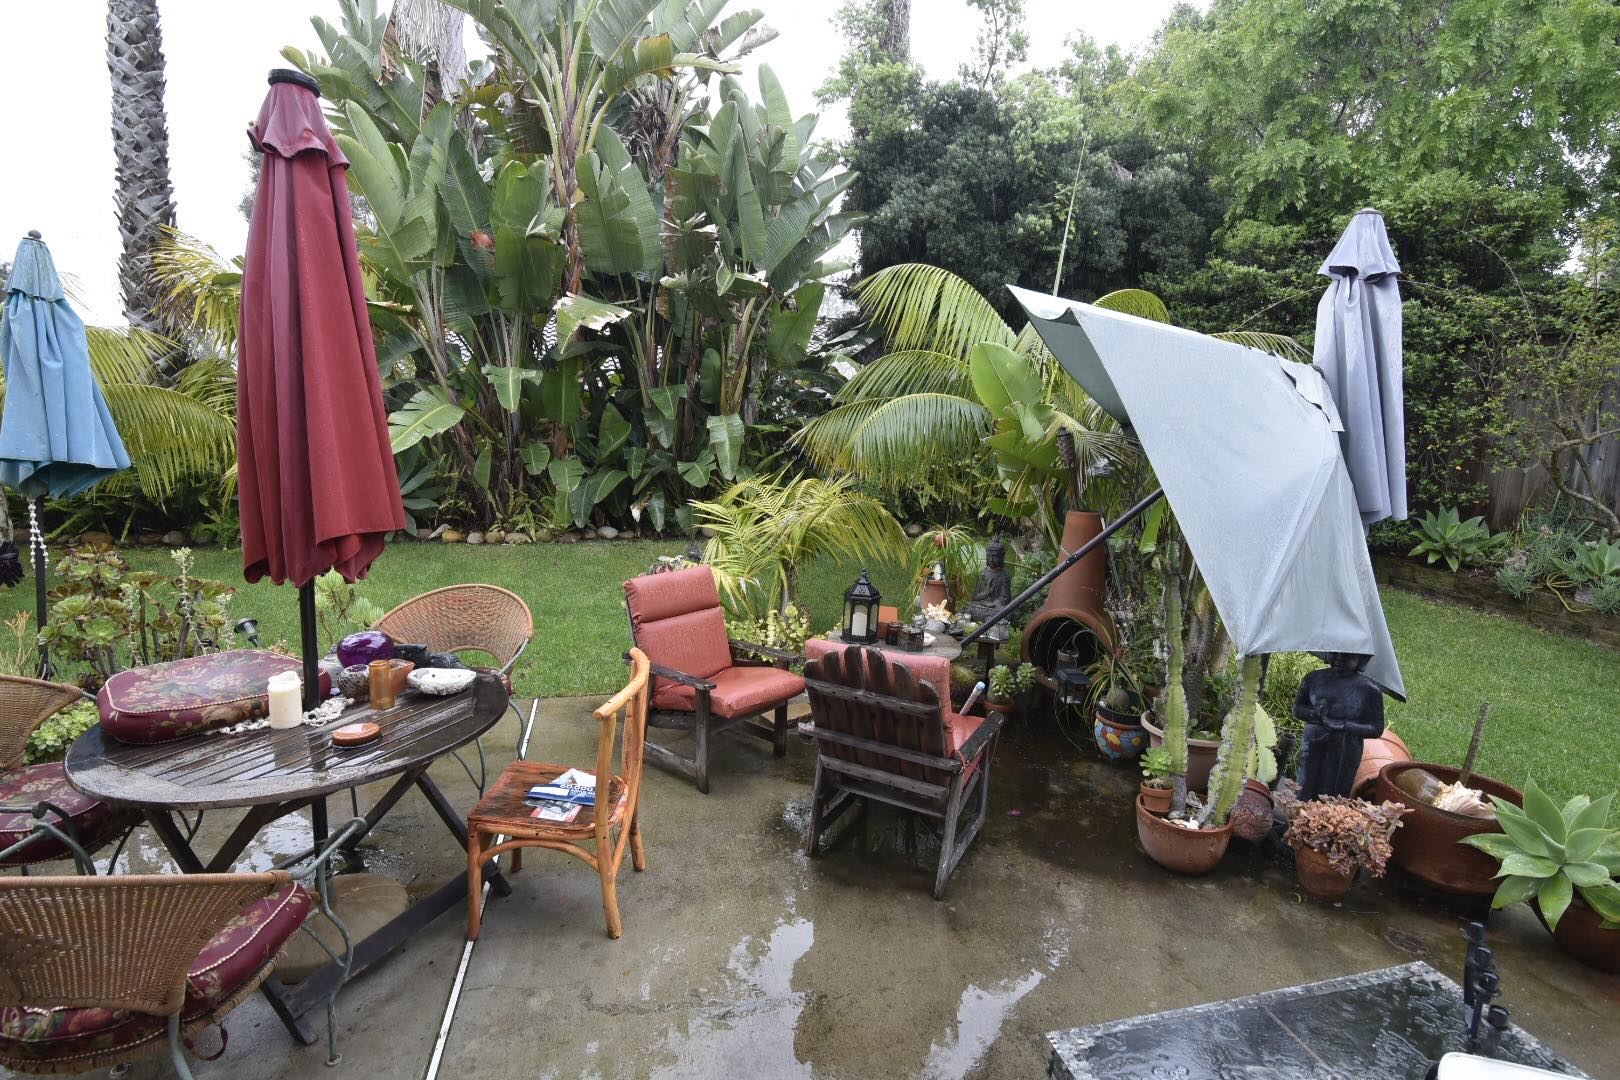
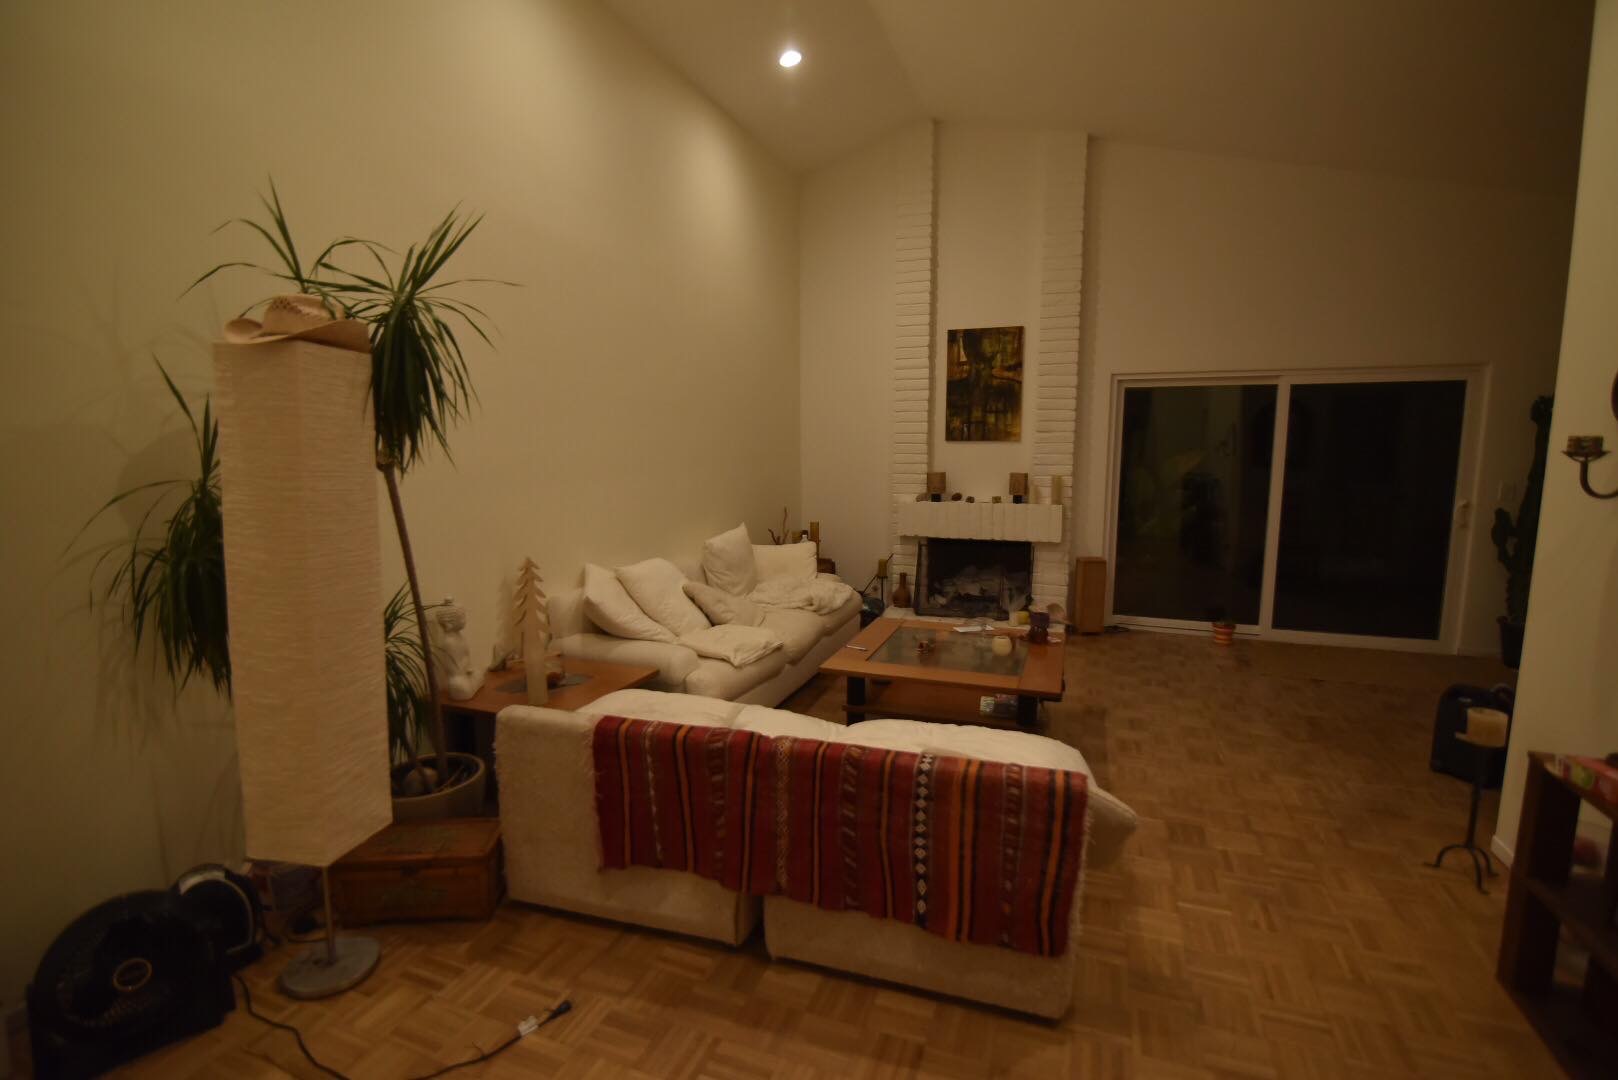
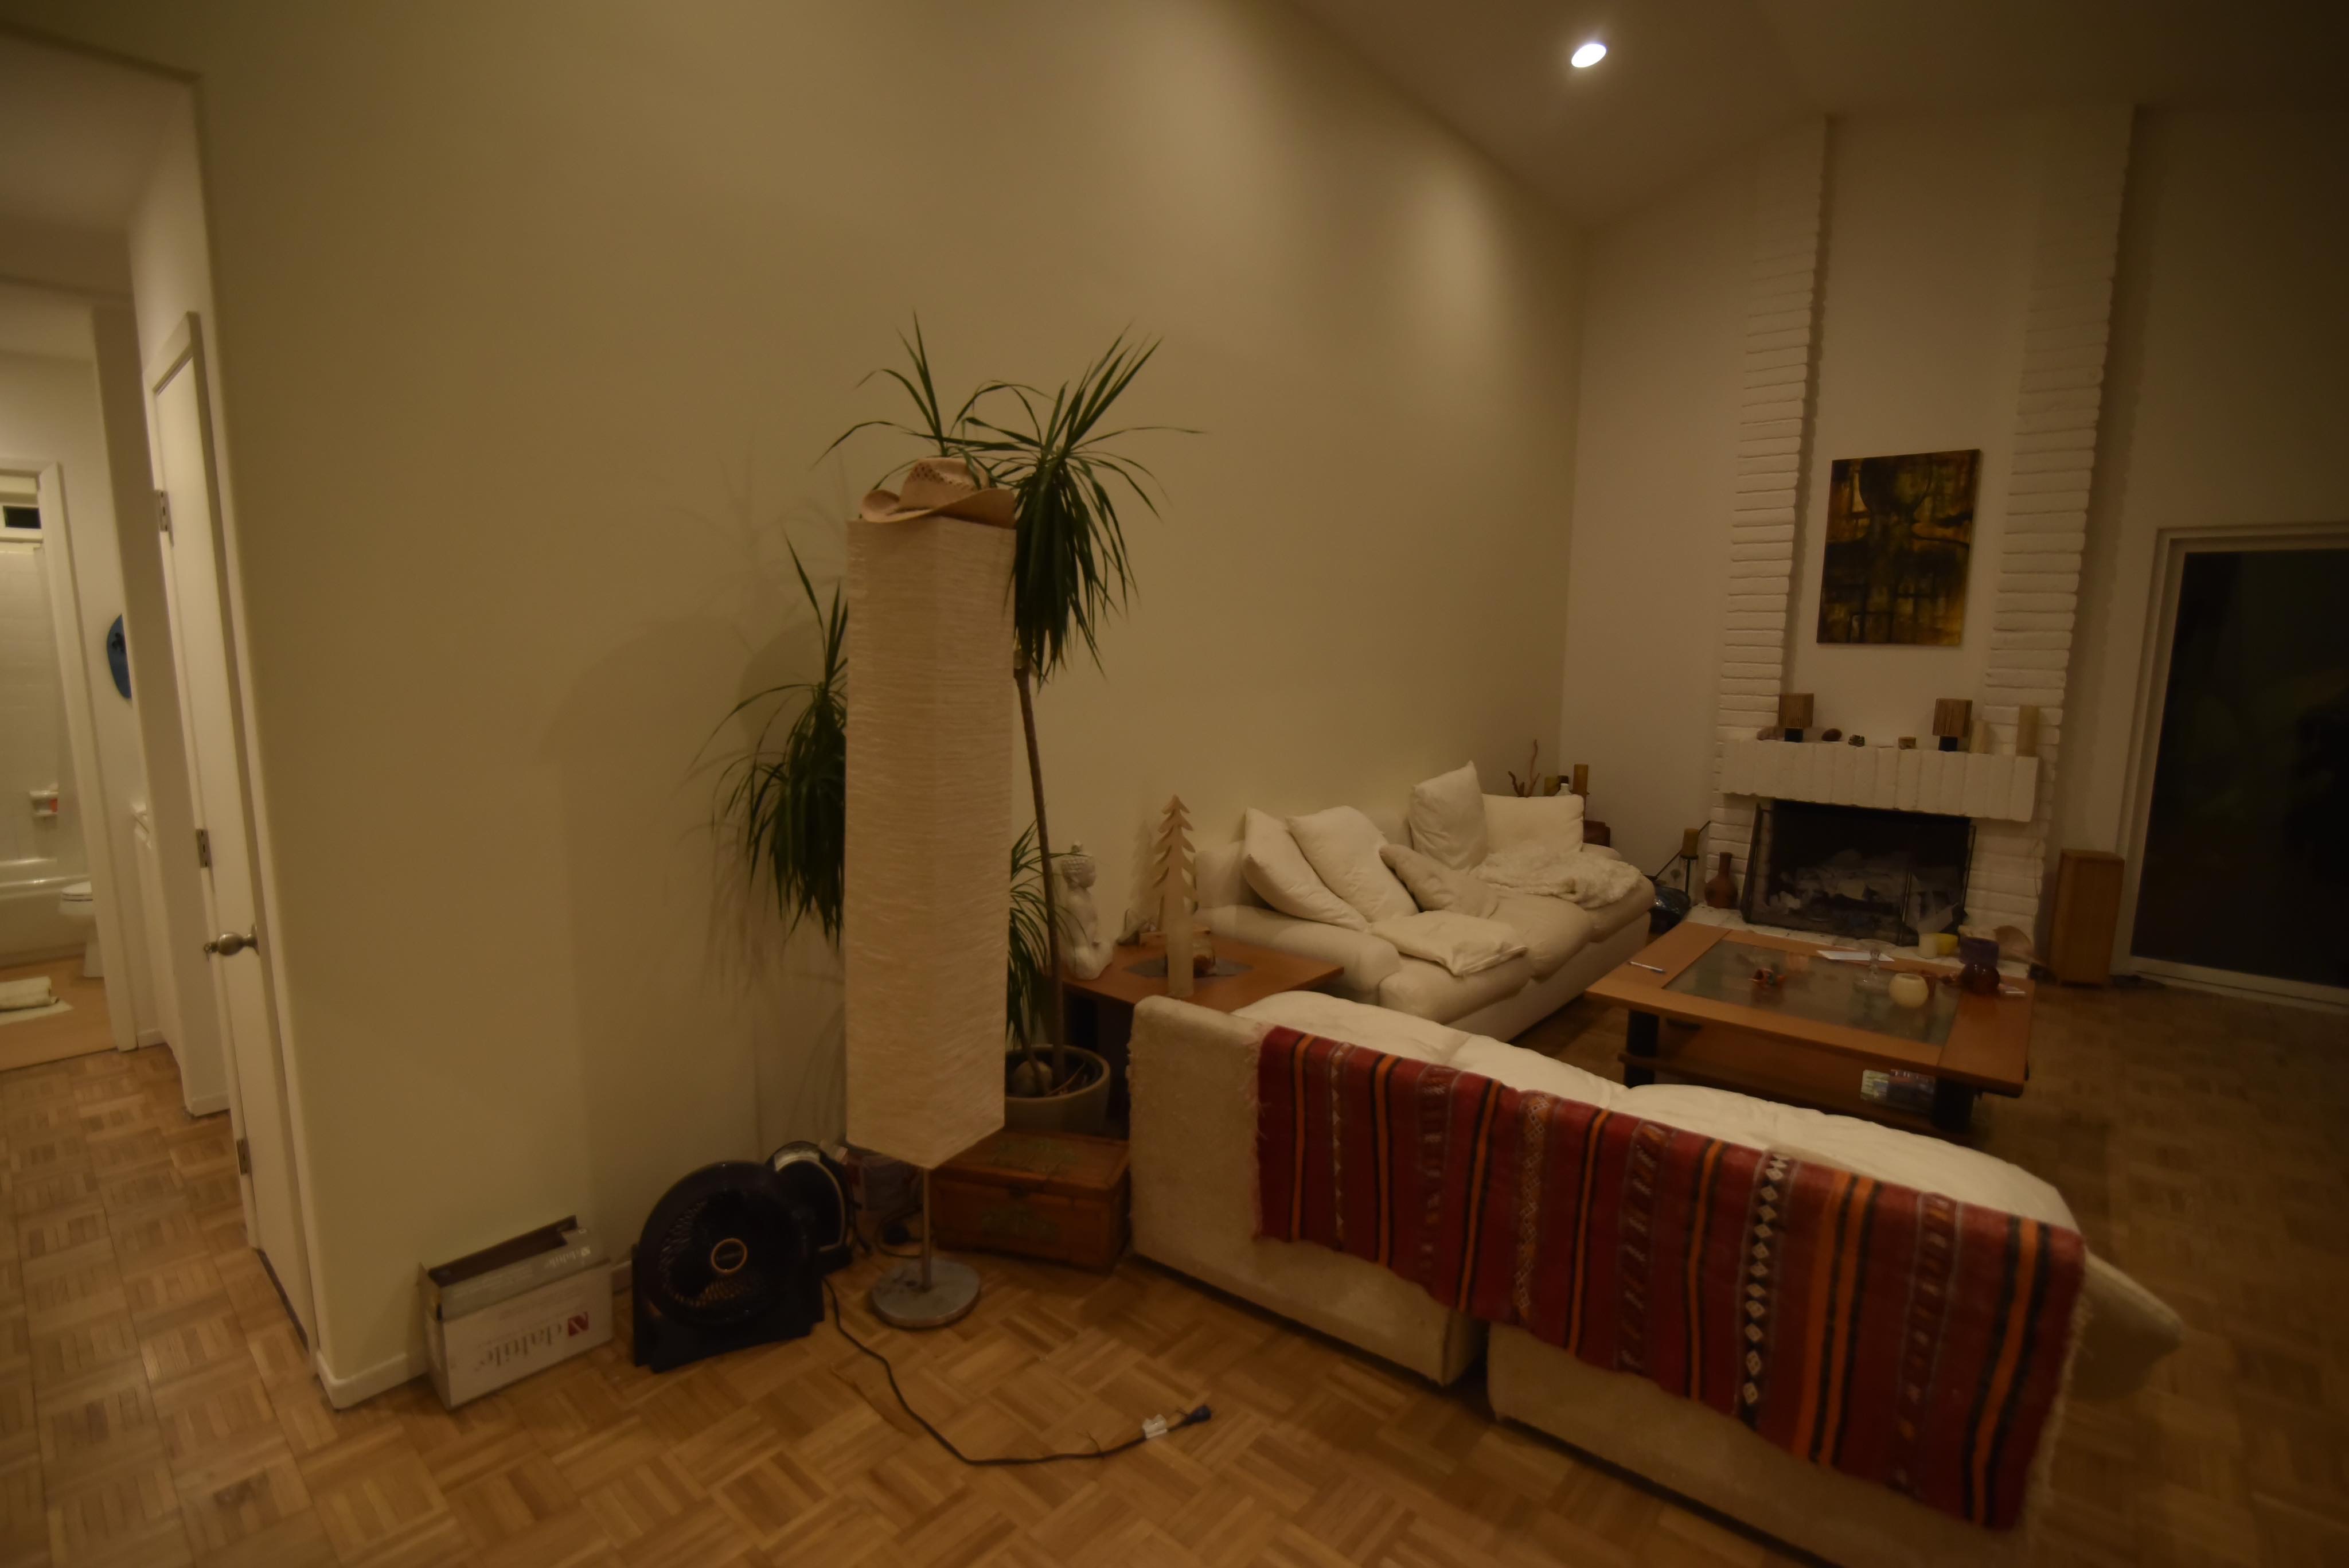
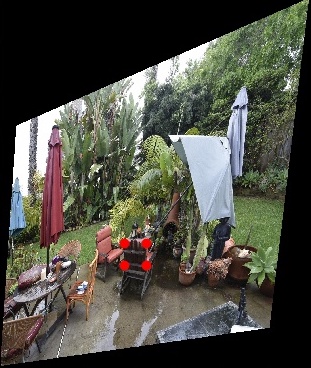
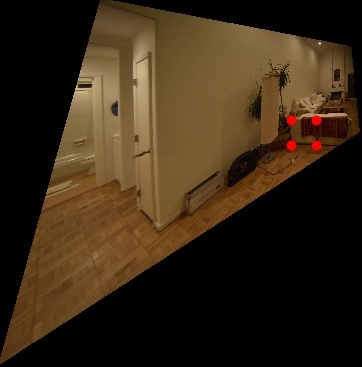
Part 1.1: Shooting and Digitize Pictures
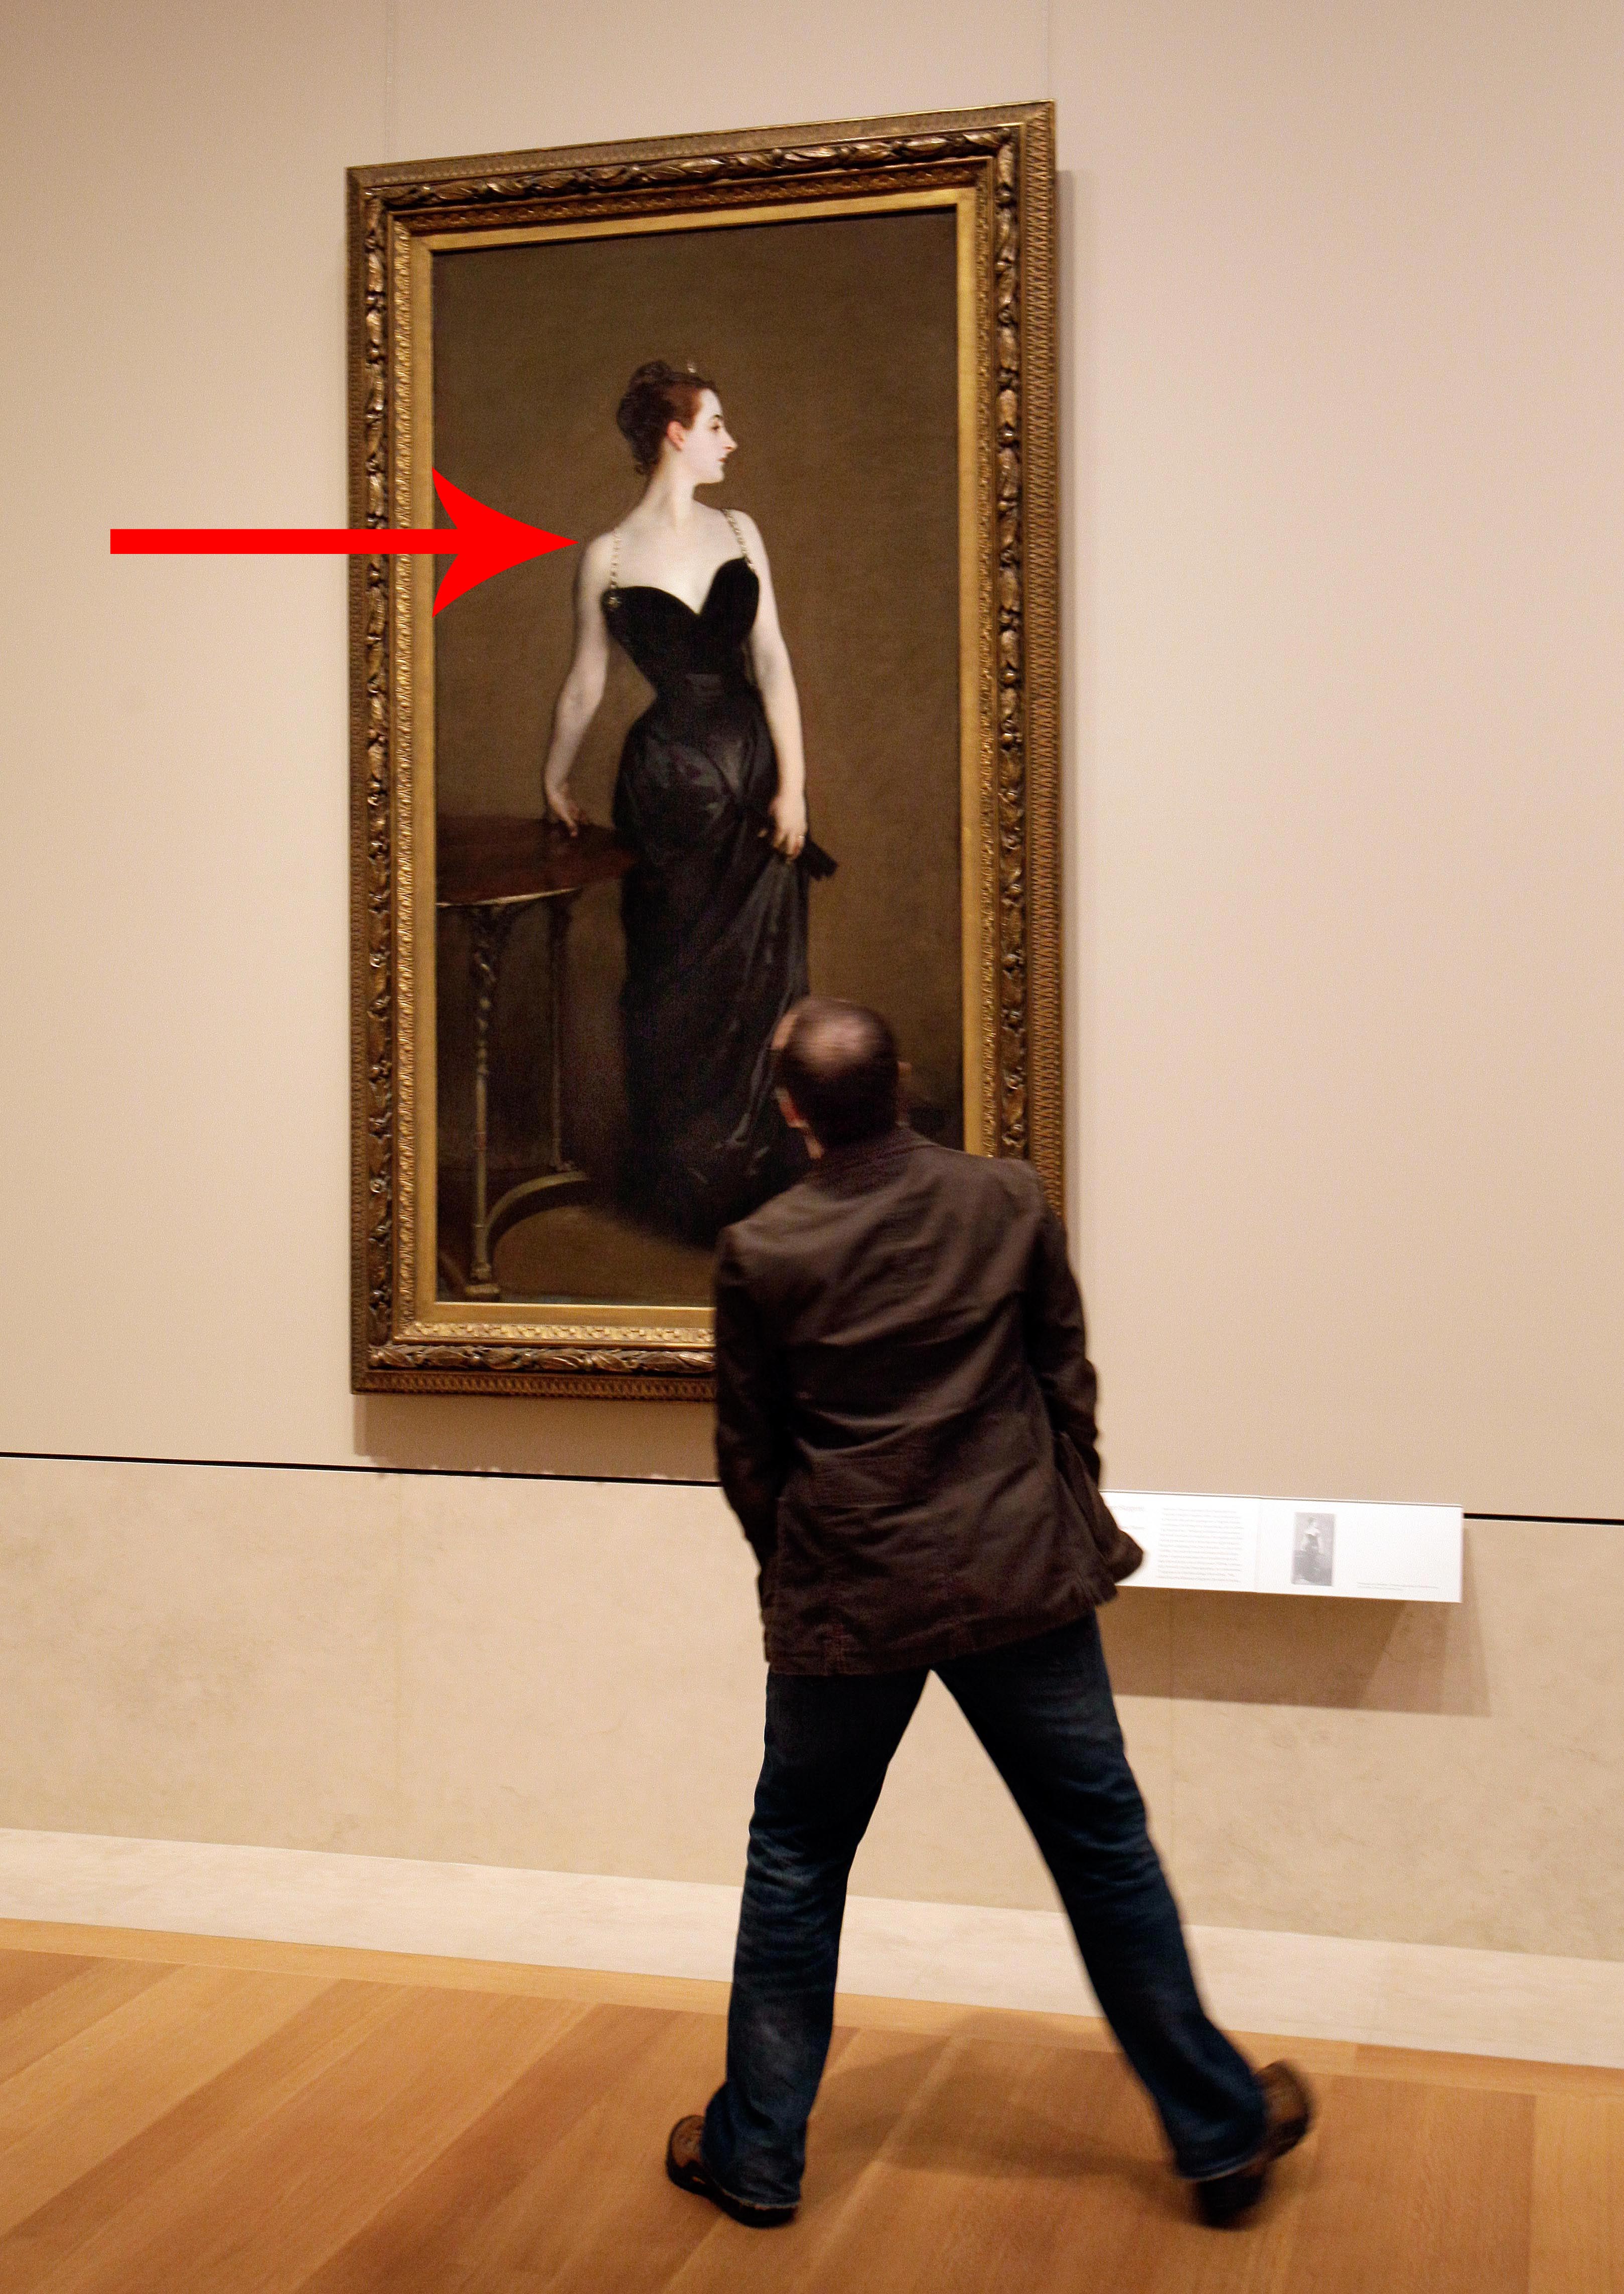
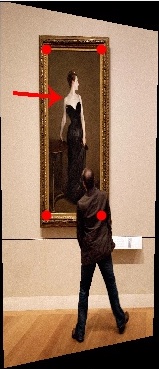
Below I've displayed a couple images I've taken of the interior and backyard of a house. I also found an image of a man observing a painting from the web that I will rectify later.
|
|
|
|
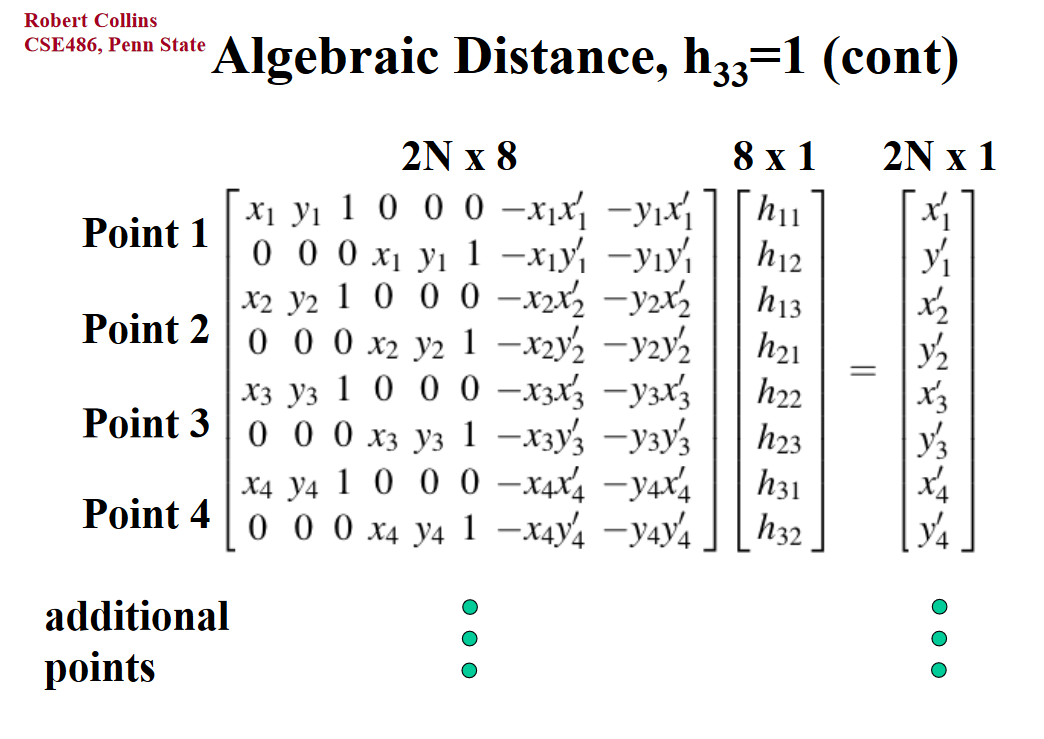
Part 1.2: Recover Homographies
Since our goal later on is to adjust our images for perspective, we need to determine the homography matrix. This matrix is 3 x 3, which is larger than the affine transformation used in project 3. As a result, we must specify more than just 3 points. In fact, we need at least 4 points, because the homography matrix has 8 free variables (each point contains and x and a y, for a total of 8 equations). To make the homography more stable, we can utilize more points and derive the least squares equation to solve the overdetermined system. I've included the final homography matrix, with the image from StackOverflow.
|
Part 1.3: Warp/Rectify the Images
The procedure here was similar to that of project 3. This time, we had to account for the fact that the final image may have different dimensions after the homography mapping, but used the same inverse warping techniques. I've included some images that I've attempted to rectify (with the red points illustrating the points I selected). The image resolution may be lower here as I simply wanted to check that my homography worked without spending too much computation time.
|

|
|
|