Part 1: Image Warping and Mosaicing
Objective
We use our knowledge of projective transformations and homographies in order to stich a mosaic from two pictures taken at the same location but different perspectives.
Recover Homographies
Finding the \(H\) homography matrix is a similar process to the image morphing from project 3. Whereas the affine transformation in project 3 uses 6 degrees of freedom, the projective transformations for perspective shifts require 8. Mathematically, it takes the form \(p' = Hp\) where \(p\) is the original point and \(p'\) is the projected (transformed) point.
\[\begin{bmatrix} wx' \\ wy' \\ w \end{bmatrix} = \begin{bmatrix} a & b & c \\ d & e & f \\ g & h & 1 \end{bmatrix} \begin{bmatrix} x \\ y \\ 1 \end{bmatrix}\]
It turns out that \(w\) is a scaling factor that should be divided out to get the correct final location location. To find \(H\) numerically, we rewrite the matrix multiplication in the following form:
\[\begin{bmatrix} x_1 & y_1 & 1 & 0 & 0 & 0 & -x_1x_1' & -y_1x_1' \\ 0 & 0 & 0 & x_1 & y_1 & 1 & -x_1y_1' & -y_1y_1' \\ x_2 & y_2 & 1 & 0 & 0 & 0 & -x_2x_2' & -y_2x_2' \\ 0 & 0 & 0 & x_2 & y_2 & 1 & -x_2y_2' & -y_2y_2' \\ \vdots & \vdots & \vdots & \vdots & \vdots & \vdots & \vdots & \vdots \\ x_n & y_n& 1 & 0 & 0 & 0 & -x_nx_n' & -y_nx_n' \\ 0 & 0 & 0 & x_n & y_n & 1 & -x_ny_n' & -y_ny_n' \end{bmatrix} \begin{bmatrix} a \\ b \\ c \\ d \\ e \\ f \\ g \end{bmatrix} = \begin{bmatrix} x_1' \\ y_1' \\ x_2' \\ y_2' \\ \vdots \\ x_n' \\ y_n' \end{bmatrix}\]
With 8 degrees of freedom and each point correspondence providing 2 degrees of information, we need at least 4 pairs of correspondence points to uniquely define a homography matrix. However, labeling additional points and using the least-squares formula (since it takes the form \(Ax = b\)) to reduce reconstruction error makes our projection more robust to noise. Once the column matrix is calculated, we simply append the final 1 at the end and reshape it to form our 3x3 \(H\) matrix.
Image Rectification
Once the homography matrix is found, we need to warp the original image into the new shape. Unlike the morphing project, where the warped image is guaranteed to still lie in a valid region, it is possible that some regions from the projective transformation lie out of bounds. This leads to additional complications and telltale black regions in the warped images.
For the warping itself, I used an inverse-warping procedure with nearest neighbor interpolation. I did not see major aliasing artifacts to justify using more complex interpolation procedures, especially considering the size of the original images I chose.
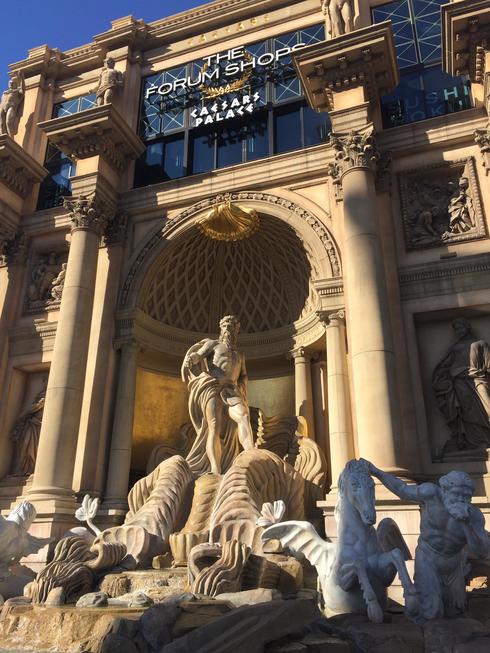
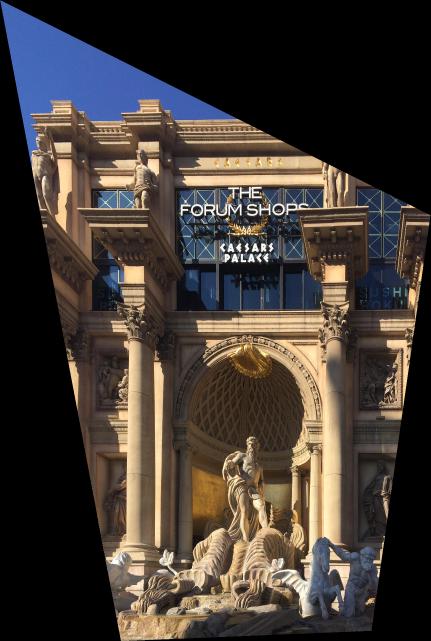
As a sanity check, I found a photo from my last Las Vegas trip of Caesar's Palace taken at an off-center perspective. I used homographies to try to better realign the image to what it would look like when viewed dead on. Even though I only used the minimum four correspondence points, the result looks surprisingly realistic.
Continuing the theme of misaligned Vegas resorts, here is a rectified version of the Bellagio. While rectification can mimic a perspective shift, it cannot add new optical information from another vantage point. We can still see the left side of the hotel, which should not be possible when viewed dead on.
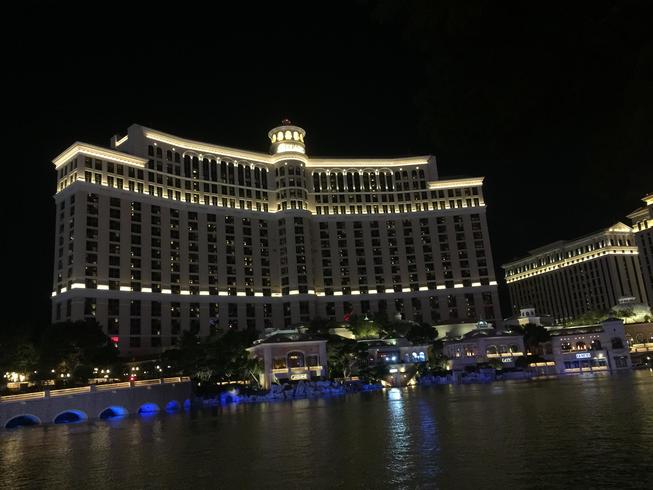
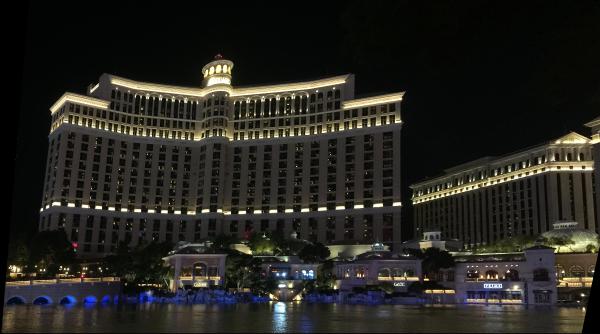
Image Mosaic
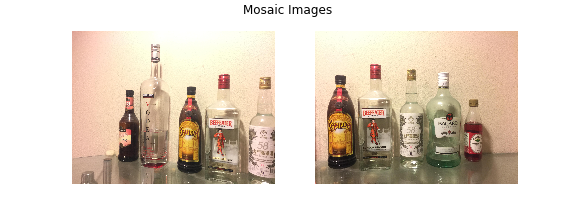
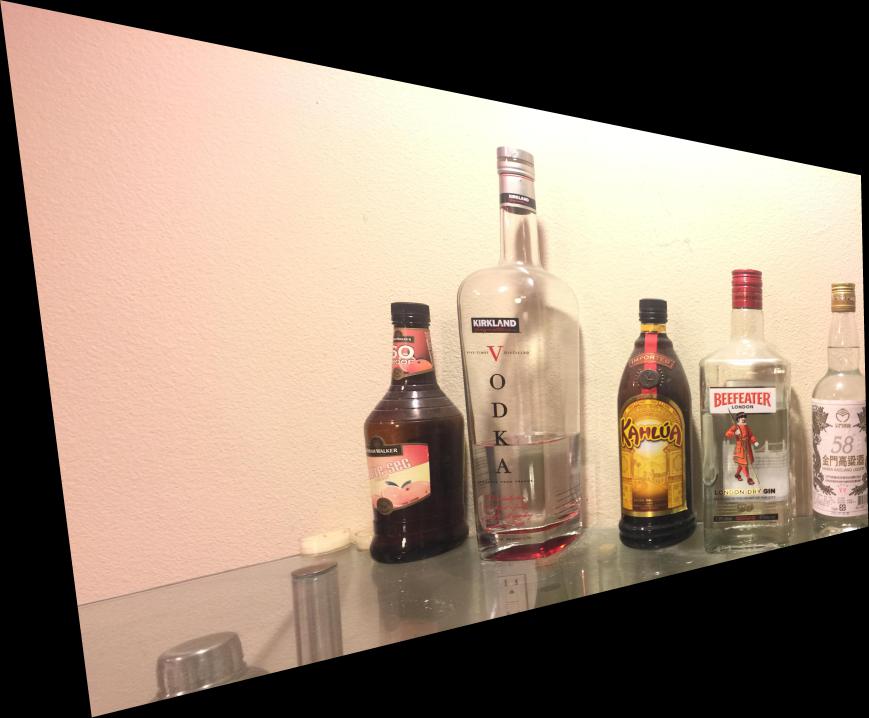
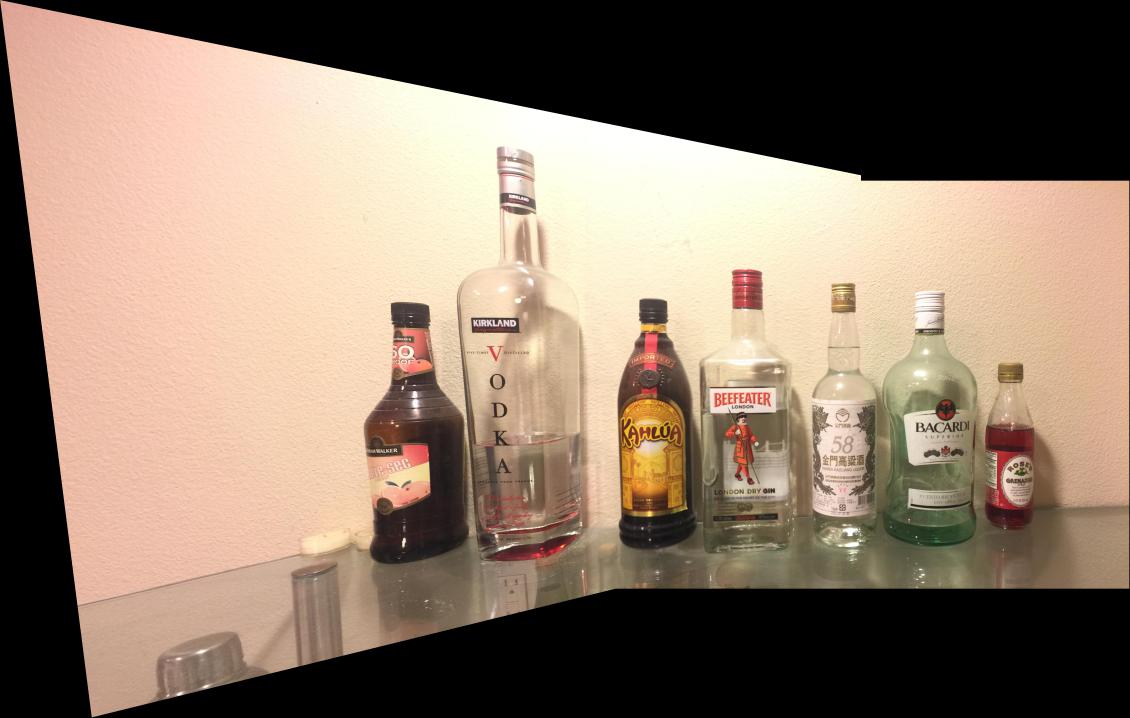
We put everything all together to form the image mosaic. I found seven correspondence points between the two images of bottles of wine, and calculated the homography matrix to warp one image to the other. I had to handle the different offsets from warping to make sure the two images were properly aligned. Below, I included the picture of the warped first image as well as the finished mosaic image. I used the assumption that the brightness of the two images were about the same, and simply divided the overlapping region by 2. Despite being a simple hack, it really worked wonders in removing the edge artifacts.
I repeated the same process to compute a mosaic for a flower bush and a country club. For the country club, I switched up the blending to have the right image warped into the left one. I also slightly cropped the final image for viewing convenience.
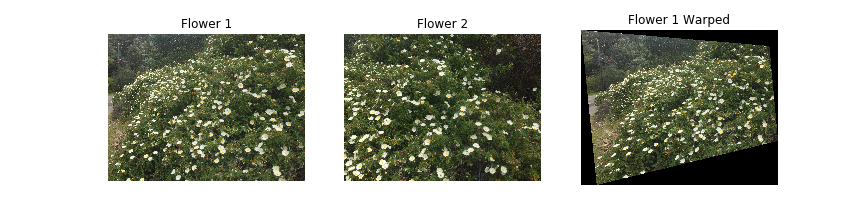
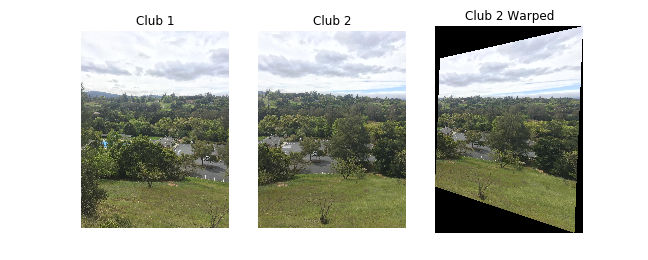
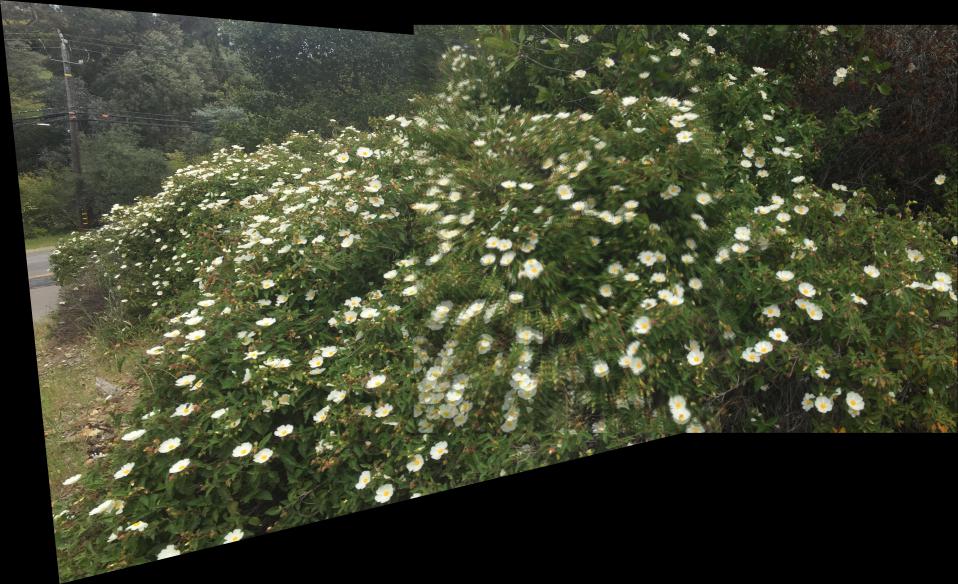
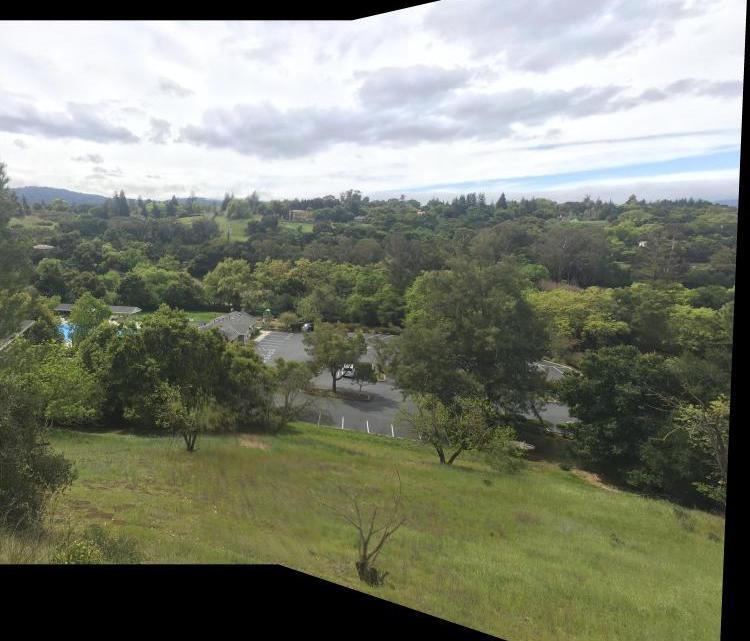
While the country club mosaic looks seamless, the flower bush is blended poorly in the bottom middle region. Ironically, that image had the most correspondence points. In retrospect, choosing a flower bush with few outstanding features makes manual labeling difficult and error-prone.
Takeaways
This project feels like a step up from the image morphing of project 3. Projective transformations do add a layer of difficulty. I had a failure case where I made my transformation too sharp (angle-wise, though I also did use full-scale resolution), resulting in a memory shortage error. In that scenario, warping both images into a middle perspective rather than from one image to another would be ideal; however, I had no intuition for how to manually label those correspondences.
I learned that panorma images are highly sensitive to photo shooting techniques. In addition to angle dilemma above, keeping the camera position constant and ensuring even brightnesses pays dividends later in the processing stage. I was lucky to not hit many issues that require more complex blending techniques.