Kelly Lin
The goal of part 1 was to be able to generate homography matrices for images taken from perspective angles, and use it to generate a rectified, or straightened, image.
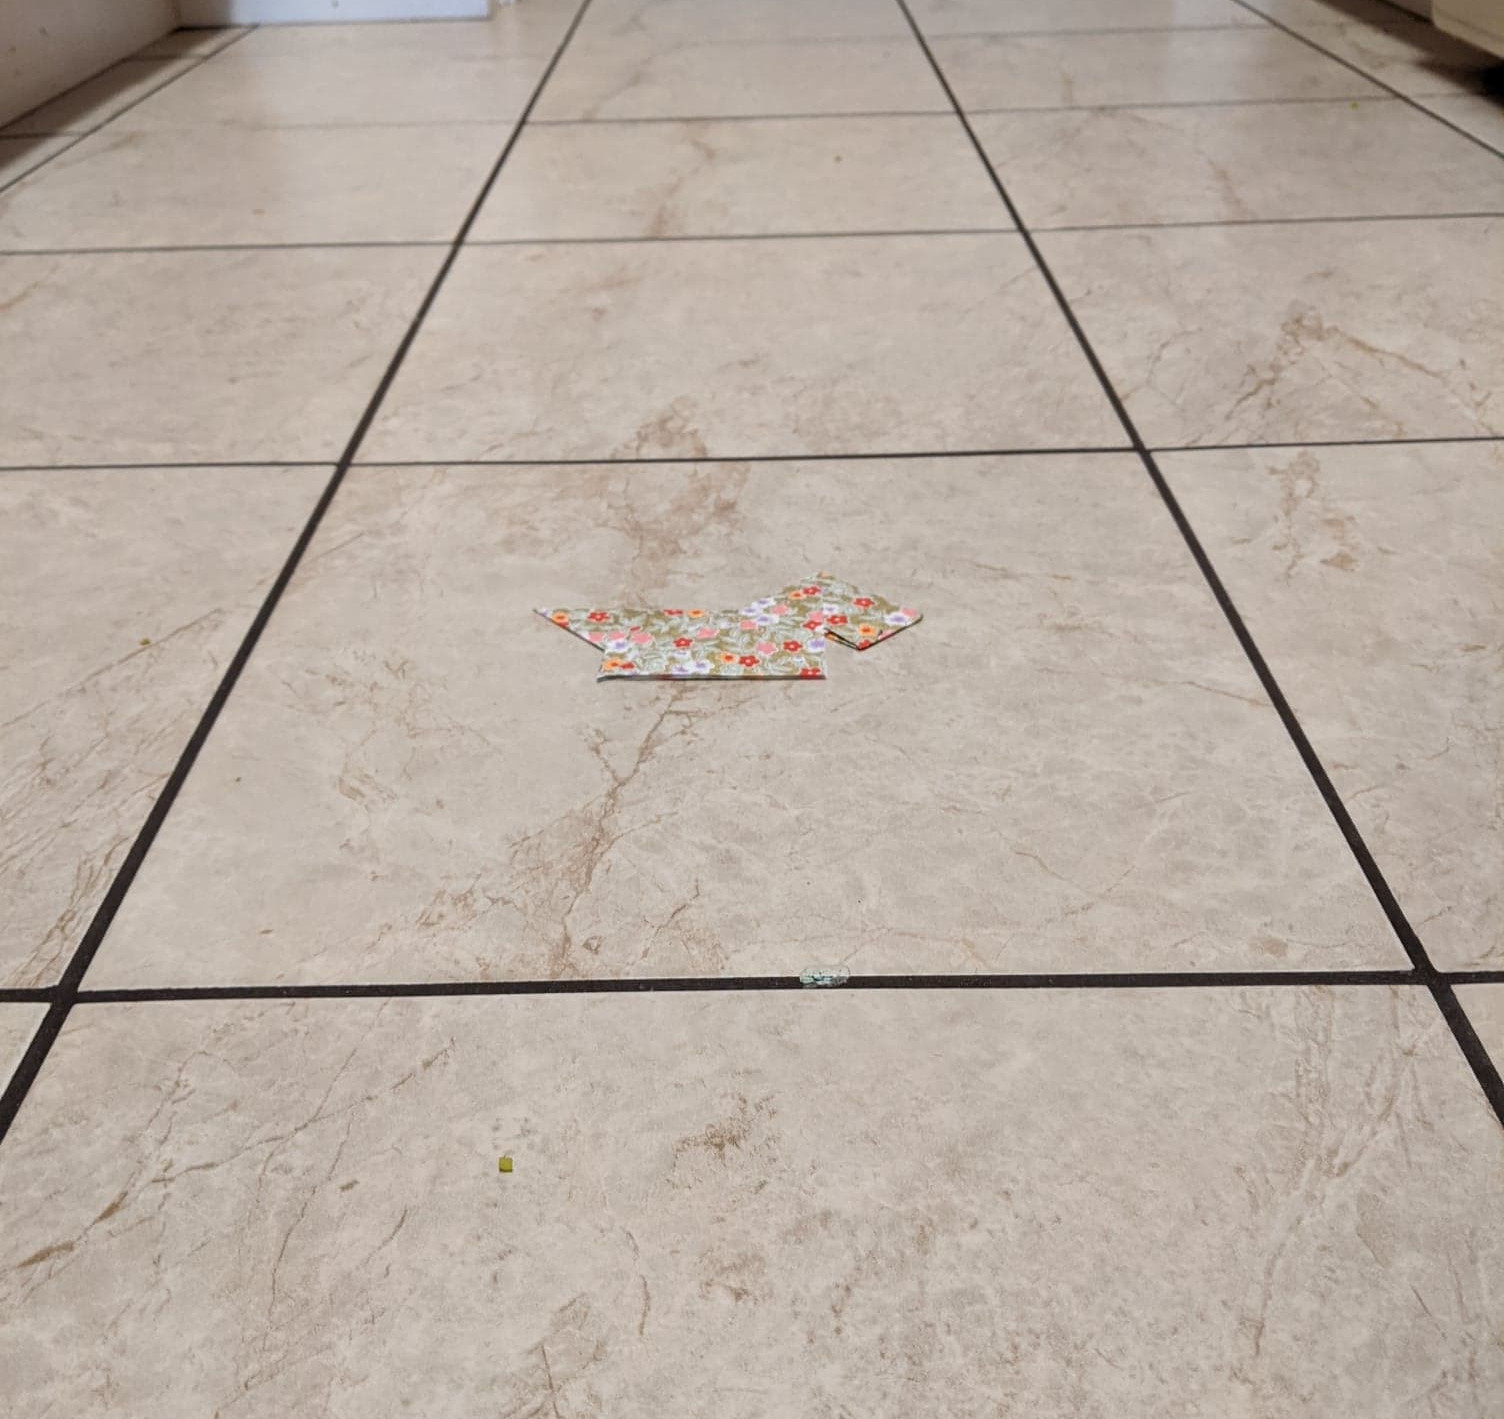
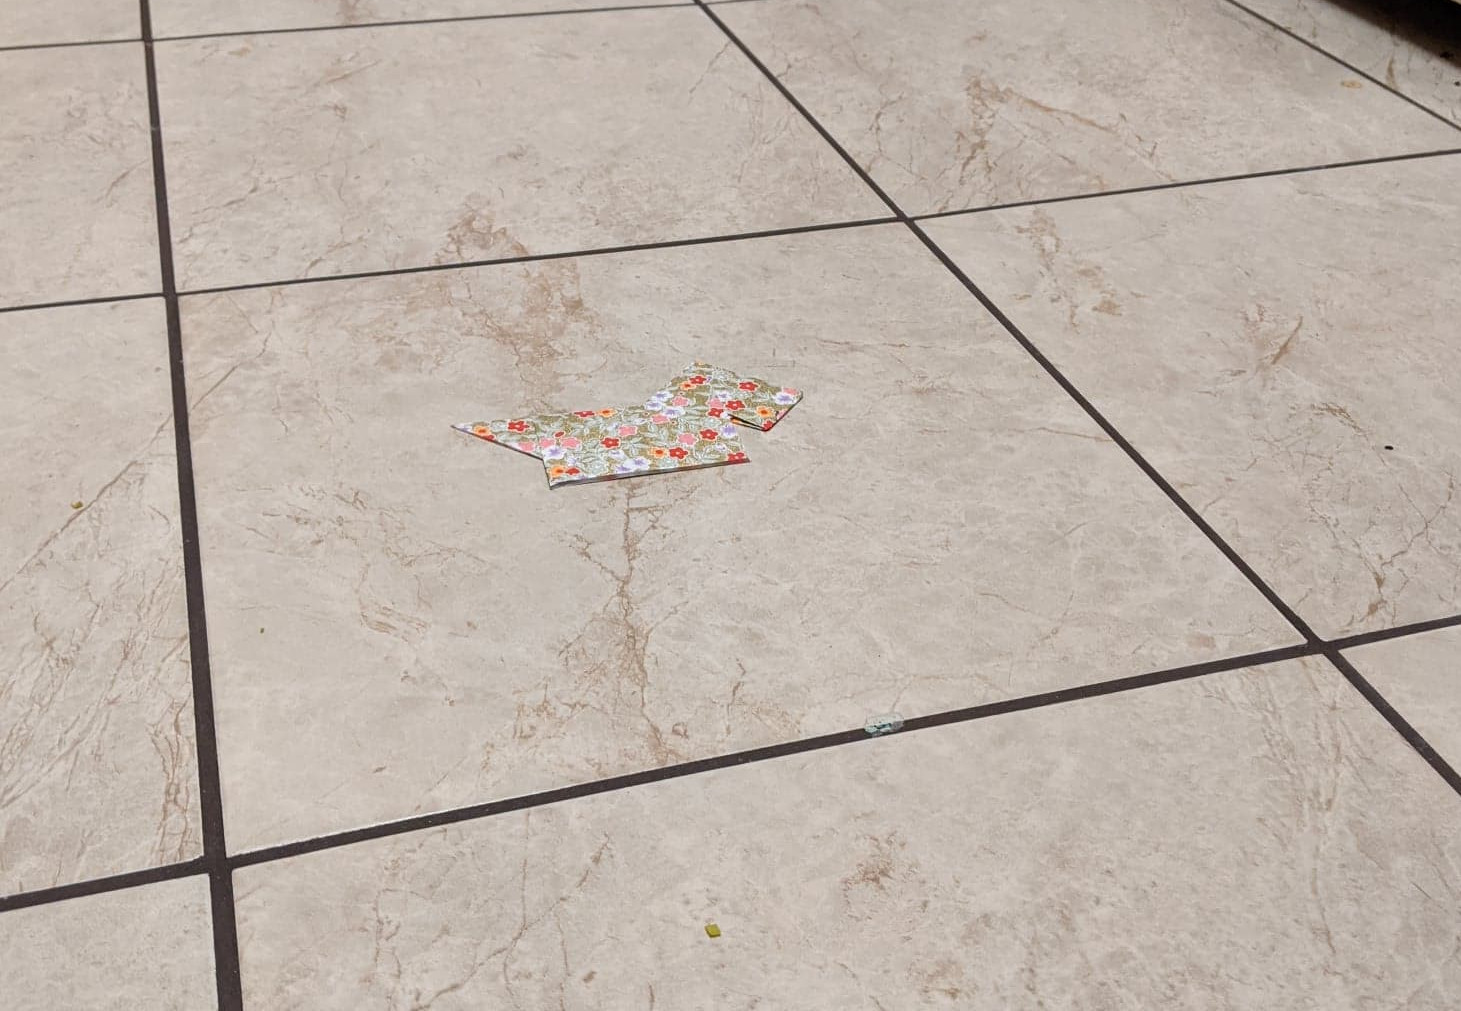
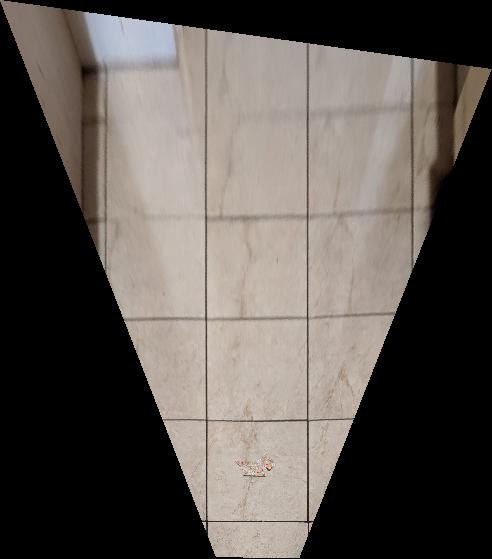
Here are the original images (to be used in the following sections), both shot from perspective angles.
| Image 1 | Image 2 |
|---|---|
|
|
In order to perform image rectification, we needed to recover the desired homography matrix for each image. To do so, the coordinates of a rectangle in the original image as well as the desired target destination dimensions were used to compute the homography matrix. The homography matrix was computed as follows, where (x, y) are coordinates from the original image rectangle coordinates, and (x', y') are coordinates from the target rectangle orientation:
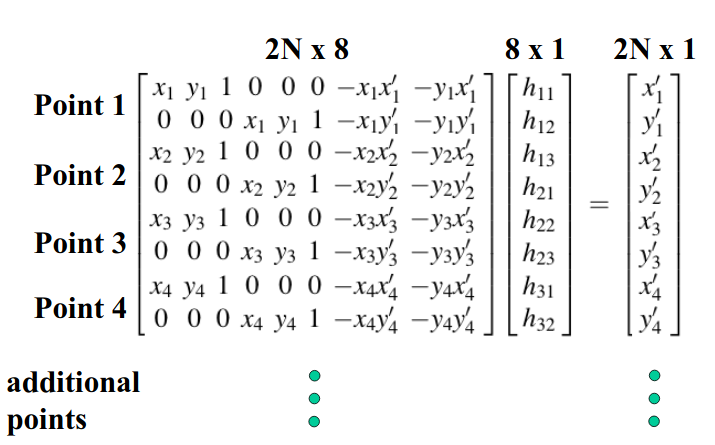
The elements of the homography matrix are ordered as follows, with h_33 = 1:
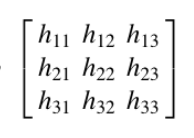
The original image was then warped using the calculated homography matrix to compute the resulting rectified image, as displayed in the next section.
(Image source: http://www.cse.psu.edu/~rtc12/CSE486/lecture16.pdf)
Here are the results of applying image rectification on the original two source images.
| Original Image | Rectified Image |
|---|---|
|
 |
|
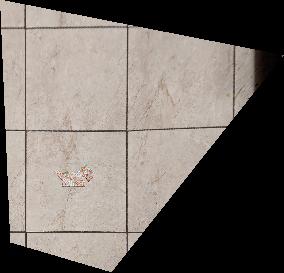 |
I learned how homography matrices work, and that straightening perspective images using them is pretty fun!