Auto-Stitching Photo Mosaics
CS 194: Computational Photography, Spring 2020
Project 5
Sherry Luo
Part 1: Image Warping and Mosaicing
Overview
For this part of the project, we transformed images with a homographic transformation to rectify an image or combine images into a mosaic.
To recover the homographic transformation H, we use multiple correspondence points with the idea that Hv = u where v = [p1x, p1y, 1] and u = [w * p2x, w * p2y, w] and (p1x, p1y) corresponds to (p2x, p2y) of the desired end position. Some algebra tells us that if we write H into a flattened vector of [a b c d e f g h], p2x = (a * p1x + b * p1y + c - g * p2x * p1x - h * p2x * p1y) and p2y = (d * p1x + e * p1y + f - g * p2y * p1x - h * p2y * p1y). We can now write out a matrix vector equation and then use least squares to solve the problem given a set of correspondence points.
To warp an image, we must first construct a polygon of the warped final shape of the image, then use the inverse of H to get the matching coordinates for the unwarped image to the warped version. I also used a RectBivariateSpline to prevent jaggies or other undesirable aliasing effects.
Image Rectification
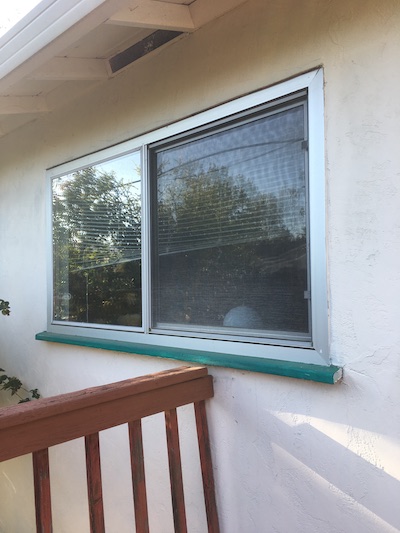 Original
|
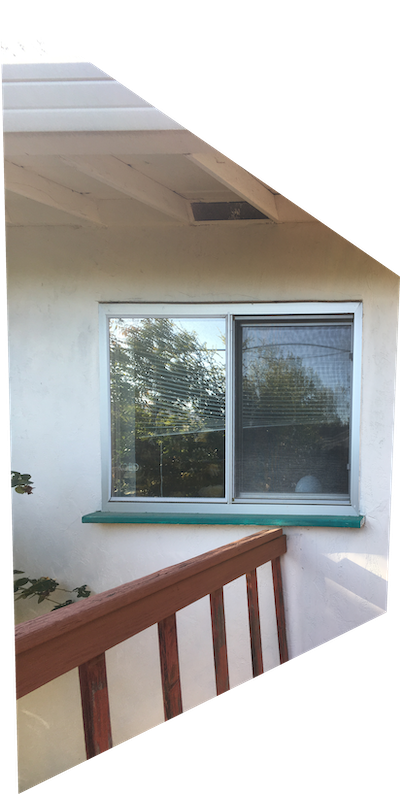 Rectified
|
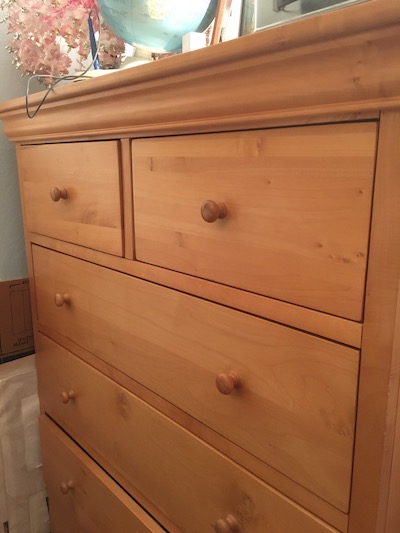 Original
|
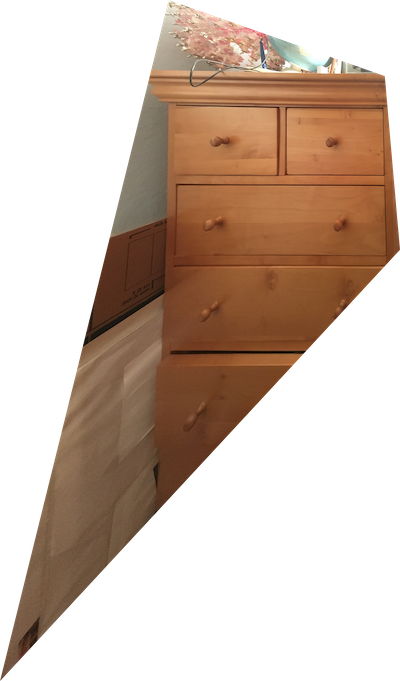 Rectified
|
Mosaic
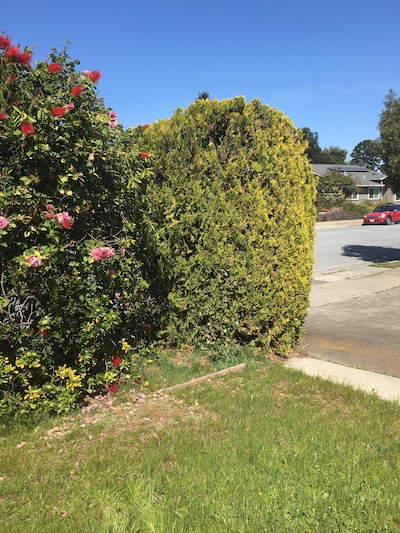
To merge images into a mosaic, I warped one image into the plane of the other image. As edges were extremely obvious when I just overwrote one image with another, I constructed an weighting layer for both images that would be 1 at the center of the image and fall off based on the distance of the position to the pixel. I then merged the images together using weighted averaging.
 Bushes in front of my house
|
 Bushes in front of my house from another angle
|
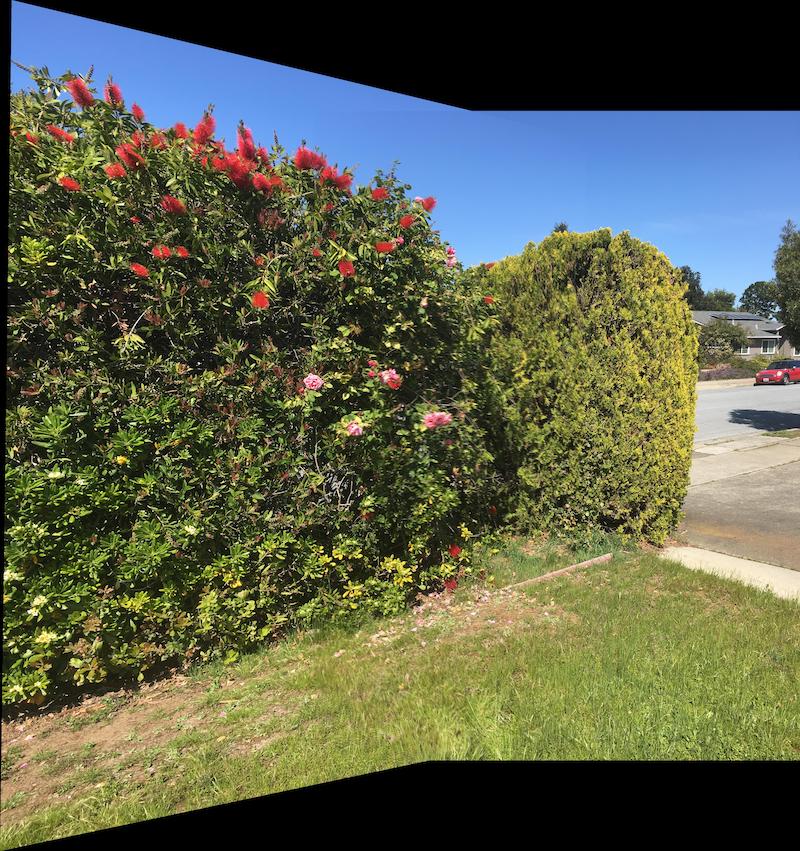 Mosaic
|
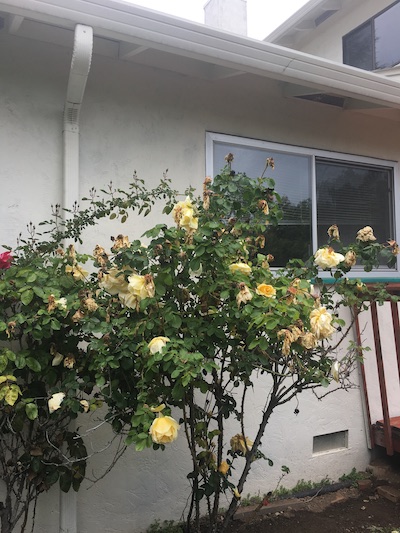 Window
|
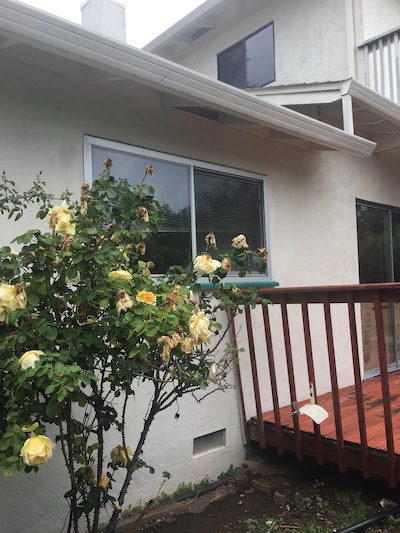 Window from another angle
|
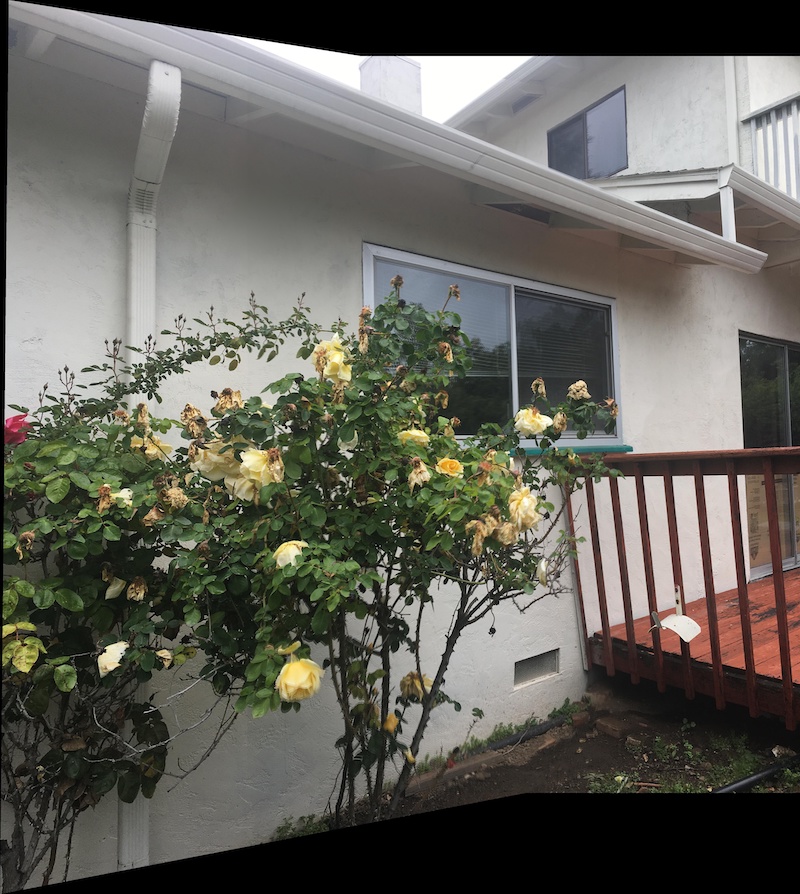 Mosaic
|
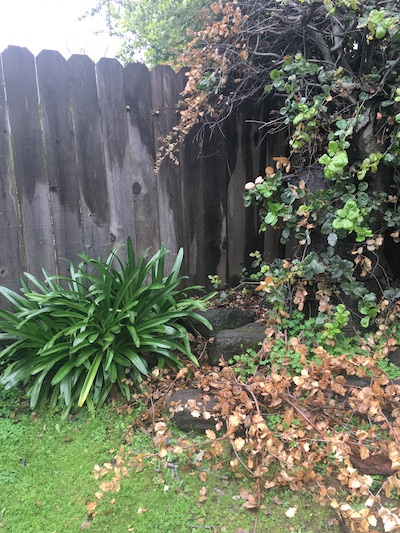 Tree in backyard
|
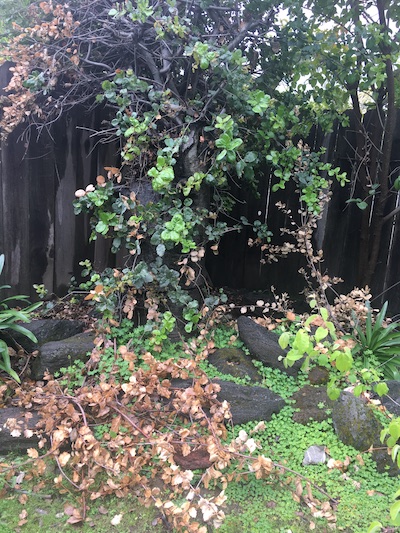 Tree from another angle
|
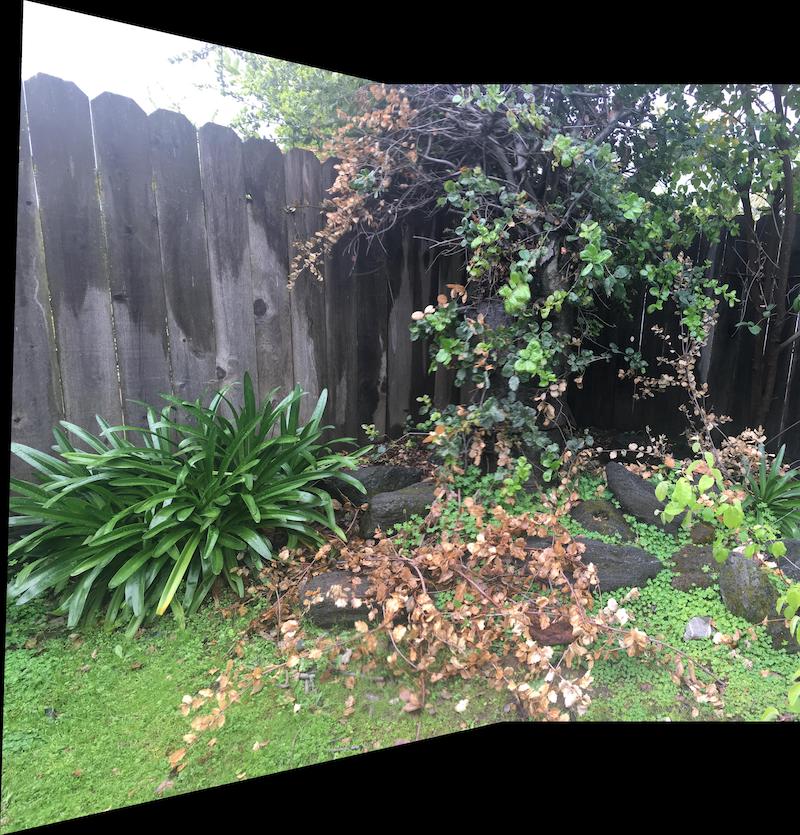 Mosaic
|