Part 1: Rectification
A common task is to align images to a standard frame. In this part of the project, we selected images with portraying objects with rectangular frames and transformed them into a front view rectangle.
1.1: Methods
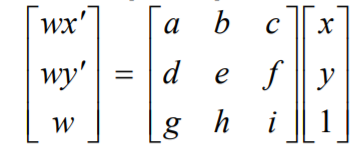
To begin rectification we first analyzed the homography matrix as shown below. It contains 9 values with 8 degrees of freedom, which is enforced through assigning the last value of the matrix to be 1. We can solve for the scaling factor w, by utilizing the last row of the homography matrix. This then allows us to rewrite the equation in the form of least squares, approximating for the values within the homography matrix. Though only four equations are necessary for a homography to be calculated, there may be larger noise. To combat this, we overload our system of equations and find the best fit.
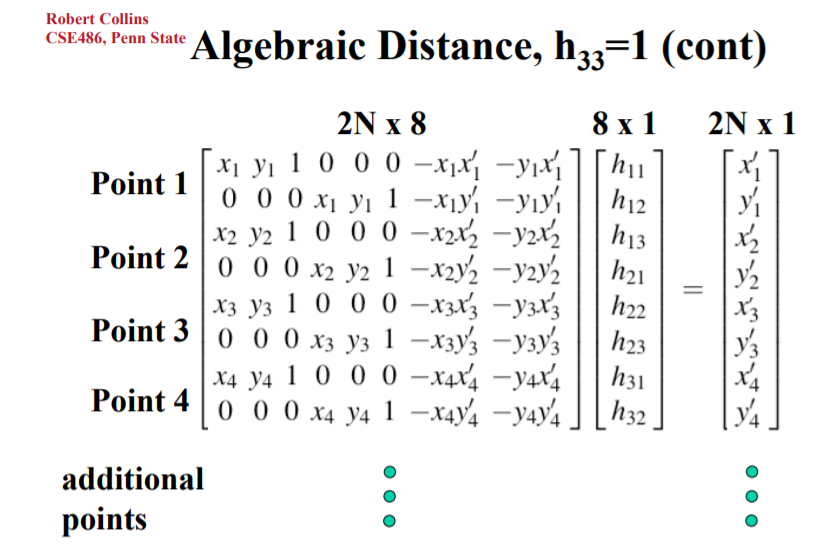
Slide Courtesy Robert Collins, CSE486, Penn State
In order to find the correct homography matrix, H, we needed to first define points of correspondence in our start image and our desired image (front view rectangle). We used ginput to annotate the feature points and utilized the four corners of the image as destination points.
After the correspondence points were found, we continued with the following steps
1. Computed the H matrix
2. Estimated output by finding points that correspond to corners via H
3. Retrieved all points in our output image using skimage polygon
4. Performed an inverse transformation to map output points to possible inputs, and then dividng the points by the scaling factor, w.
4. Clipped out of bound values and adjusted image size
6. Assigned the pixel values within our input image to their respective indexes in a blank version of our output image.
1.2: Results
Here are some outcomes of rectification!
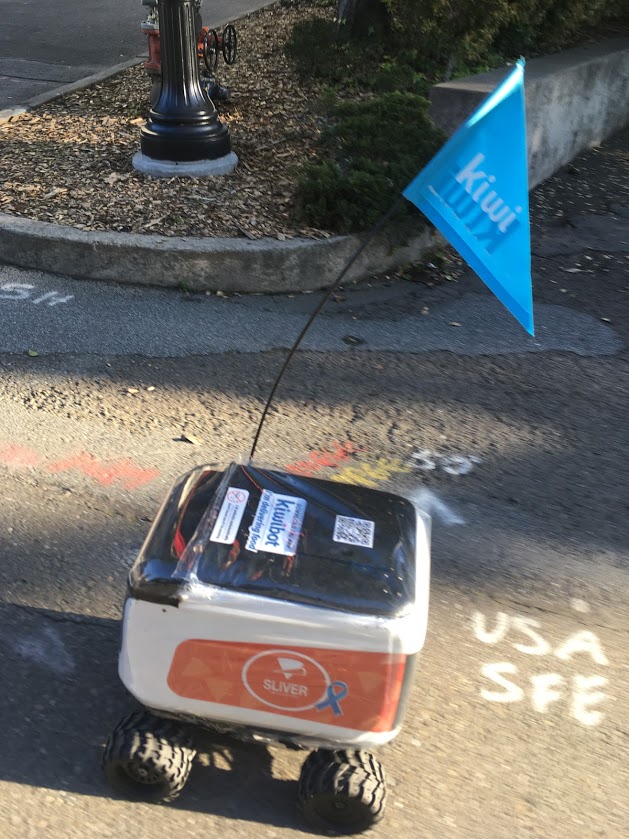
Here we see a kiwibot. We chose the four points of the kiwibot label and made them correspond to the four points of the image. Now we can see a rectivied version, though grainy.
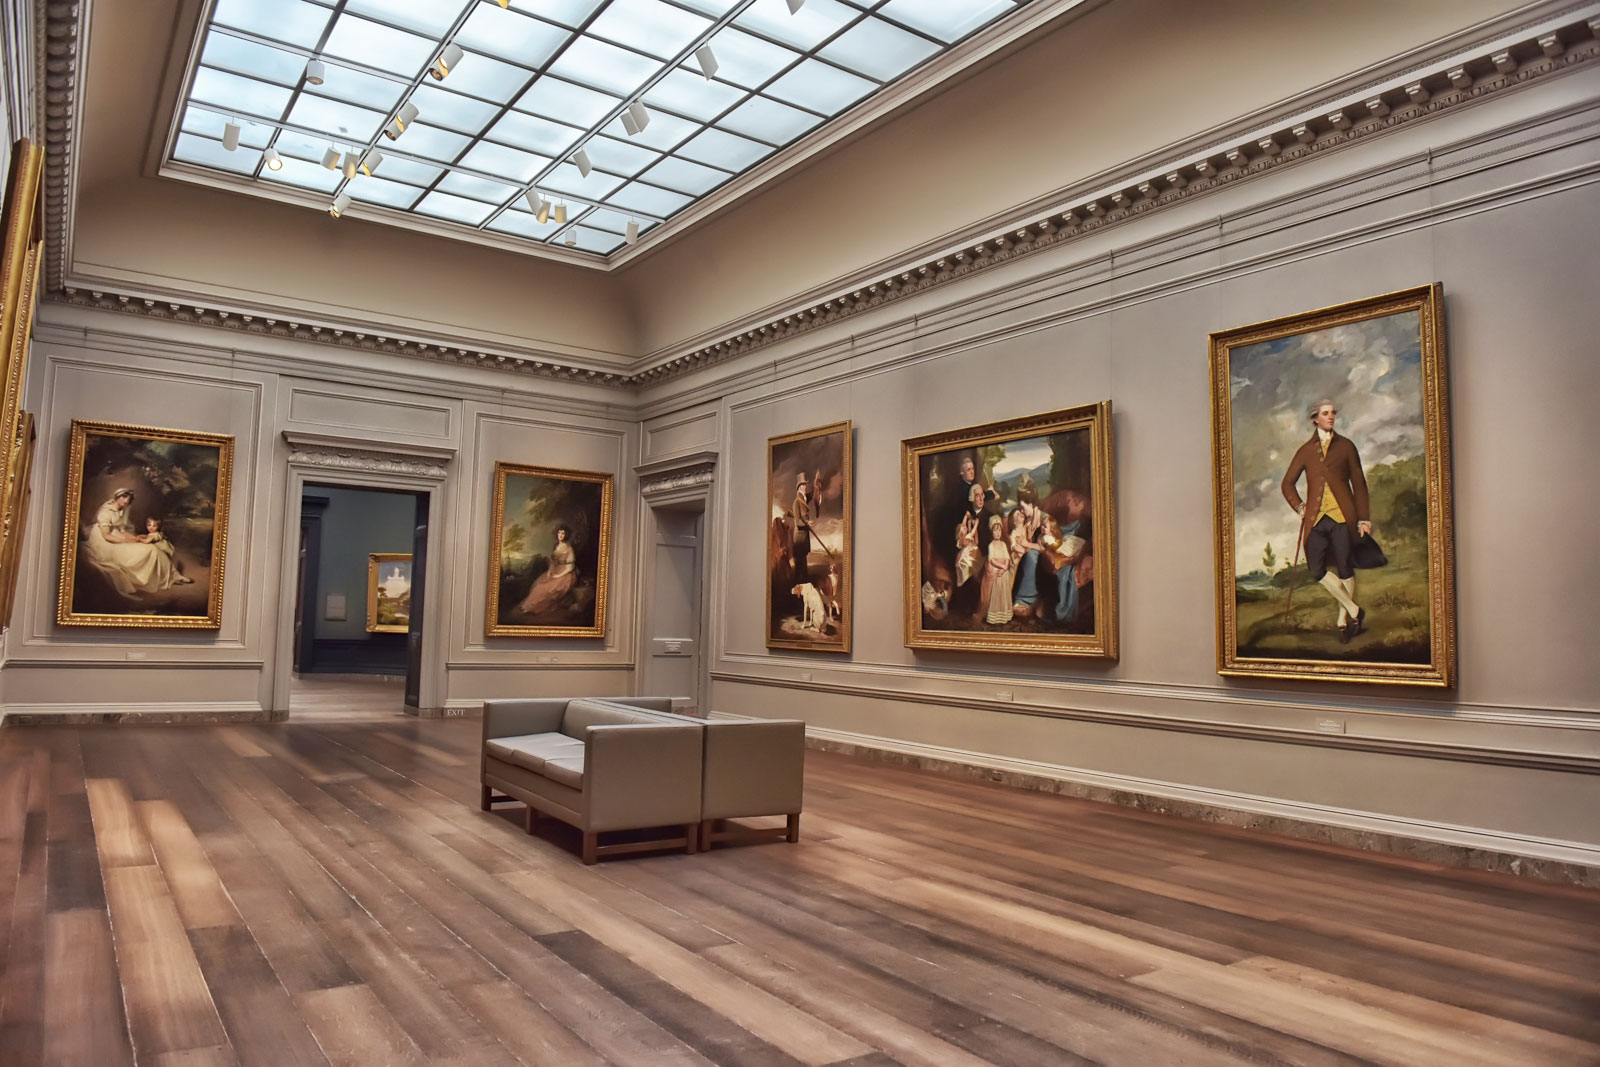
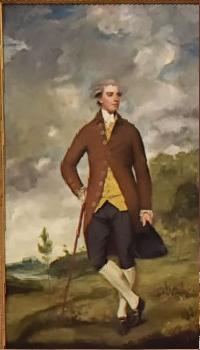
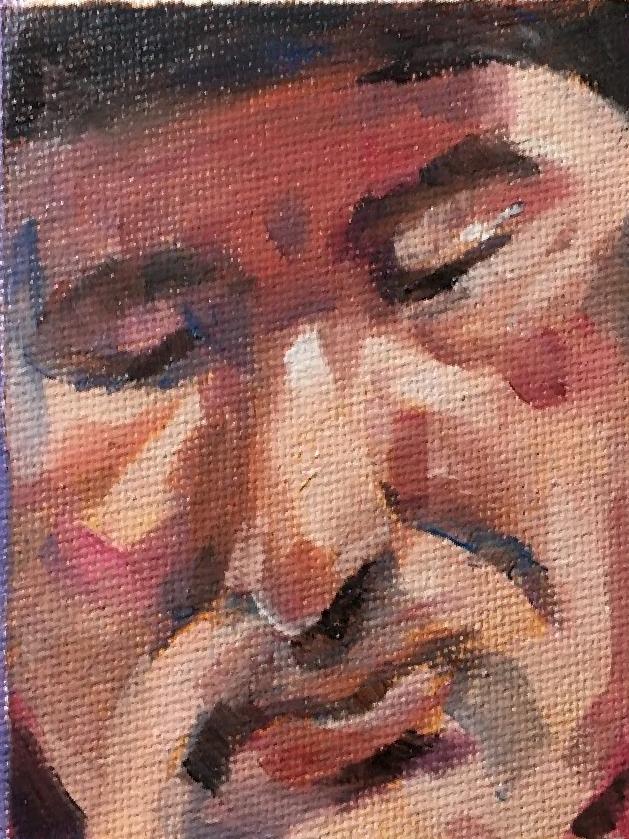
We then looked at the art pieces in a museum and it was able to make a distorted painting look the right proportions.
I used to like perspective art a lot, guess it's been put to good use.
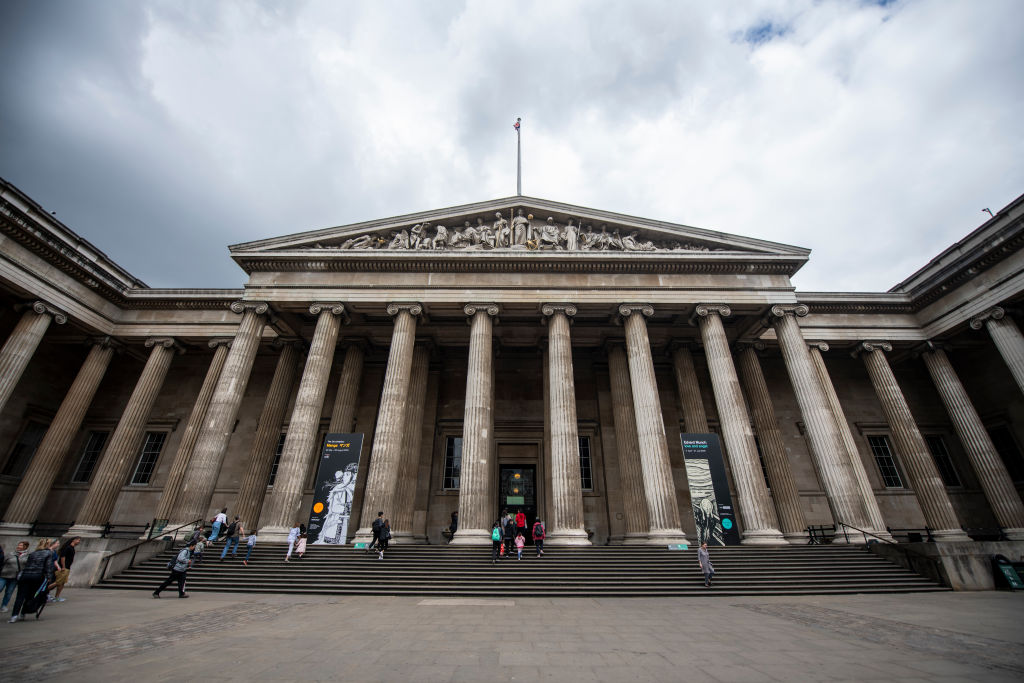
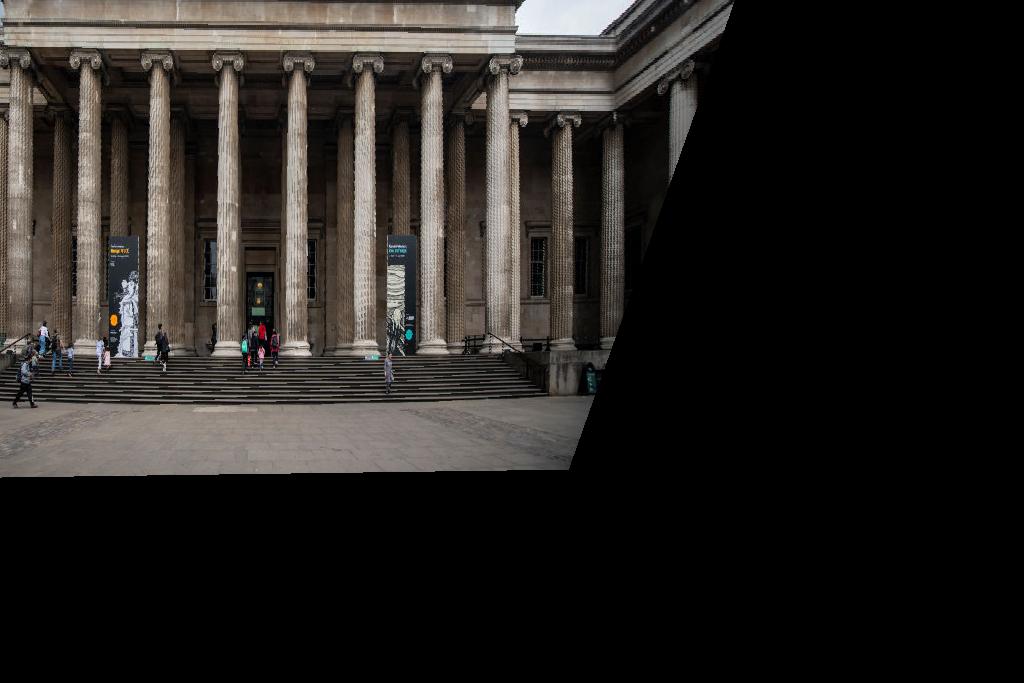
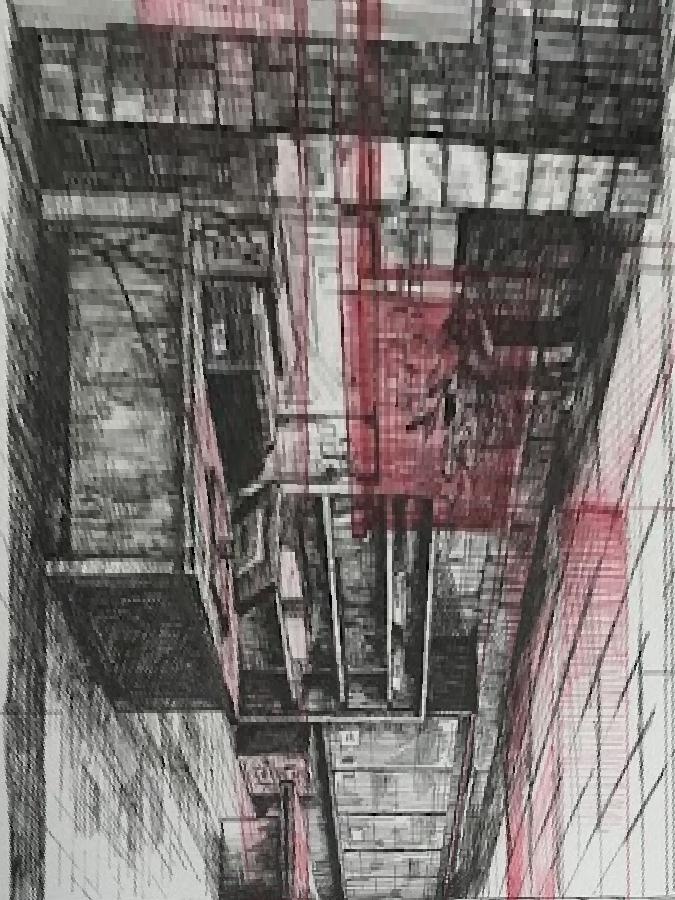
This result was pretty interesting because it was able to change the view of a building. There were some parts of the image that were missing due to output image size constraints. In the next part (stitching and auto-stitching), there would be methods to account for empty locations and entire image transformations.
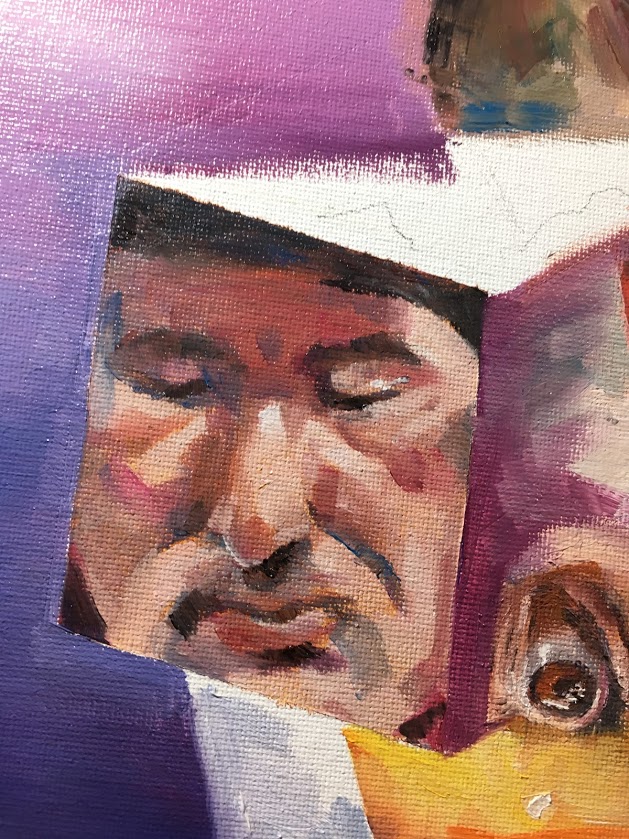
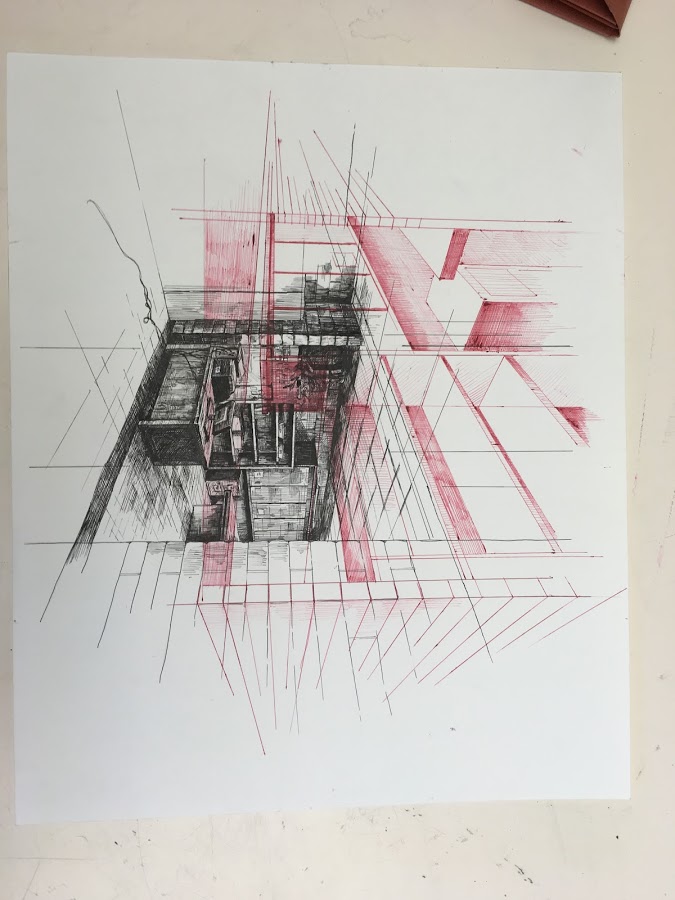
More self art promo :').
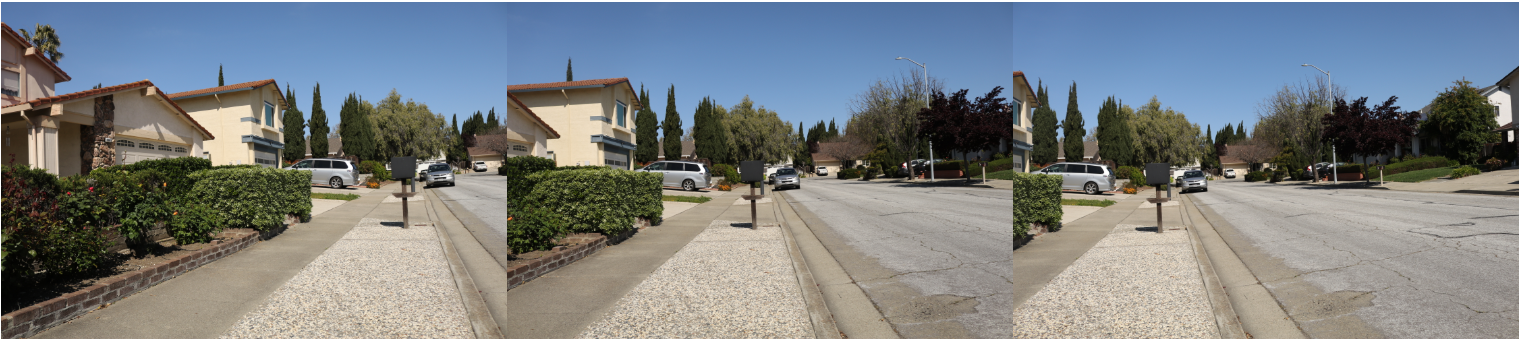
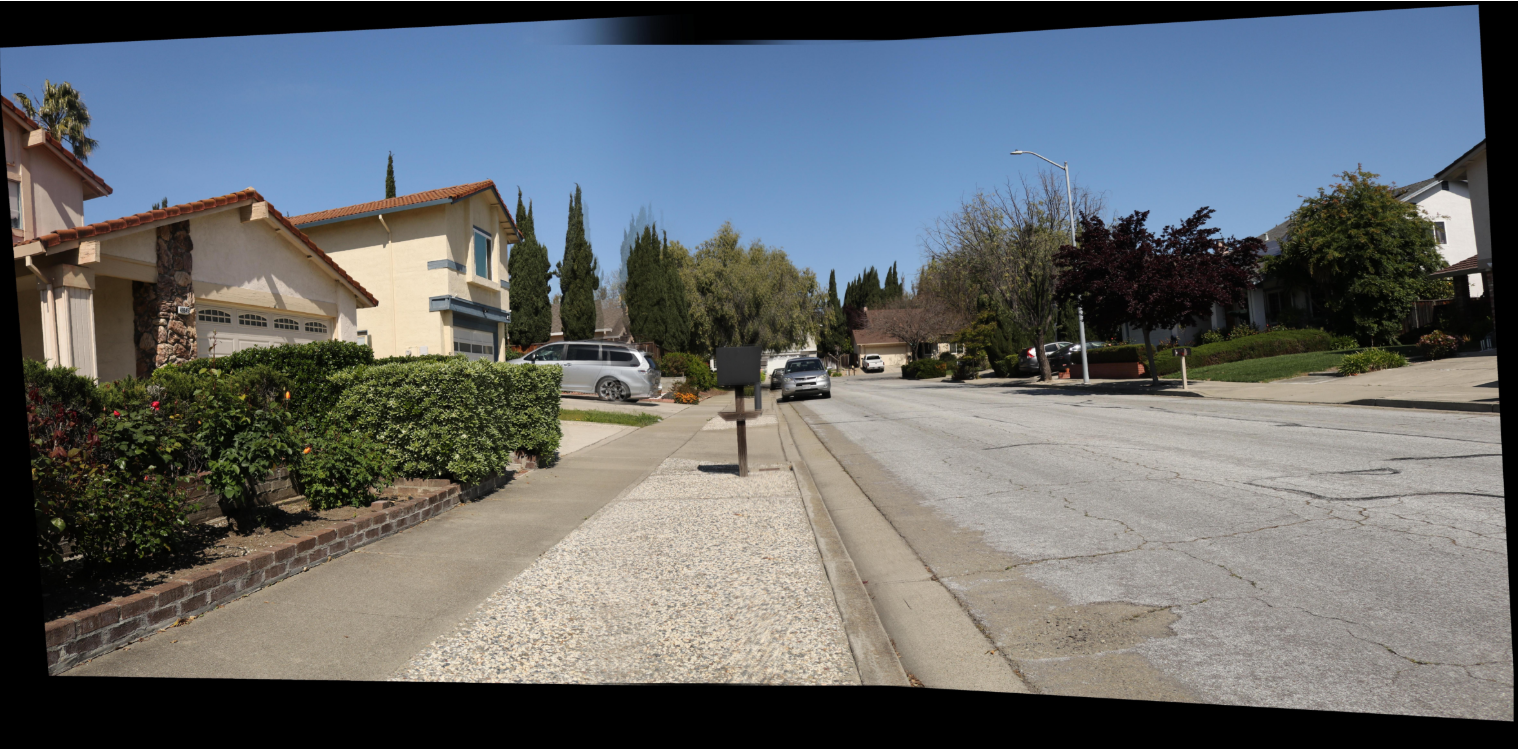
1.3: Panoramas
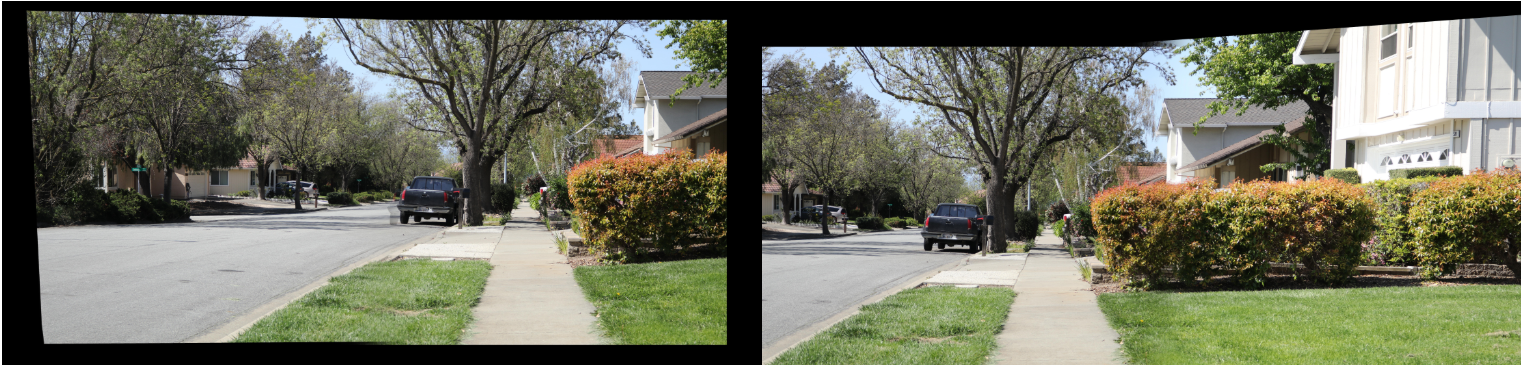
Here we extend the applications of rectification and utilize image stitching to warp between images. Using a tripod and rotating the camera, we took 3 photos from the same place. Correspondence points of between 16-30 is satisfactory for producing results. First we performed warping between the left and the middle, and then the middle and the right. After adjusting dimensions, we then warped the two halves together. We used a gaussian mask and alpha blended the images.
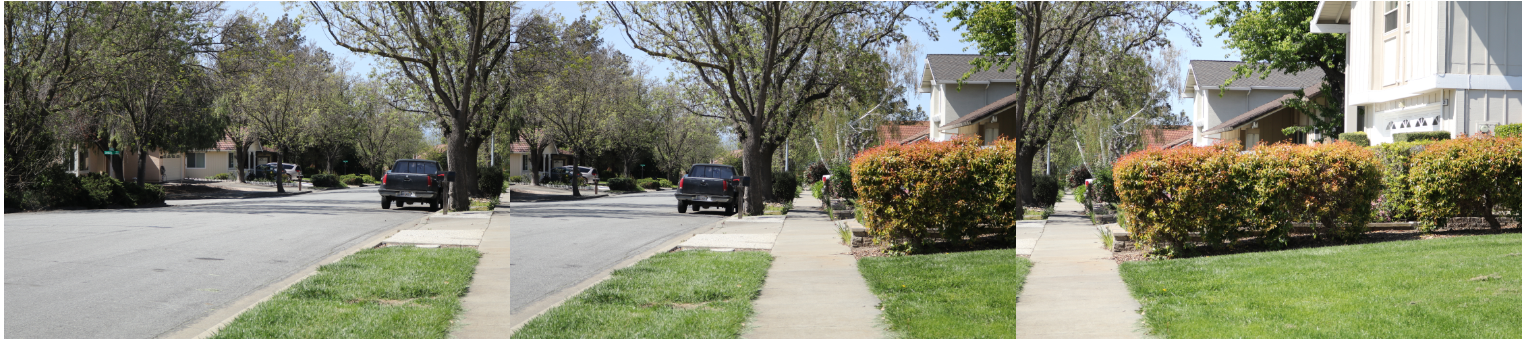
Warping the Left and the Middle, the the Middle and the Right
Finally, warping the two halves together
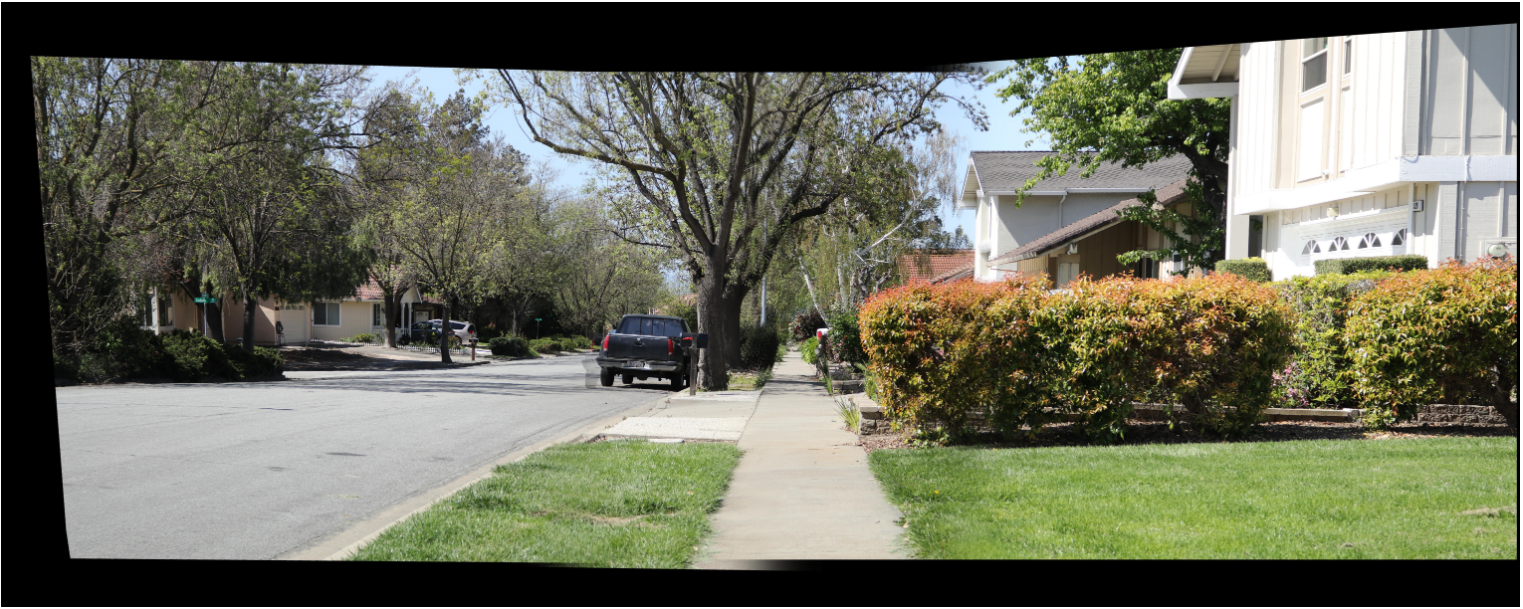
As you can see, there are some ghosting effects, especially in the middle of the image. Some places are also shifted higher than others. This may be due to greater need in correspondence points or unintended shifts while taking the images.
Another one!
1.4: Insights
It took me quite a while to debug my homography calculation, but through it, I recognized the importance of having w and having consistent ordering of correspondence points. Overall, this was pretty fun and I was glad I could go outside to try to take good photos (though not successful).