Yibin Li, April 2020
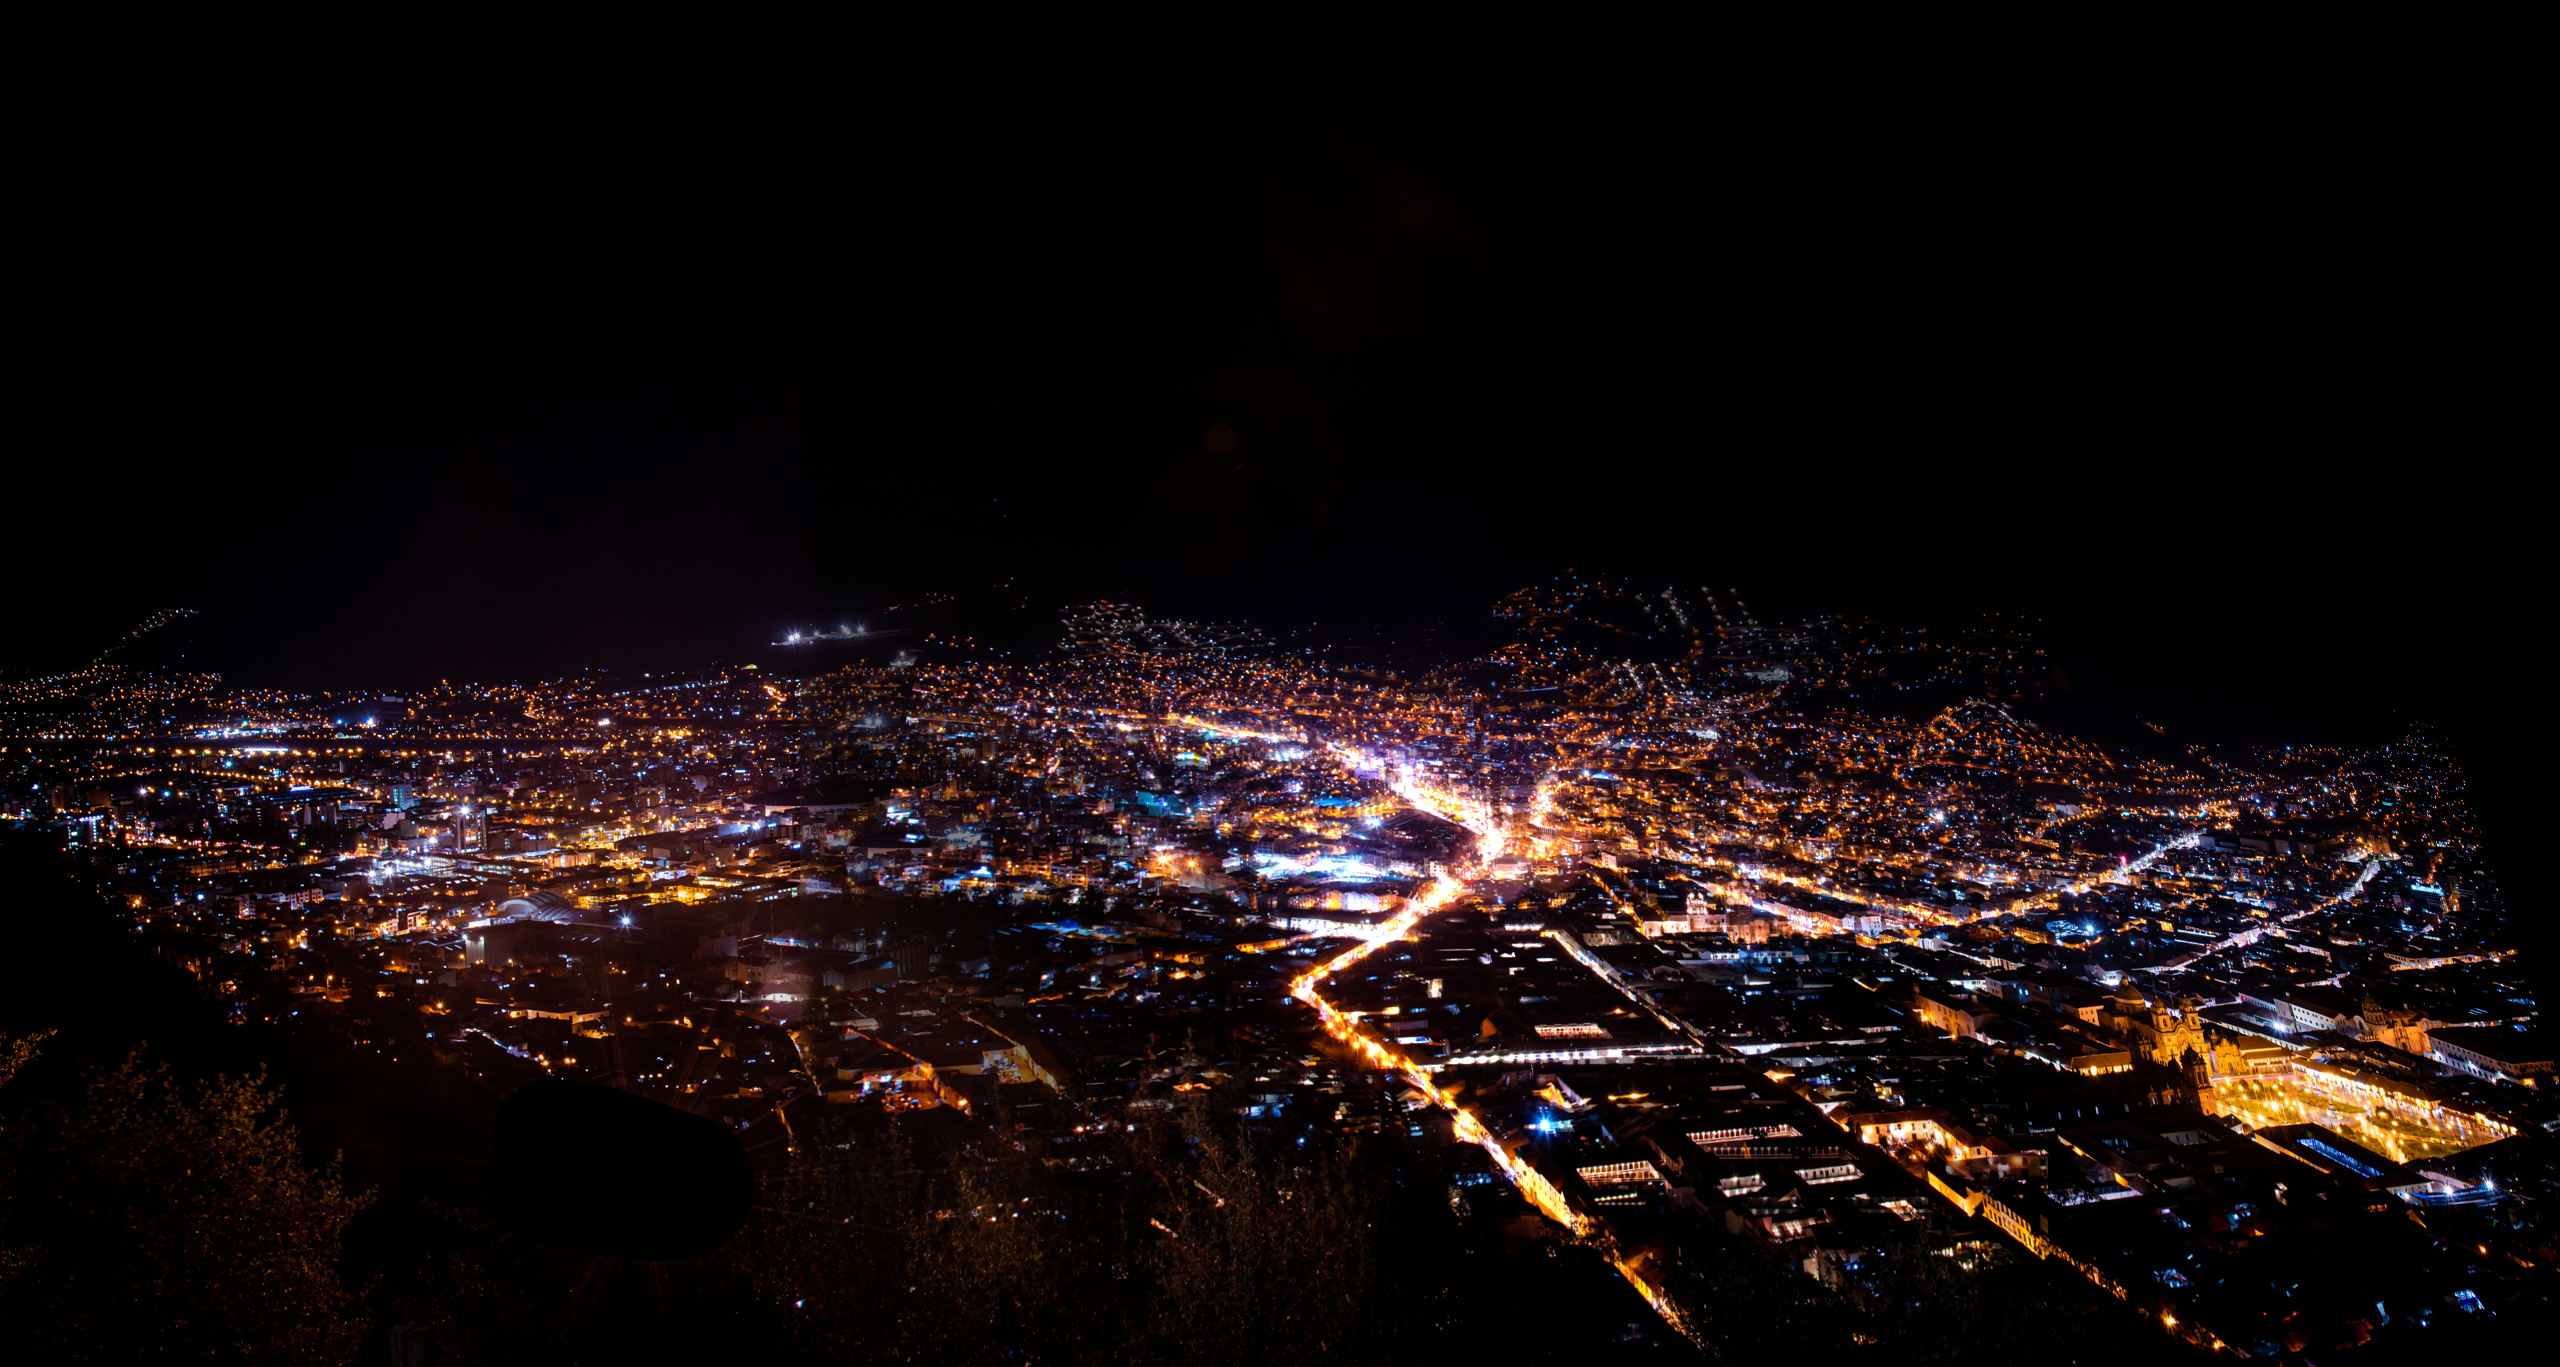
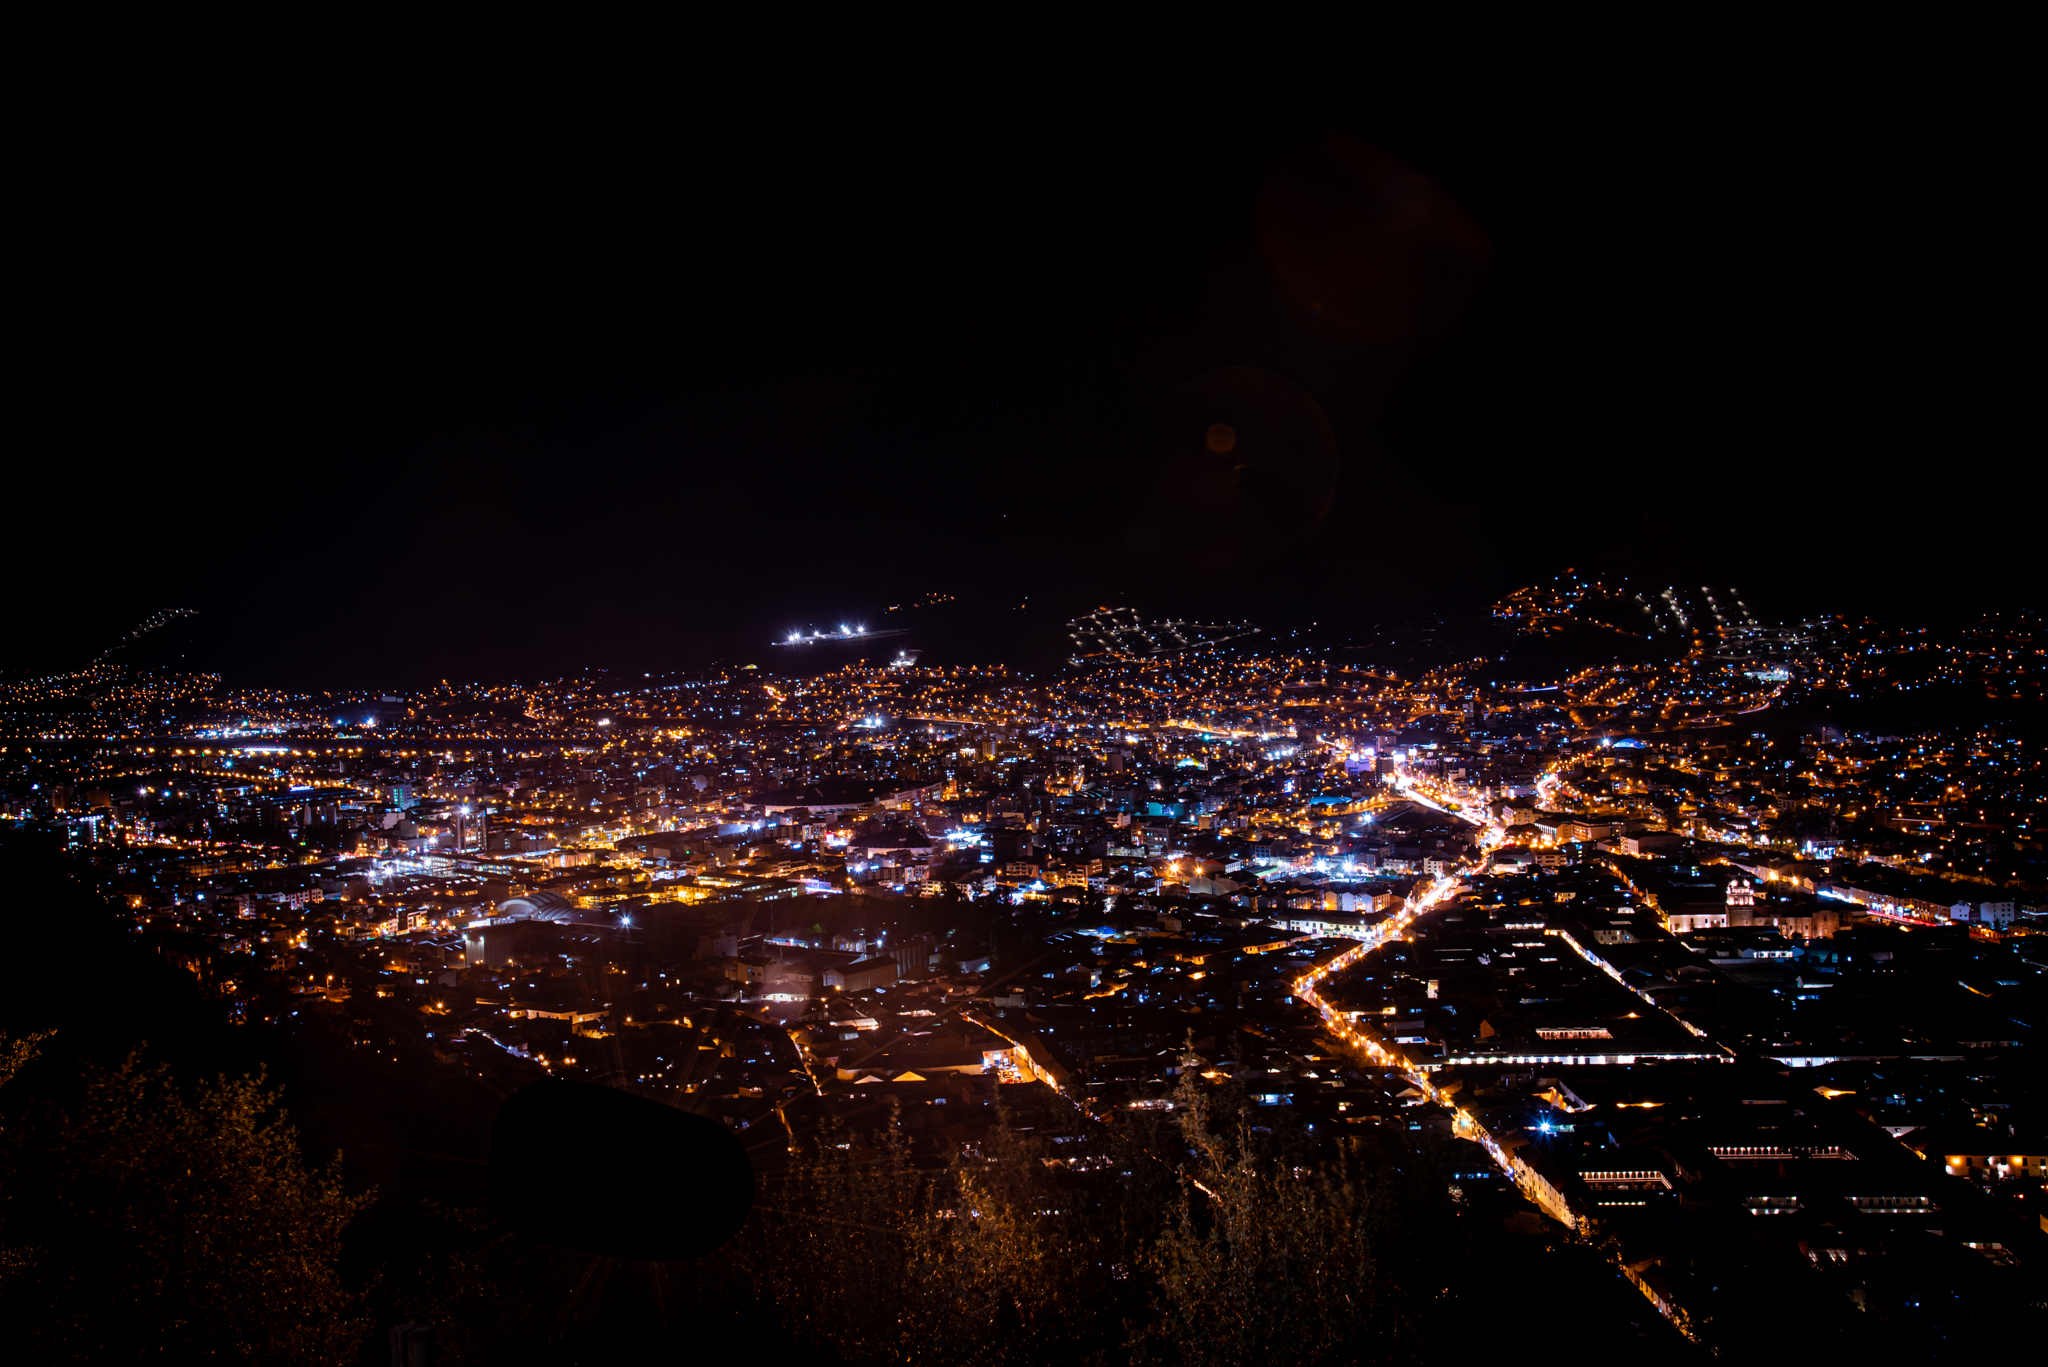
Before we could stich images and do a photo panaroma, we need to take some source images. Here are two pictures I took last year in Cusco, Peru.
In order to do a successful photo mosaic, we need to take projective pictures of a scene, meaning that all pictures were taken on a "tripod", a fixed center. Otherwise, we will not be able to stich them perfectly.
In this part, we will compute the transformation matrix between one image to the other. This matrix is called the homography. In order to find the homographies matrix, I labeled 6 pair of correspondance points on two images. Then based on these characteristic point, I am able to find the homographies matrix. Finally, I can warp the image using the homographies matrix to the desired final location. Note that the warped image is 1.25 times wider than the original image; this is to account for the extra width of the mosaic image.

We could use the homographies matrix to see the object in a different perspective! Here I took some random pictures of different objects and rectified them to a perspective other than I took.


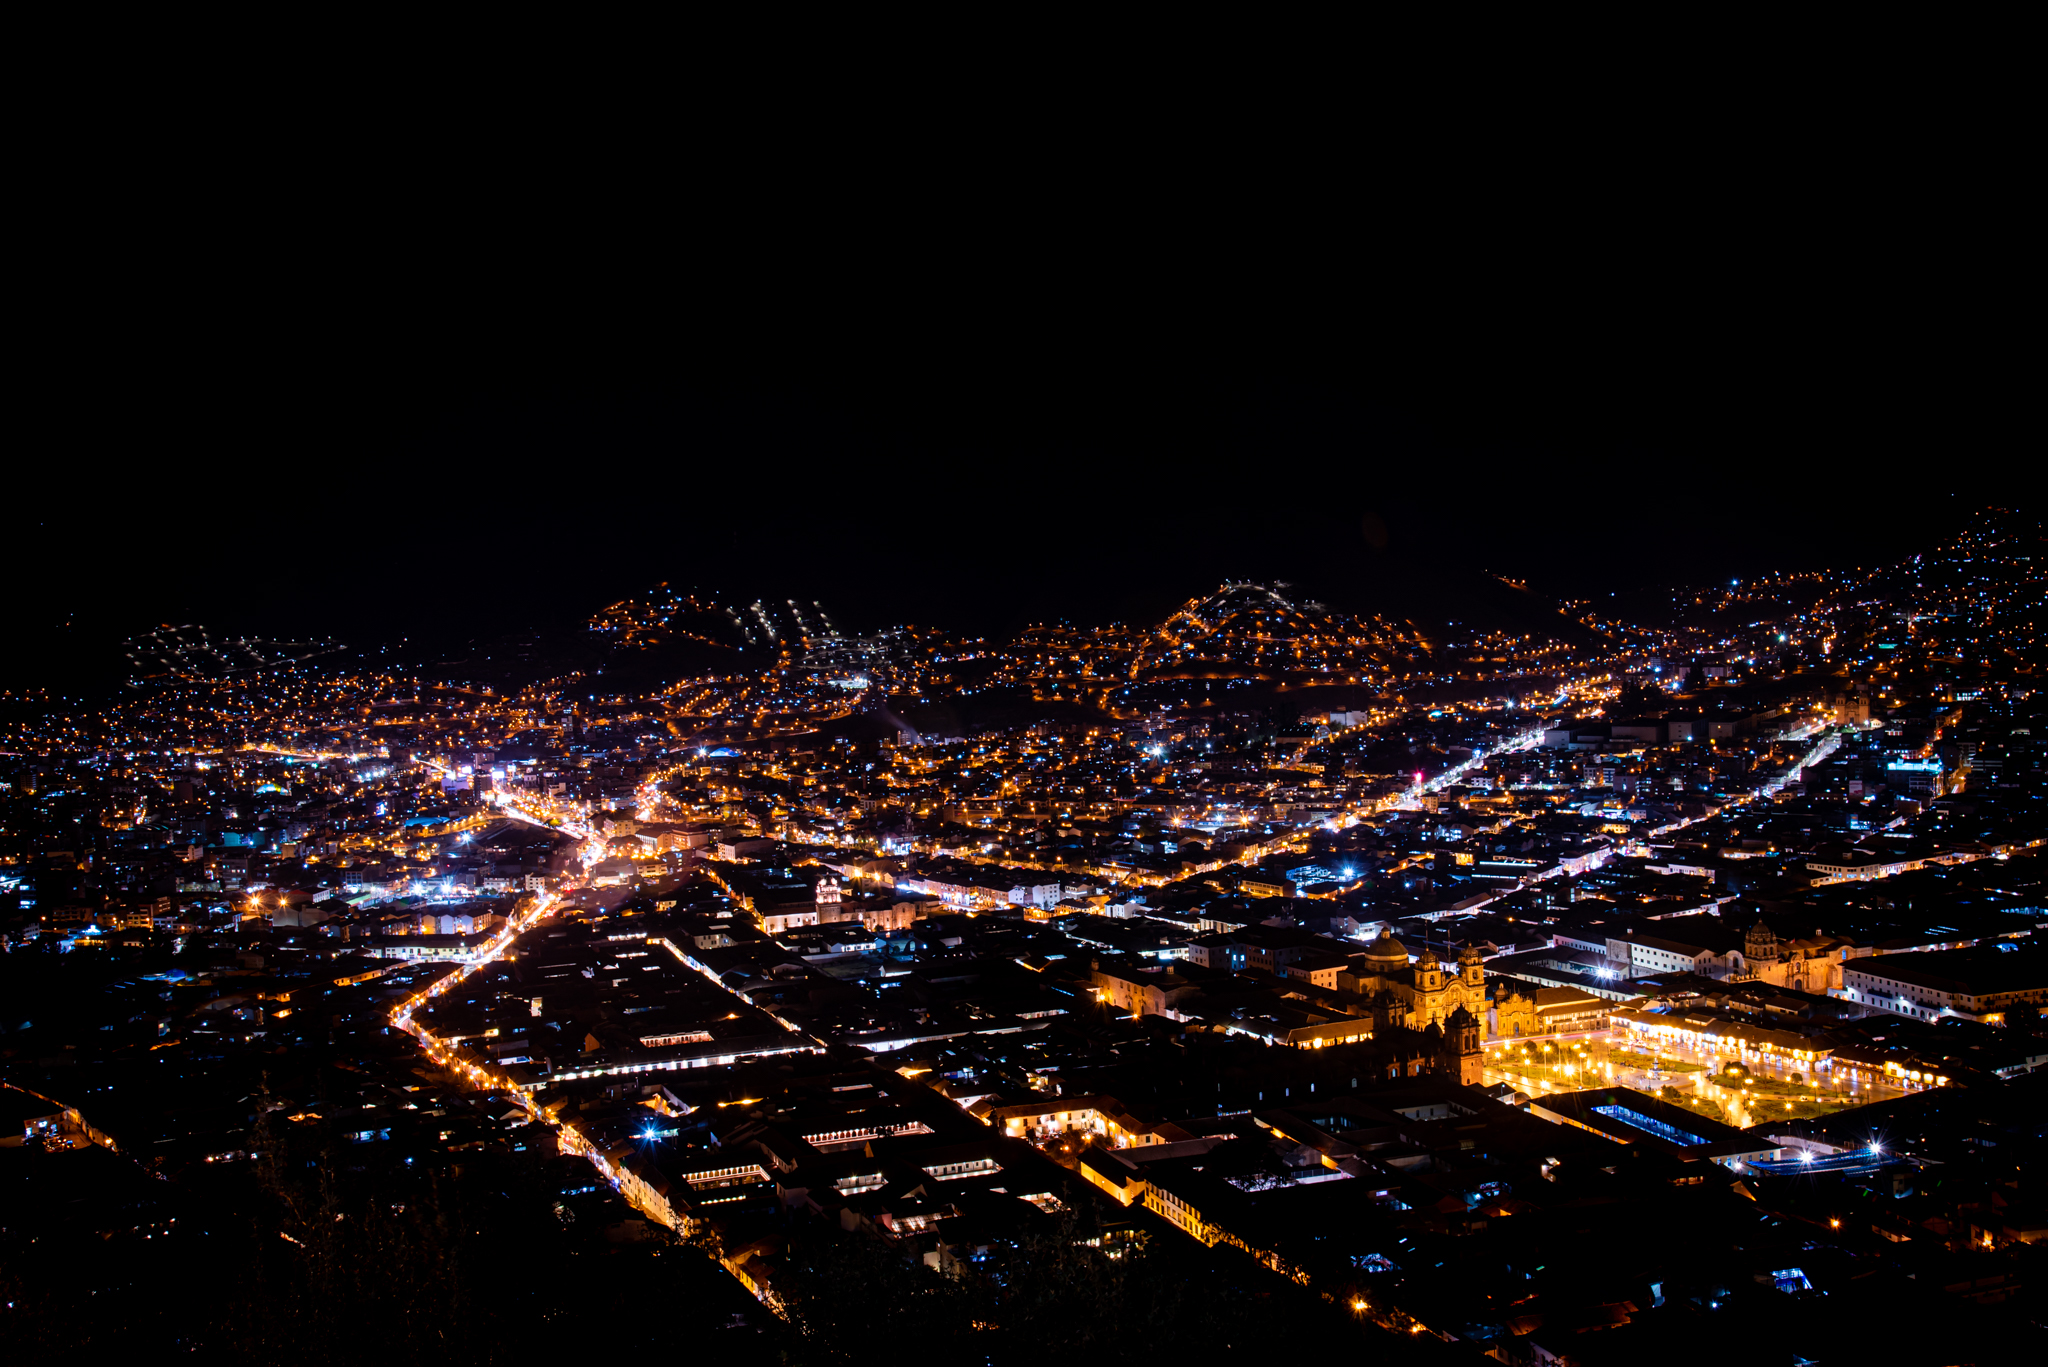
With all above, we could stich the image to form a good mosaic! However one problem in the stiching is the sharp color/edge differece between two images. In order to smooth this edge transition, I used image pyramid to blur and darken the part where two images connect. There are some blurry on the final mosaics due to the correspondence point issue, but overall the mosaic looks good!
Full Mosaic