|
|
This is the first part of a larger project. Here, we will find homographies that let us perform projective transformations, and use them to rectify single images, as well as blend together continuous images of the same scene.
To recover homographies from two sets of 4 or more points, we will try to solve the equation Ah=b, where h is the dimension 8 vector holding the parameters of the 3x3 homography matrix. When we have more than 4 points, we need to use least squares to estimate the solution. To get our inputs into the form of Ah=b, we create 2x8 matrices
[[xi, yi, 1, 0, 0, 0, -xi*x'i, -yi*x'i],
[0, 0, 0, xi, yi, 1, -xi*y'i, -yi*y'i]]
for each set of corresponding points (xi, yi) and ('xi, y'i) and vertically stack them to obtain a matrix of dimension 2Nx8. b is simply the input of all (x'i, y'i) points flattened into a vector. Then, we use least squares to solve and reshape to 3x3 with last element equal to 1.
To warp an image using its computed homography, we will use an inverse warp. First, apply the homography to the four corners of the image. This approximates the corners of the resulting image, and we can place our output inside a bounding box of appropriate size. Then, we use the computed corners as input to the polygon function. We apply the inverse homography to the polygon coordinates, and set pixels for the output using these polygon and inverse warped coordinates.
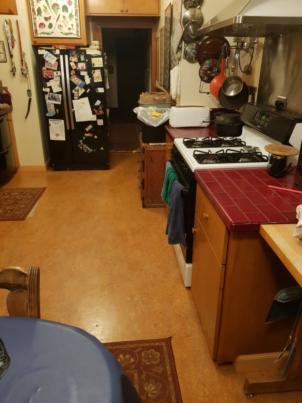
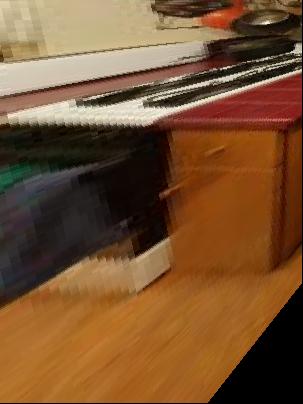
Our first application of homographies is image rectification. To rectify an image, we pick a shape in the image and select the vertices to use for our image warp. Then, we define by hand a set of vertices corresponding to the shape from a face on view. Now, we have two sets of points to define a homography and perform the warp. Here, we used the bottom cabinet door (square) and the points [170, 170], [270, 170], [270, 270], [170, 270]. We can see the result isnt totally face on, which is likely due to small amounts of error in defining the points in the image. However, we can see that the face of the cabinet door is indeed a square.
|
|
|
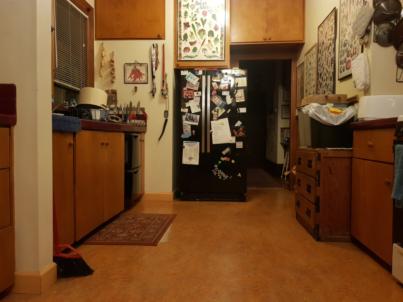
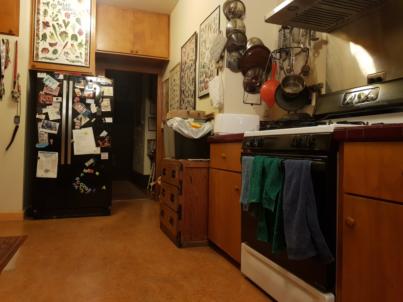
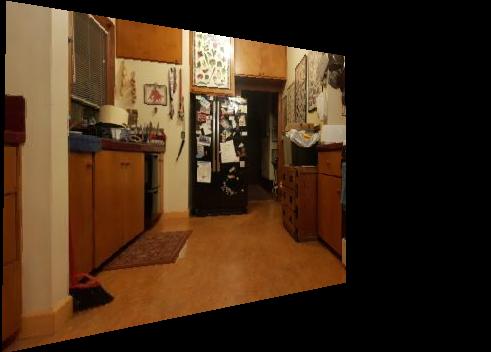
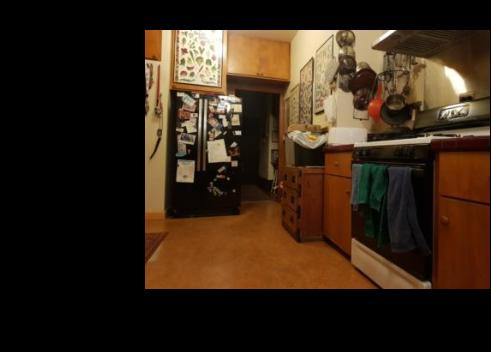
Next, we can blend 2 (or more) images of the same scene into a mosaic. We will do this by defining an image for the final viewing angle, then warping the other image(s) into that view. Finally, now that all the images have the same perspective, we can align and blend the images together. Here are the original images, as well as some intermediate steps and final results.
|
|

|
|
|

|