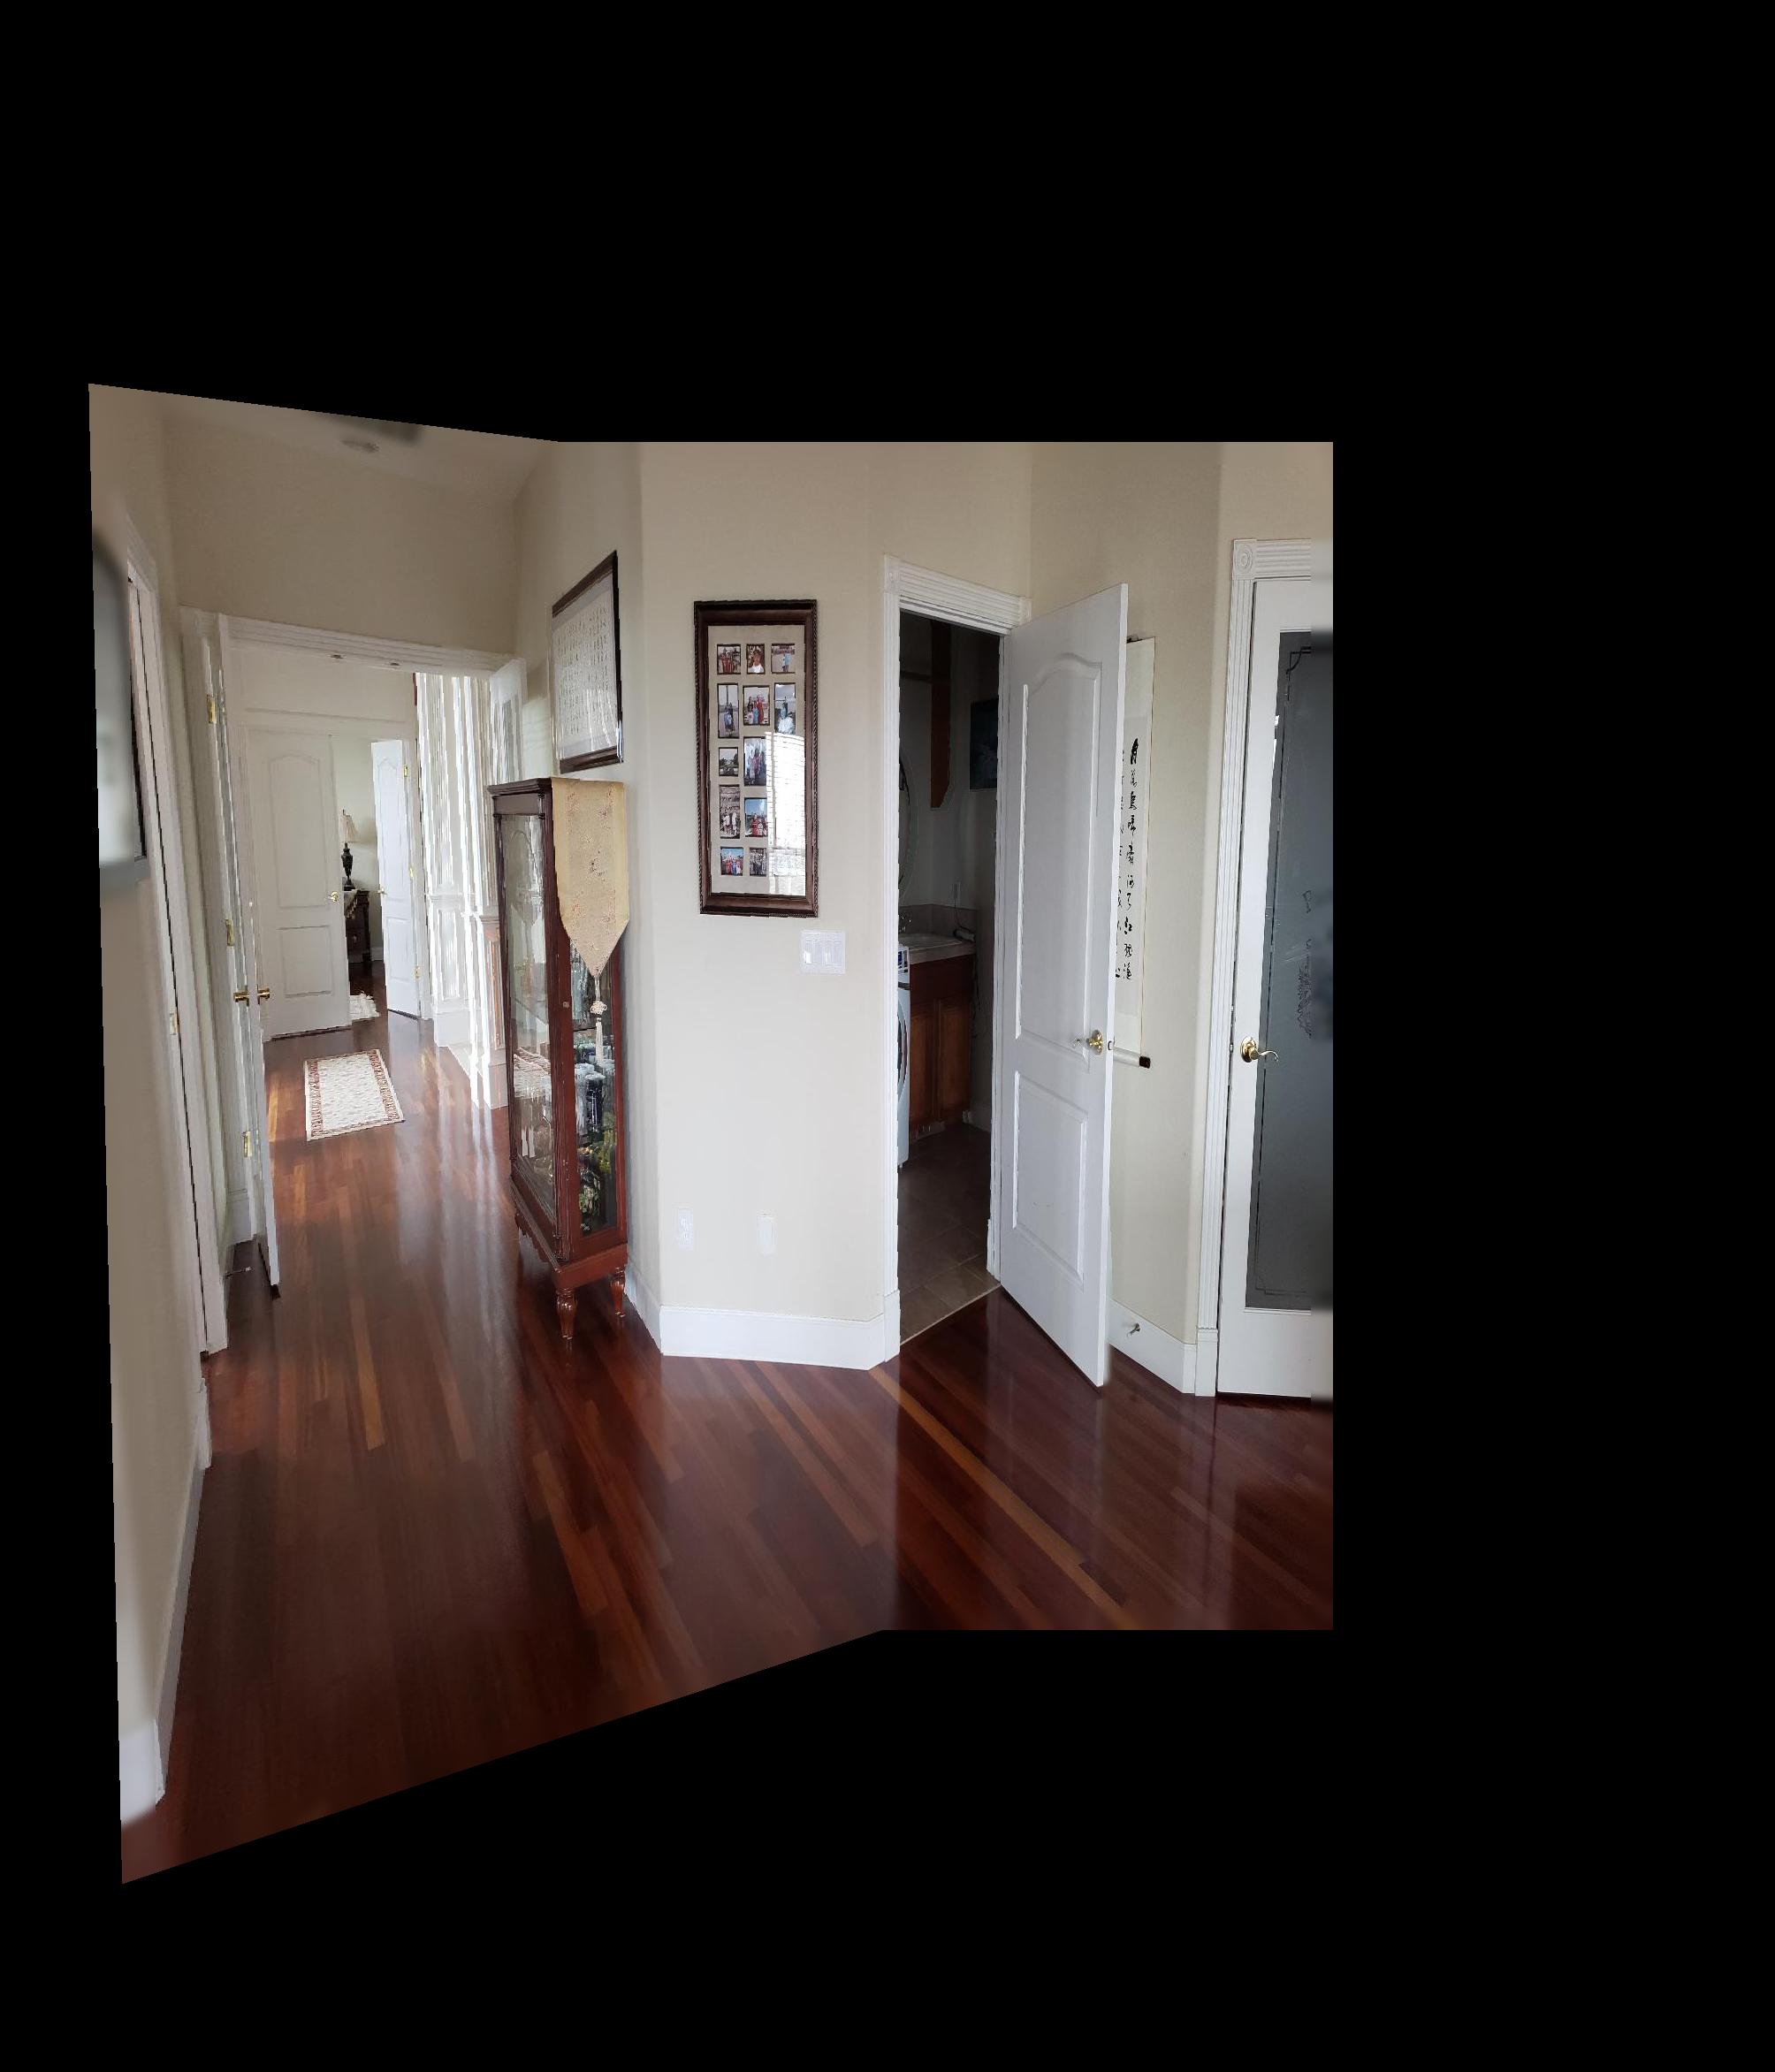
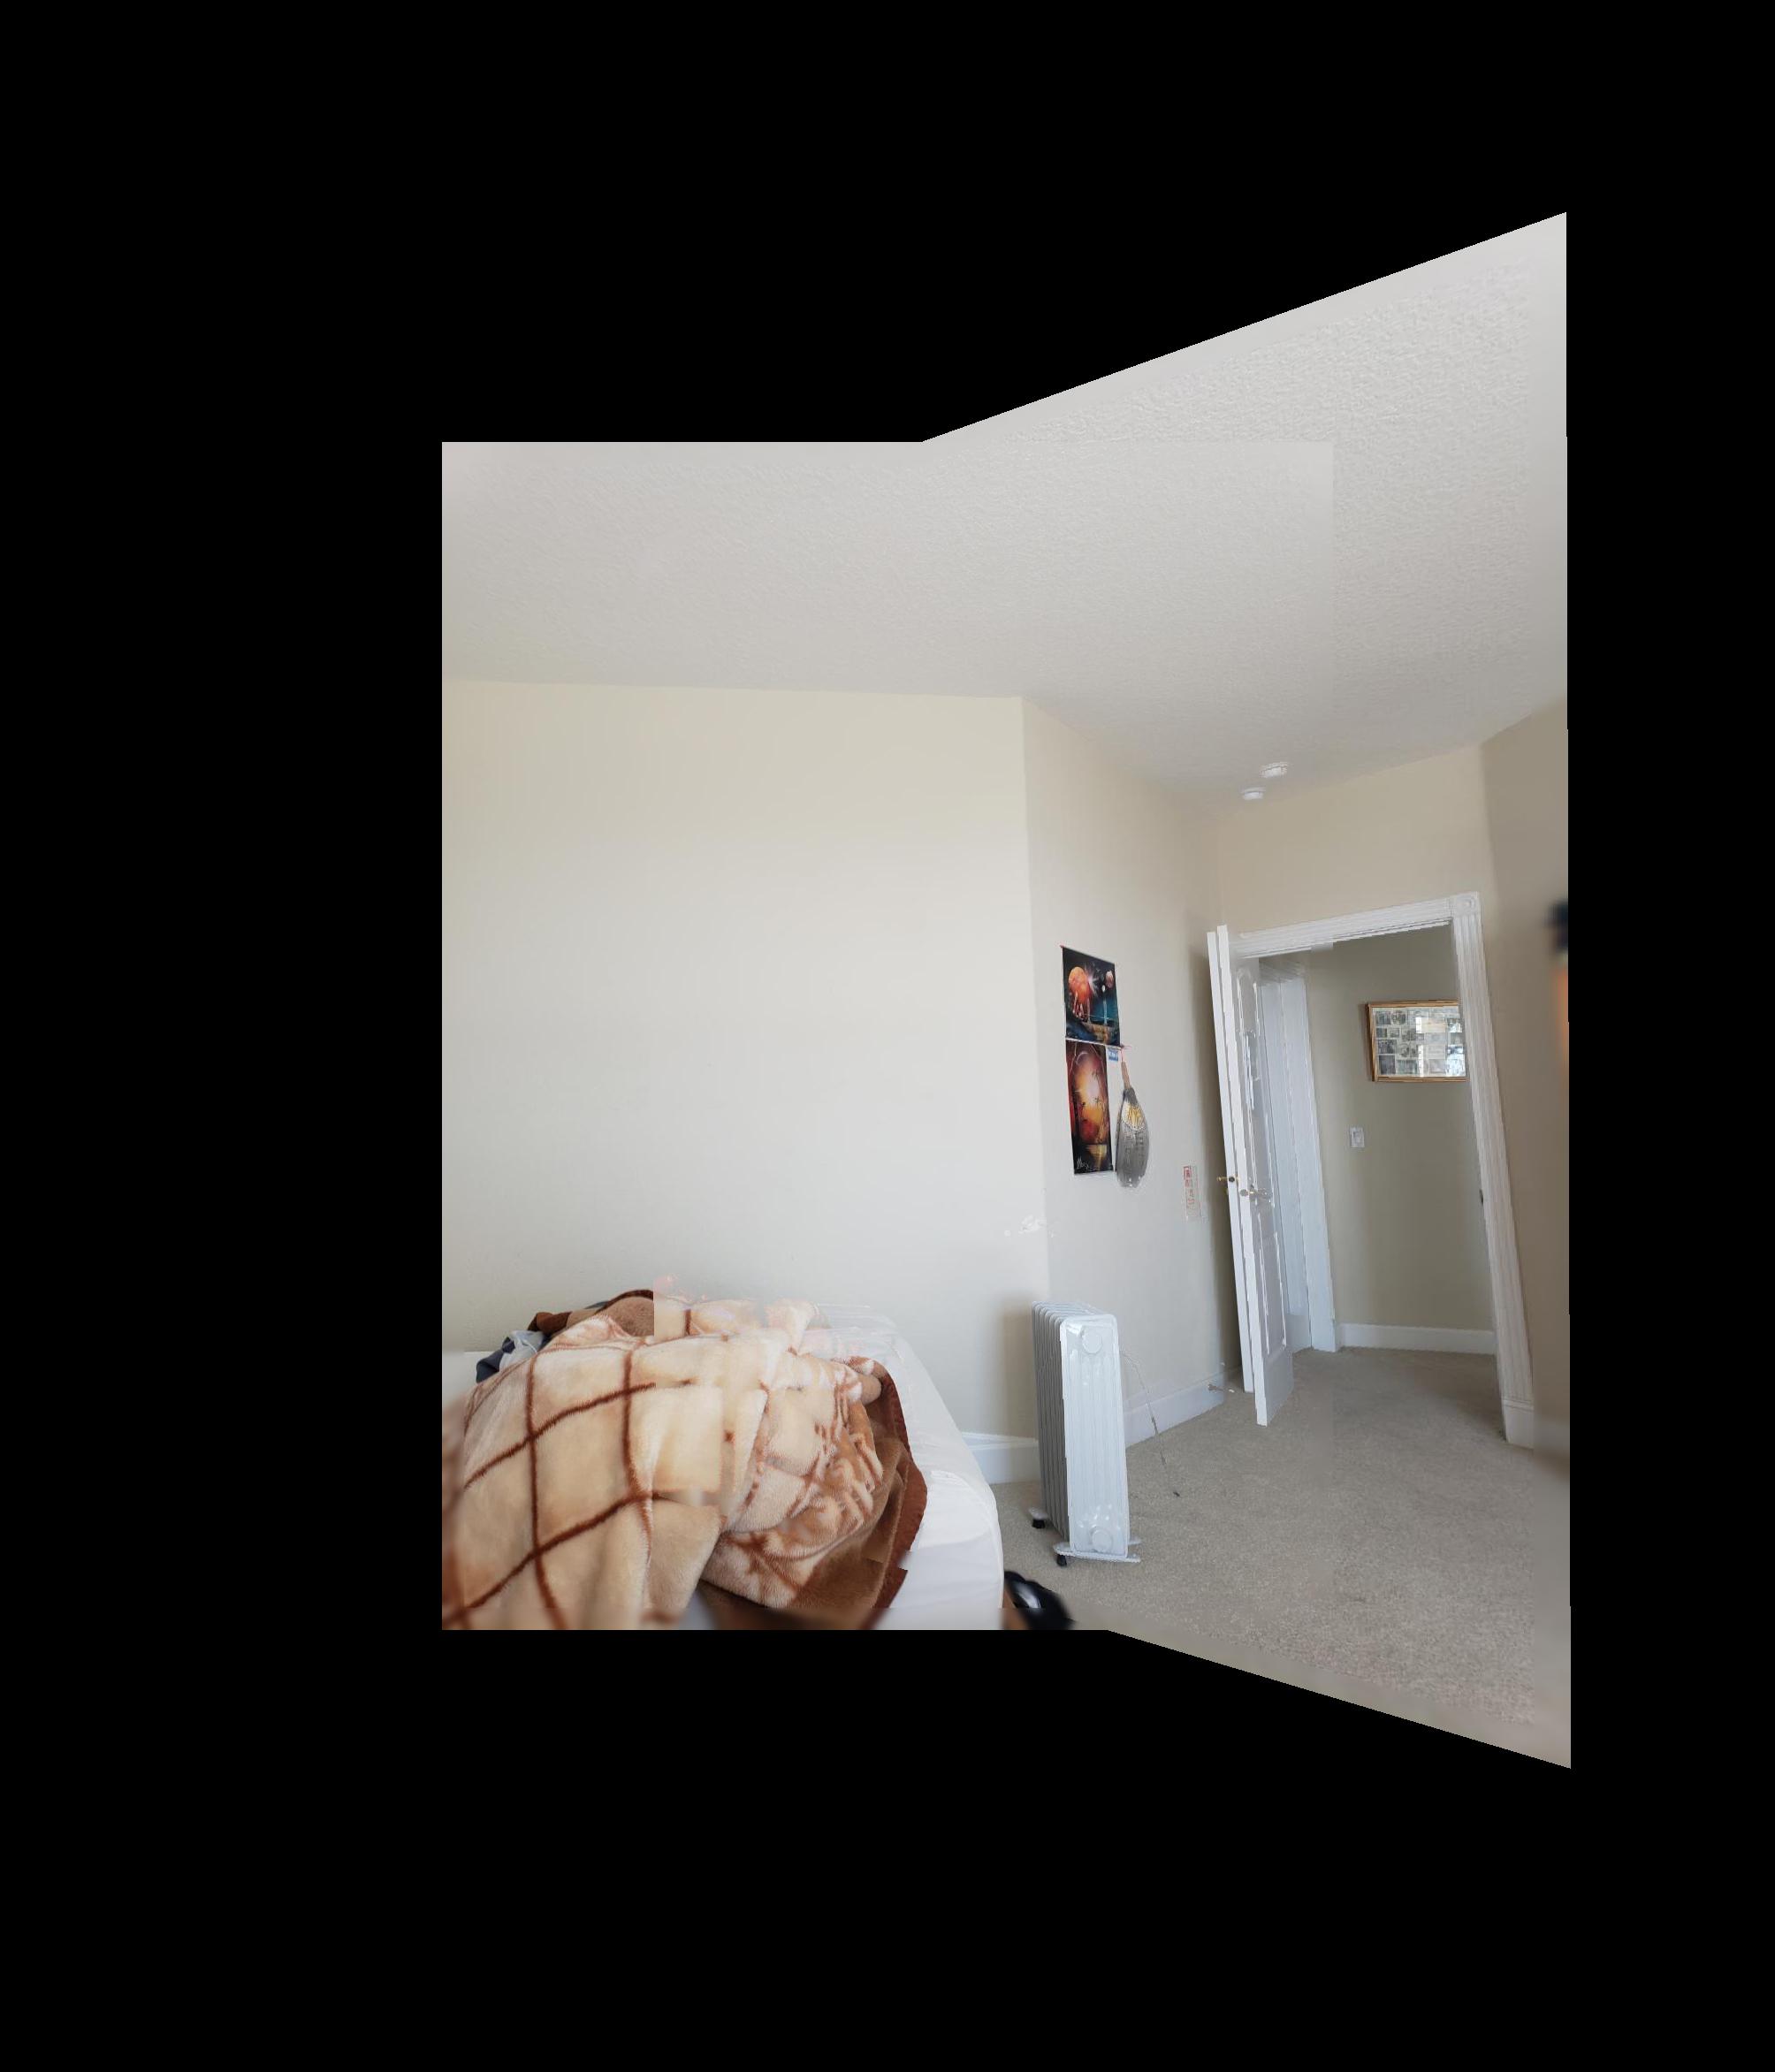
In this project, I used projective transforms to warp images and create mosaics. To start, I took several image pairs with my smartphone camera and annotated them with common feature points.
To warp one image to align with another, we need to be able to compute homographies between point feature sets. Given nx2 points p and p', we want to find a 3x3 matrix H such that p' = H p. Since we don't care about scaling, we can constrain the bottom right entry of H to be 1, which means our perpspective transform H has 8 degrees of freedom. Since each point correspondence gives us two equations in our system of equations, we need at least four correspondences. We collect more than this so to make our calculation more robust to noise and solve via least squares.
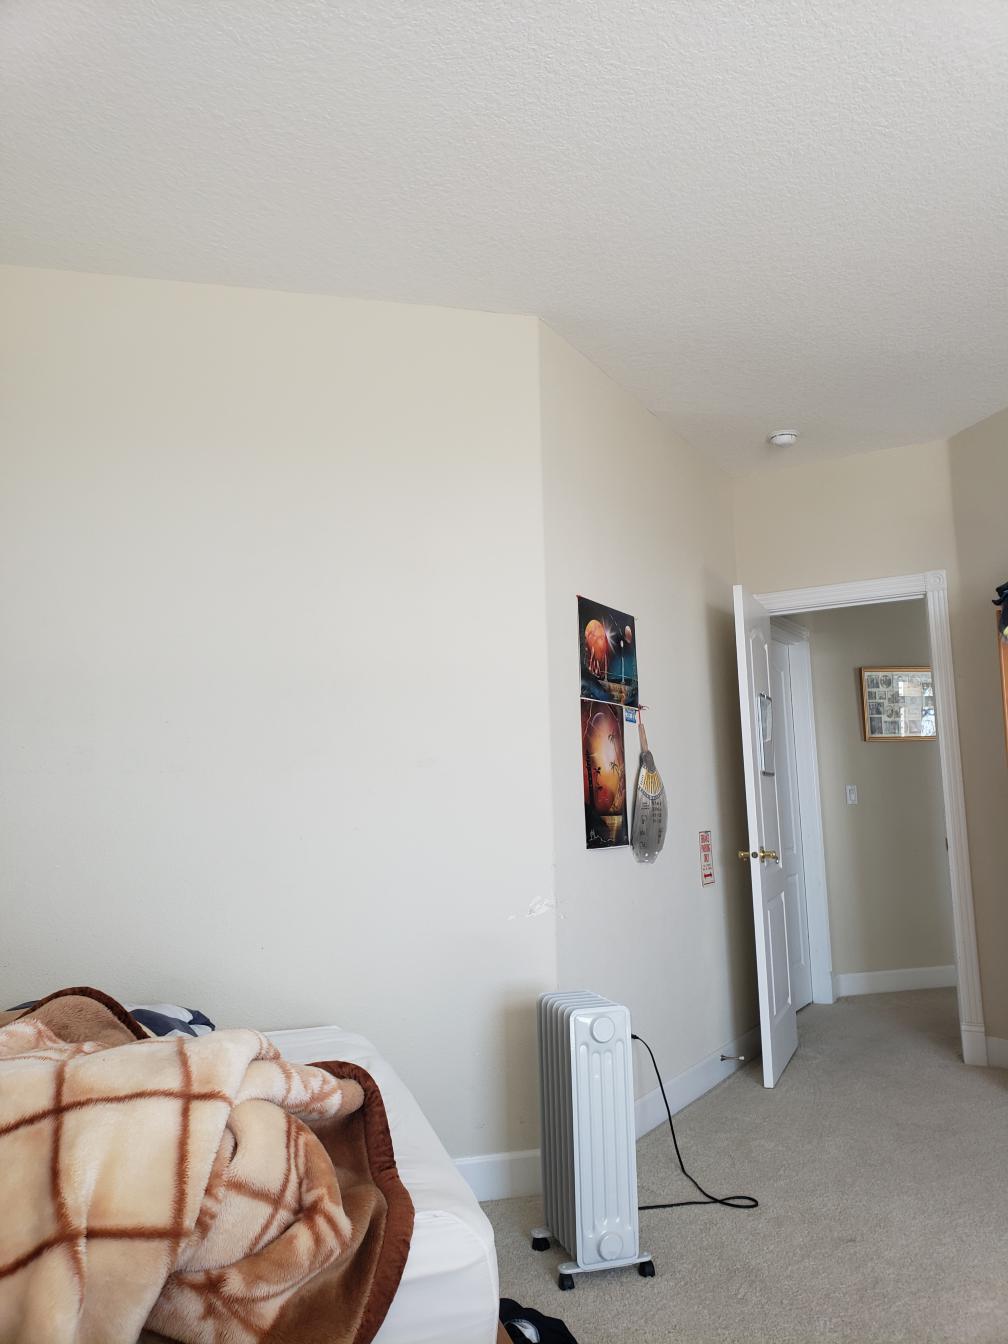
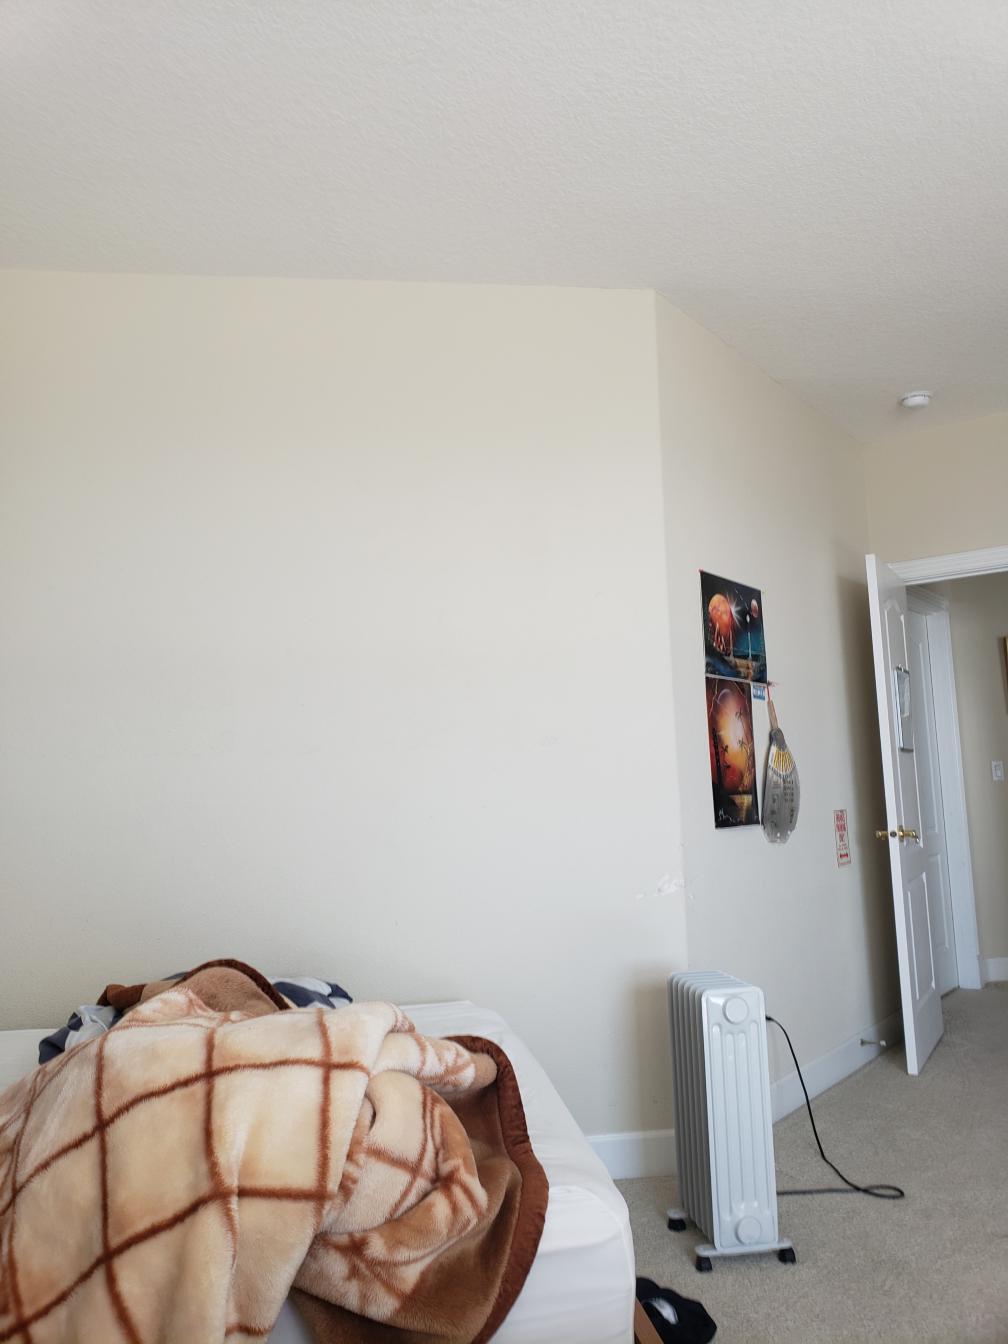
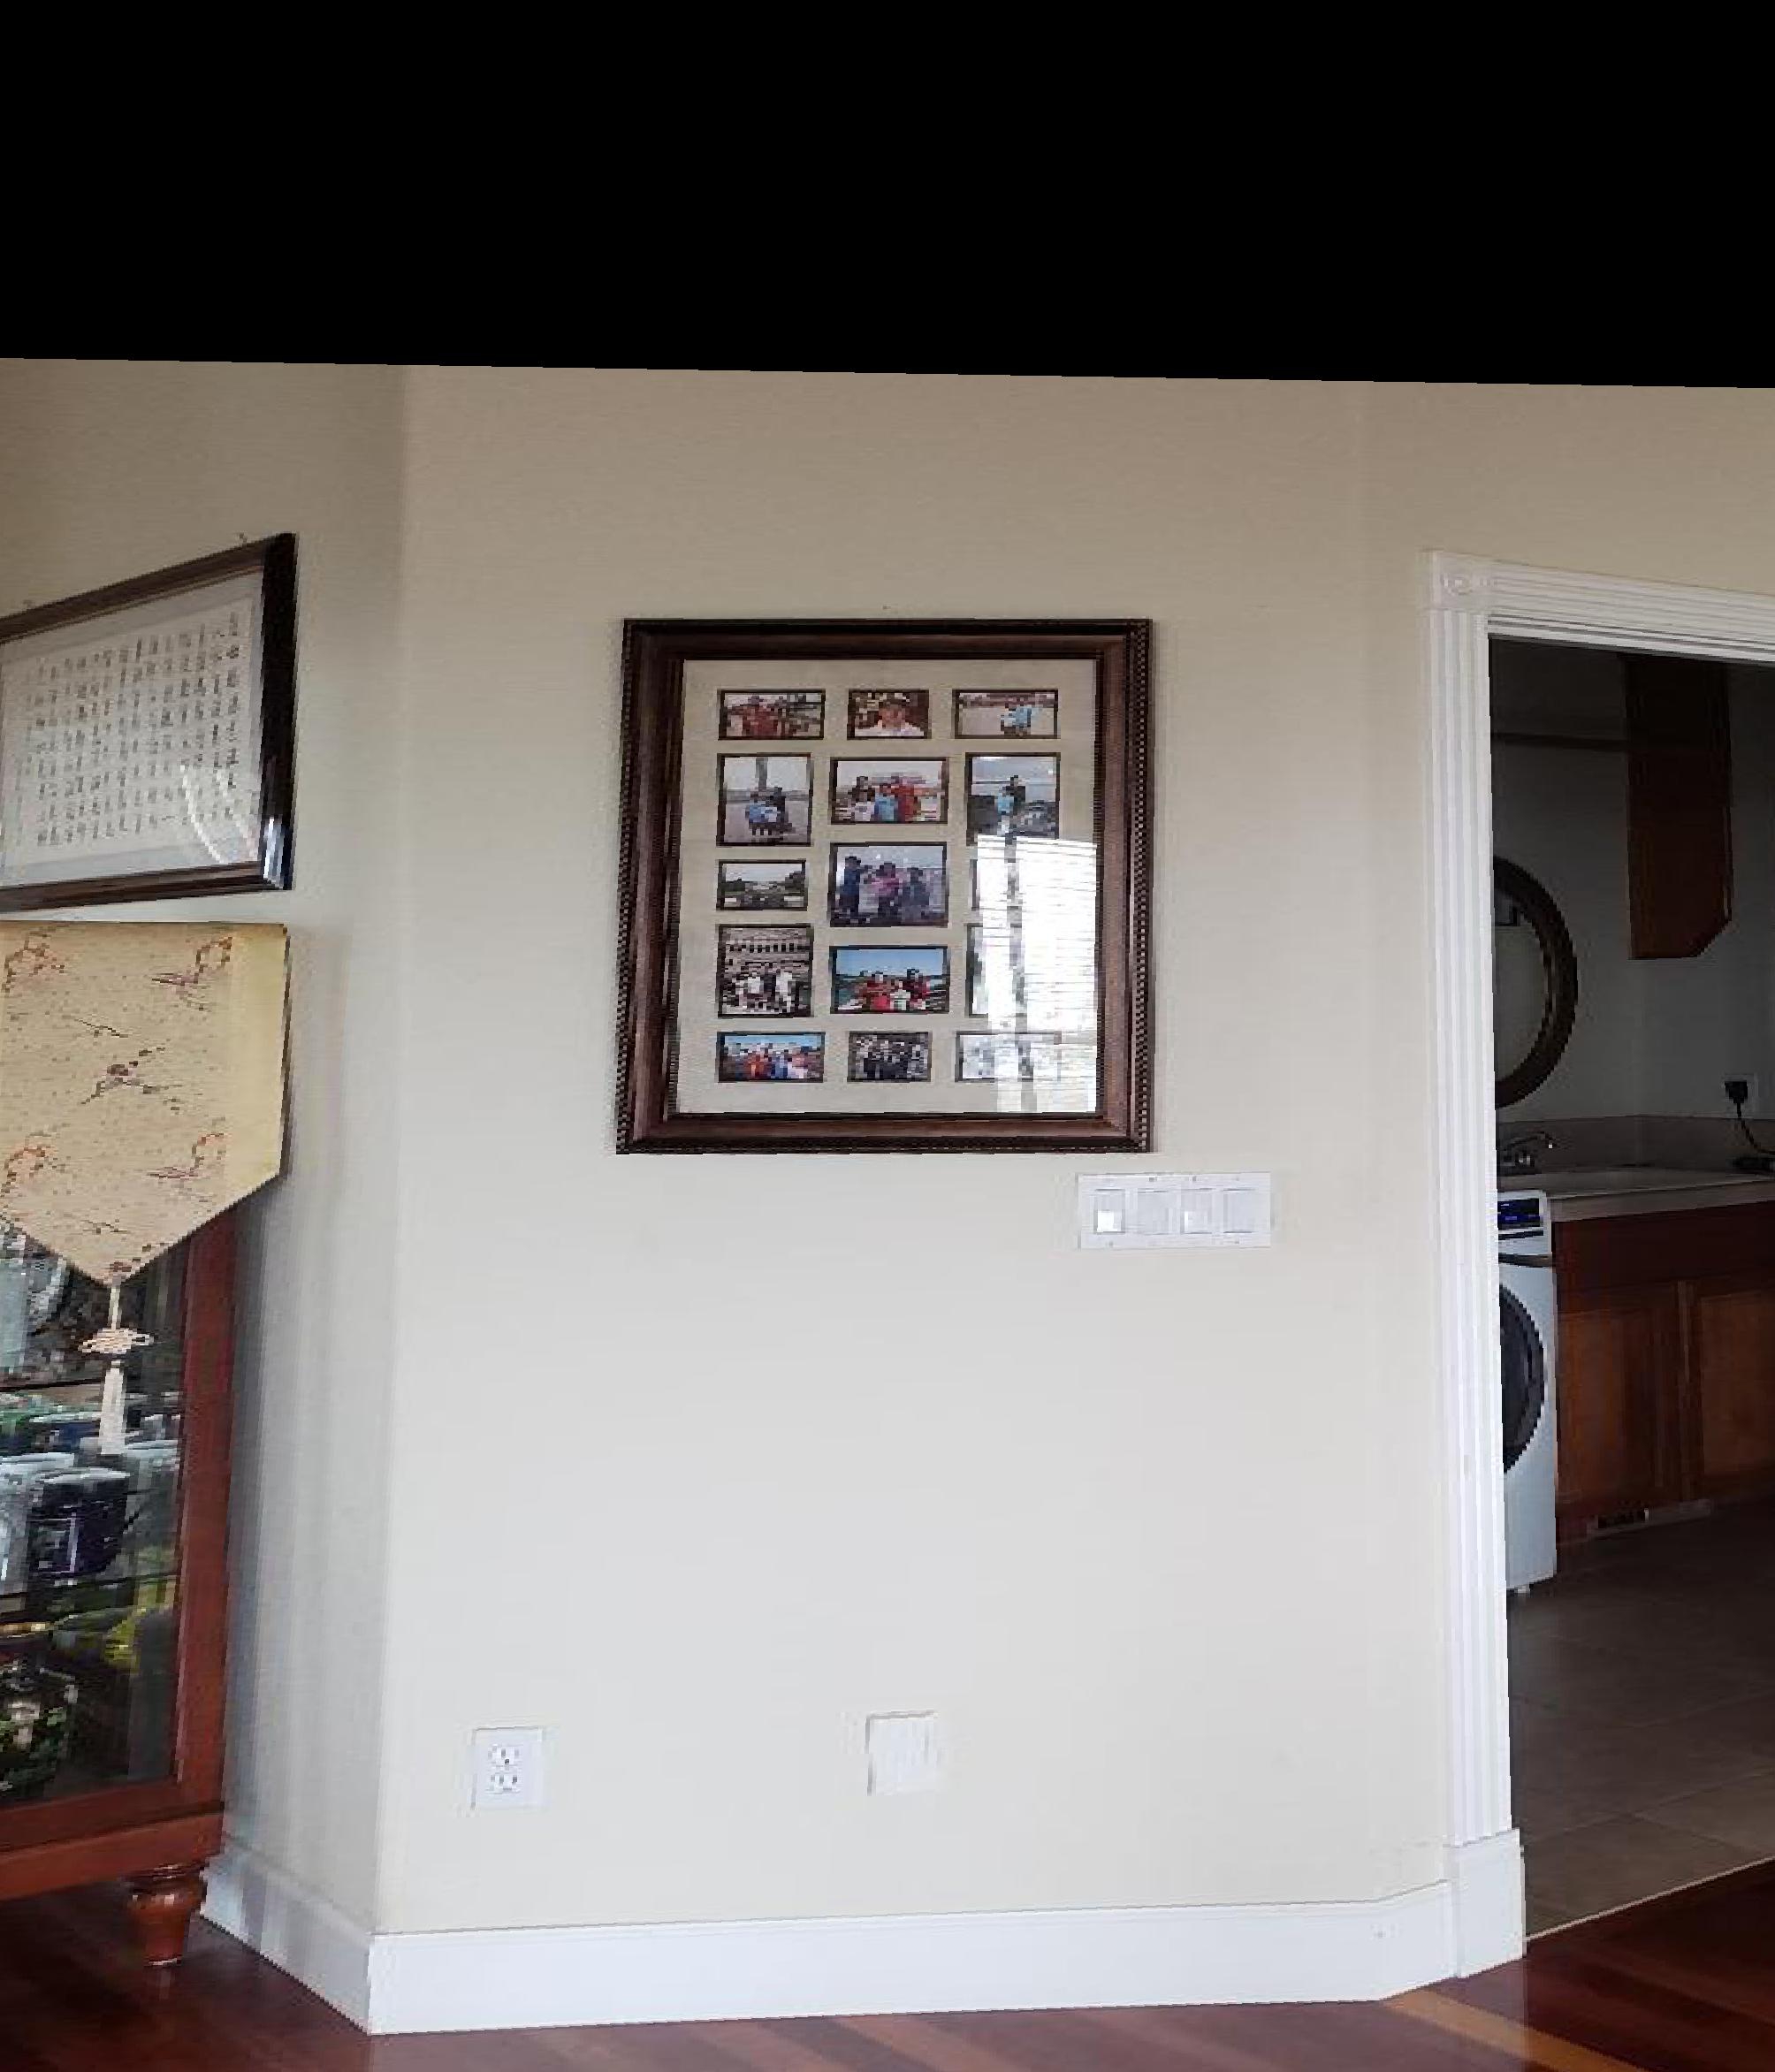
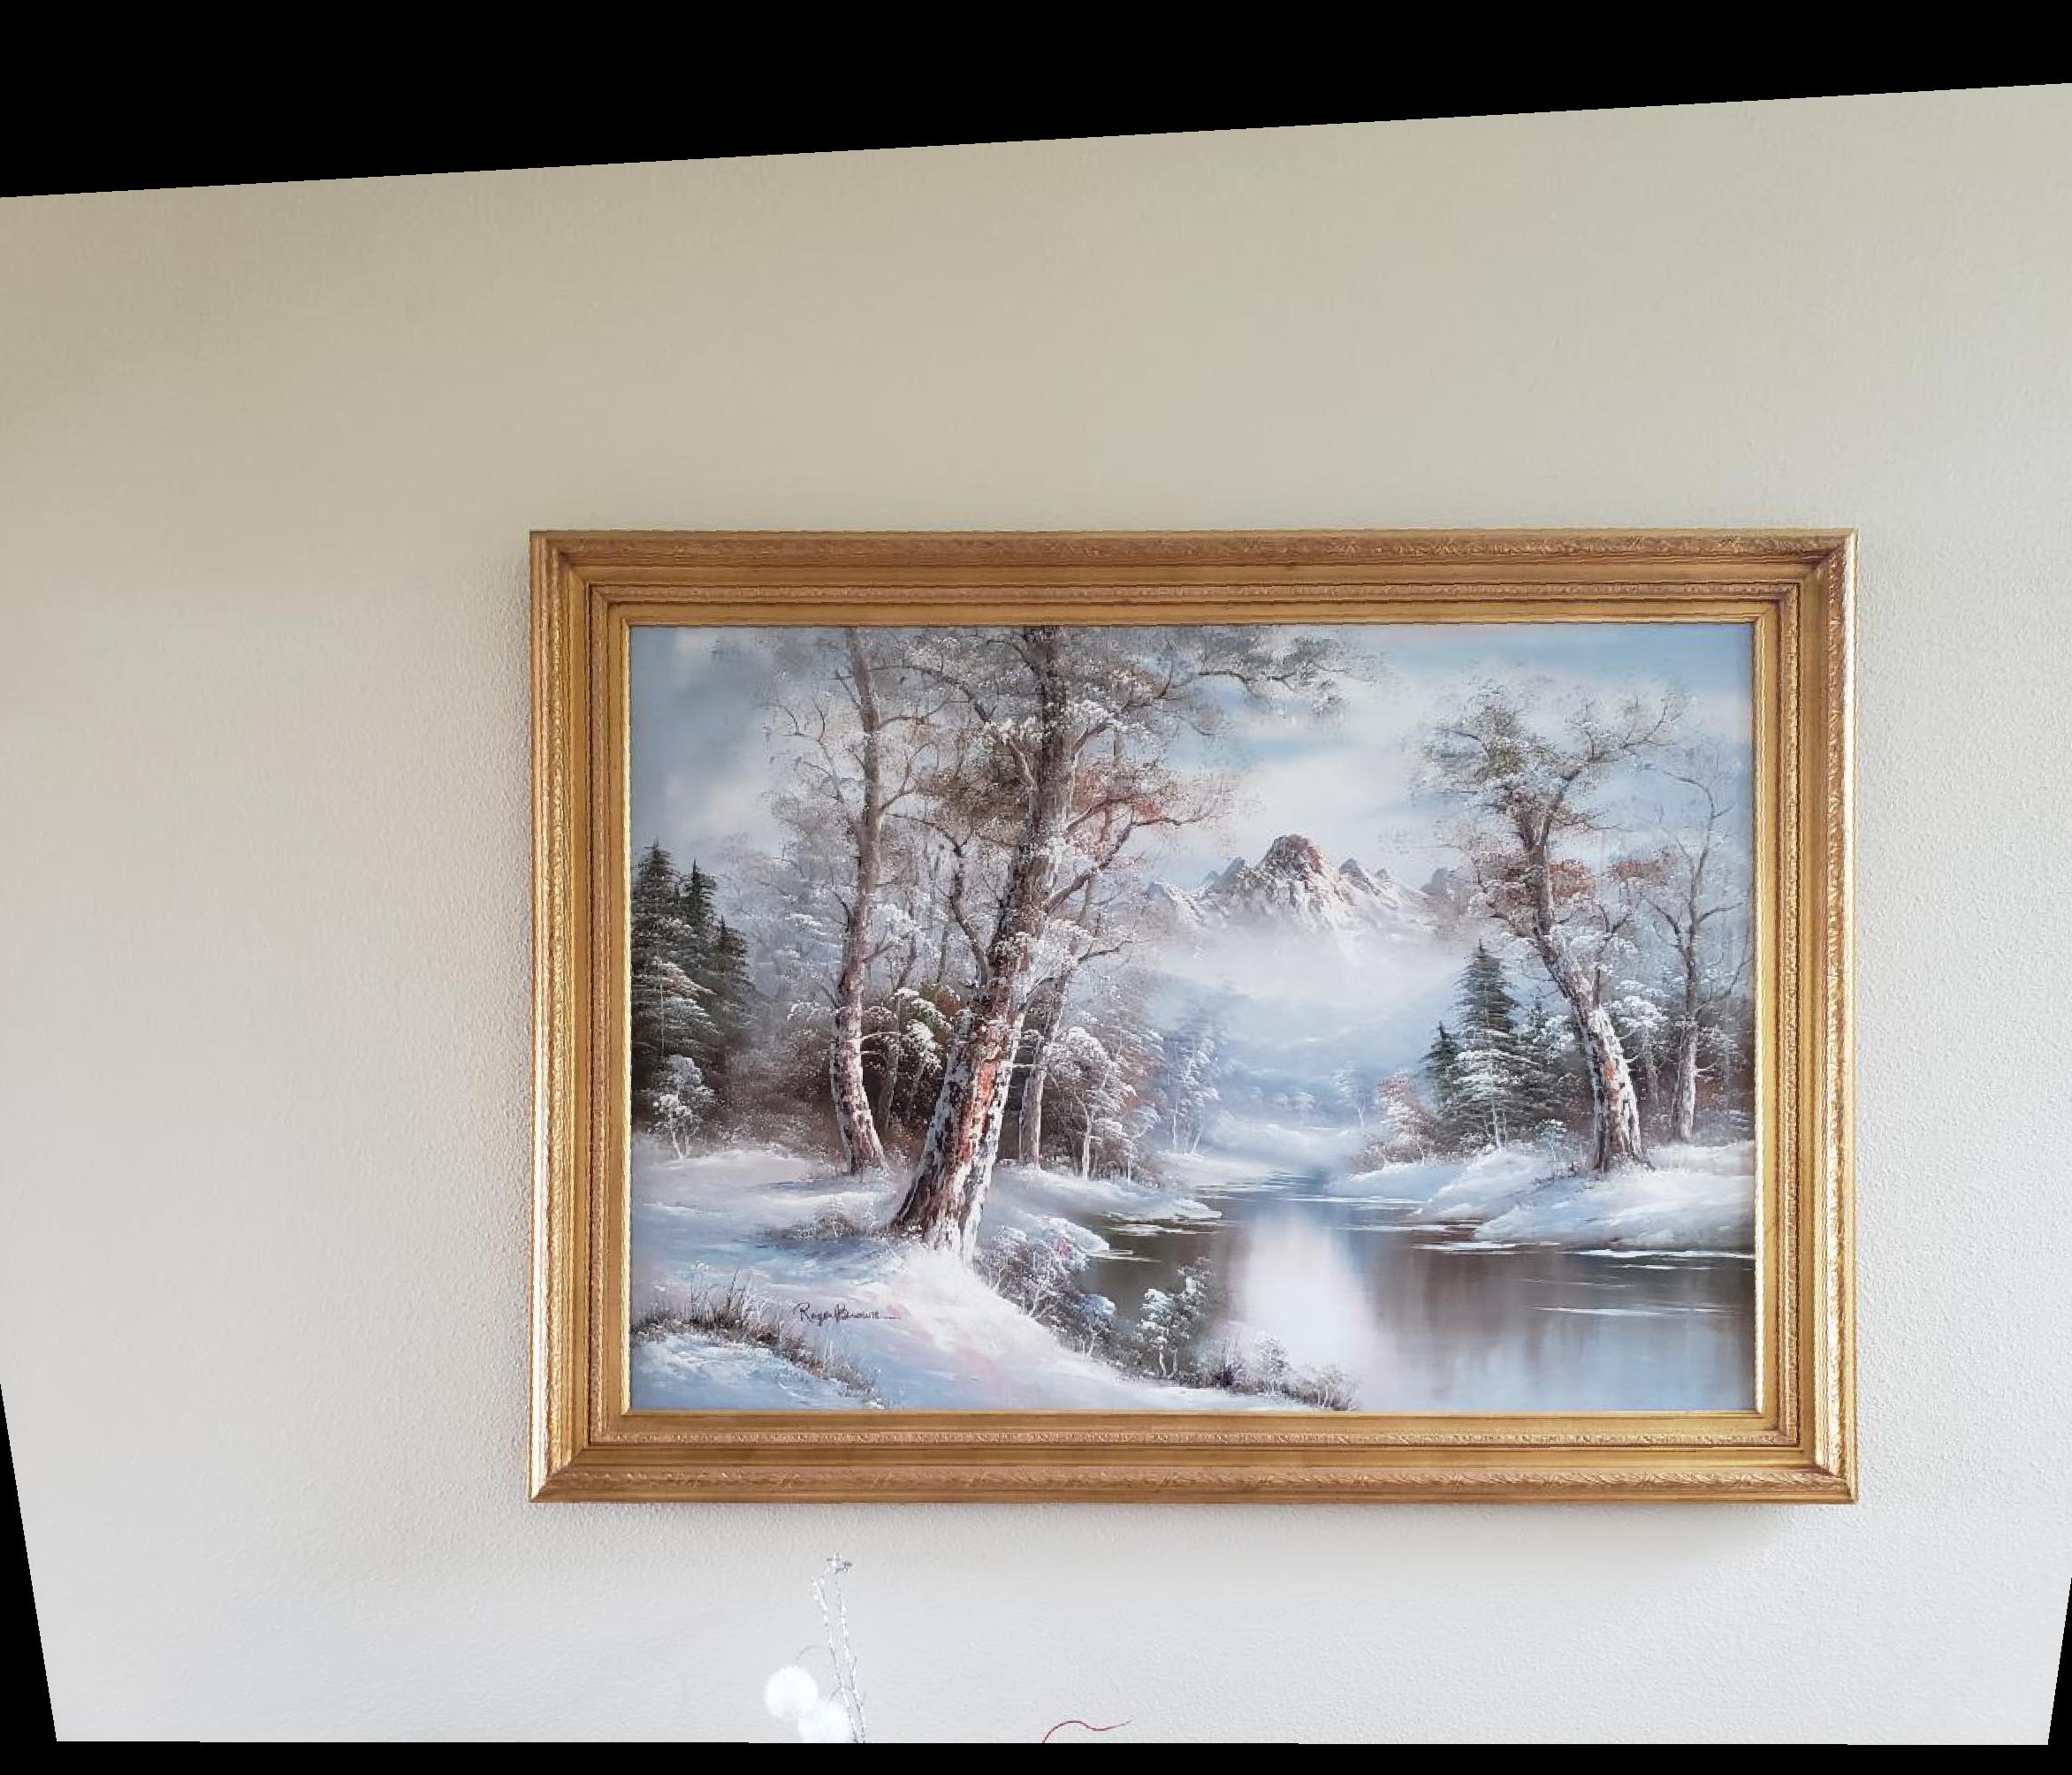
With the ability to compute homographies, we can now warp images. To do this, we transform the pixel coordinates of the destination image back into the original image frame and fill in our image with pixels from the original image. To illustrate this, we perform rectification by transforming our image such that we get an aligned view of objects in the scene. Here are two examples.
Now, we can blend mosaics together! If we compute the homography between two pairs of images, we can project one image on top of the other and blend them to create panoramas. To deal with edge artifacts, we can take the maximum pixel value and feather the edges of the images. Here are three examples.

It was really cool how much information is "hidden" inside images that can be revealed using perspective transforms. I also found that debugging image warping is a huge pain.