Part 2: Computing Homographies and Warping
This part doesn't have any visuals. I found my homography using a similar tactic to the one I used to find the affine warp in Project 3. I essentially set up a vector x = [a, b, c, d, e, f, g, h].T and created a corresponding A matri (source points) and b (target points). I then used Numpy's uilt in least squares solver to find x, then reshaped it into the homography matrix H. TO actually warp images, I simply found the inverse warp from the warped/rectified image to the source image. I then found and clipped the corresponding point in the source image for every point in the warped/recitifed image (in a vectorized fashion) and returned the warped image
Part 4: What I Learned
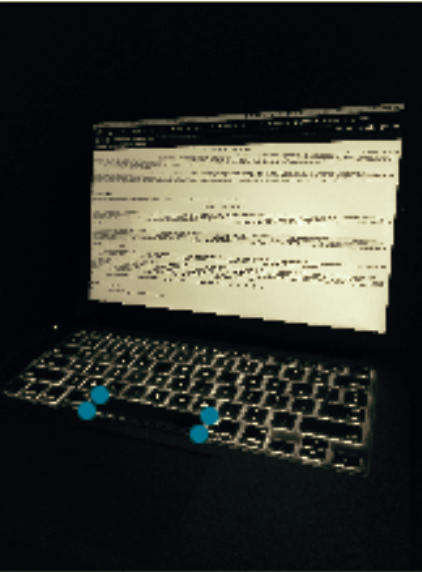
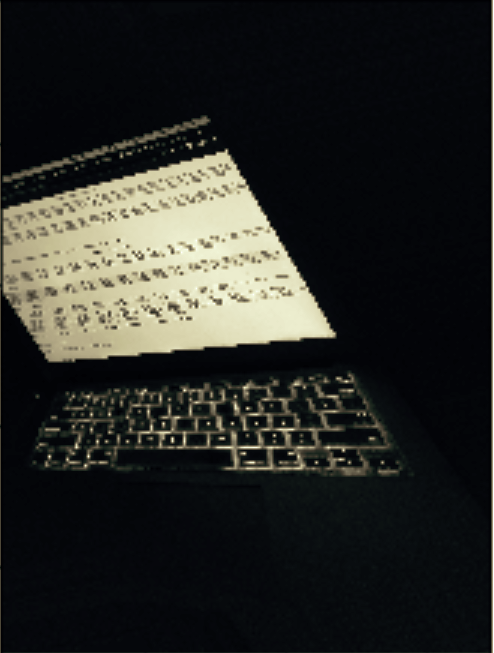
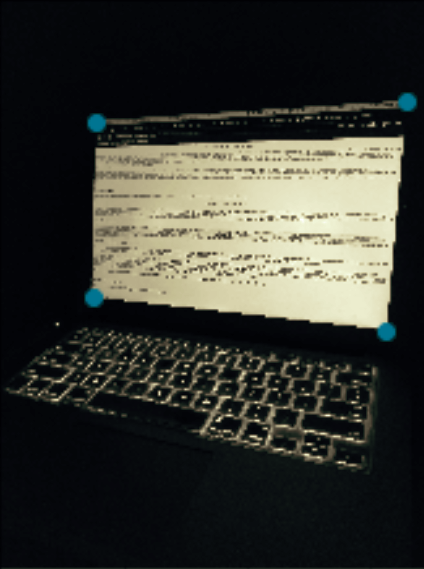
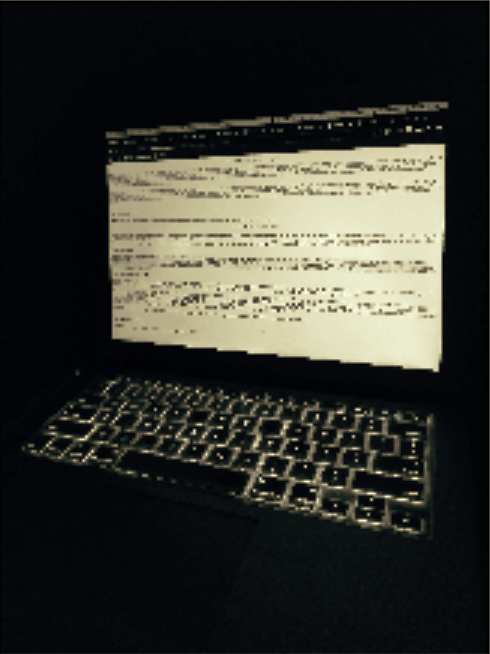
I underestimated this part of the project because I assumed it was going to be a lot like Project 3. I learned that an 8 DoF homography is more complicated to calculate than a 6 DoF affine warp. I also learned that it's important to double check the ordering of corresponding keypoints and arguments to make sure things match up correctly. I also learned that rectification is not as simple as choosing a square/rectangle and rectifying to it. Choosing the corresponding keypoints (although they are a square or rectangle) is still difficult because you need to choose the right numbers so that it's easy to see the resulting image. For instance if I just chose the corners of a unit square as my rectification target points, most of the image would be black because the homography would to to squeeze the rectified shape into a single pixel and therefore produce a meaningless image. Finally, I learned that stable photography (without shifts in lighting, translation, etc.) is extremely tough given a lack of equipment (and the lack of ability to procure equipment).