Part 1: IMAGE WARPING and MOSAICING
Rectifying images
I computed the homography transform by solving the system of equations below (source for image: http://www.cse.psu.edu/~rtc12/CSE486/lecture16.pdf )
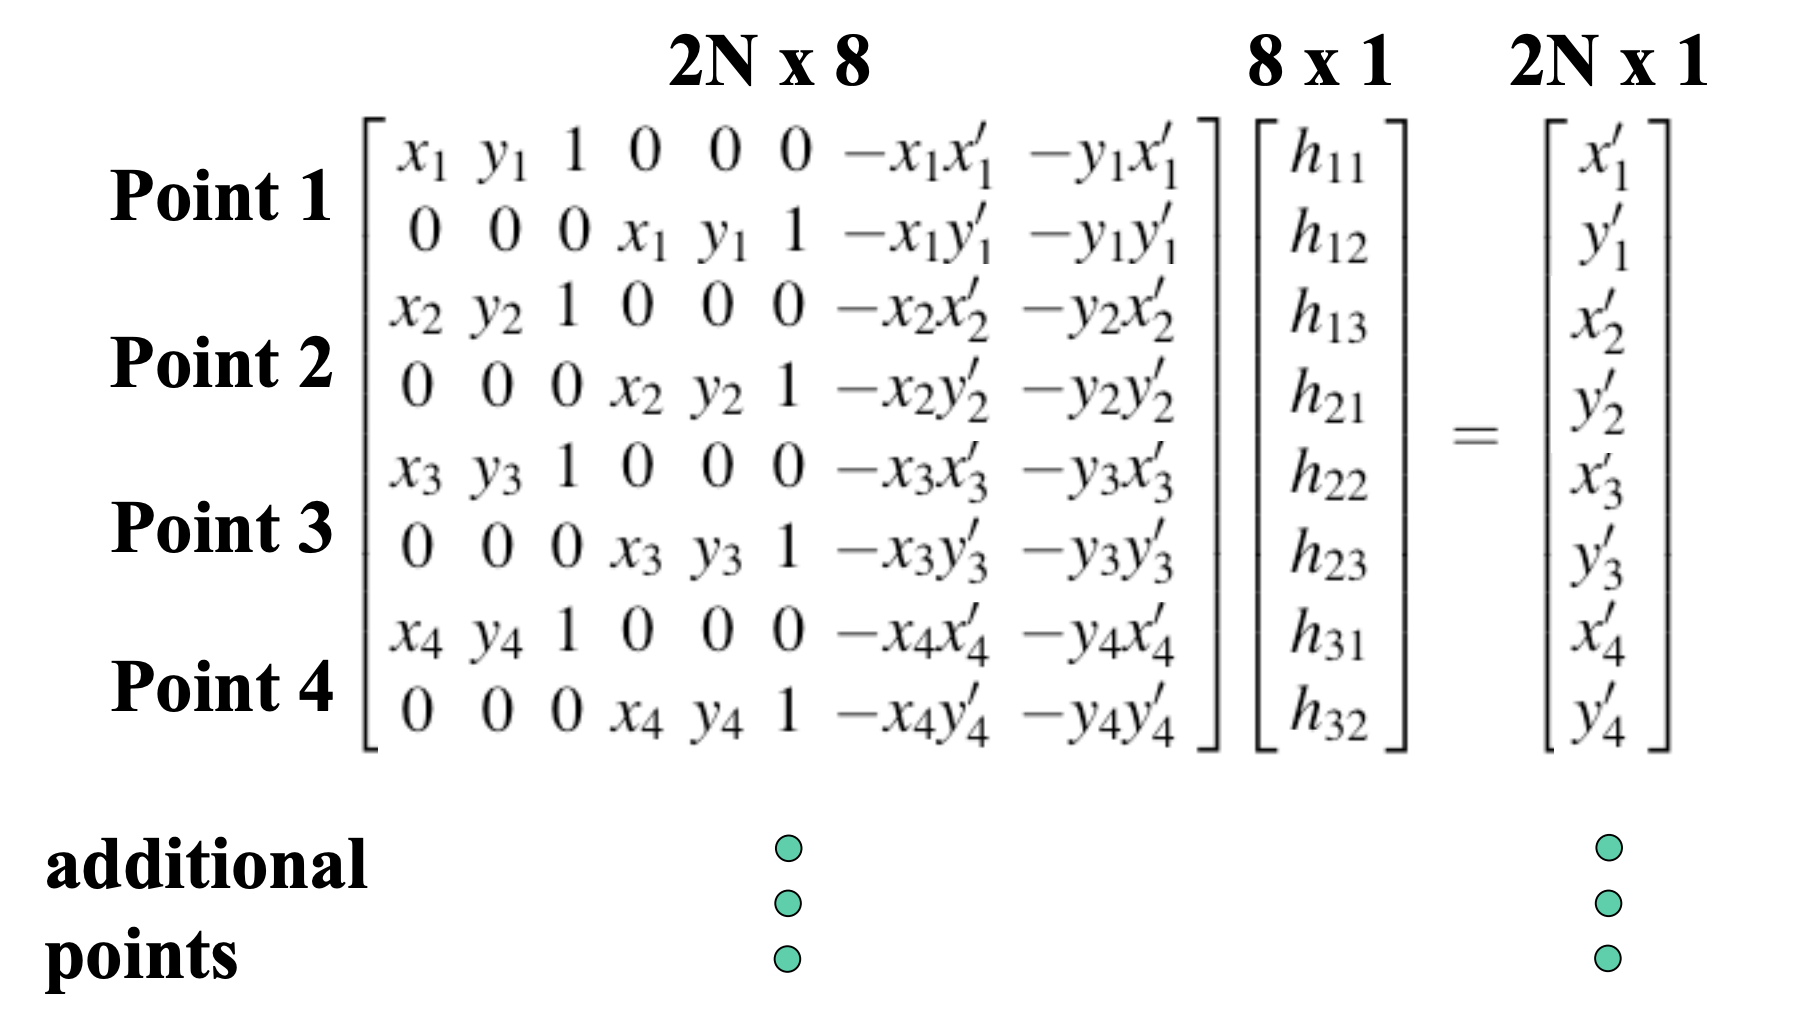
I set H[3,3] equal to 1. The x', y' are points in the image to be warped, and the x, y are images in the picture whose perspective we will keep fixed.
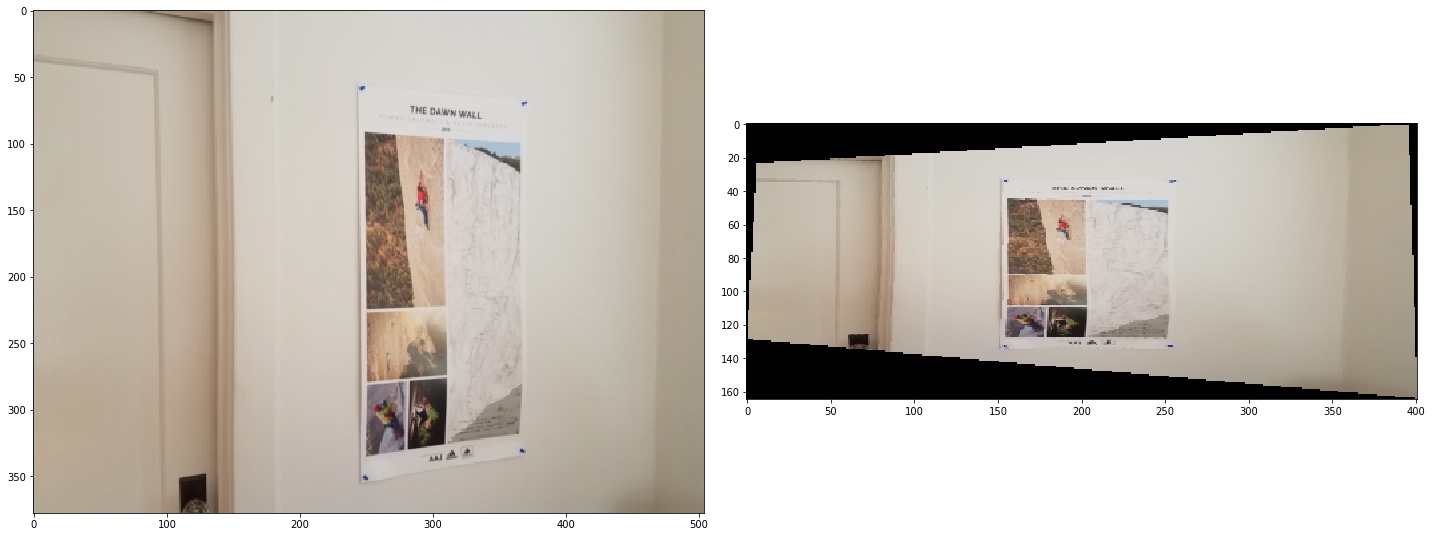
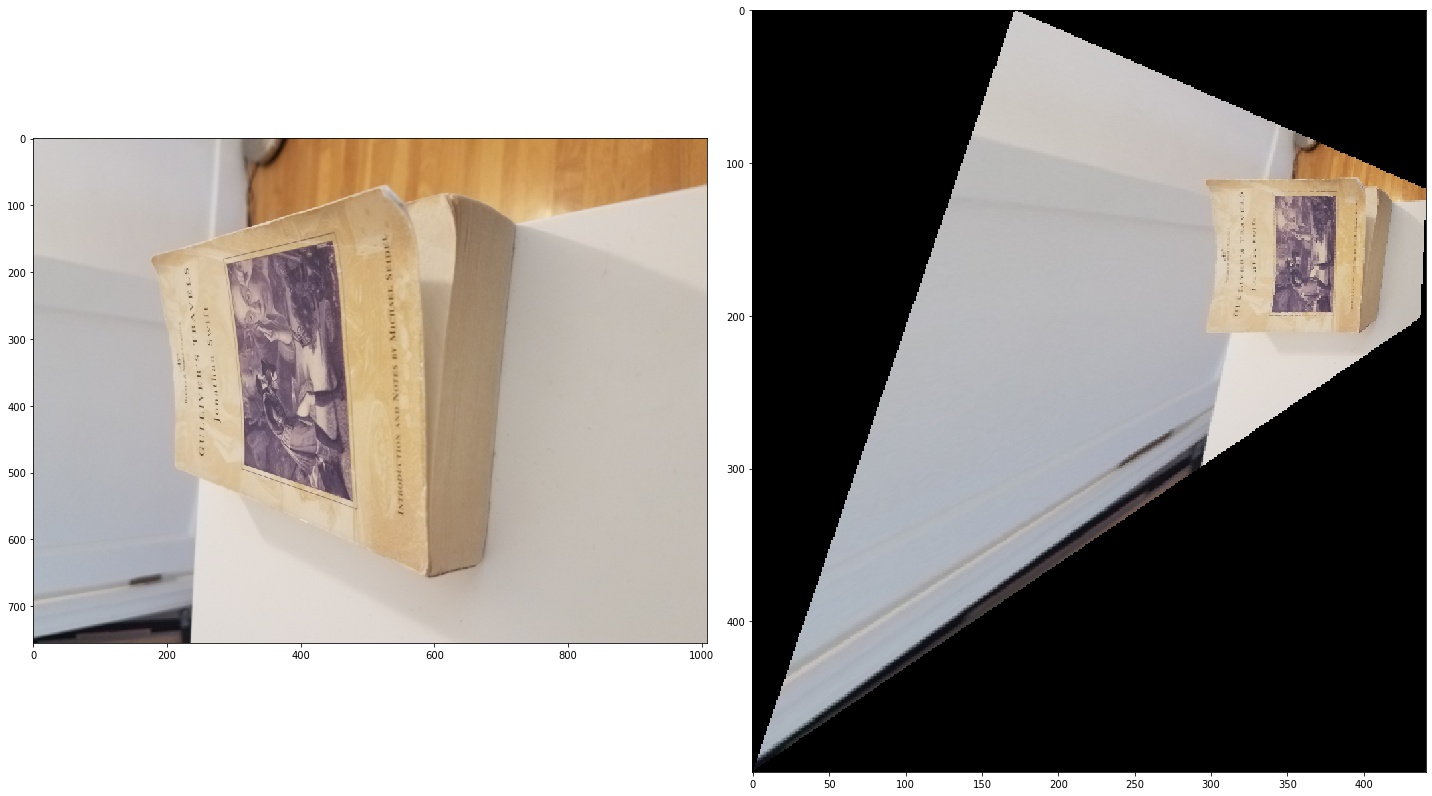
First, I rectified some images just to check that the homography was working. Here are some samples.
Rectifying the poster on the wall:
Rectifying the cover of the book:
Panoramas
I selected corresponding points between each pair of images by hand. Then, I created a panorama using similar logic to rectifying images. I kept the left image as a normal perspective, and rectified the right image to match the regions of the left image. I combined them by using a maximum.
Example 1
The original images here are taken from this tutorial: https://www.pyimagesearch.com/2018/12/17/image-stitching-with-opencv-and-python/ However, I did not use any other code from there (they used OpenCV for the warping anyways).
These are the corresponding points I chose, overlaid with the original images:
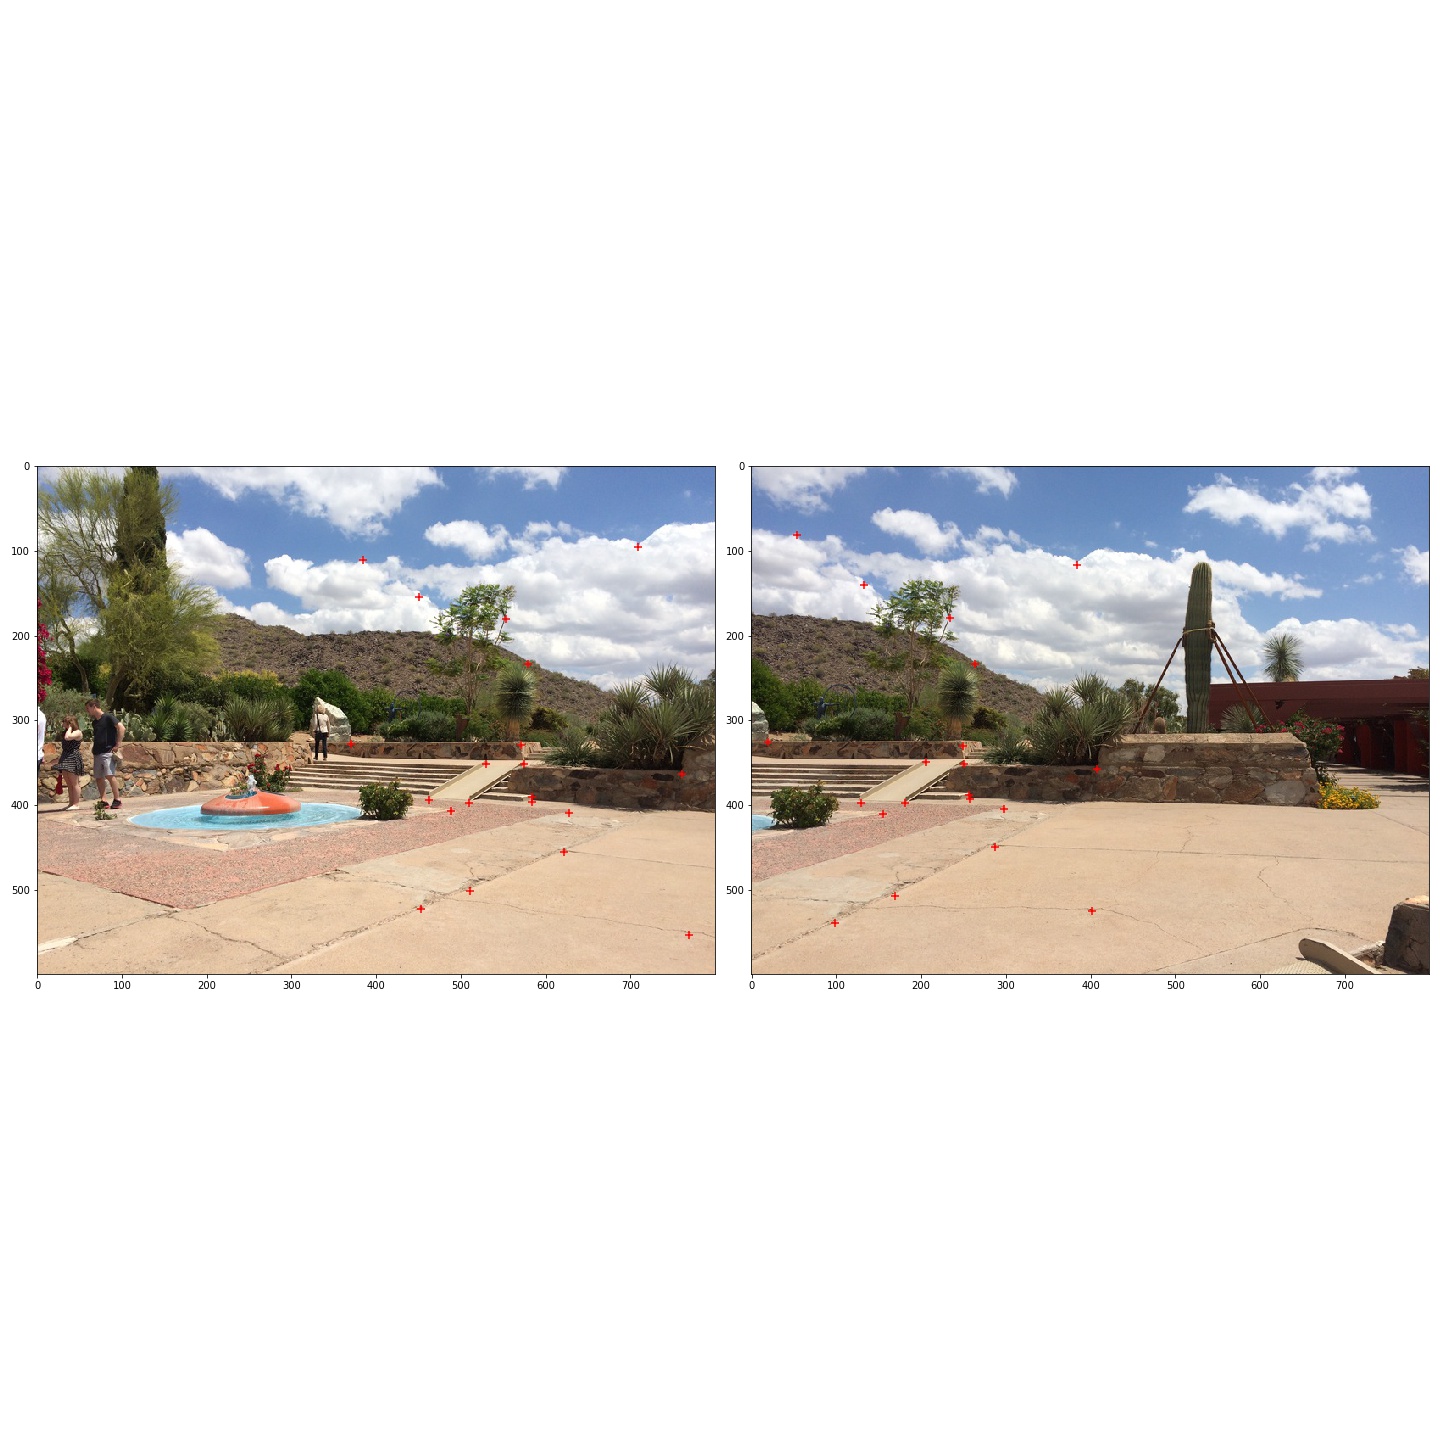
And, the panorama:

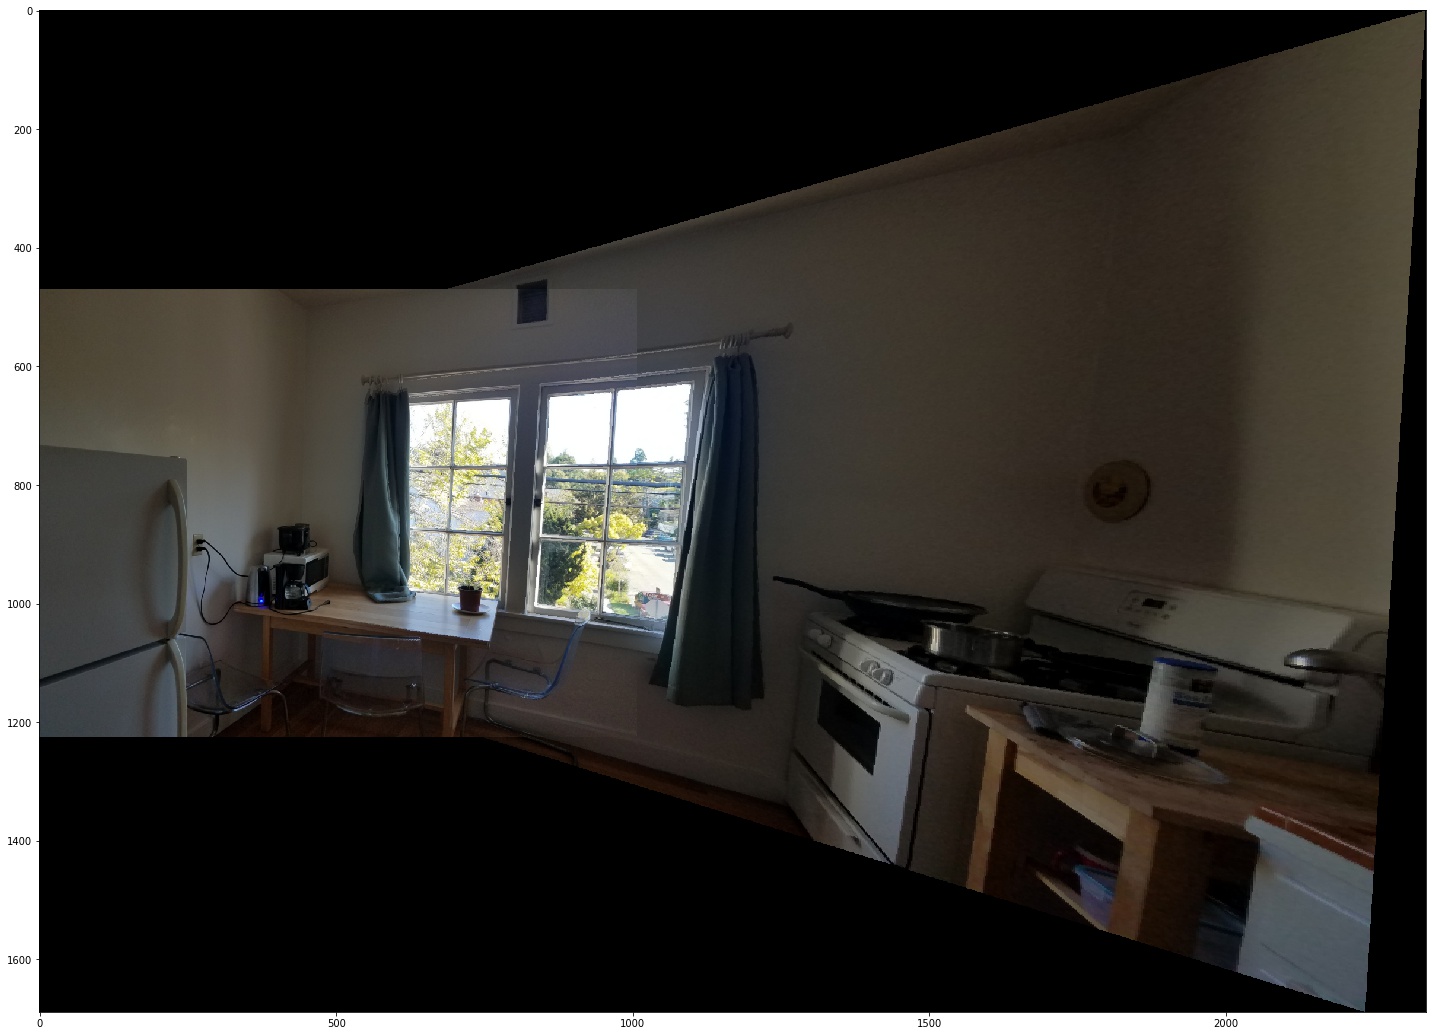
Next, I did an incredibly exciting panorama of my apartment's kitchen. Here are the original photos, with keypoints:
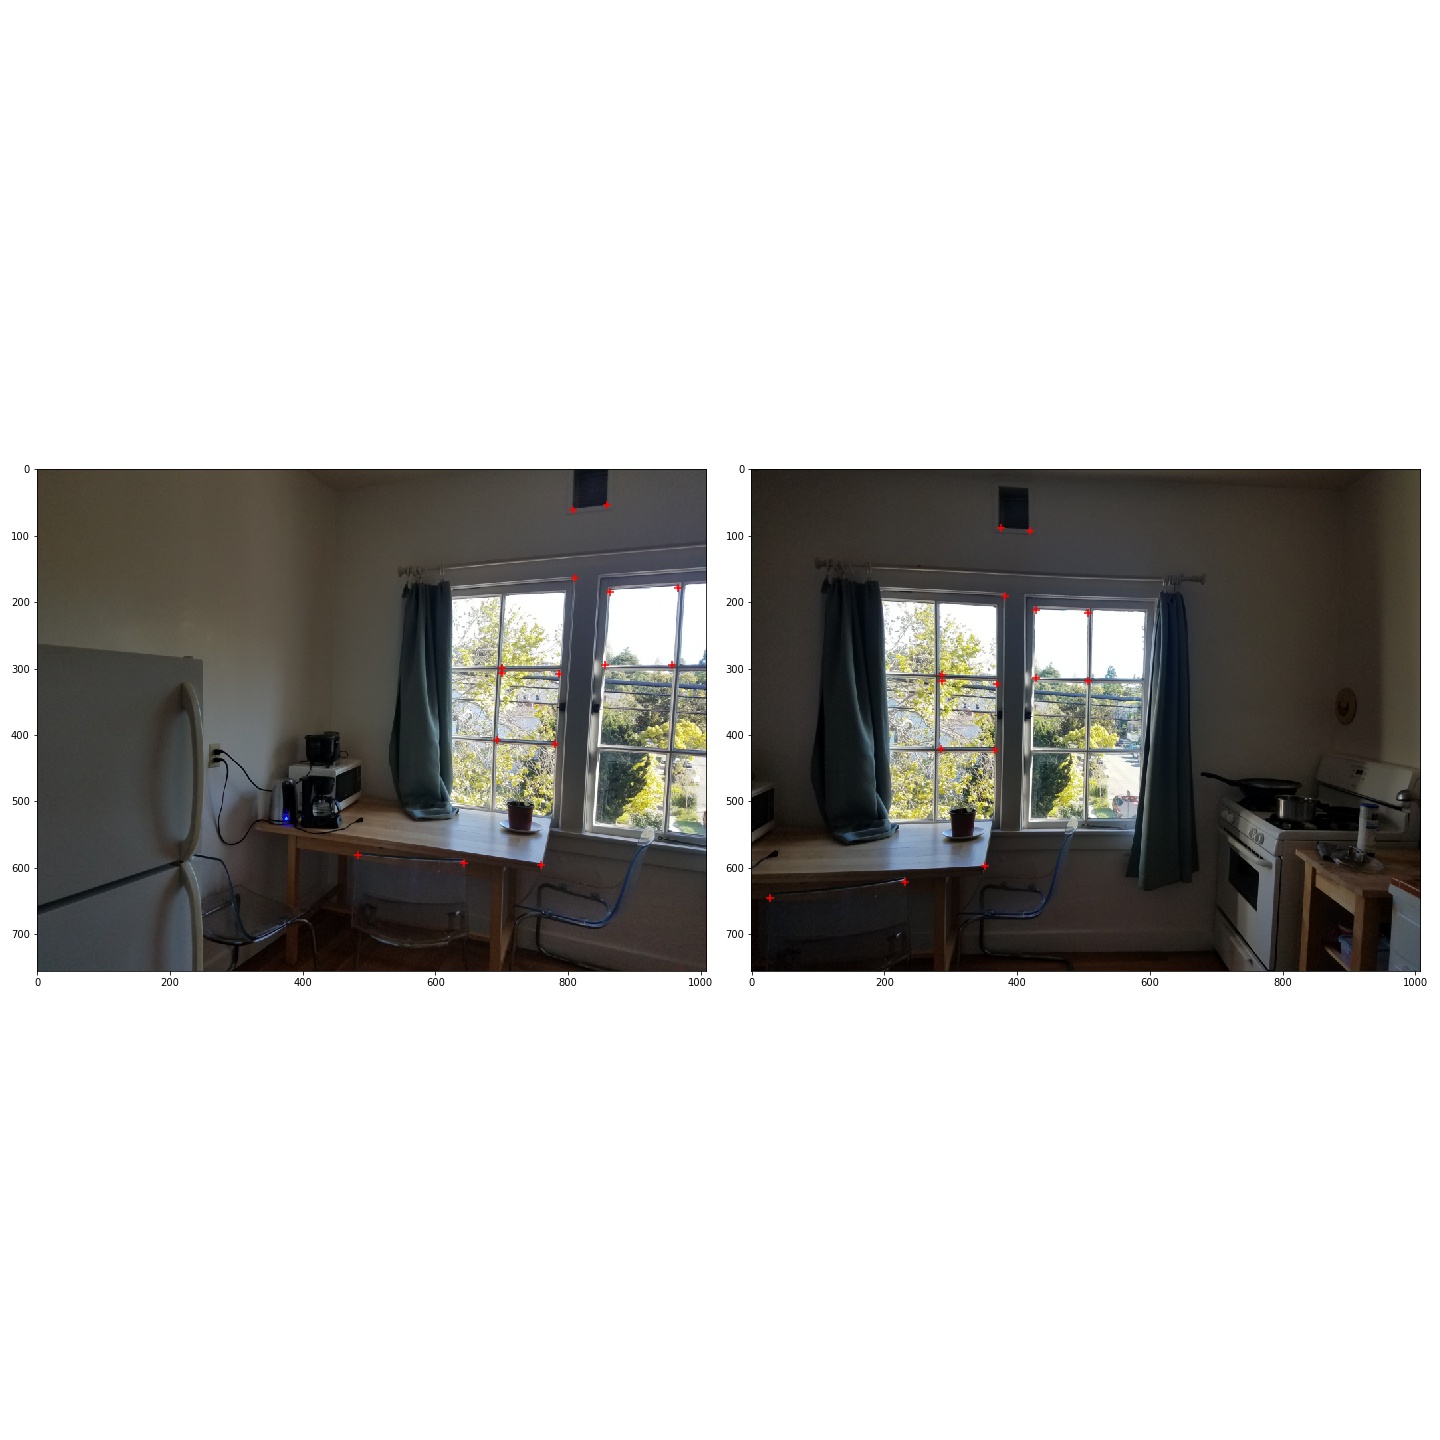
And the panorama: