Pair A
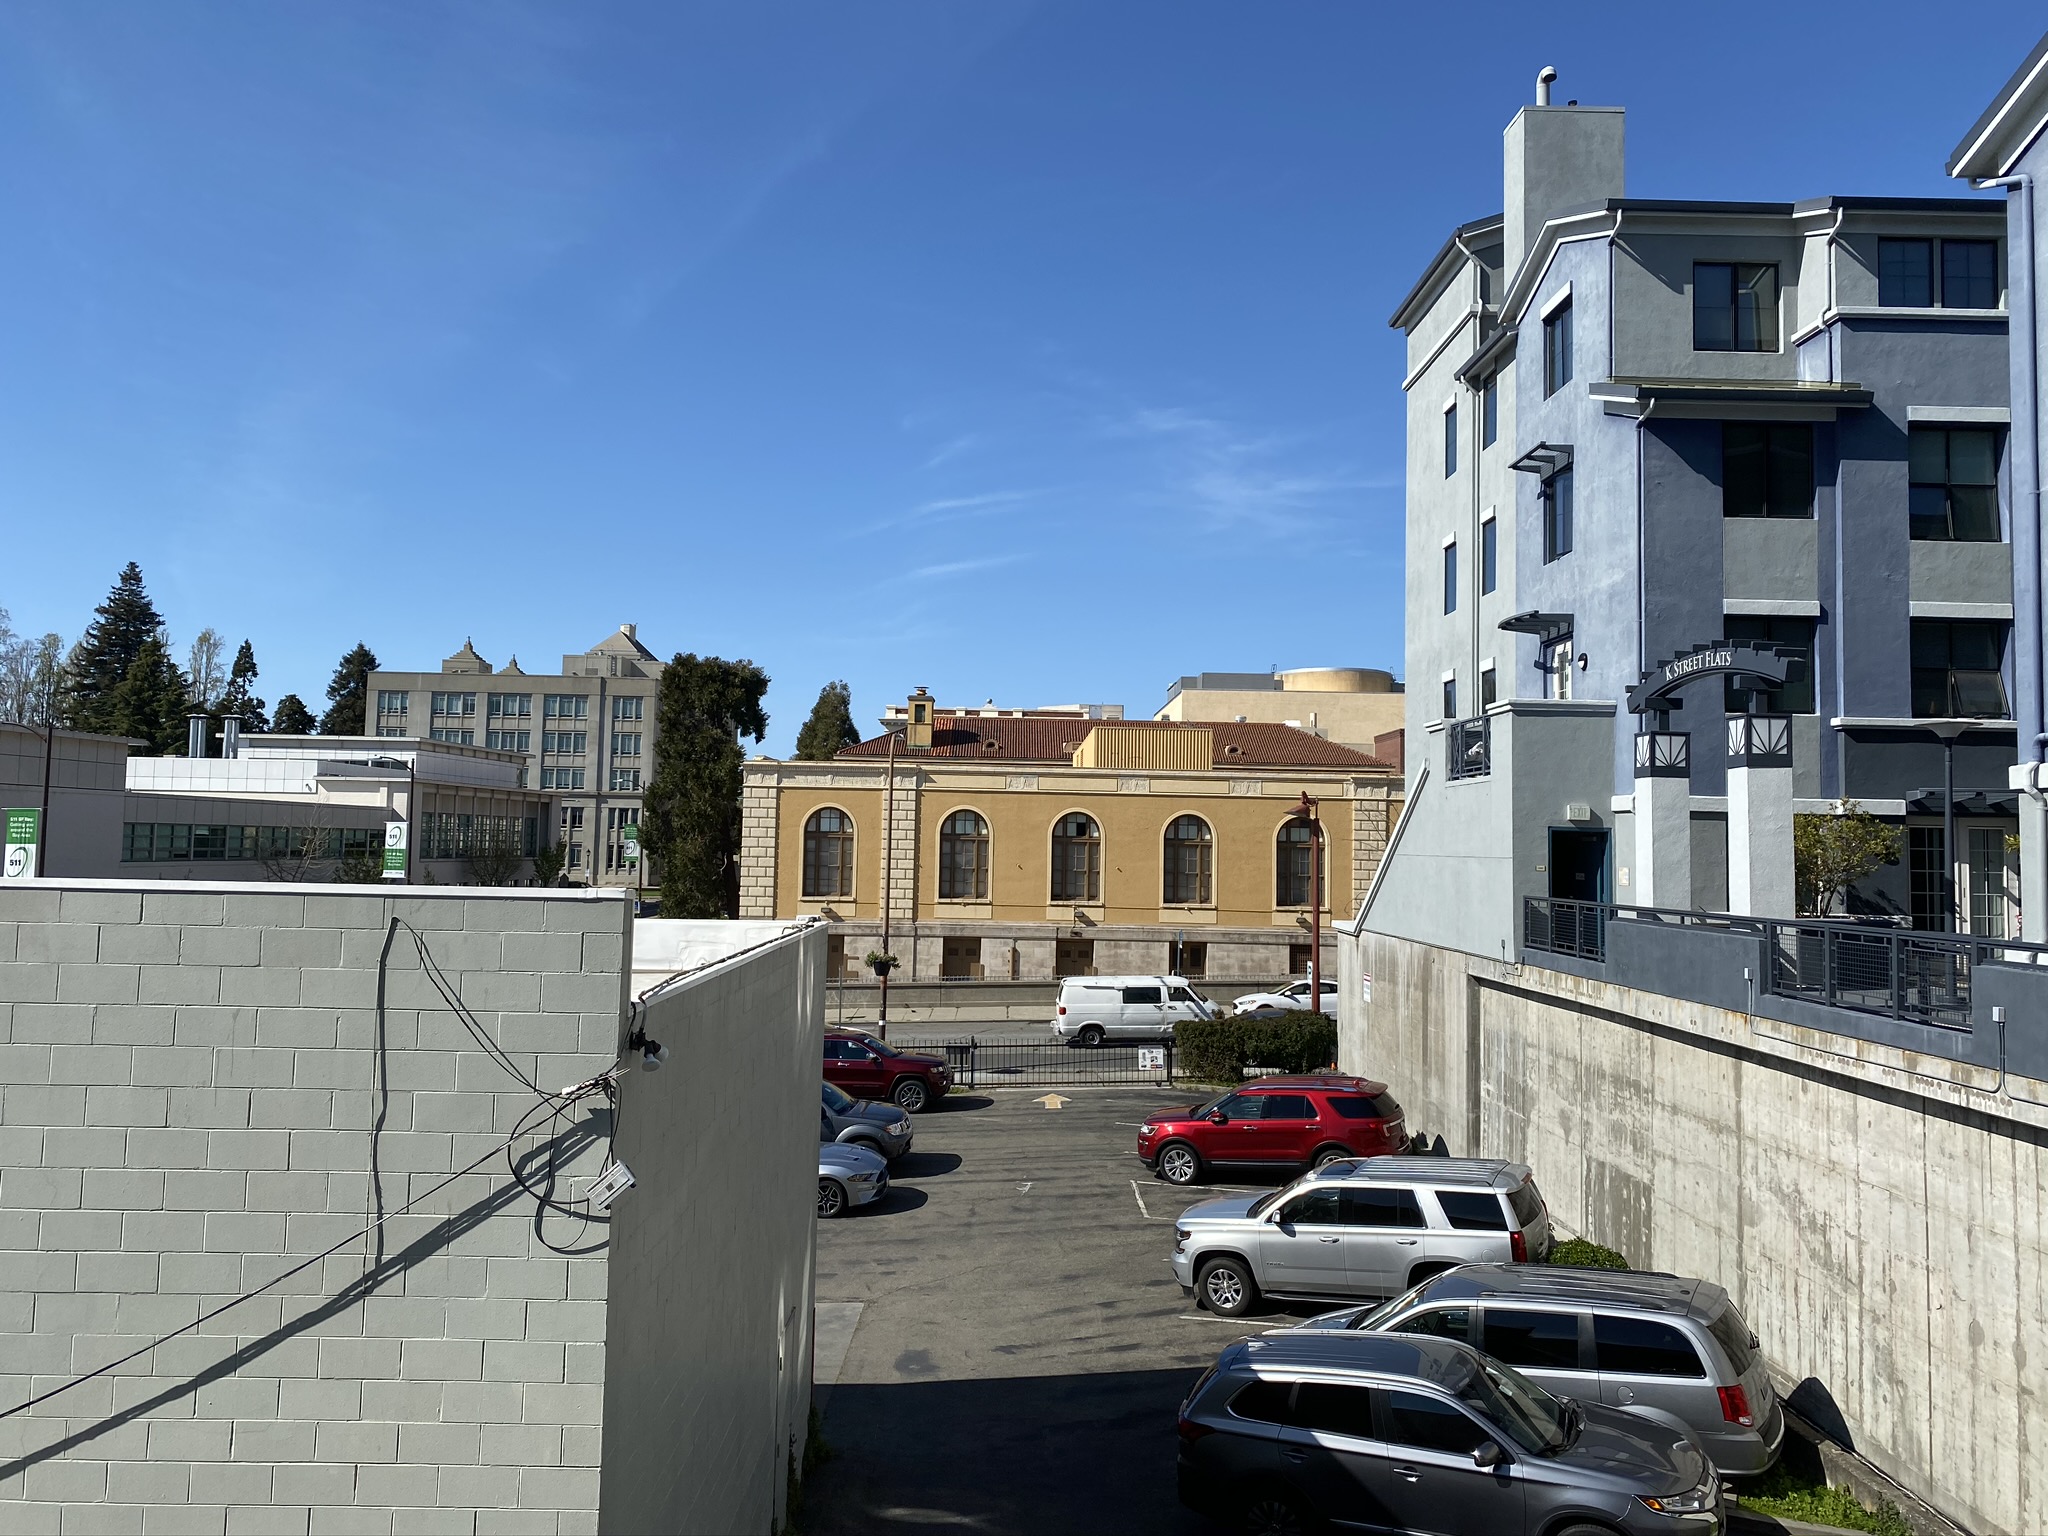
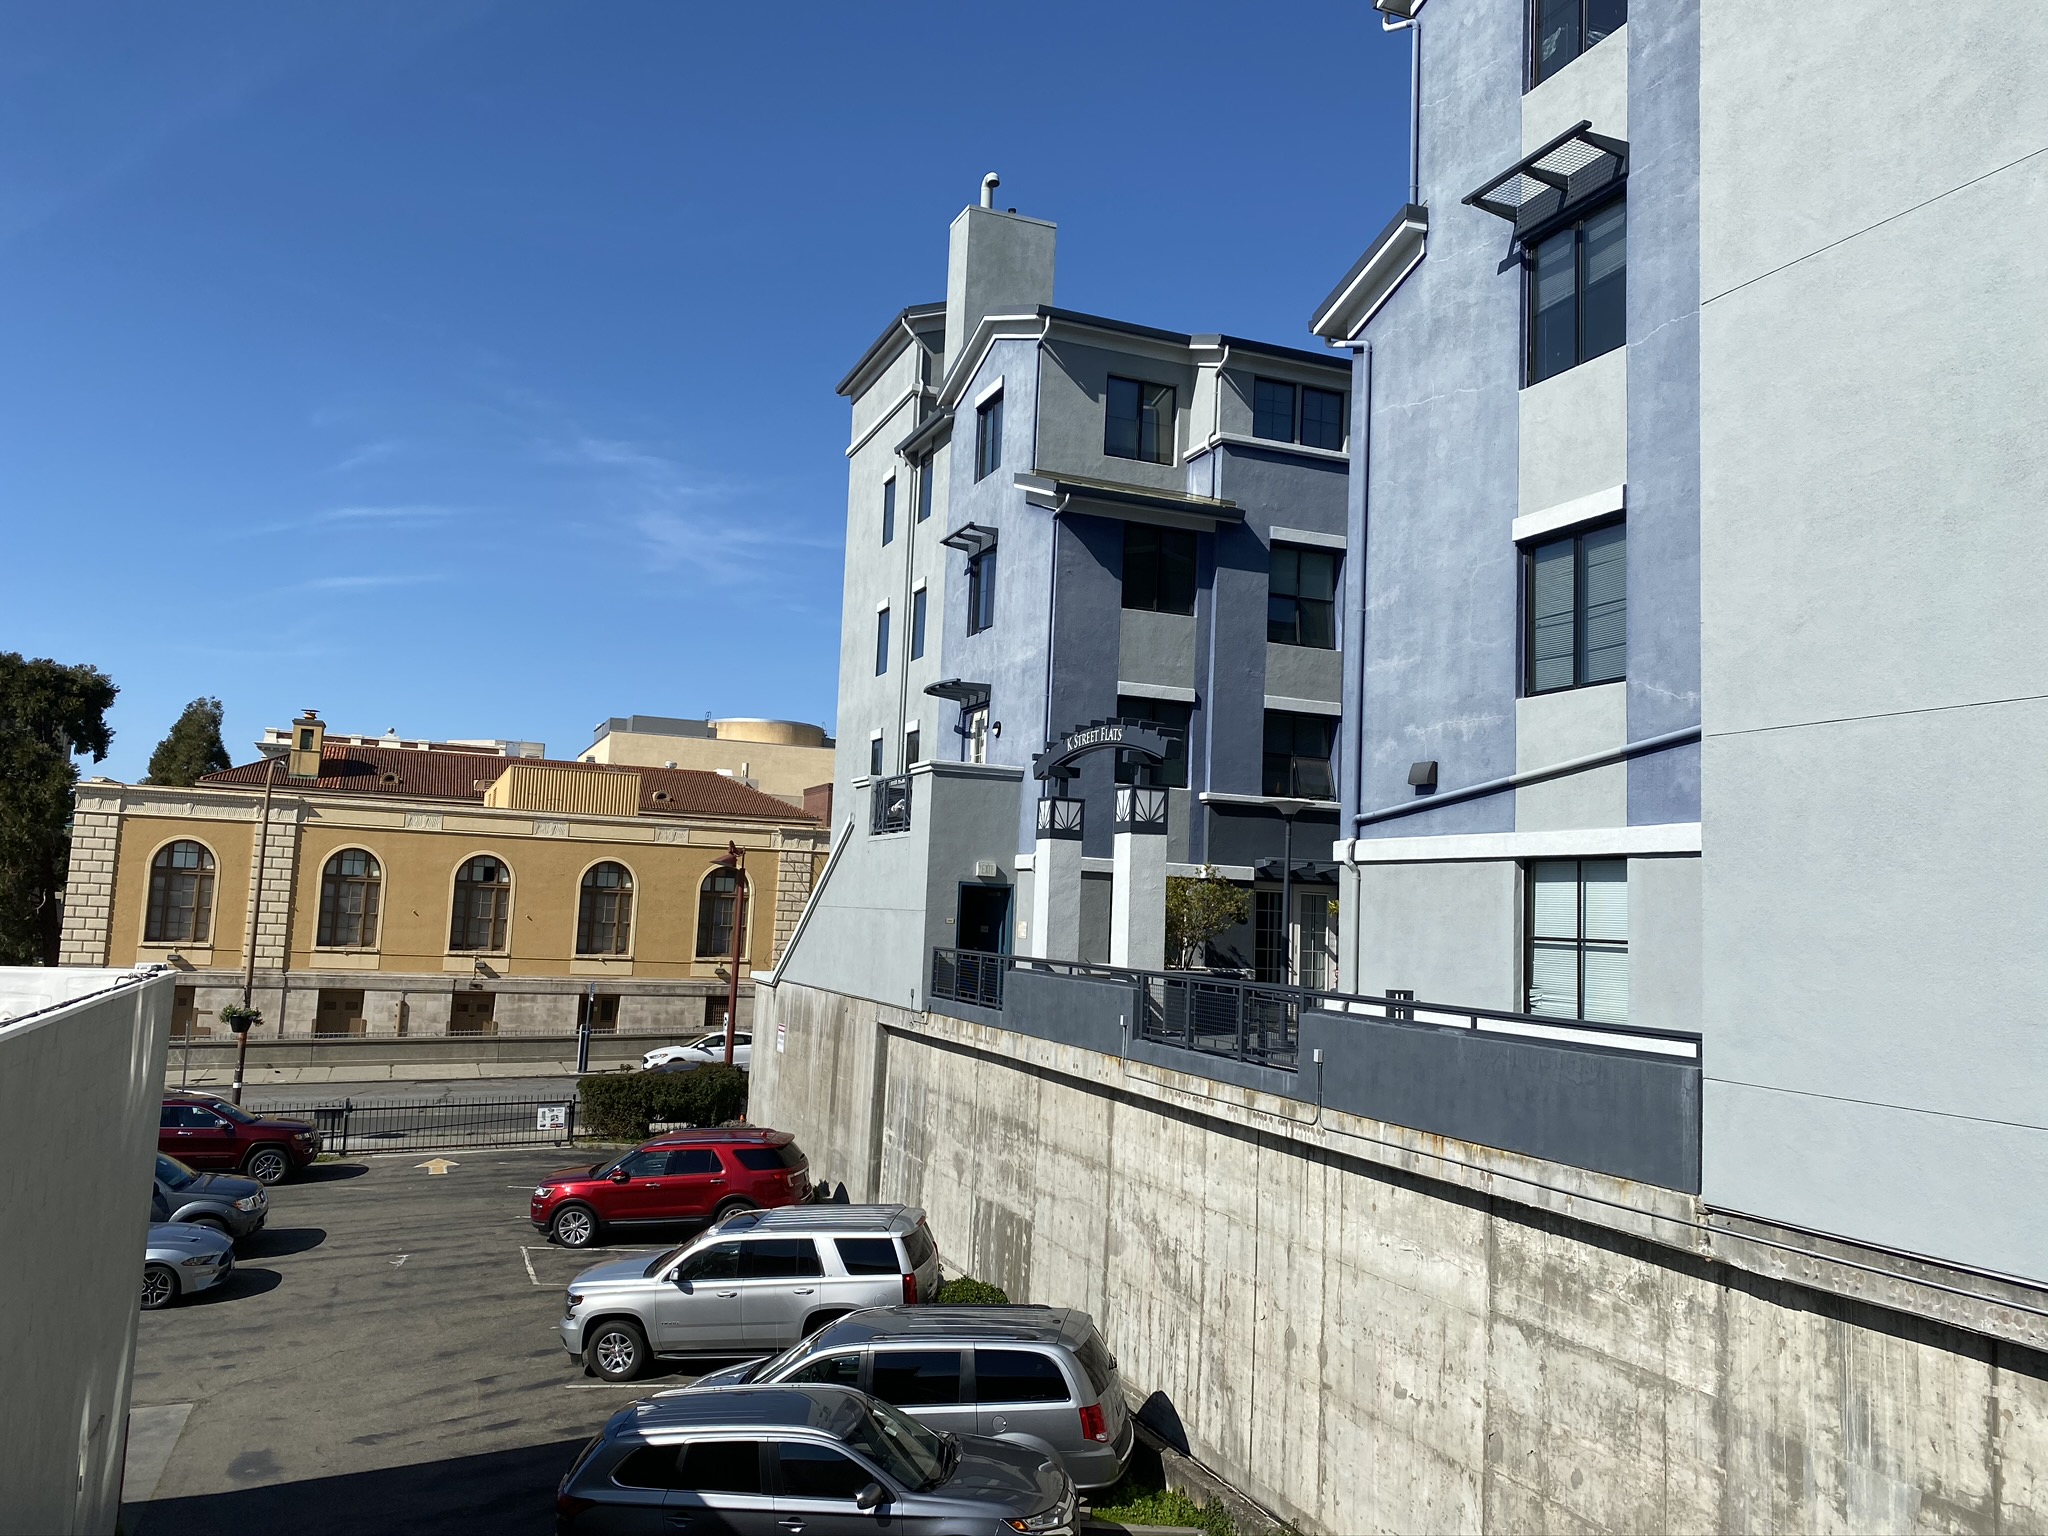
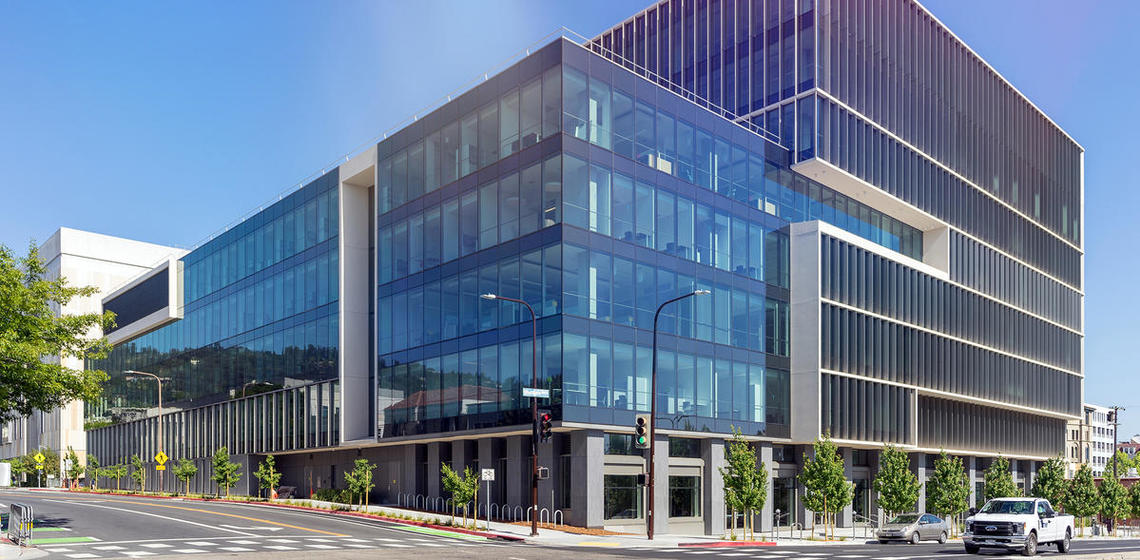
I took two pairs of pictures using iPhone with exposure and focus locking.
First, I use ginput in Python to providing point matches.
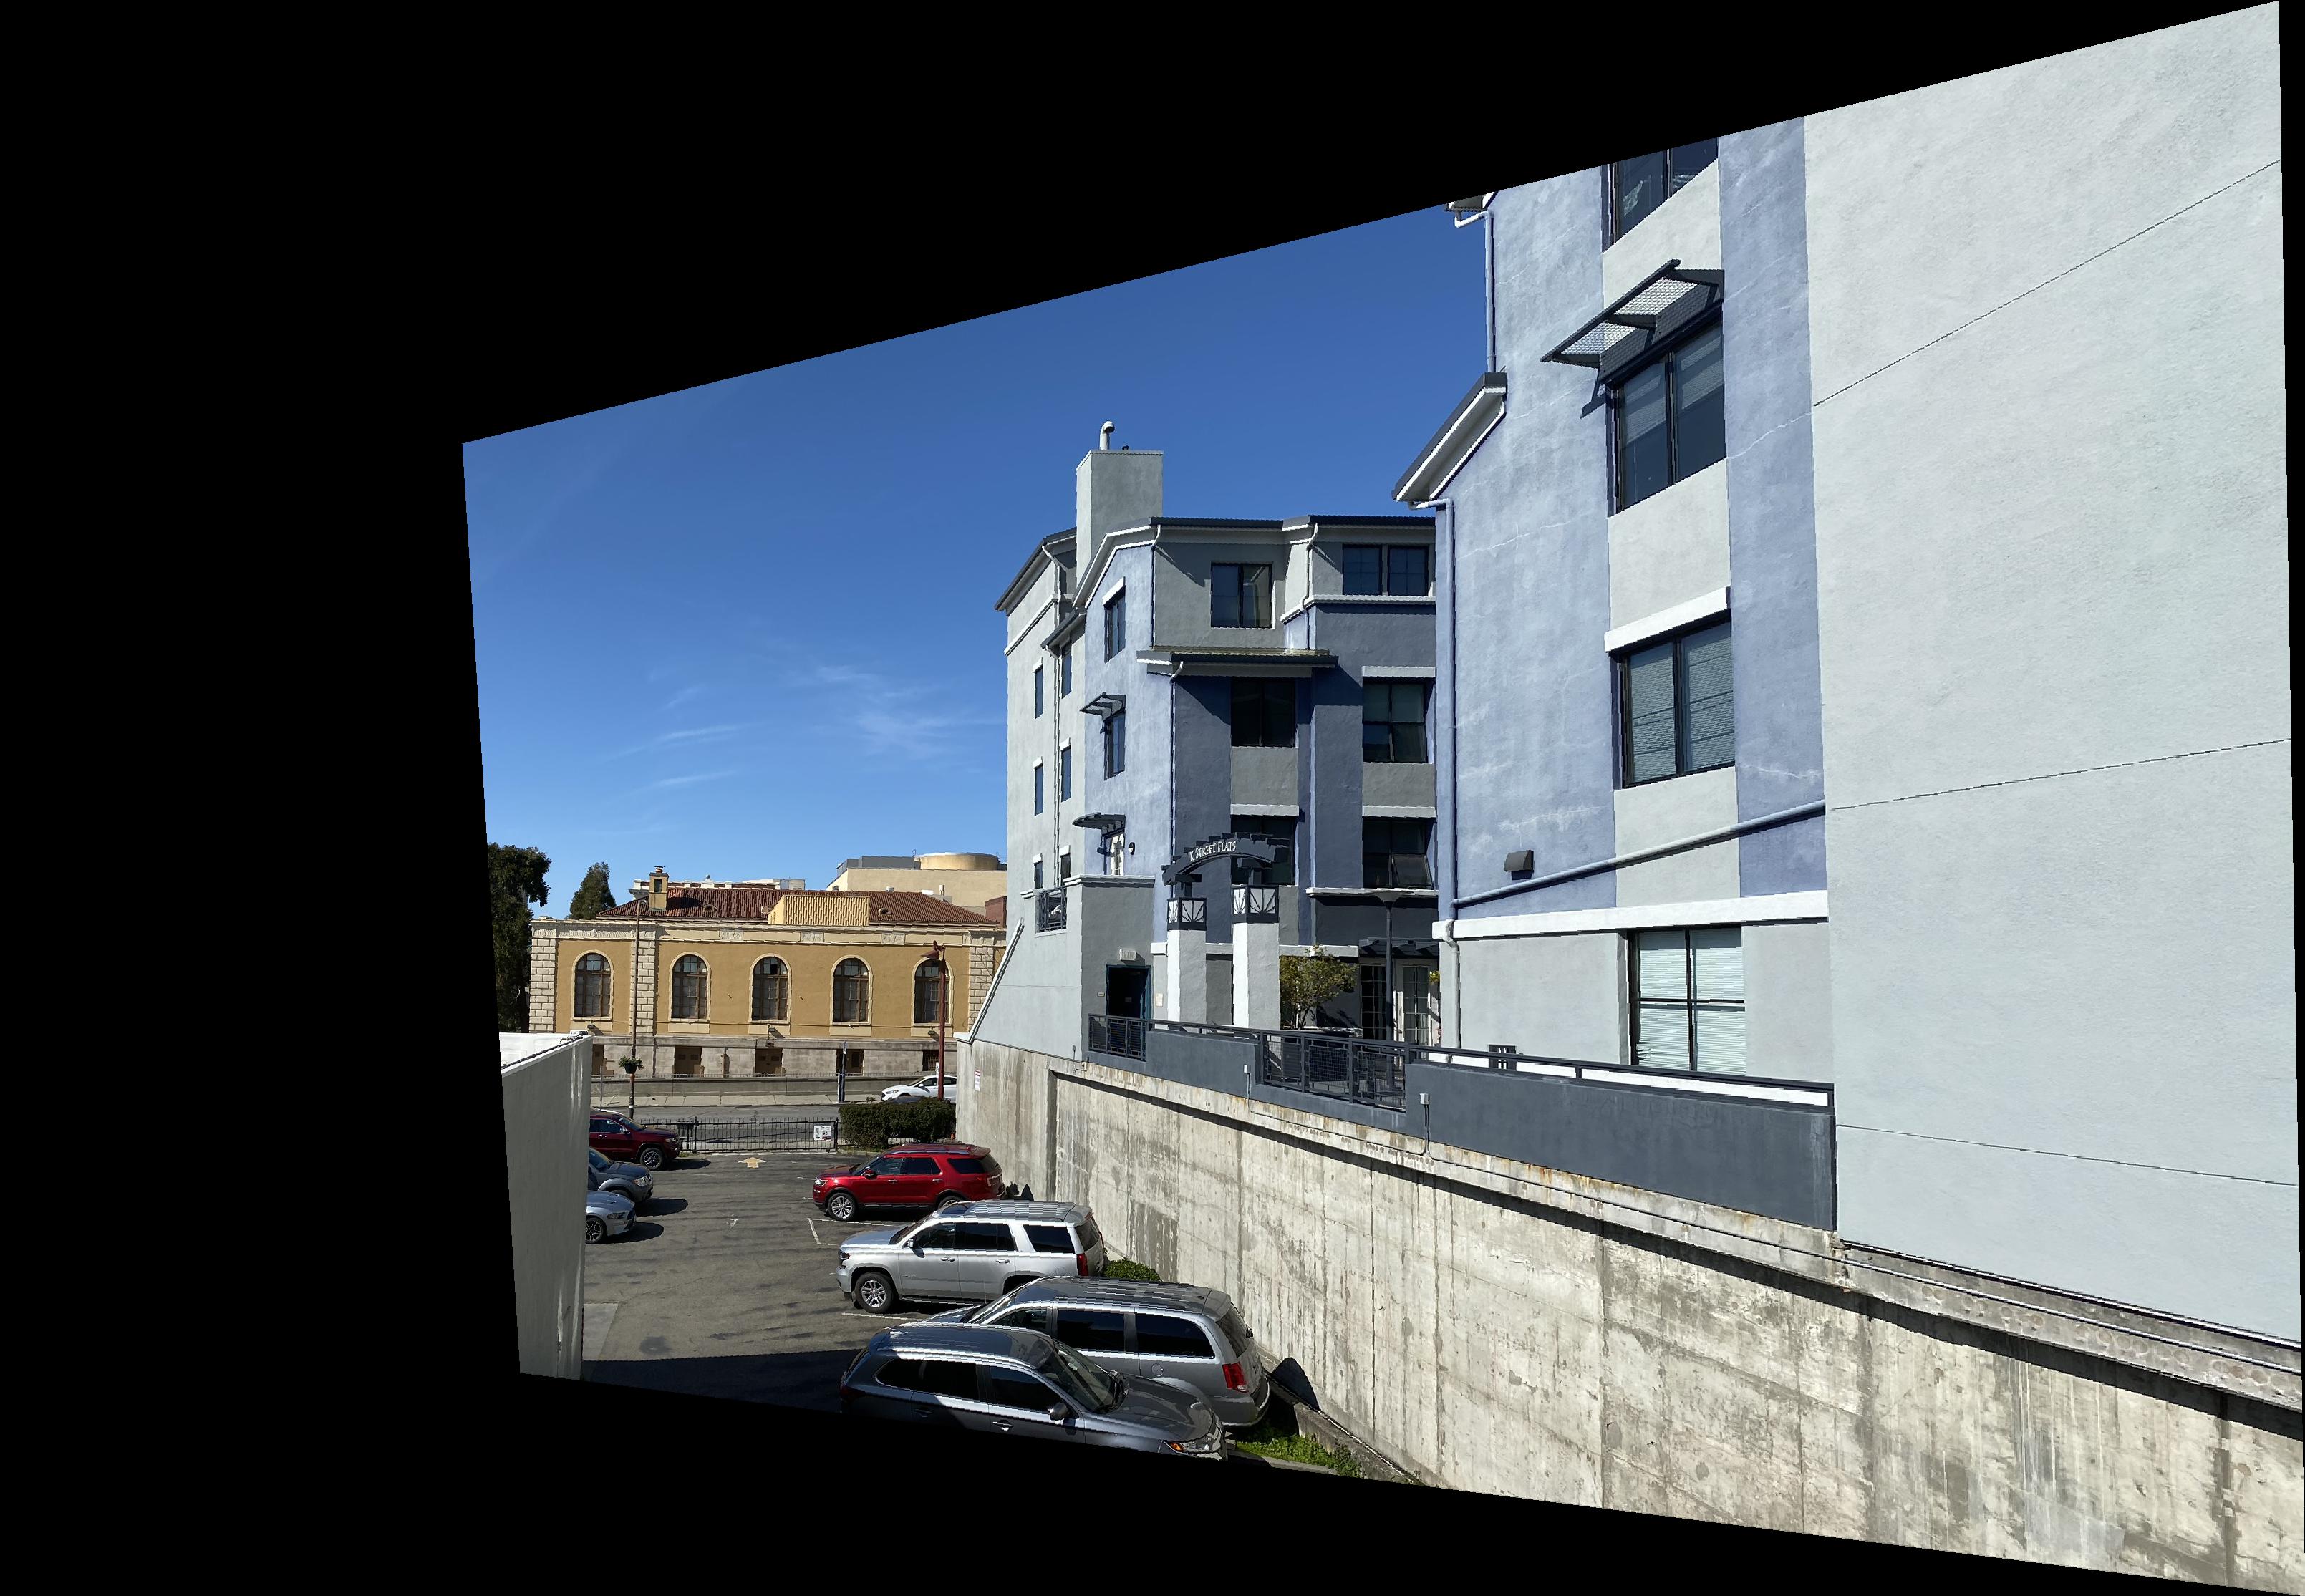
In our case, the transformation is a homography: p’=Hp, where H is a 3x3 matrix with 8 degrees of freedom (lower right corner is a scaling factor and can be set to 1). One way to recover the homography is via a set of (p’,p) pairs of corresponding points taken from the two images.
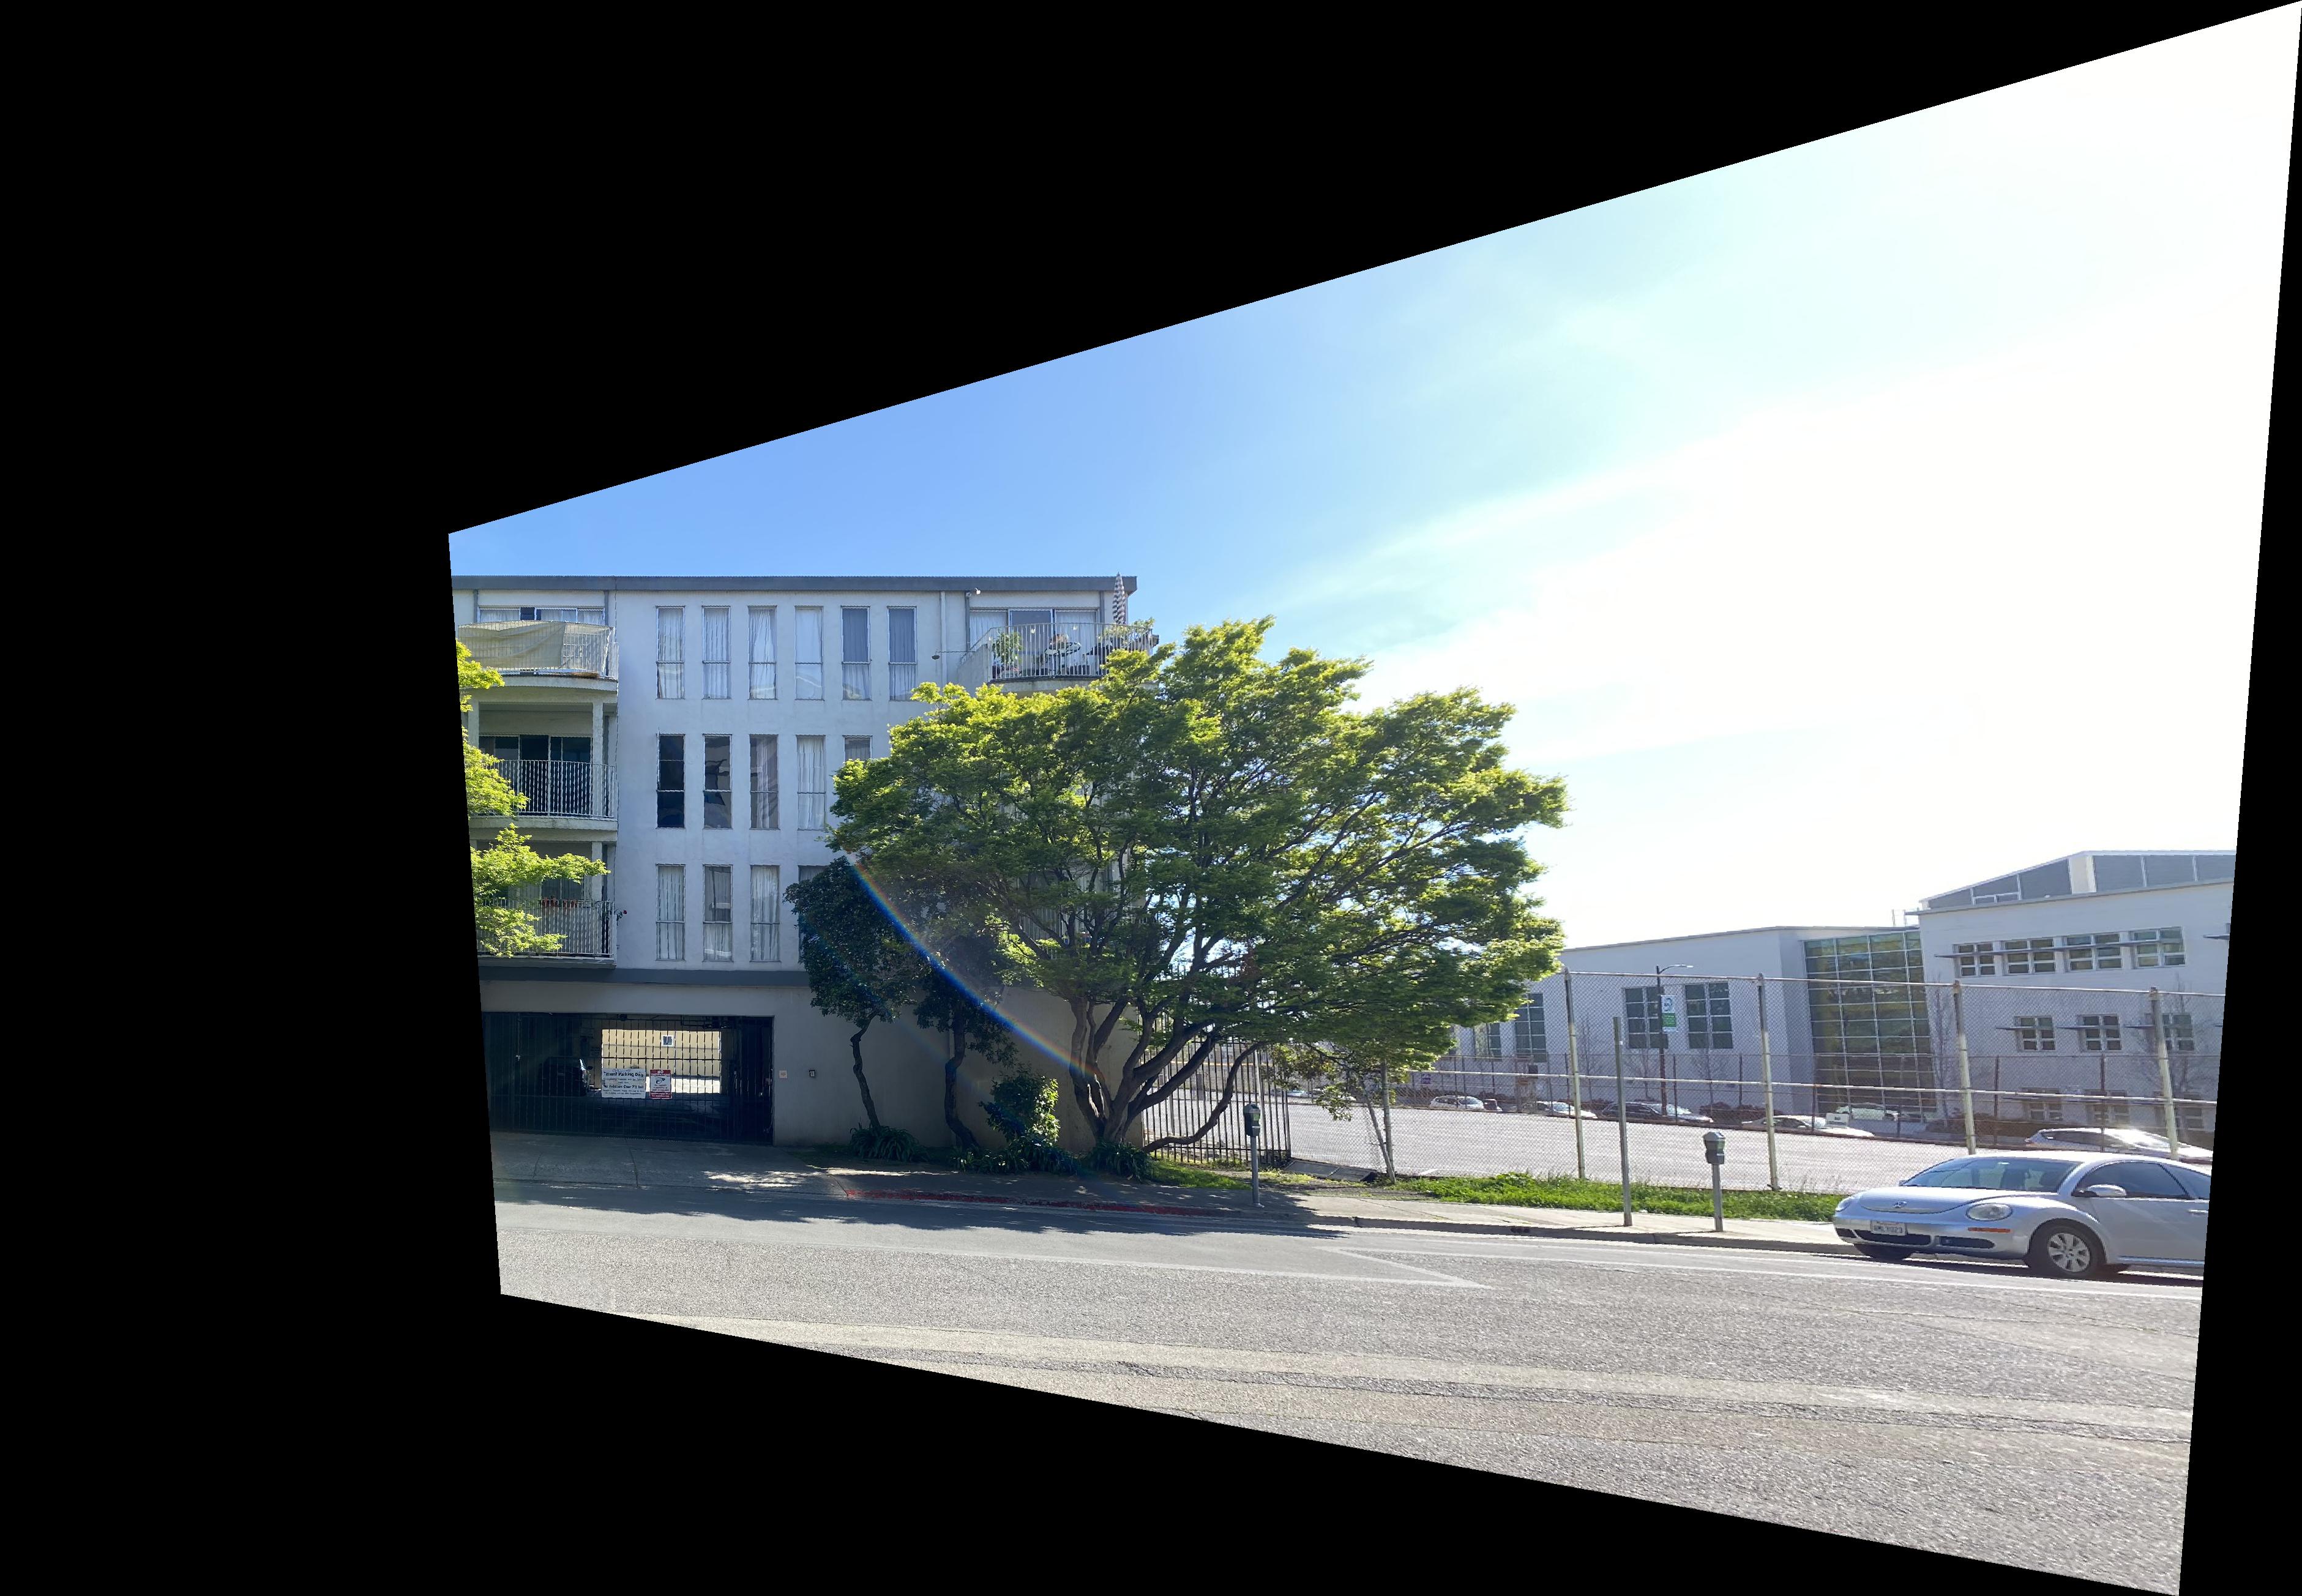
By setting lower right corner factor h33 to 1, the following equations can be derived:
Re-express with matrix:

This equation can be solved using least-squares:
I used inverse warping to warp the images. First, I predict the bounding box by piping the four corners of the image through H. For each pixel in the warped bounding box, I computed the inverse warp and find the original value in original image.(without loop in Python)
Because I know that the window is square, I clicked on the four corners of a window and store them in im1_pts while im2_pts I defined by hand to be a square.

I used masks to blend images. The mask is to set it to 1 at the center of each image and it fall off until it hits 0 at the edges.
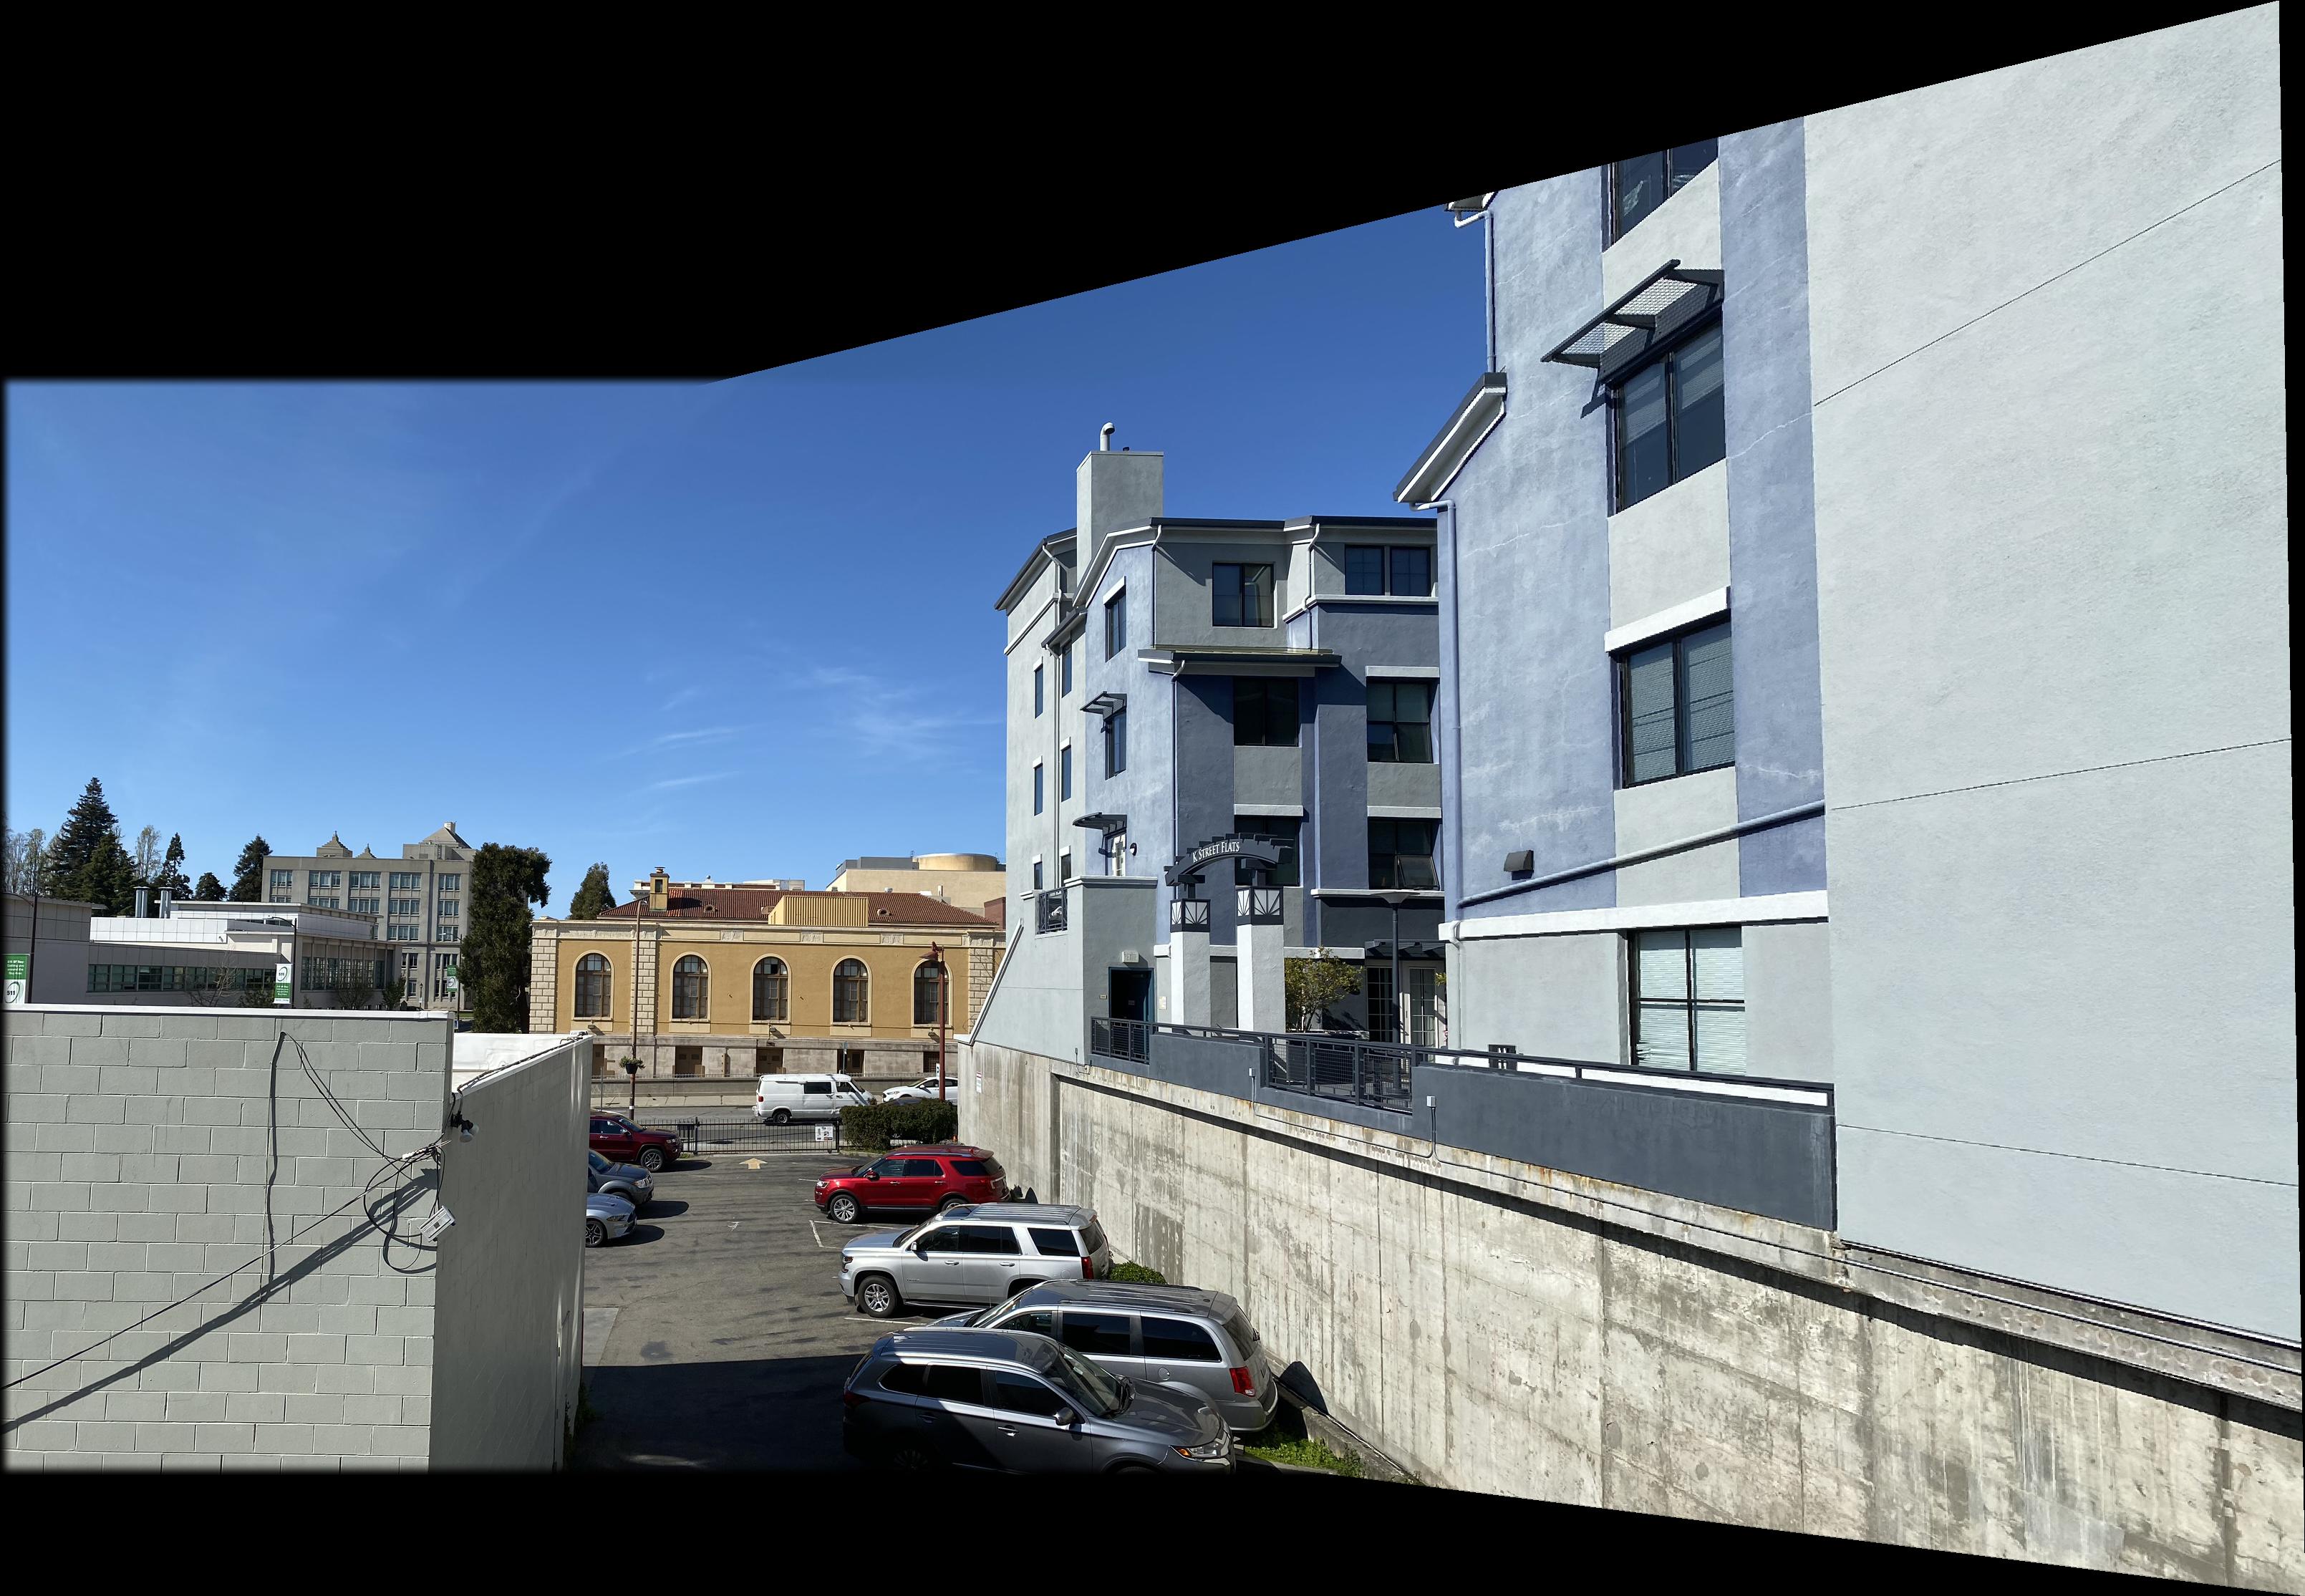
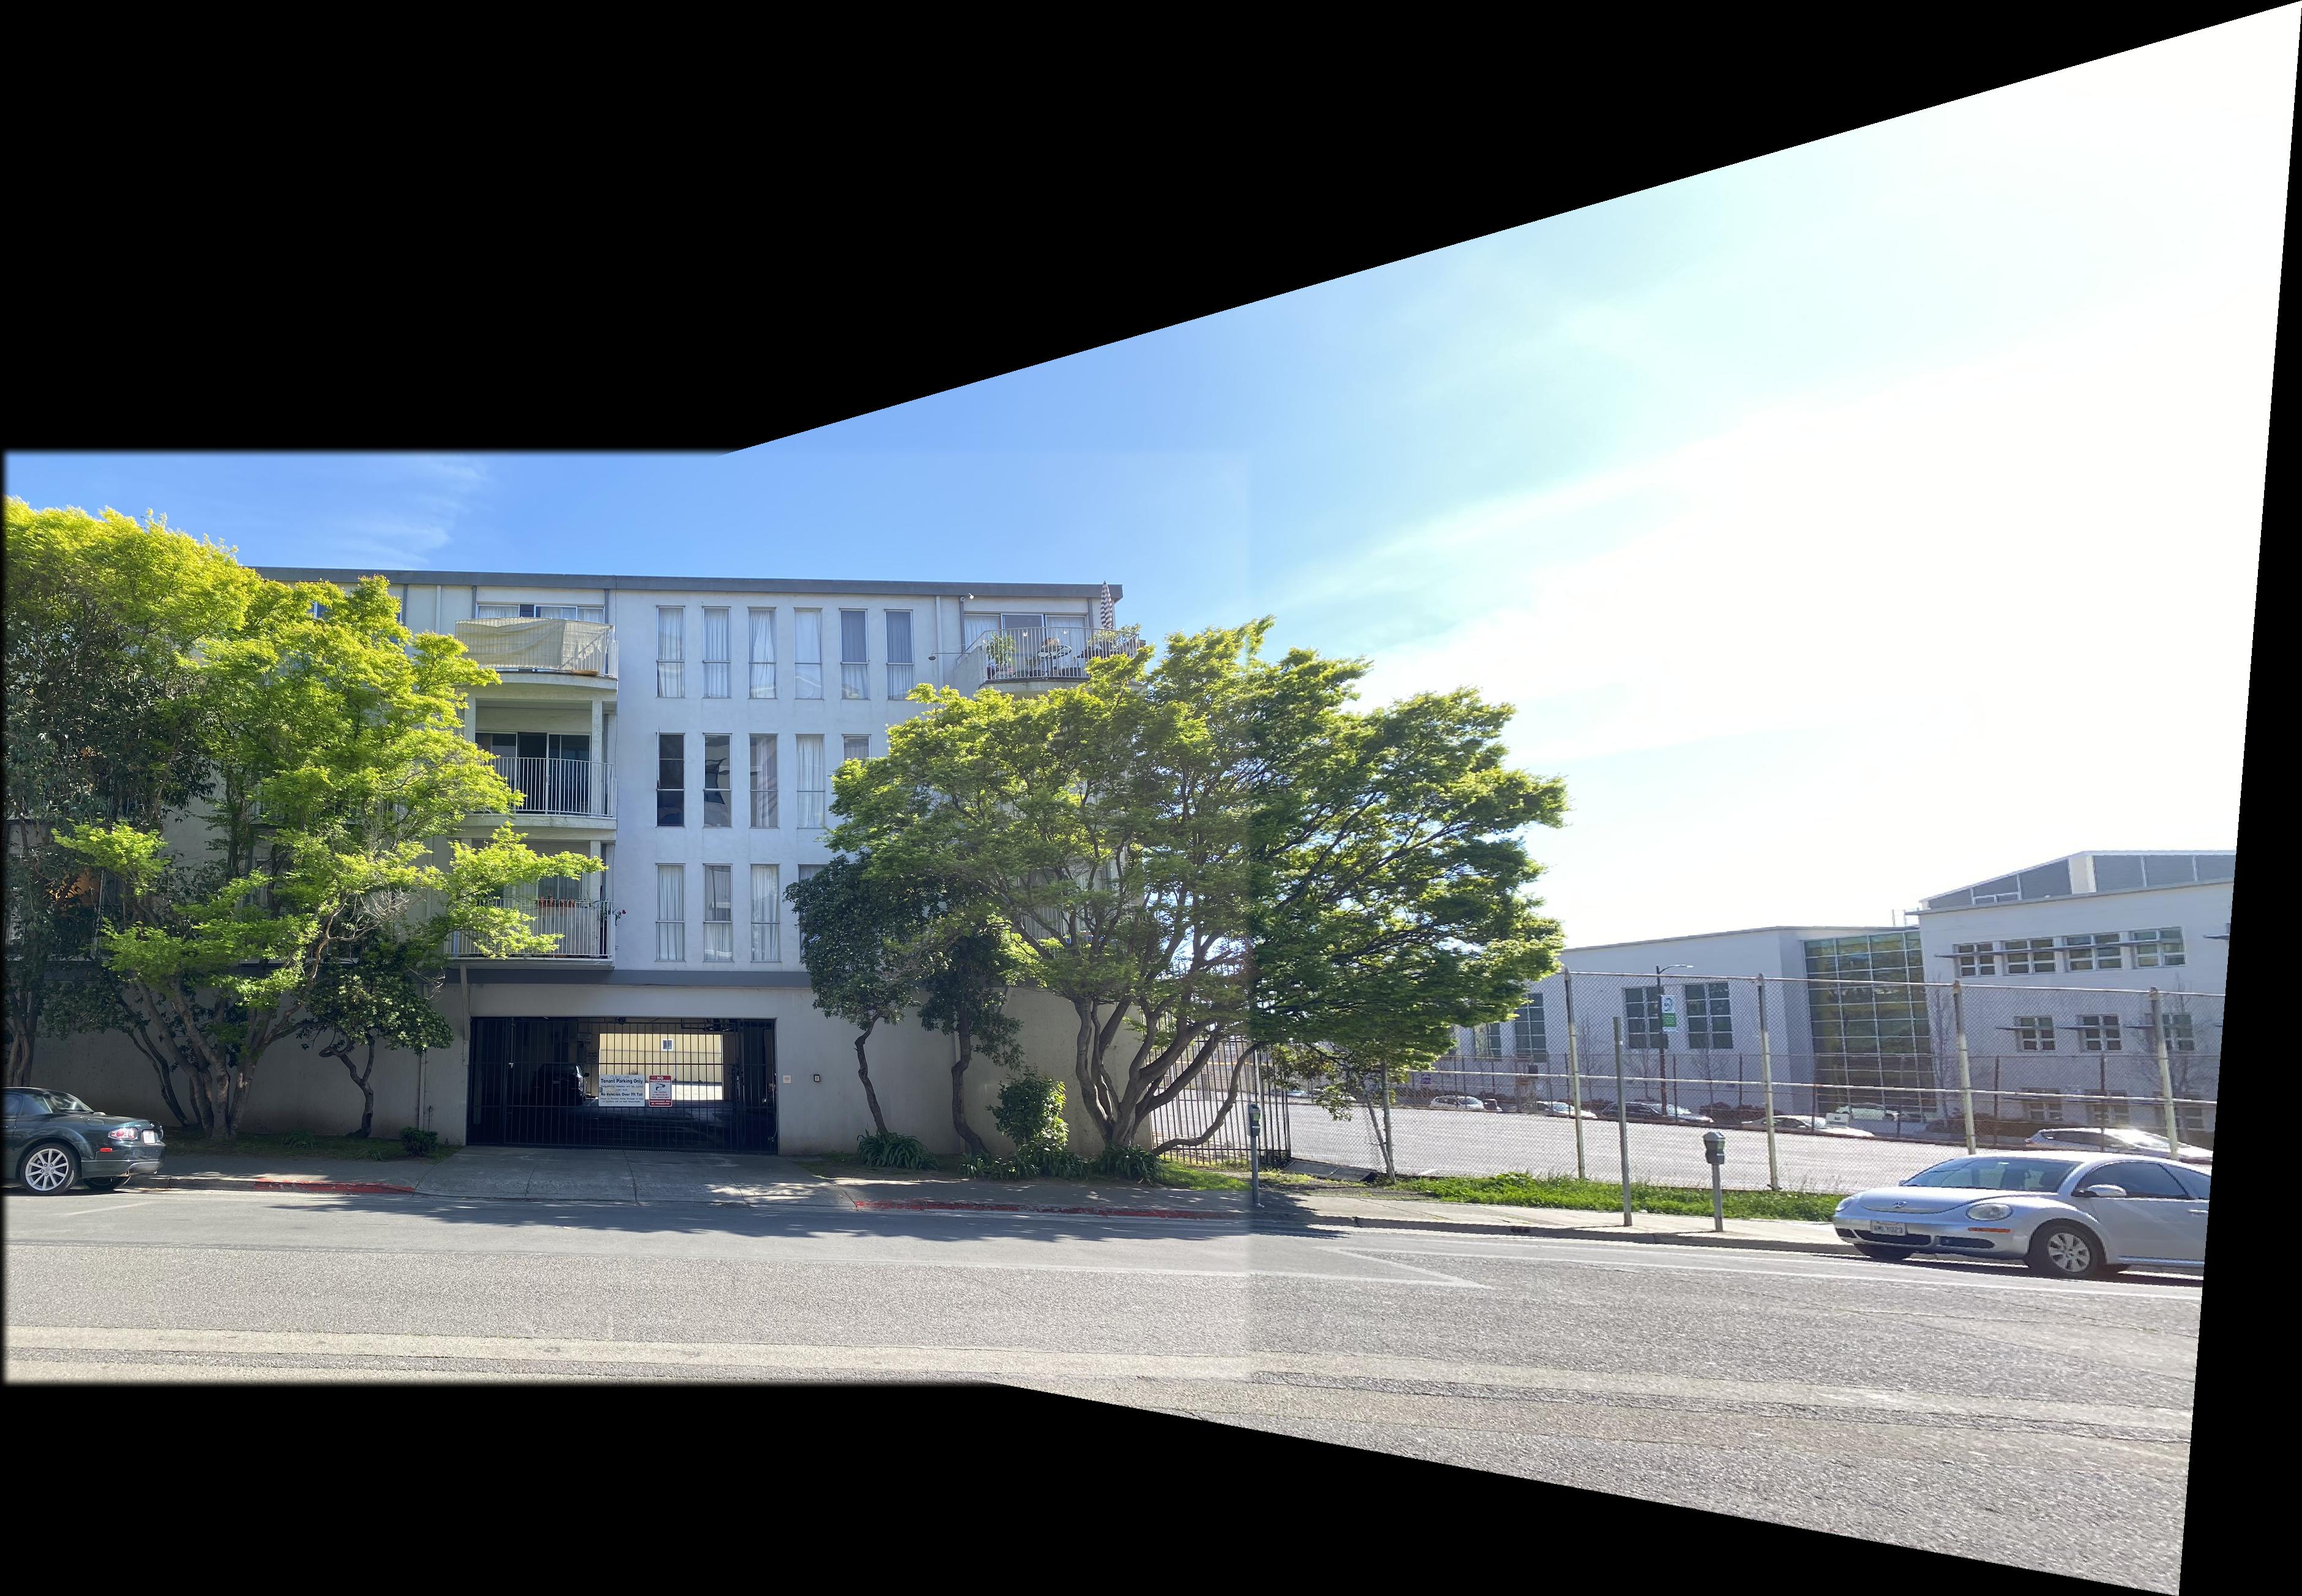
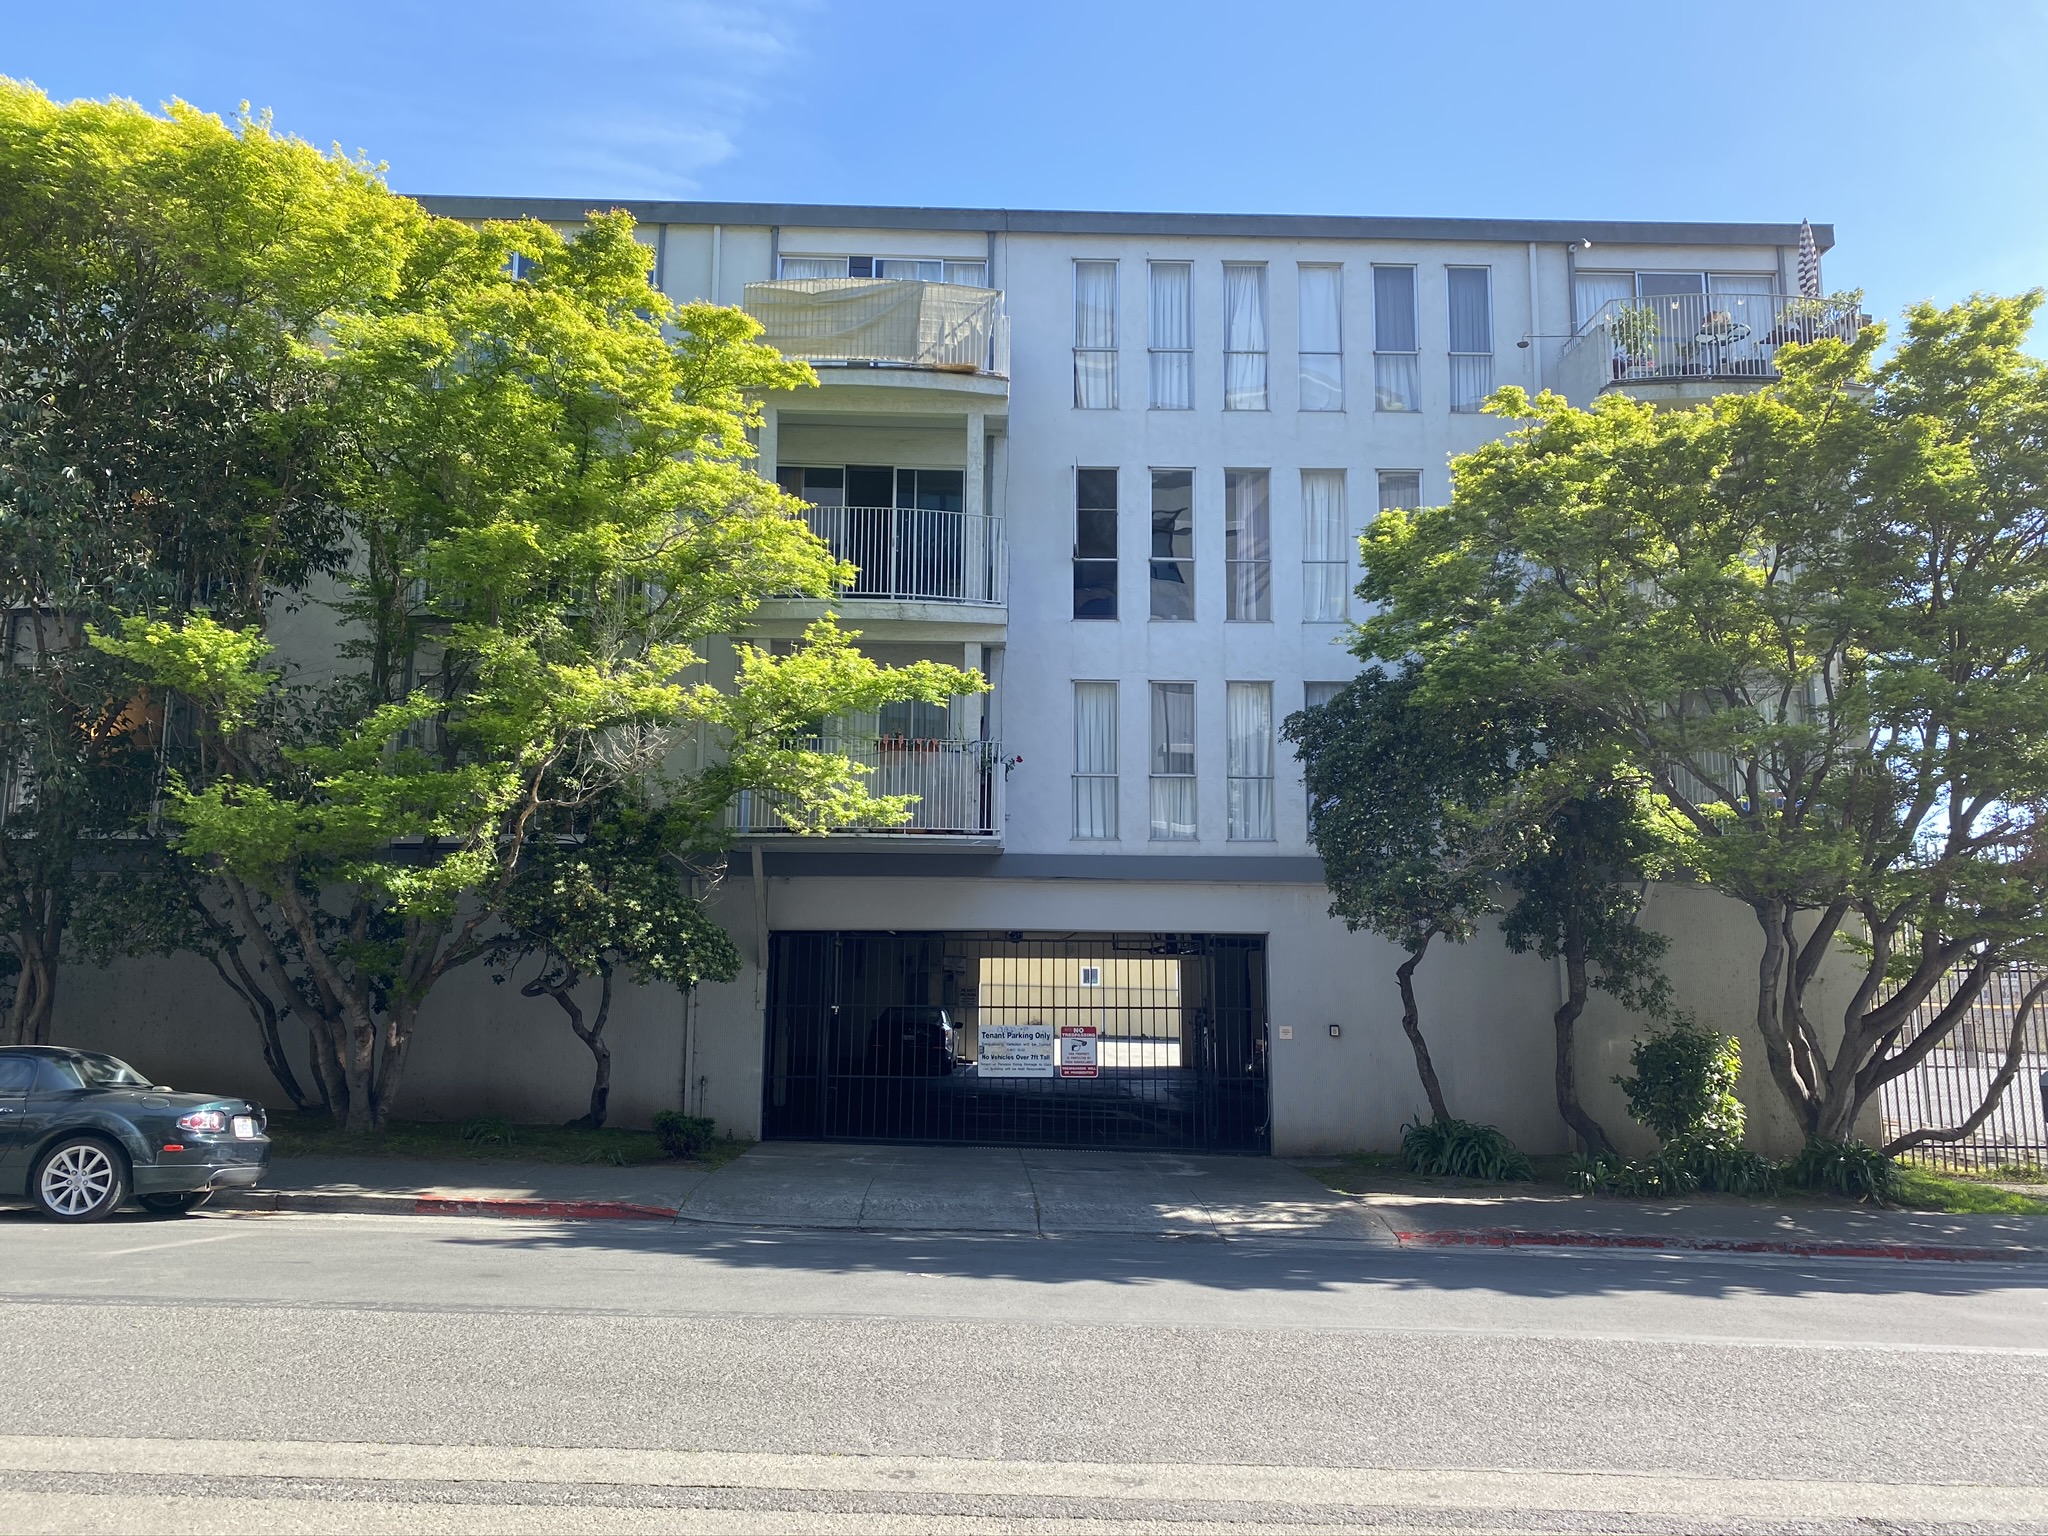
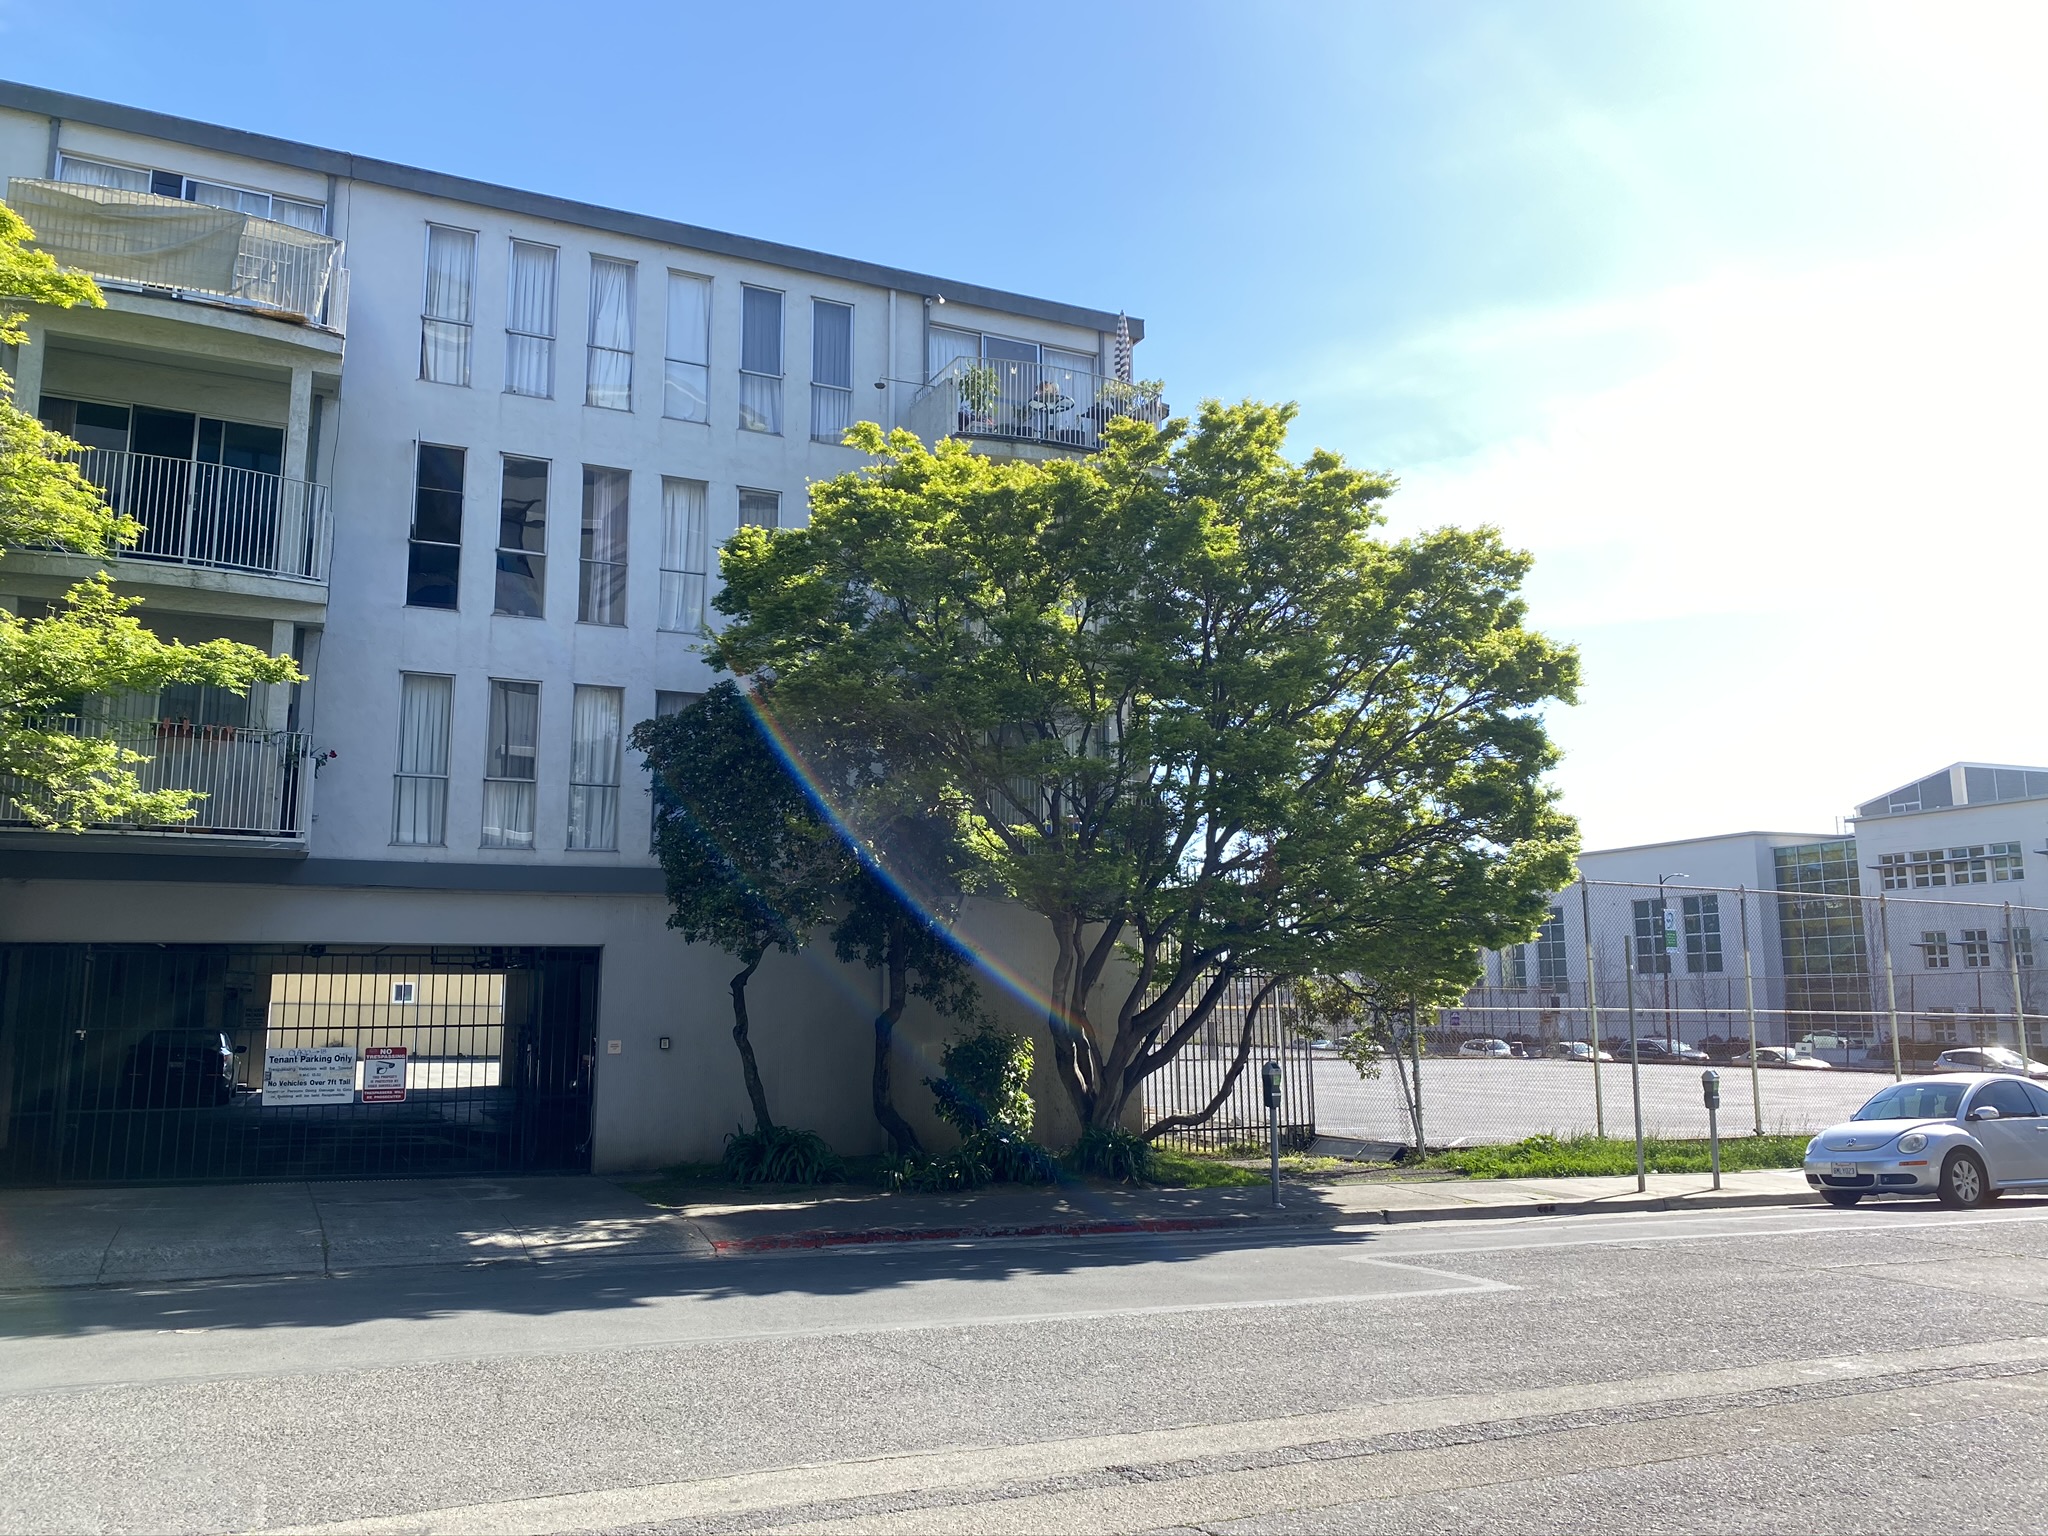
Pair B did not blend well, because the lightness changed in the two pictures.