|
|
|---|
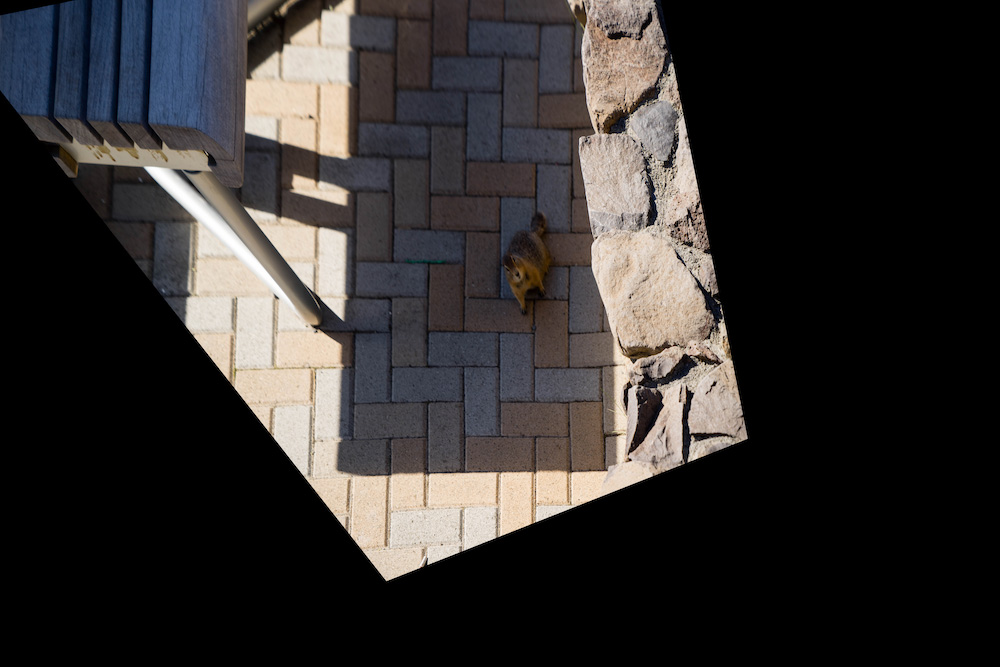
The goal of this project is to construct a mosaic given two images with shared targets. In the first part, we define the correspondences manually and use those points to construct a homography matrix. The homography matrix defines the perspective transformation from one of the images to the other. We test our homography matrix construction implementation by rectifying tiles on the ground.
In the second part of the project, we use a simplified version of an algorithm outlined by Brown et al to automatically construct a homography matrix given only the images. (I go into more detail in the sections below)
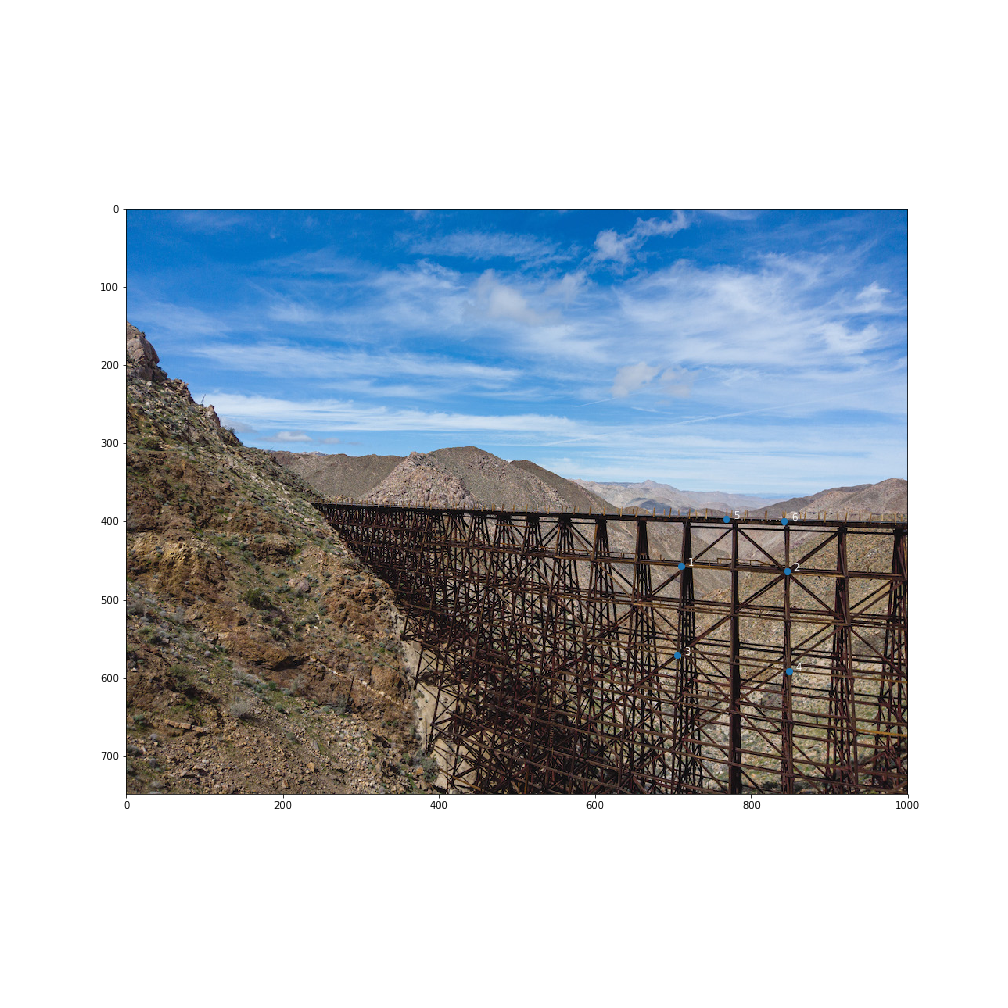
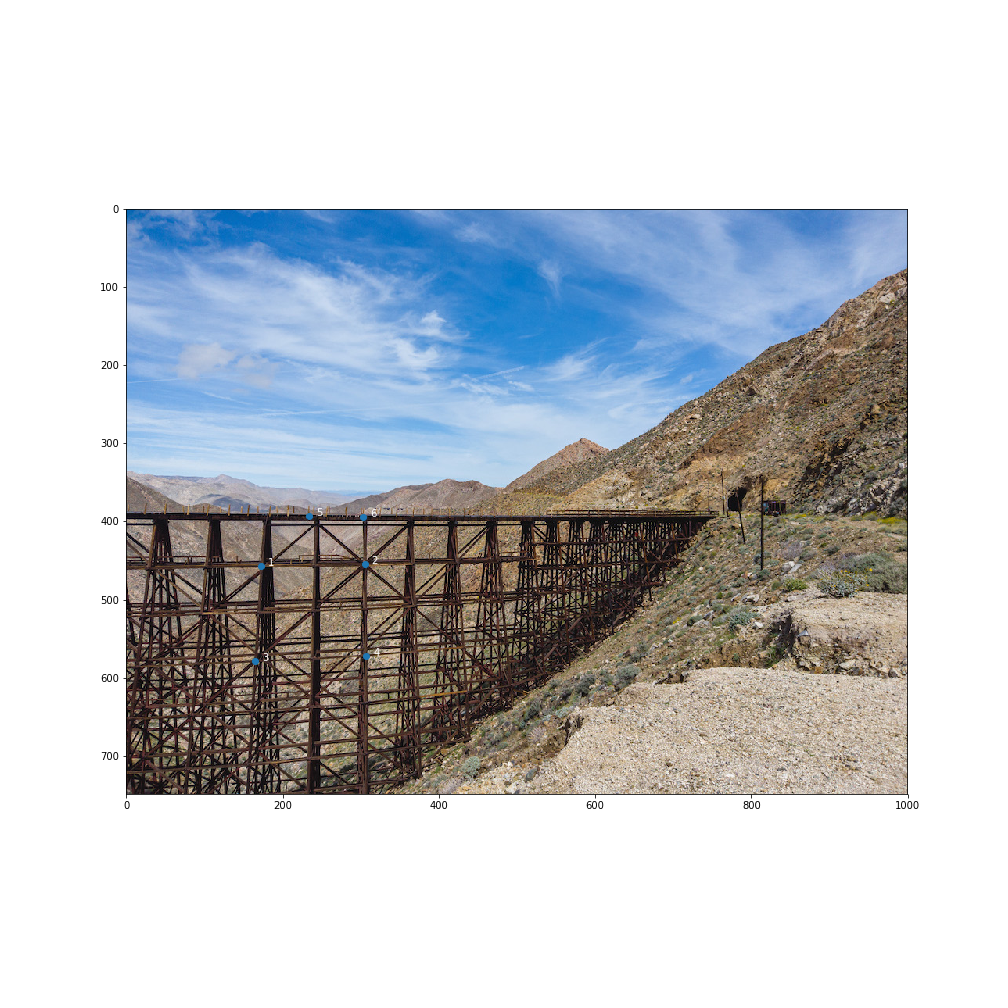
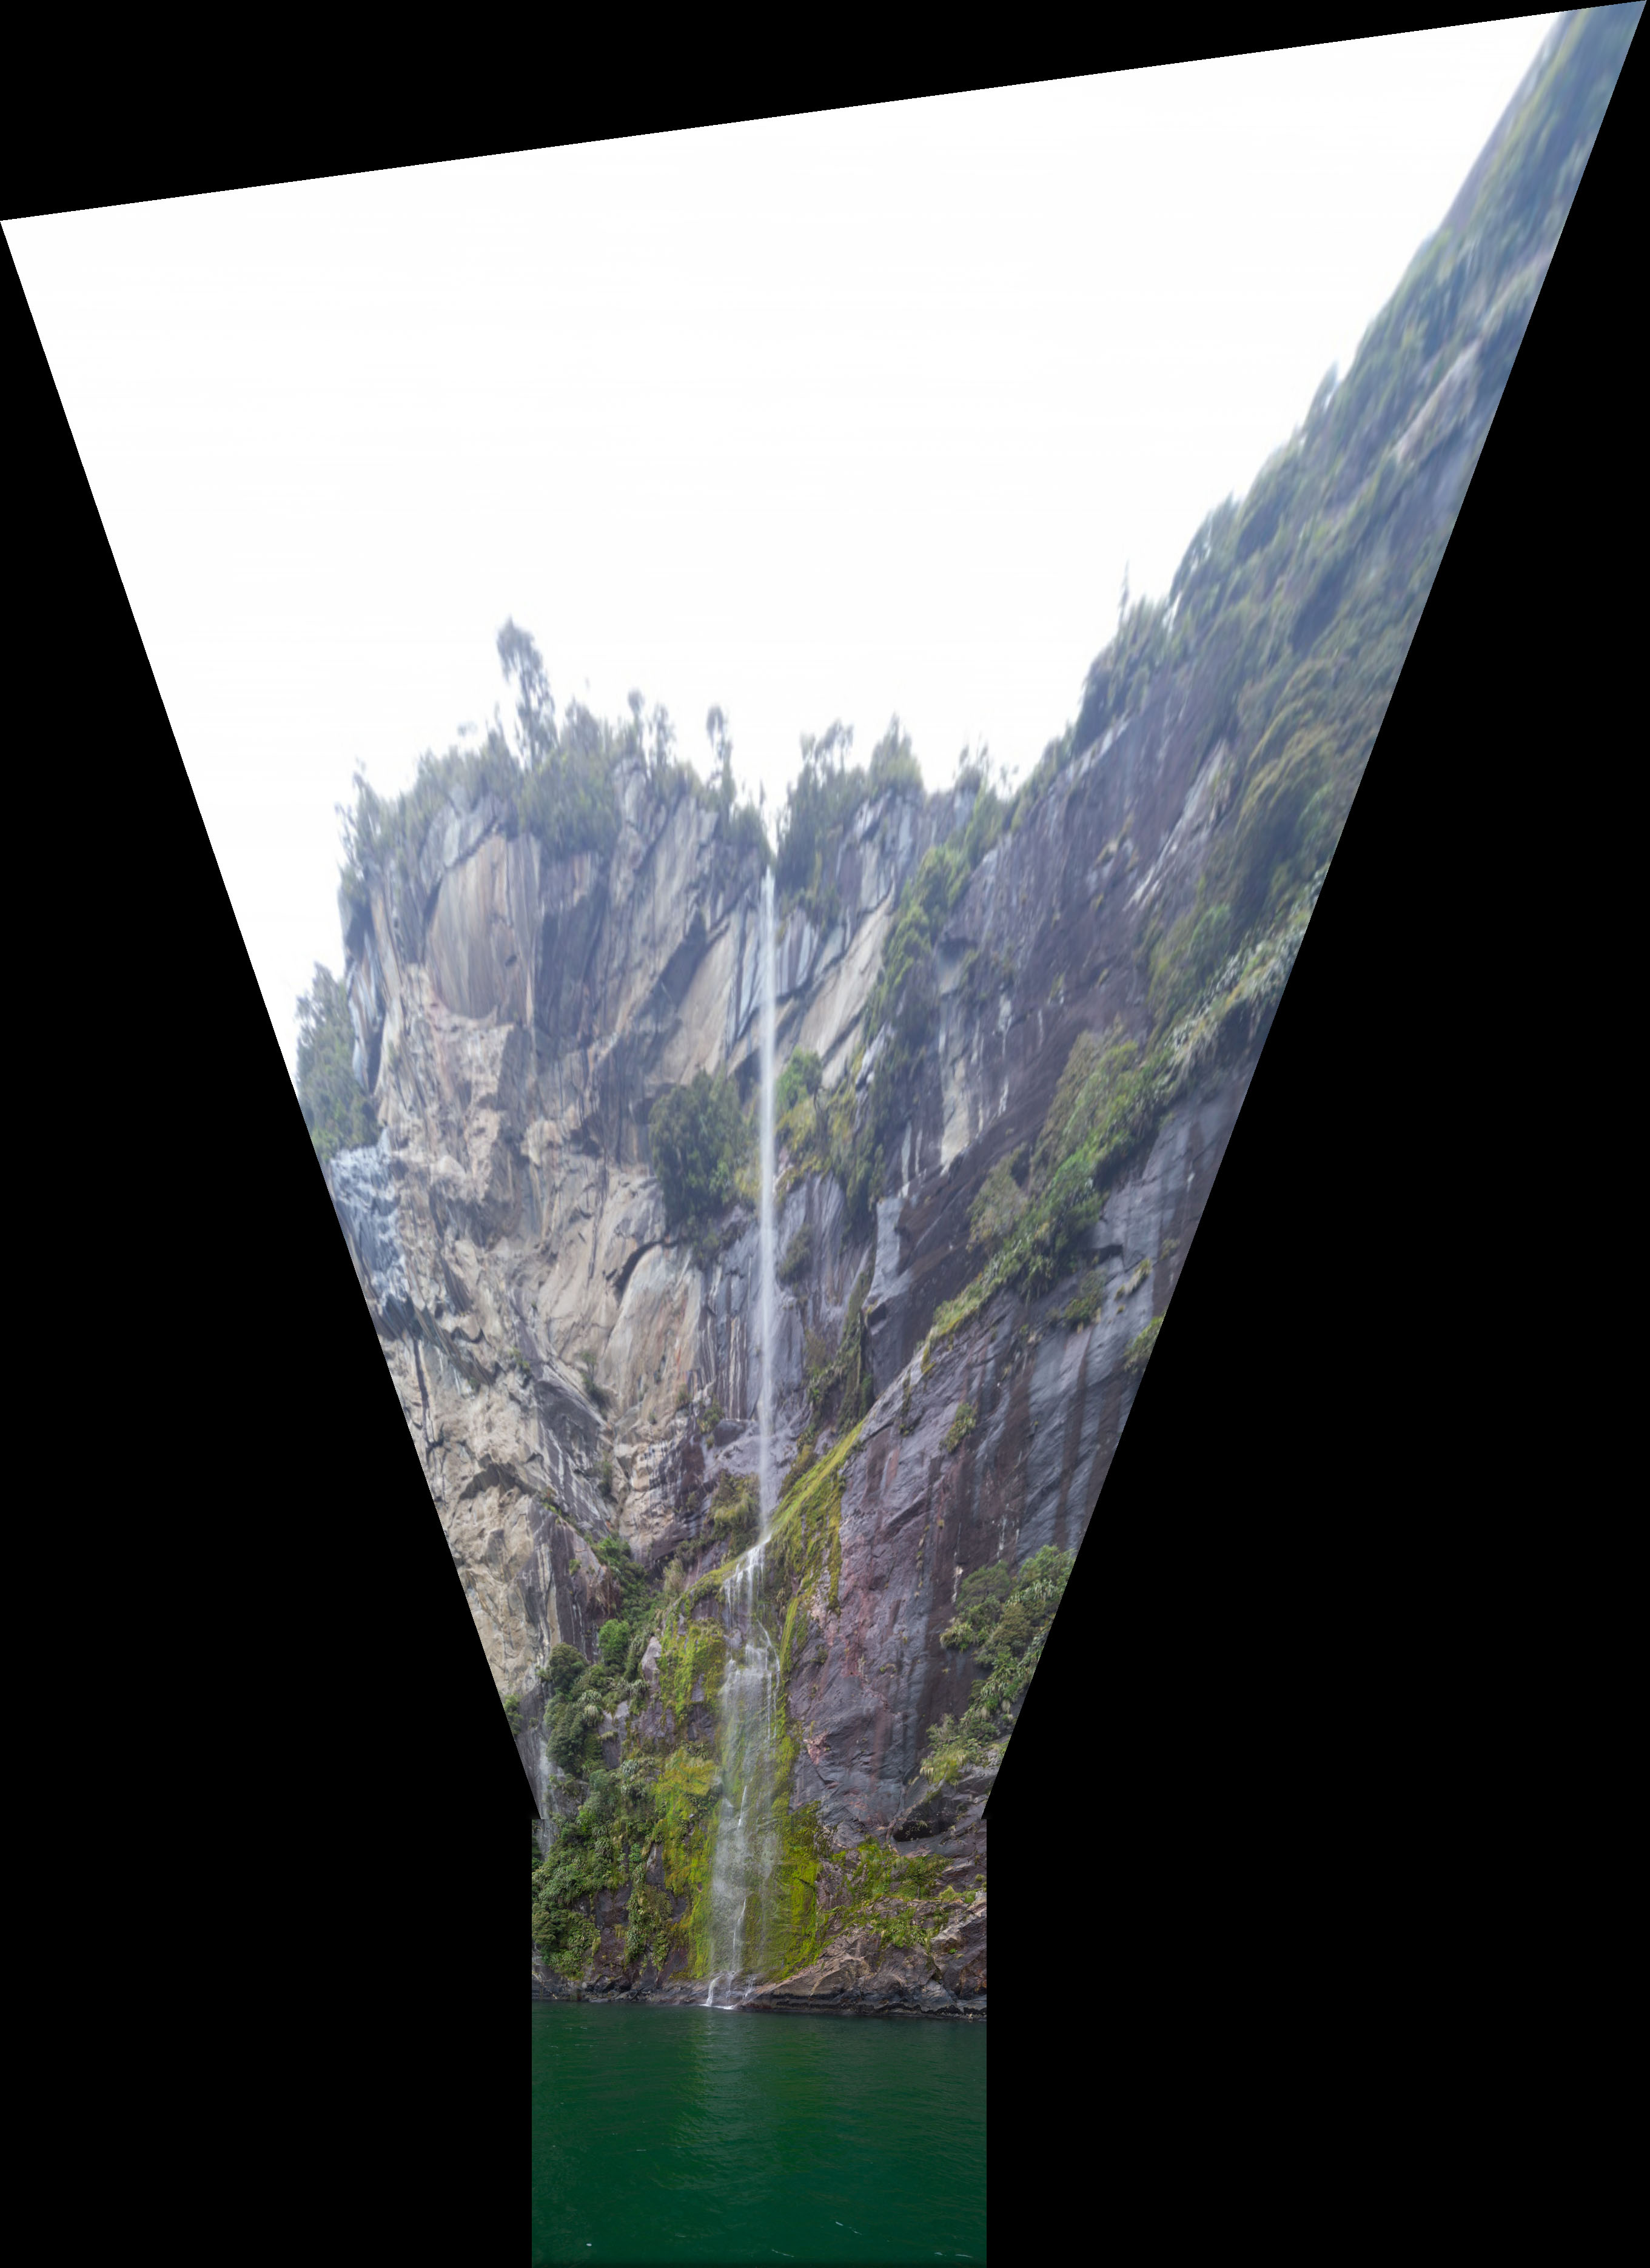
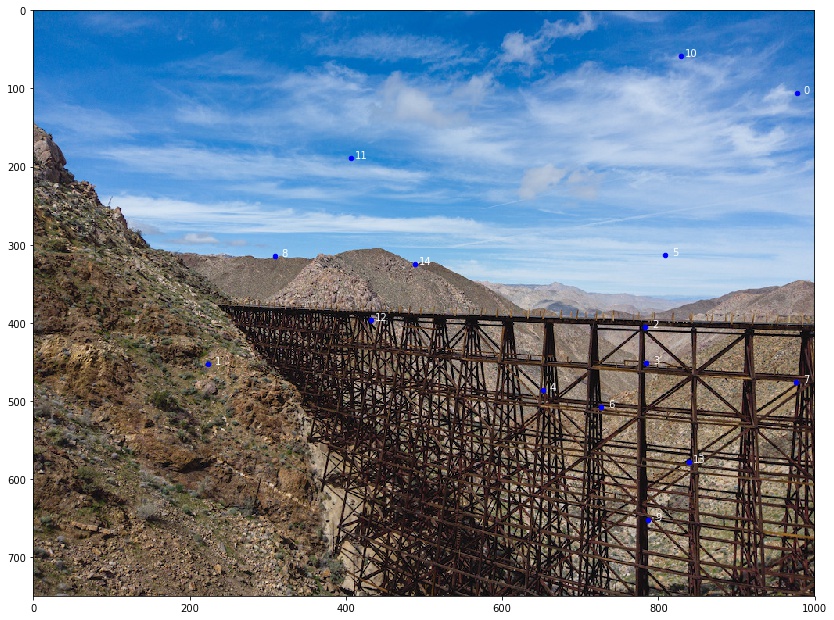
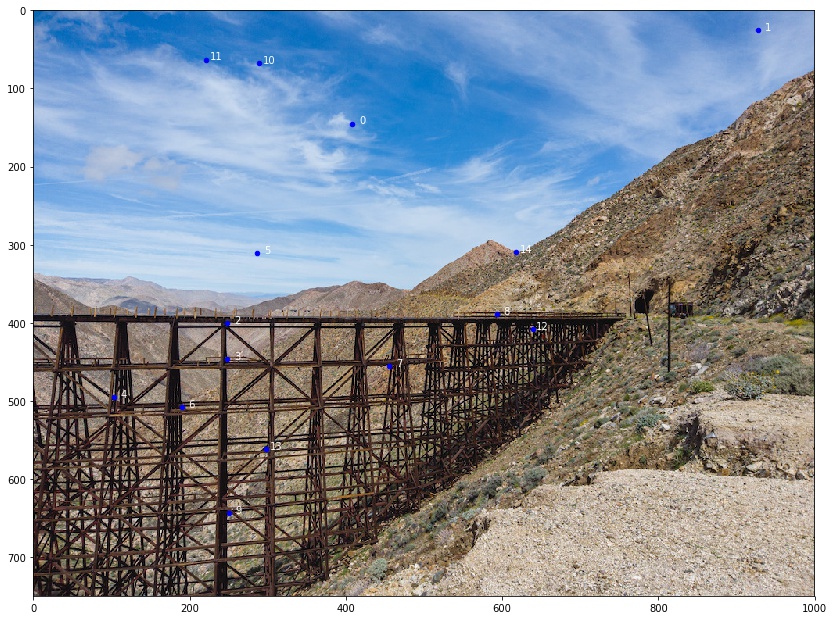
These are the photos and six correspondence points I will be using for one of the mosaics. You might have to zoom in to see the points.
I first defined the correspondence points through ginput and then used a random jitter algorithm ensure the points were accurately labelled.
|
|
|
|---|
I used the least squares method as described in class to generate a homography matrix.
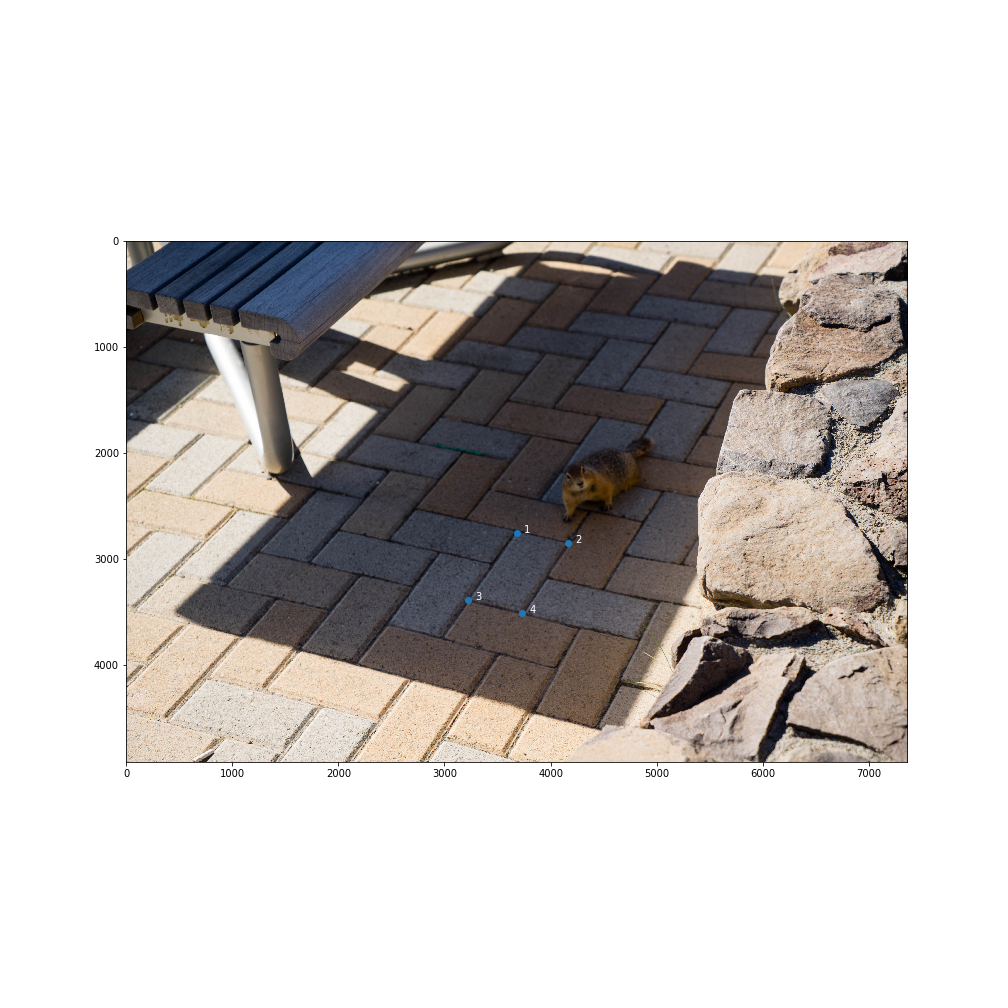
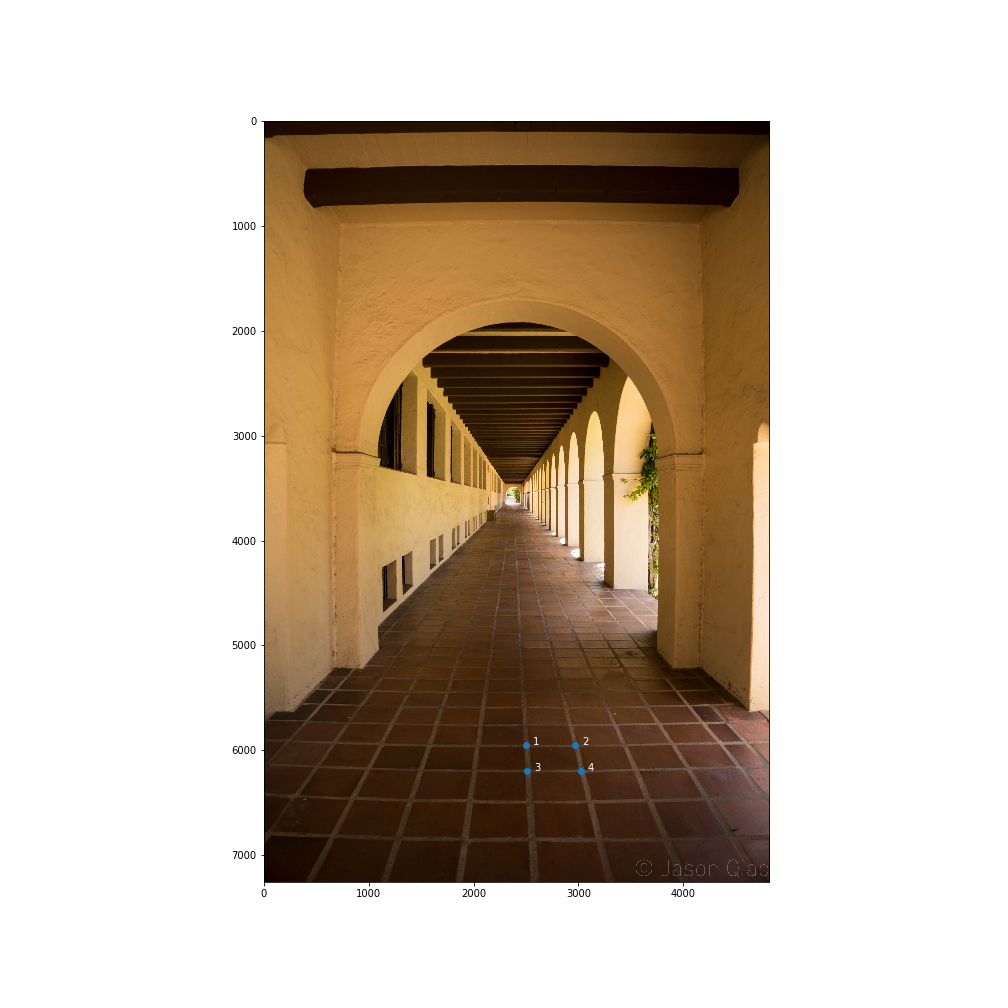
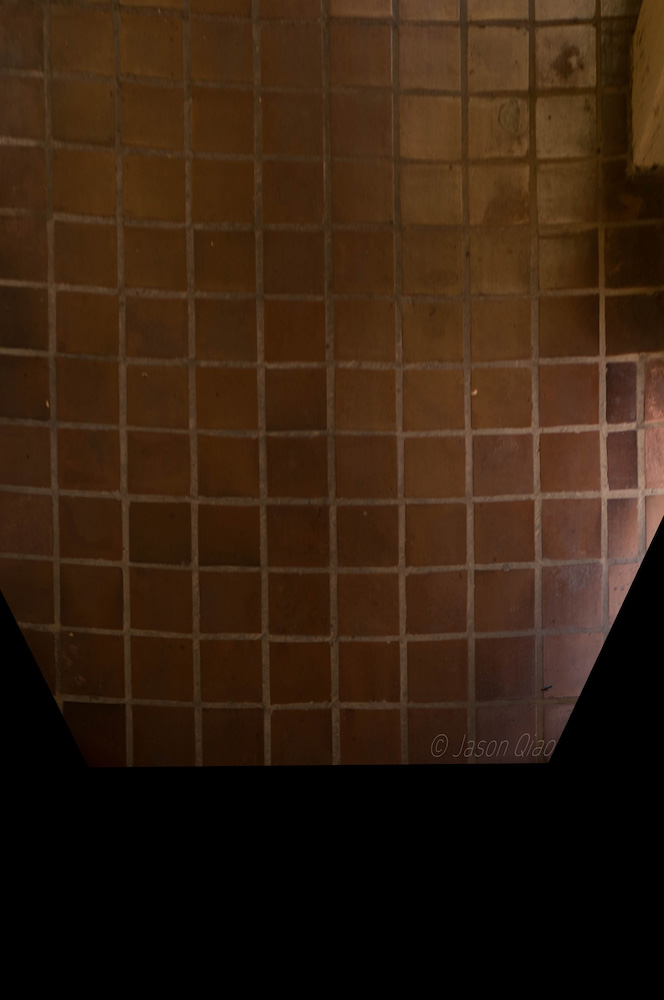
For this part I had to use two different images because my original panorama images did not have a good warped grid I could unwarp. These are the two photos I used for this part and the grids I am trying to rectify. The grid I was rectifying to was qualitatively chosen.
|
|
|---|
This was the result after rectification:
|
|
|---|
In the second photo, you can see that even after rectification, the tiles along the edges are still distorted. This is because I did not properly correct for lens distortion (You can see this in the beam above the archway in the original photo. It is not straight when in reality it is).
I used Laplacian stacking to blend my mosaic (i.e. I just used code from project 2). For the trestle mosaic, I manually created a mask, but because I went back to generate the other two mosaics after completing part B, I generated the mask automatically for those.
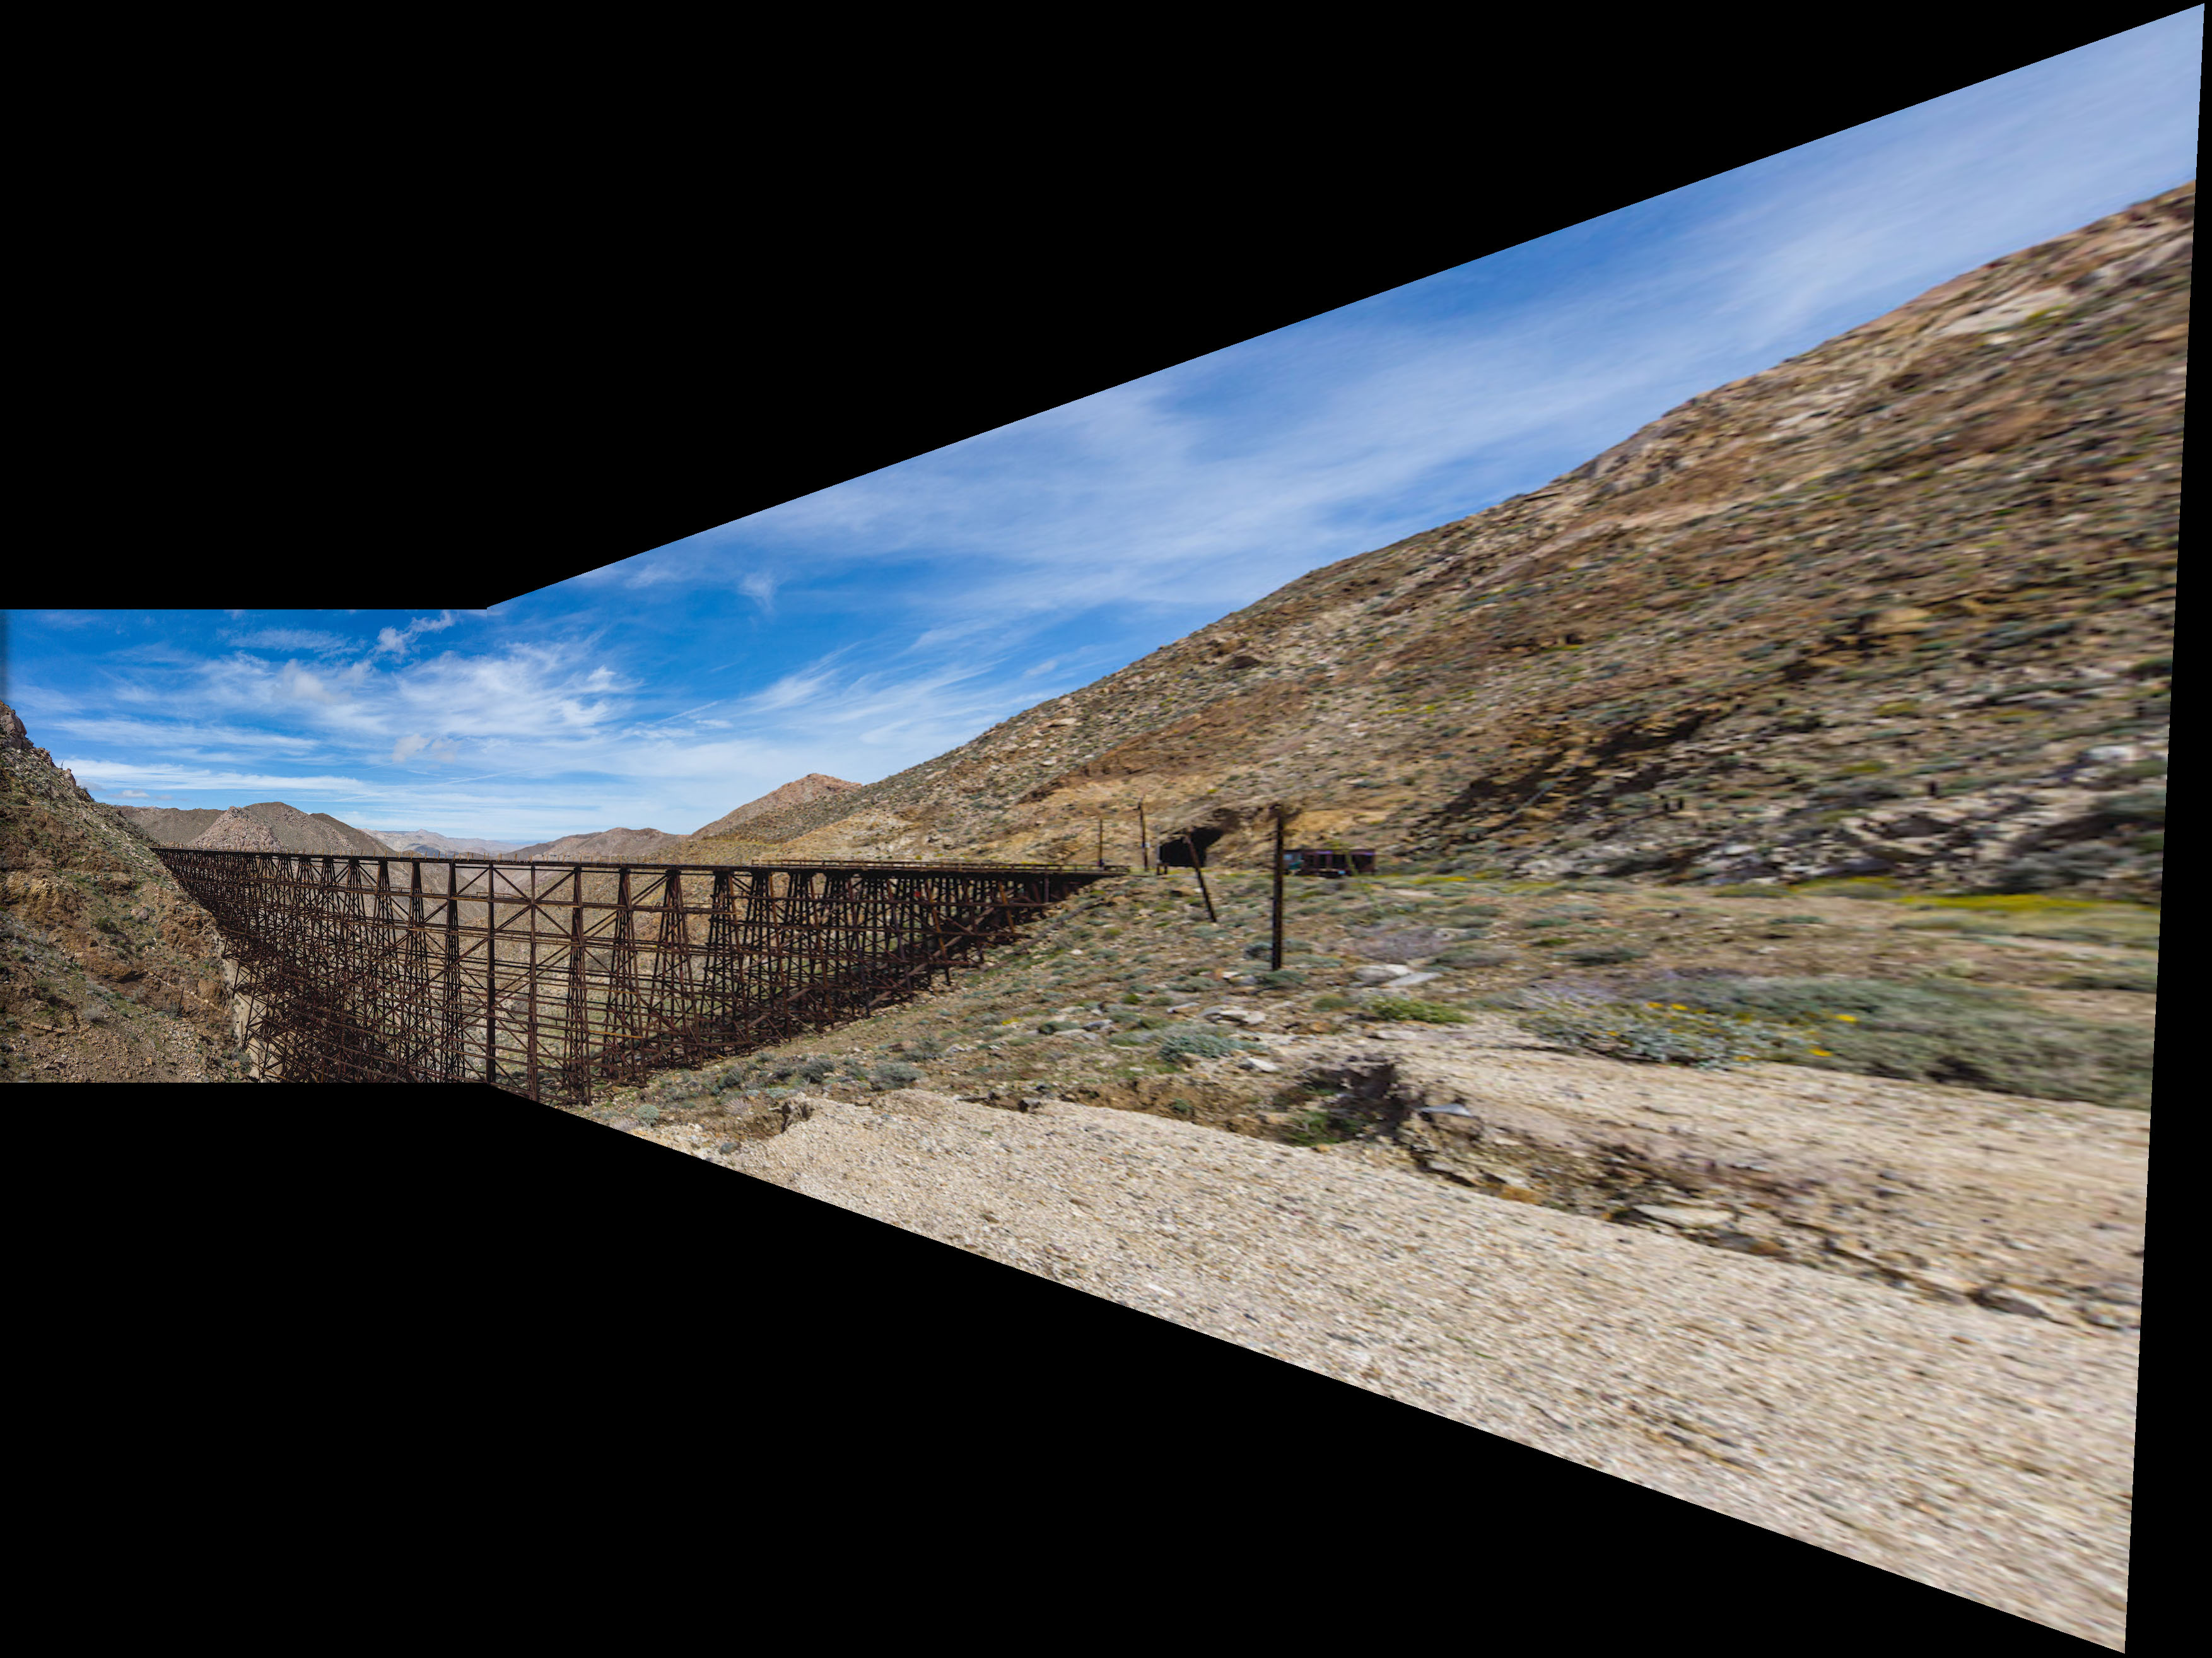
Ideally, I transformed the two images in each mosaic into a new space halfway between the two so one image isn't super warped, but that's evidently not what I did.
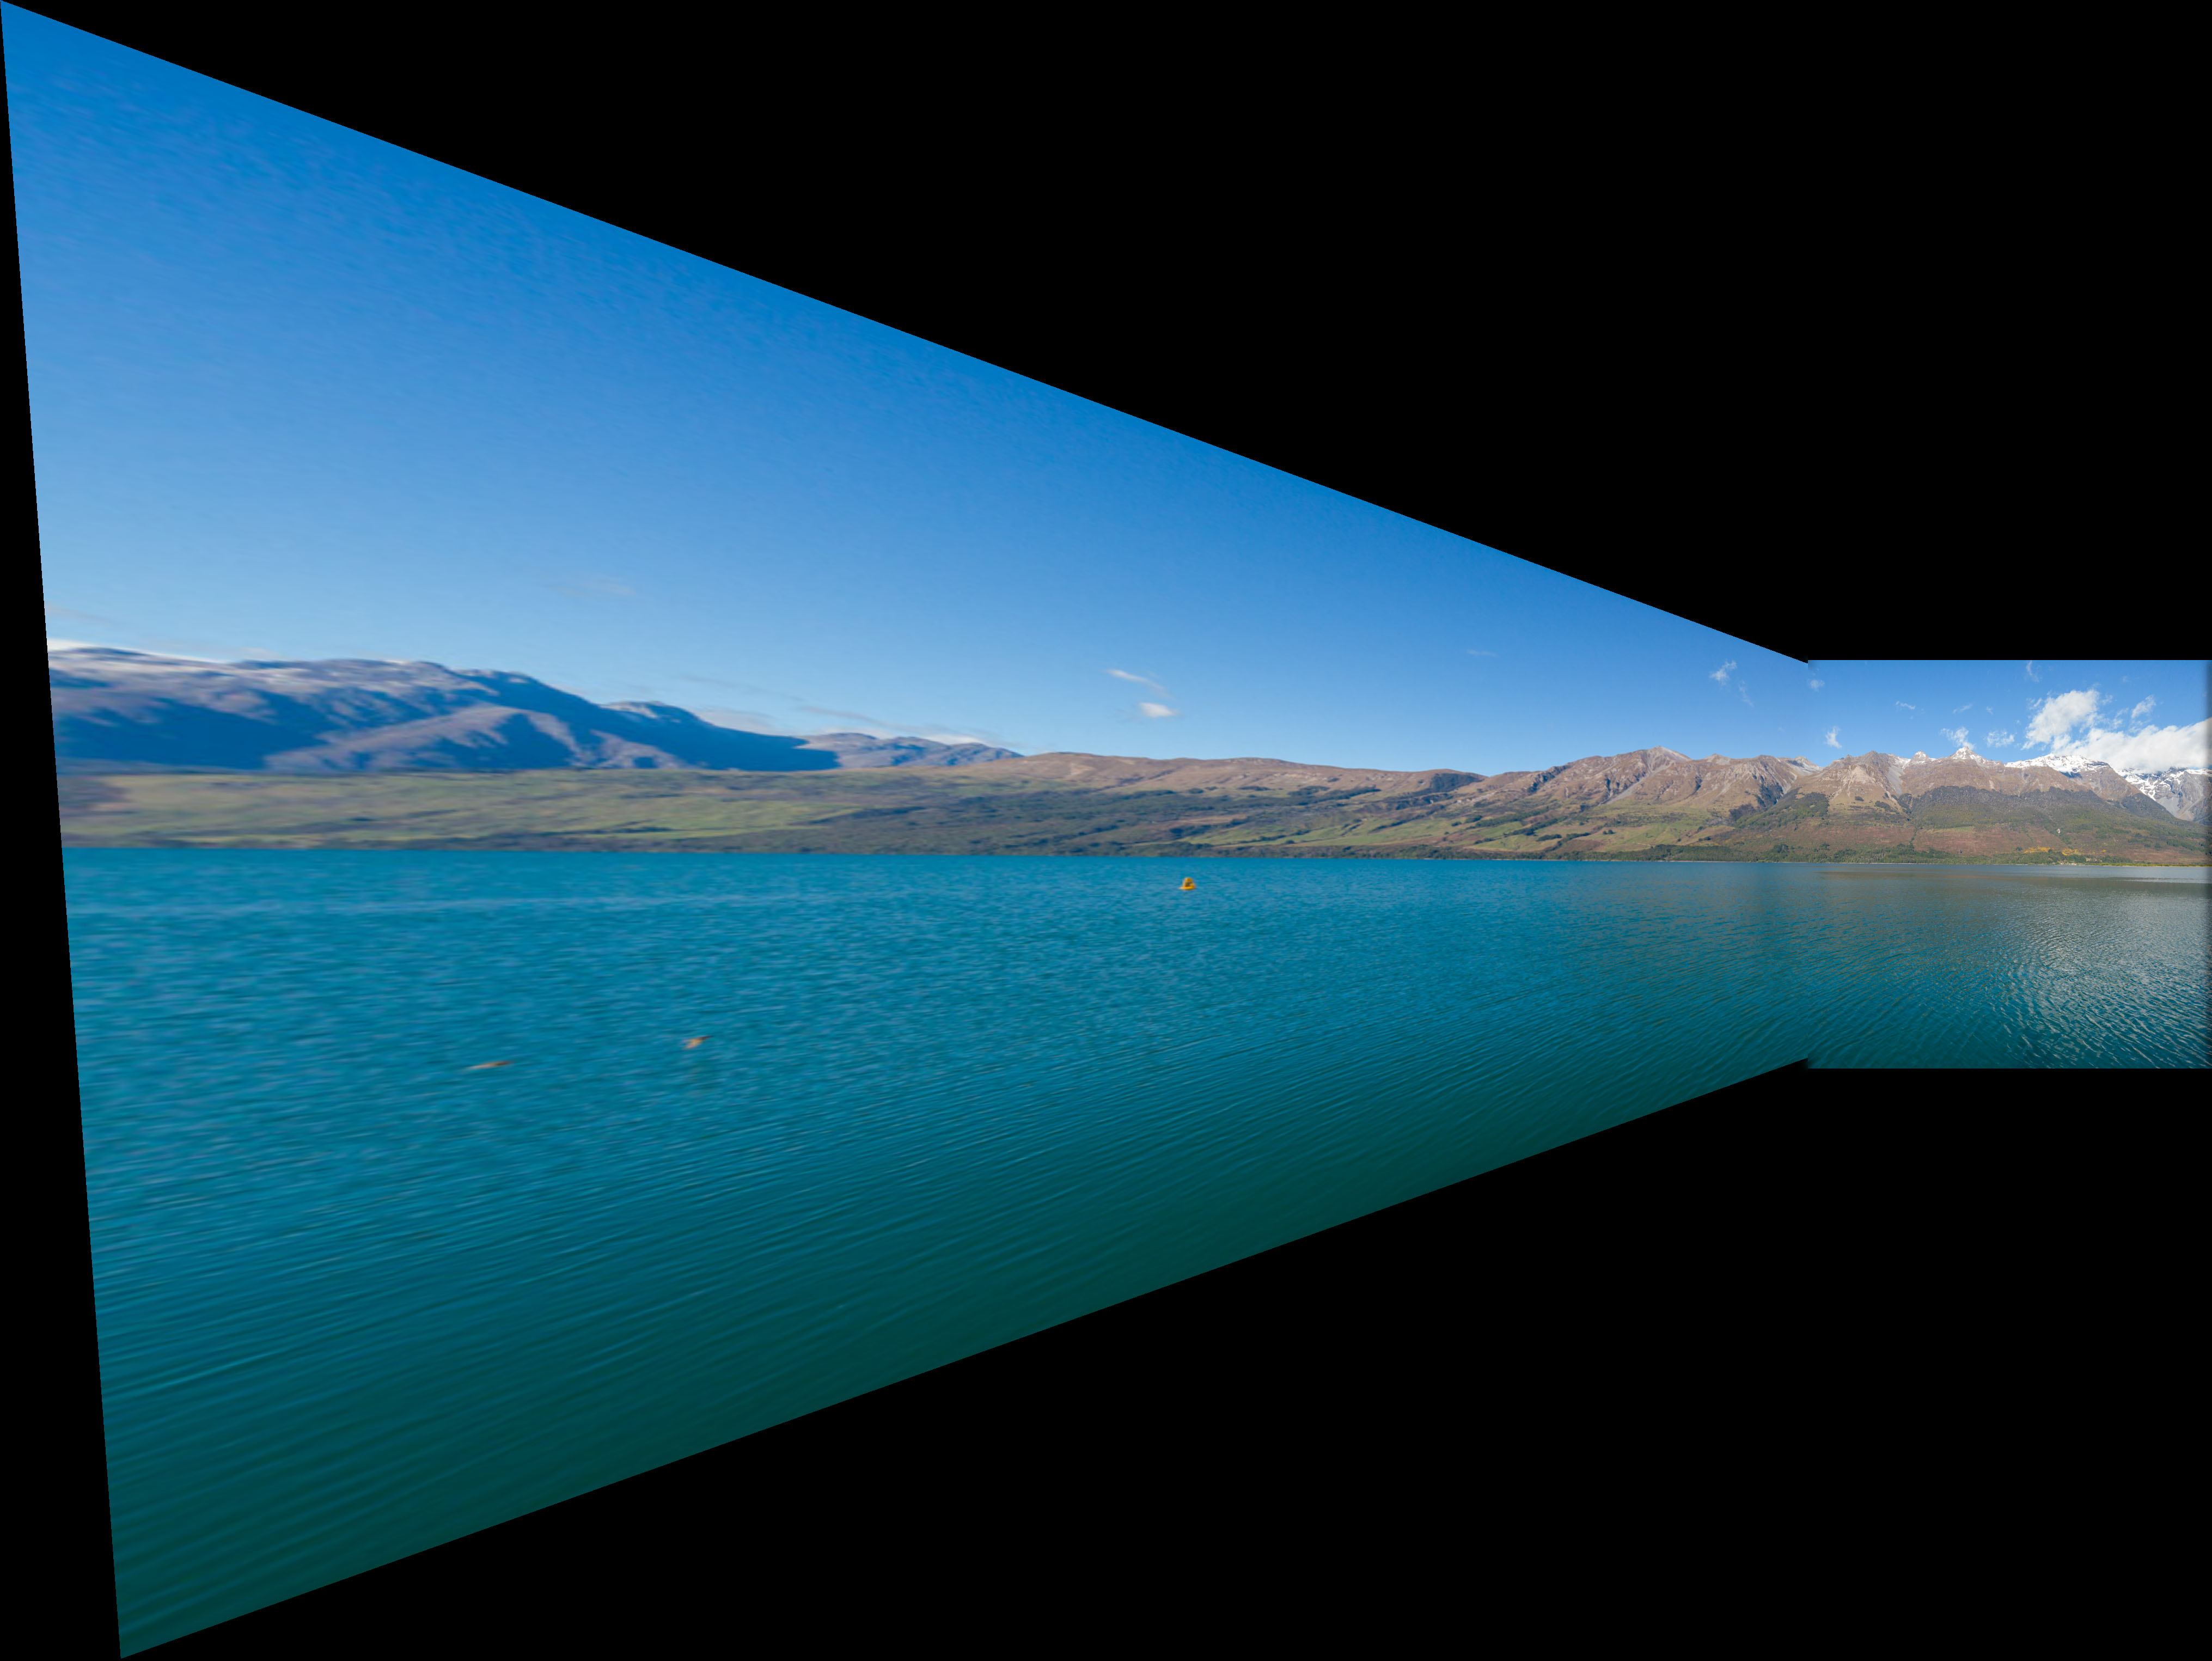
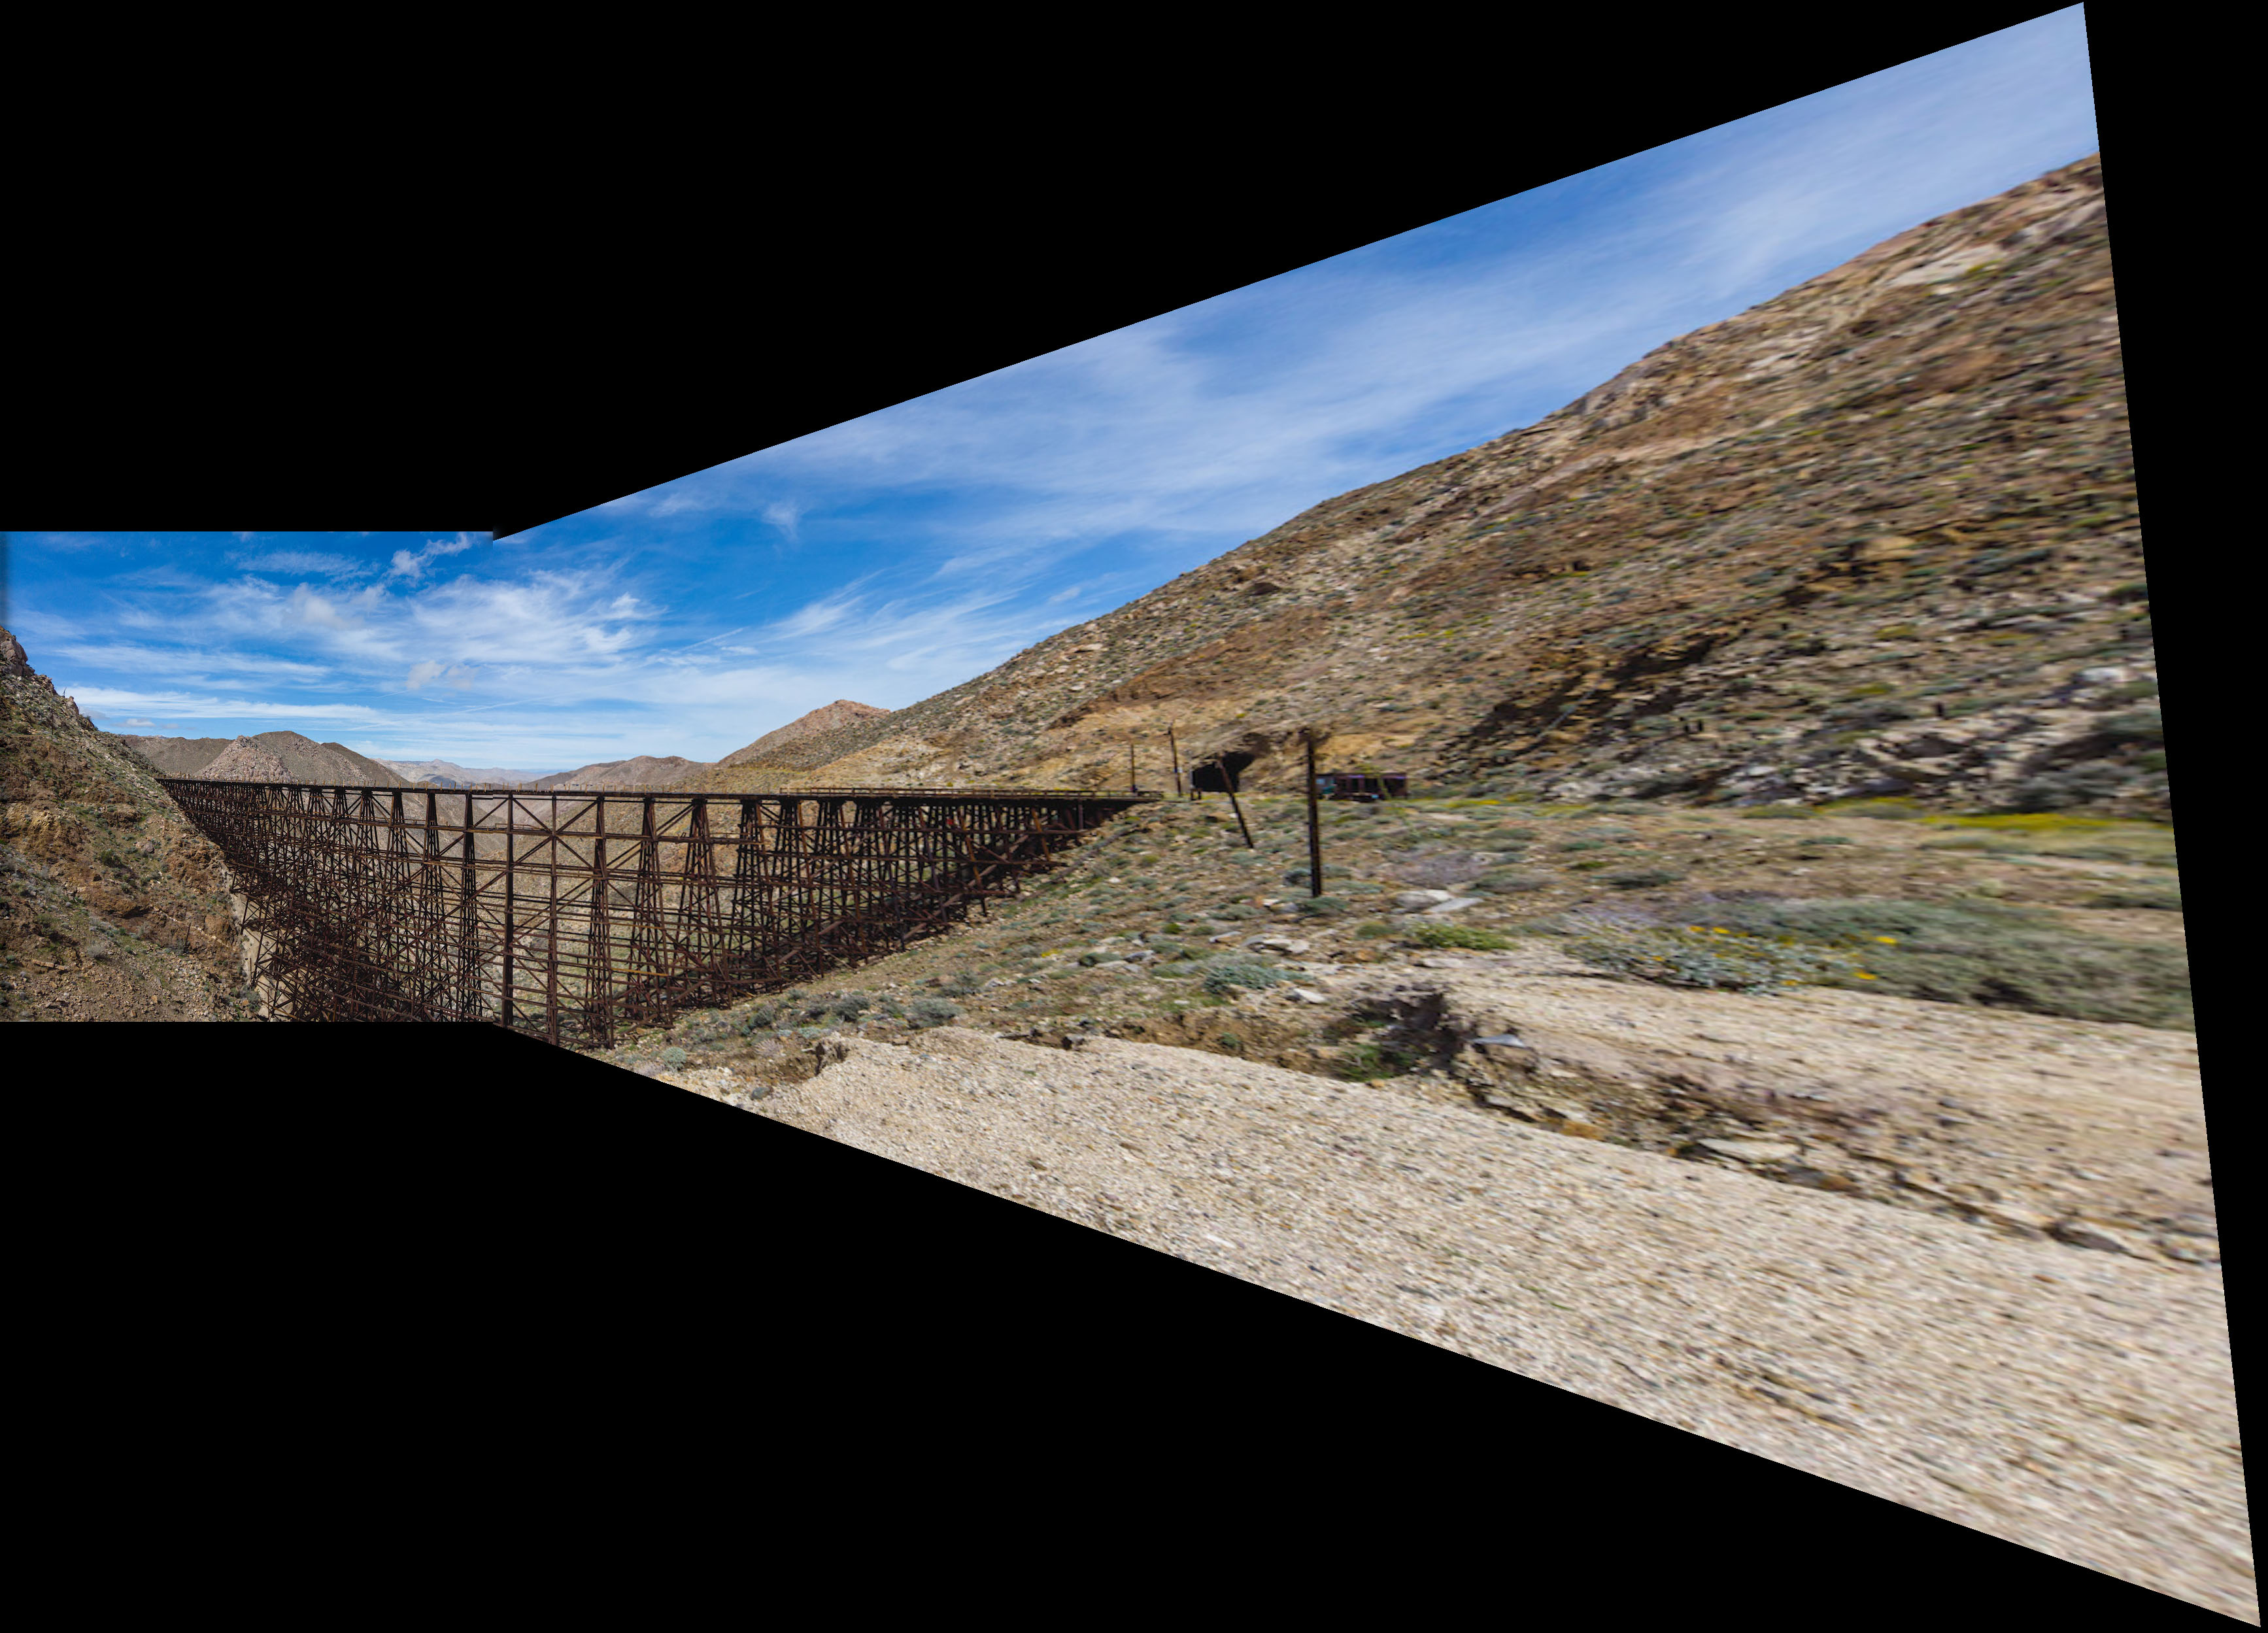
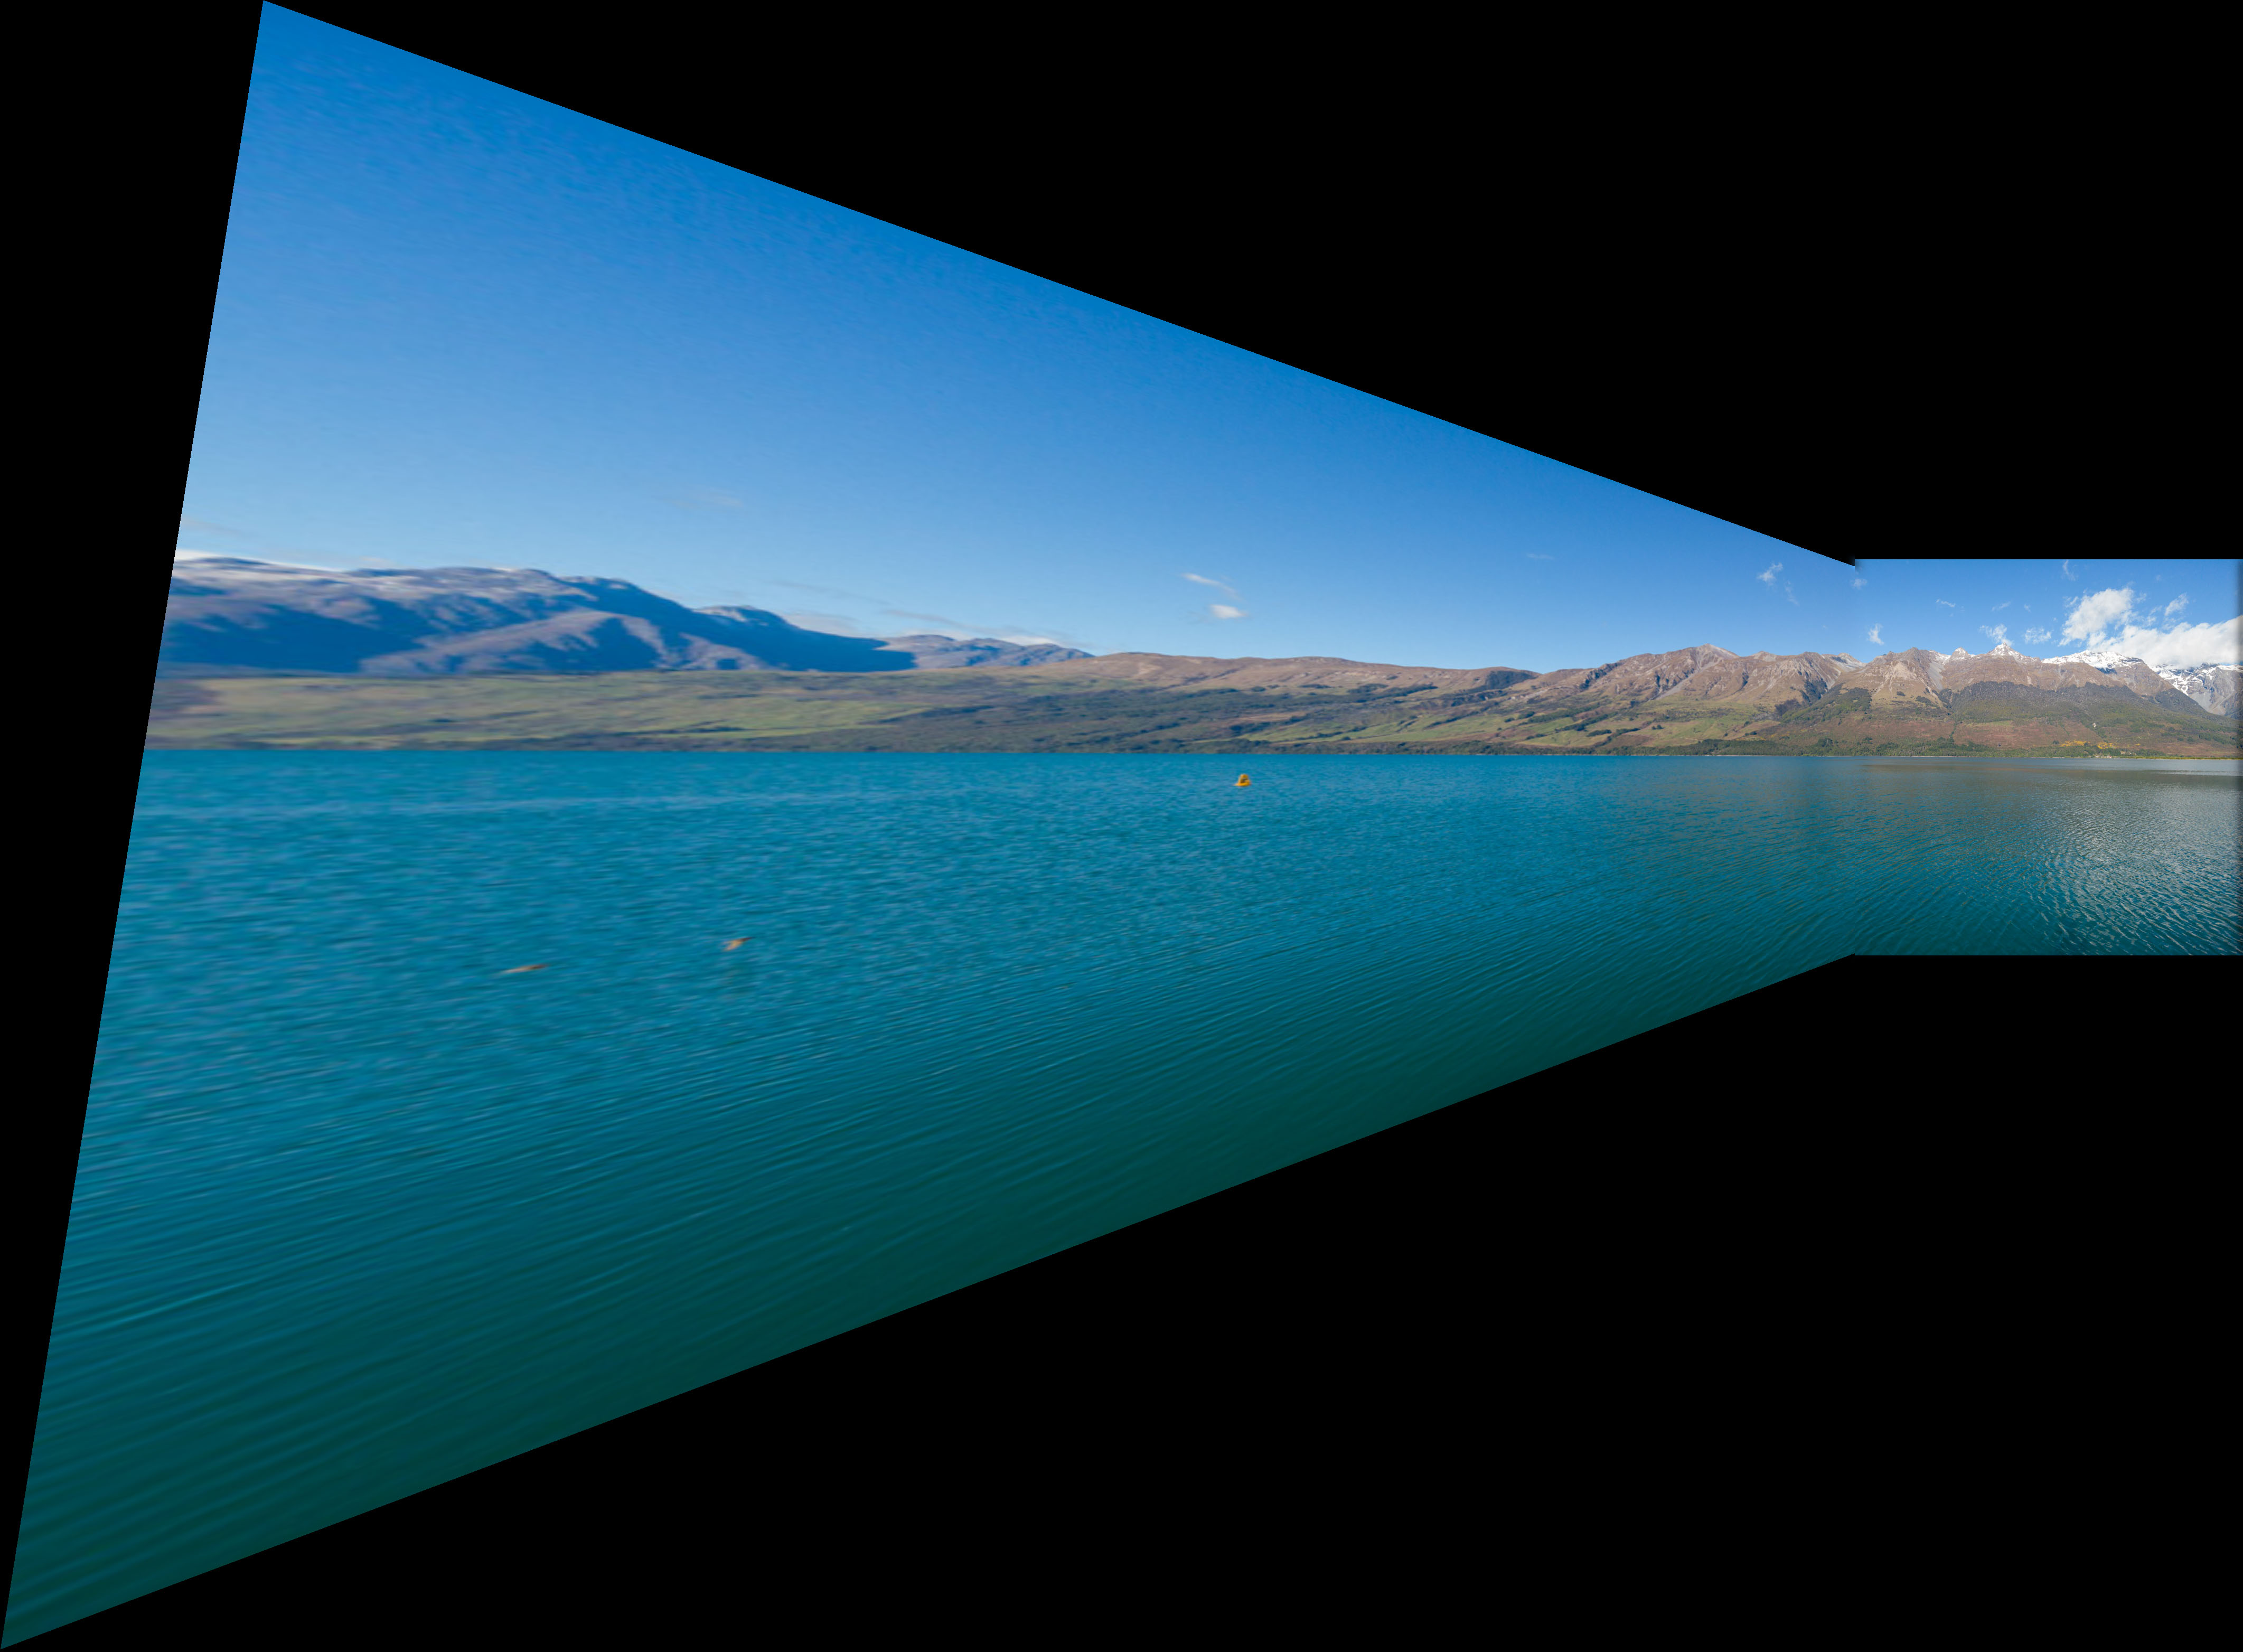
Here are two other mosaics I generated. I tried to vary the positions of the images passed in to ensure the warping was robust.
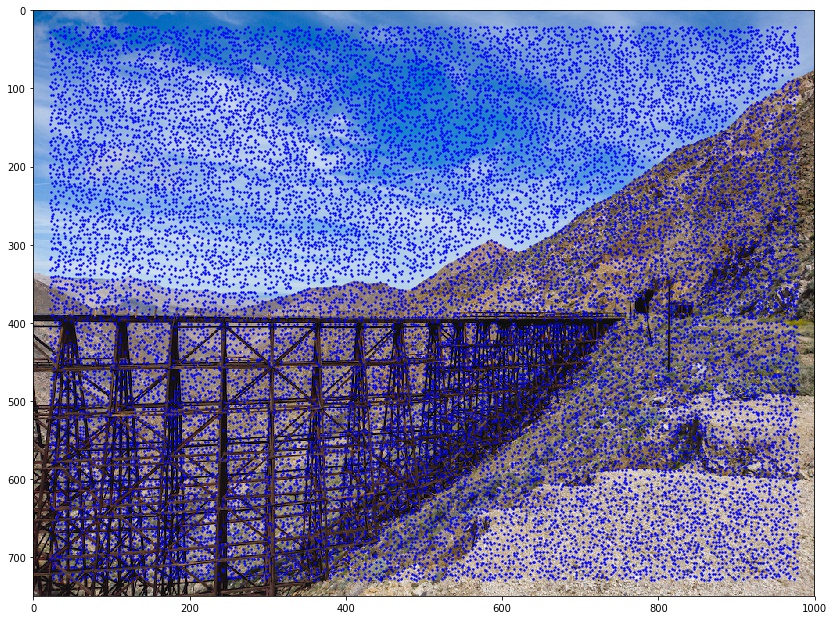
I will use my two images of the Goat Canyon Trestle from above as examples for the steps below.
The Harris Corner Detector finds corners by calculating the change of intensity when a patch is shifted in all directions. By shifting in all directions, this ensures we find corners and not just edges. This was generated with the starter code from the project spec.

|
|
|---|
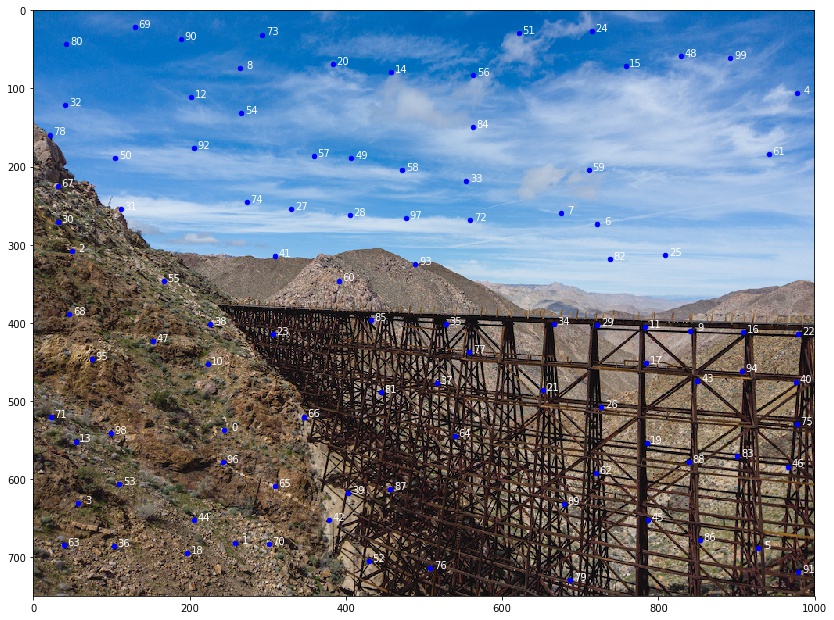
We want to reduce the number of points we are going to match because matching computational time is polynomial with respect to the number points we are trying to match. Therefore, we use adaptive non-maximal suppression (ANMS). ANMS helps us reduce the number of points we will match while maintaining and good spatial distribution of the points we keep. Every point has maximum radius around it where it has the highest strength. We pick and keep the n points with the largest radius.
In implementation, I found the closest point B to point A such that point B's strength was higher than point A's by some fraction (1/0.9) and saved this distance. I then sorted all the points by distance and kept the n largest distance points.
|
|
|---|
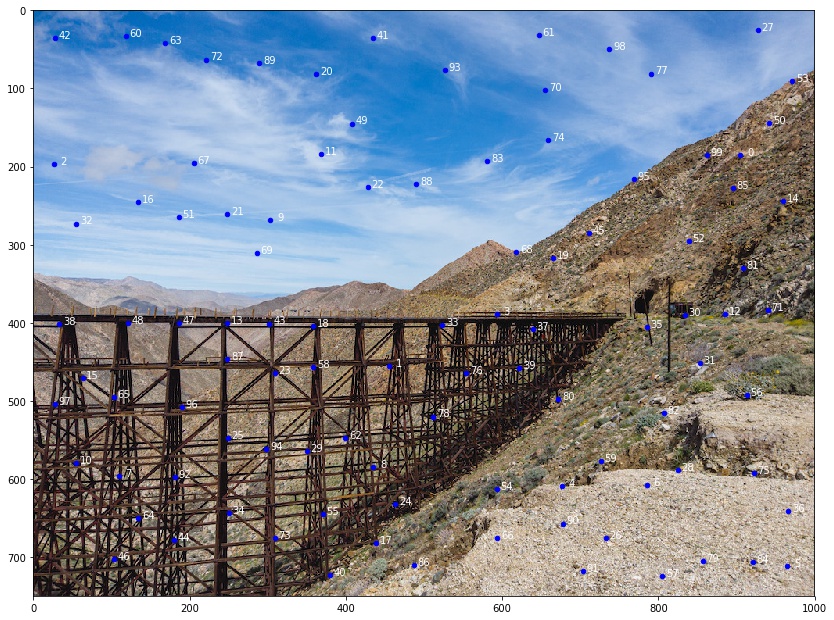
In order to match each feature point, we extract 8x8 feature patches for each one. However, we extract these patches from a zoomed out image so we capture more of the surrounding information with each patch. I then normalize all the patches so the patches are independent of camera exposure.
For all the feature patches, I calculate pairwise difference scores (using the dist2 function provided and imagining the distance is a score of difference/similarity). For each point in the first image, I find the two points in the second image with the smallest difference scores (i.e. highest similarity) and calculate their score ratio. If it is below our threshold (default=0.5 as per Brown et al.), then we keep our match between the point in the first image to the point in the second image with the lowest difference score. Below is an example of matched features. Notice how some are correct matches while others (1, 8, 11, 12, 14) are not.
|
|
|---|
Now, we have to generate our homography matrix. We randomly select 4-sized subsets from our matched feature set and calculate a dummy homography matrix. We then calculate the number of inliers this H matrix has. In other words, we find the number of points in our matched feature set that result in a matching point if warped by this matrix. The H matrix with the most inliers is the matrix we use to warp our image.
The warping is identical to as in part A except I added mask generation as well. I did this by finding a weighted-average between the two new image centers.
|
|
|
|---|
Manual correspondence selection seemed to have performed better for this mosaic.
Here are some other panoramas I generated. I did not get around to generating panoramas with more than two images.
|
|
|
|---|
|
|
|
|---|
This project was really interesting and gave my some insight on how Adobe Lightroom does their own panorama stitching. There were some images both my implementation and Lightroom's panorama feature both couldn't stitch (I figured it was because of the moving waves). I wish we didn't have to manually define correspondences again though; that is always extremely tedious.