Overview
In part A of the project, I took pictures, recovered homographies, warped images (with 2 rectified images as examples), and blended my own images into a mosaic.
Shoot and digitize pictures (20 pts)
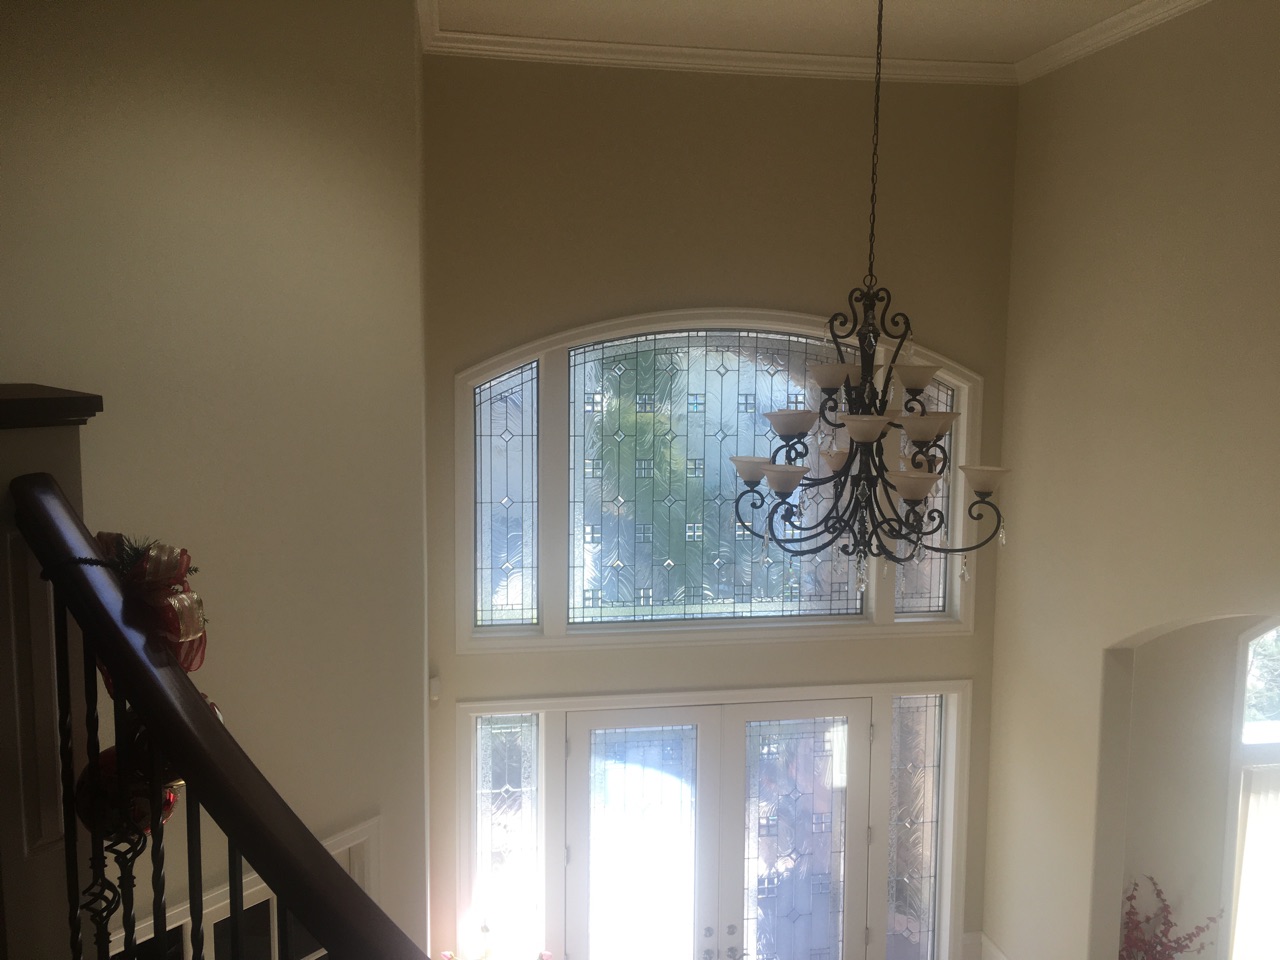
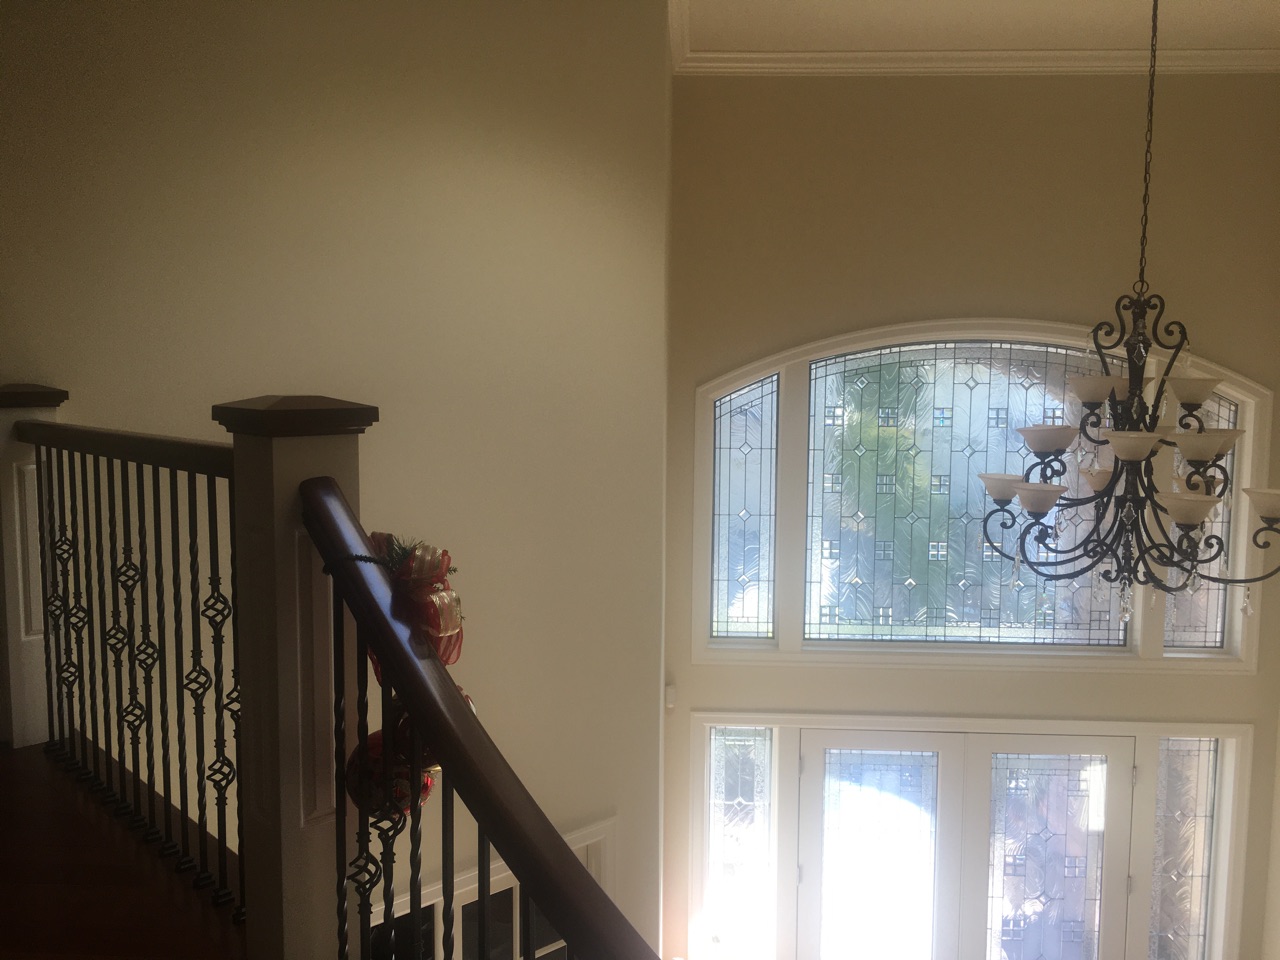
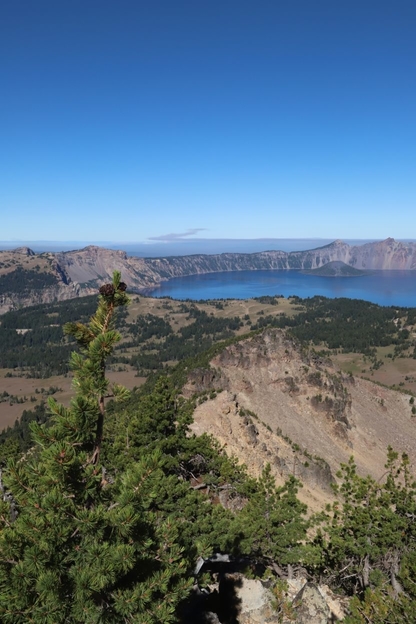
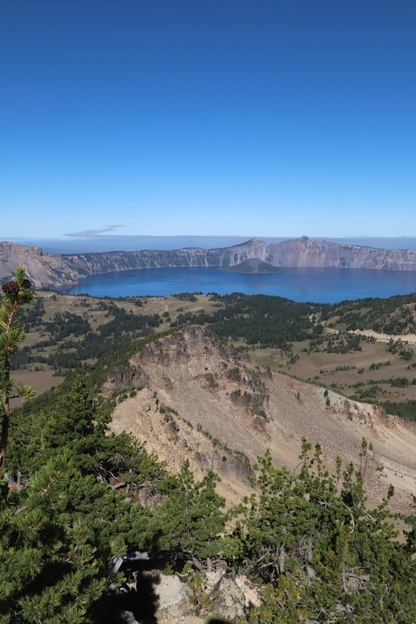
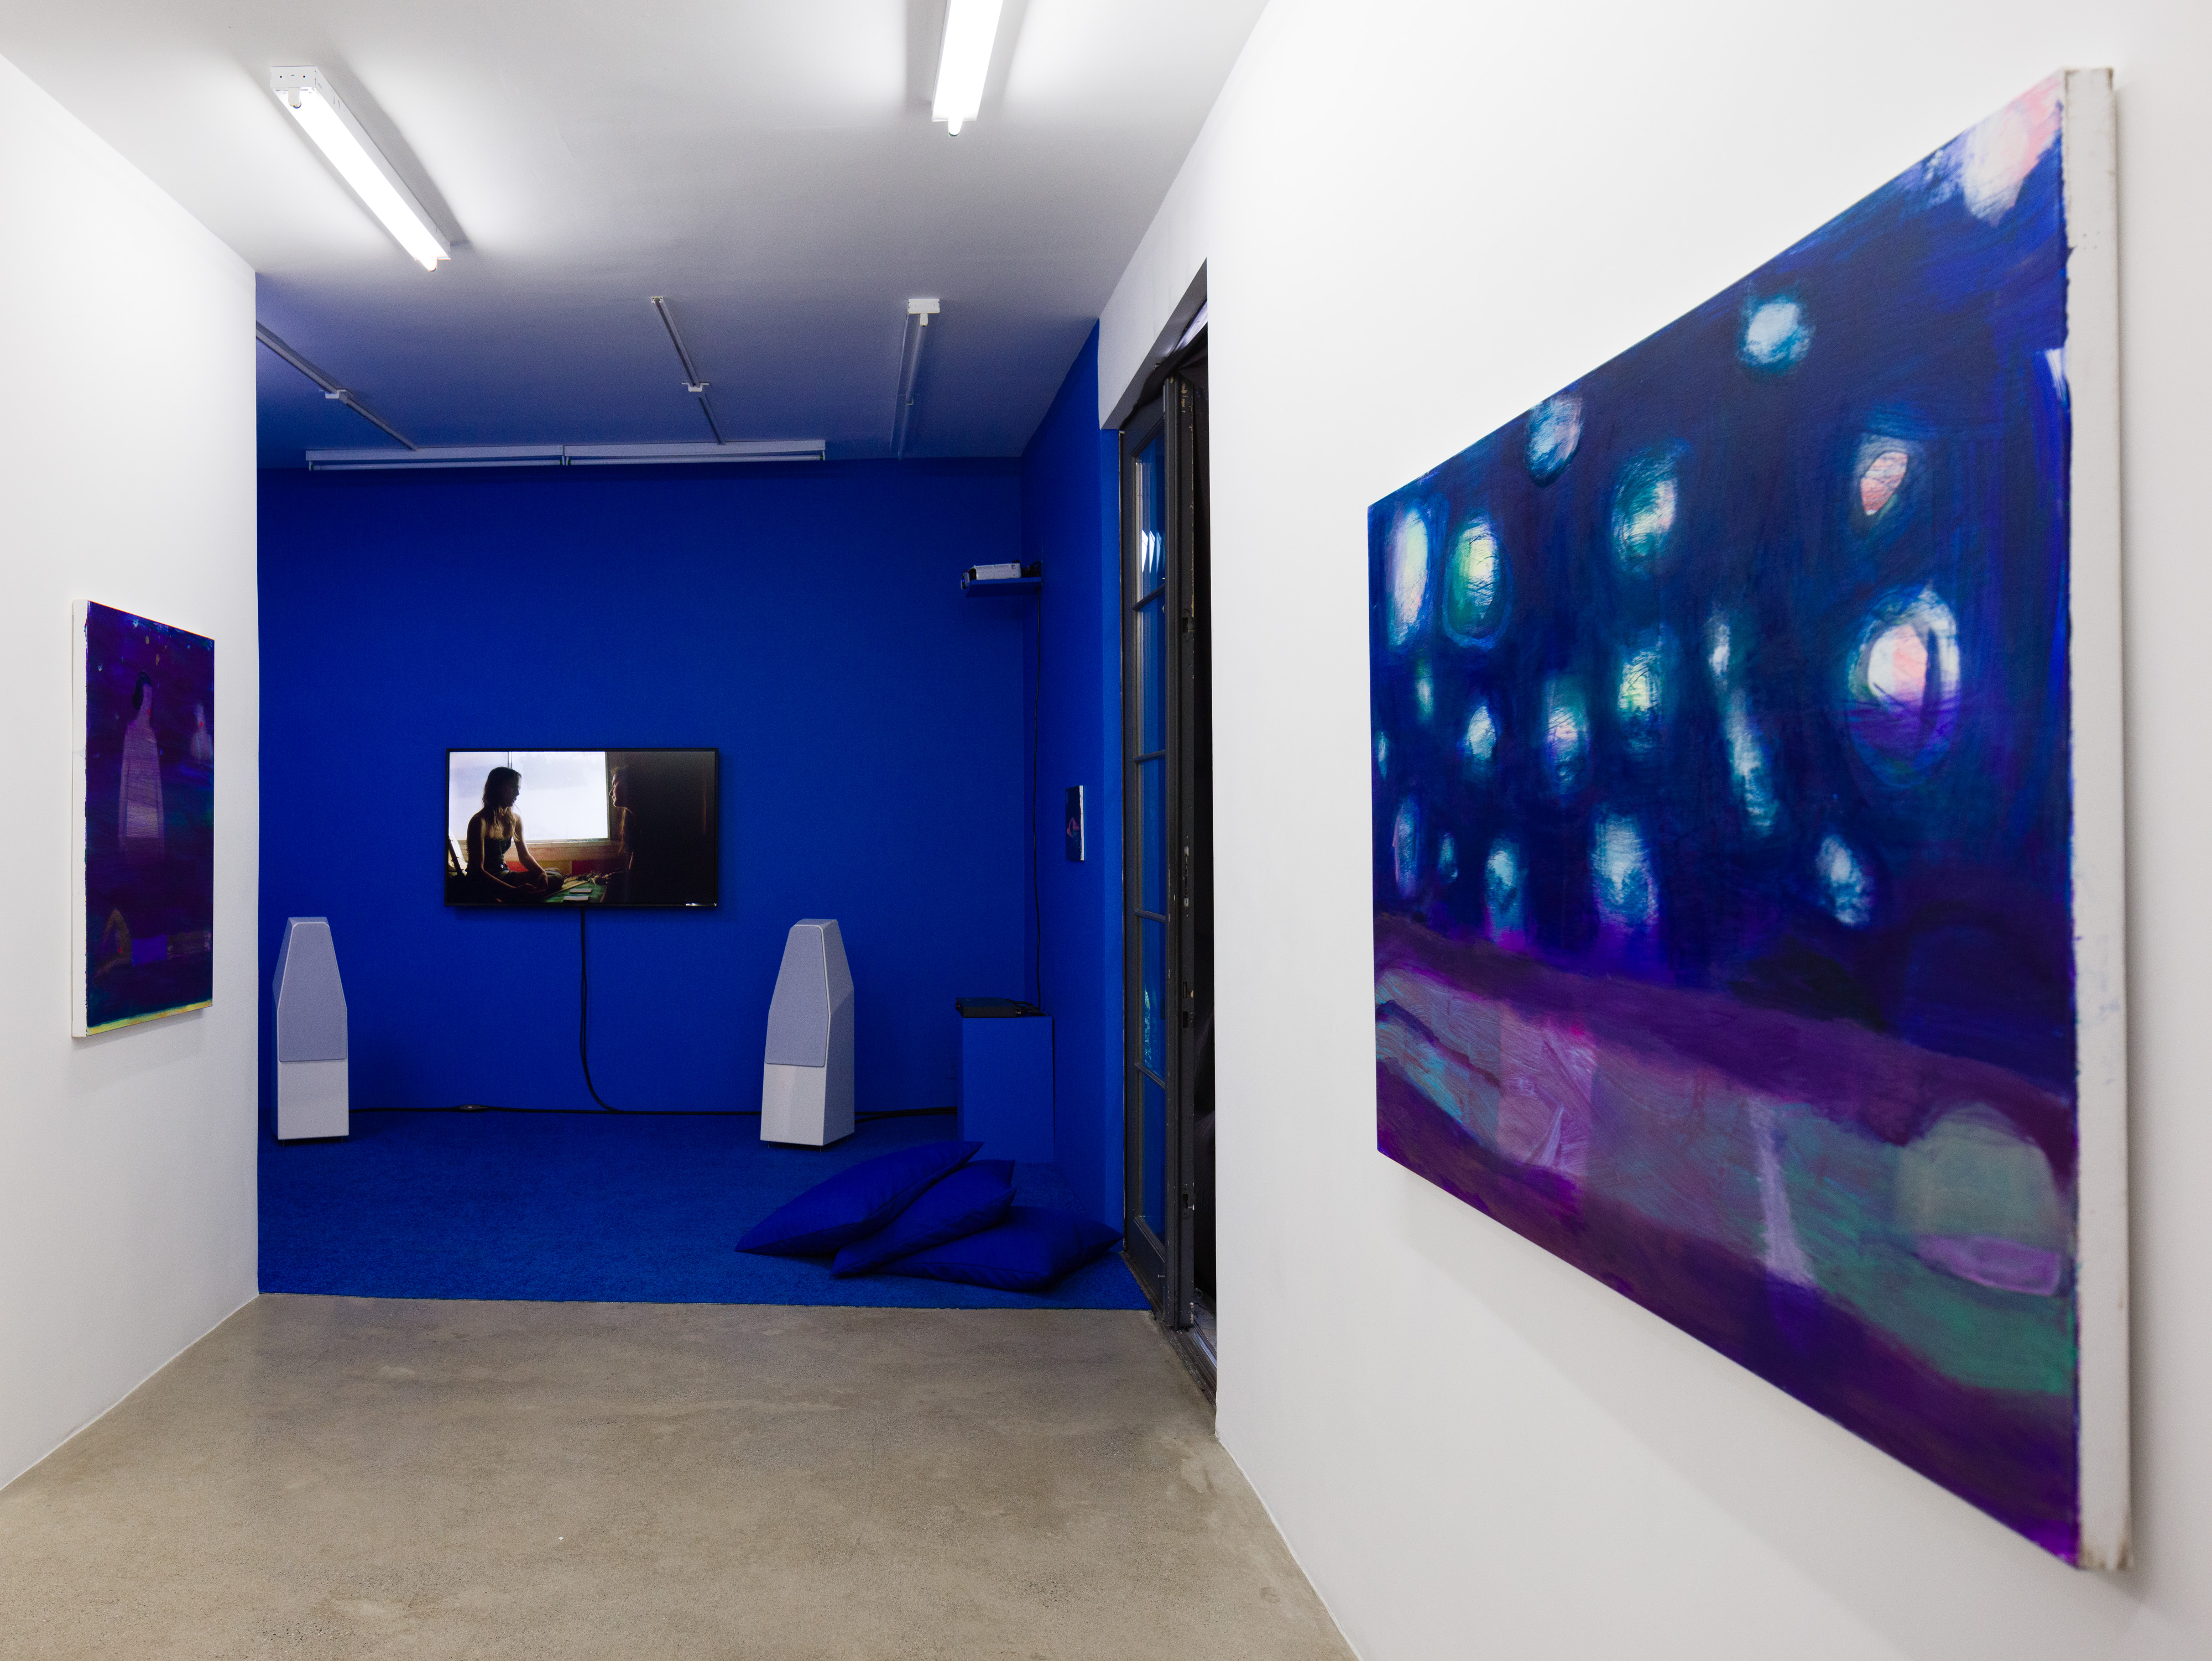
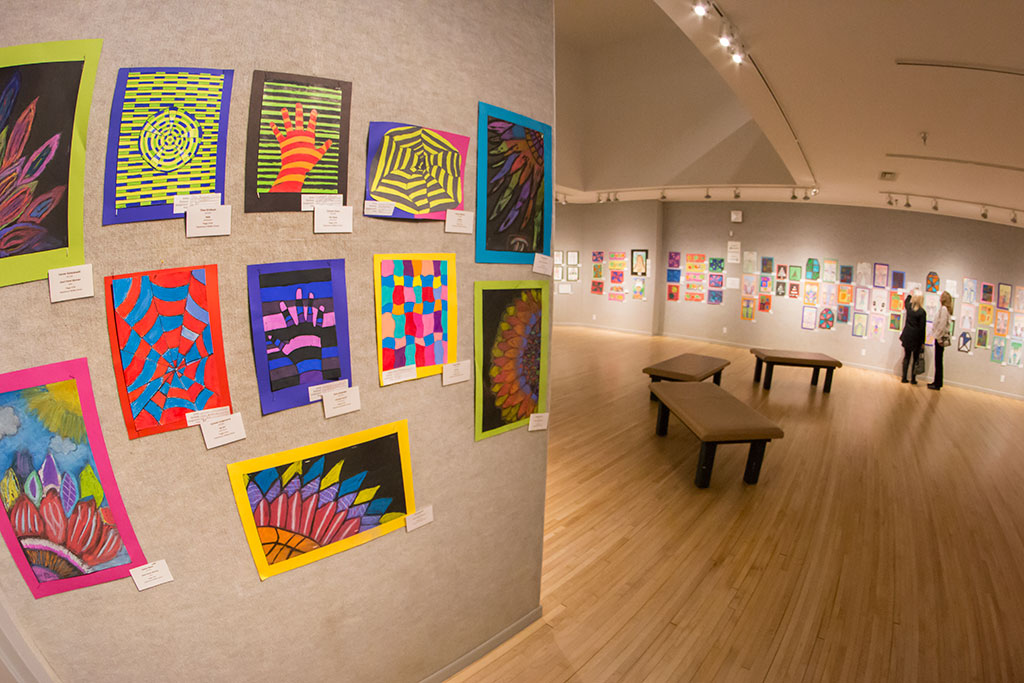
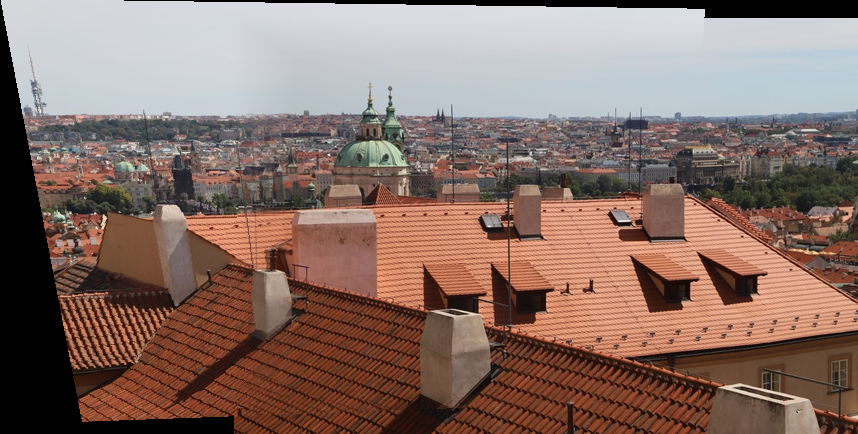
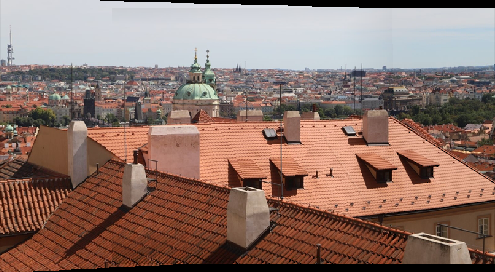
Below are two images I took inside my house, and two images of museum galleries. The other 2 pairs (city and lake) were provided to us by TAs. They will all be used for the below panoramas or rectifications.
|
|
|
|
|
|
|
|
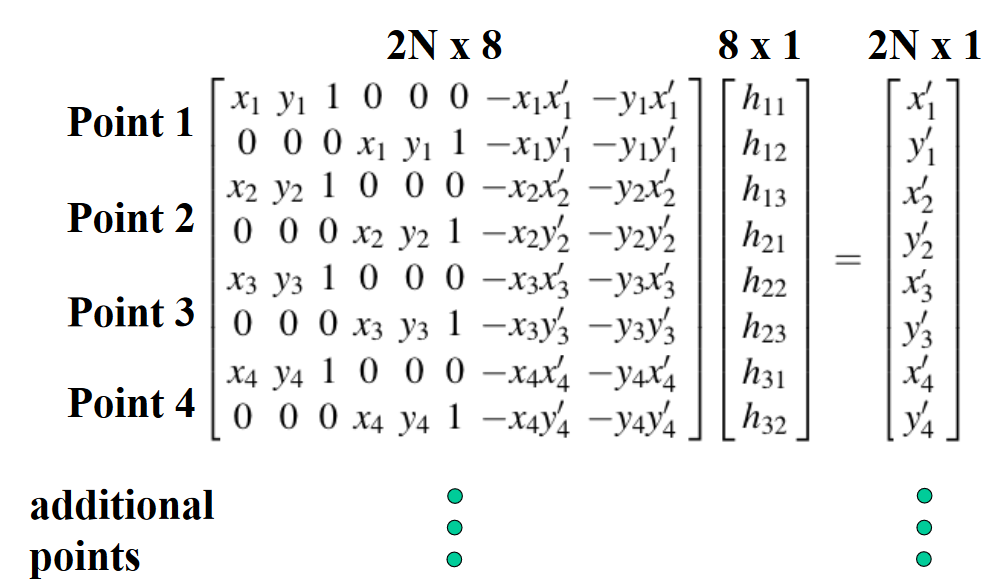
Recover homographies (20 pts)
To recover homographies, I first selected points in both images and recovered the homography vector using the matrix equation below. I then reshaped the vector into our desired 3x3 homography transformation matrix, where the last entry is 1 (scaling factor).
|
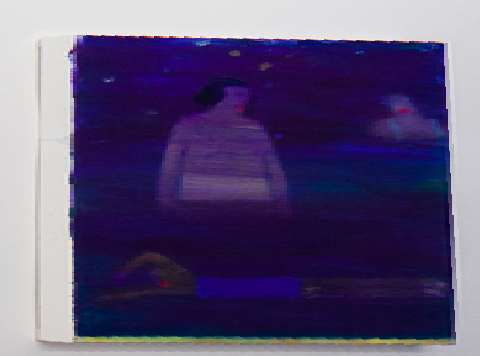
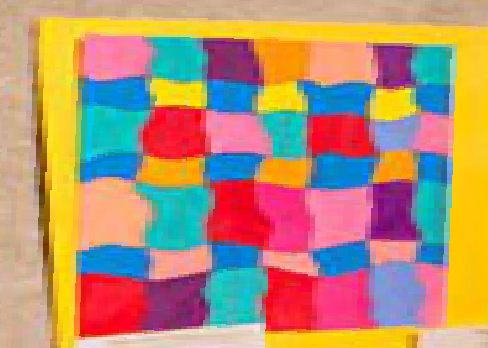
Warp the images (20 pts) [produce at least two examples of rectified images]
Below are two images and their rectified paintings. I obtained by warping (using the homography matrix) the portion of interest and specifying the ending shape (a rectangle in my examples)
|
|
|
|
|
|
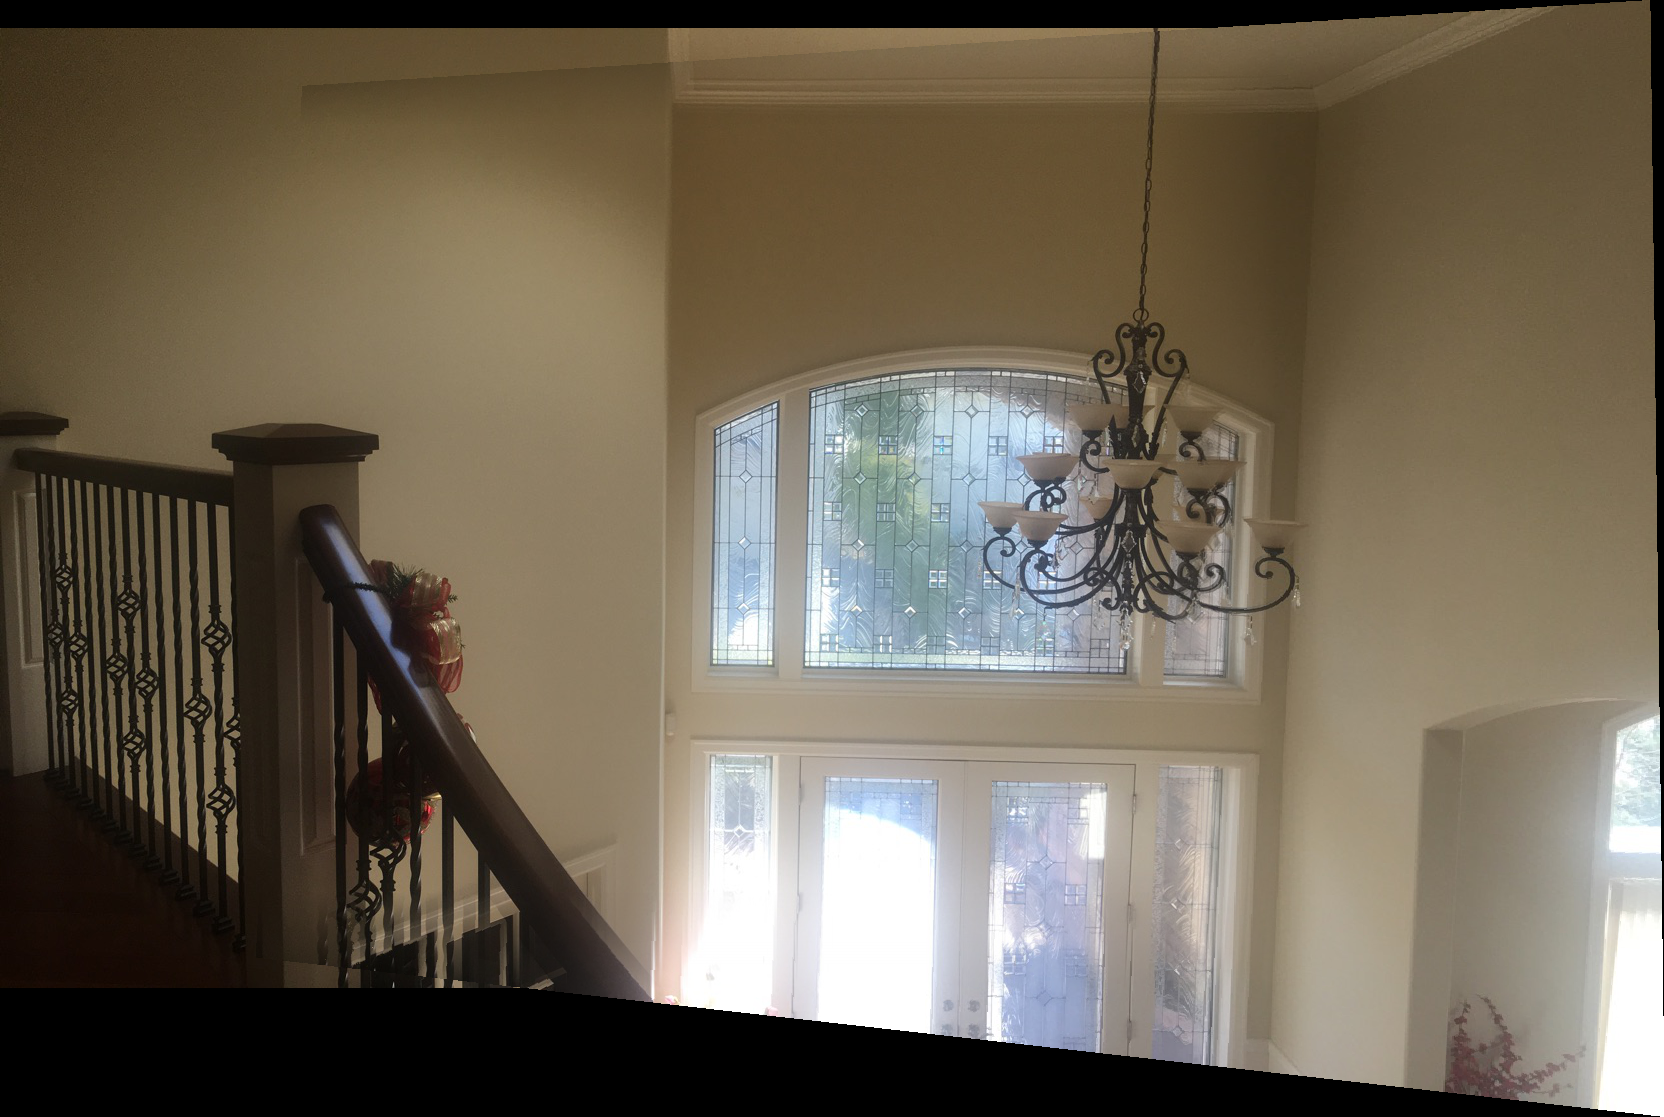
Blend images into a mosaic (20 pts) [show source images and results for three mosaics.]
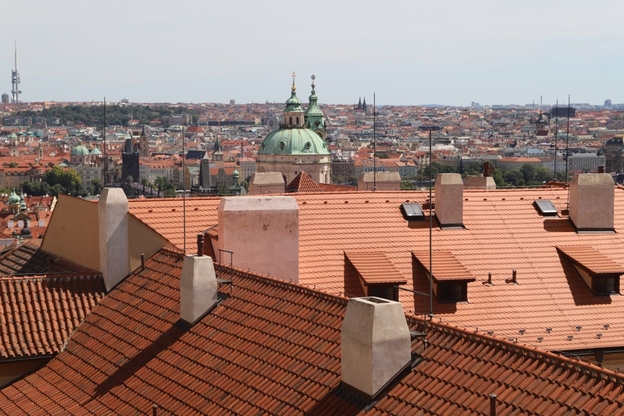
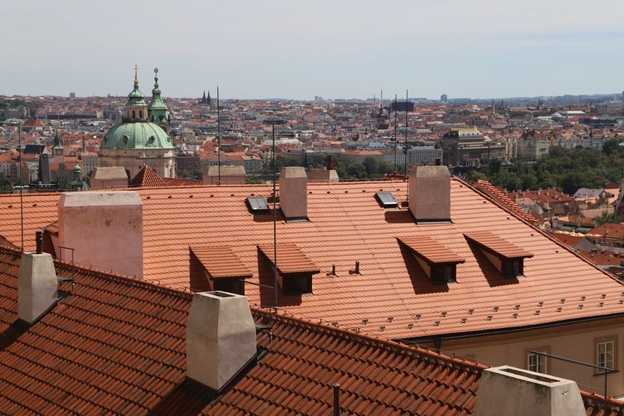
Below are source images I took (the city and lake images are from our TAs) , and, at the bottom of each pair of source image, their combined, contiguous image. I obtained the mosaic by warping one image using a homography transformation to be aligned with the other image, and then combining them with a simple linear blending technique, taking into account when images are overlapping and when they aren't. The city mosaic looks pretty bad due to the few corresponding points I had picked and the imprecision of manually picking my own points.
|
|
|
|
|
|
|
|
|
|
|

|
Tell us what you've learned.
Homographies are very useful in panoramic photography, and selecting good corresponding points is important.
Part B
In part B of the project, I automated the process of finding corresponding points in a mosaic of images. This was done by implementing algorithms such as ANMS and RANSAC.
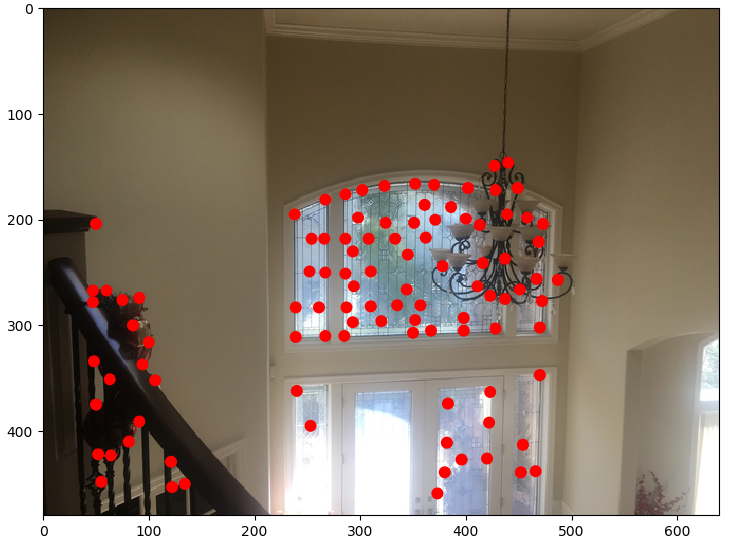
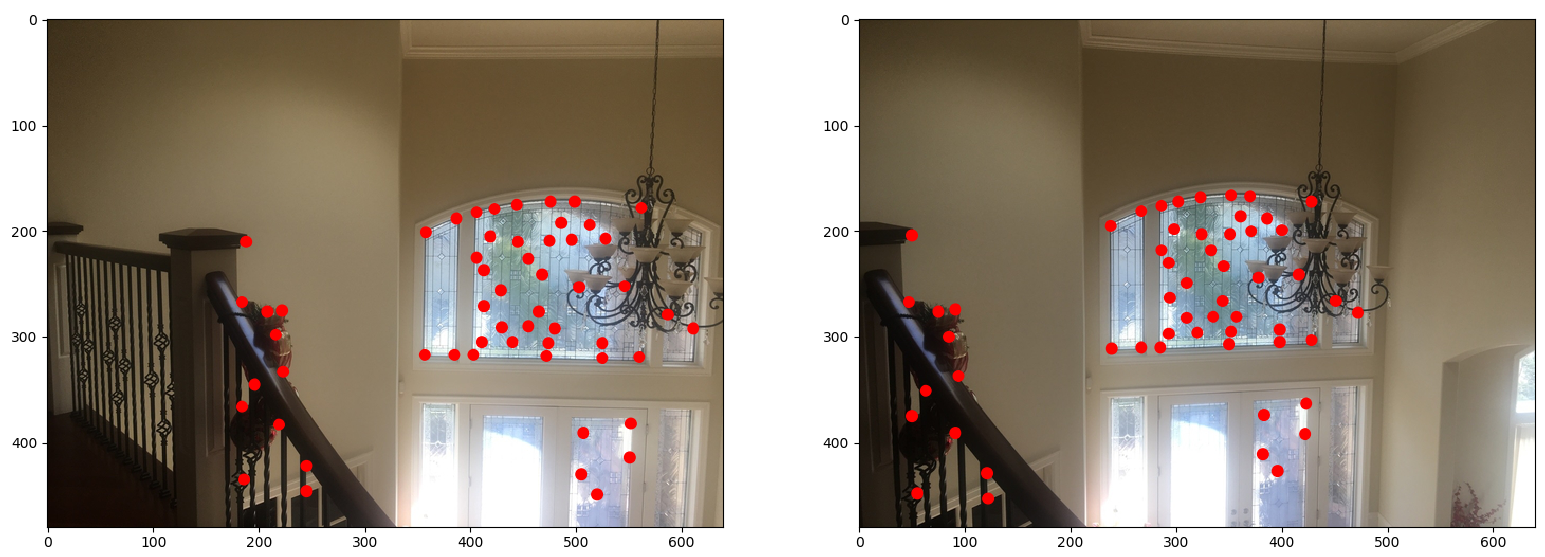
Detecting corner features in an image (10 pts)
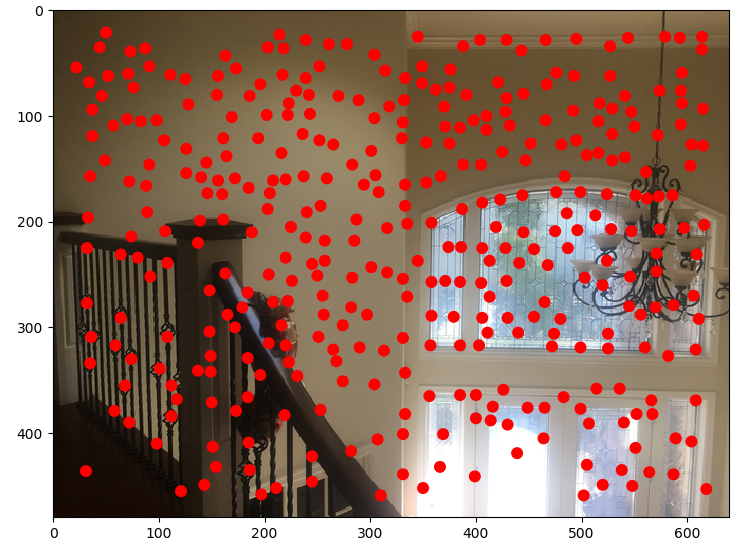
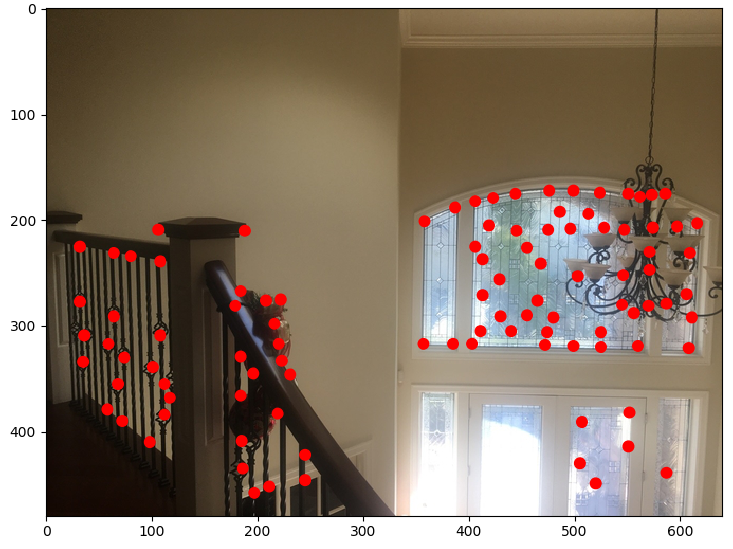
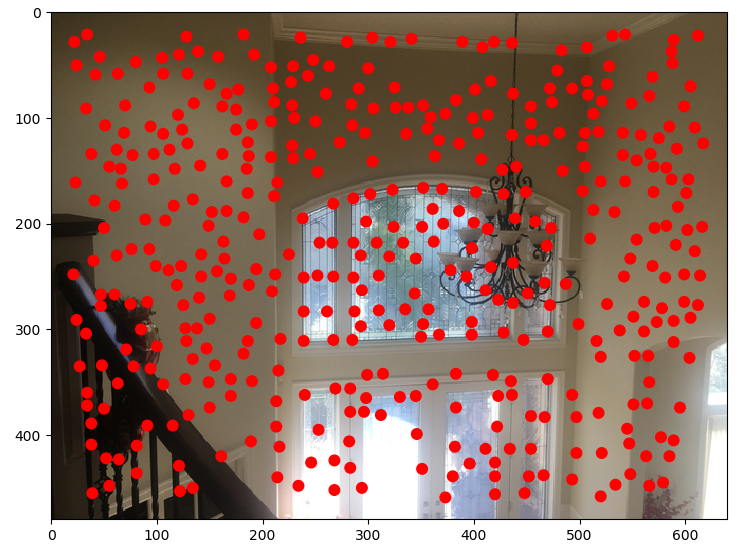
I detected corner features in an image by utilizing the given harris function (the only change I made for get_harris_corners is setting the min_distance to 10) and filtering the corners using ANMS. ANMS works by a finding a min radius for each corner that corresponds to another corner that is sufficiently larger than it (robustness of 0.9 * corner value). According to the paper, we then sort it using decreasing radius to get our filtered corners. I chose the top 100 filtered corners as my automated images were relatively small. The left images depict the corners from the given harris function. The right images depict the remaining corners after applying ANMS.
|
|
|
|
Extracting a Feature Descriptor for each feature point (10 pts)
I extracted a feature descriptor for each corner by looking at a 40x40 patch and then downsampling that to 8x8. I also normalized the descriptors, as suggested in the specs.
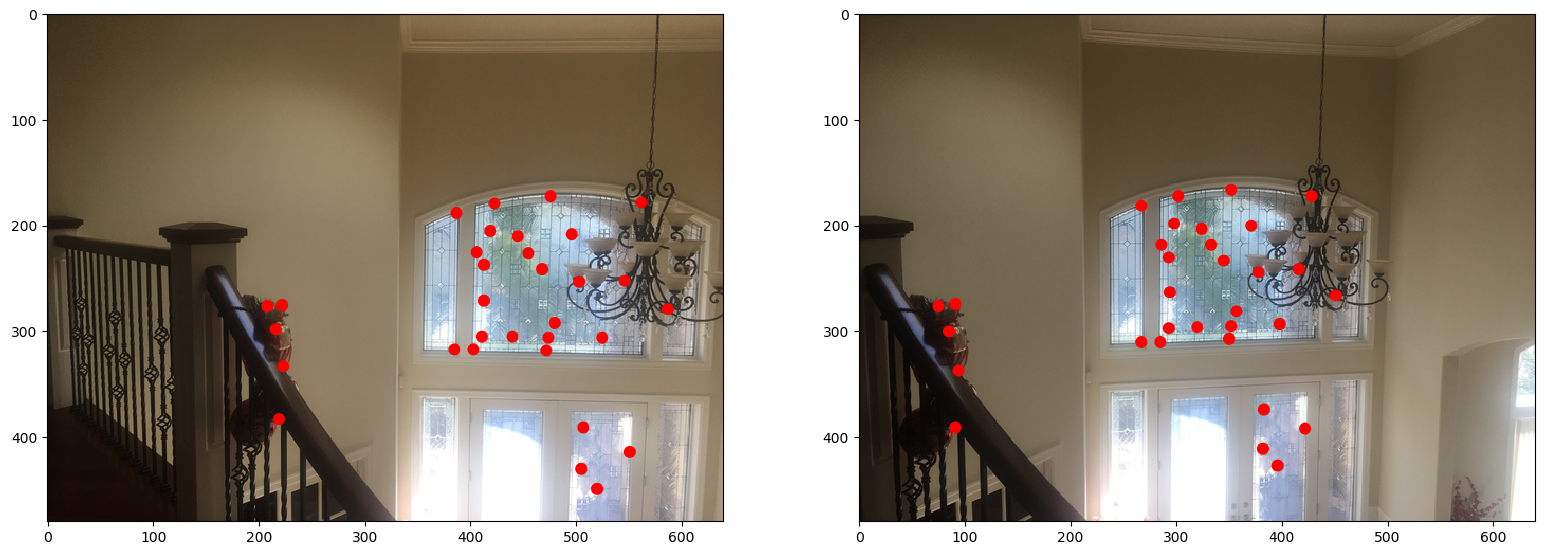
Matching these feature descriptors between two images (20 pts)
I matched the feature descriptors obtained from the previous section by using a Lowe thresholding technique described in the paper. Basically, a point's corresponding point tends to be the closest nearest neighbor AND when the point has a far second neighbor. I used SSD to compute the distance between the points, and used the ratio of second neighbor distance and closest nearest neighbor to threshold. I set my threshold value to be 0.3.
|
Use a robust method (RANSAC) to compute a homography (30 pts)
RANSAC, as discussed in class, basically takes random samples (e.g. 4) from your points (from group 1) and computes the difference between the transformed group 1 points (utilizing the computer homography matrix) and the actual group 2 points. If there is a large difference, this suggests those coordinates are not good matches. The large difference is determined by threshold, which I set as 0.5. We keep the largest group of points that exhibited the least amount of difference during an iteration (I ran RANSAC for 2000 iterations).
|
Proceed as in Project 3 to produce a mosaic (30 pts; you may use the same images from part A, but show both manually and automatically stitched results side by side) [produce at least three mosaics]
Below are 3 mosaics (manually and automatically stitched shown side by side). In all cases, the automated stichting look better and smoother. This is especially evident in the city panorama, where the points I had picked were not nearly as good as the ones the algorithms picked.
|
|

|
|
|
|
|
|

|
Extra credit
(4 points) Implement panorama recognition. Given an unordered set of images, some of which might form panoramas, you need to automatically discover and stitch these panoramas together. Don’t worry about bundle adjustment, just see how far you can get with pair-wise homography estimation.
I implemented panorama recognition by testing the similarity of all pairs of images using mean squared error. Essentially, I find the images that are the most similar, which are then fed into the algorithms to create a panorama. This works because images that form a panorama tend to have a similar color scheme. The error is calculated like this: np.sum((imageA.astype("float") - imageB.astype("float")) ** 2)/= float(imageA.shape[0] * imageA.shape[1]). I used this website as reference https://www.pyimagesearch.com/2014/09/15/python-compare-two-images/. Given the two images in the room, an image of the city, and an image of the lake, it was able to pick out the two rooms as a potential panorama. Proof of completion can be found in code.
What have you learned? Tell us whats the coolest thing you have learned from this project.
I learned that picking good corresponding points is important. The coolest thing I learned is RANSAC.