[Auto]Stitching Photo Mosaics
CS 194: Computational Photography, Spring 2020
Project 5
Abby Cohn
Part 1: Image Warping and Mosaicing
Overview
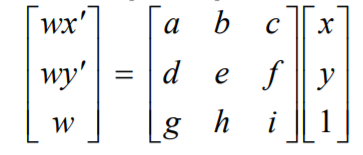
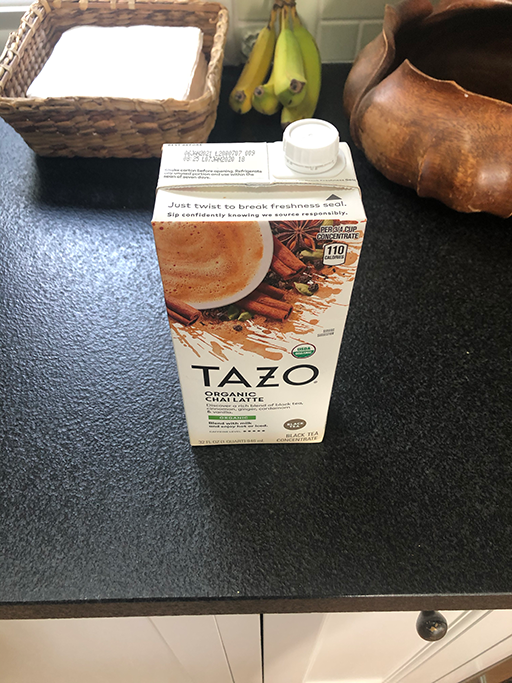
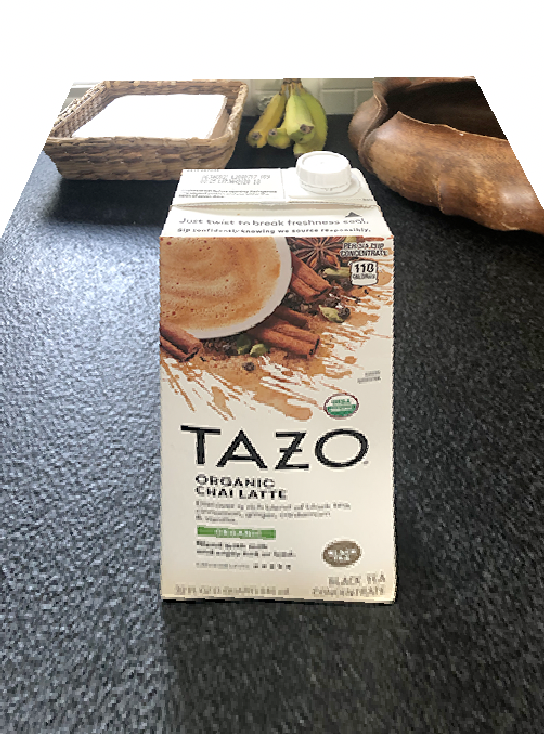
For the first part of this project, I rectified images using homographies. First, we define correspondences on the image we want to rectify but selecting at least 4 points. We select the correspondences on each pair of images and recover the transformation parameters between them. Thus, we can set up a linear system, aH = b, and solve for H using least-squares. We want to get H in the form of the 3X3 matrix on the right side of the equation below.
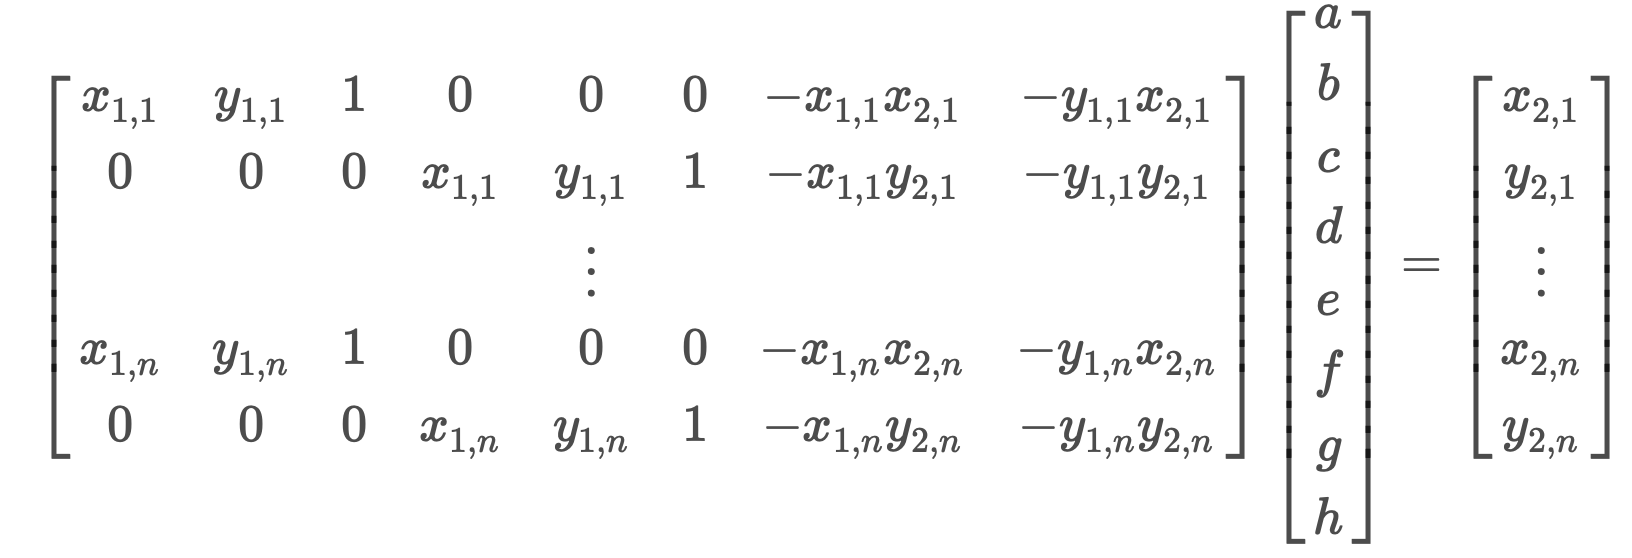
Since we should select more than 4 points for a more stable result, we use this equation below in the form ax = b and use least squares to get back H.
To actually warp the image, I used the inverse of H to transform the corresponding pixels in the image to the output image.
 original
|
 rectified
|
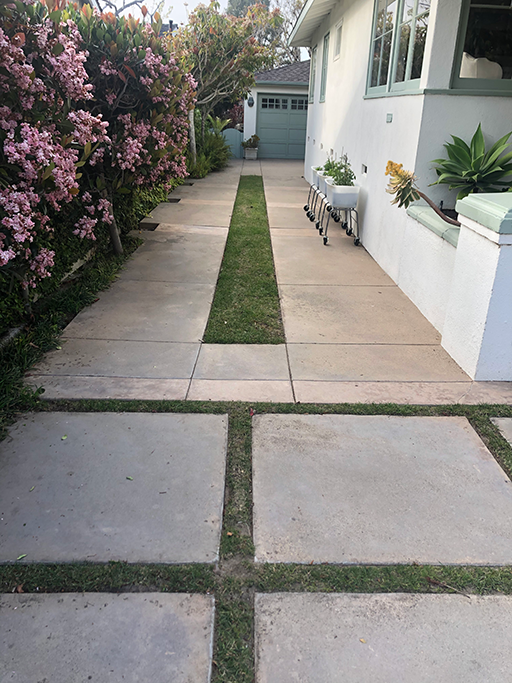 original
|
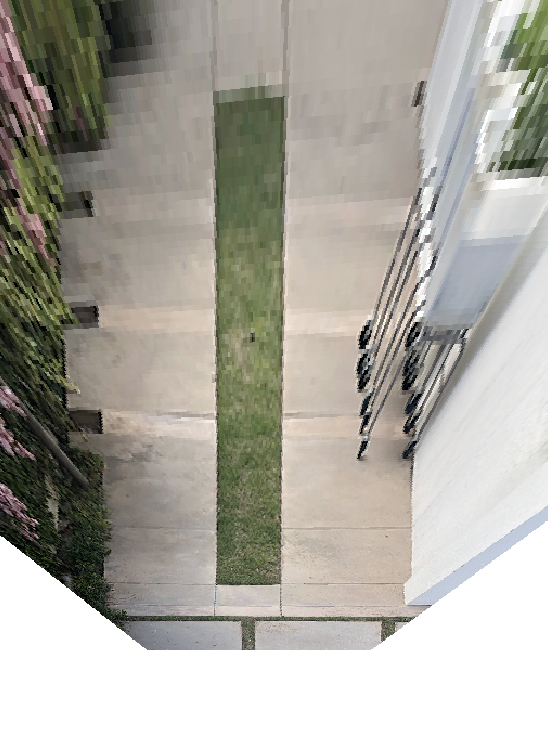 bird's eye view
|
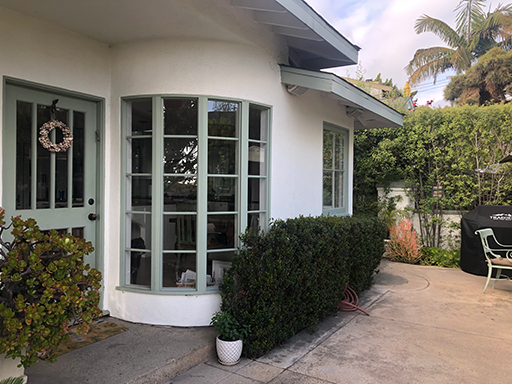 original
|
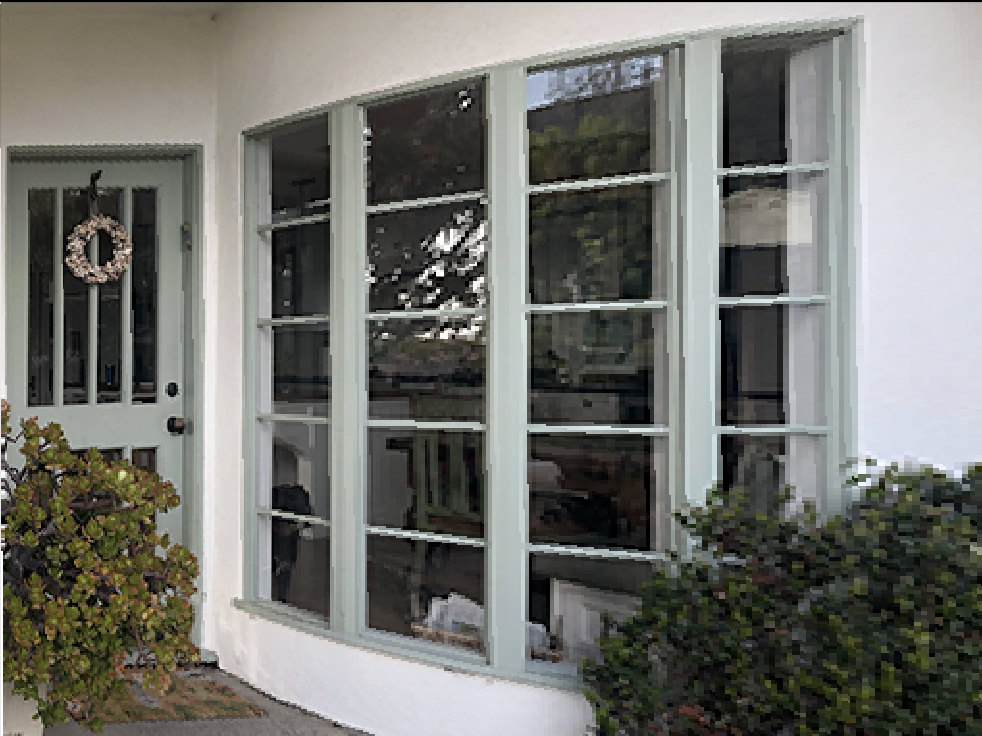 rectified (look close & u can see doggo in window :))
|
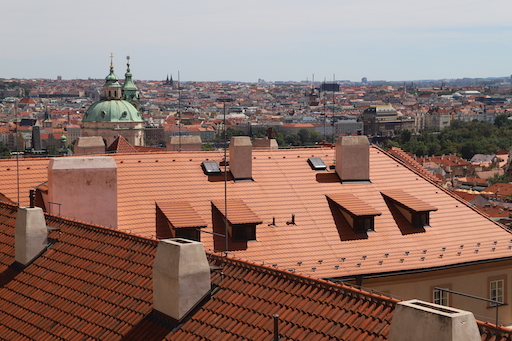
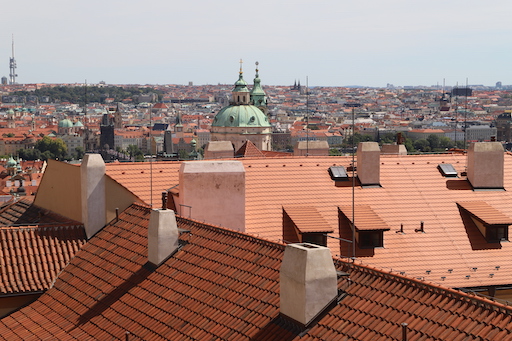
Below, I have manually stitched together a couple images. On the right is my attempt at alpha blending, but the colors got muted from the white part of the mask.
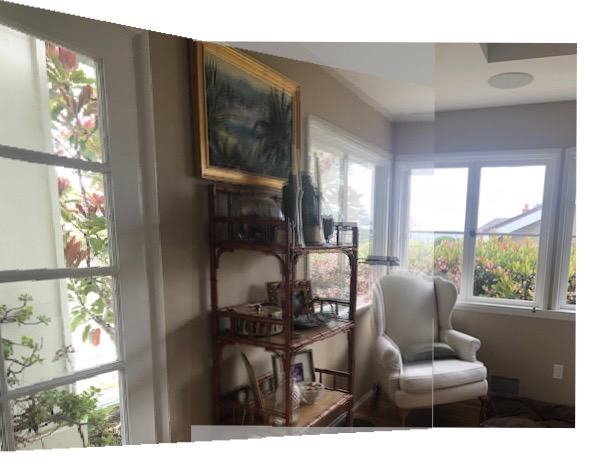 2 images stitched together
|
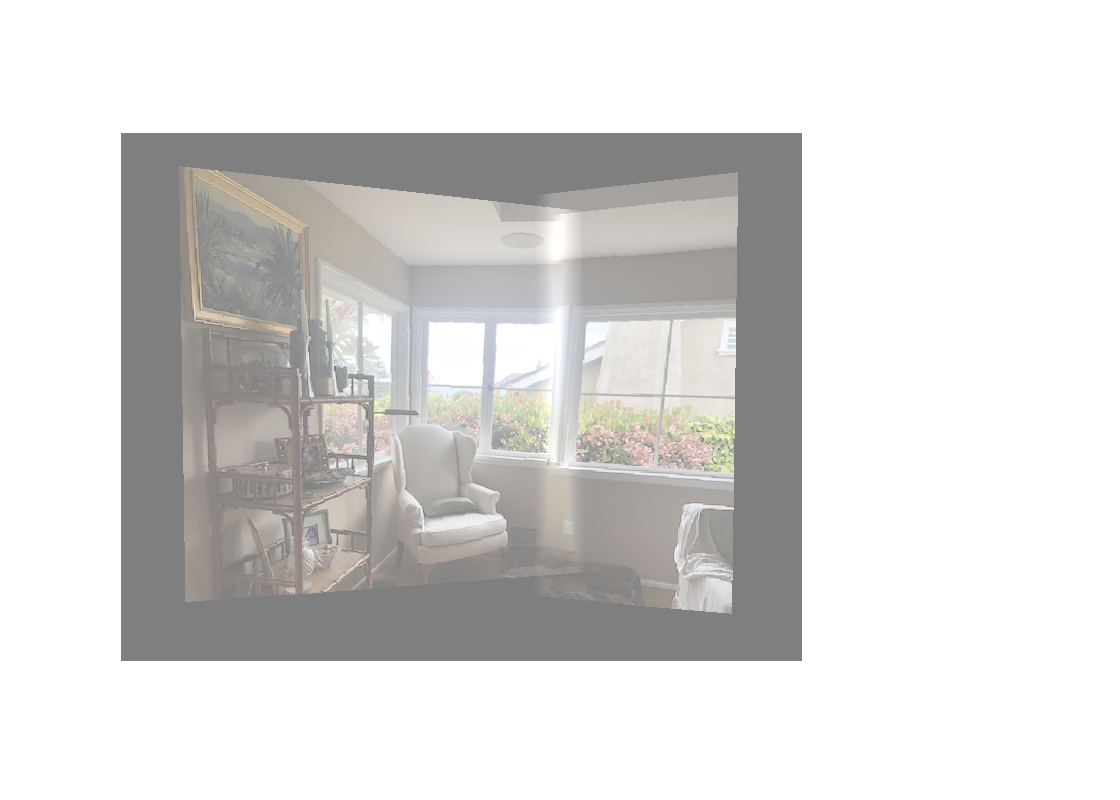 My attempt at alpha blending
|
Part 2: Feature Matching For Autostitching
Overview
In the second half of the project, we explore how to automatically detect coresponsences in images. We use the detected correspondences to compute an accurate homography matrix.
Corner Detection
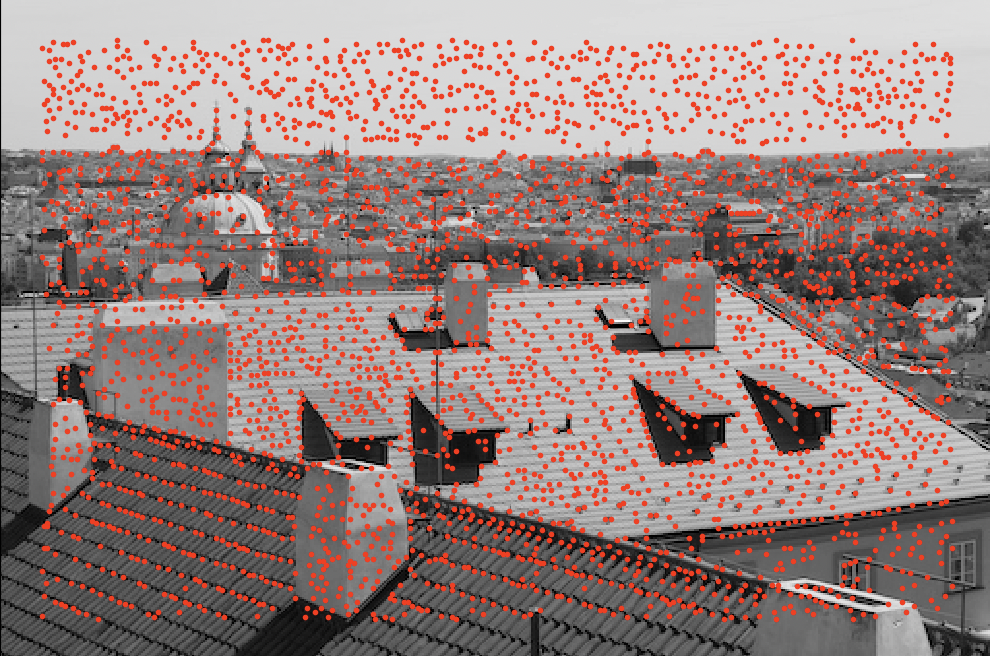
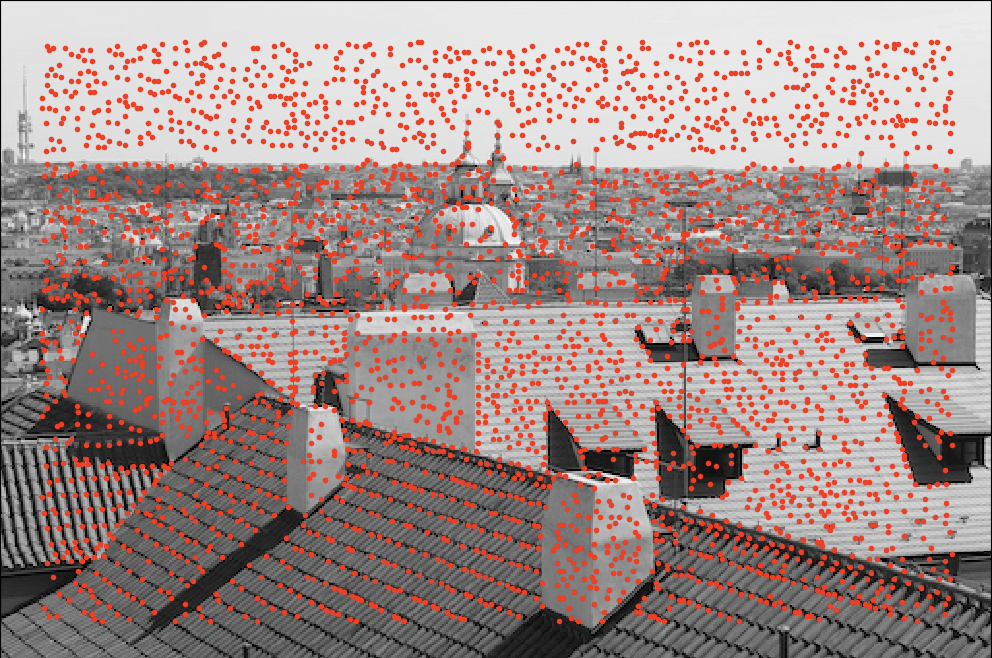
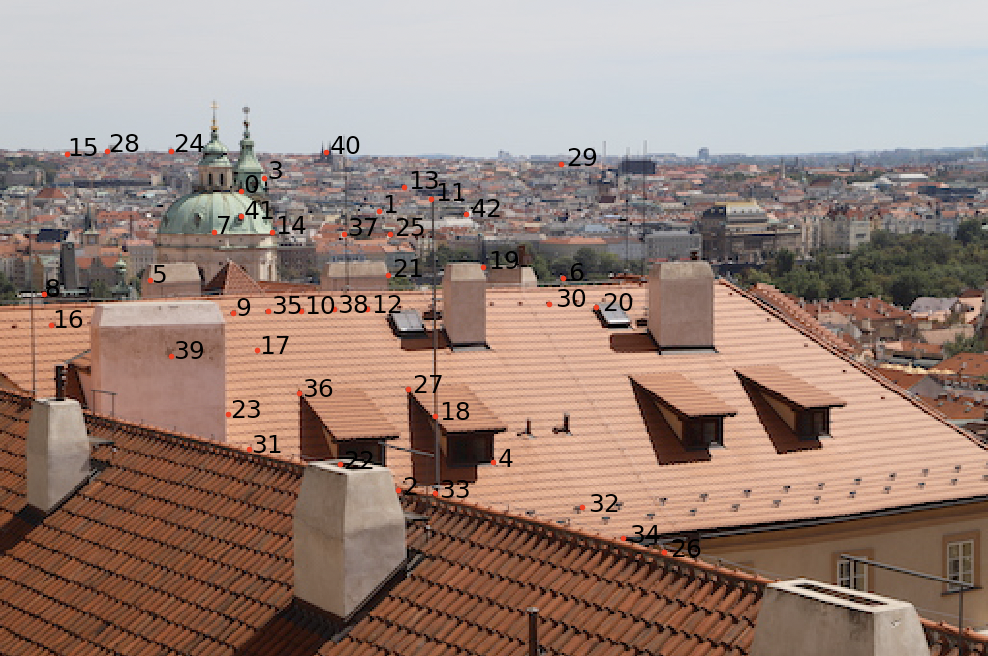
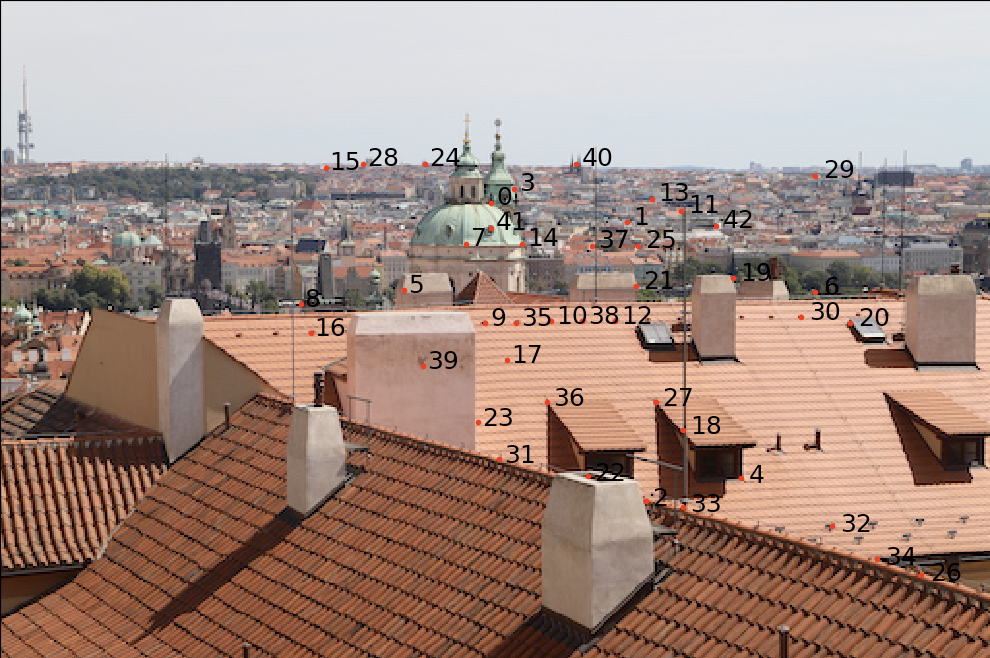
The first part of the second half consists of detecting corner features in images. Here, we use Harris corners to find interest points. Below, are a couple of images with the detected Harris corners displayed.
ANMS
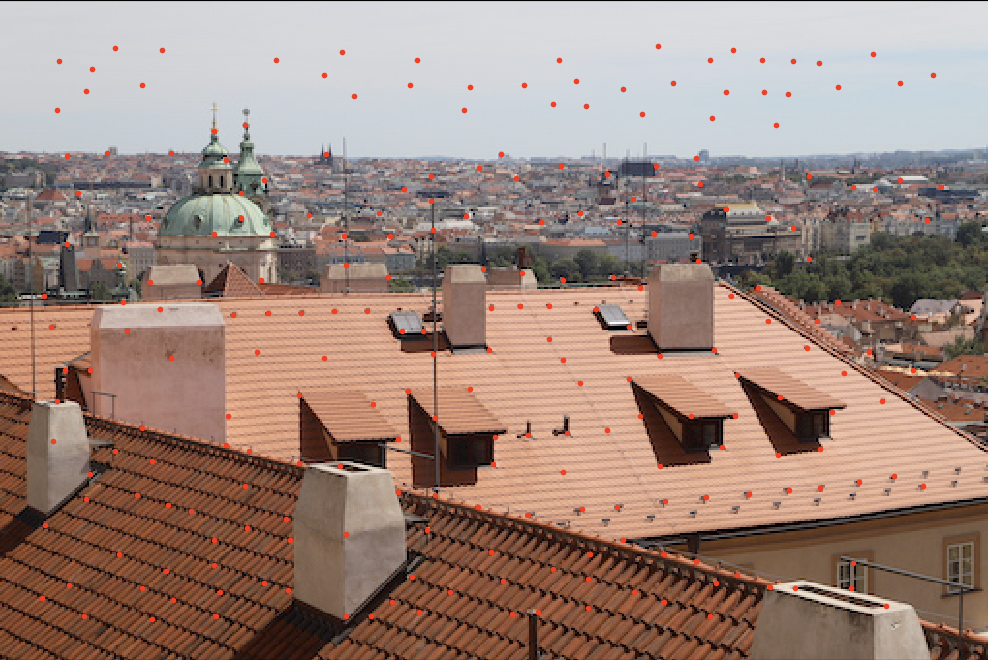
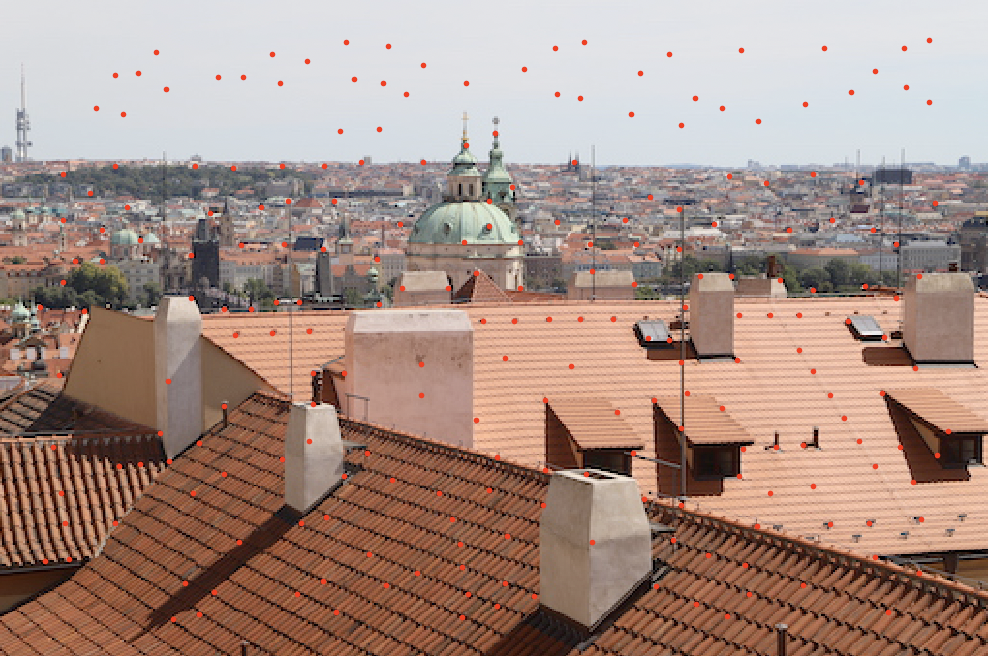
Since the Harris function detects a large number of points, we need to narrow down our correspondence options. We accomplish this with Adaptive Non-Maximal Suppression, which helps us suppress the number of points, while keeping them evenly distributed throughout the image. Going through all of the Harris points, we keep track of the radii from our current point of interest to other points with high Harris values. The algorithm keeps the strongest points with the largest radii. We repeat this until we’ve gone through all Harris points. Below are the results of running ANMS.
Feature Detection/Matching
Next, we need to construct the feature detector to filter out bad point matches between images. I accomplished this by making a 40x40 patch around each interest point and downsampling it to be 8x8. For feature matching, I compute the SSD between patches in both images. If the comparison is below a threshold (I used 1.0), then we keep the points as a match.
RANSAC
At this point, there are still a few outliers, so I implemented RANSAC to keep all of the inliers and discard faulty matches. For 500 - 1000 iterations, I select 4 random correspondences from out result of feature matching and compute a homography. I run image1’s points through the homography and compare to image2’s points. A point is an “inlier” if the SSD is less than a threshold (I used 20).
Image Stitching
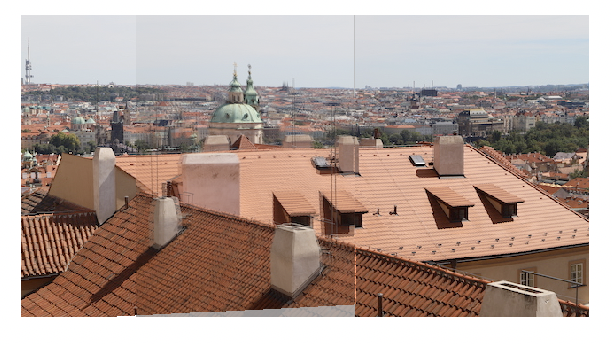 Stitched, no blending
|
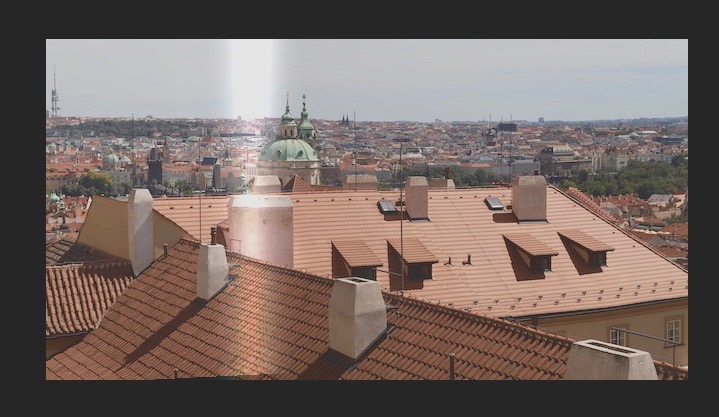 Another, semi-successful blending attempt
|
Reflection
The most interesting part of this project for me was realizing how powerful a homography can be. We can completely alter the perspective and rectify a photograph with a few lines of code. The feature detection helped me learn a lot about how important defining a correct threshold can be, which often comes from a lot of testing and experimenting.