Livraria Lello
Sao Bento Station
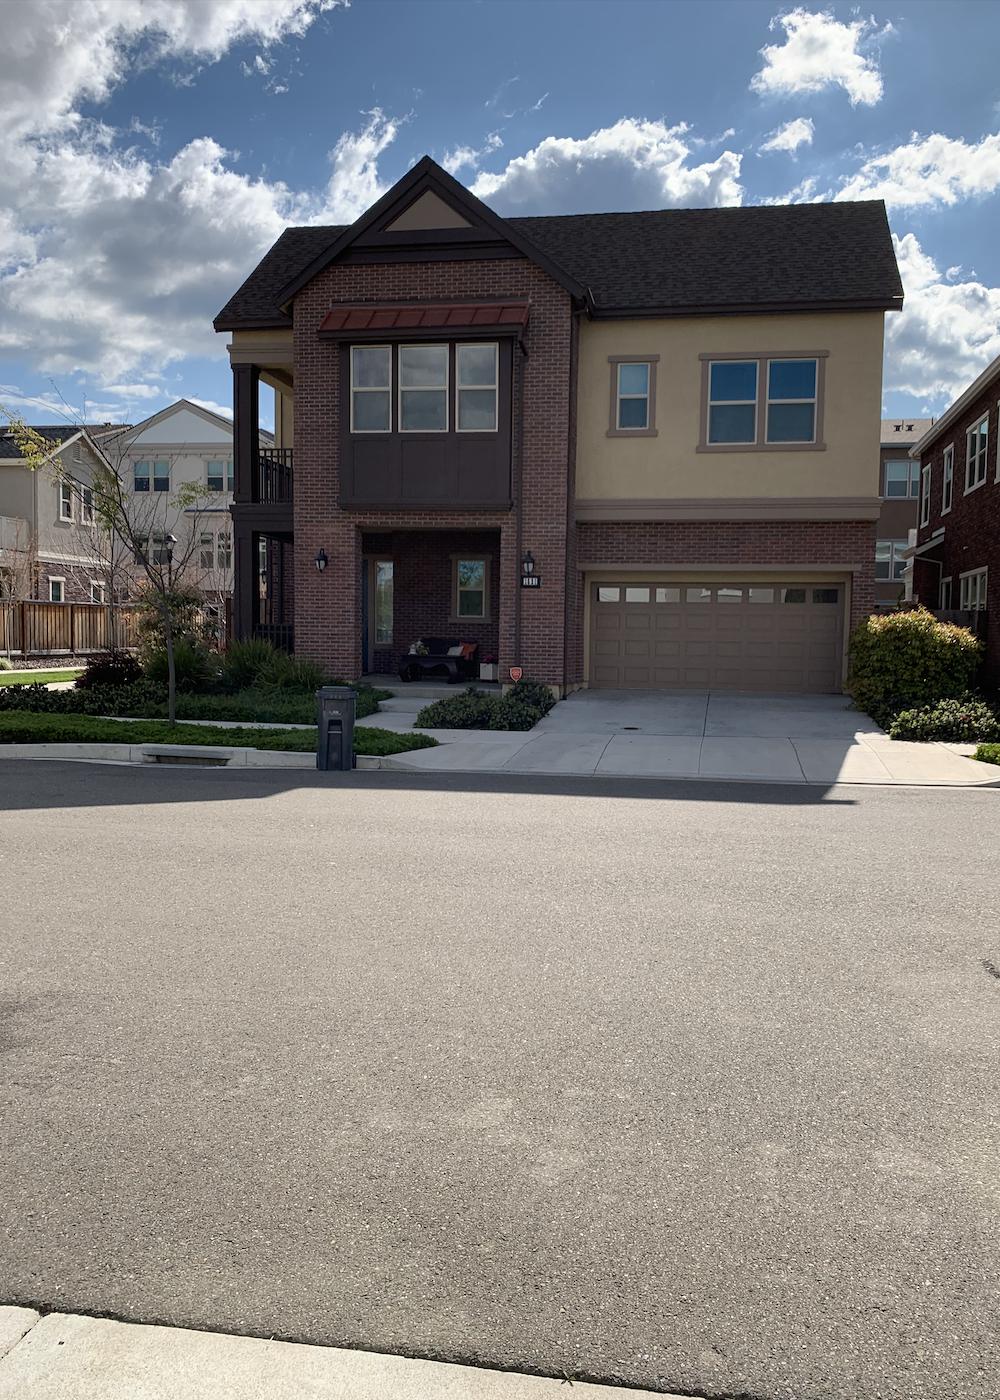
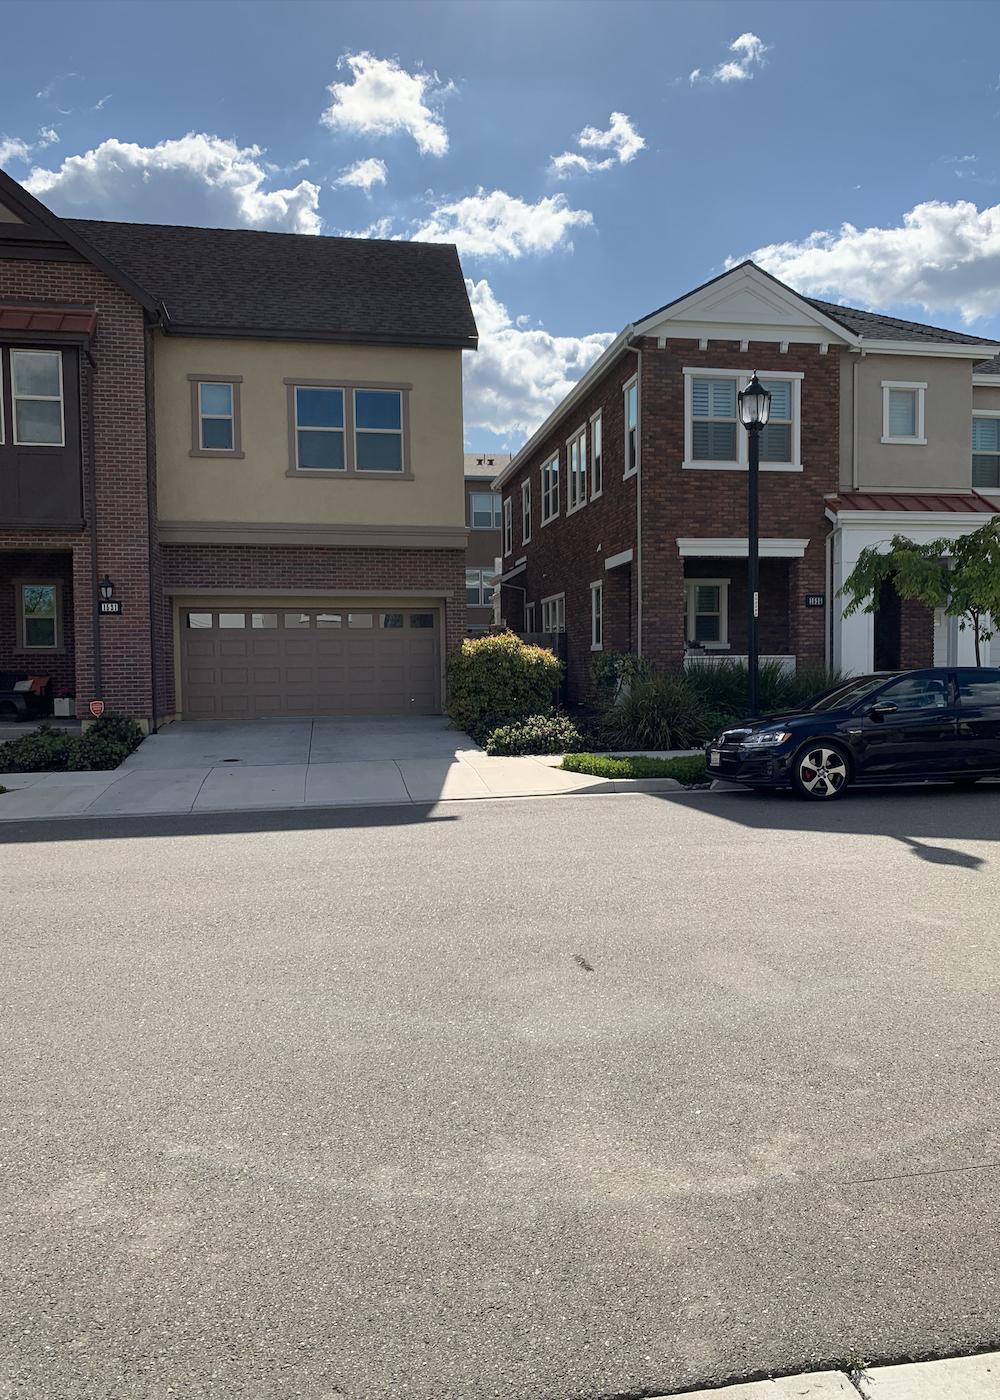
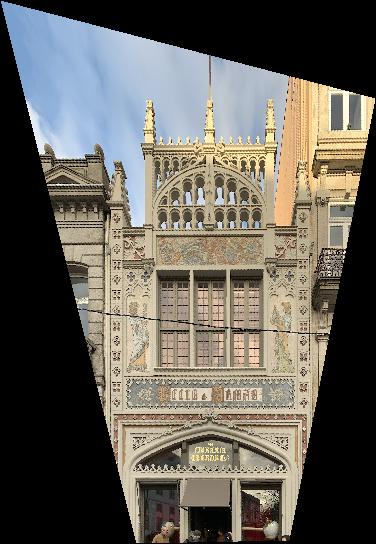
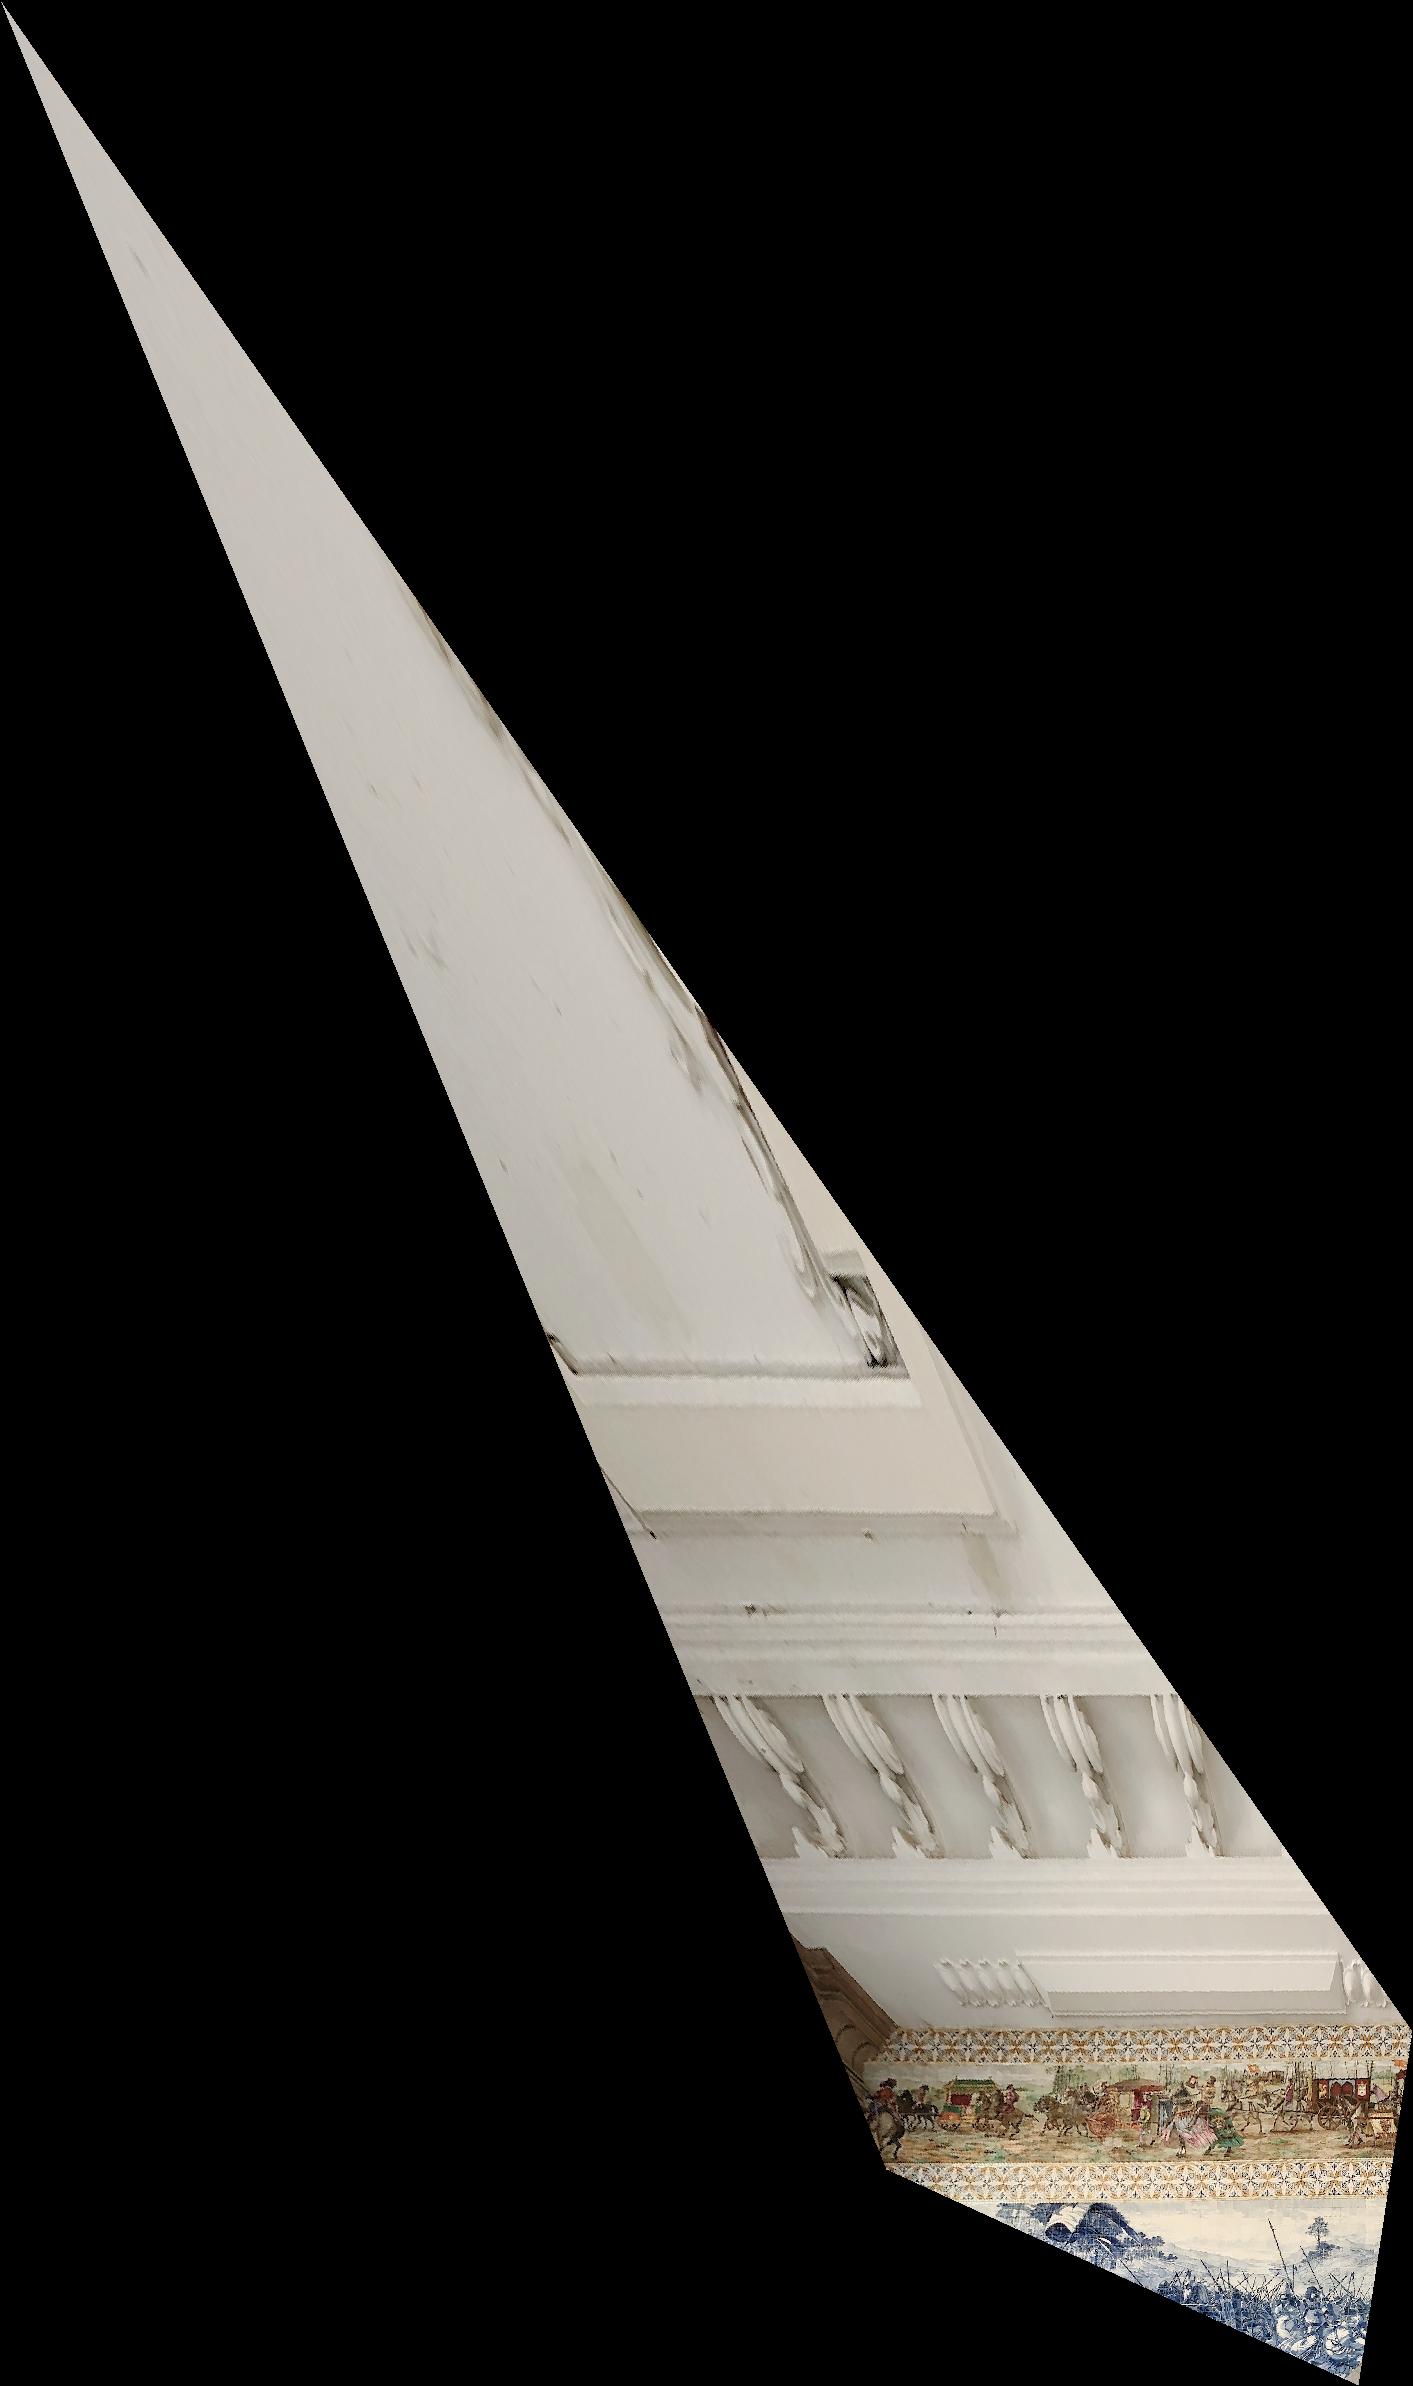
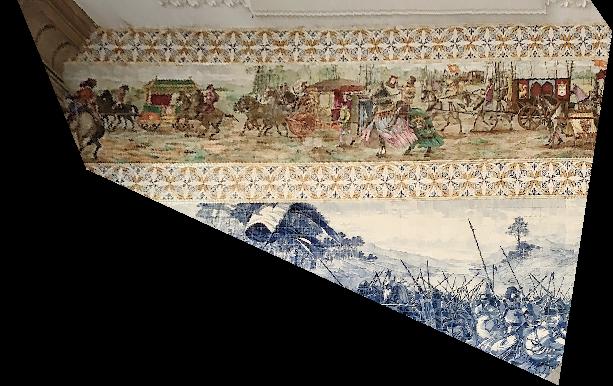
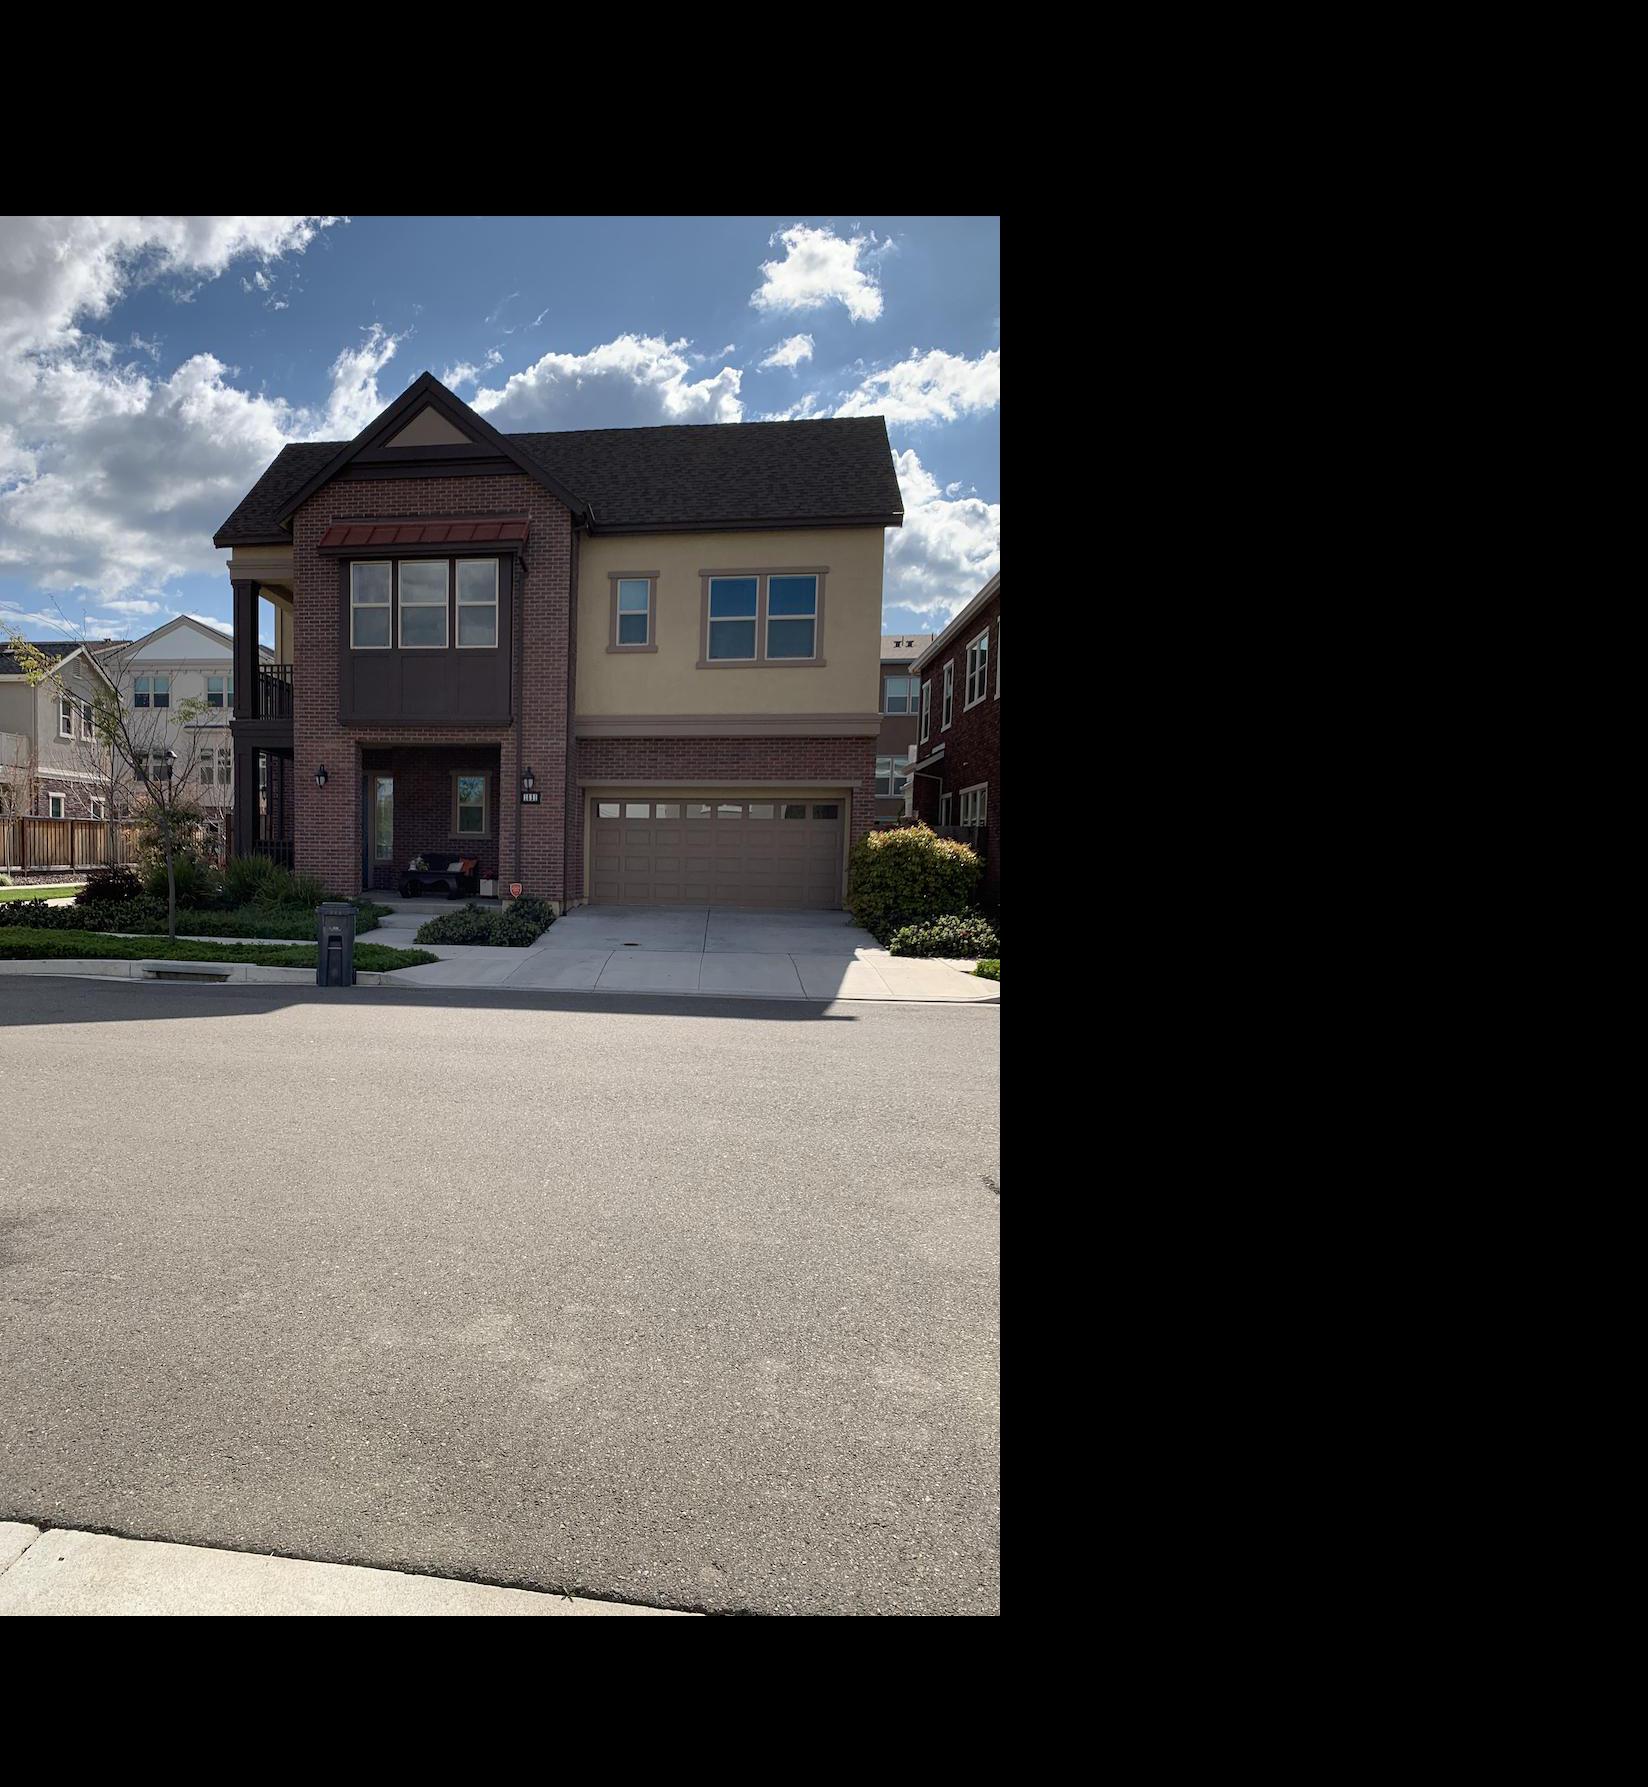
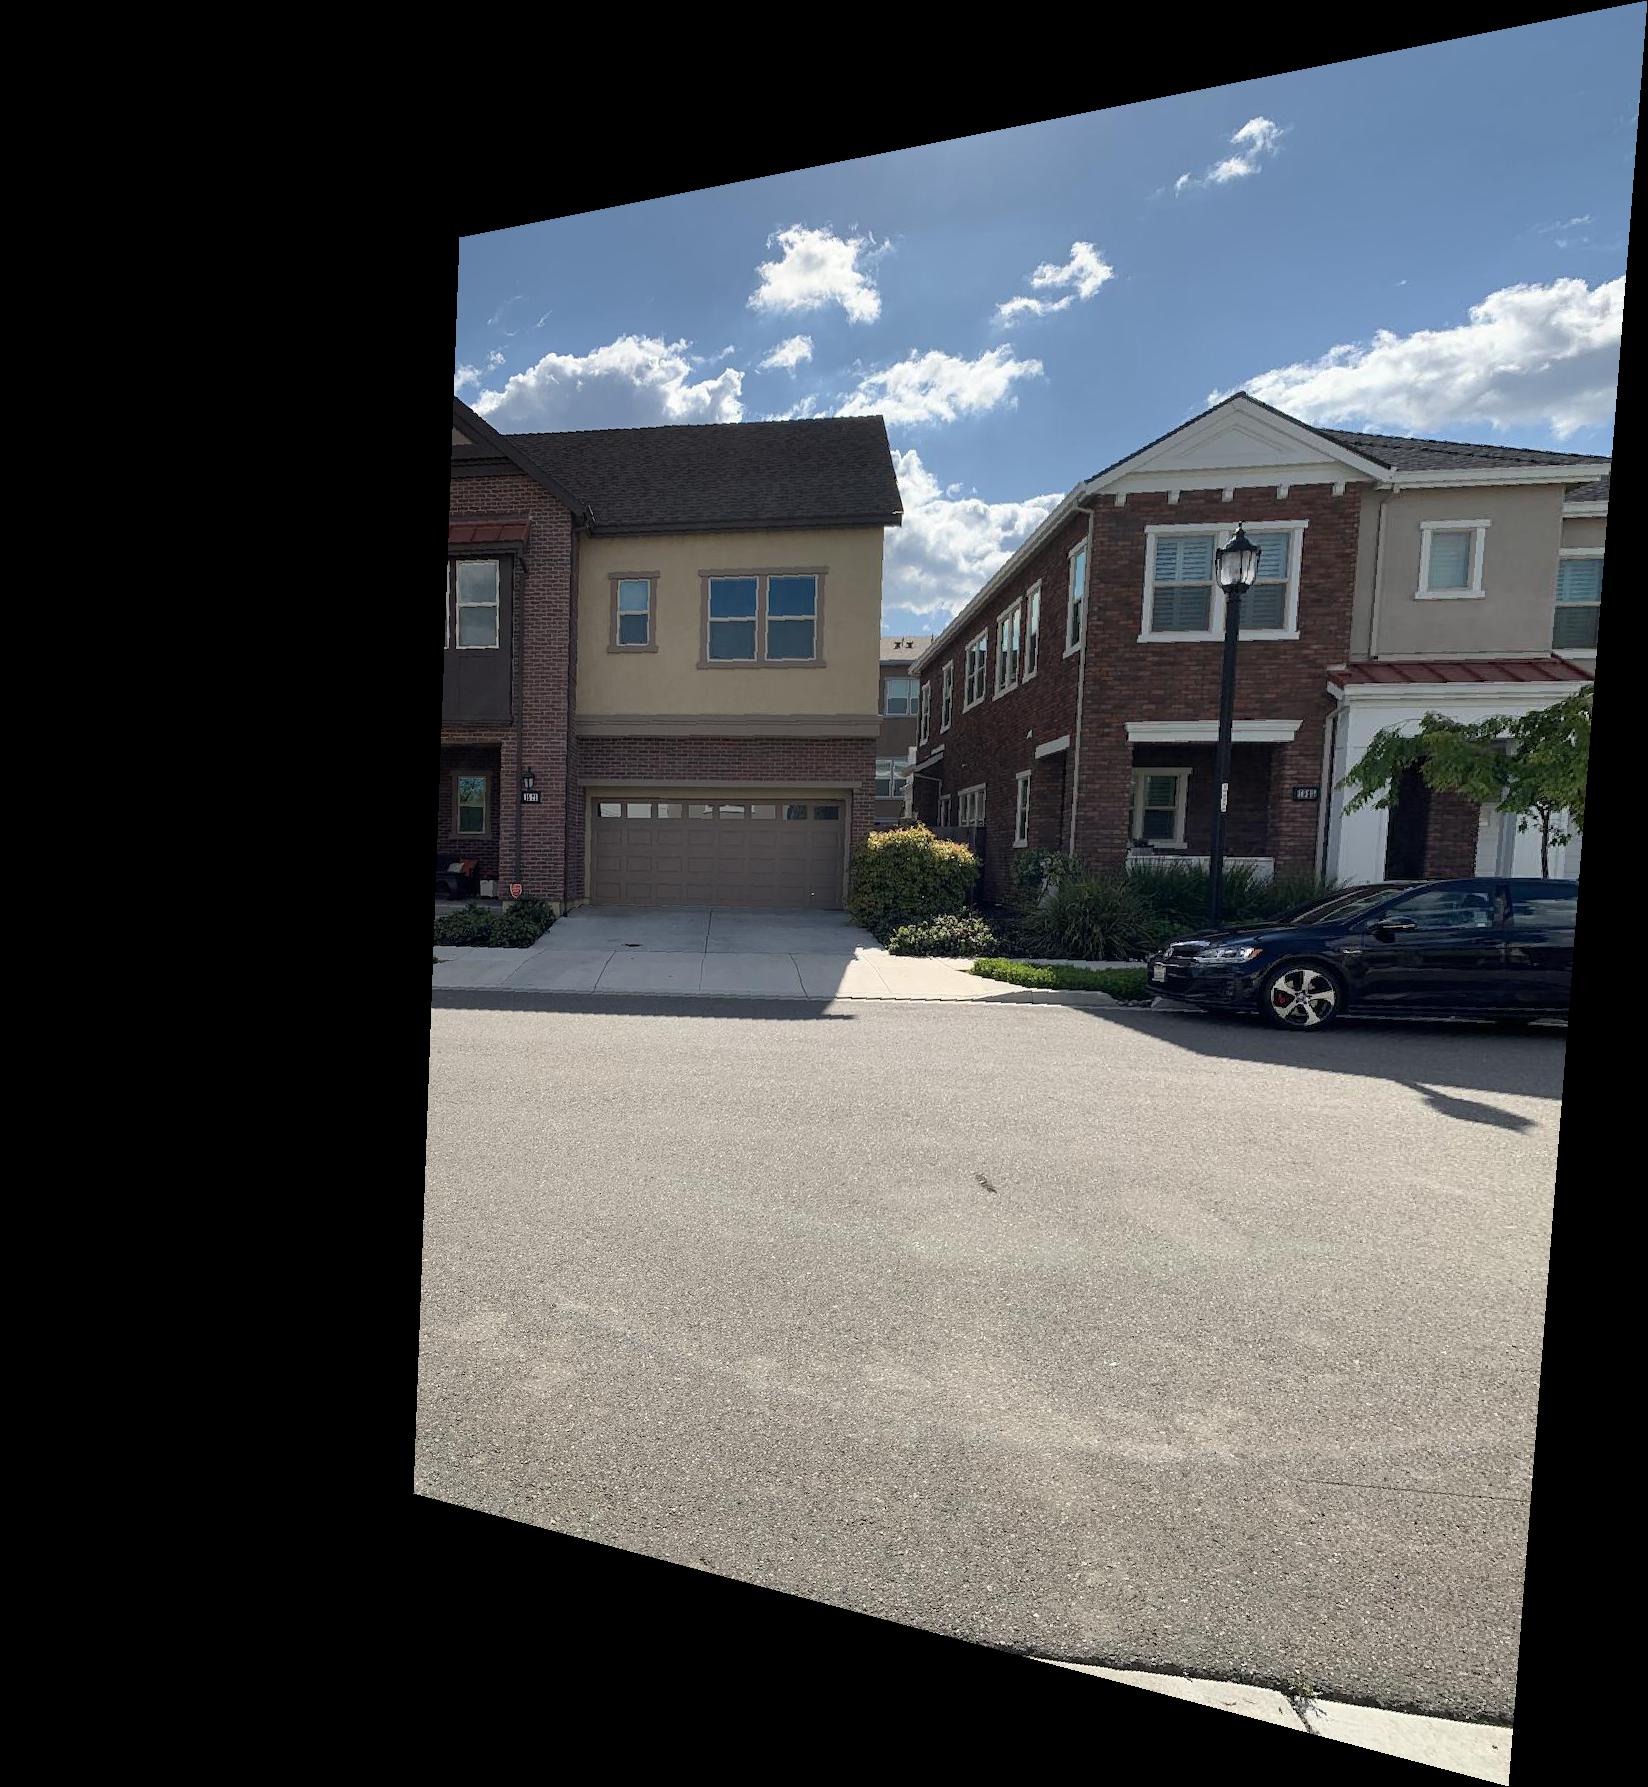
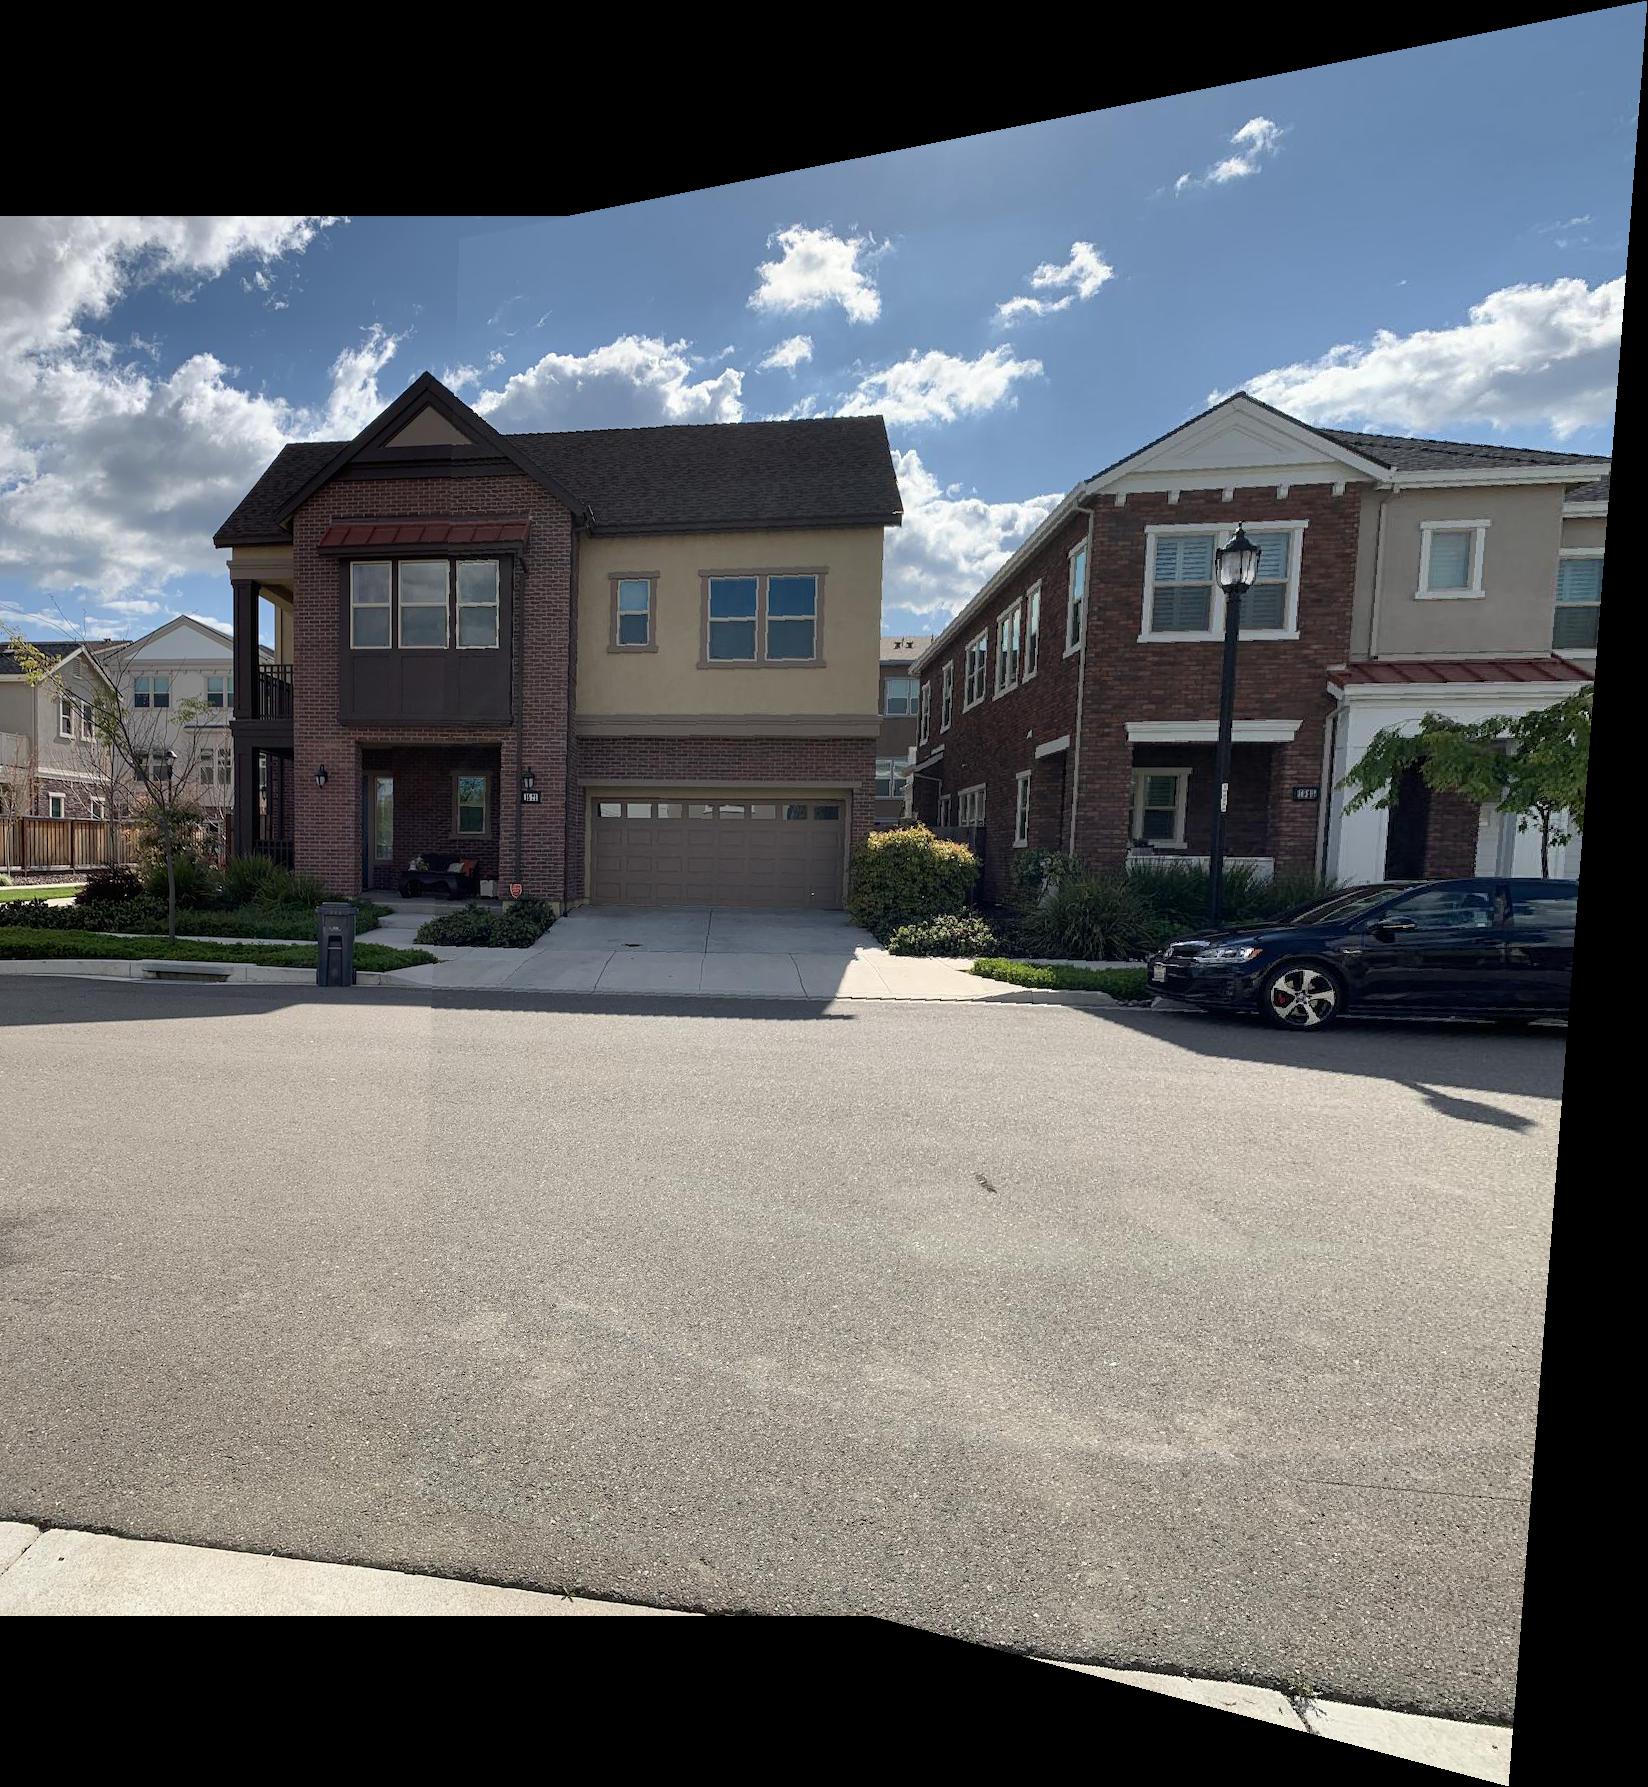
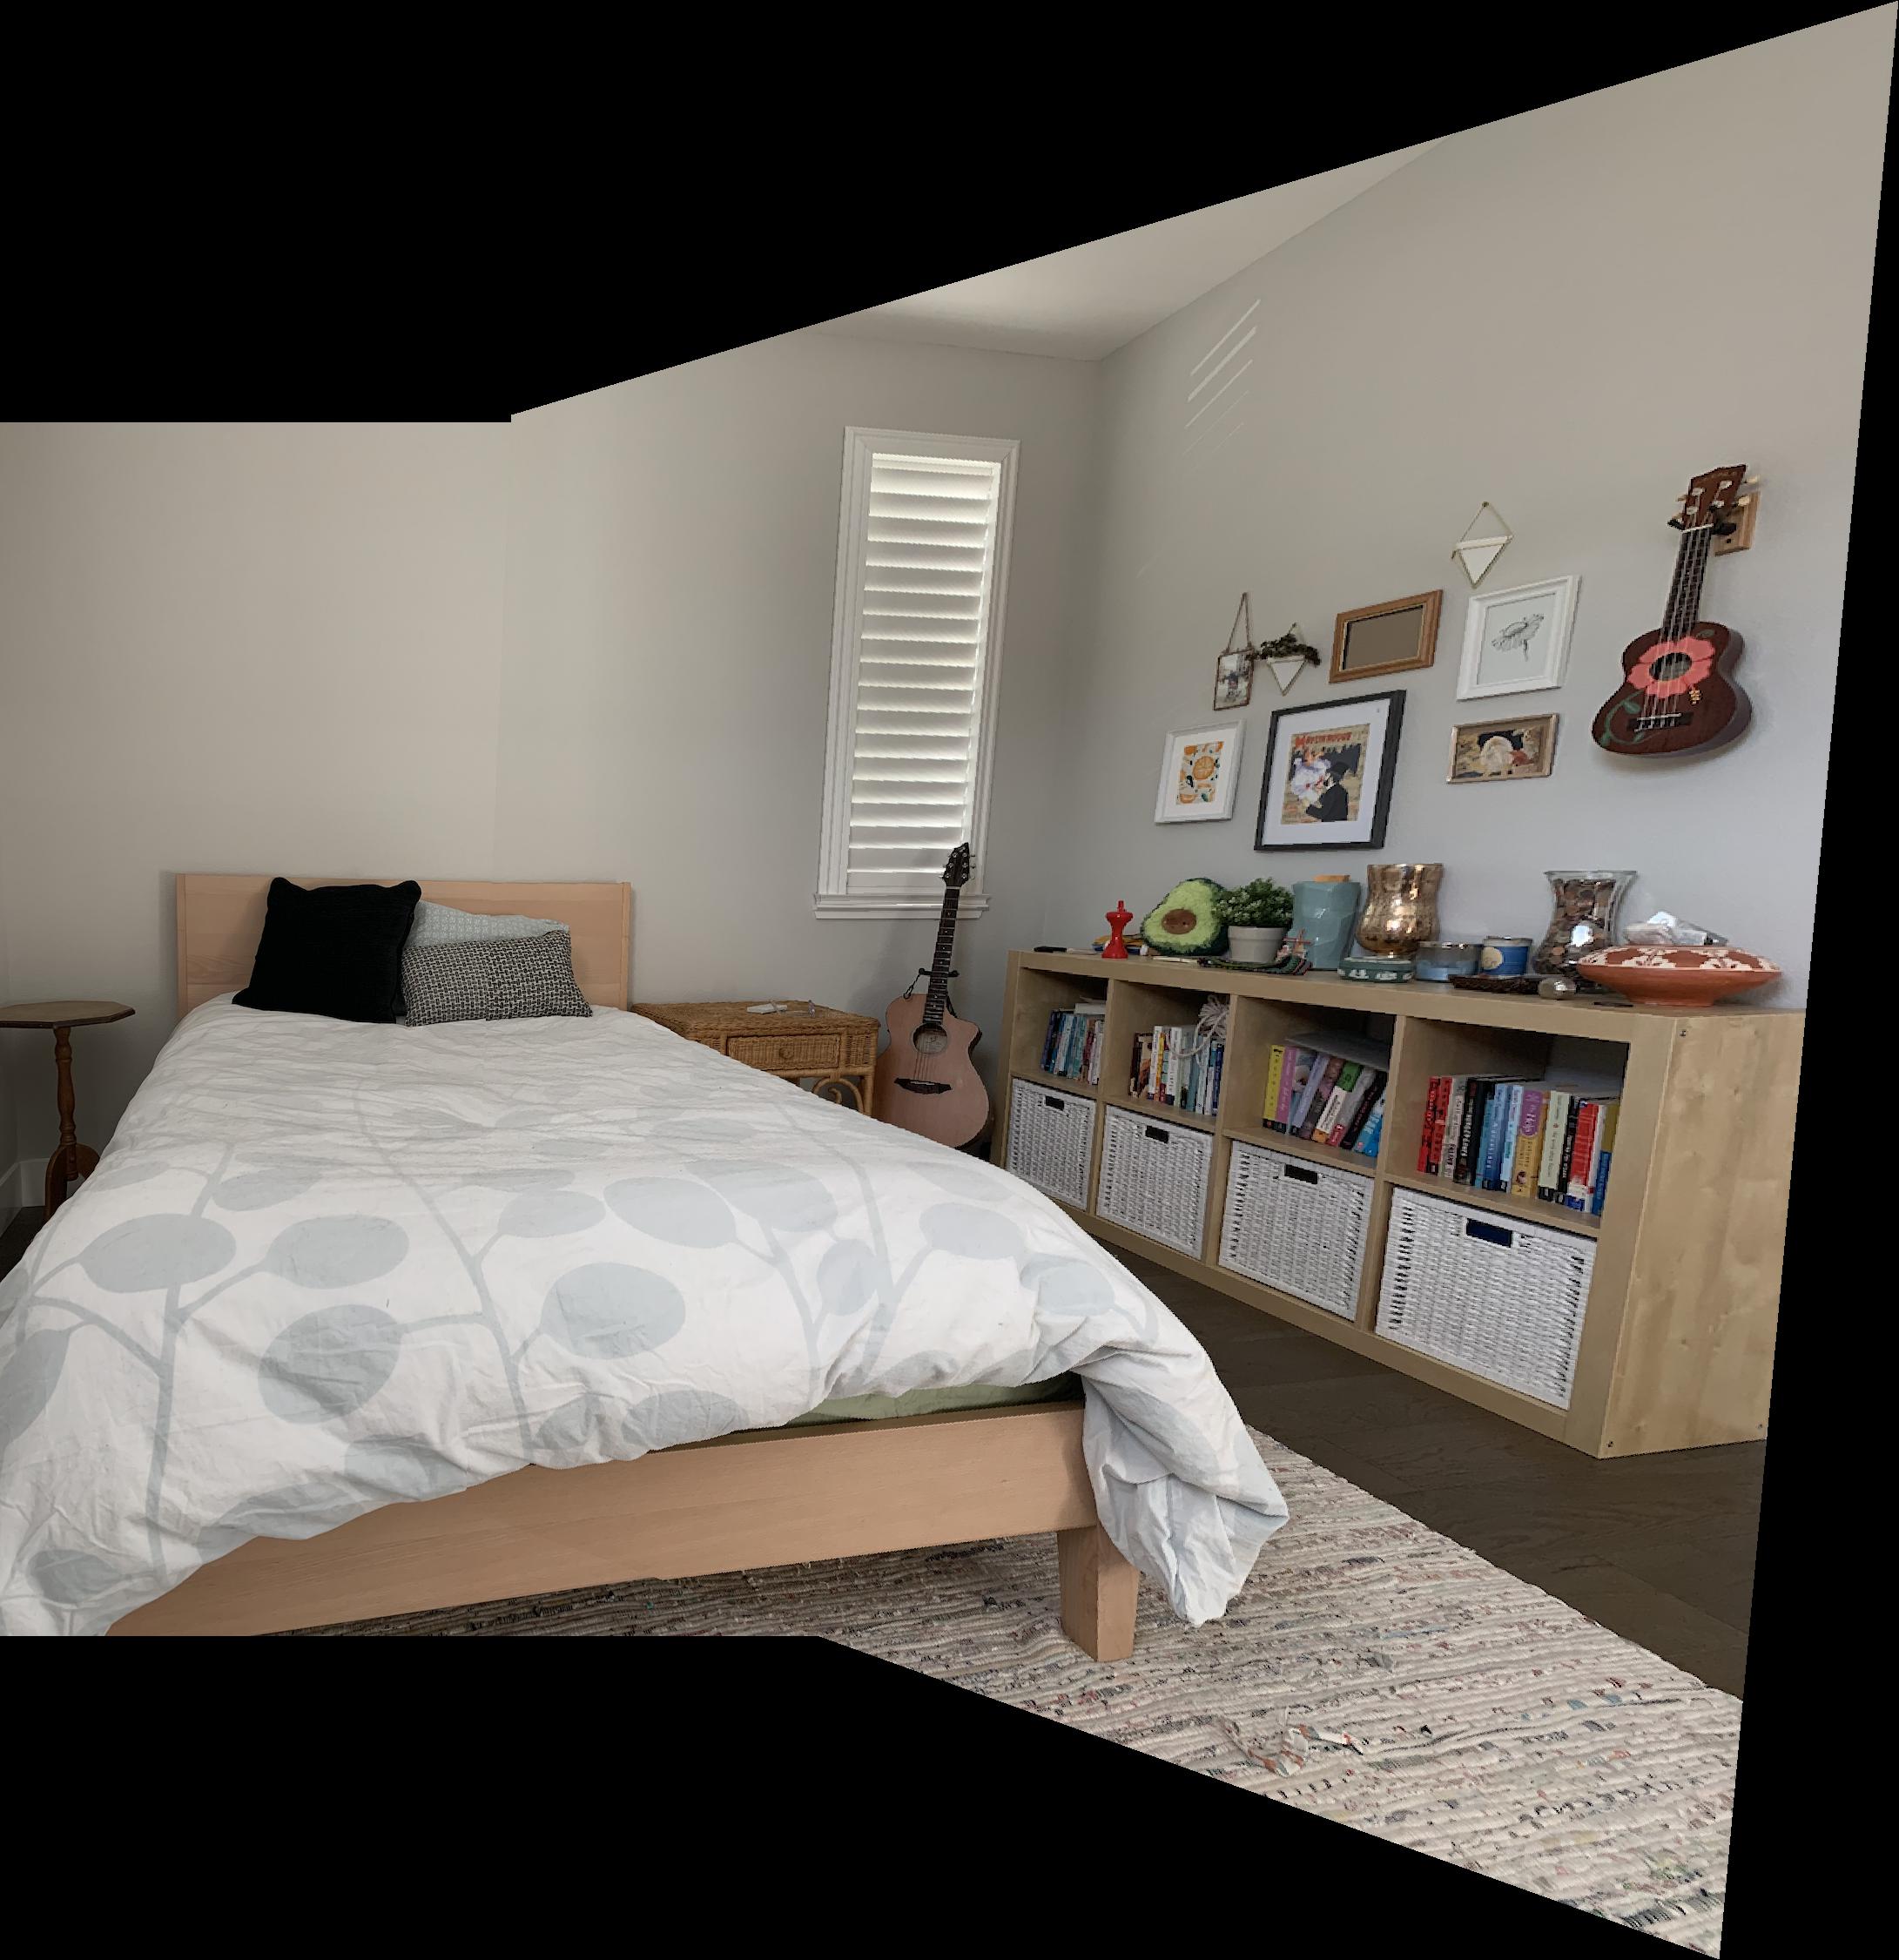
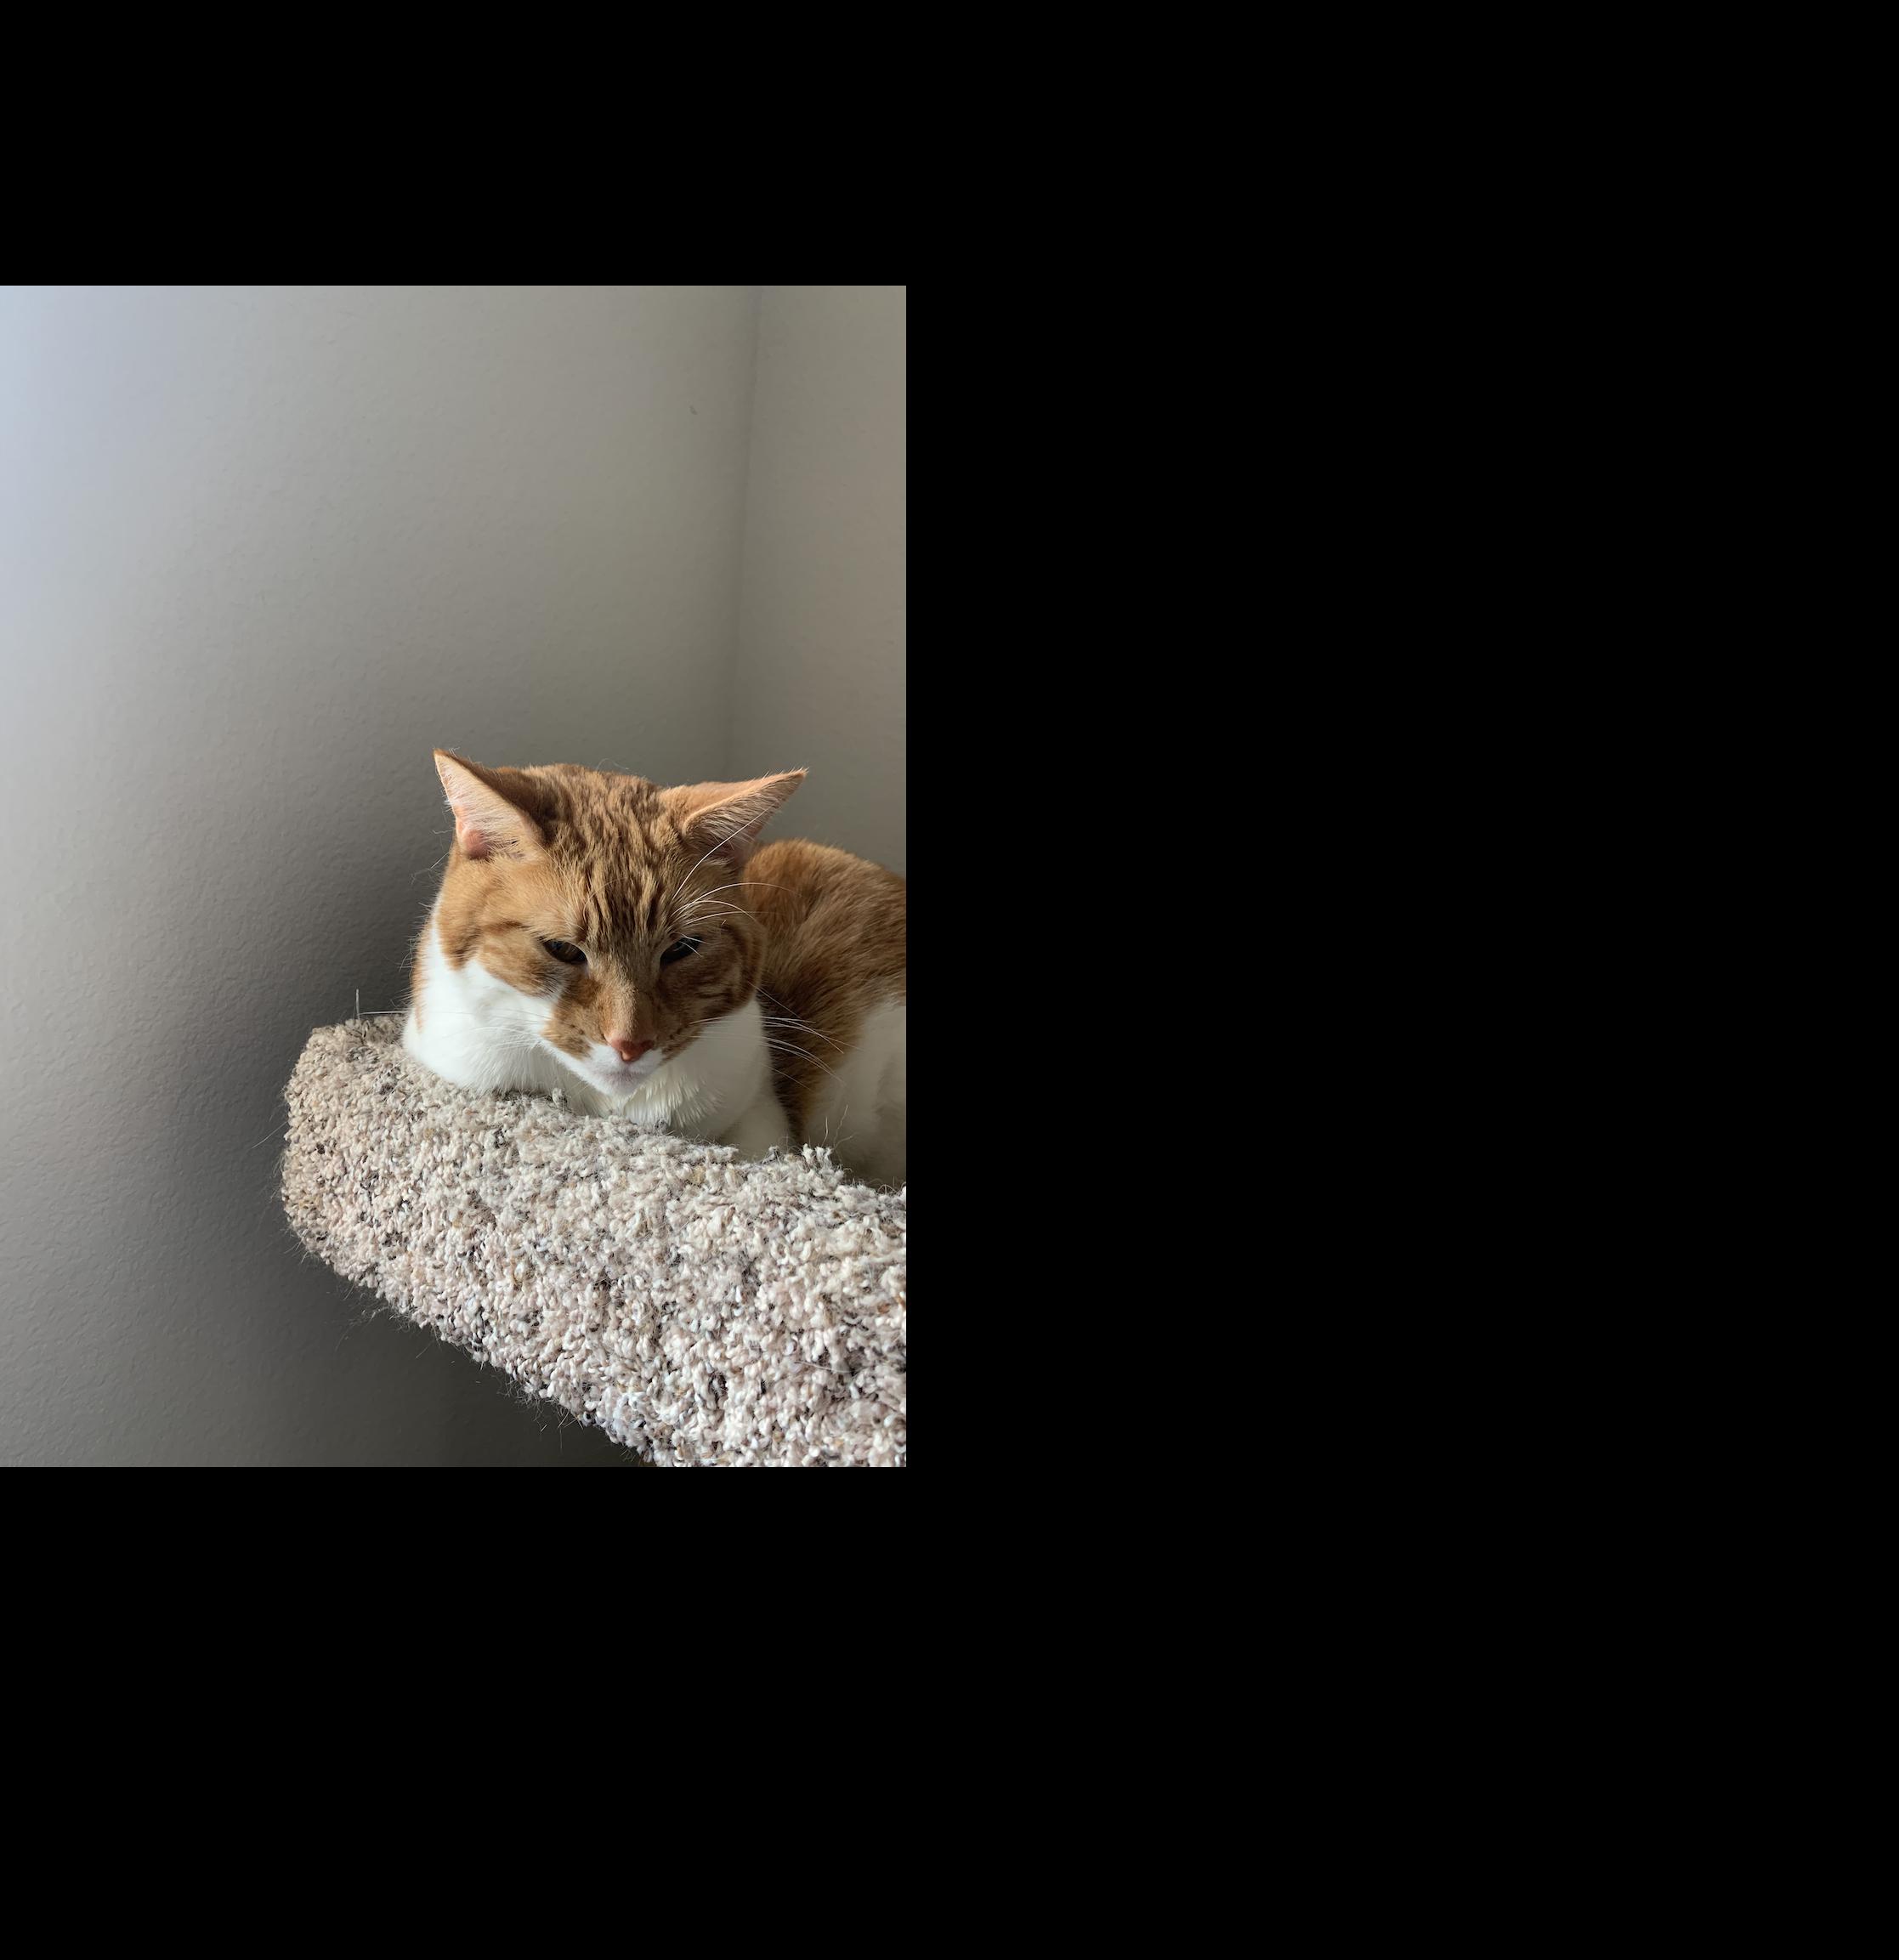
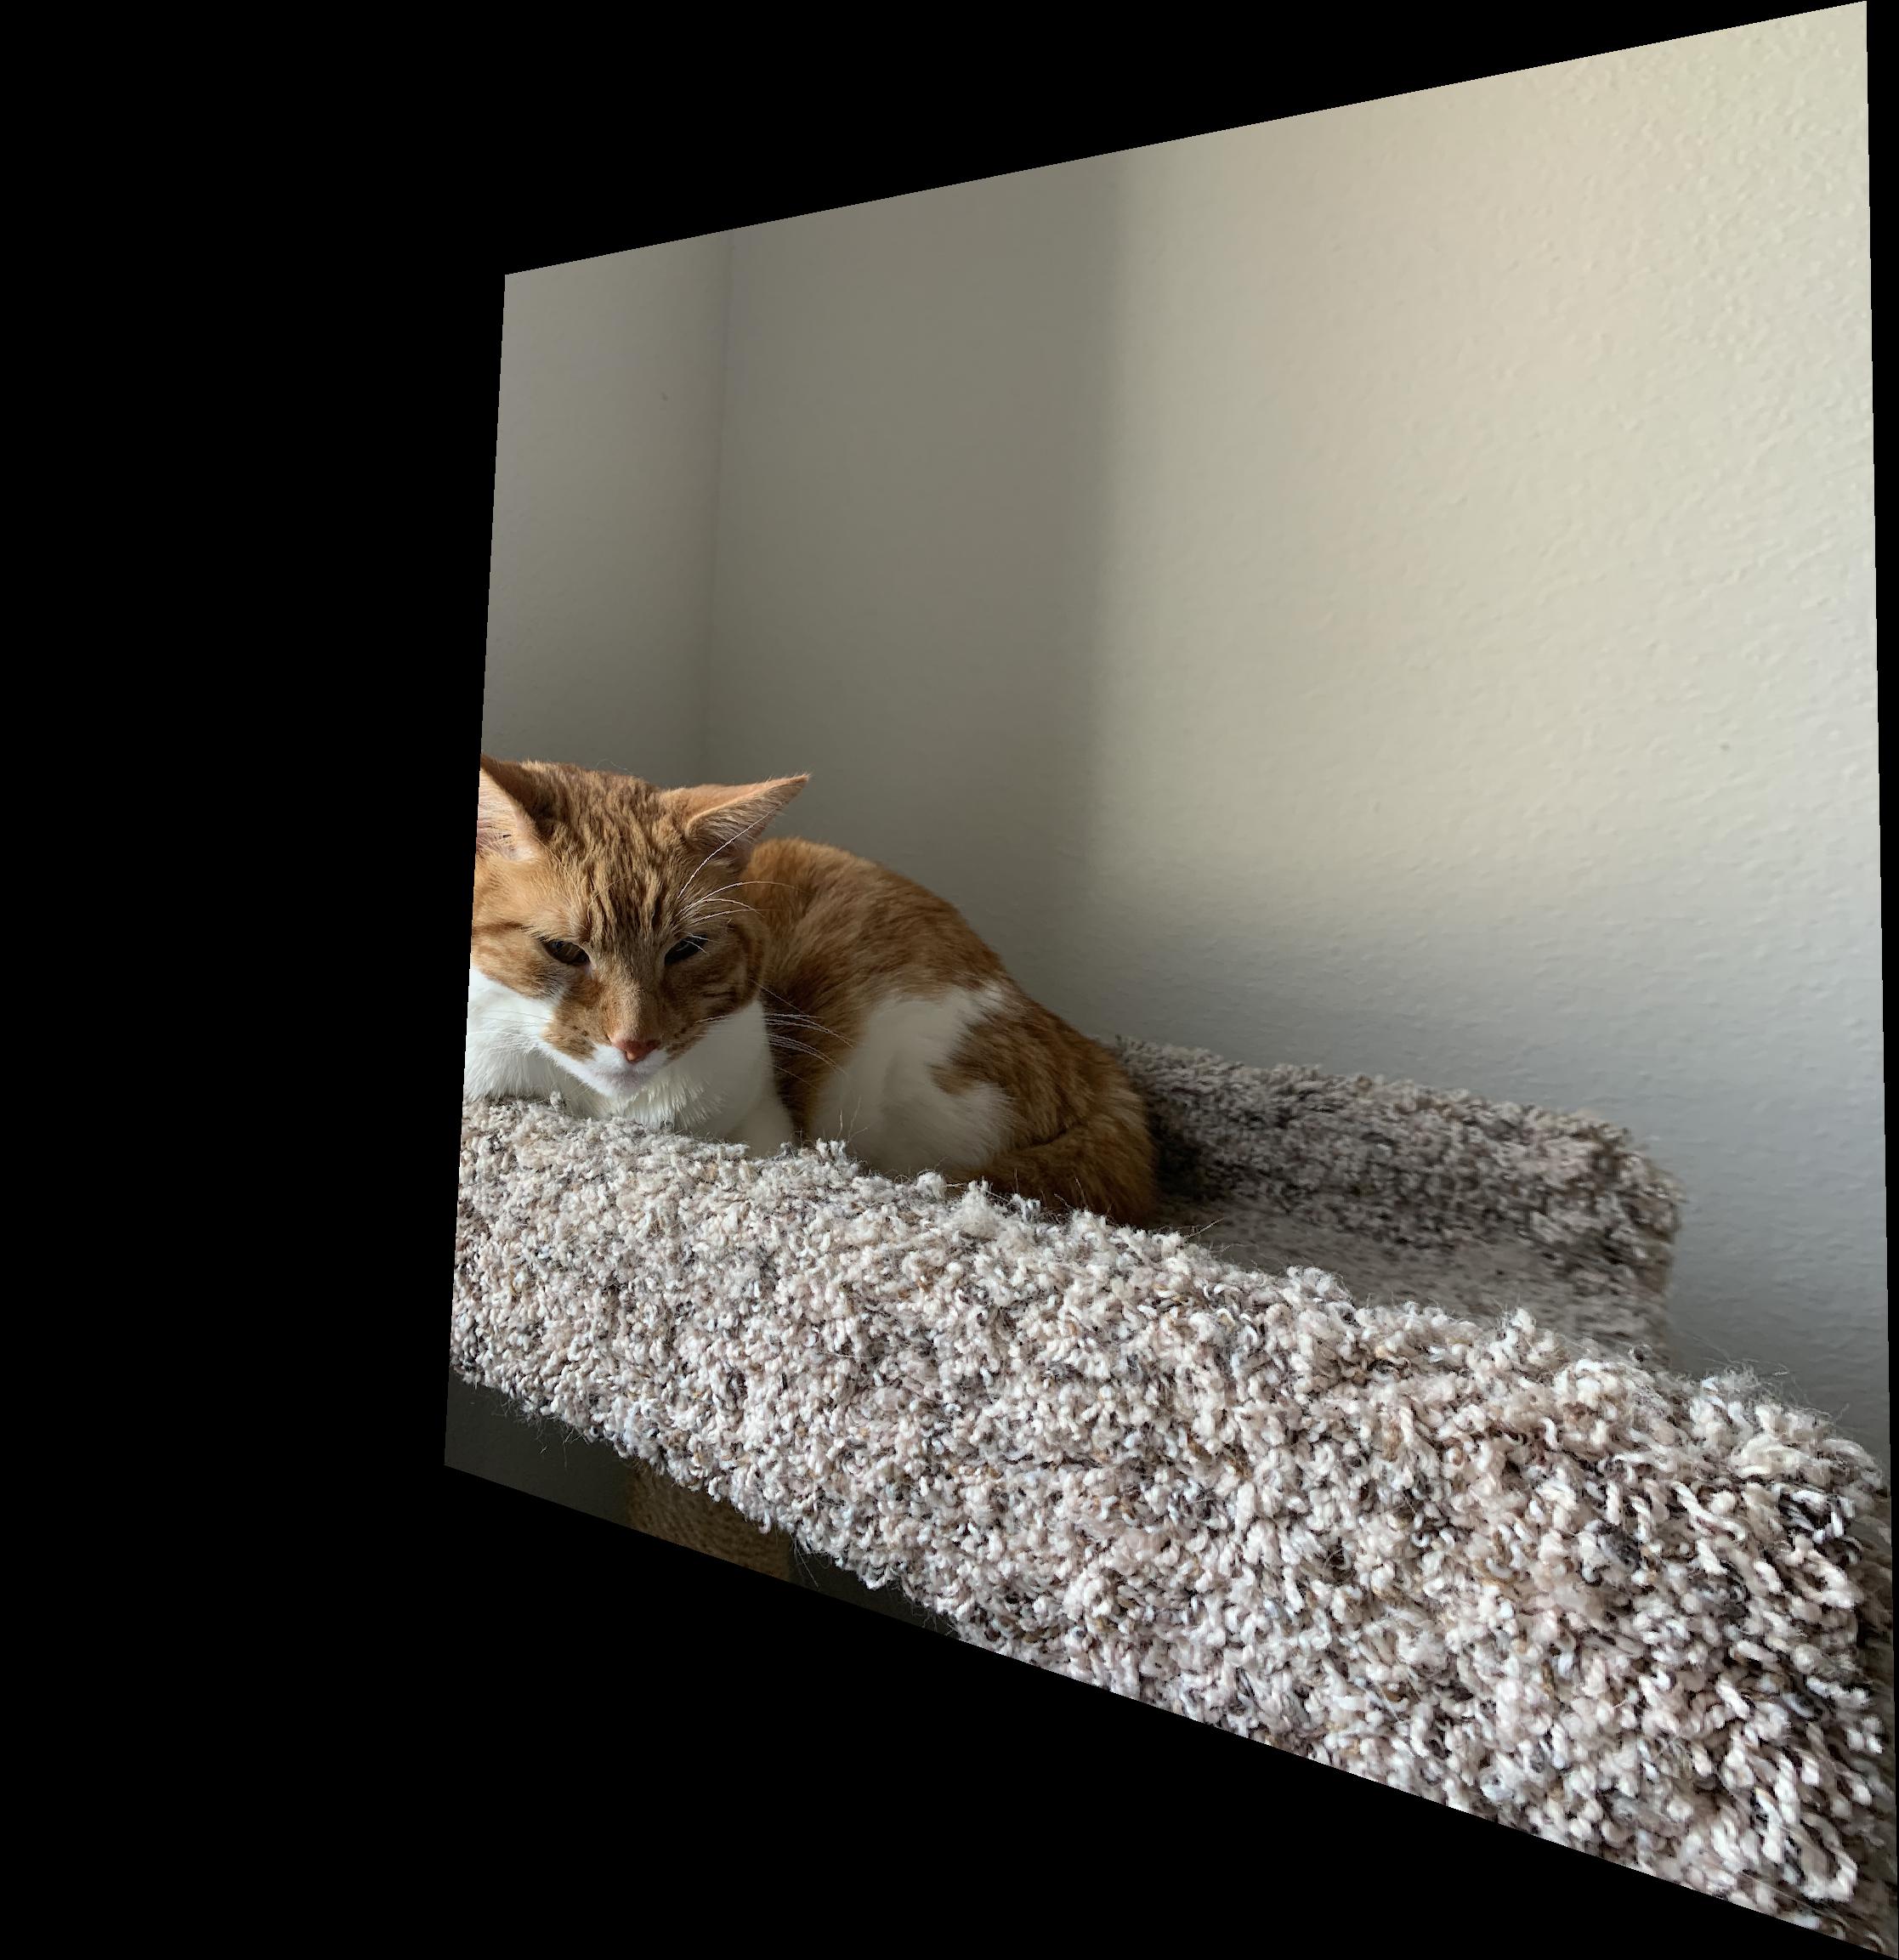
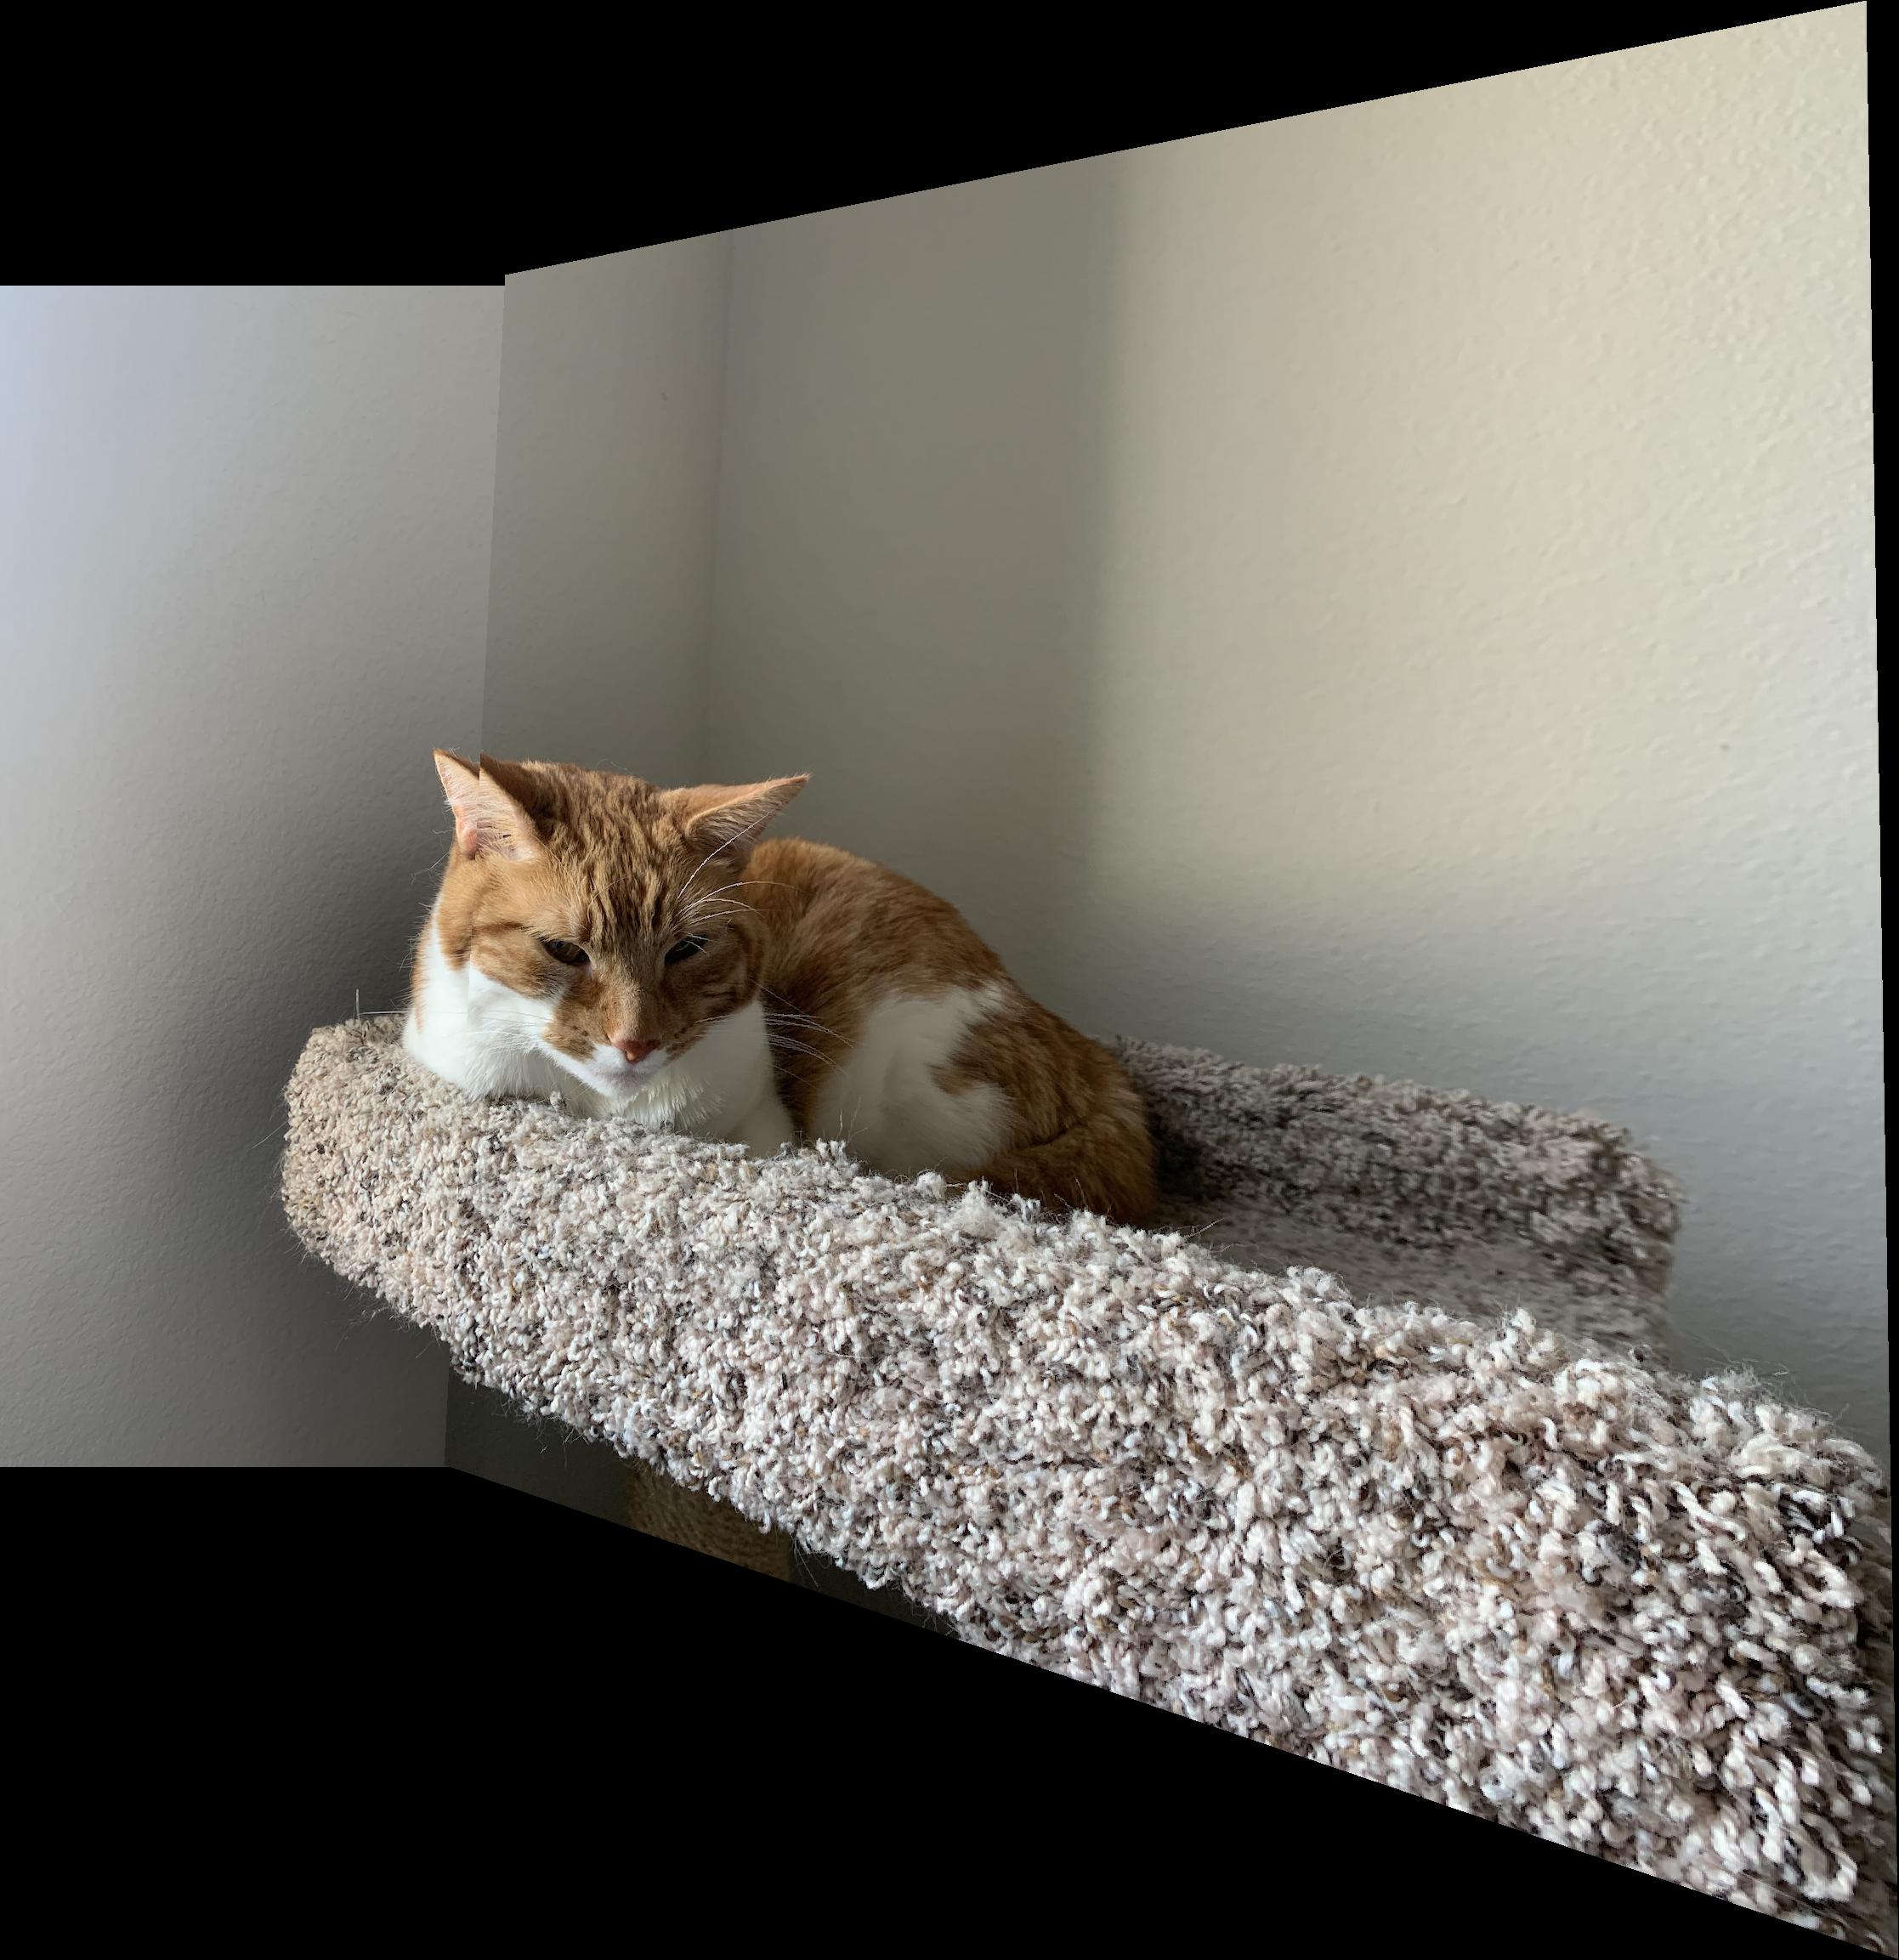
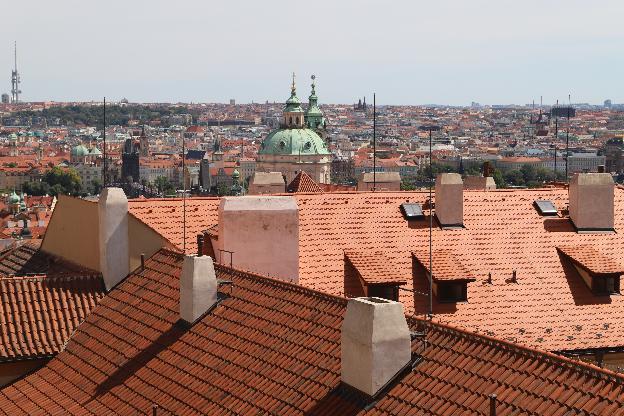
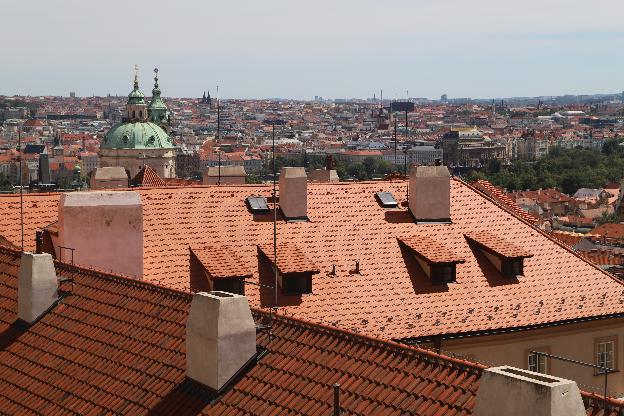
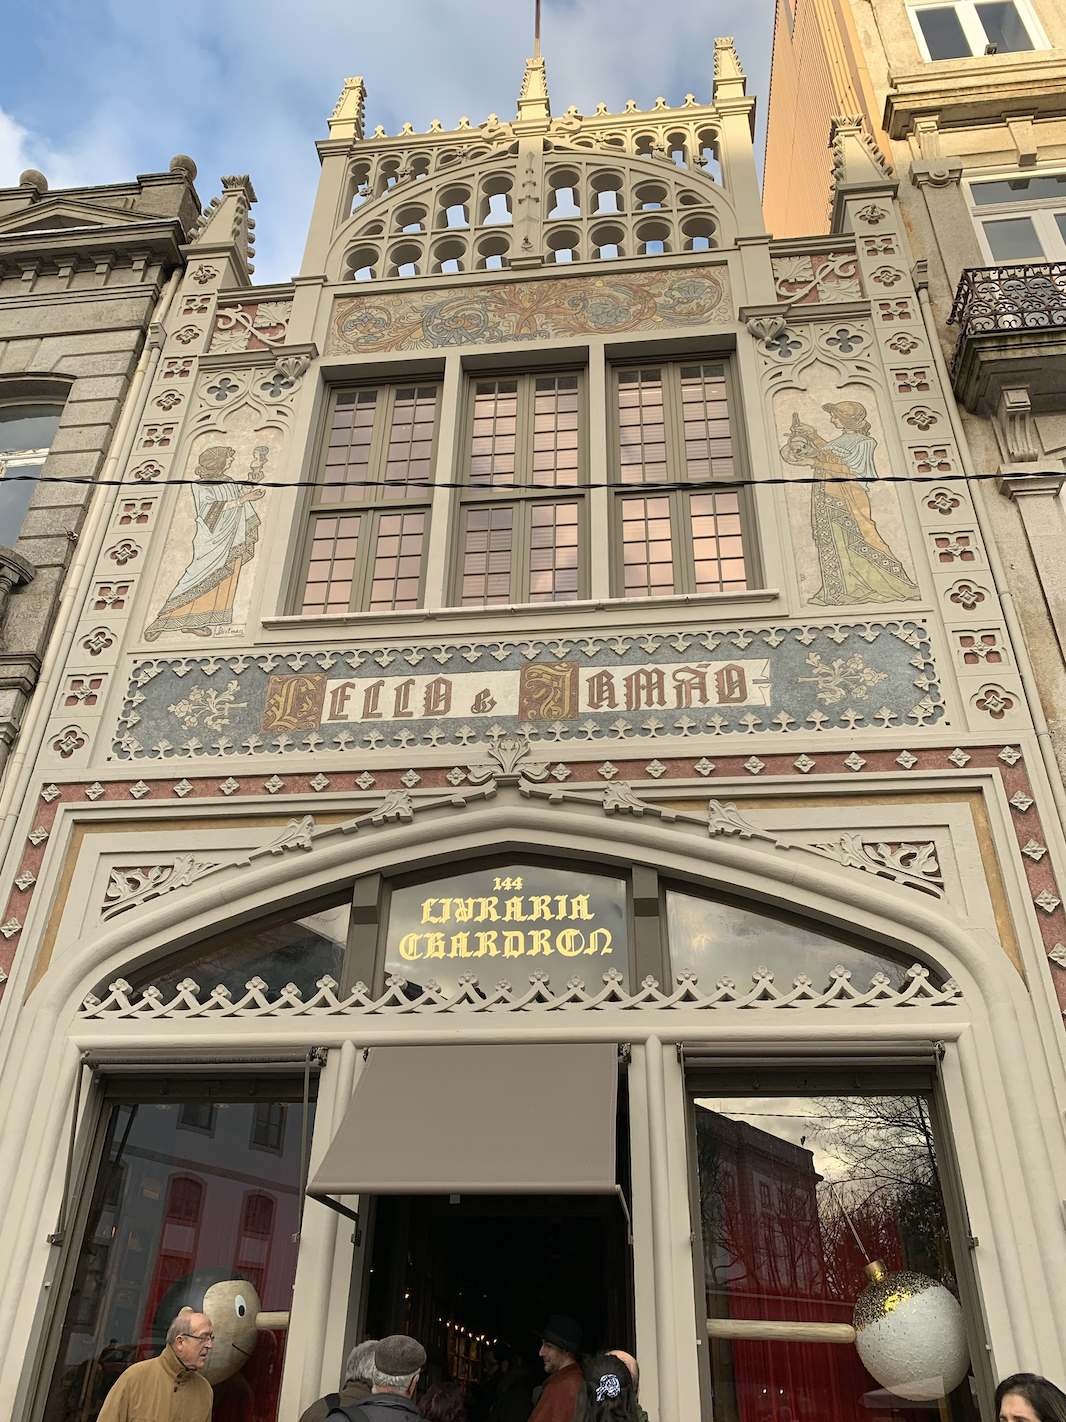
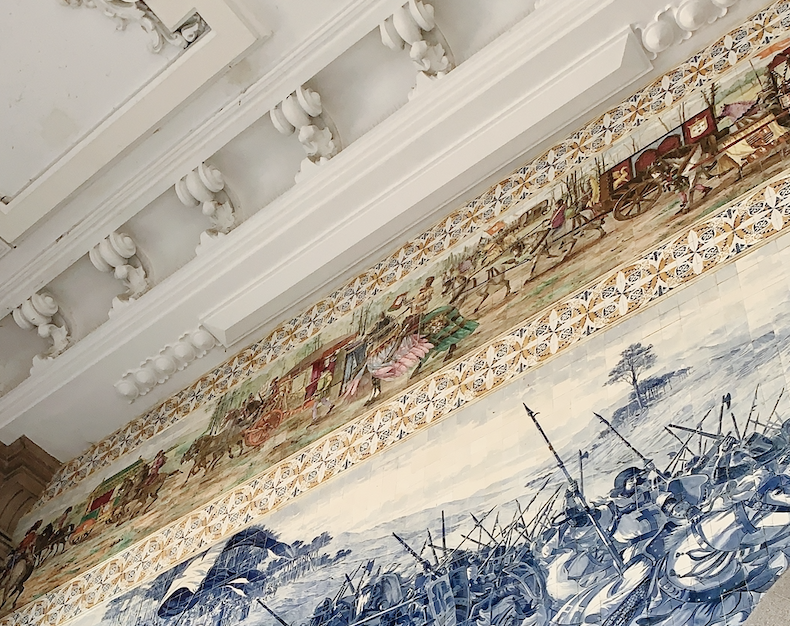
I used the pictures I took on vacation in Porto, Portugal for the rectification part of the project. The first is the facade of a famous bookstore, Livraria Lello, which is where JK Rowling got inspiration for Harry Potter when she was living in Porto. The second is a wall of Sao Bento station that is famous for their blue tiles. For the image mosaicing, I took pictures of my neighborhood, my bedroom, and my cat.
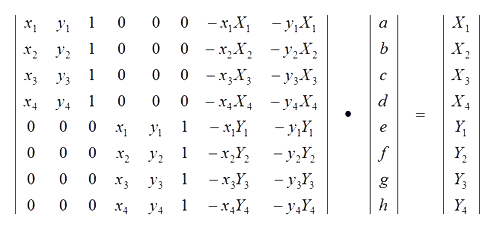
Using n point correspondences from two images, I computed the entries to the 3x3 matrix H by setting up a linear system of 2*n equations. A * h = b. Then, I reshaped h to be a 3x3 matrix, H, and used this to find the coordinates that each input pixel would map to after being warped.
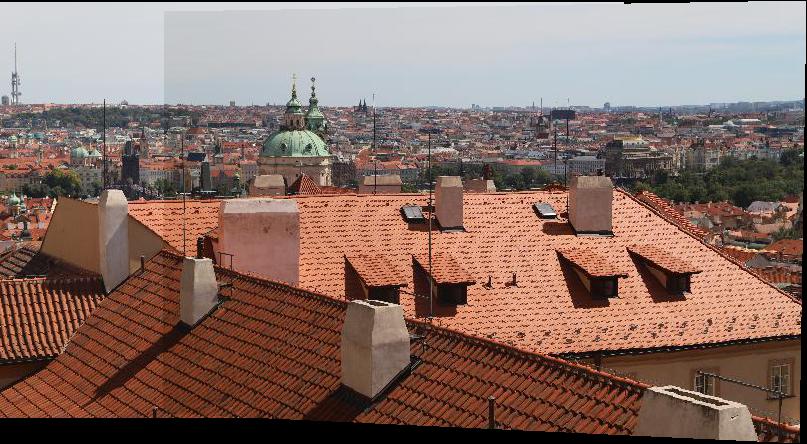
First, I warped the corners of the image using the homography to see how big the output image needed to be. Also, this calculates the offsets needed to translate pixels in the second image space to the resulting image space. Then I took all the pixel coordinates within the corners in the resulting image space and applied inverse warping so that there weren't any holes in the resultting image. What this means is that each coordinate in the resulting image has a corresponding coordinate in the input image which can be calculated using Inv(H).
For the Livraria Lello picture, I chose point correspondences so that the front face of the building is frontal-parallel. For the Sao Bento station picture, I chose point correspondences on the four courner of the colorful top banner, so that the banner would be frontal-parallel. Here are my results for image rectification and cropped to the area of interest:
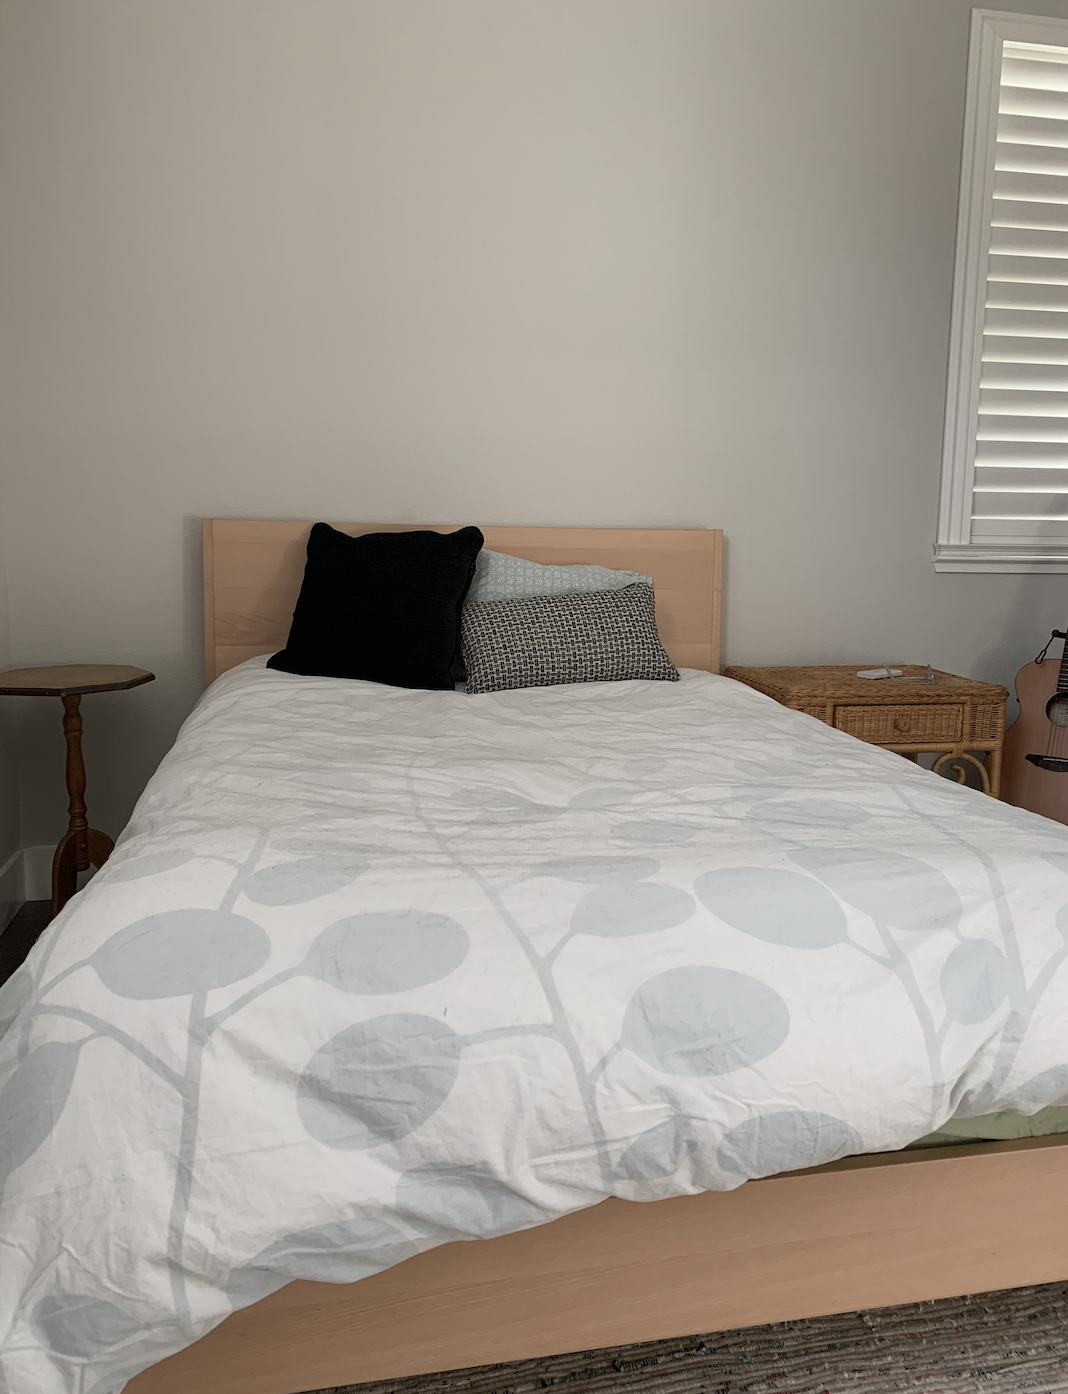
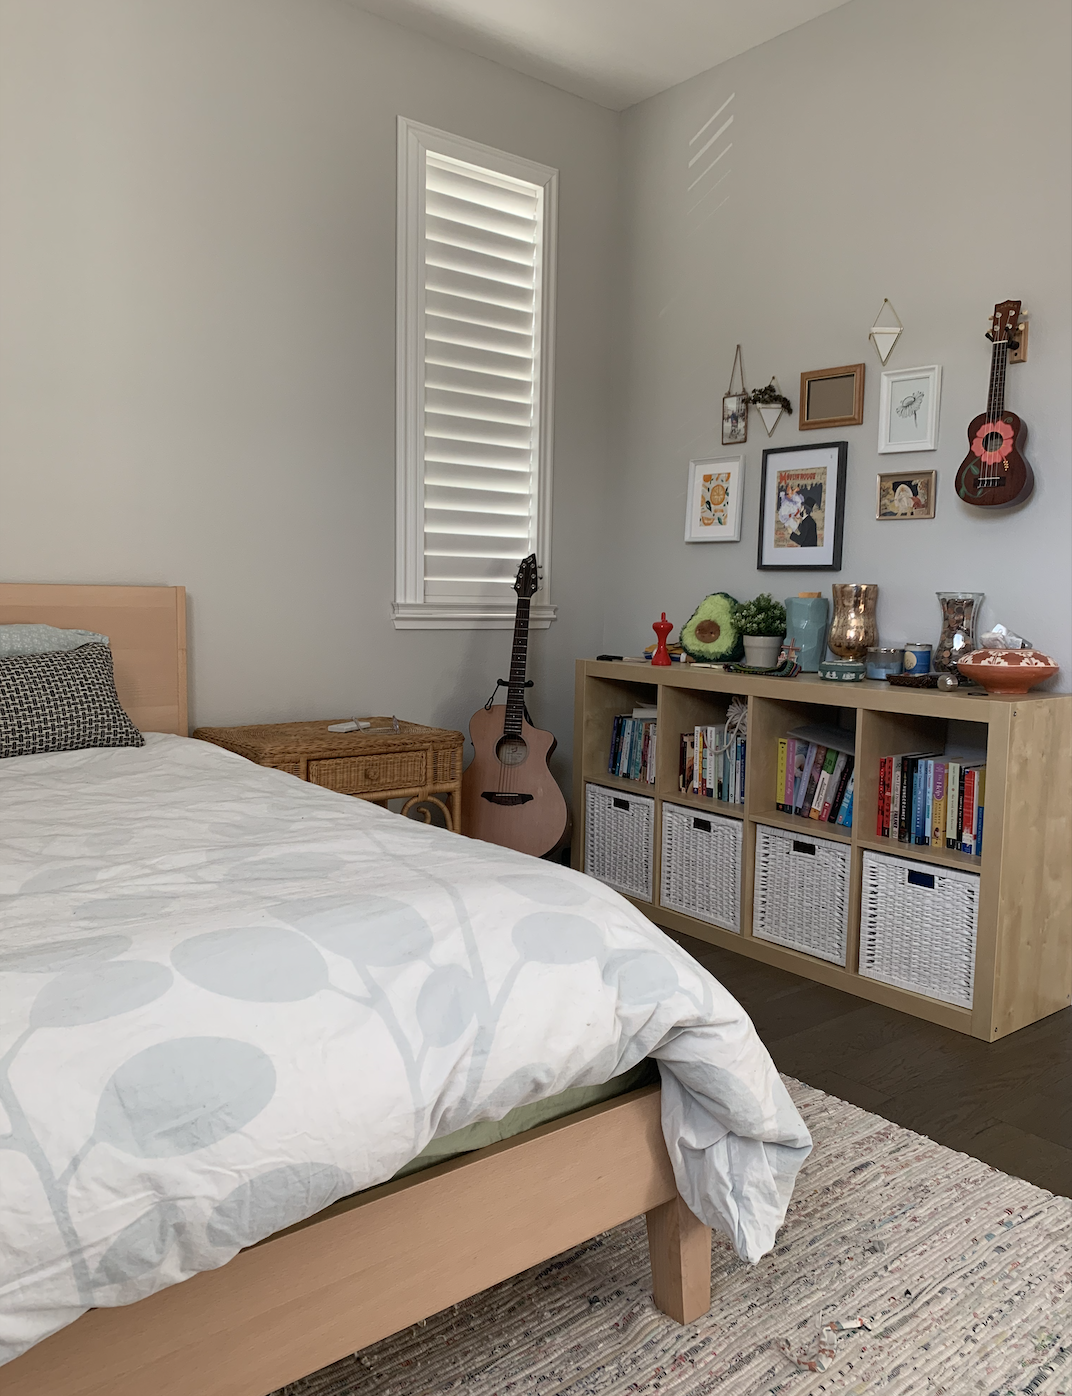
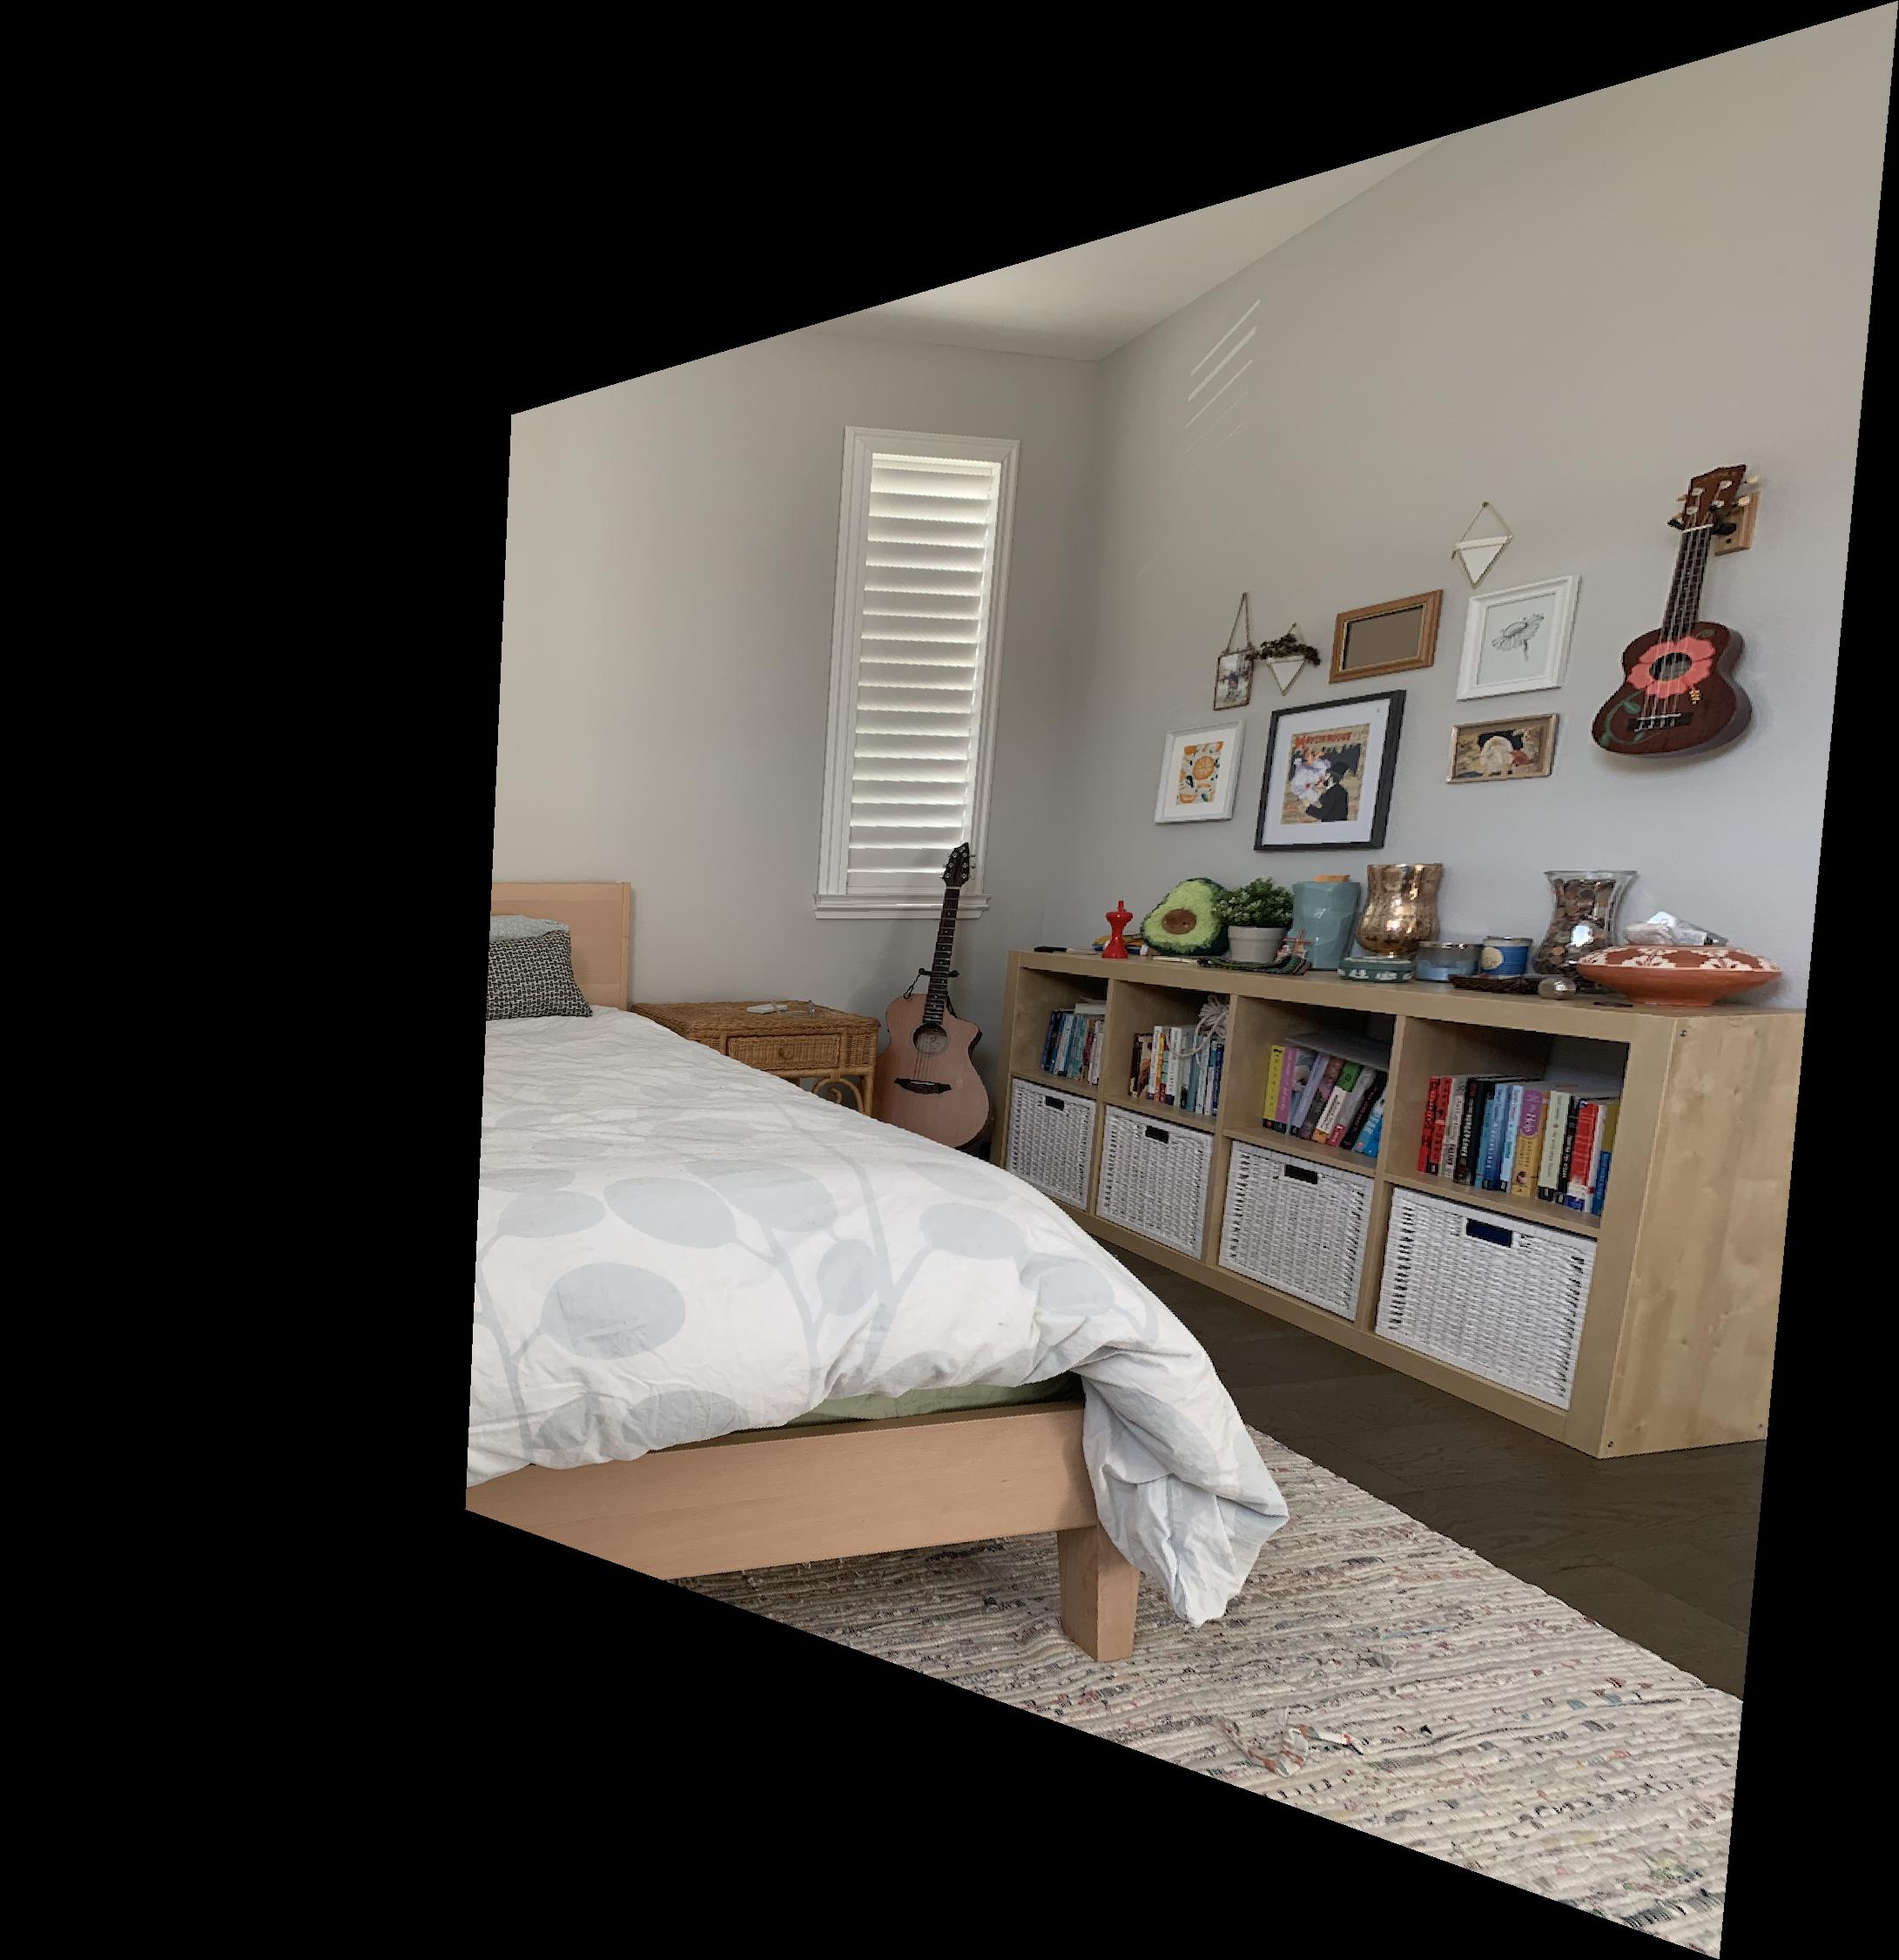
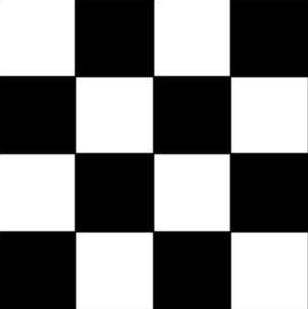
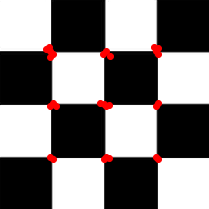
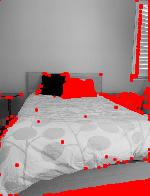
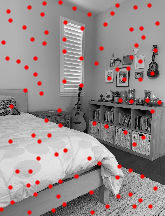
I used the harris.py starter code to detect harris interest points. To make sure the starter code was working correctly, I found the interest points on a simple checkerboard. Then, I used it on an image of my room. For my bedroom image, I thresholded the harris response value to only show interest points that had a response greater than 0.05
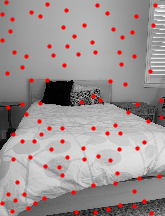
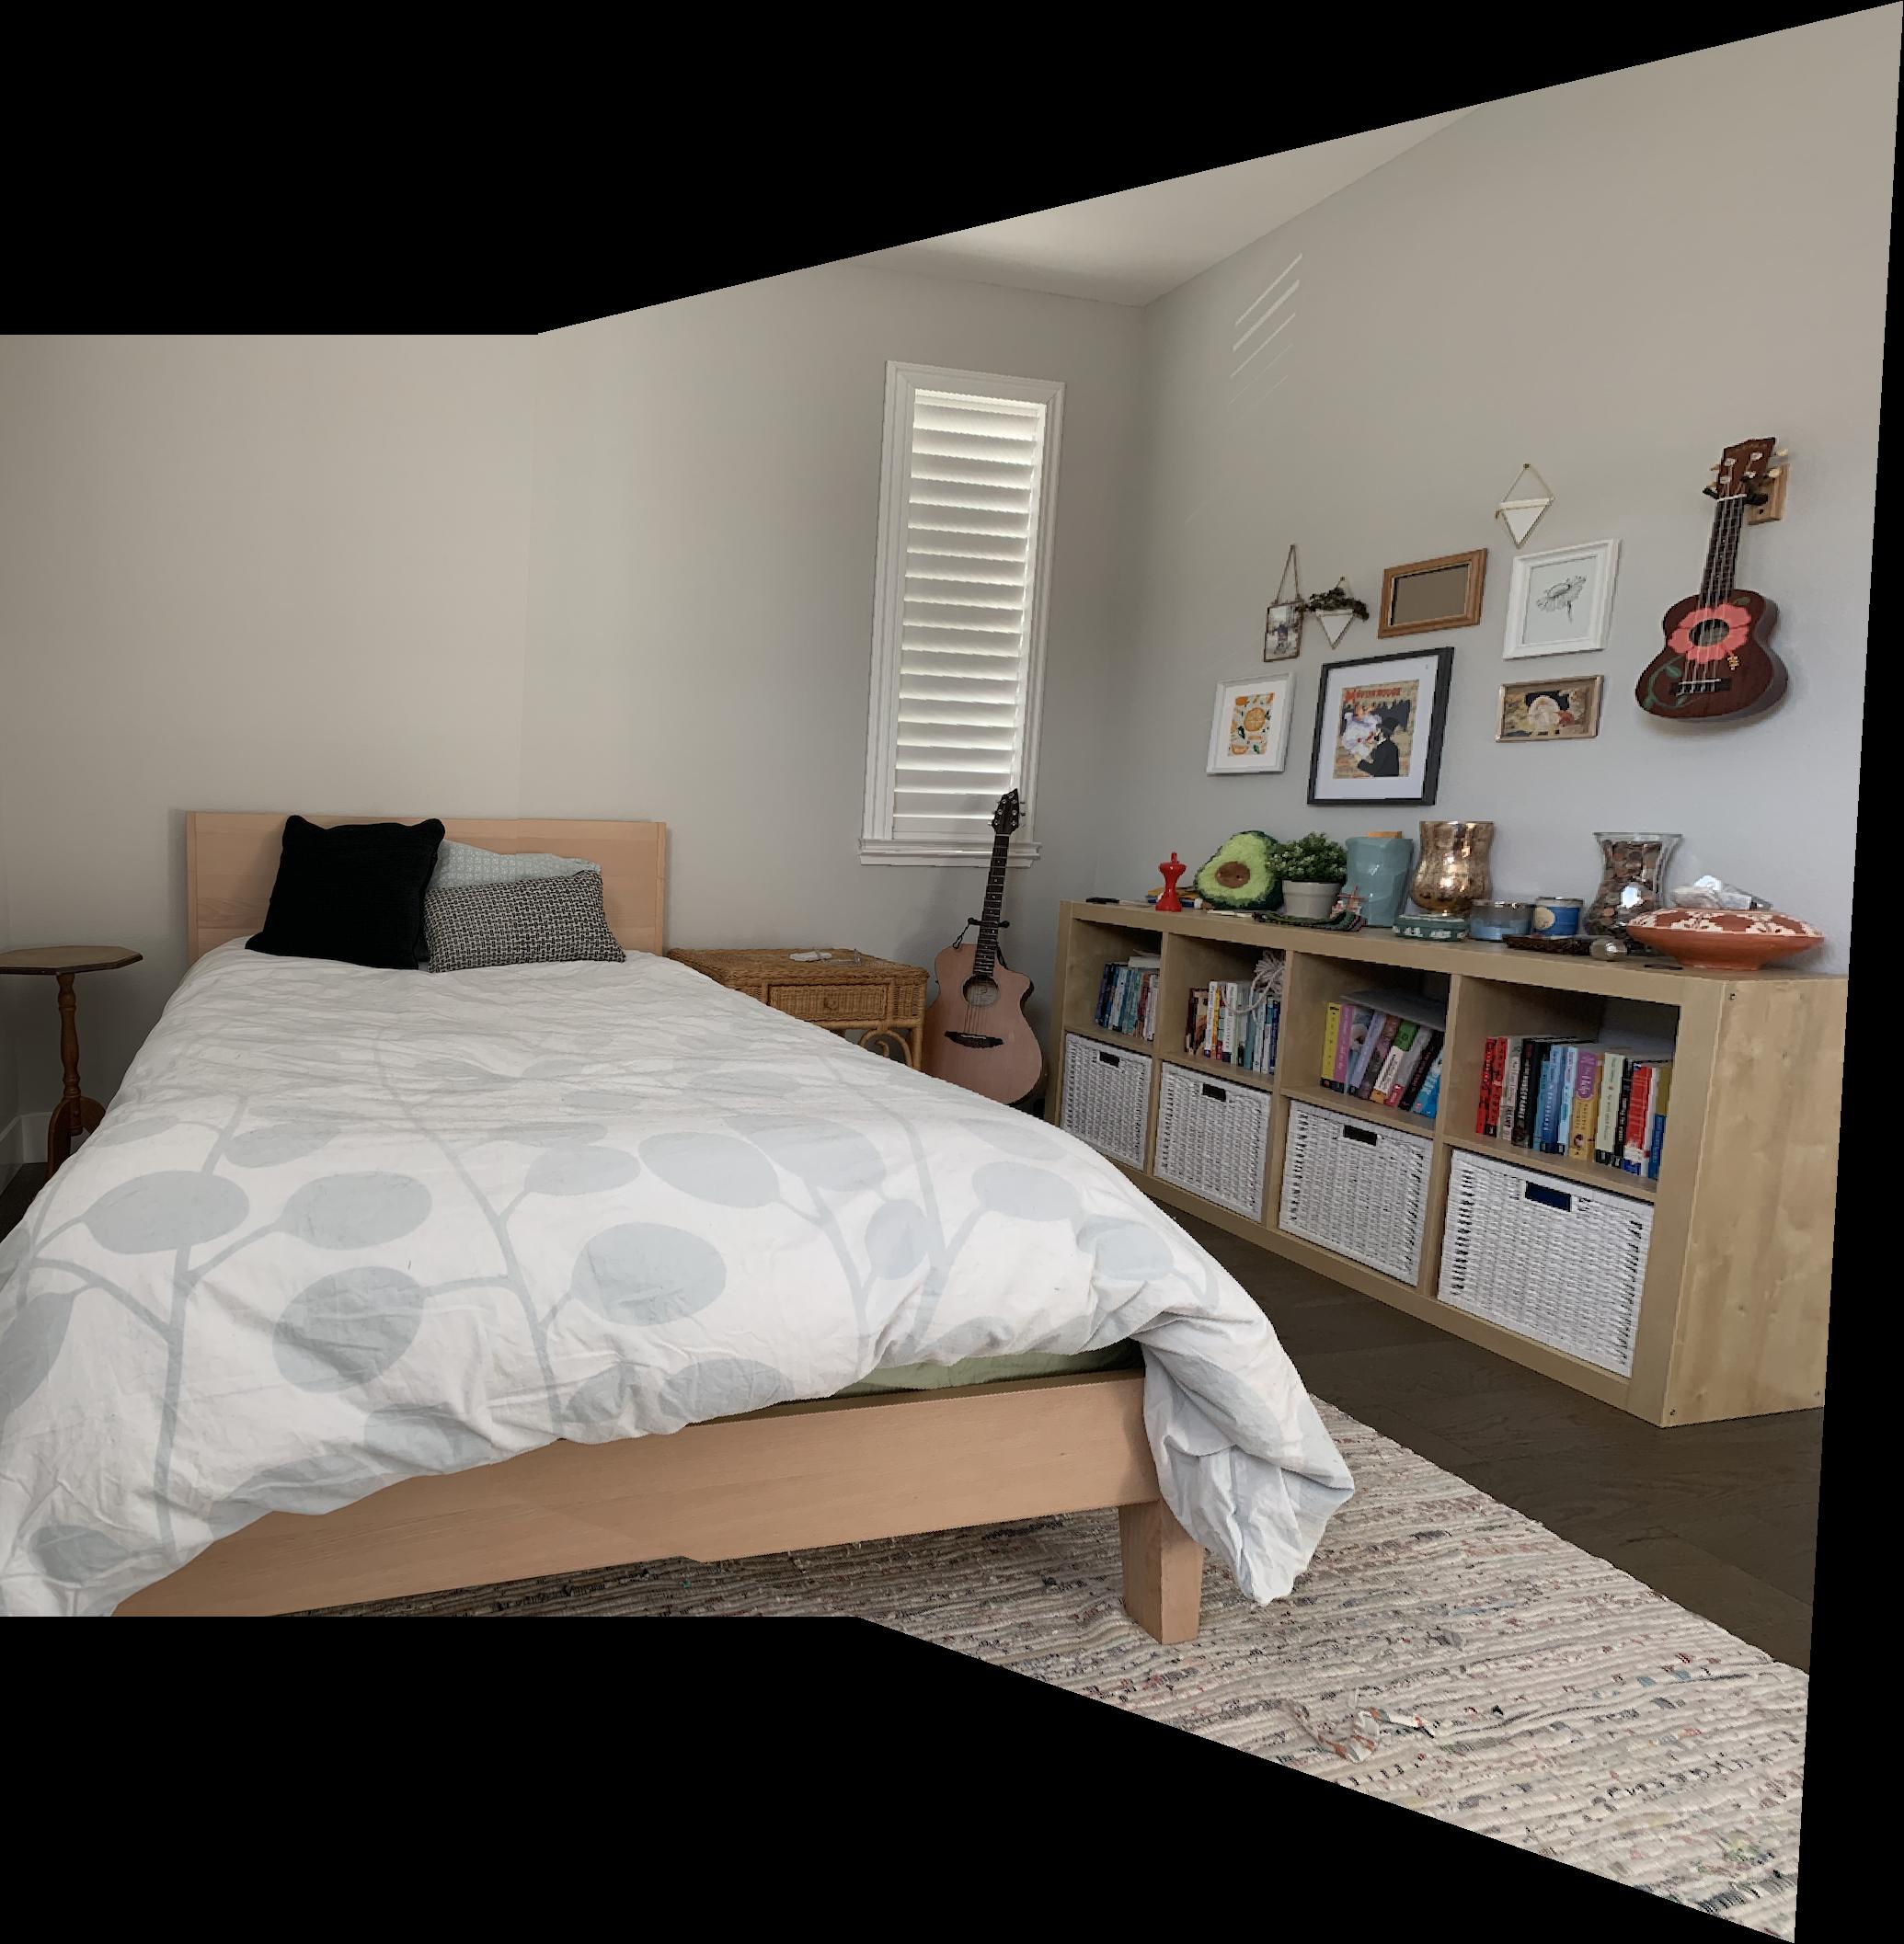
Next, I implemented adaptive non-maximal suppression in order to choose interest points that had high harris response values and also were evenly spread across the image. To do this, I enumerated all the harris interest points and calculated the radius value by looking at all the other stronger harris interest points. Then, I sorted the radius values and took the largest n interest points to be the output of my adaptive non-maximal suppression method. I found that c_robust=1.0 worked better for than the paper's c_robust=0.9.Here, I ran ANMS on my bedroom images with n = 100. It captures corners like the bed frame corners, window blinds corners, and pillow corners. Also, the points are evenly spread across the image.
To extrack the feature descriptor from each interest point, I took a 40x40 pixel patch around the interest point and sampled by a factor of 1/5 to get a 8x8 pixel blurred patch. Then I normalized it to have mean 0 and standard deviation 1.
To match feature descriptors between two images, I used the nearest neighbors algorithm to find the closest feature descriptor in image 2 for every feature descriptor in image 1. I also kept track of the 2nd nearest neighbor in order to calculate the Lowe ratio, SSD(1-NN)/SSD(2-NN). Then, I selected a threshold to only keep matches if the Lowe ratio was less than the threshold. That means the 2nd nearest neighbor's error was a lot greater than the actual nearest neighbor.
To compute the homography for inverse warping, I used RANSAC because it produces a robust homography and keeps inlier matches. First, I selected 4 random pairs (p, p'), computed a homography H based on those 4, and calculated the H * p where p are the points in image 1. If SSD(p', Hp) < epsilon, then I kept the match (p, p'). Otherwise, I discarded the match. I repeated this many times and at the end, I computed a homography based on all the matches I kept and performed inverse warping like in part 5a. For my mosaics below, I used 5 iterations and epsilon = 0.1.
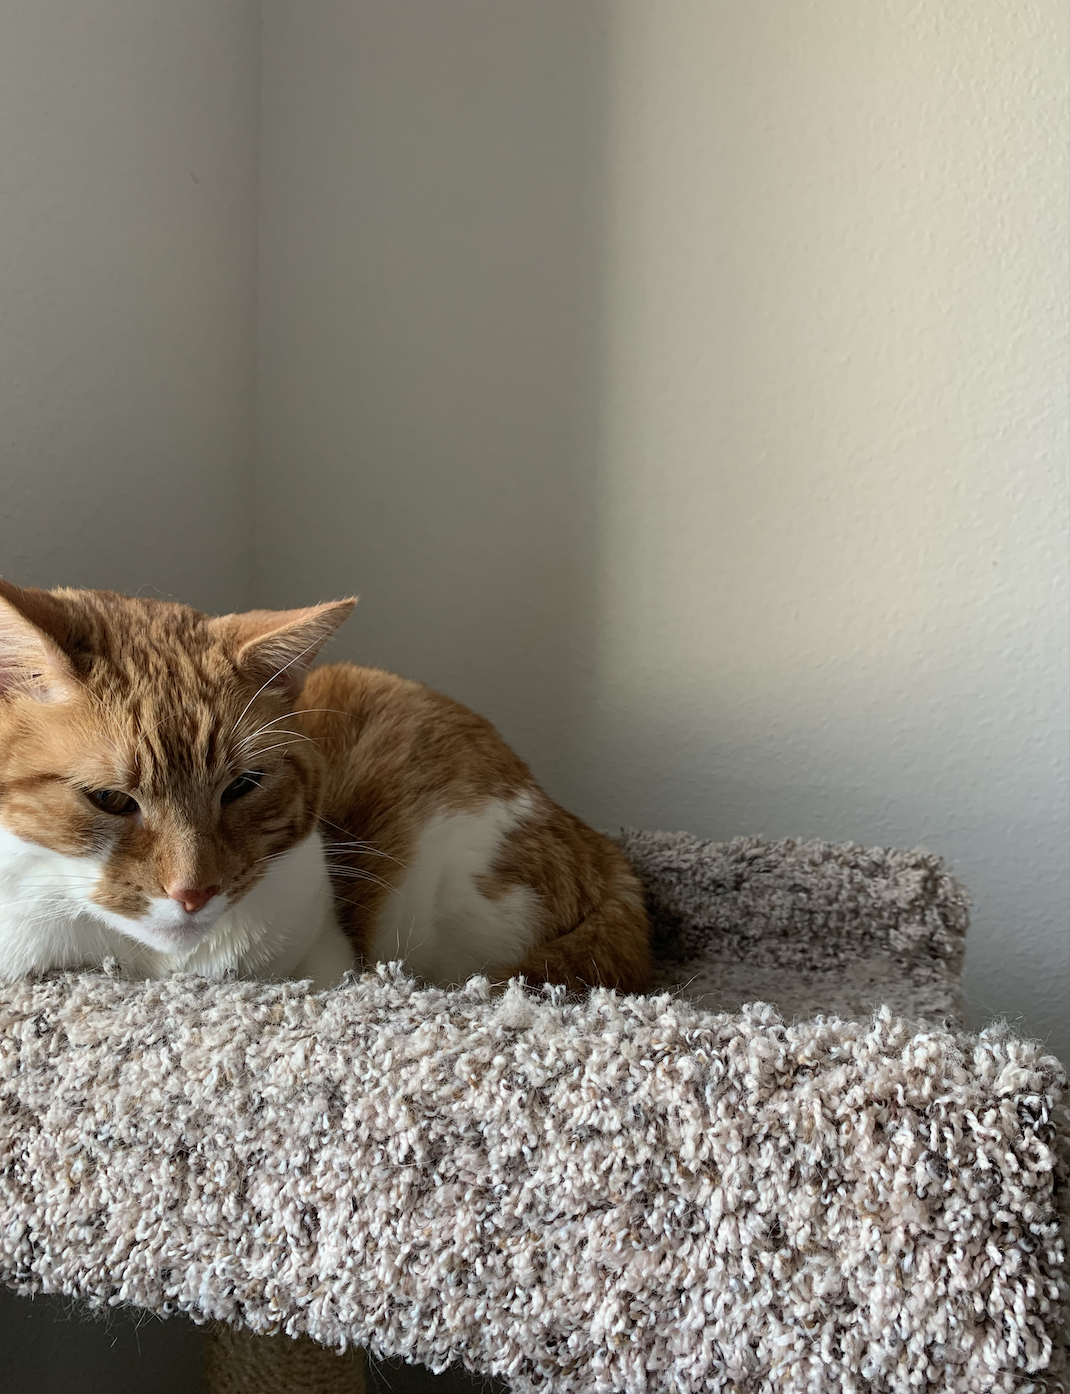
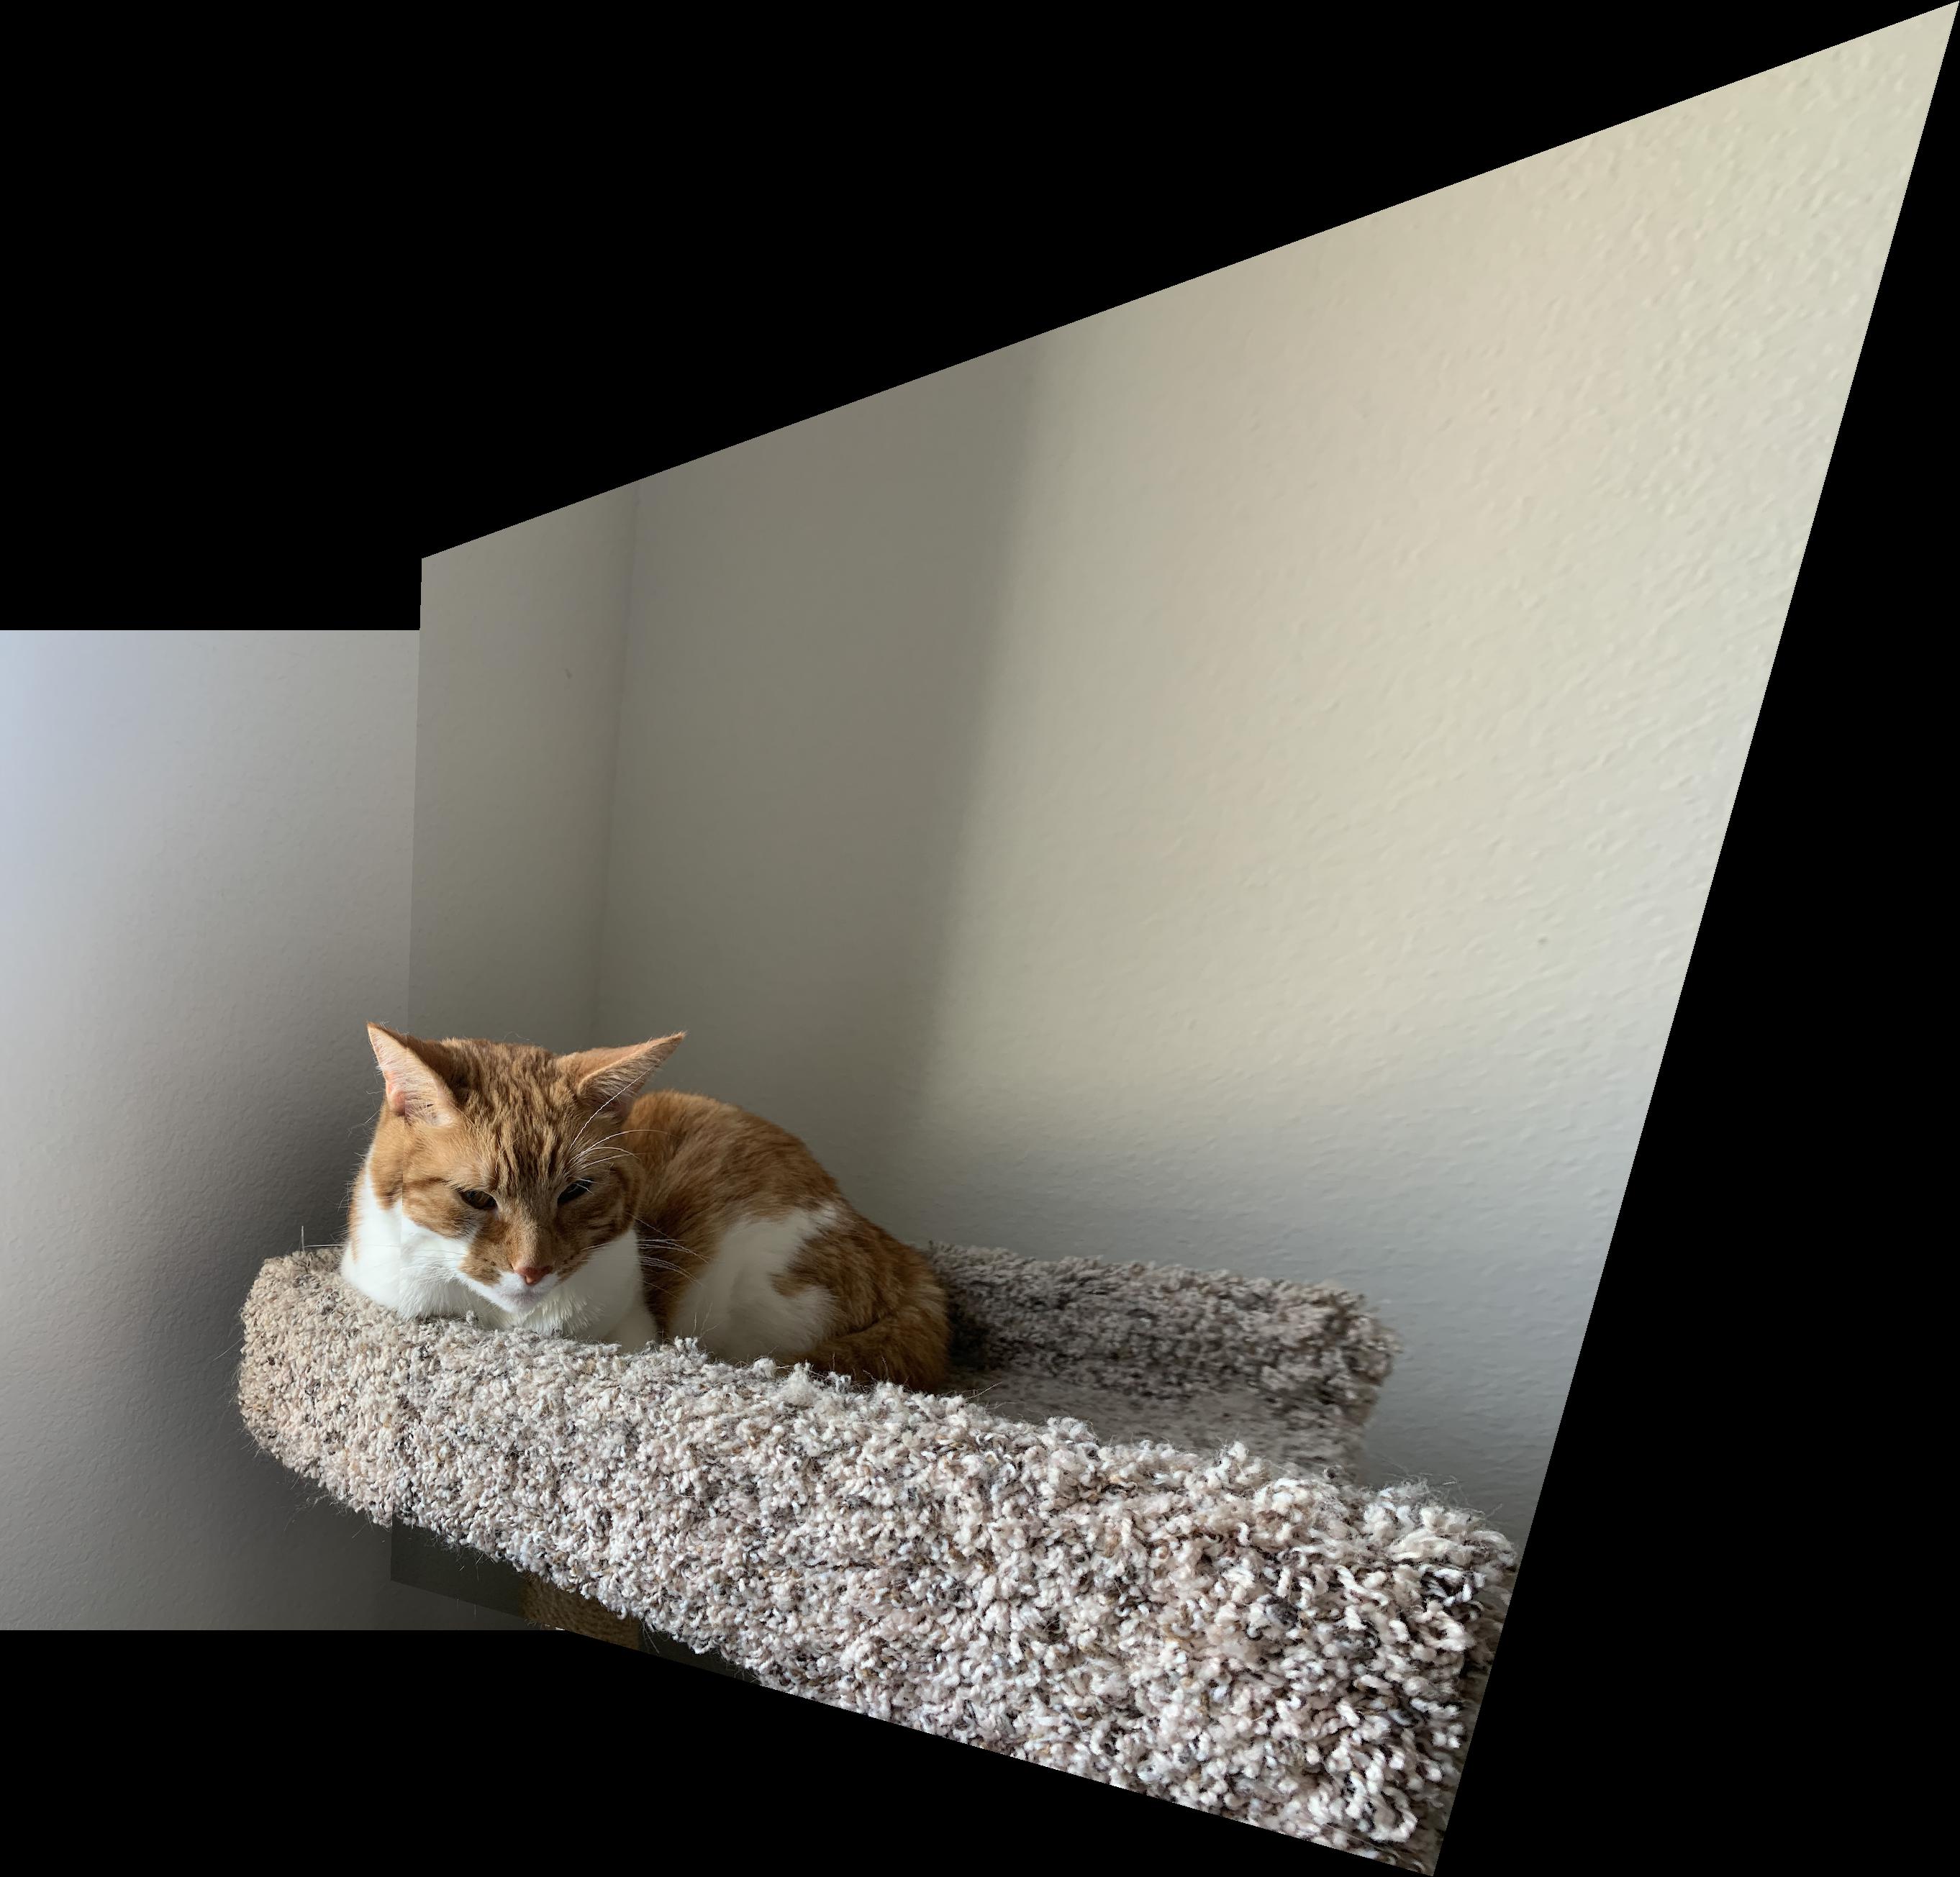
As you can see in the cat mosaics, the automatic interest point detector performed better than my manual selection of correspondence points.
I learned how RANSAC is able to produce an estimate homography from randomly selecting matches and only keeping matches that pass a certain condition. The idea of using additional computation to guide the success of the matches is one that is repeated throughout this project and is very interesting because it works so well. For example using Lowe's ratio and thresholding. Also, the radius calculation for ANMS and selecting the largest radii.