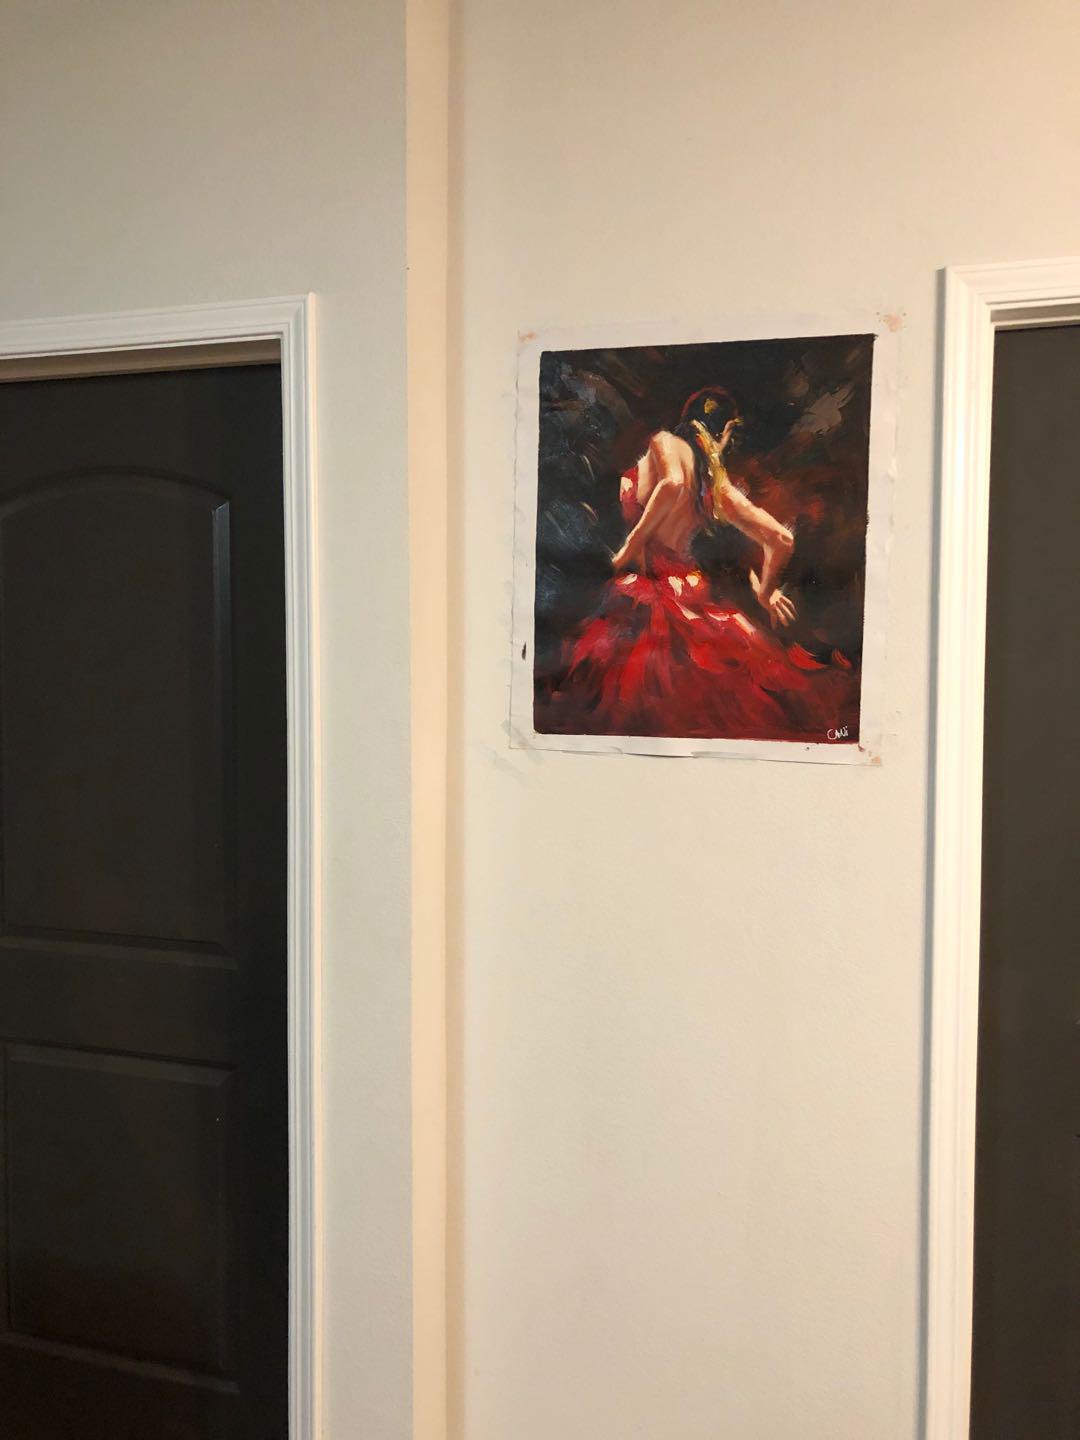
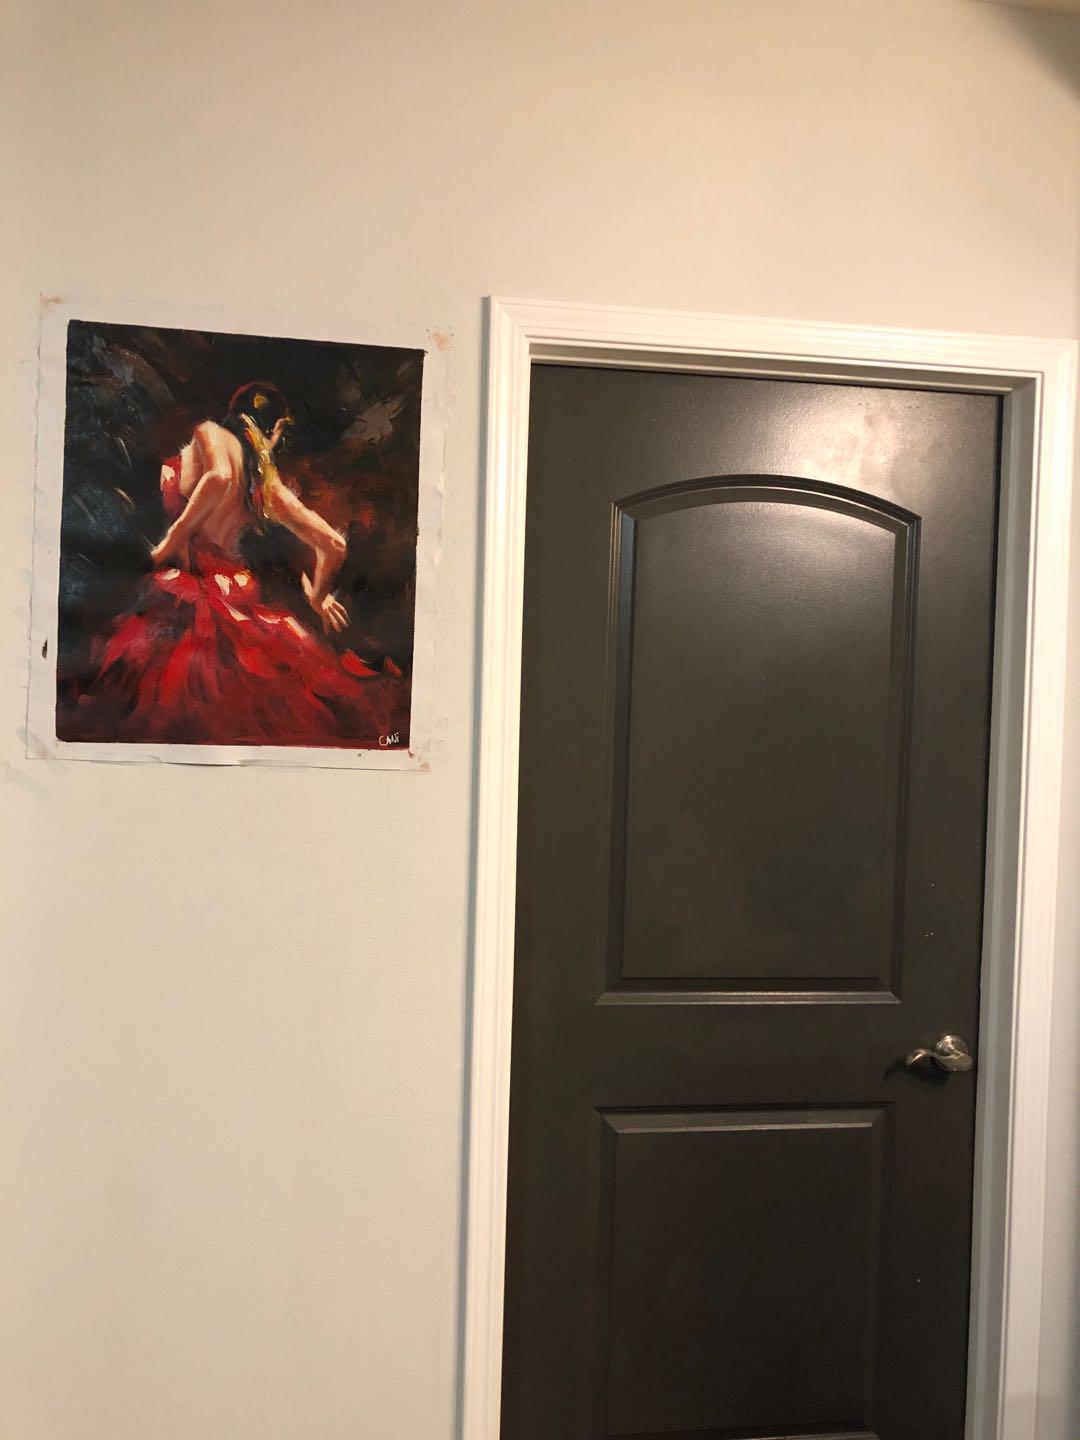
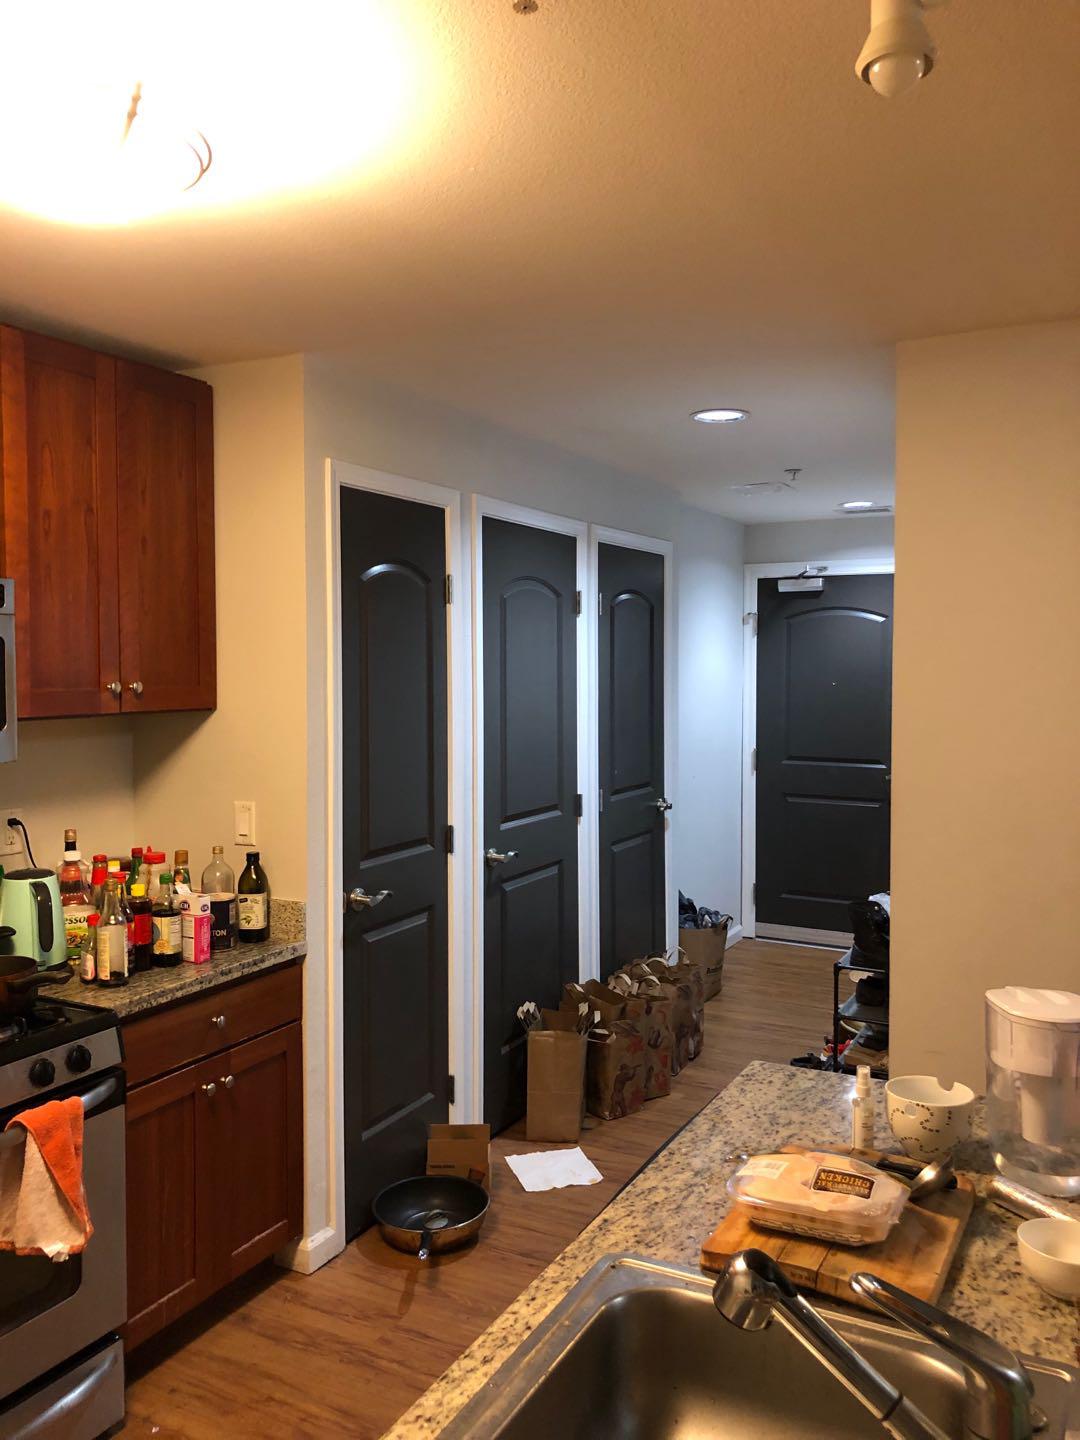
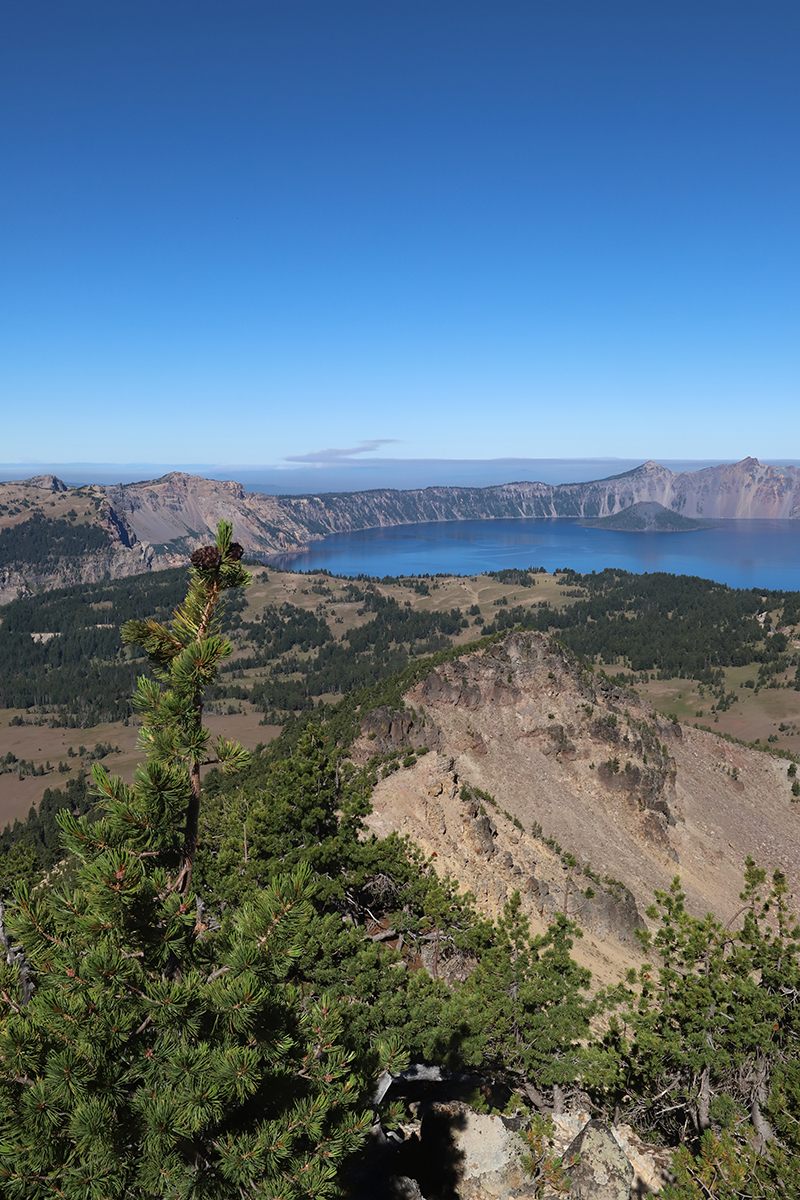
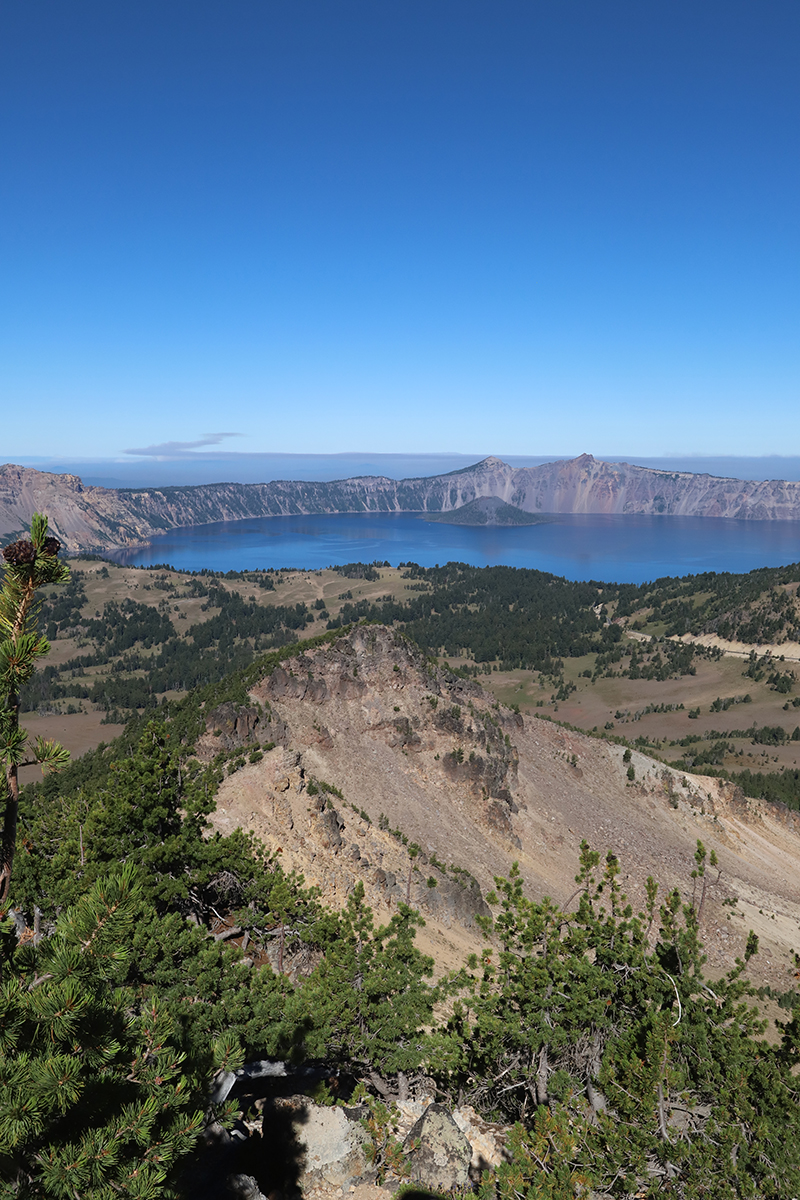
I took two sets of photos, each from a same point of view but different directions, with overlapping areas to define corresponding points.
1-1
1-2
2-1
2-2
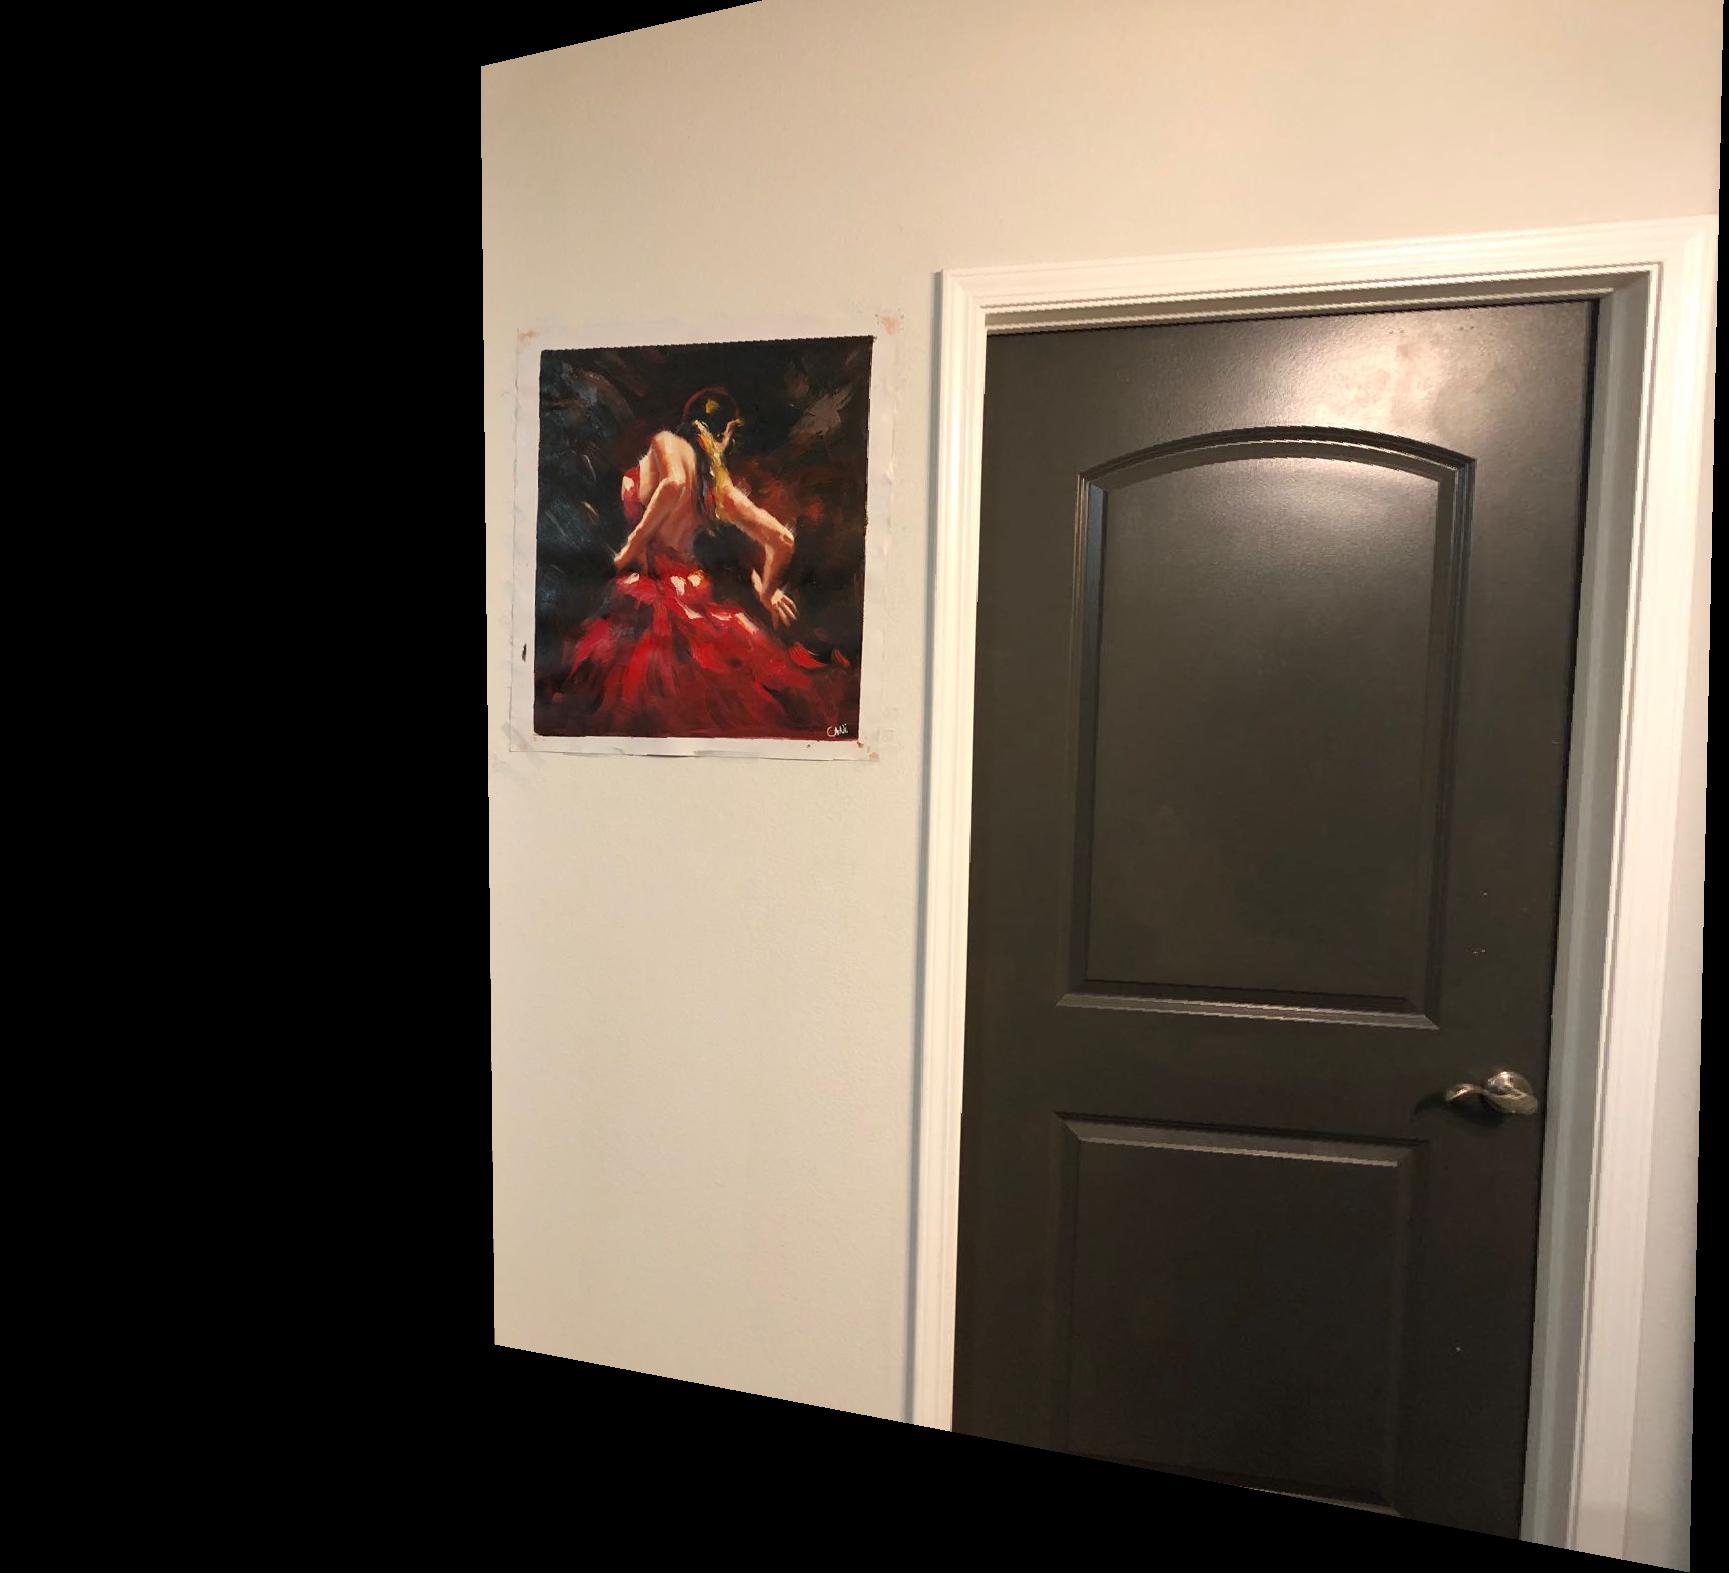
Recover Homographies and Warp the Images
For each pair of images, I computed the corresponding H matrix to warp the second image into the first. Then I warped the images using the H matrix. Here are the results:
1-warped
2-warped
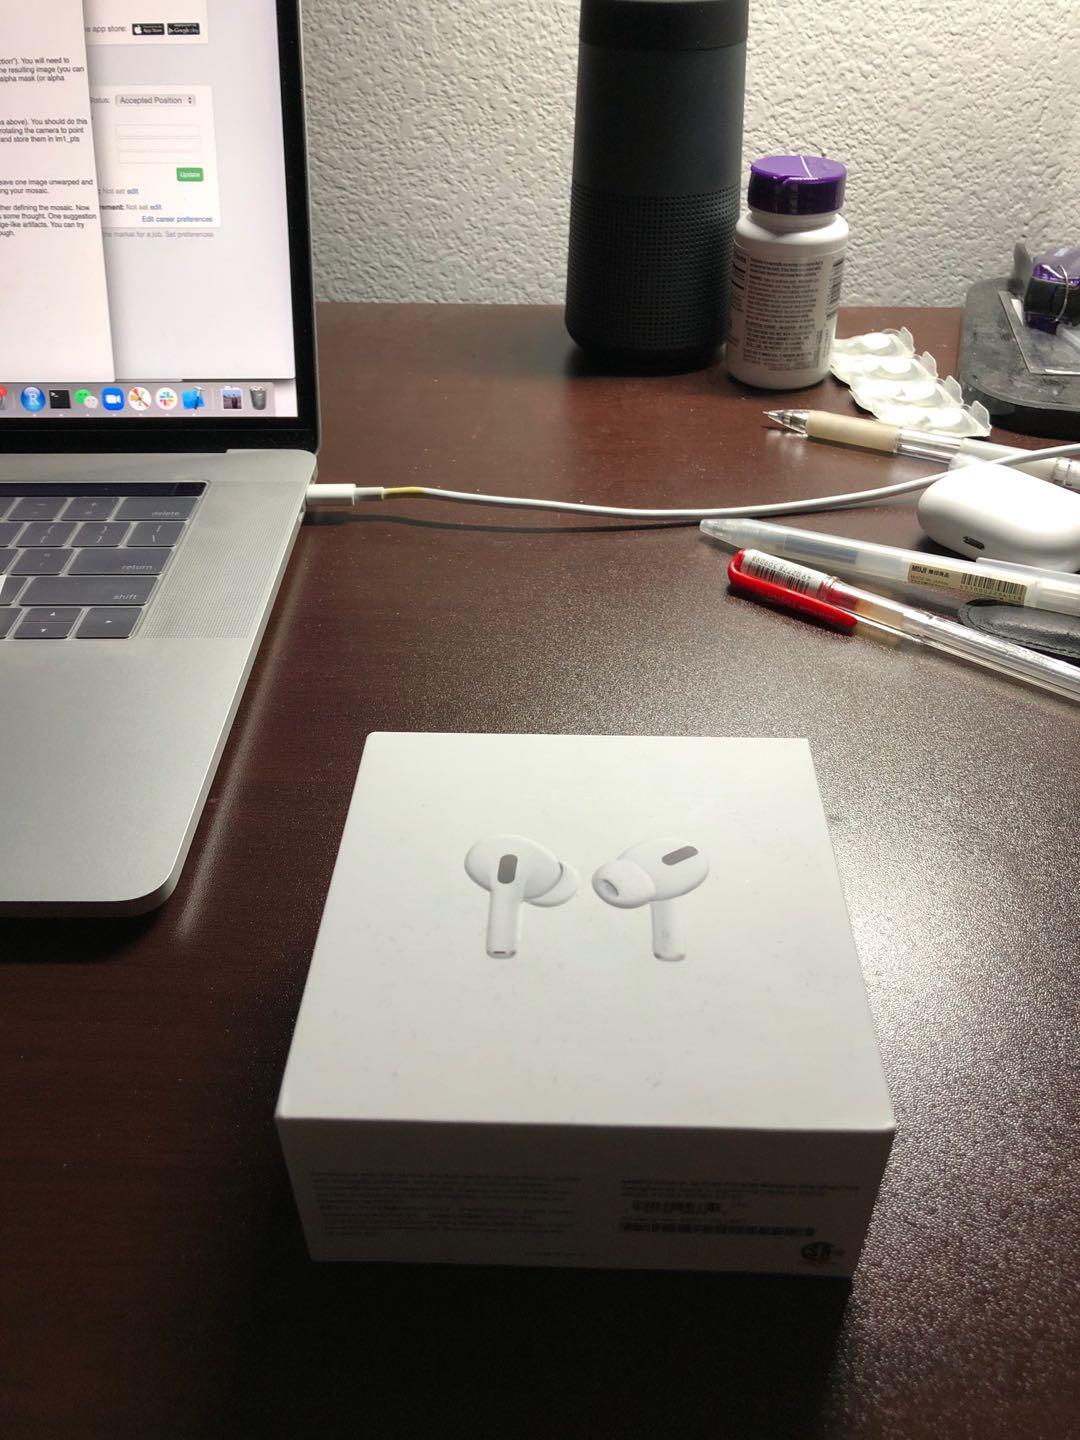
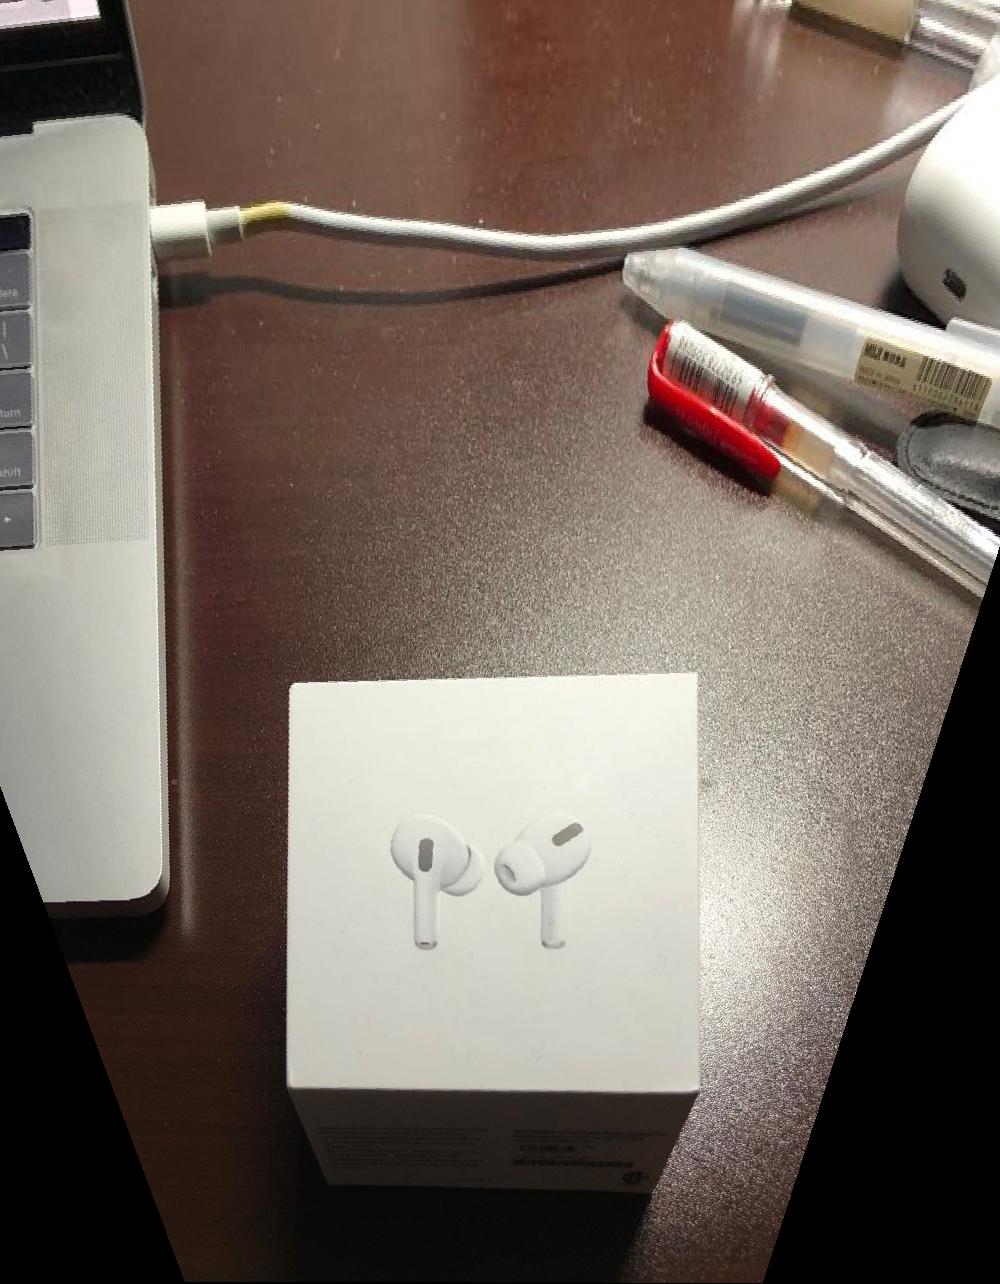
Image Rectification
Using the warping technique above, we can rectify images to desired perspectives. For the example below, I warped the airpods case into a square, so it shows the perspective from straight above.
Original
Rectified
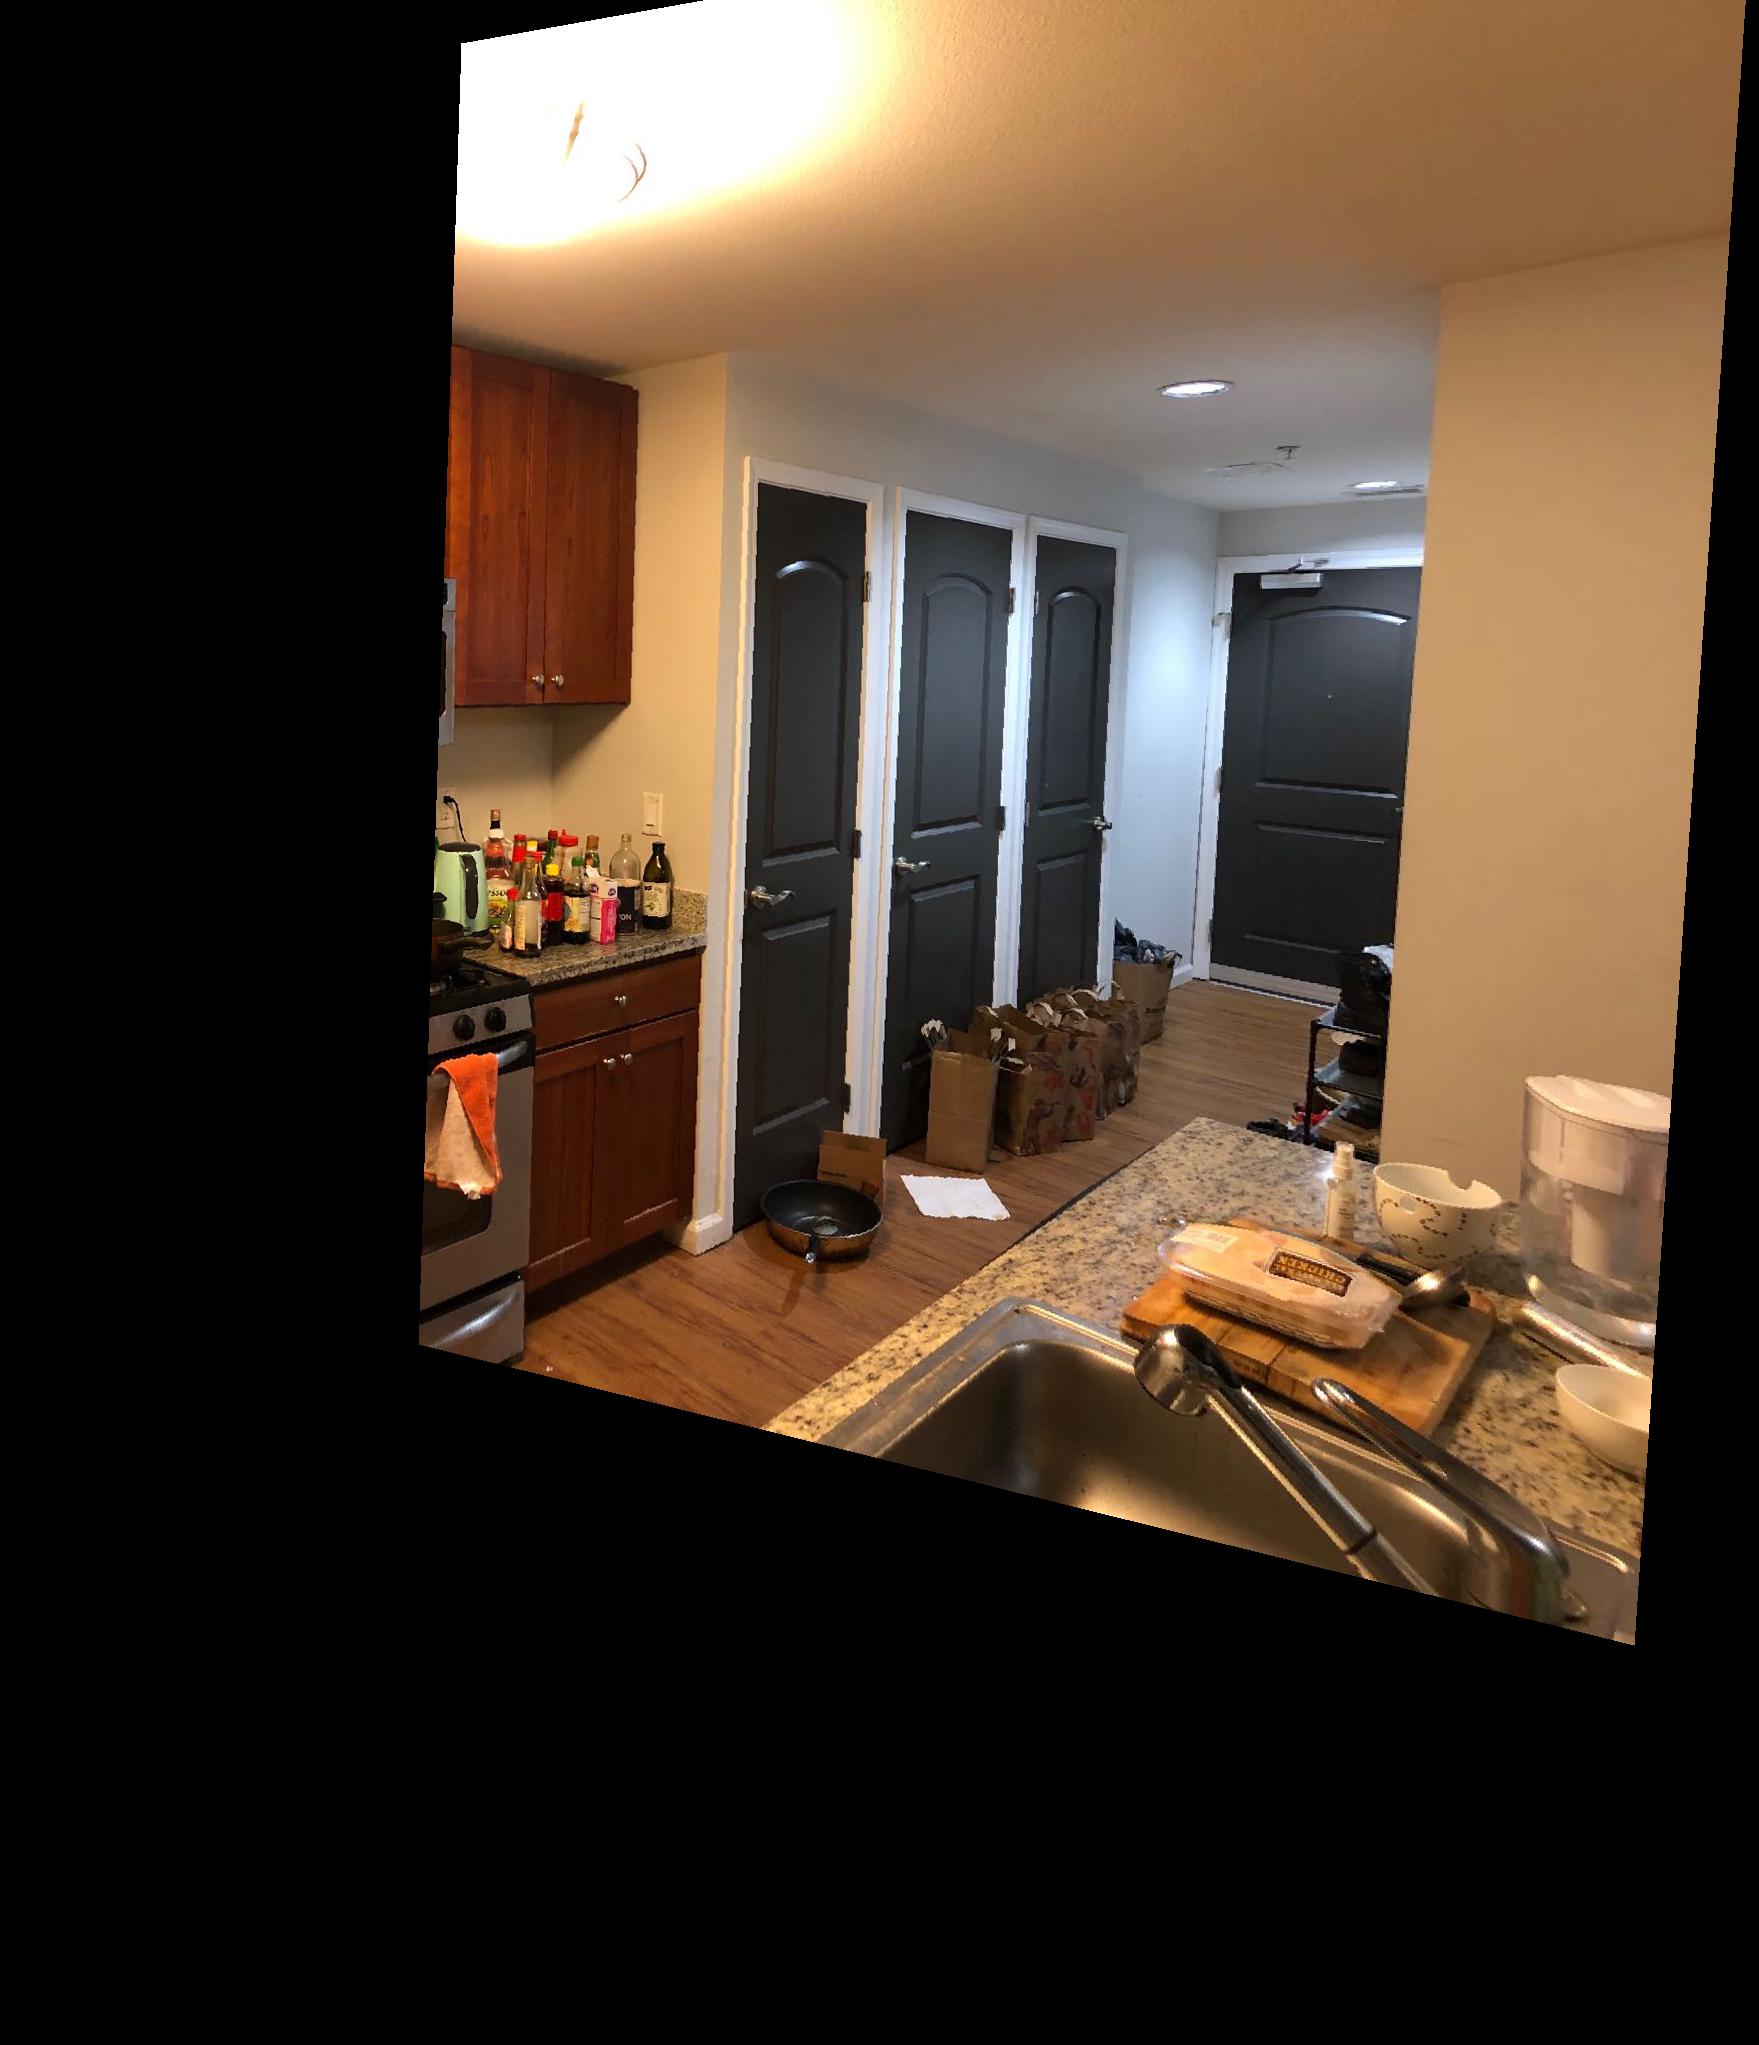
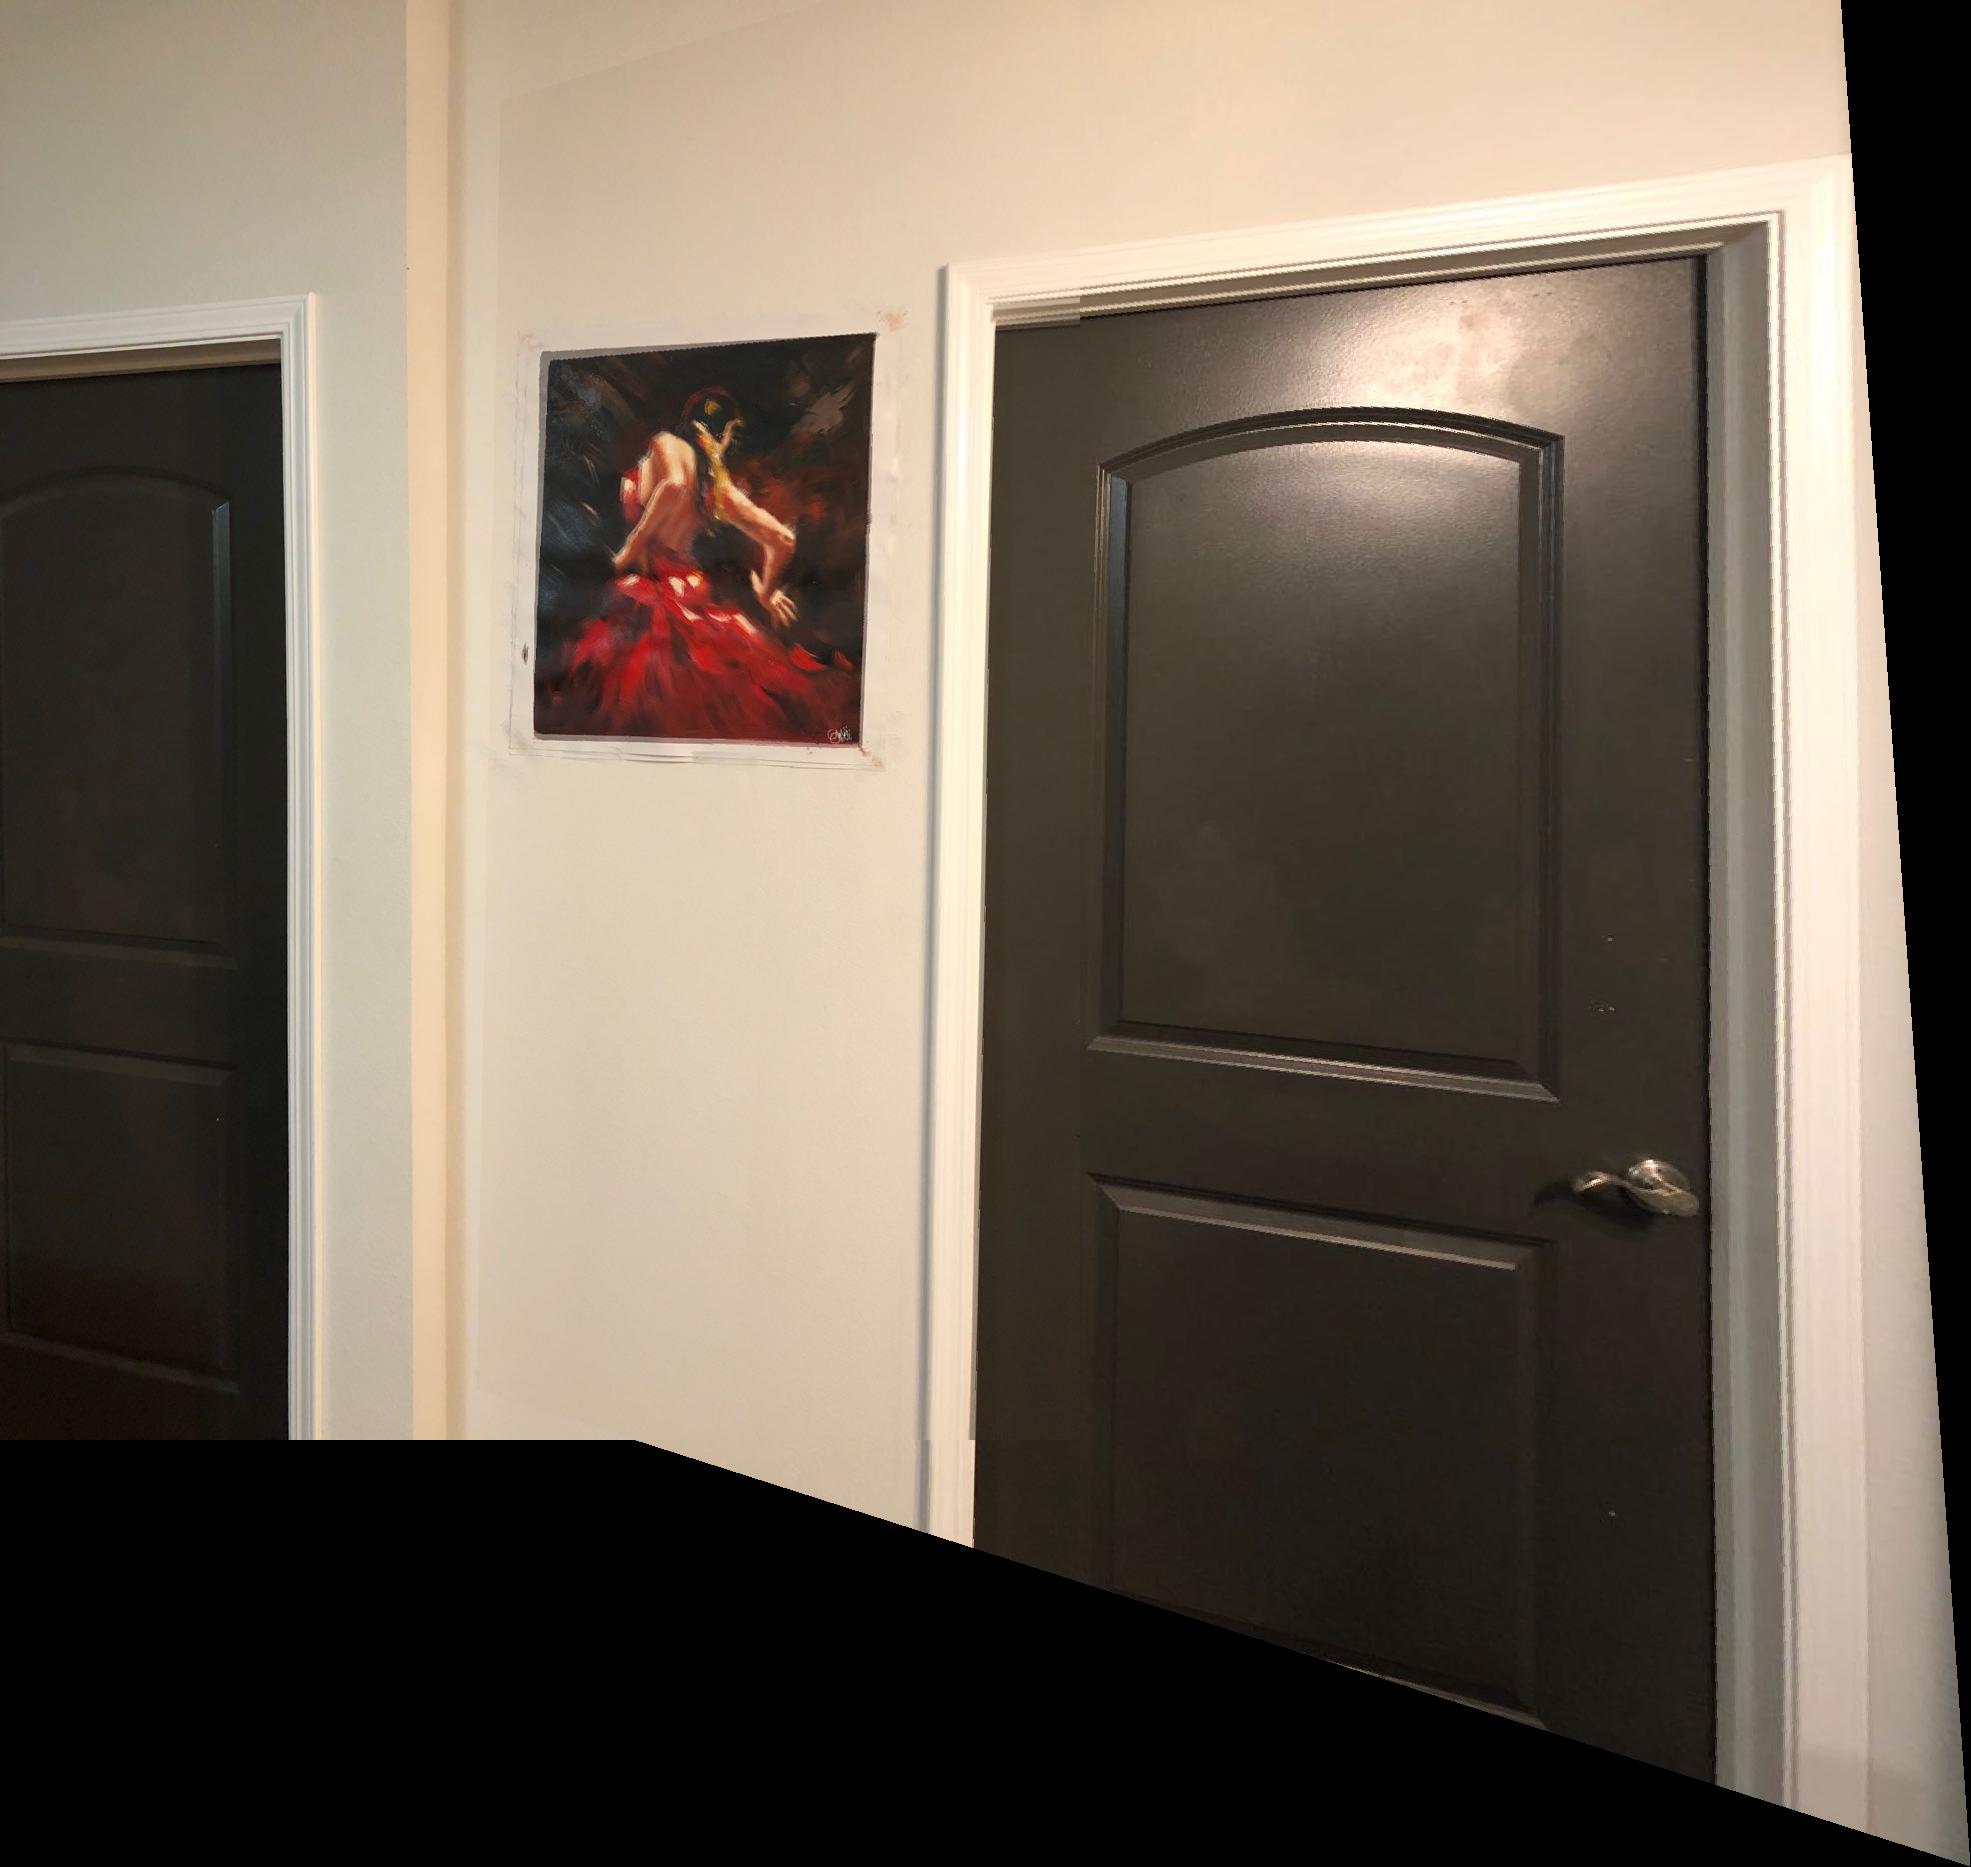
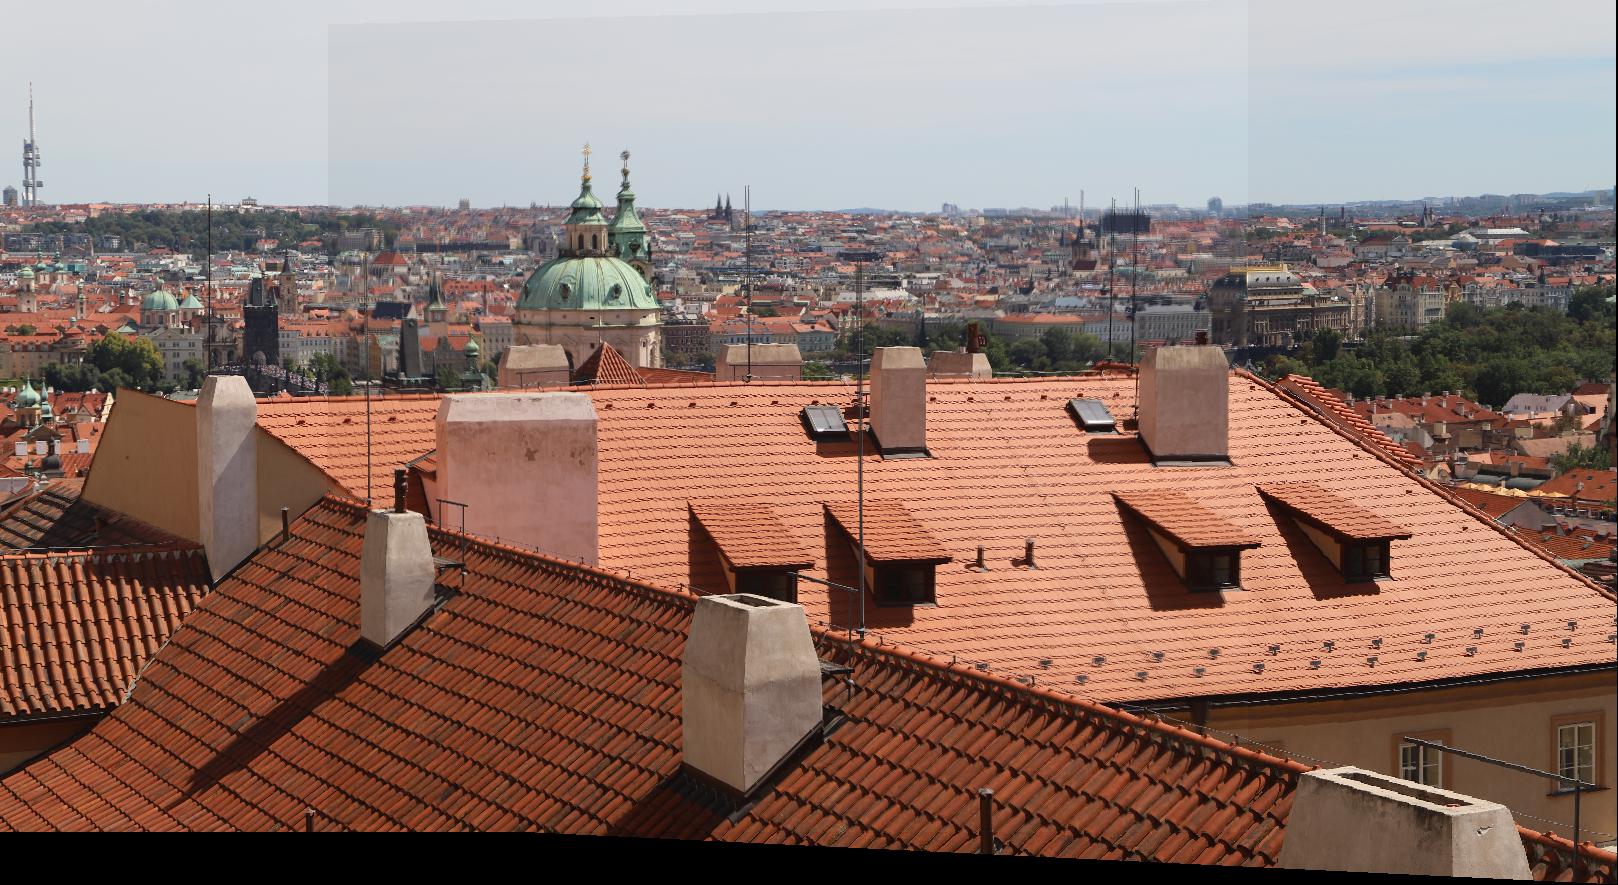
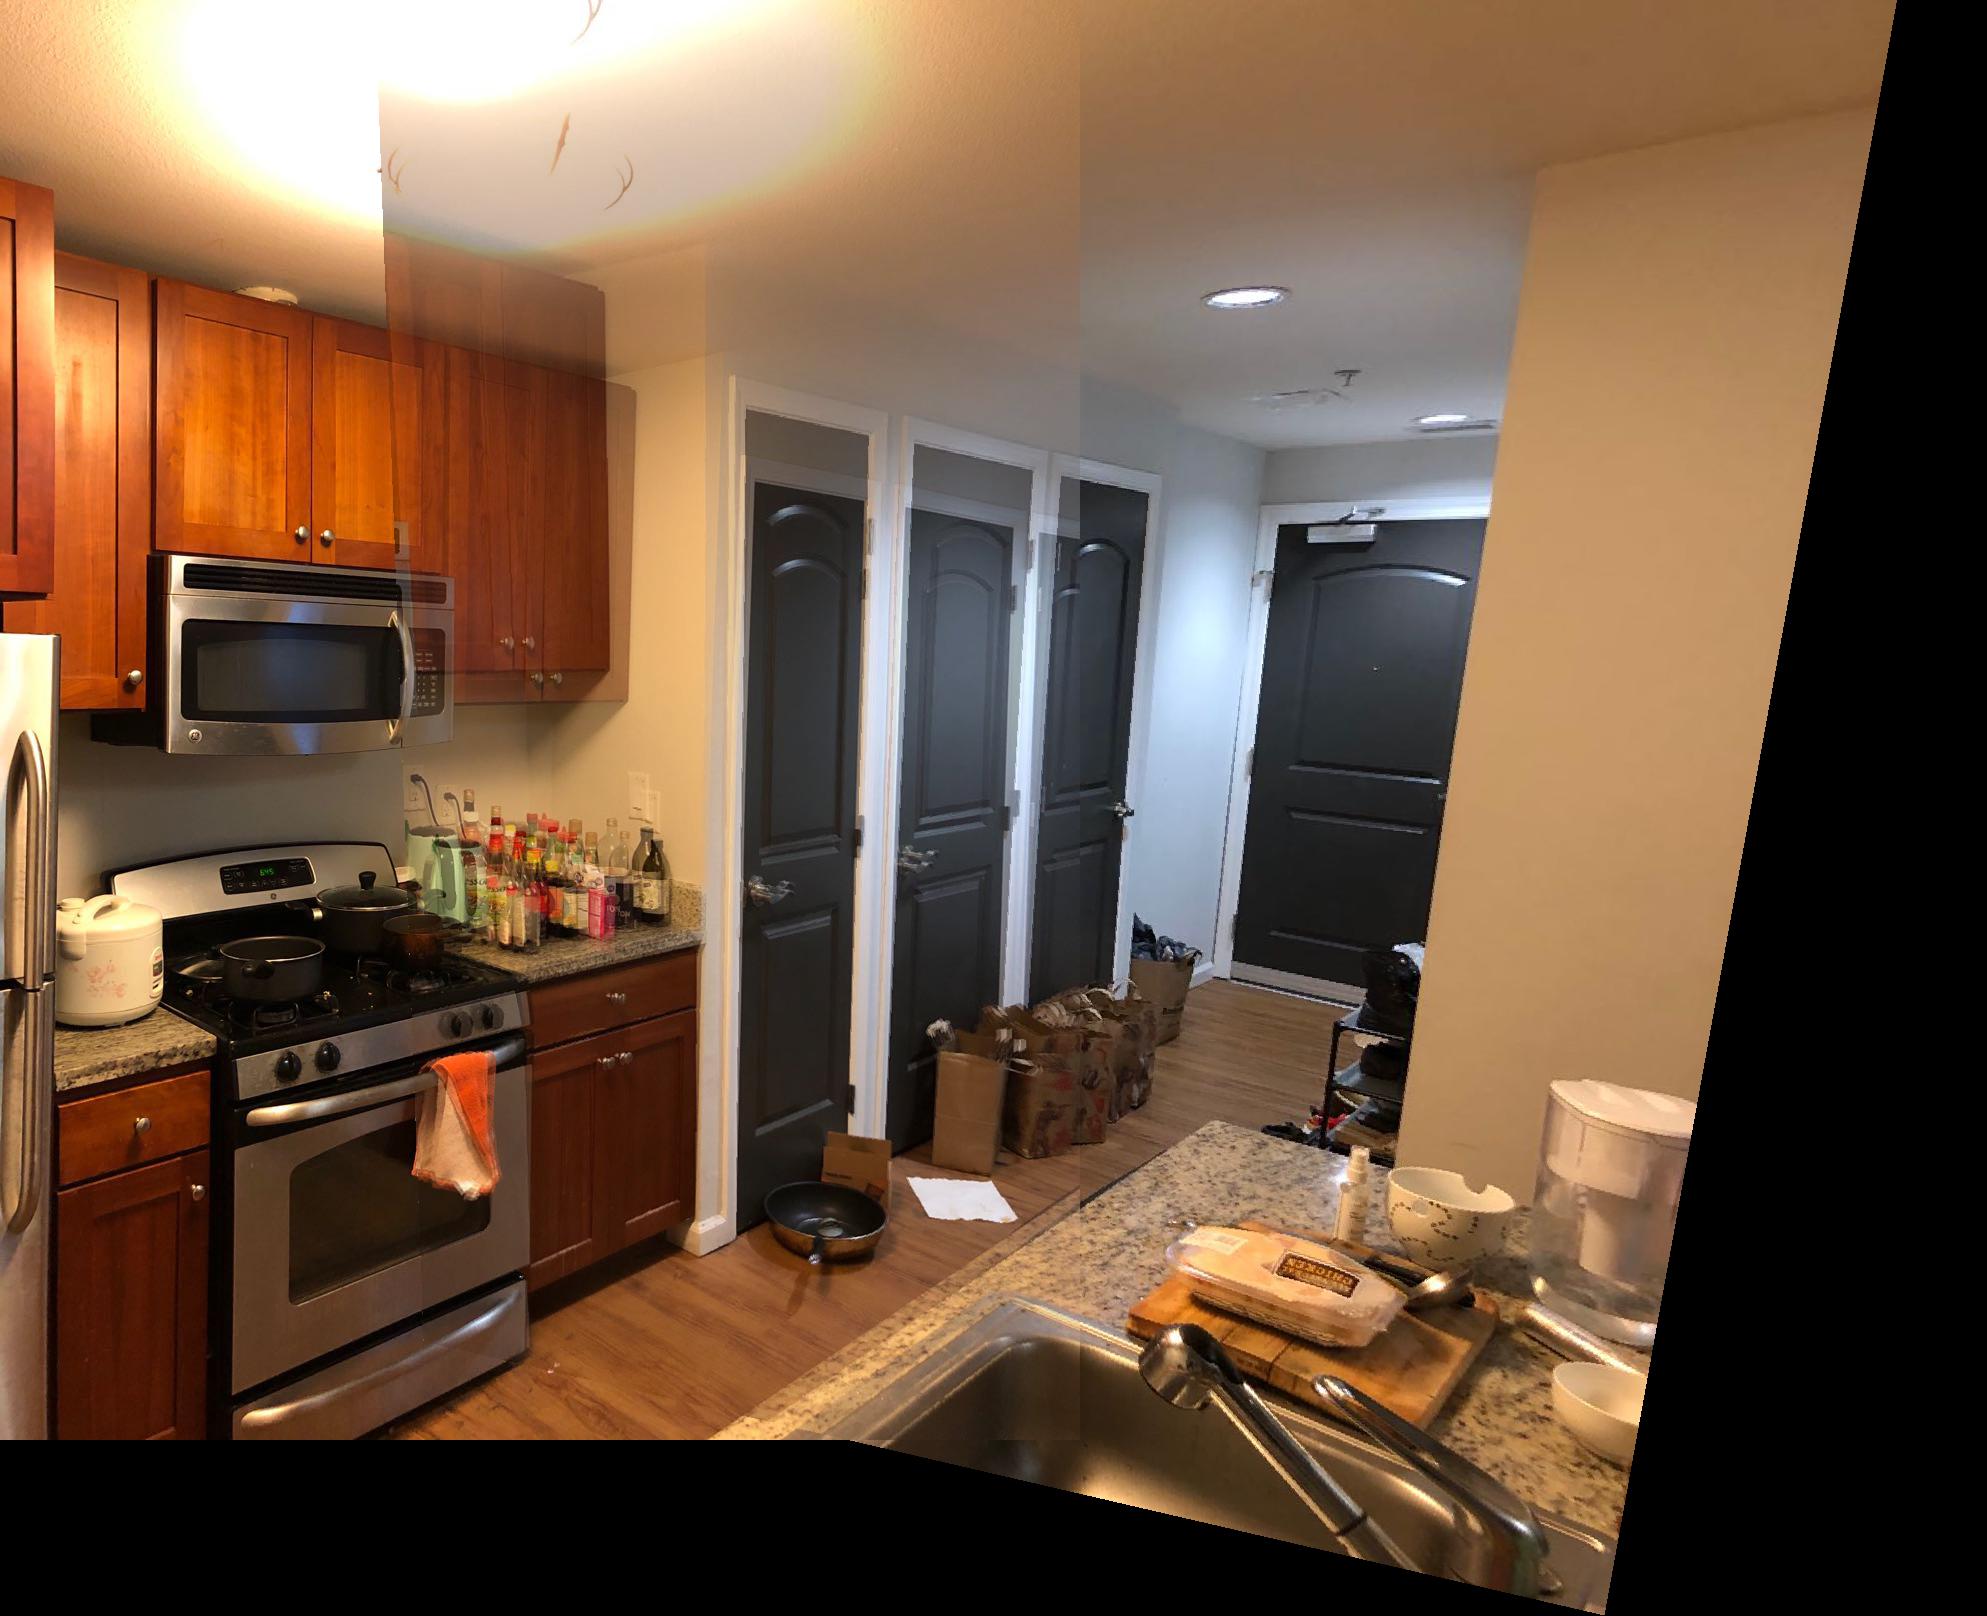
Blend the Images into a Mosaic
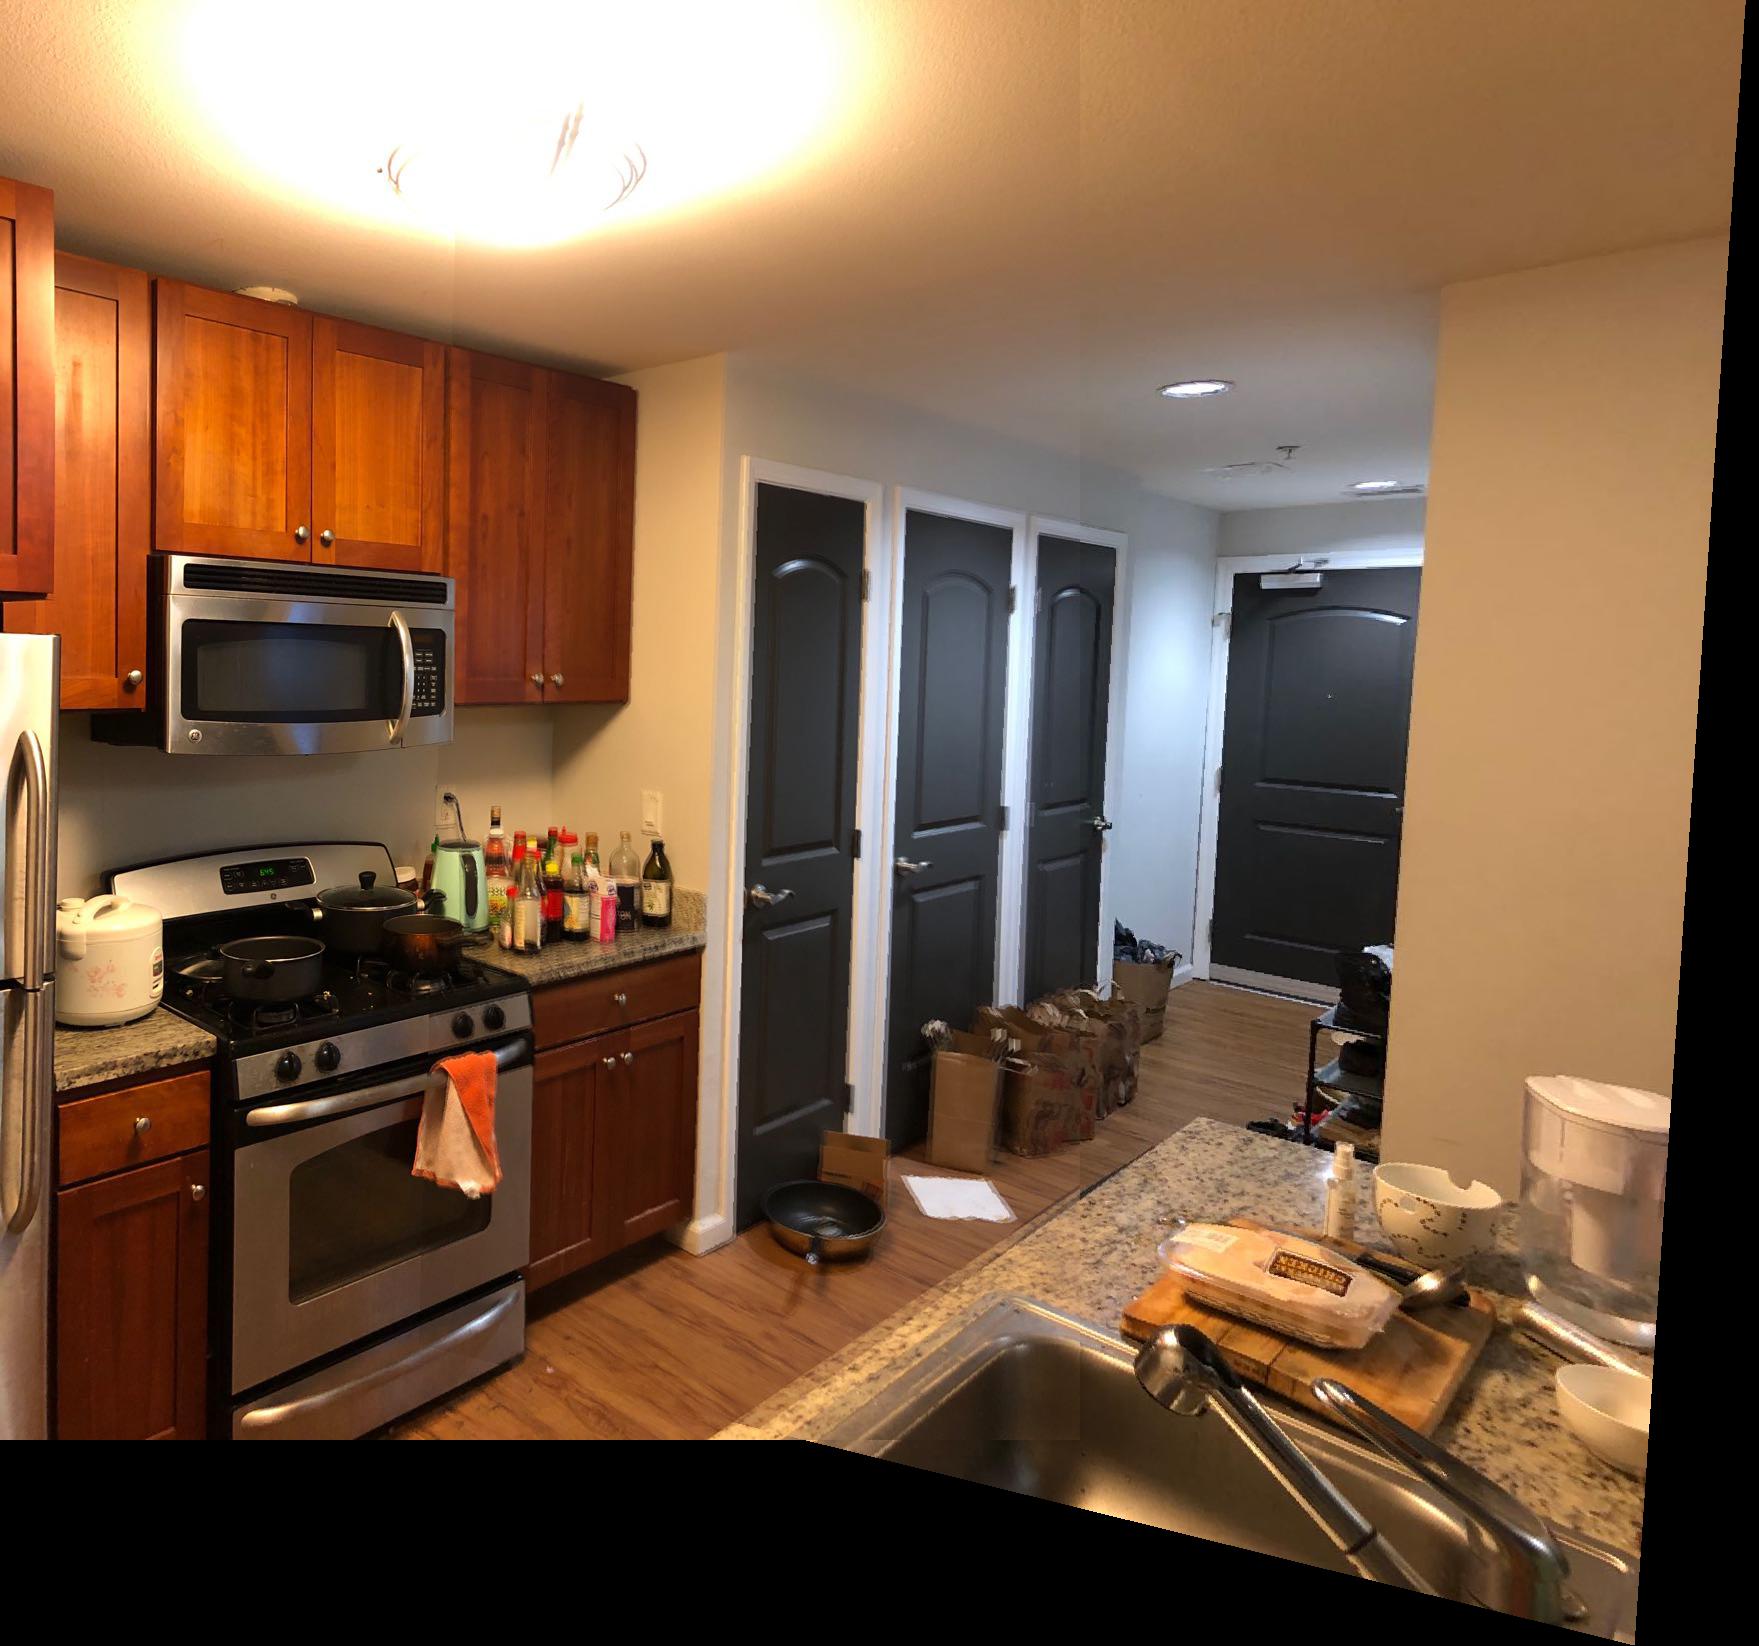
For each pair of images, I used the corresponding H matrix and blended the second image into the first, using a wrighted average (p = 0.5) for the overlapping areas. The overlapping areas still appear to be blurry, which might be because of too few points of correspondences for least square. I will try to improve the results after the checkpoint.
1-Mosaic
2-Mosaic
Conclusion
The coolest thing I learned from this part is how to compute transformations to recover homographies. It is interesting to warp images into different perspectives from the actual angle. The most important part I would say is to devide the x and y coordinates by the w for each point. It is very easy to omit and would make results way off.
Part B: FEATURE MATCHING for AUTOSTITCHING
Step 1: Detecting Corner Features
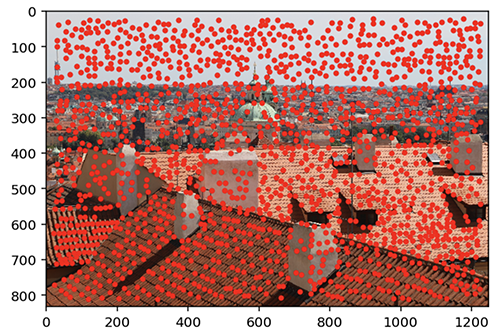
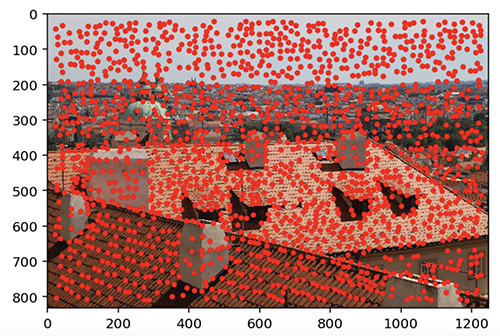
We use the Harris Interest Point Detector covered in section 2 of the paper to find corners in the images that are potential feature points. I adjusted min_dist in get_harris_points to 10, and got around 2000 points on each picture. Below are the results of overlaying the points on the images.
City 0 Harris Corners
City 1 Harris Corners
Step 2: Extracting Feature Descriptors
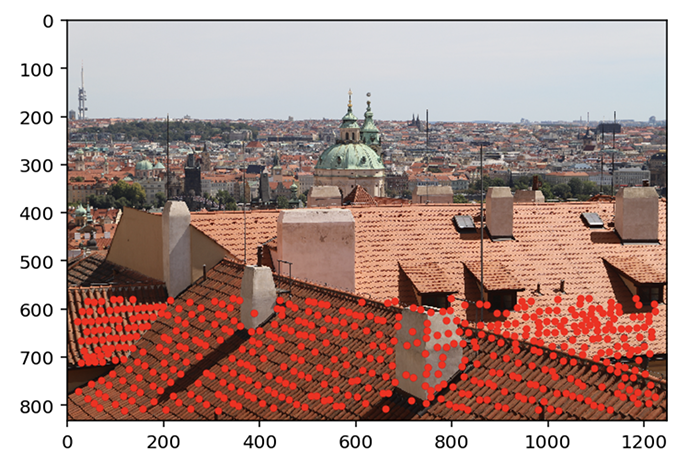
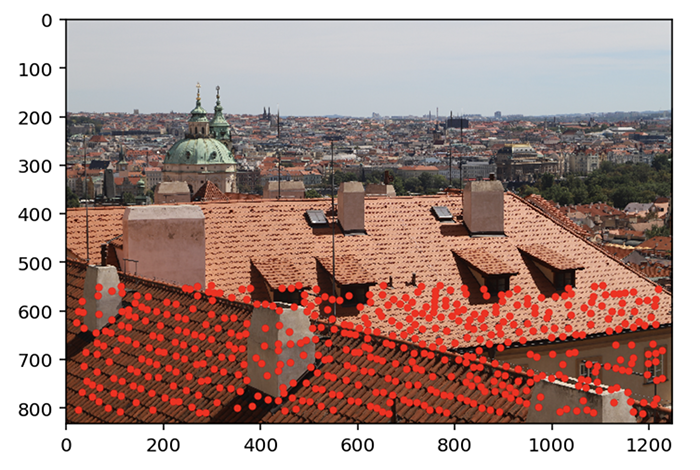
After getting the Harris Corners, I implemented Adaptive Non-Maximal Suppression (ANMS), covered in section 3 of the paper, to get 500 features on each image, using a threshold of 0.9. Below are the results of overlaying the points onto each image. We can see most corners in the background filtered out.
City 0 Features
City 1 Features
For each feature point, we generate a 40x40 patch and scale it down to a size of 8x8, which will be our descriptor for that feature for matching. Here is an example of a feature in city0.jpg:
City 0 Sample 40x40 Patch
City 0 Sample Feature Descriptor (8x8 Patch)
Step 3: Feature Matching
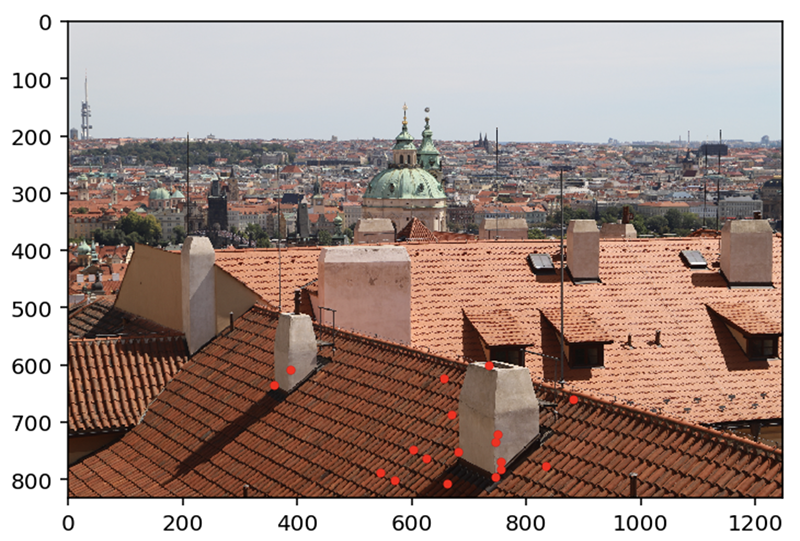
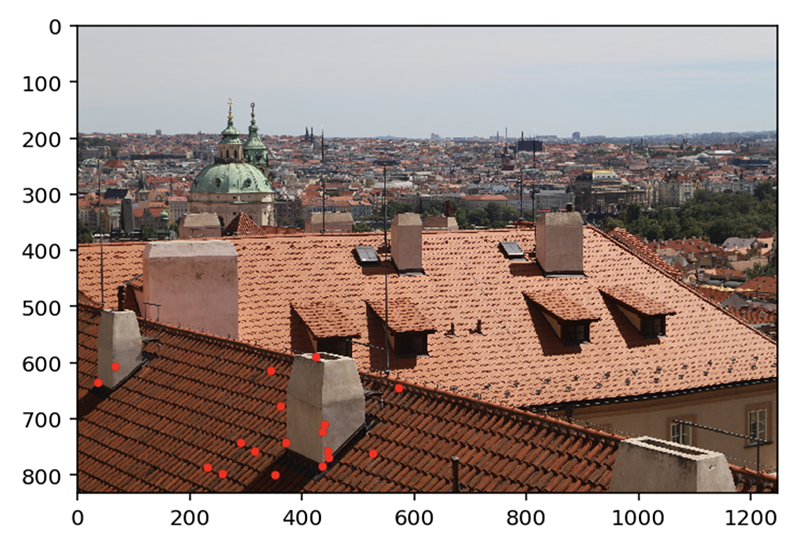
Using the feature descriptors extracted in the previous part, I then implemented feature matching as described in section 5 of the paper. The threshold I used here is 0.15. Below are the matched points overlayed on each picture. We can see that the points in each picture are paired up nicely on the same features.
City 0 Matched Features
City 1 Matched Features
Step 4: Using RANSAC to Compute Homography
The previous steps leaves us with around 30 pairs of features across the two images. We use a 4-point RANSAC algorithm, which picks the 4 pairs whose homography generates the largest number of inliers among the points, to filter out outliers. Then we just compute the homography matrix with the remaining pairs of feature points, using the function computeH() from part A.
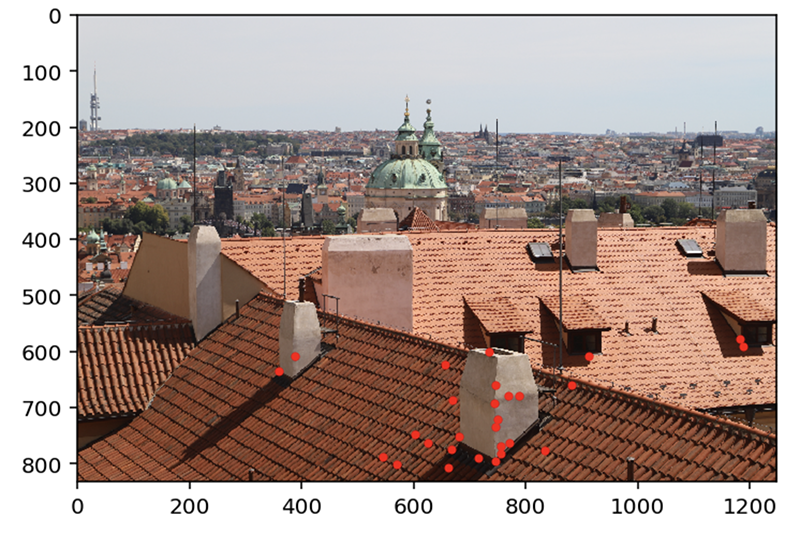
Below are the results of overlaying the final sets of points we use to calculate the homography matrix after RANSAC. It consists of around 15 pairs of features.
City 0 Chosen Features
City 1 Chosen Features
Step 5: Warping into a Mosaic
After matching all the features and computing the homography matrix, we can combine the images into a mosaic the same way as we would in part A. Here is the example of matching city0.jpg and city1.jpg.
Stitched Result
Other Results
In addition to the previous example, here are a few more examples, including the image used in Part A. The algorithm does not work as good as the sample images given to us, because the interesting features selected seem to be clustered in a small area, resulting in larger errors along further points.
Original Left
Original Right
Mosaic
Original Left
Original Right
Mosaic
Conclusion (What have I learned?)
The most significant thing that I have learned through this project is how to read a paper on image manipulation and implement the techniques as described. Reading the theories on paper is very different to "getting my hands dirty" and using it in practice. The process was challenging yet very rewarding.
Of course, I also leared a lot about autostitching images, and creating panoromas, which makes me appreciate the panorama functions of our cameras even more.