Overview
For this project, we experiment with homographies and then warp images taken from same point of view but from different view directions to blend them into a paranoma mosaic. After playing with finding transformation using manually selected correspondance points, we implement feature matching with feature patches for auto-stitching and produce mosaic automatically.
Part A IMAGE WARPING and MOSAICING
Part 1 Shoot the Pictures
It's hard to go out given the current pandemic situation, so all the pictures are taken from back home or found online.
 left
left
|
 right
right
|
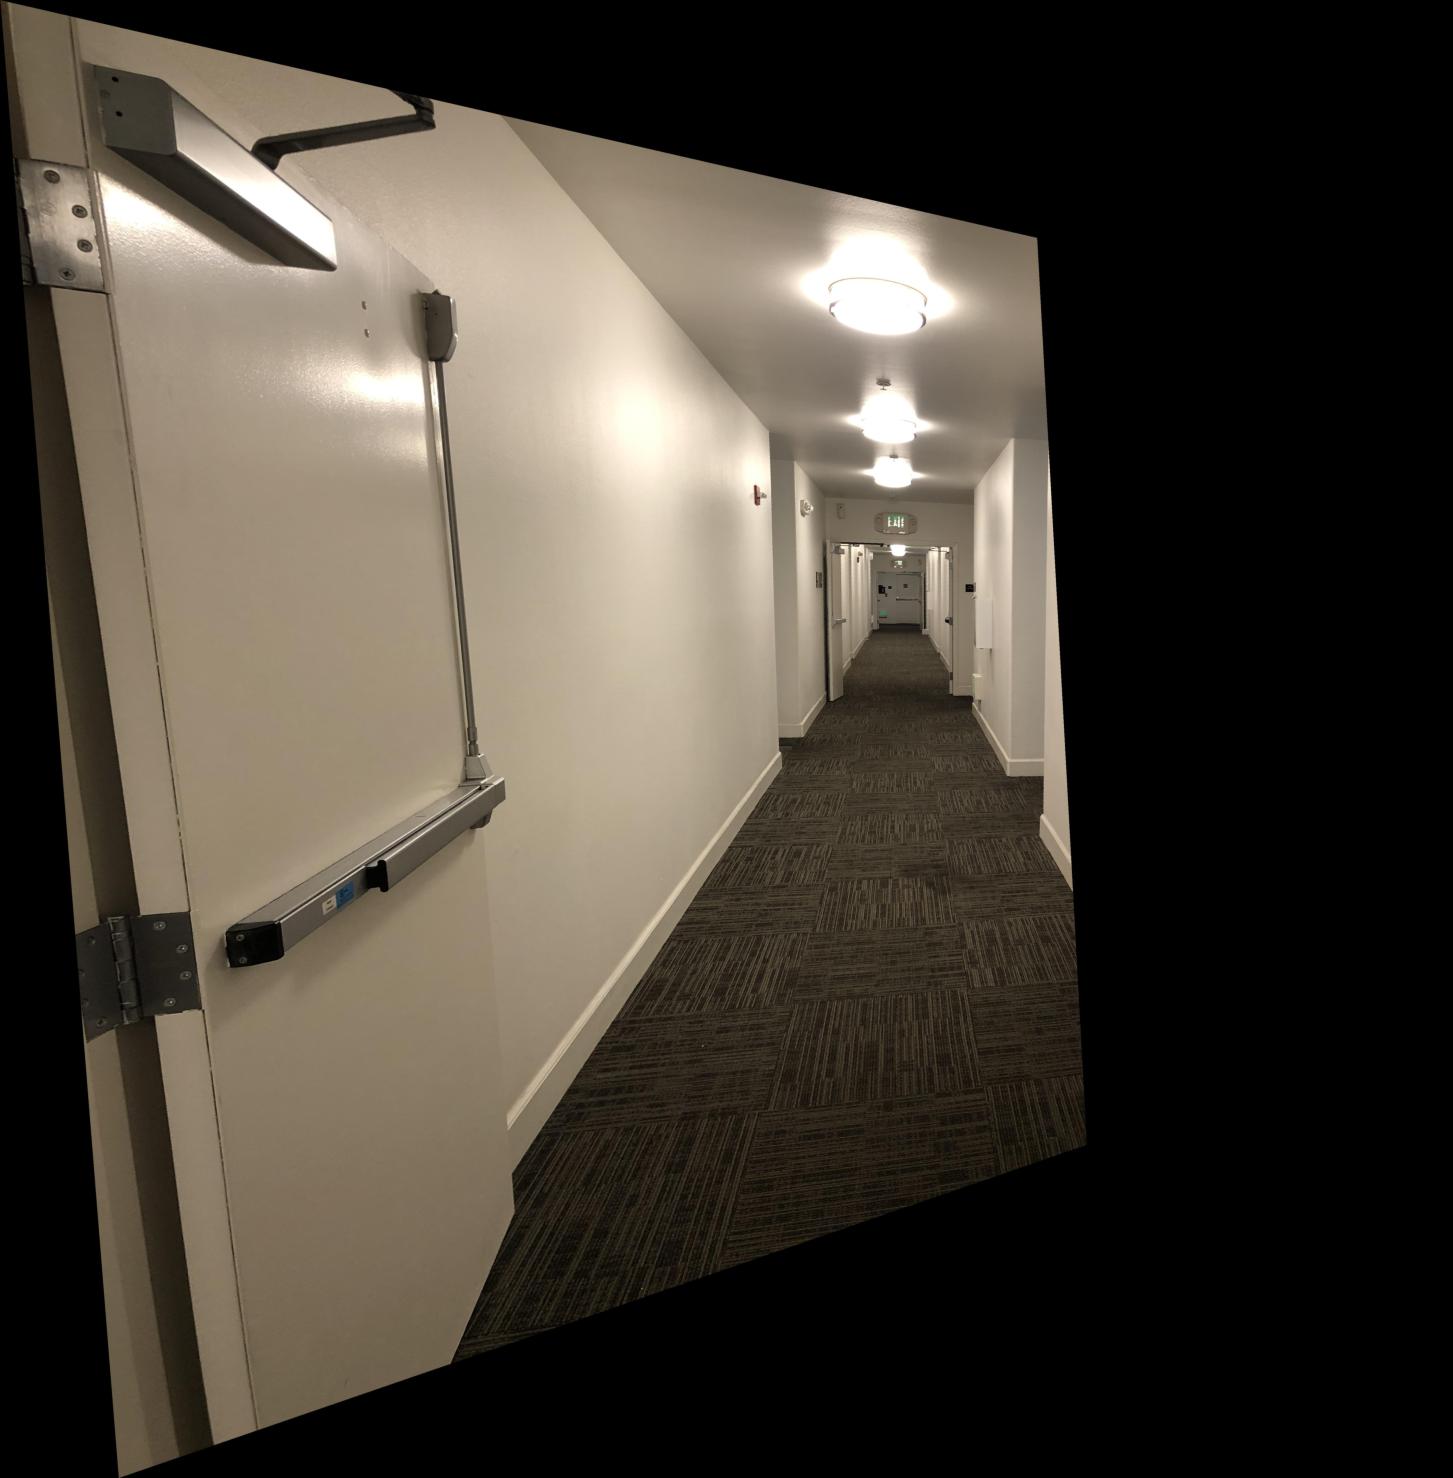
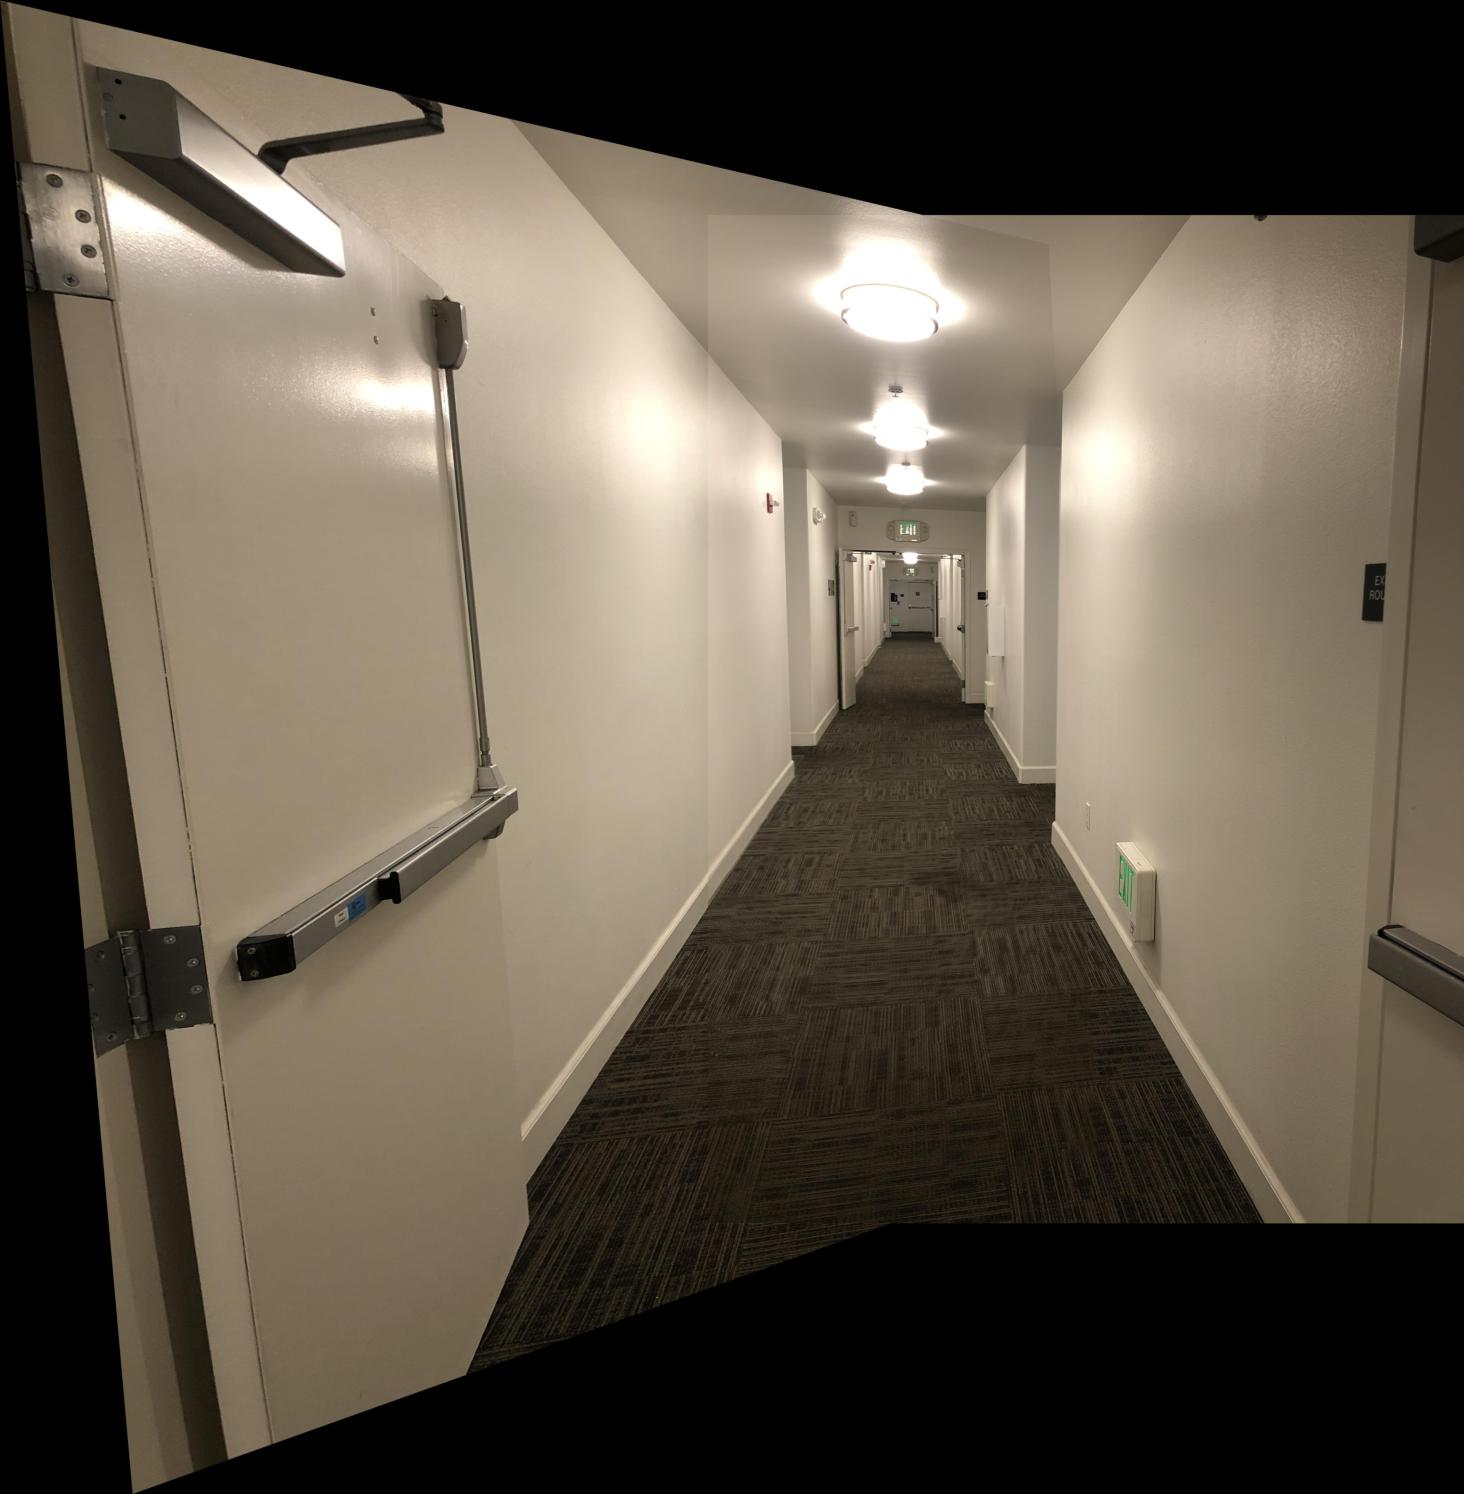
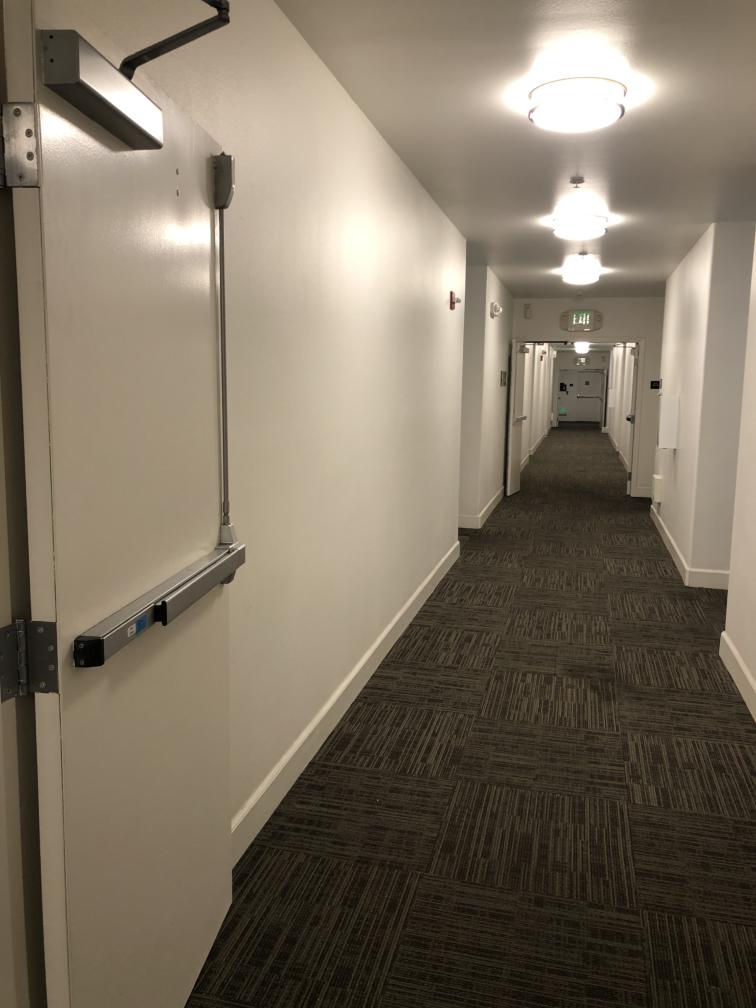 hallway1
|
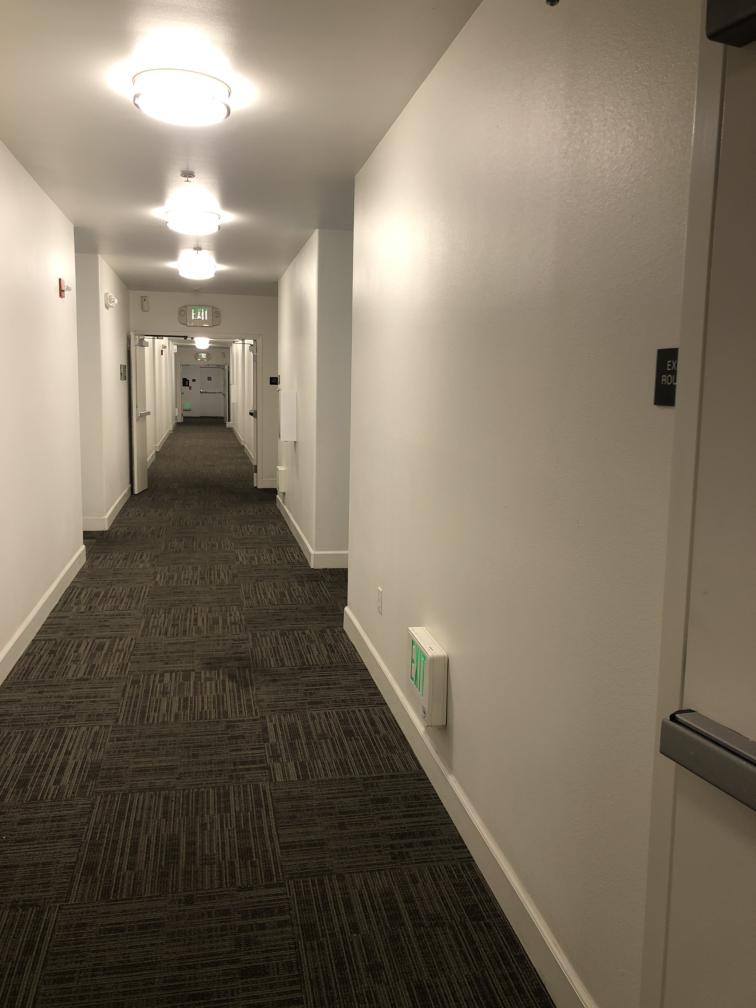 hallway2
|
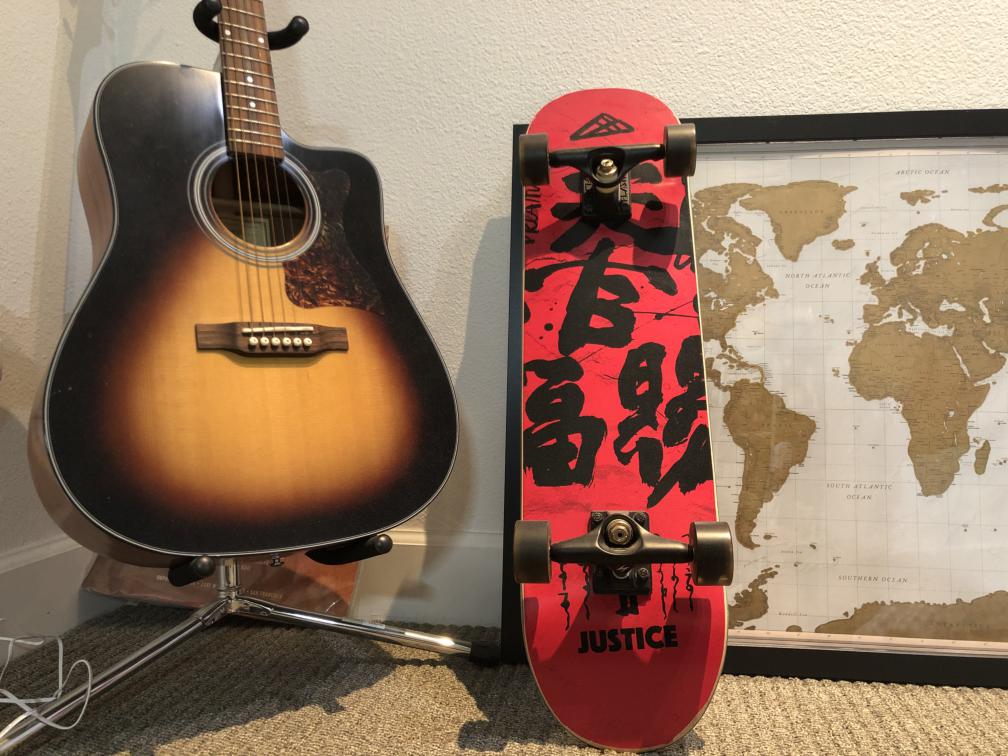
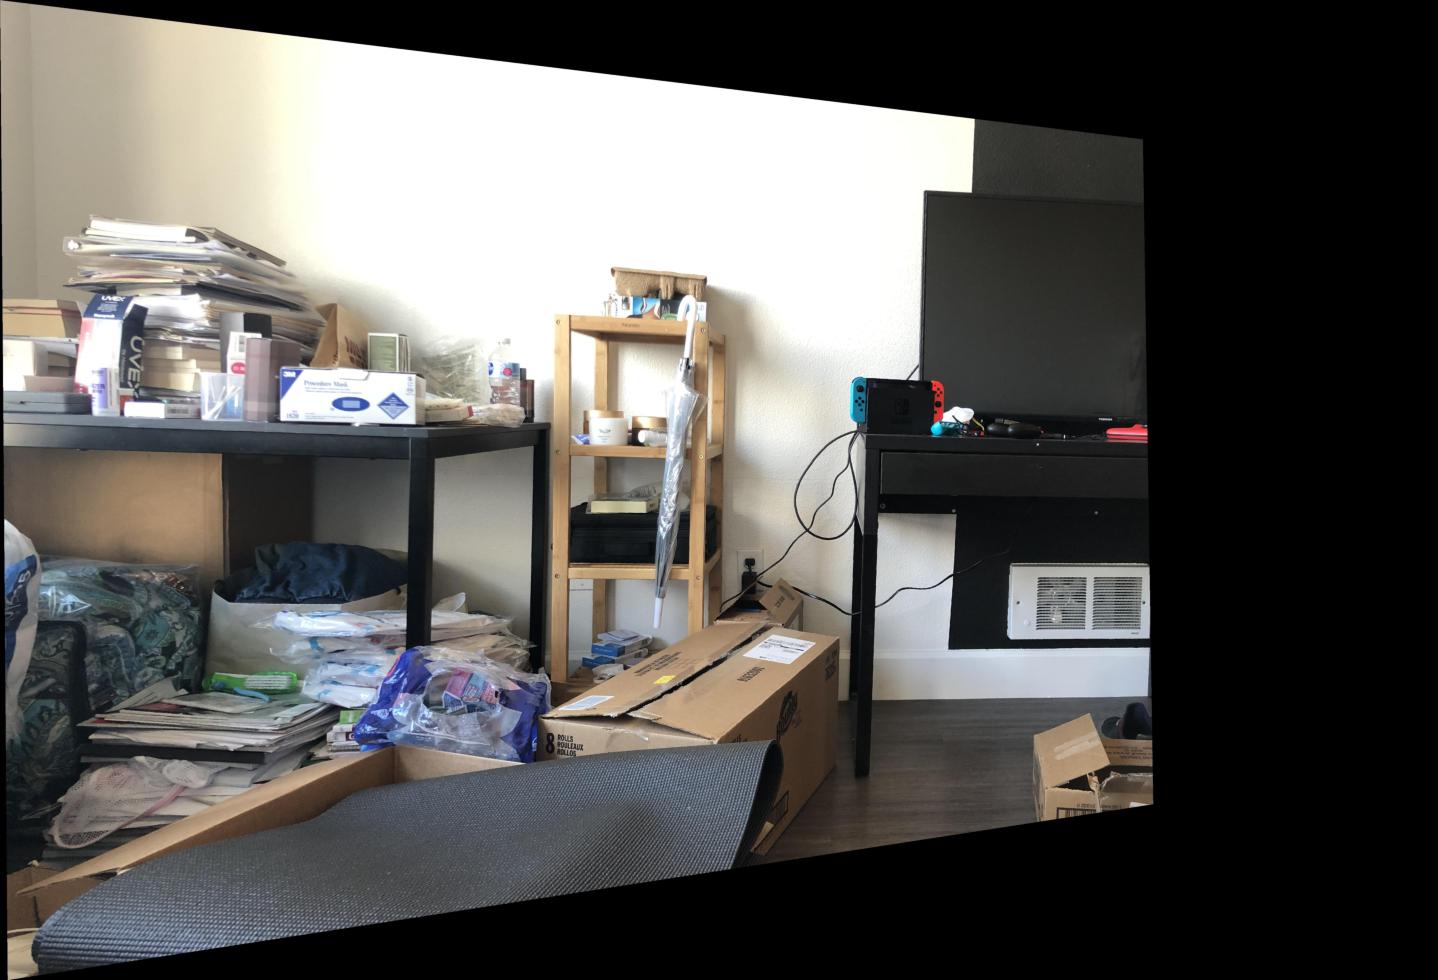
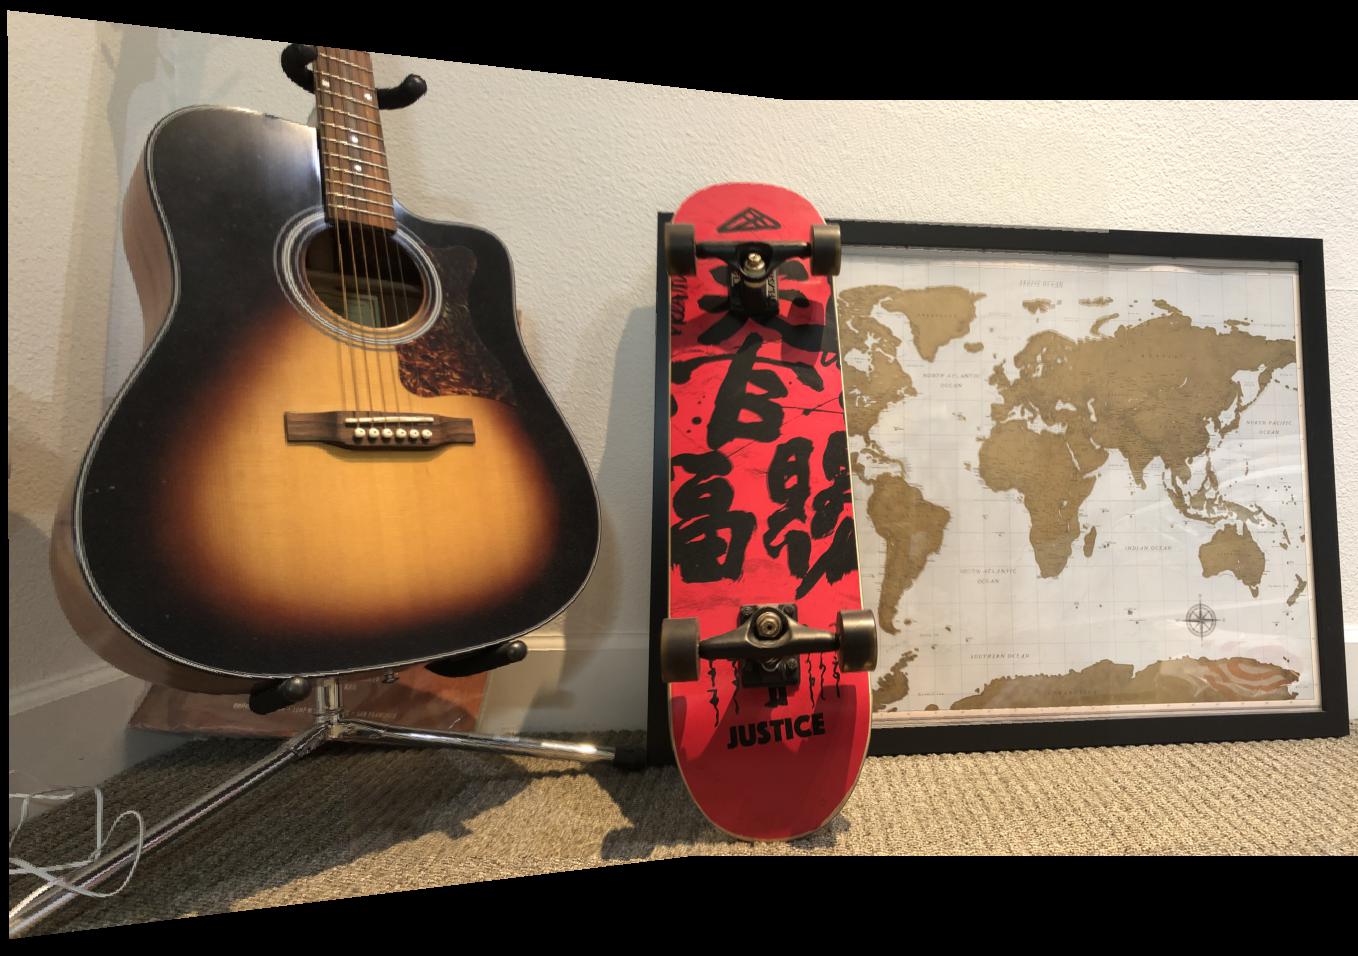
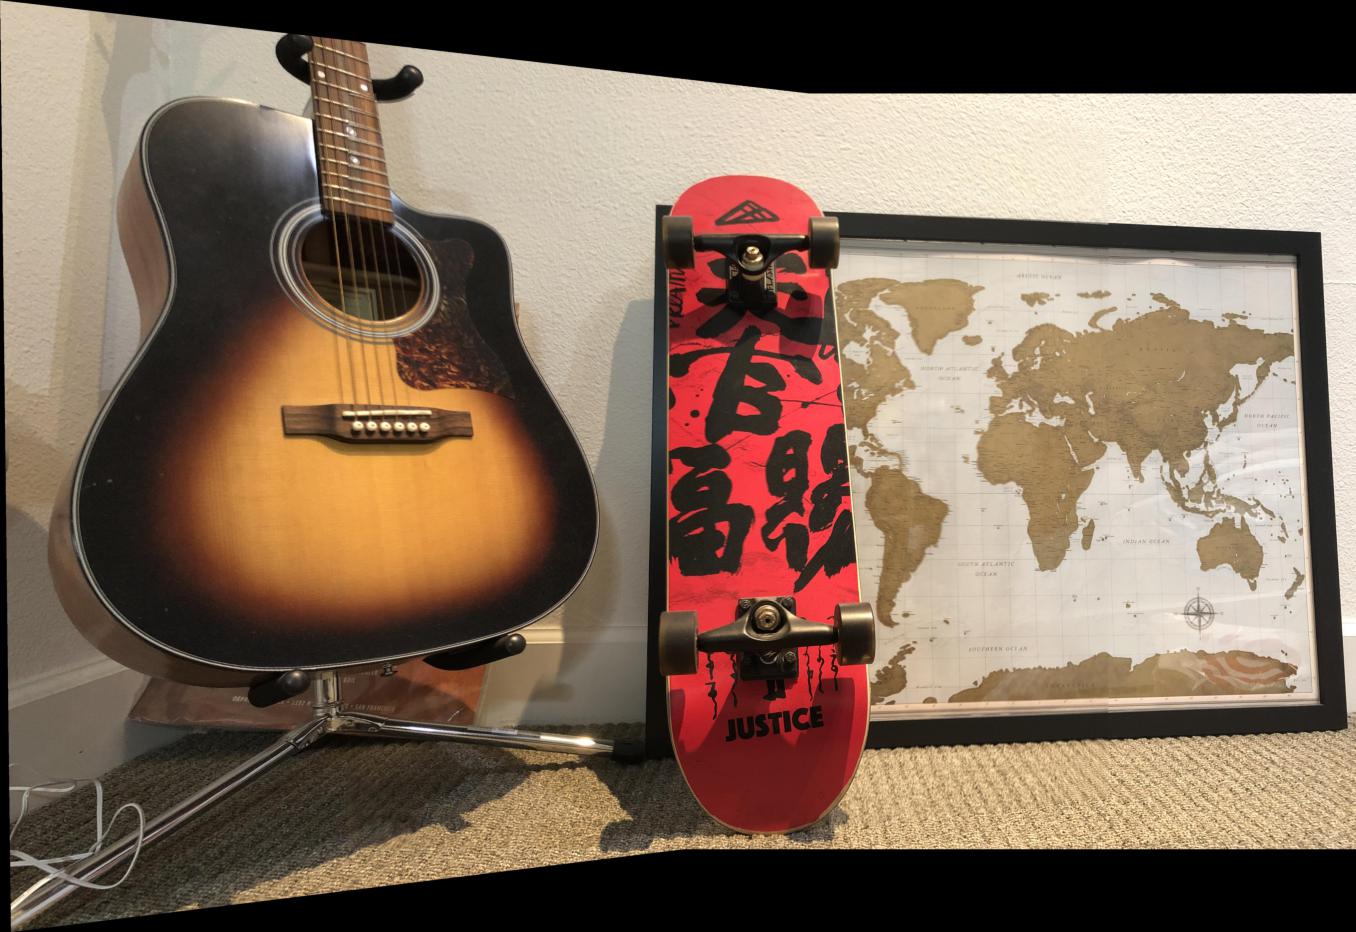
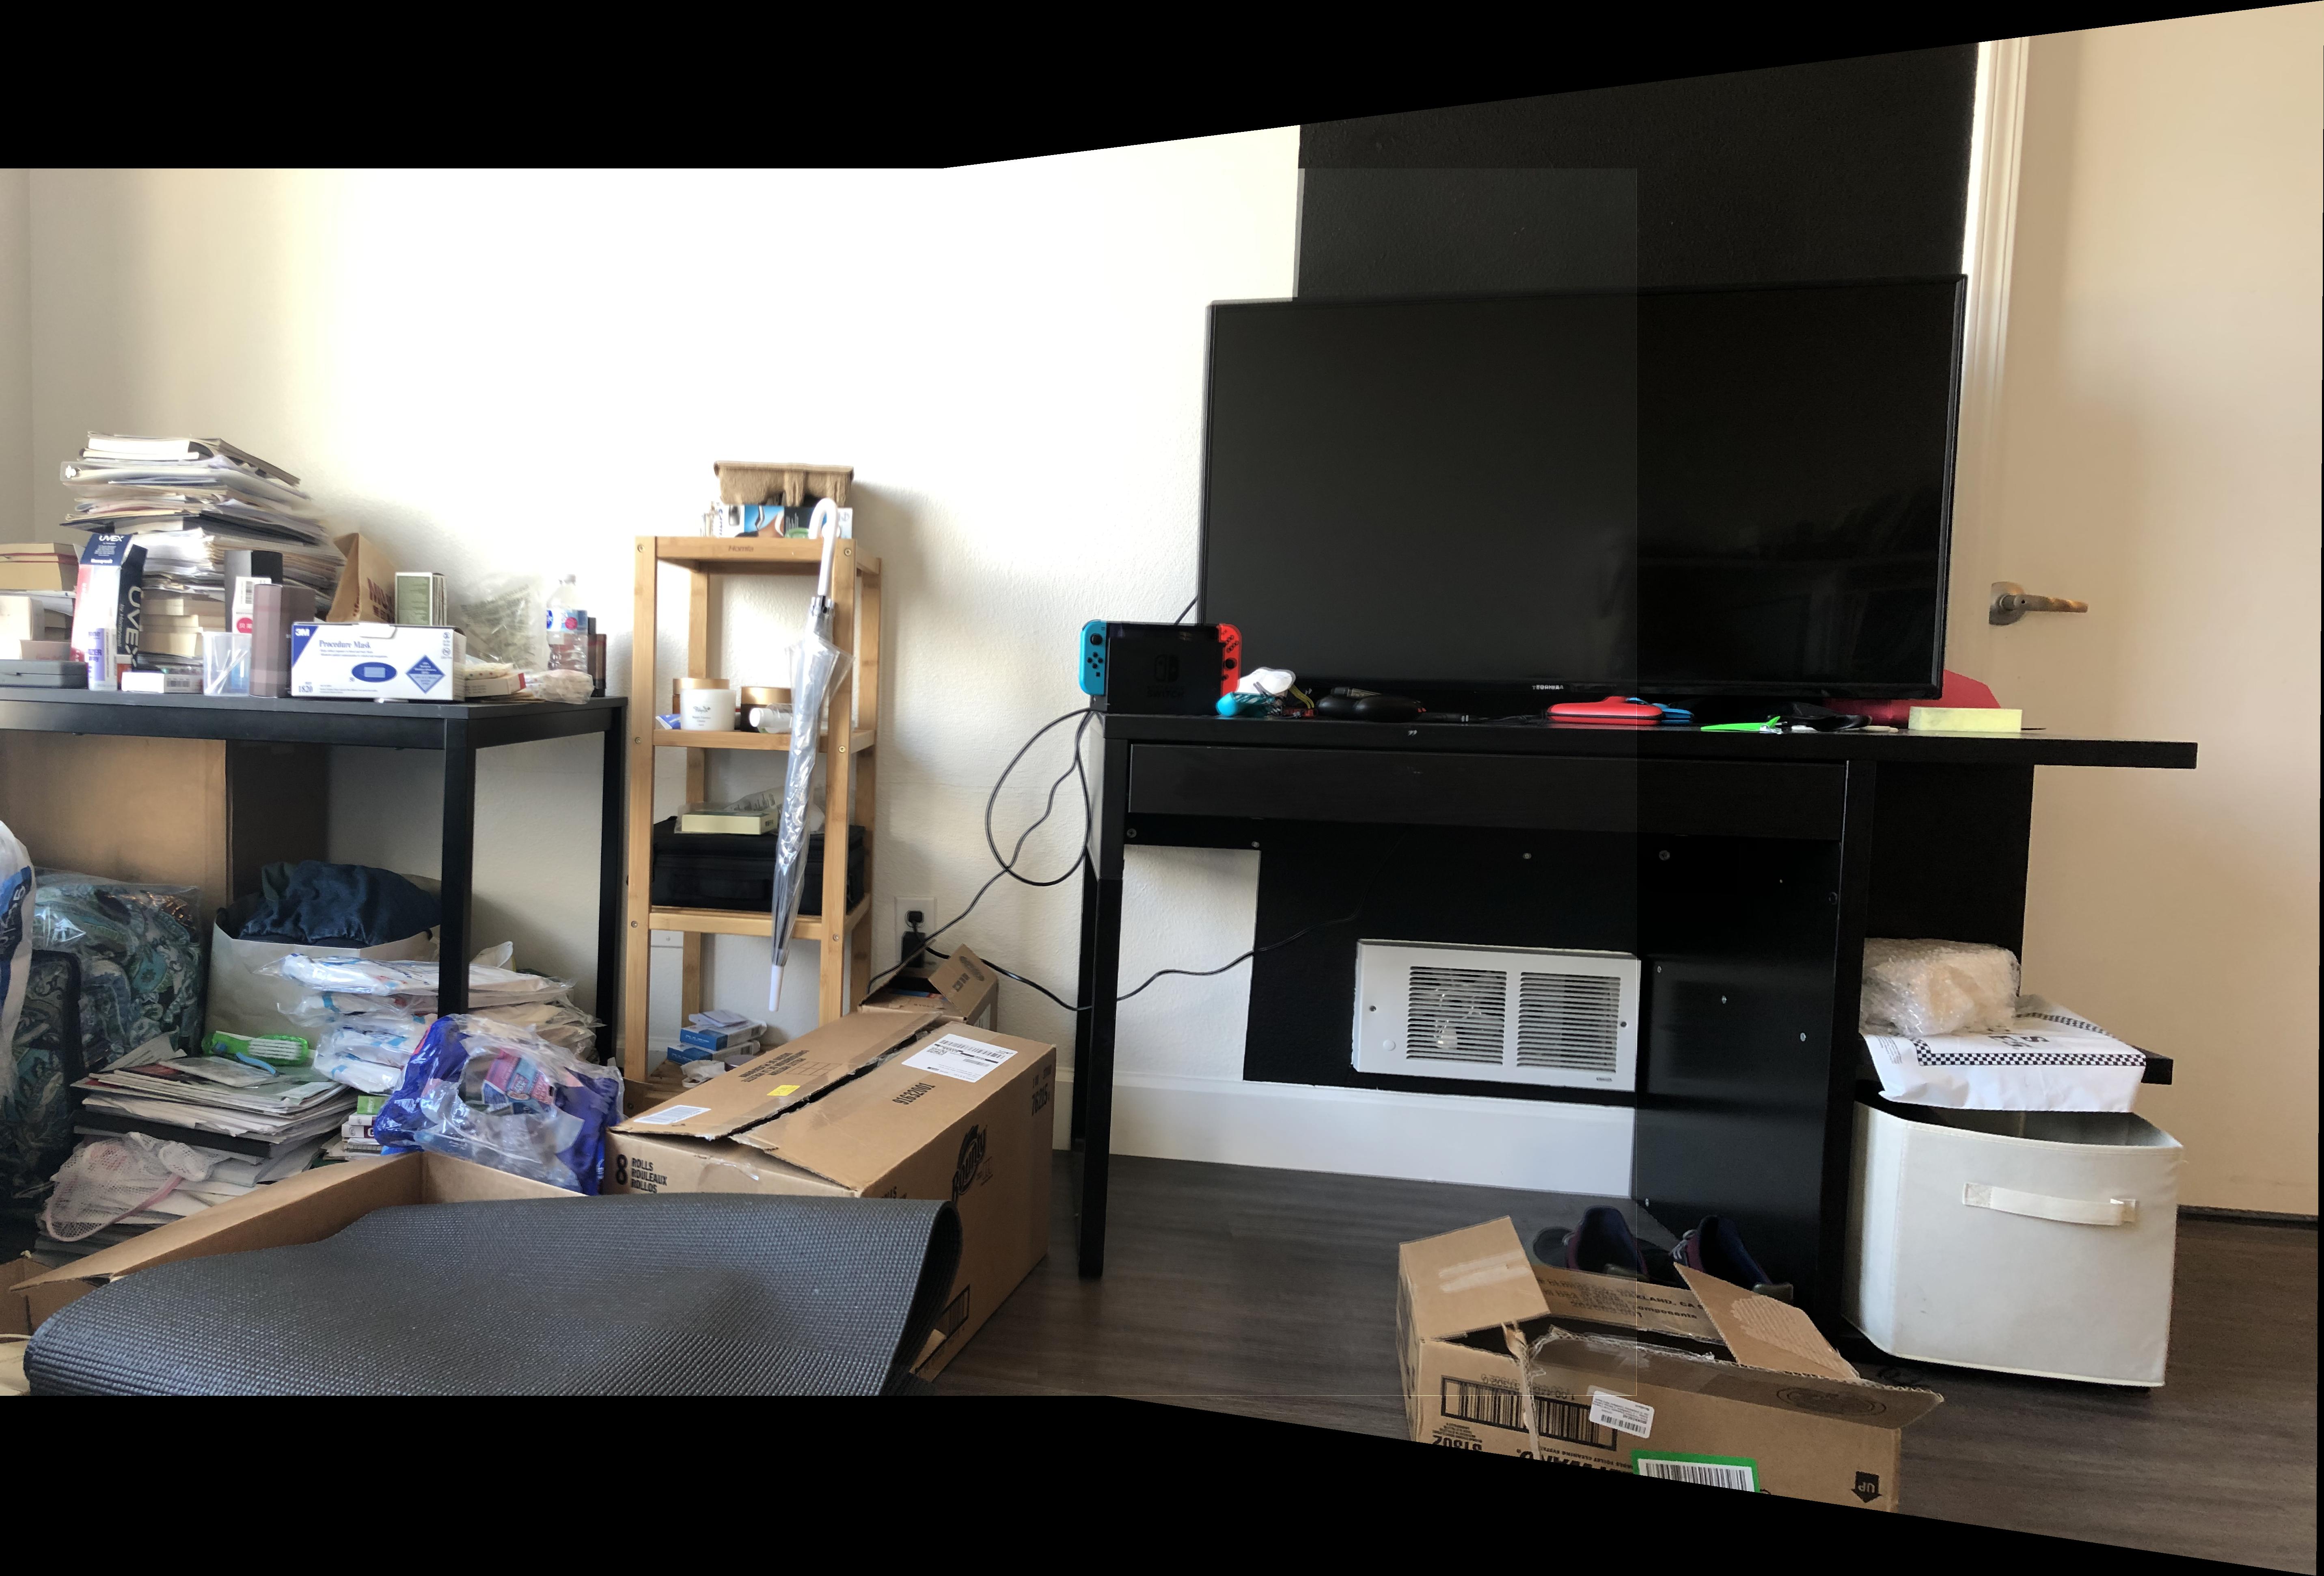
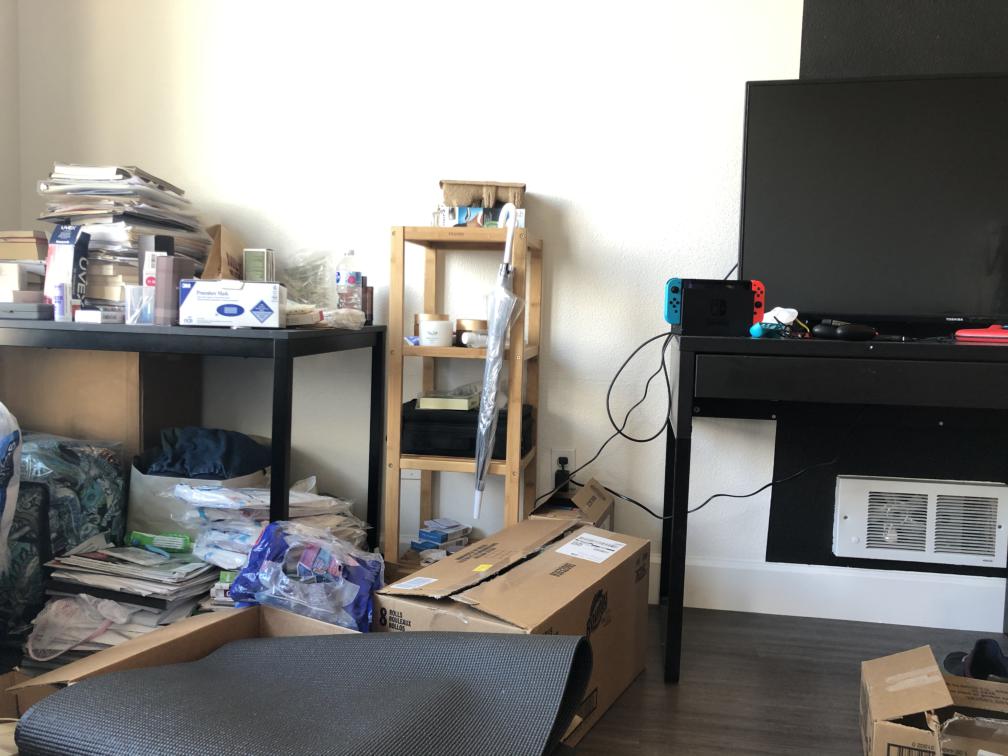 livingroom1
|
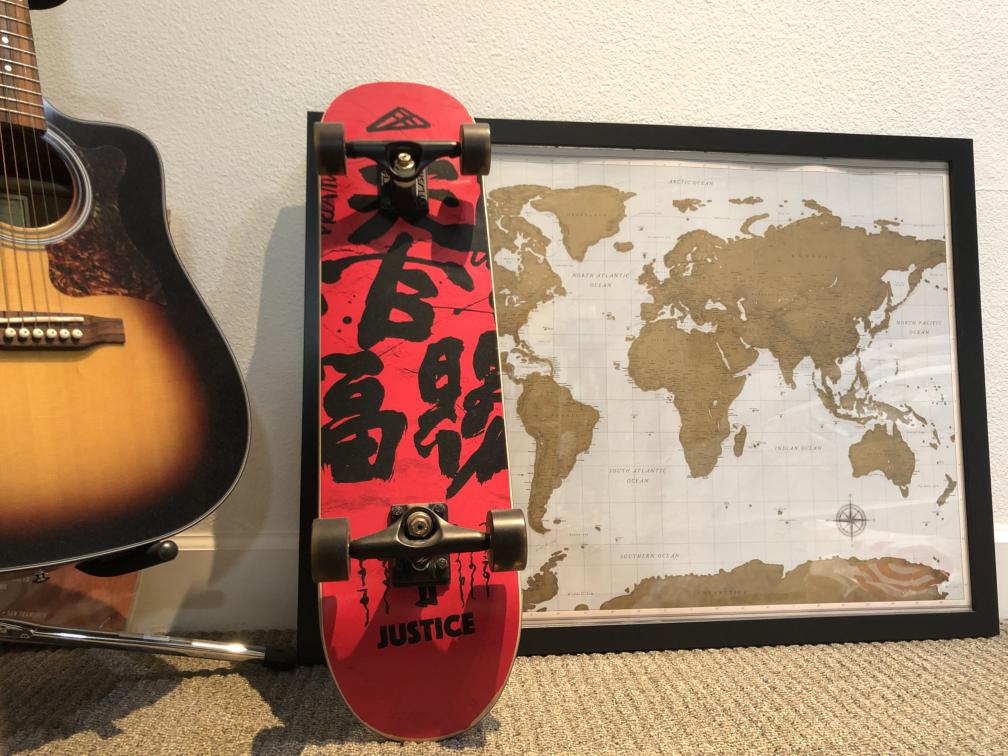
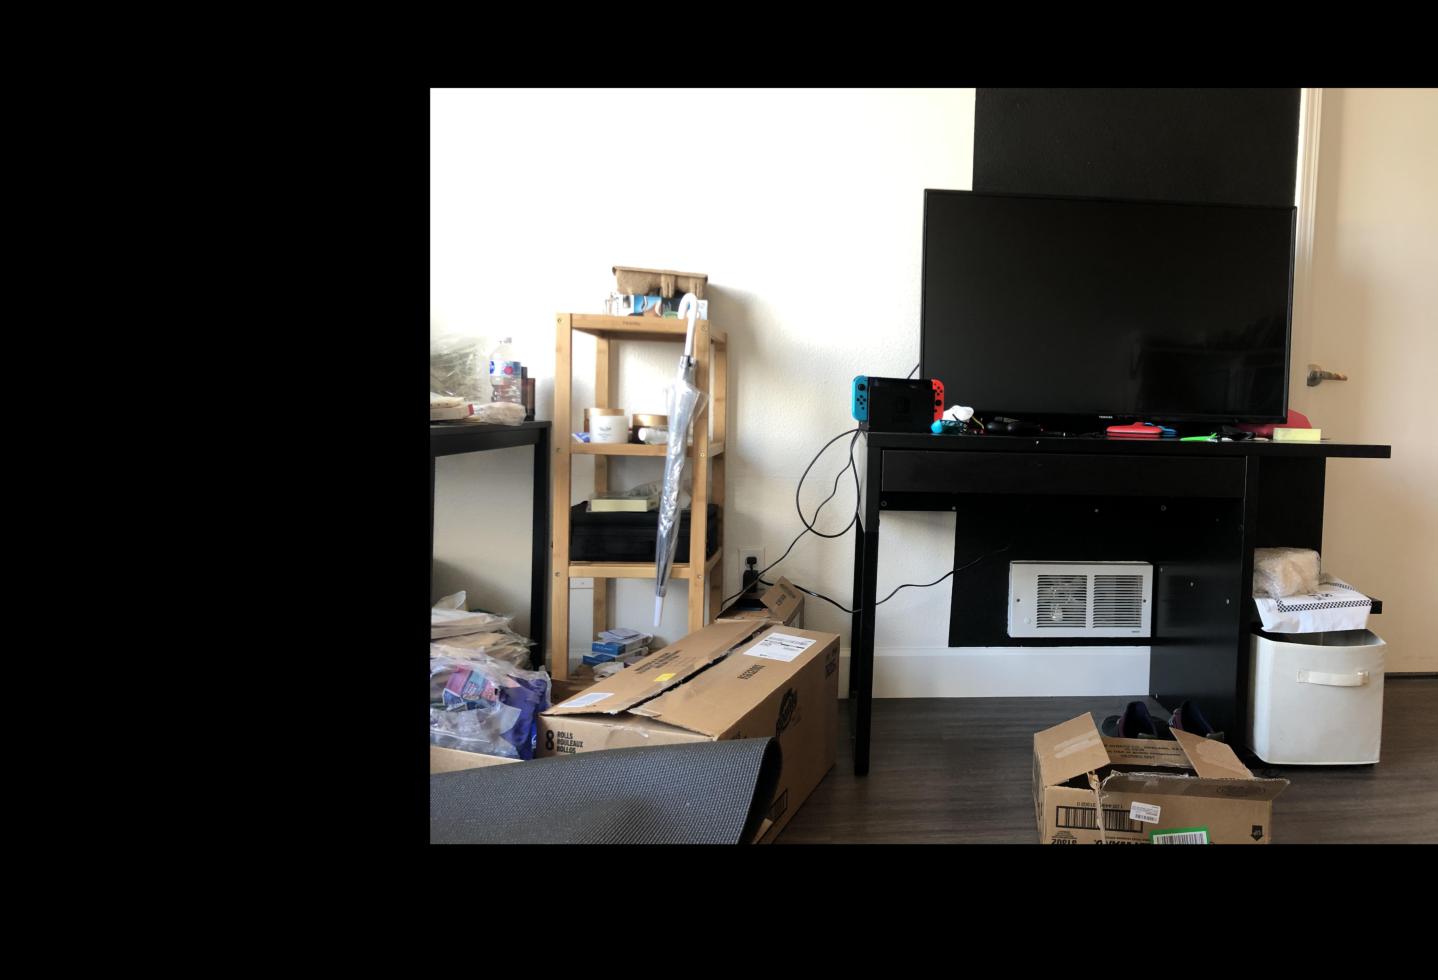
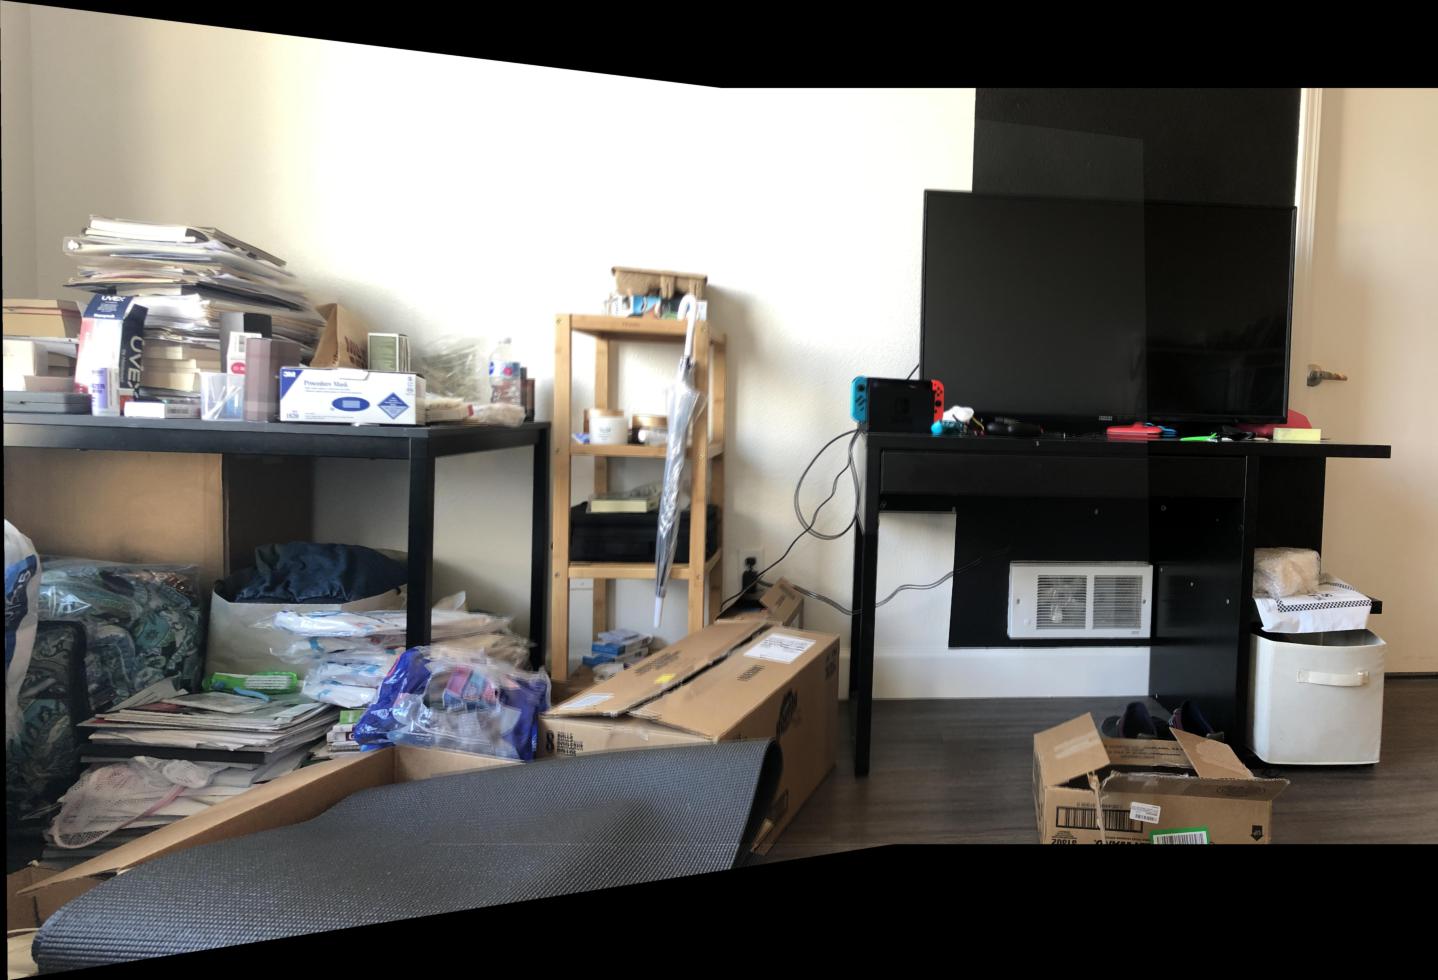
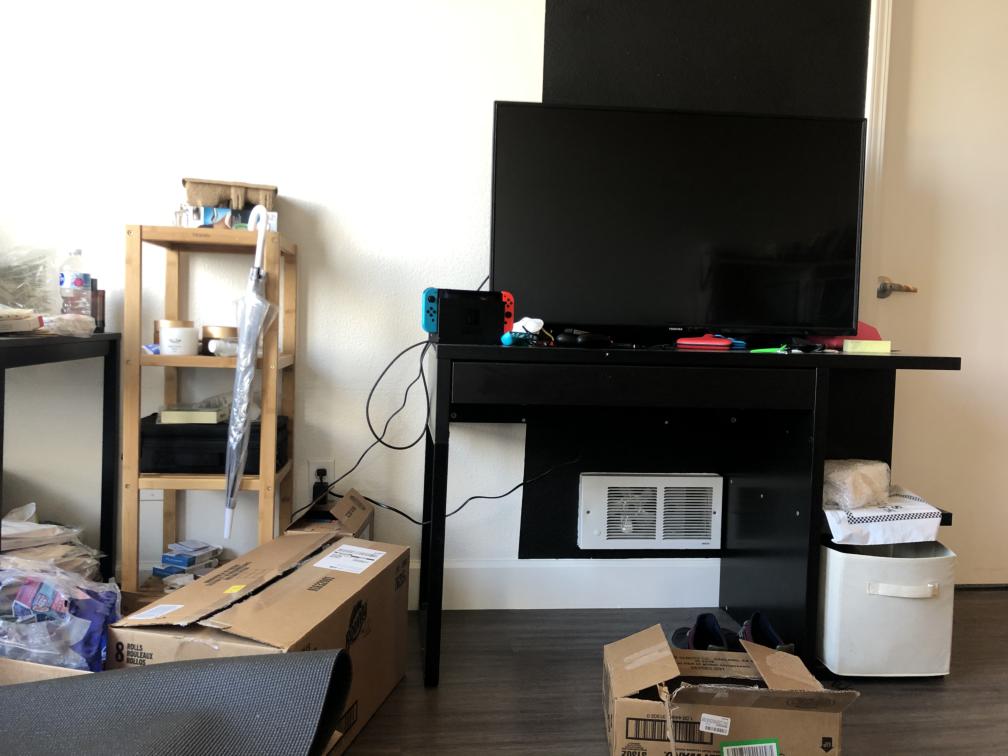 livingroom2
|
 rectification image 1
|
 rectification image 2
|
 rectification image 3
|
Part 2 Recover Homographies
For perspective transformation, there are 8 degrees of freedom, so at least 8 correspondance points are needed for calculating the matrix; if there are more points, then we can use lease squares to solve the overconstrained system of equations. For this part, 30 correspondance points are used for more accuracy.
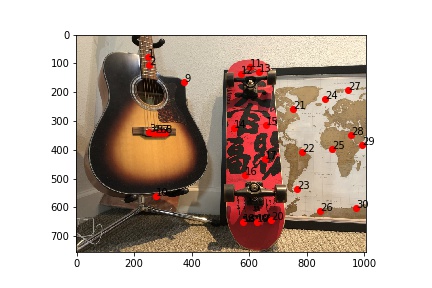 left points
|
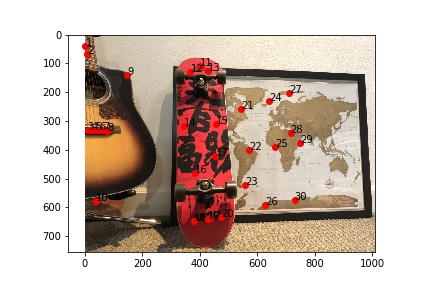 right points
|
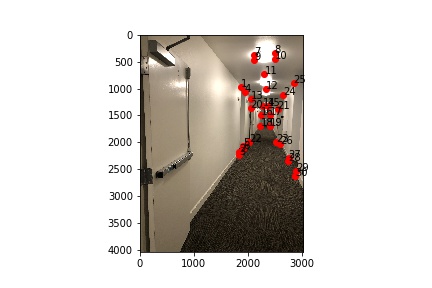 hallway1 points
|
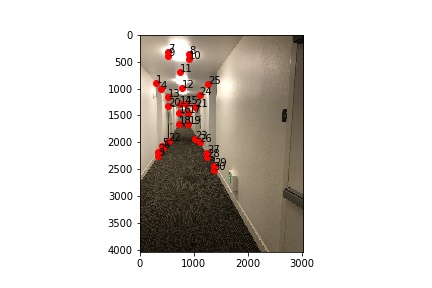 hallway2 points
|
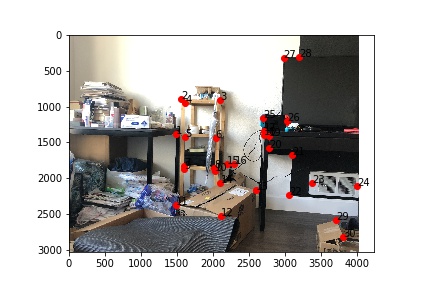 livingroom1 points
|
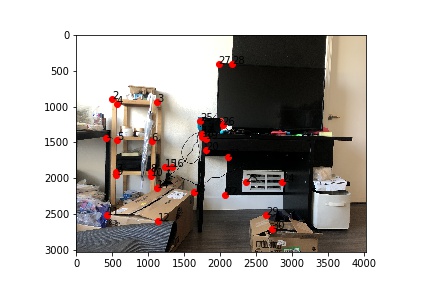 livingroom2 points
|
Part 3 Warp the Images
Using the perspective transformation matrix, we can warp the left image into right image's projection.
 warped left
|
 adjusted right
|
 warped hallway1
|
 adjusted hallway2
|
 warped livingroom1
|
 adjusted livingroom2
|
Part 4 Image Rectification
Using the same method to find the perspective transformation matrix, we can warp any planar surfances into front view projection. Here are few examples.
|
ori img1
|
 rec img1
|
|
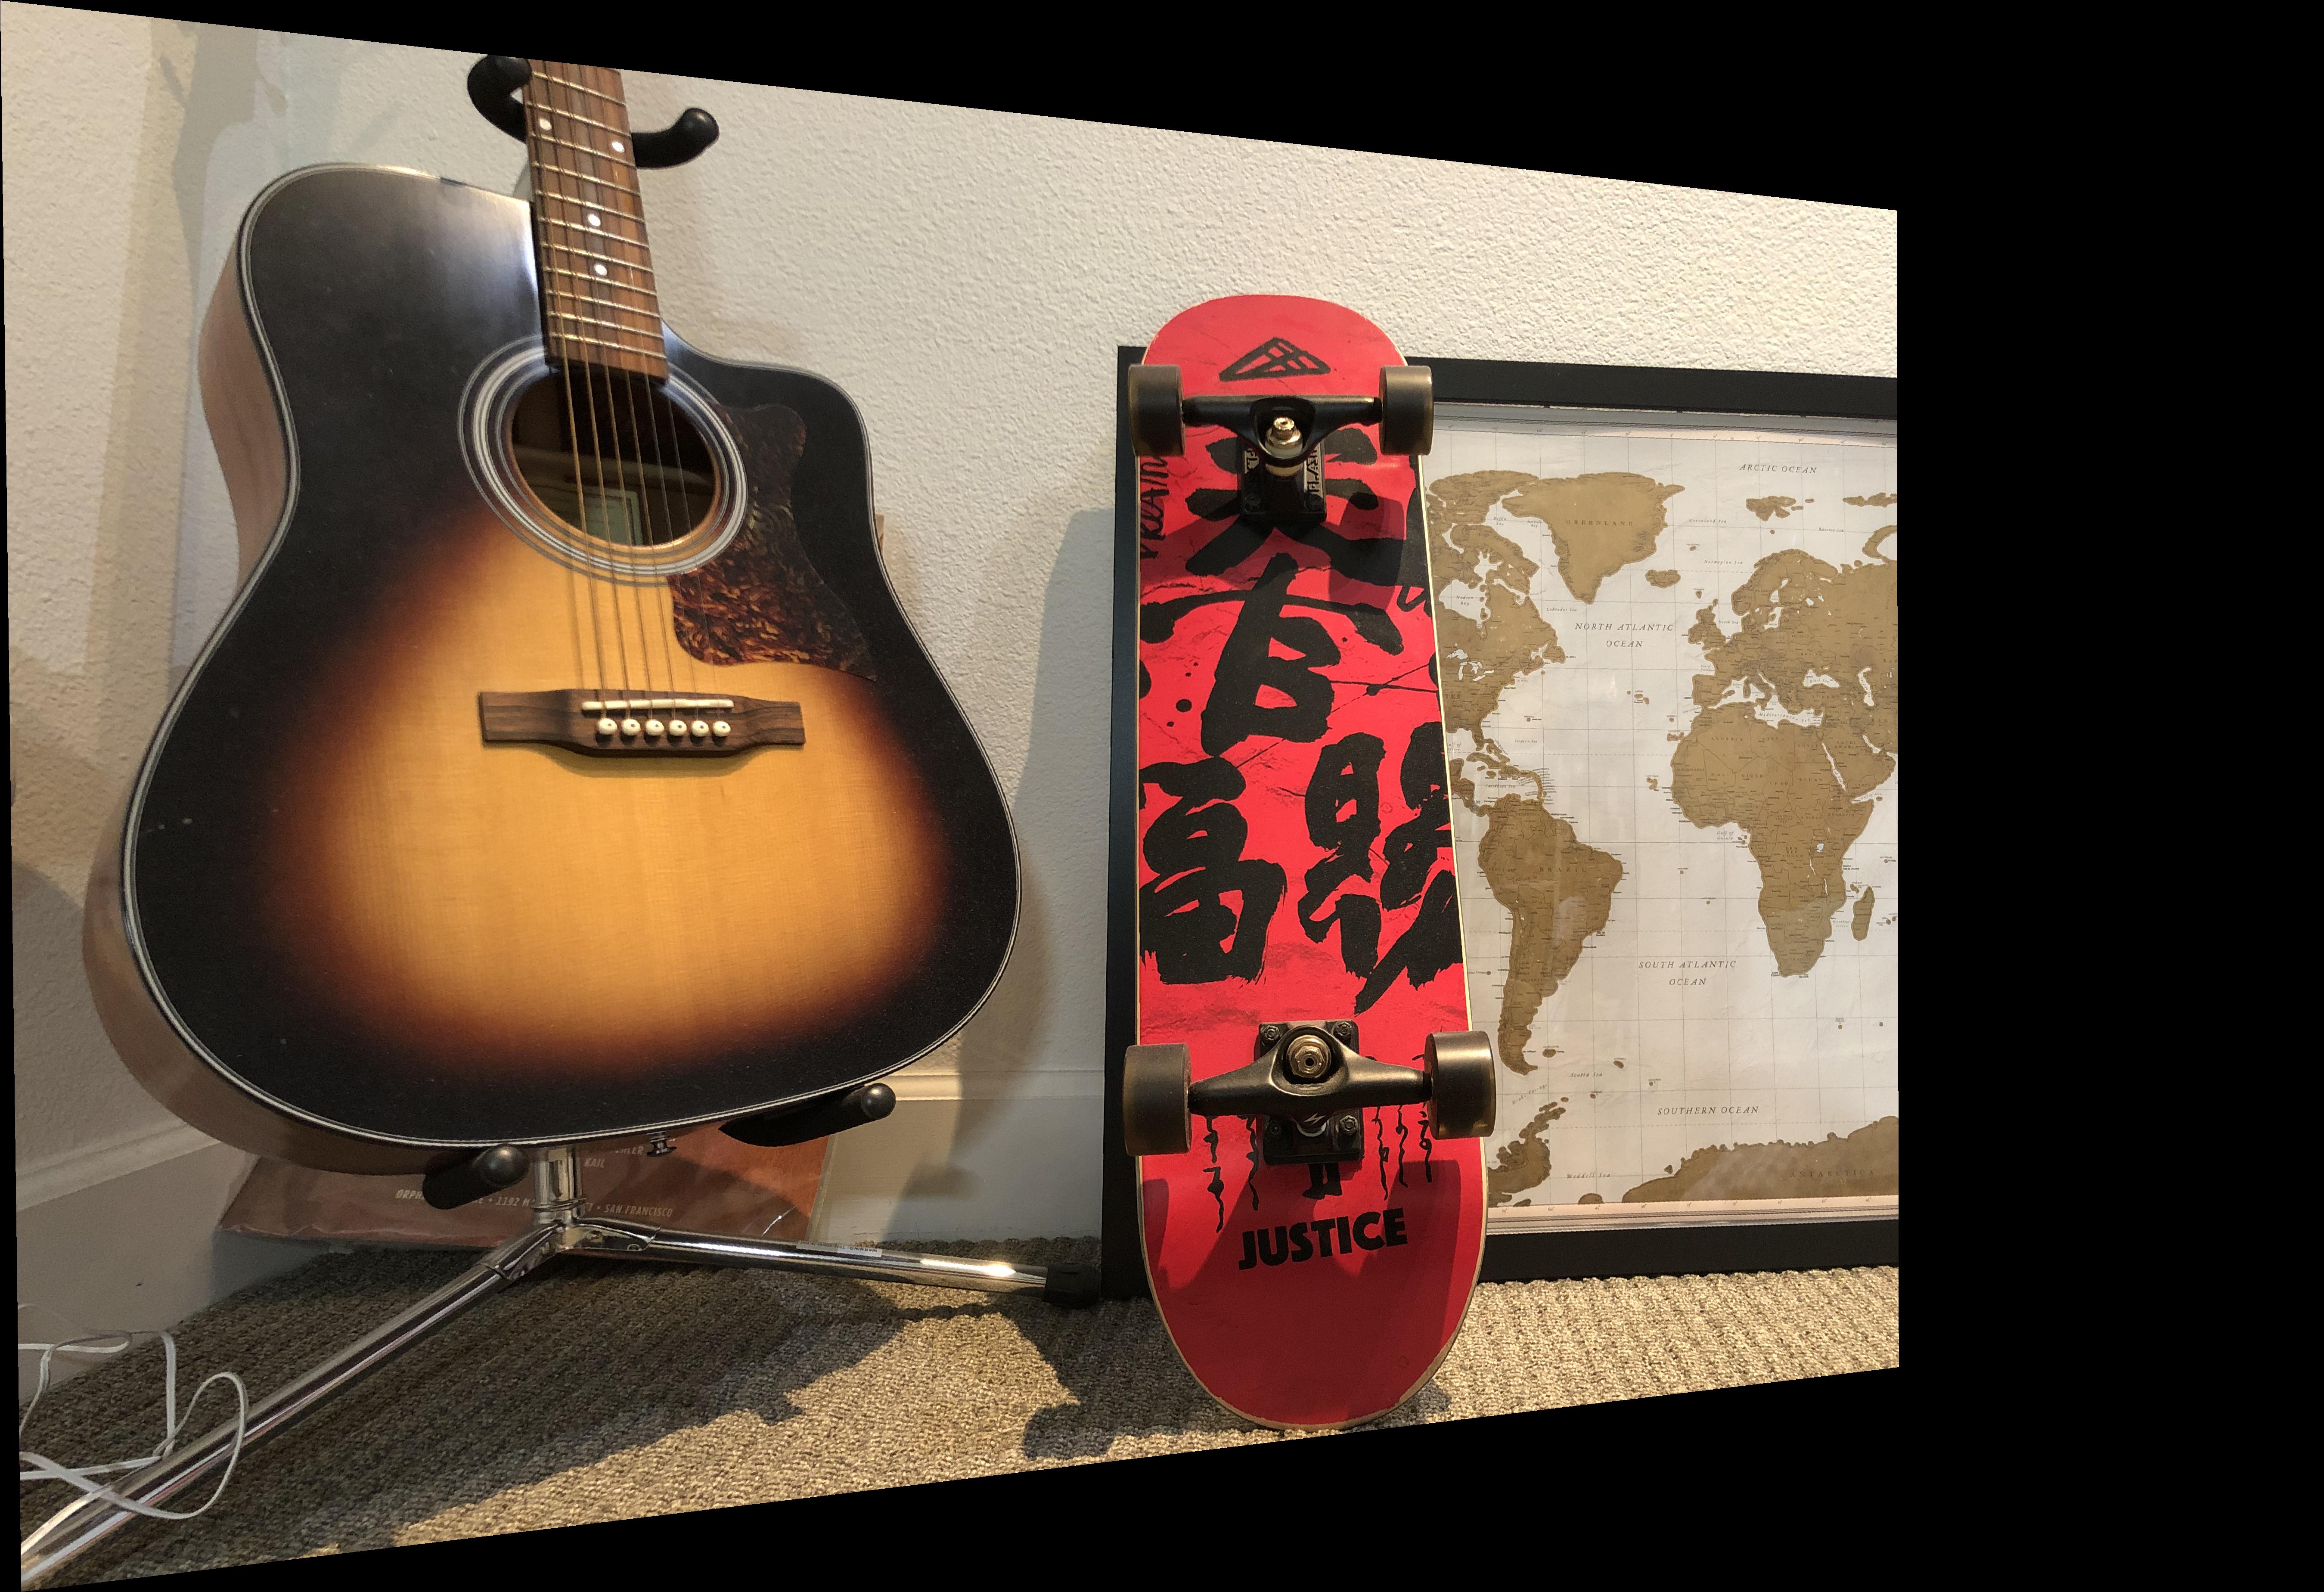
ori img2
|
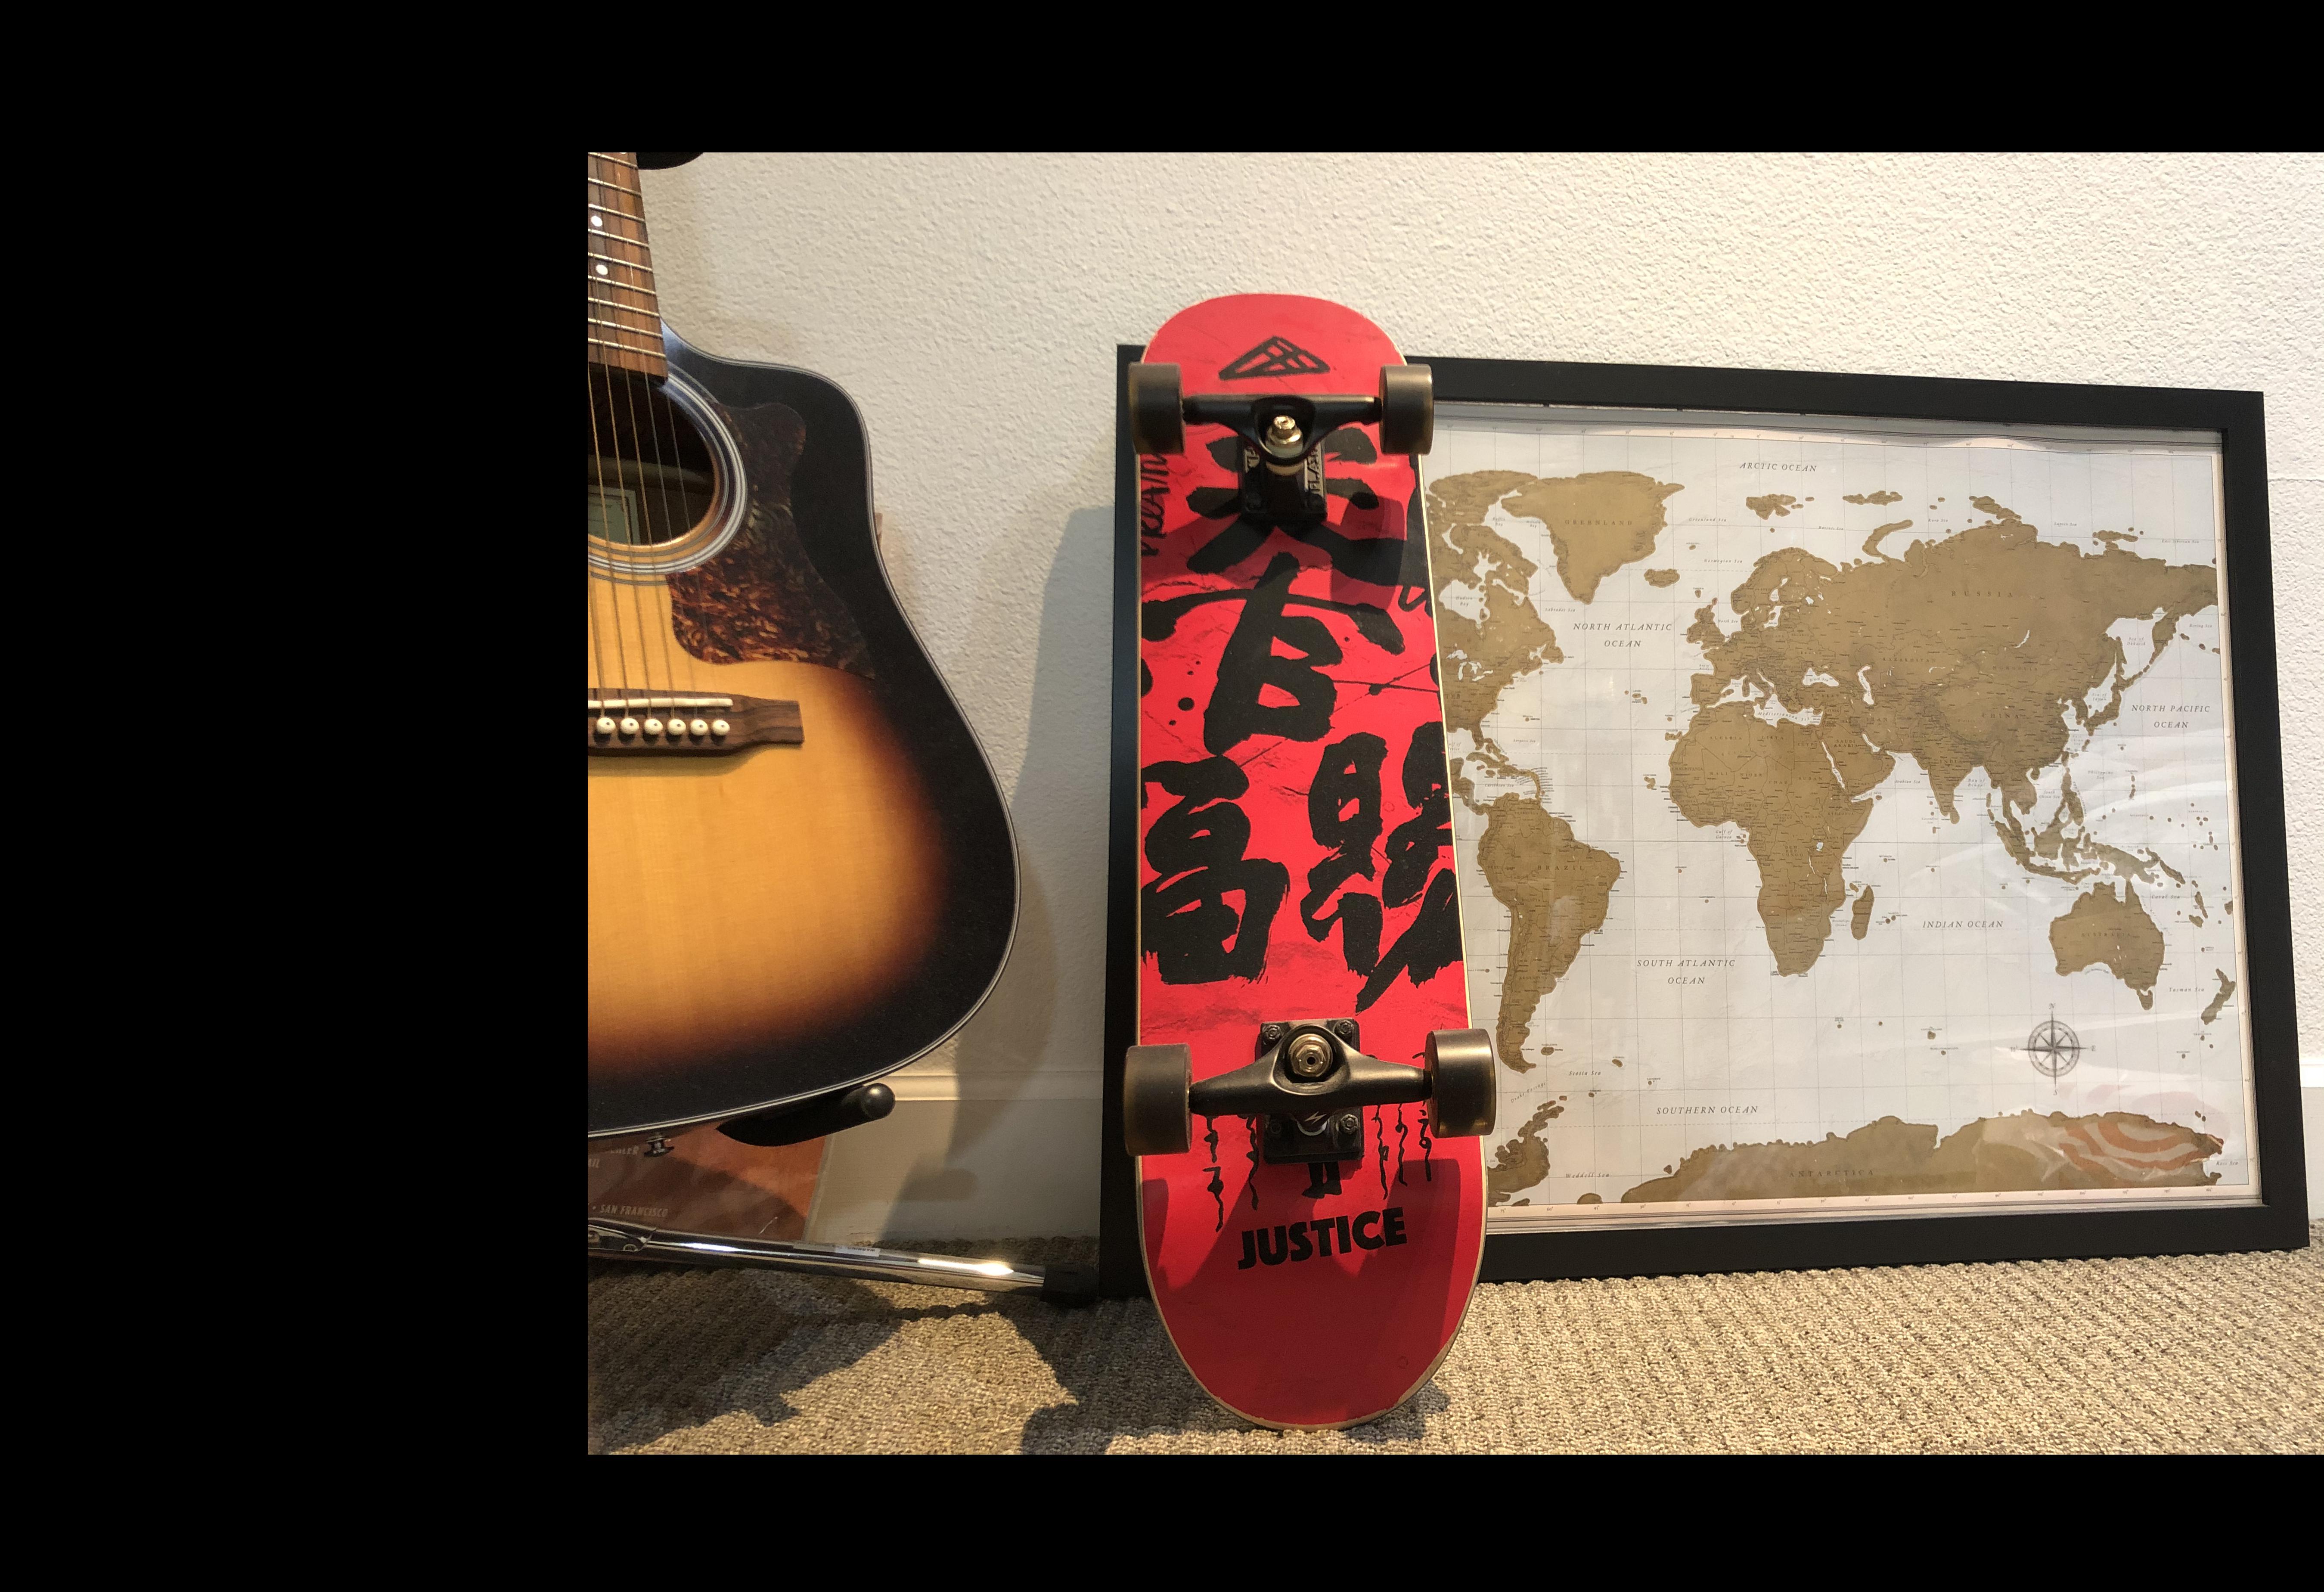
 rec img2
|
|
ori img3
|
 rec img3
|
Part 5 Blend the images into a mosaic
When images are registered, we can blend them to form a wider-angle-perspective mosaic picture. First approach I try is simplying adding them together, which creates a wierd picture with high brightness in the middle, then I use a simple mask to weight average the middle part. Using this method will create a line of subtle edges between where images are blended together.
 simple add
|
 room mosaic
|
 hallway mosaic
|
 livingroom mosaic
|
Part B FEATURE MATCHING for AUTOSTITCHING
Part 1 Harris Interest Point Detector
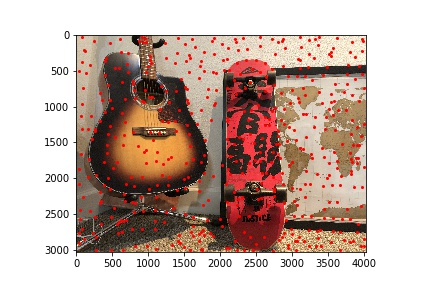
For finding features automatically, we first find the harris corner points for the image. Since we will run ANMS later, it is ok to have a large number harris corner points at this step. For a 3000 x 4000 image, with 20 min_distance, it will produce around 5500 interest points.
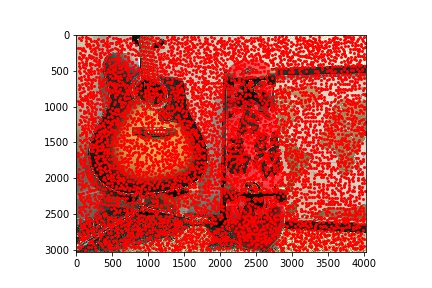 left harris
|
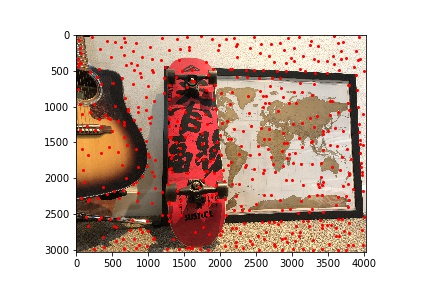
 right harris
|
Part 2 Adaptive Non-Maximal Suppression
After finding harris corner points, since there are too many unrelated points and not spatially distributed evenly, we run ANMS to find the 500 dominant feature points that distributed across the image.
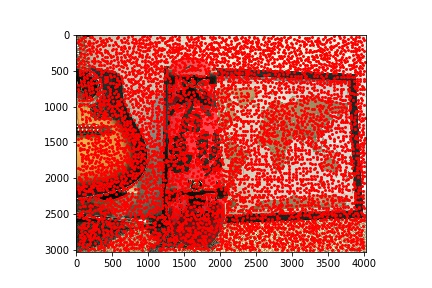
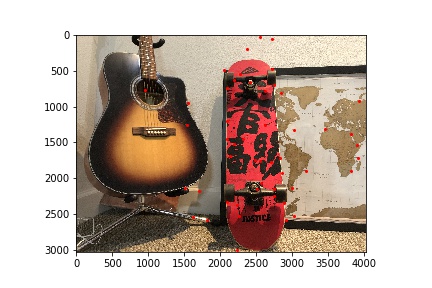
 left anms
|
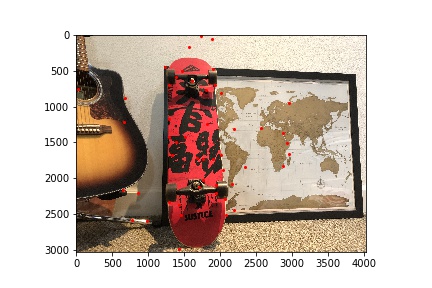
 right anms
|
Part 3 Feature Descriptor extraction
Then for each points, we sample a 8 x 8 patch from a 40 x 40 window to produce a feature descriptor, and bias/gain-normalize the descriptors. This will allow us to use these feature descriptors for feature matching and they are photometrically invariant to affine changes in intensity.
Part 4 Feature Matching
Then we will match the feature descriptors by finding their nearest neighbour in the other picture. To ensure that they are pretty close match, they have to be mutual nearest neighbour and the ratio of distance between 1-NN / distance between 2-NN is small, to guarantee that the first choice is much better than the second choice and not an ambiguous selection. We use 0.3 for thresholding. Here are the matched points.
 left matched
|
 right matched
|
Part 5 4-point RANSAC
Lastly, with the matched feature points, we run RANSAC to find the homography transformation matrix with the largest group of inliners. I run the iteration for 100 epochs and use 2 as the ssd strength limit. It turns out to have a largest group of 9 inliners out of the 50 feature matches. Then we will go on warp the first image and blend it with the second image to produce the mosaic.
|
room manually result
|
 room automatically stitched result
|
|
hallway manually result
|
 hallway automatically stitched result
|
|
livingroom manually result
|
 livingroom automatically stitched result
|
The results are pretty much the same! We did it! It is fun to manually select the correspondance points, but it will be much more convenient to produce the mosaic automatically. Perspective transoformation is so powerful that we can so so much image processing application with it. Definitely want to do one with my final project!