Kelly Lin
The goal of part 1 was to be able to generate homography matrices for images taken from perspective angles, and use it to generate a rectified, or straightened, image.
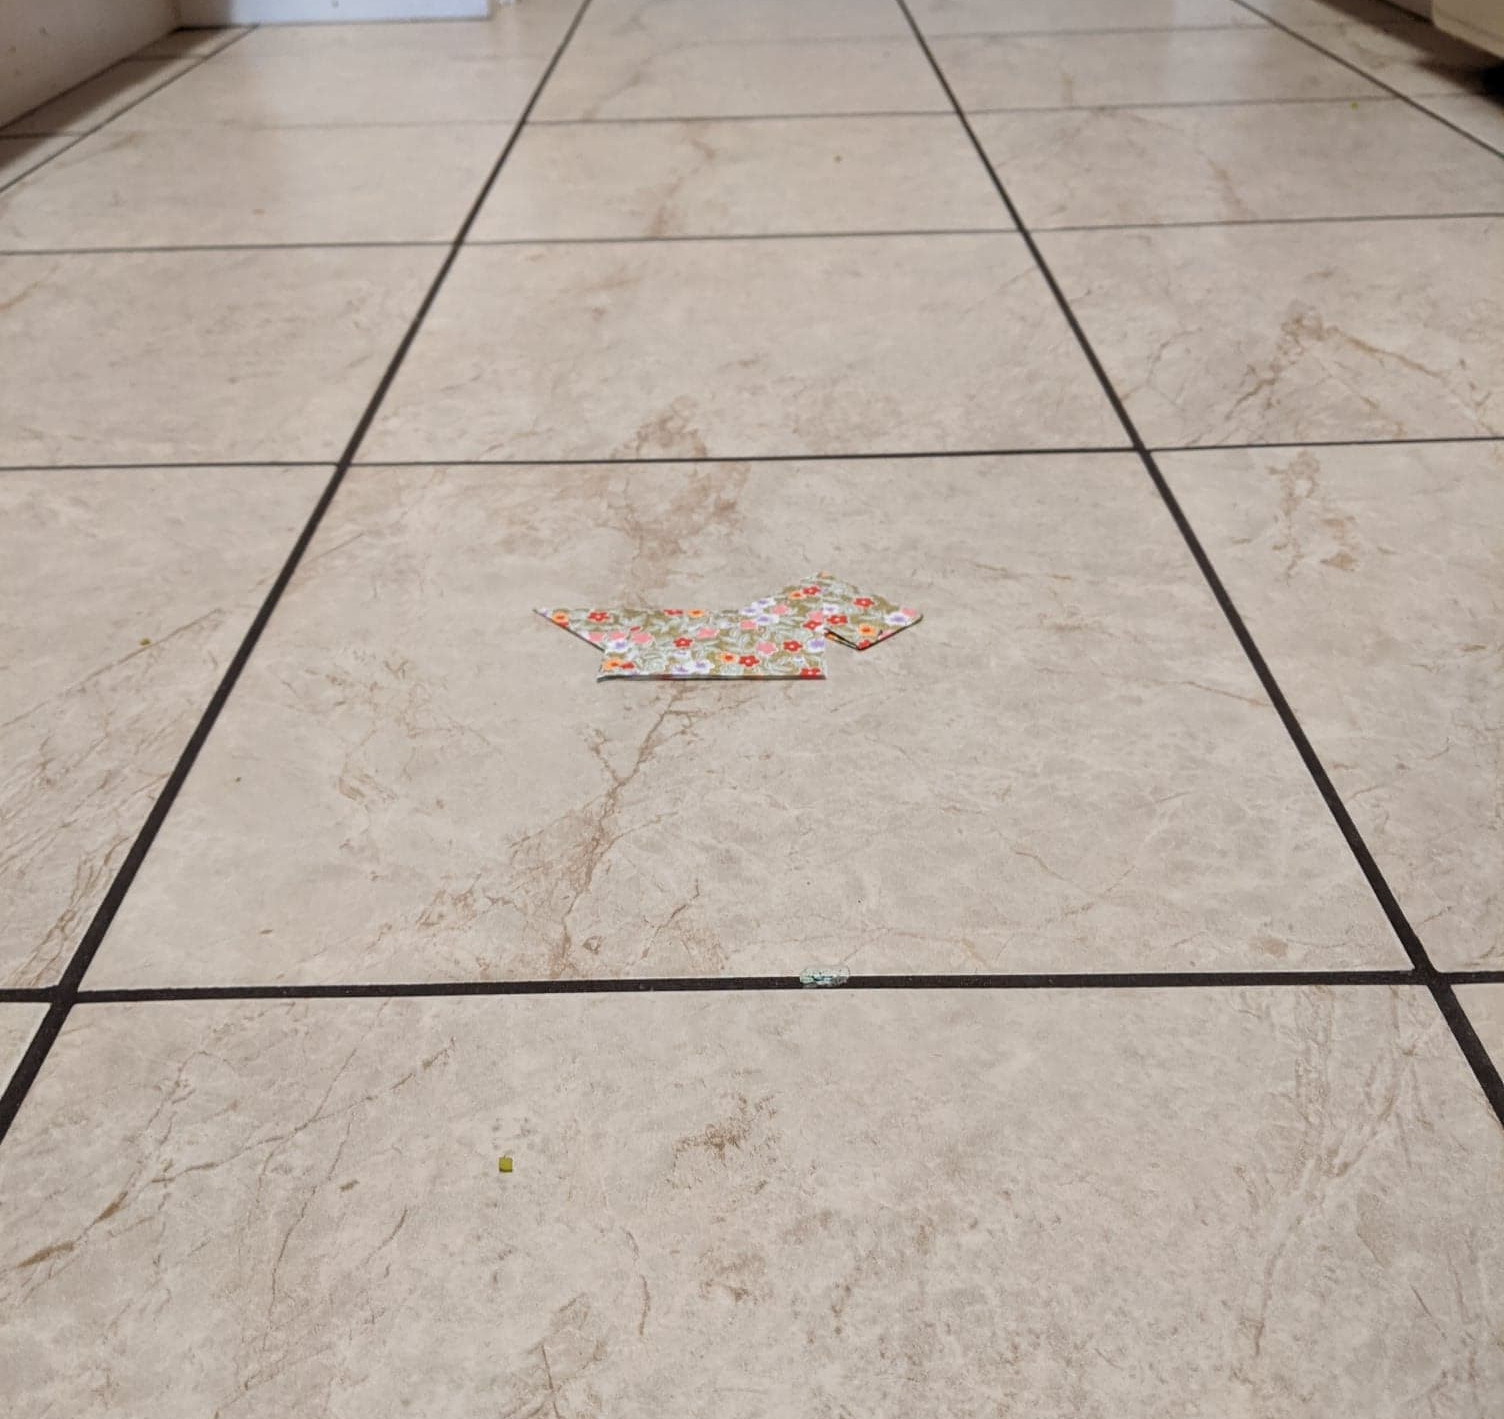
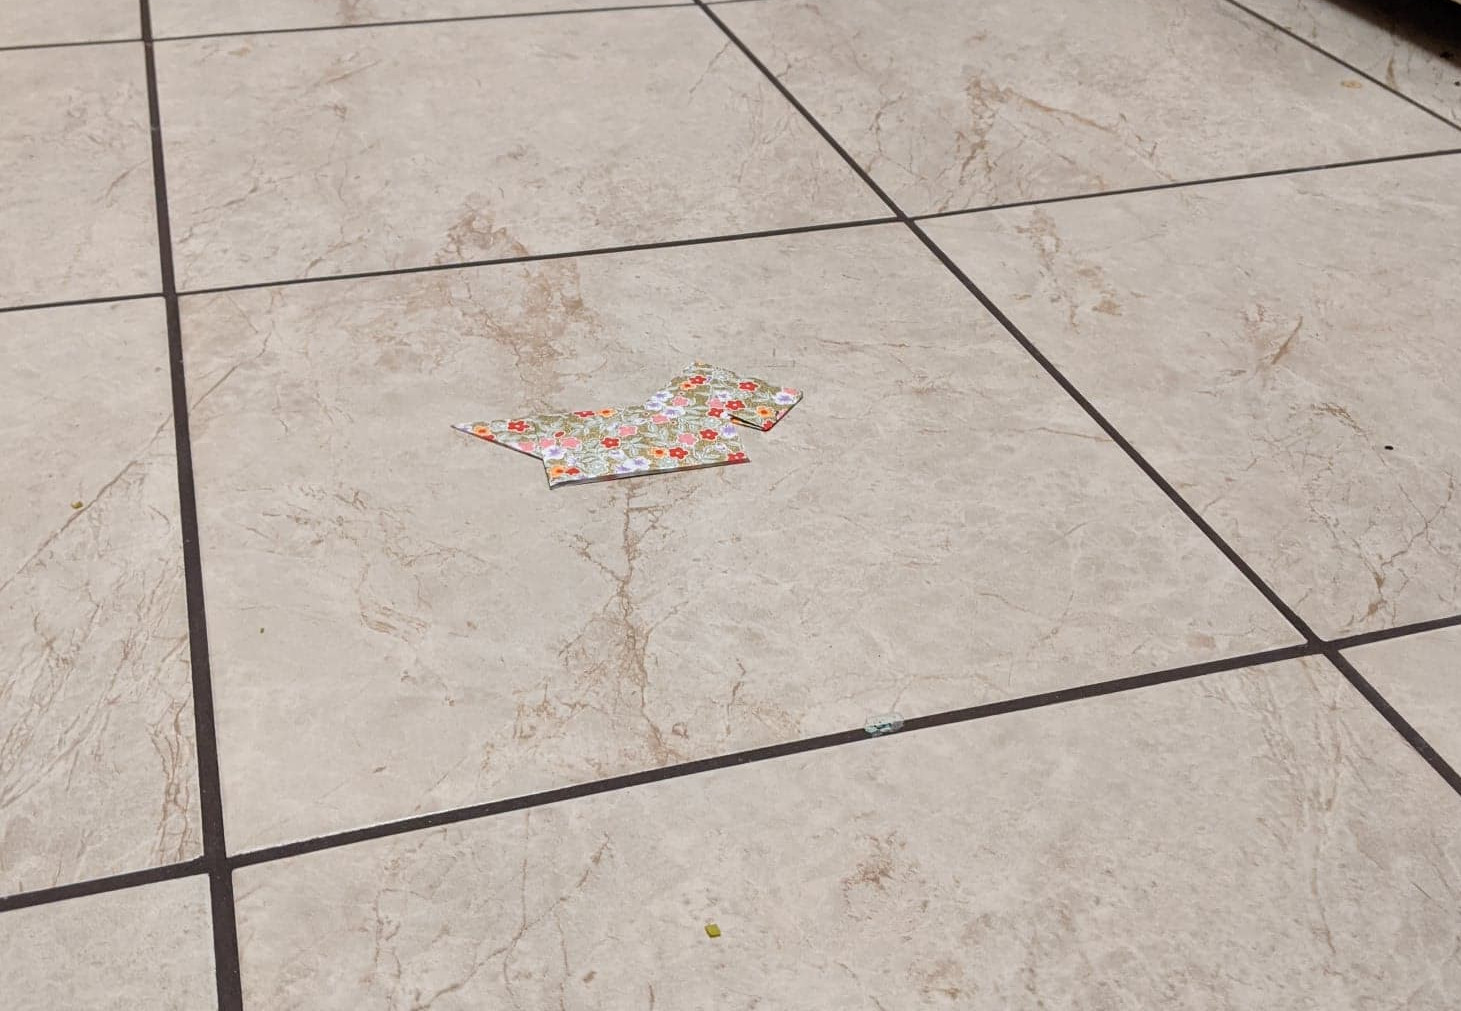
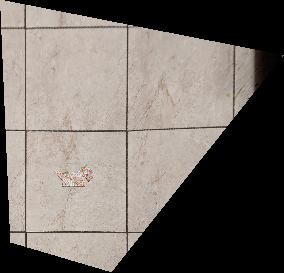
Here are the original images (to be used in the following sections), both shot from perspective angles.
| Image 1 | Image 2 |
|---|---|
|
|
In order to perform image rectification, we needed to recover the desired homography matrix for each image. To do so, the coordinates of a rectangle in the original image as well as the desired target destination dimensions were used to compute the homography matrix. The homography matrix was computed as follows, where (x, y) are coordinates from the original image rectangle coordinates, and (x', y') are coordinates from the target rectangle orientation:
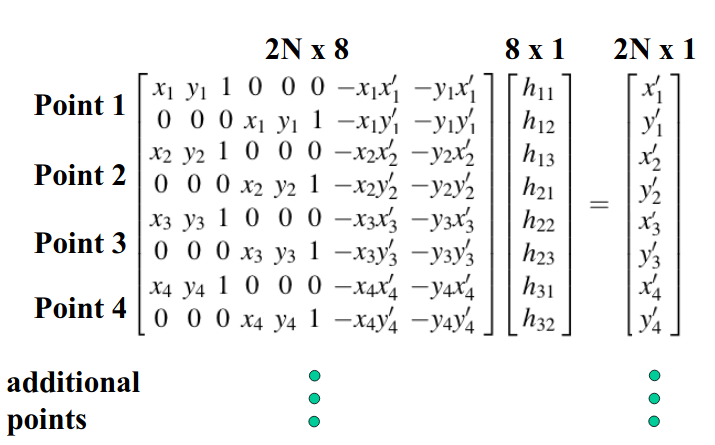
The elements of the homography matrix are ordered as follows, with h_33 = 1:

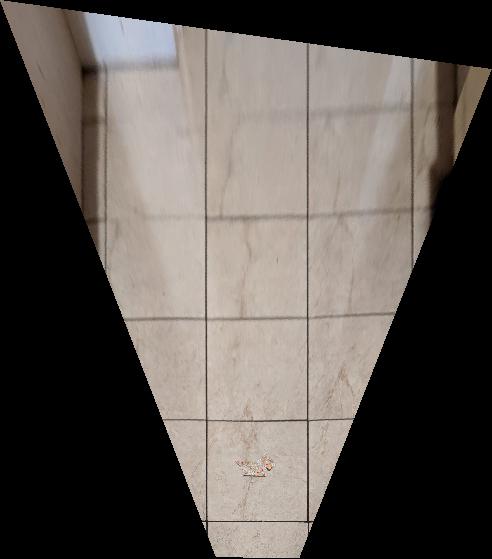
The original image was then warped using the calculated homography matrix to compute the resulting rectified image, as displayed in the next section.
(Image source: http://www.cse.psu.edu/~rtc12/CSE486/lecture16.pdf)
Here are the results of applying image rectification on the original two source images.
| Original Image | Rectified Image |
|---|---|
|
 |
|
 |
Building off of the image rectification code I was able to create a mosaic-generating program. Given a sequence of consecutive images that will be stitched together into a panorama, the user selects keypoints for each image to match with the preceeding and succeeding image. Then, using the image rectification code I am able to transform each of the images onto the center image, generating a panorama.
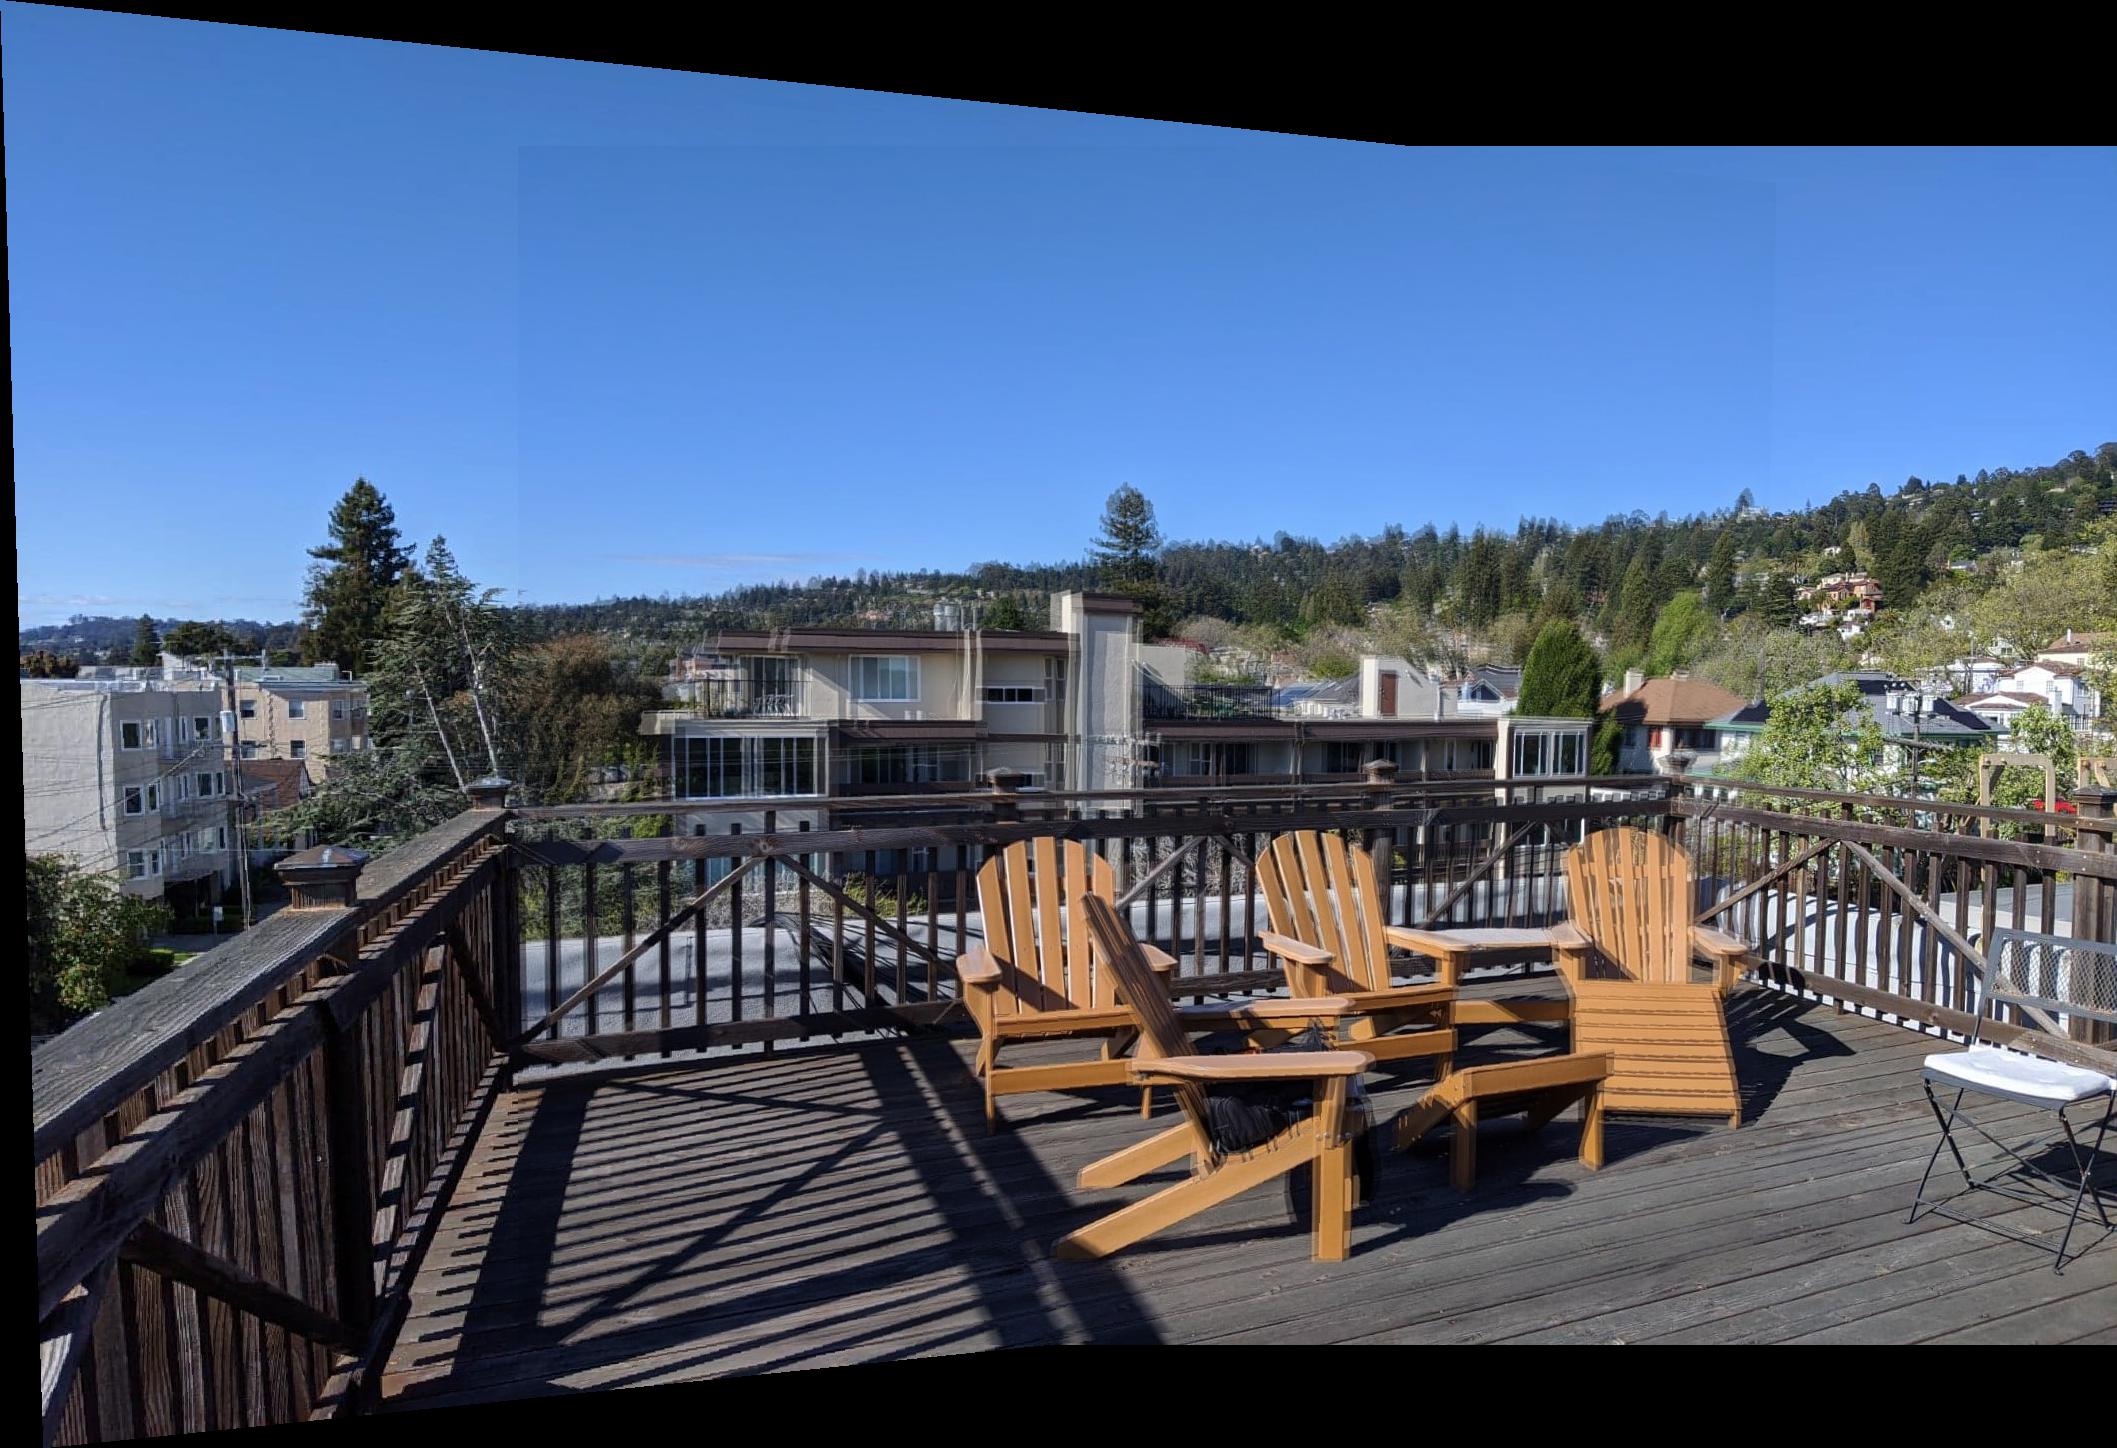
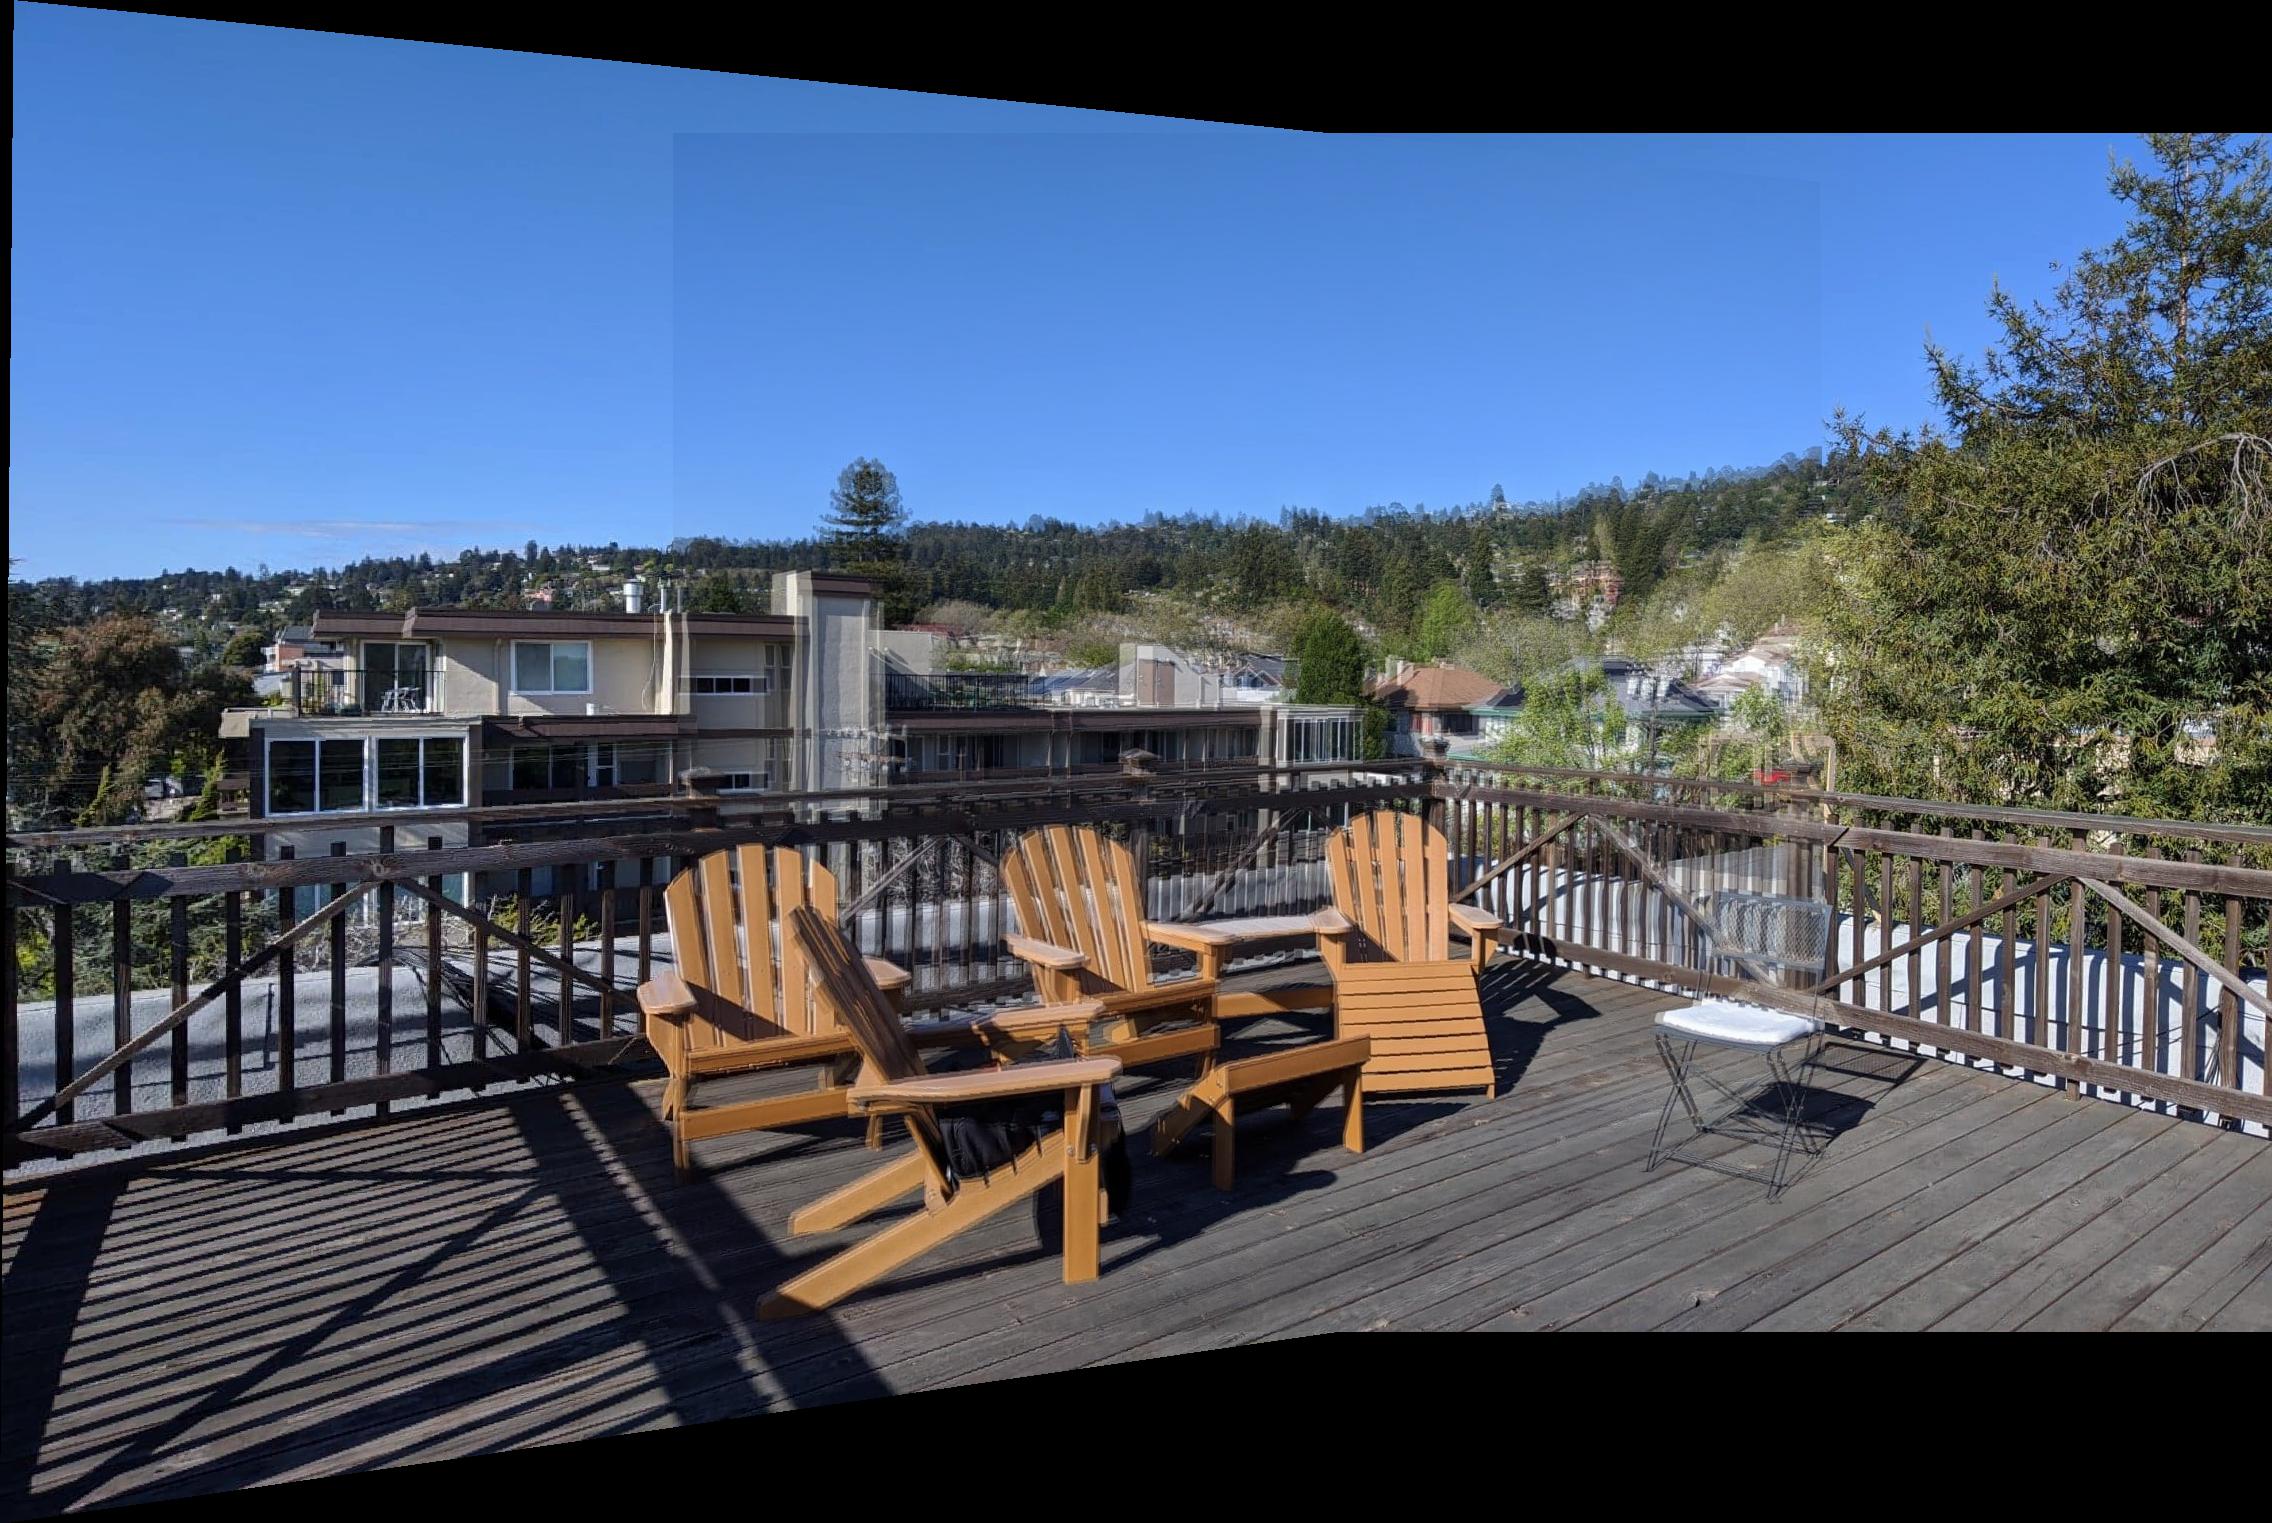
Here are the original images:
| Chair 1 (Original) | Chair 2 (Original) | Chair 3 (Original) |
|---|---|---|
 |
 |
 |
Here is the result of stitching them together, pairwise, and then all three stitched together:
| Chair 1 and 2 | Chair 2 and 3 | Chairs 1, 2, and 3 |
|---|---|---|
 |
 |
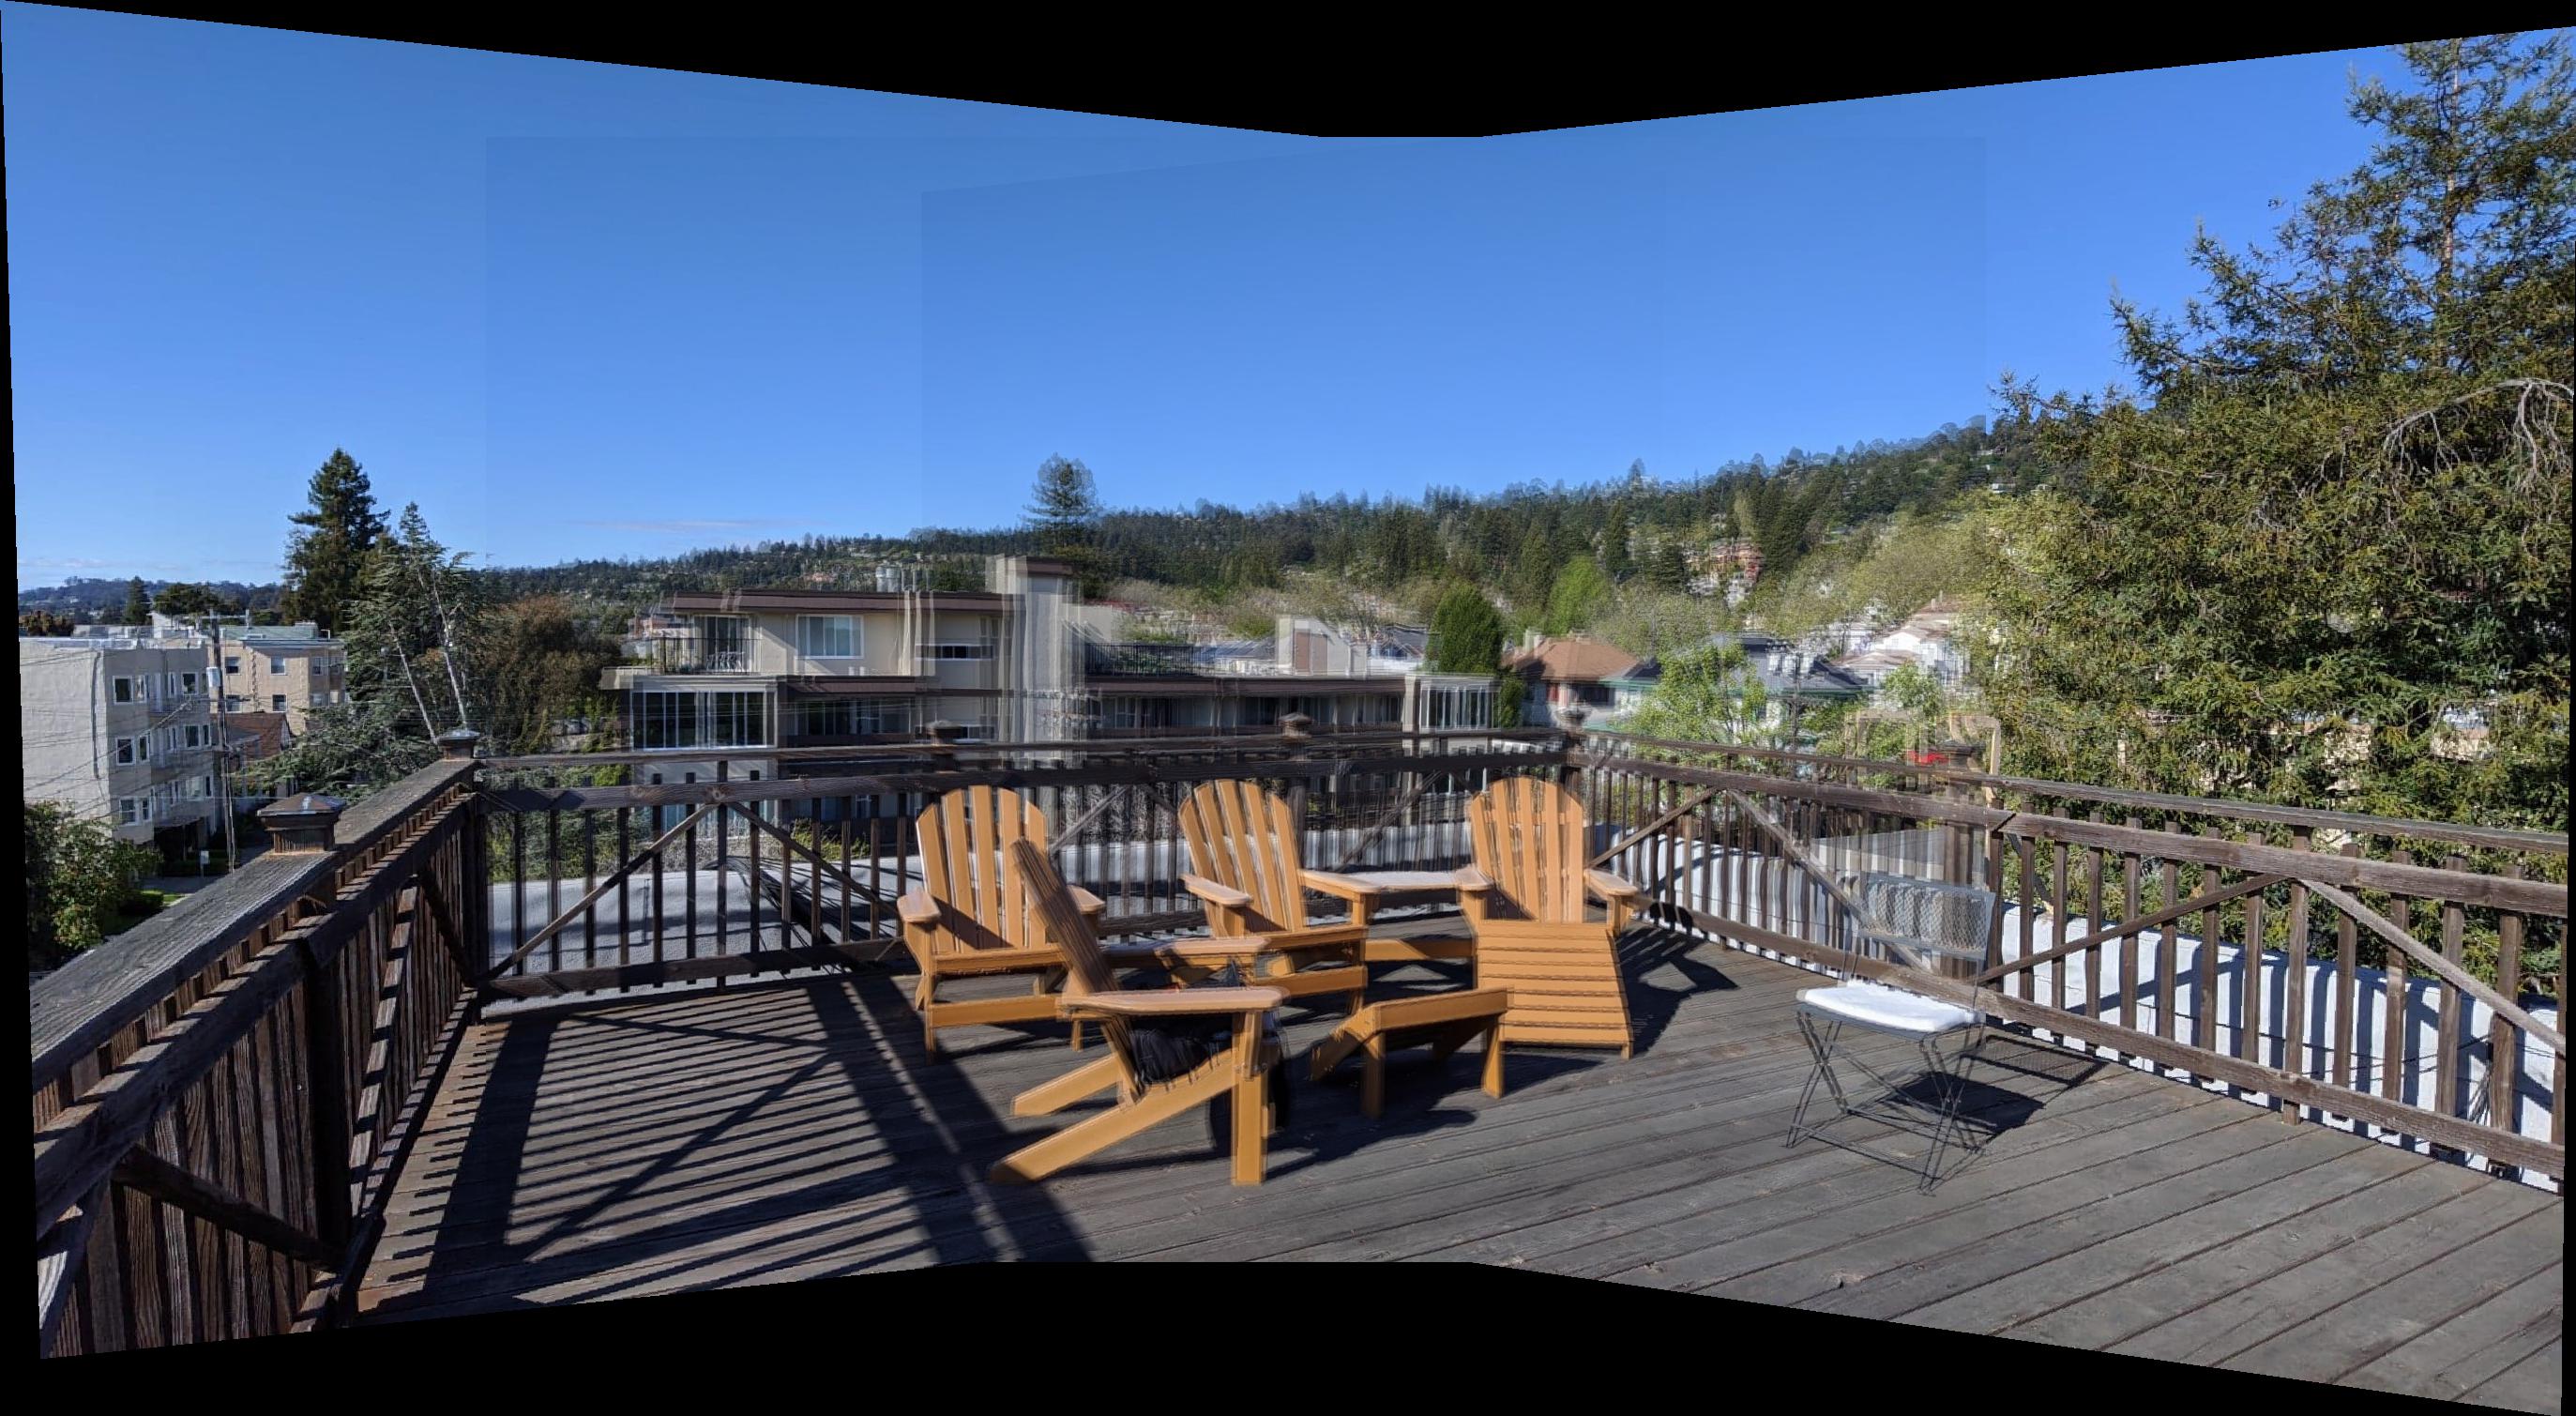 |
The purpose of this section was to automate the process of generating keypoints to align images in order to generate a panorama. This was achieved using the process described across the next following sections.
Using the code provided in the skeleton, harris interest points were collected to help obtain keypoints for matching. The number of pixels from the edge was increased to avoid picking problematic keypoints in following sections.
This helped select the dominant harris points within a particular maximum radius from other selected interest points.
Using the points selected from adaptive non-maximal suppression, feature vectors were extraced from blurred 8x8 selections from the original image, which was downsized to 1/5 of the width. Bias/gain normalization was performed on the features found.
Using the dist2 method provided in the skeleton, feature matching was performed on the interest points generated by the previous steps on images chosen to stitch together.
4-point RANSAC was performed to generate robust homography matrices for all of the individual panorama images.
I learned how homography matrices work, and that straightening perspective images using them is pretty fun!