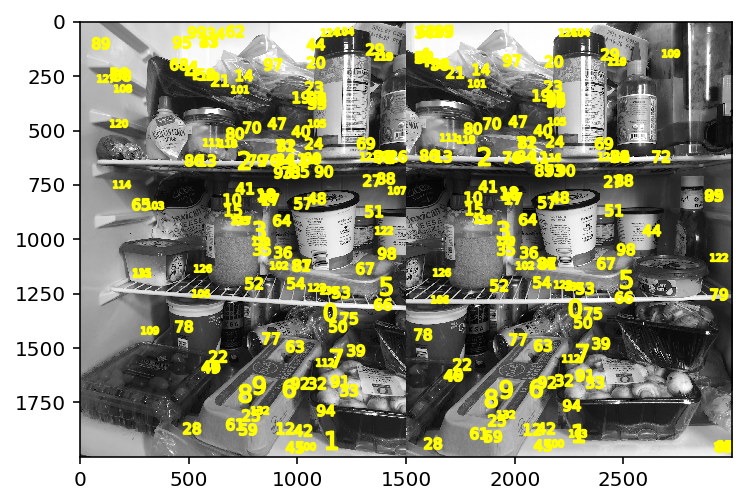
In this assignment, I will create a system for automatically stitching images into a mosaic. I will do this by reading and implementing the research paper linked here.
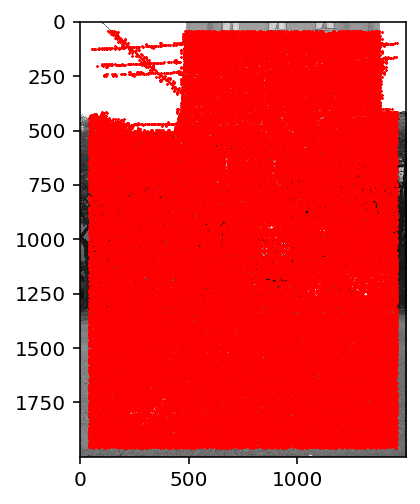
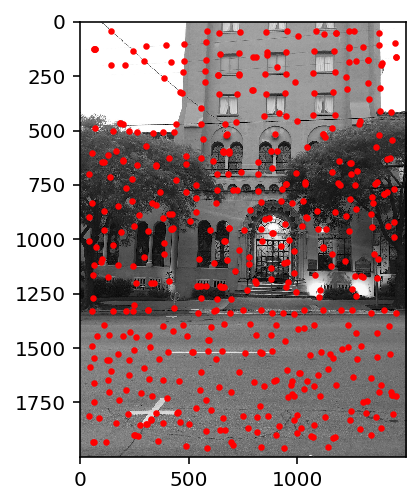
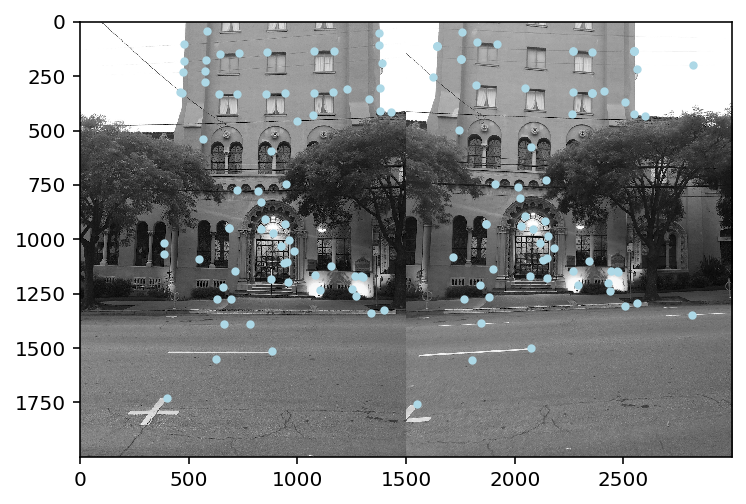
First, Harris corners are found (left). ANMS is used to select a spacially distributed set of stronger corners (right).
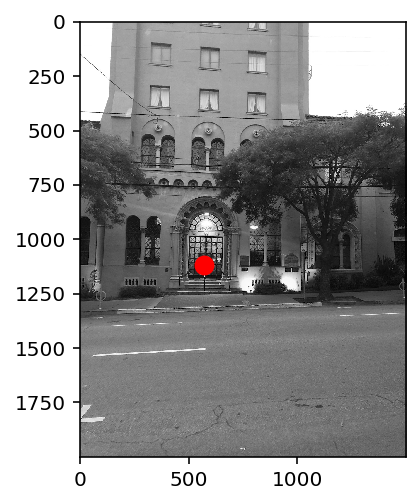
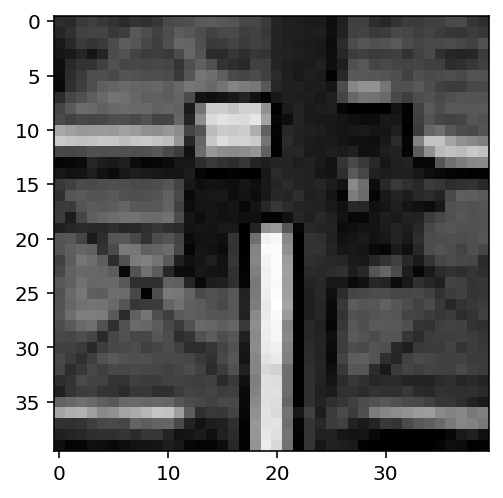
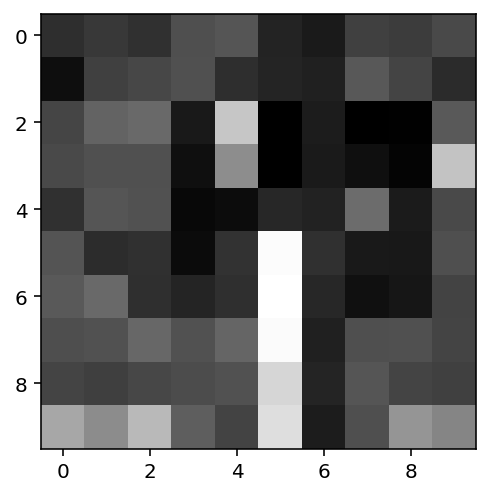
Next, a feature descriptor is extracted for each interest point by selecting and downsampling a larger window centered around the interest point. The left picture is the original with a feature point, the middle picture is the window, and the right picture is the downsampled and normalized feature.
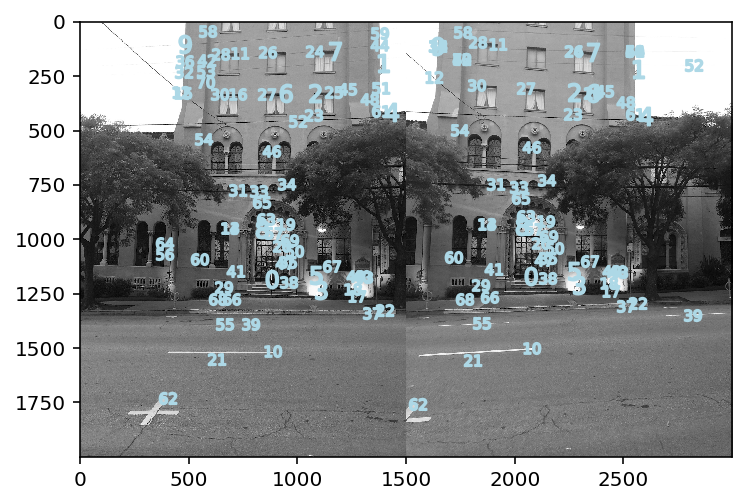
Features are matched and matches are selecting according to the lowe's threshold of first neighbor distance divided by the average second neighbor distance.
Pictures do not do this beautiful method justice. See here.
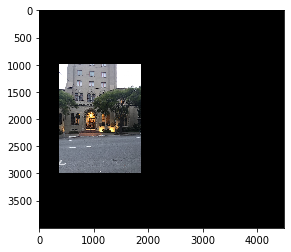
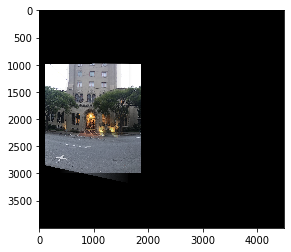
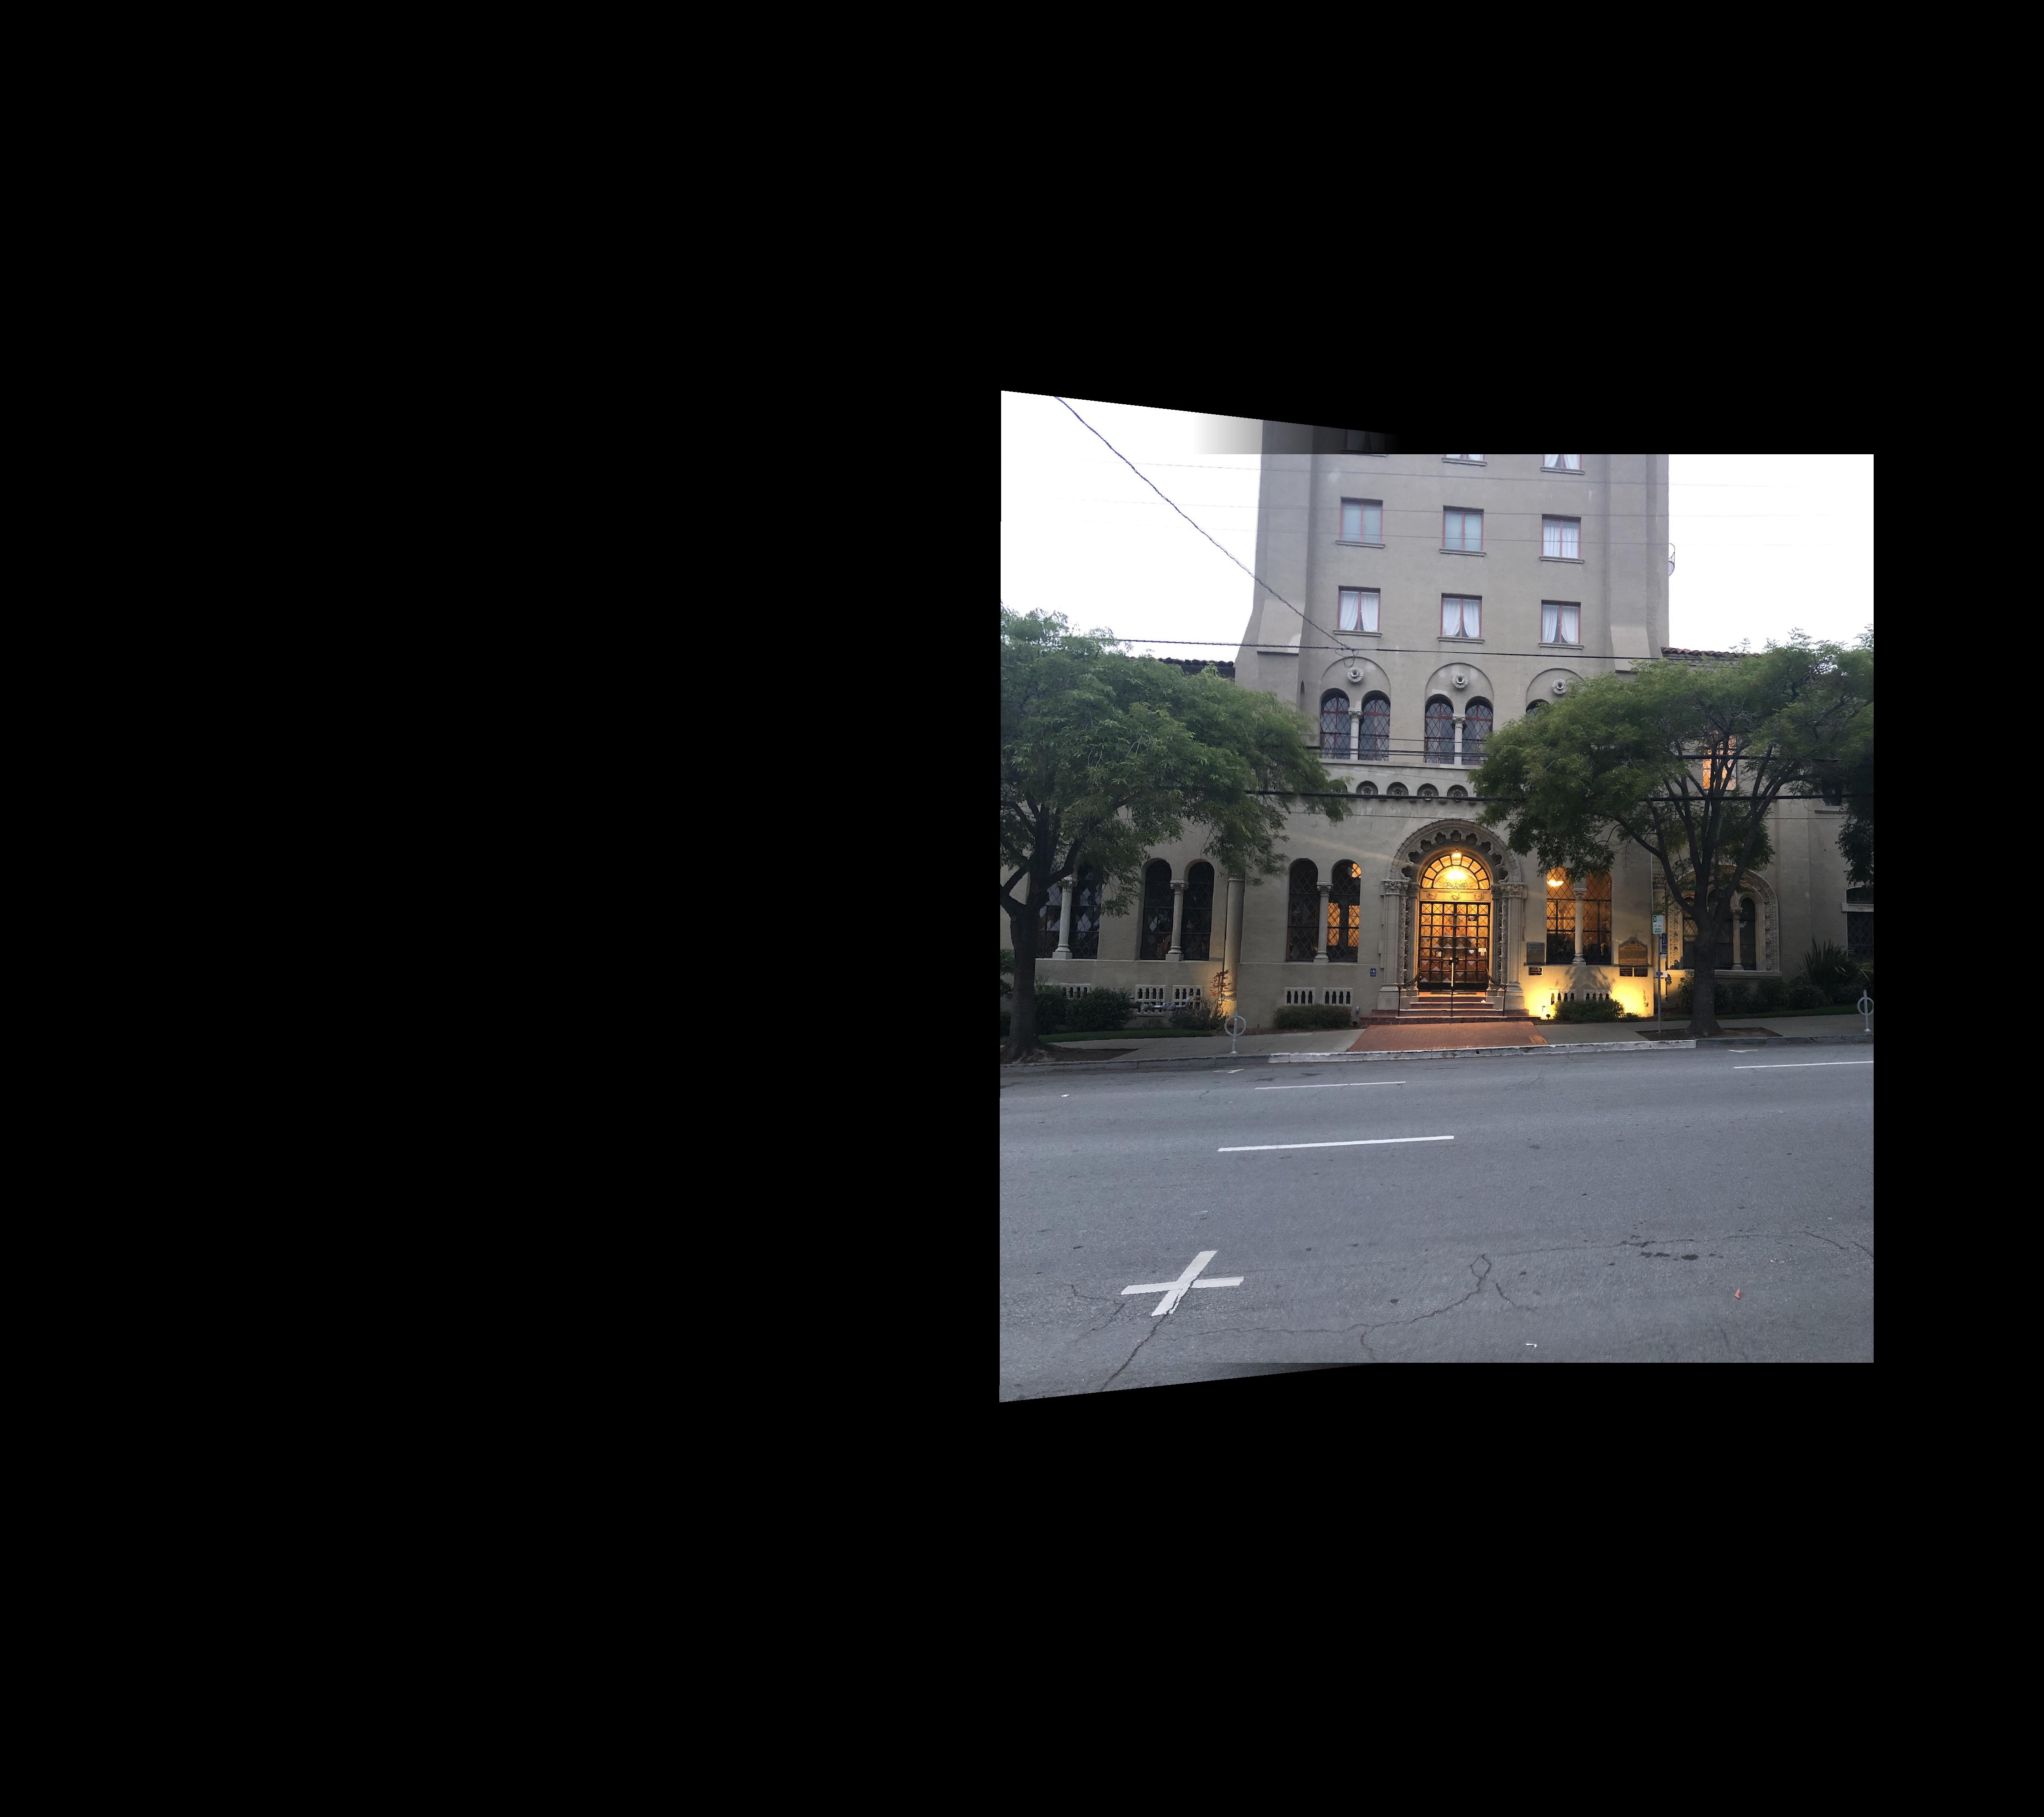
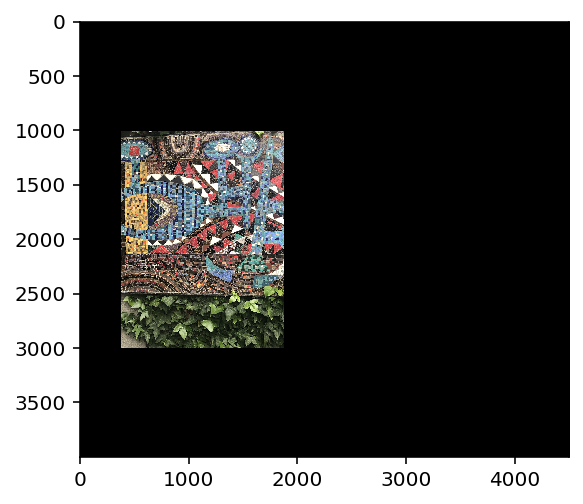
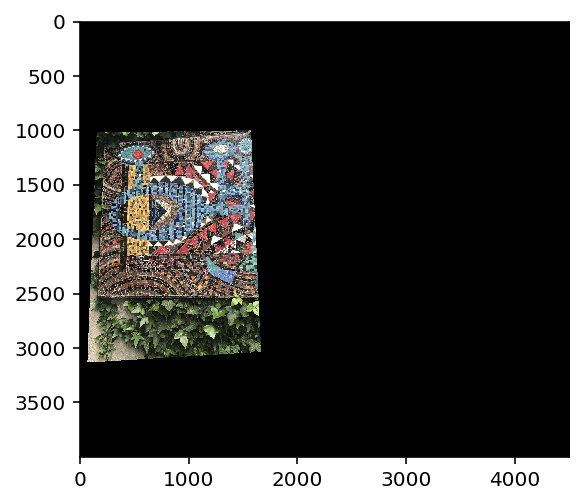
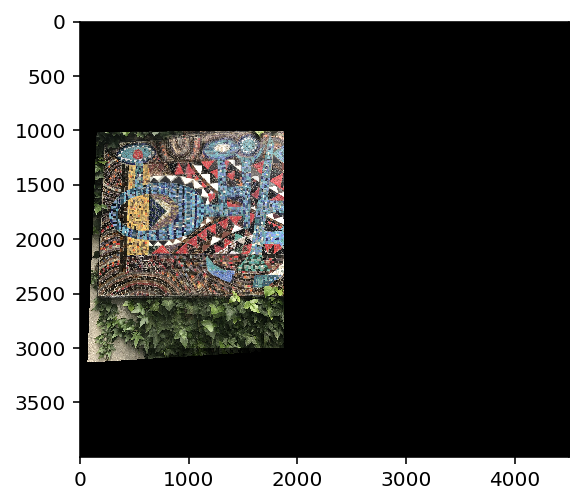
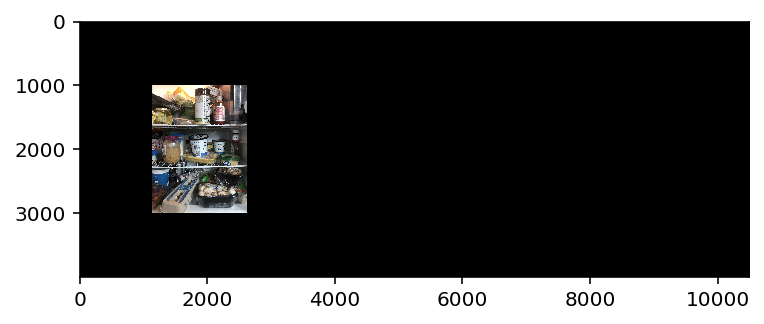
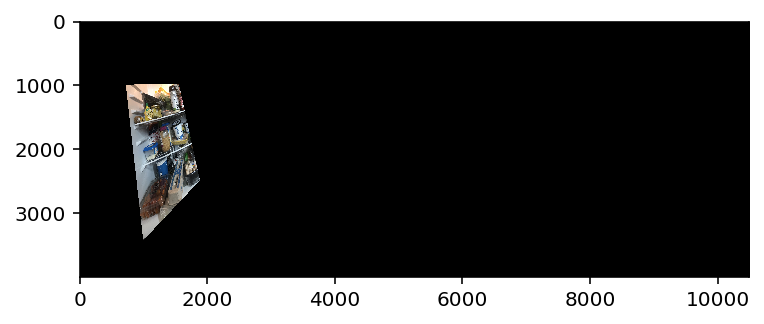
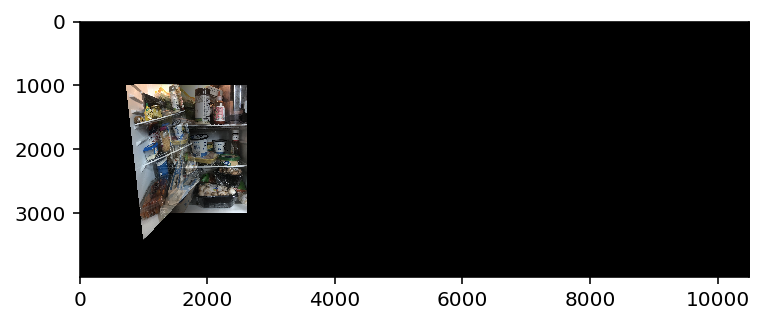
Using my old warp functions from Project 5A, I warped the photos into a mosaic and blended them.

Here is a side-by-side comparison of autostitching (left) vs manual (right).

The thing I found coolest was the neat visualizations I did with the matching features. Each step was very laborious for me, and so I was very satisfied each time I moved forward and made progress. Ransac is awesome, AMNS is quite nifty - so much to love about this project, probably my favorite one!