Yibin Li, April 2020
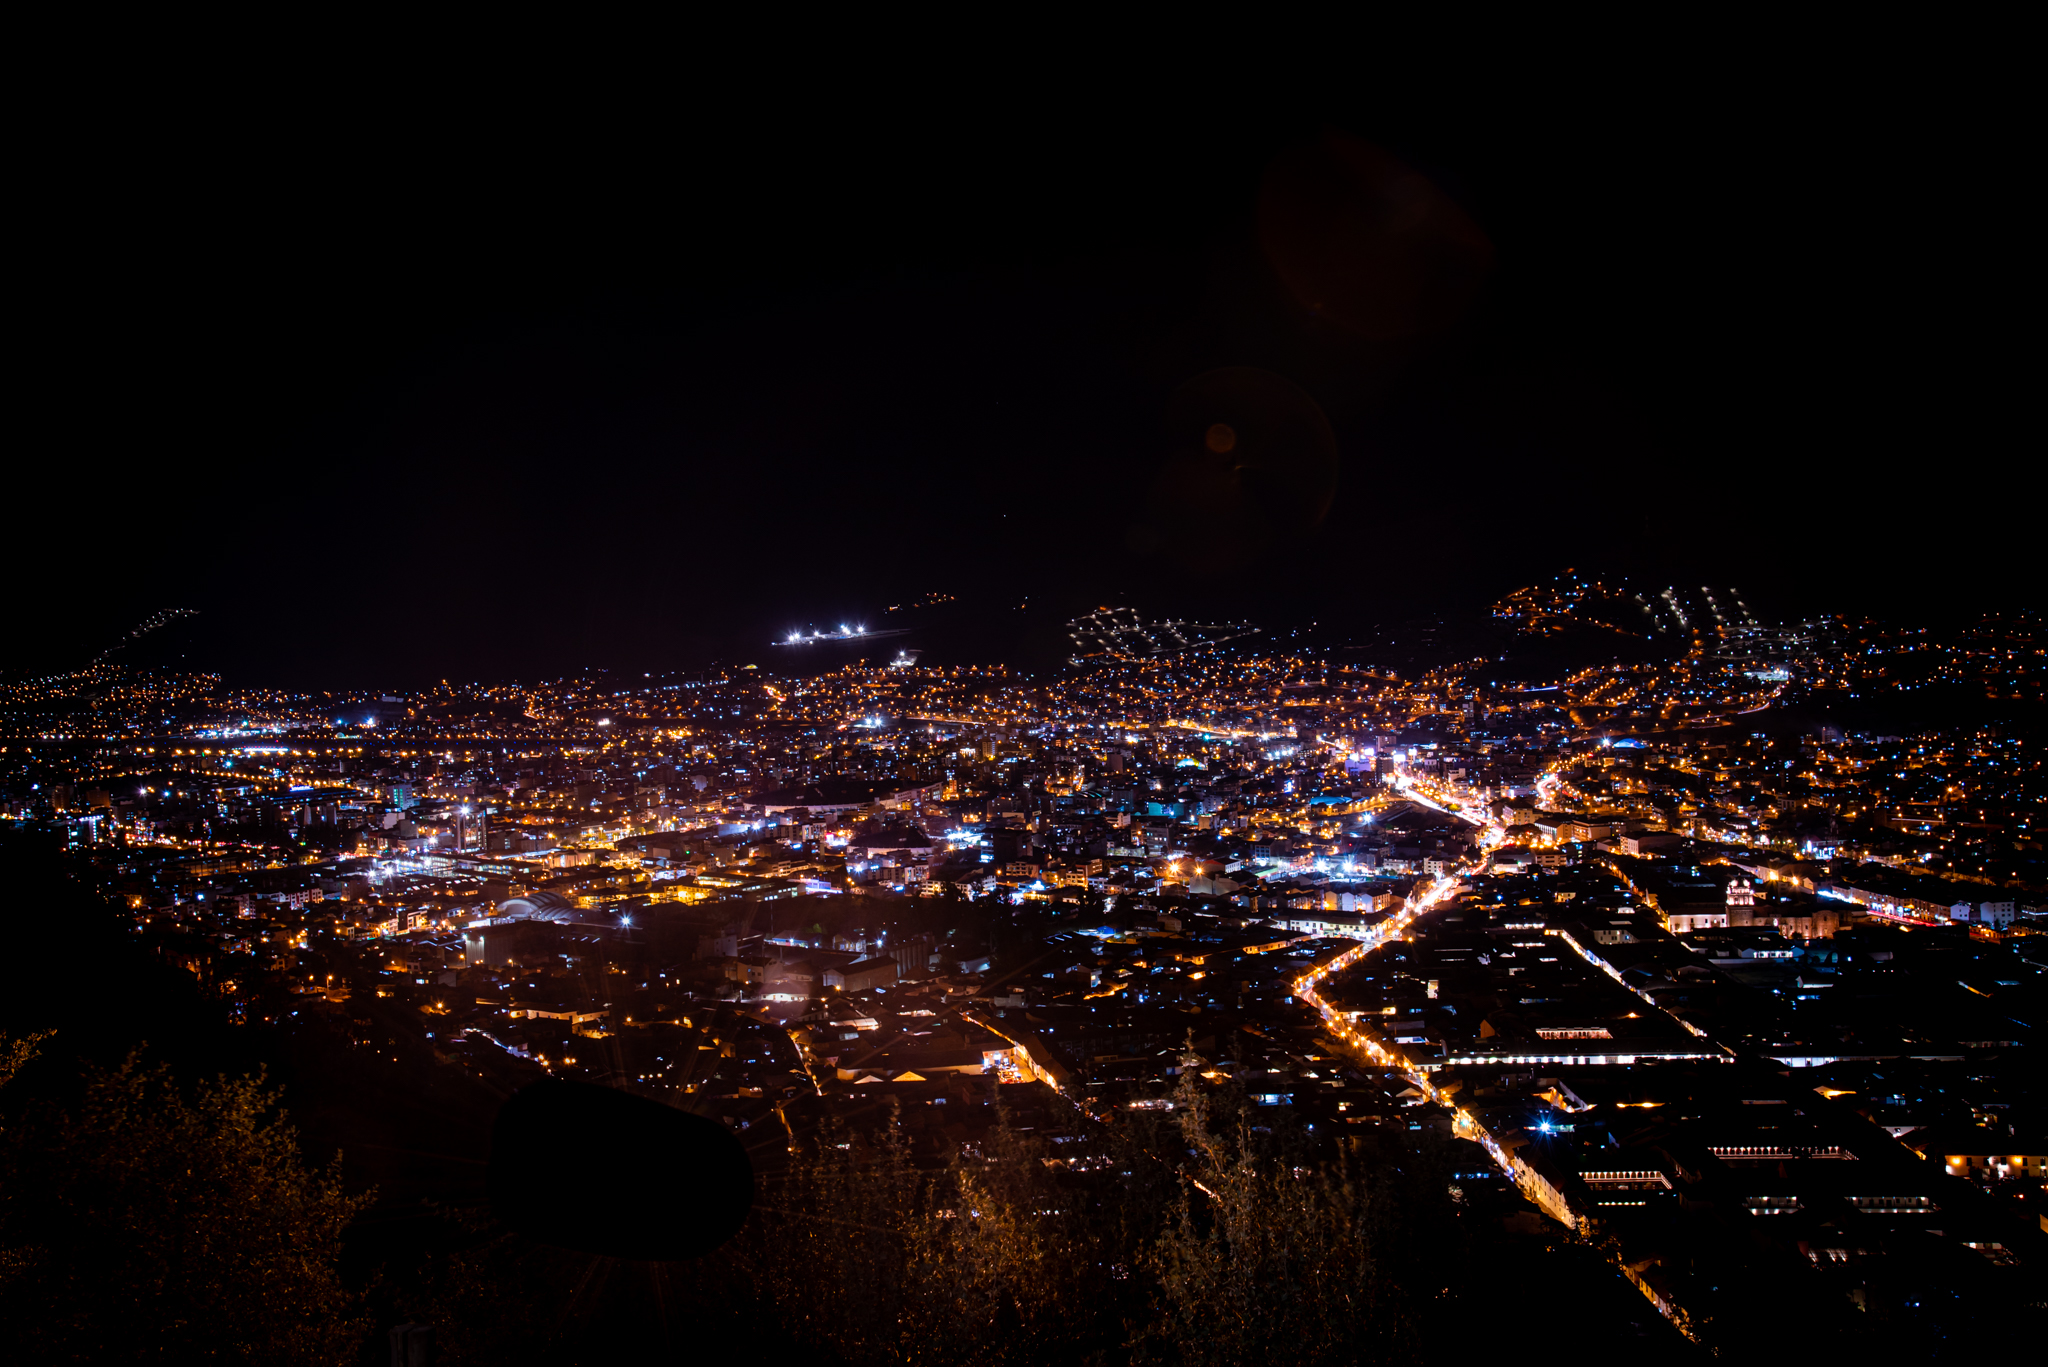
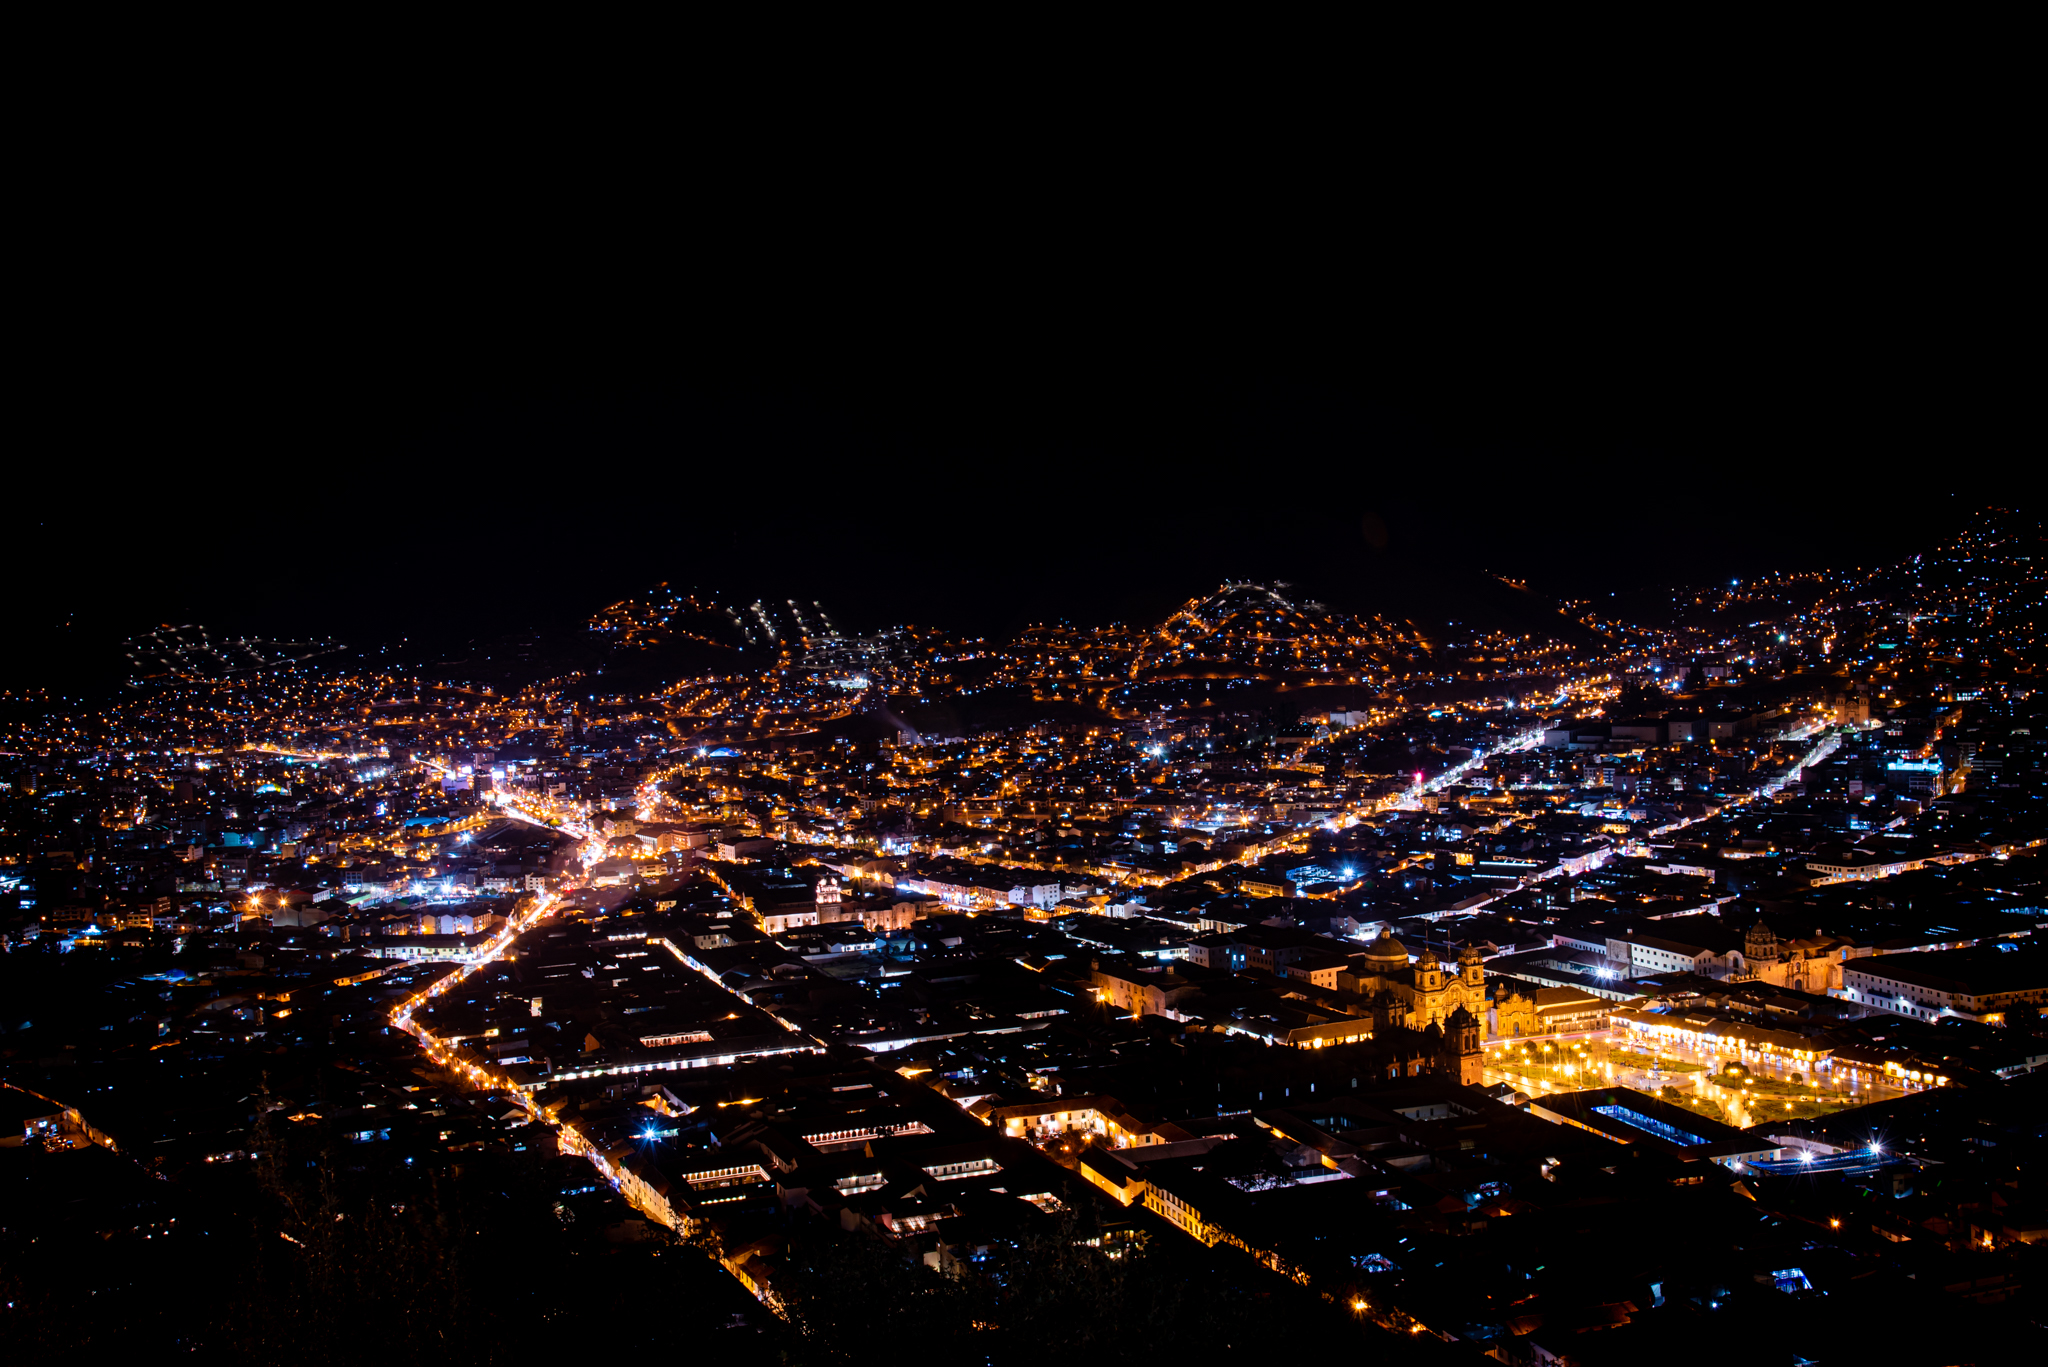
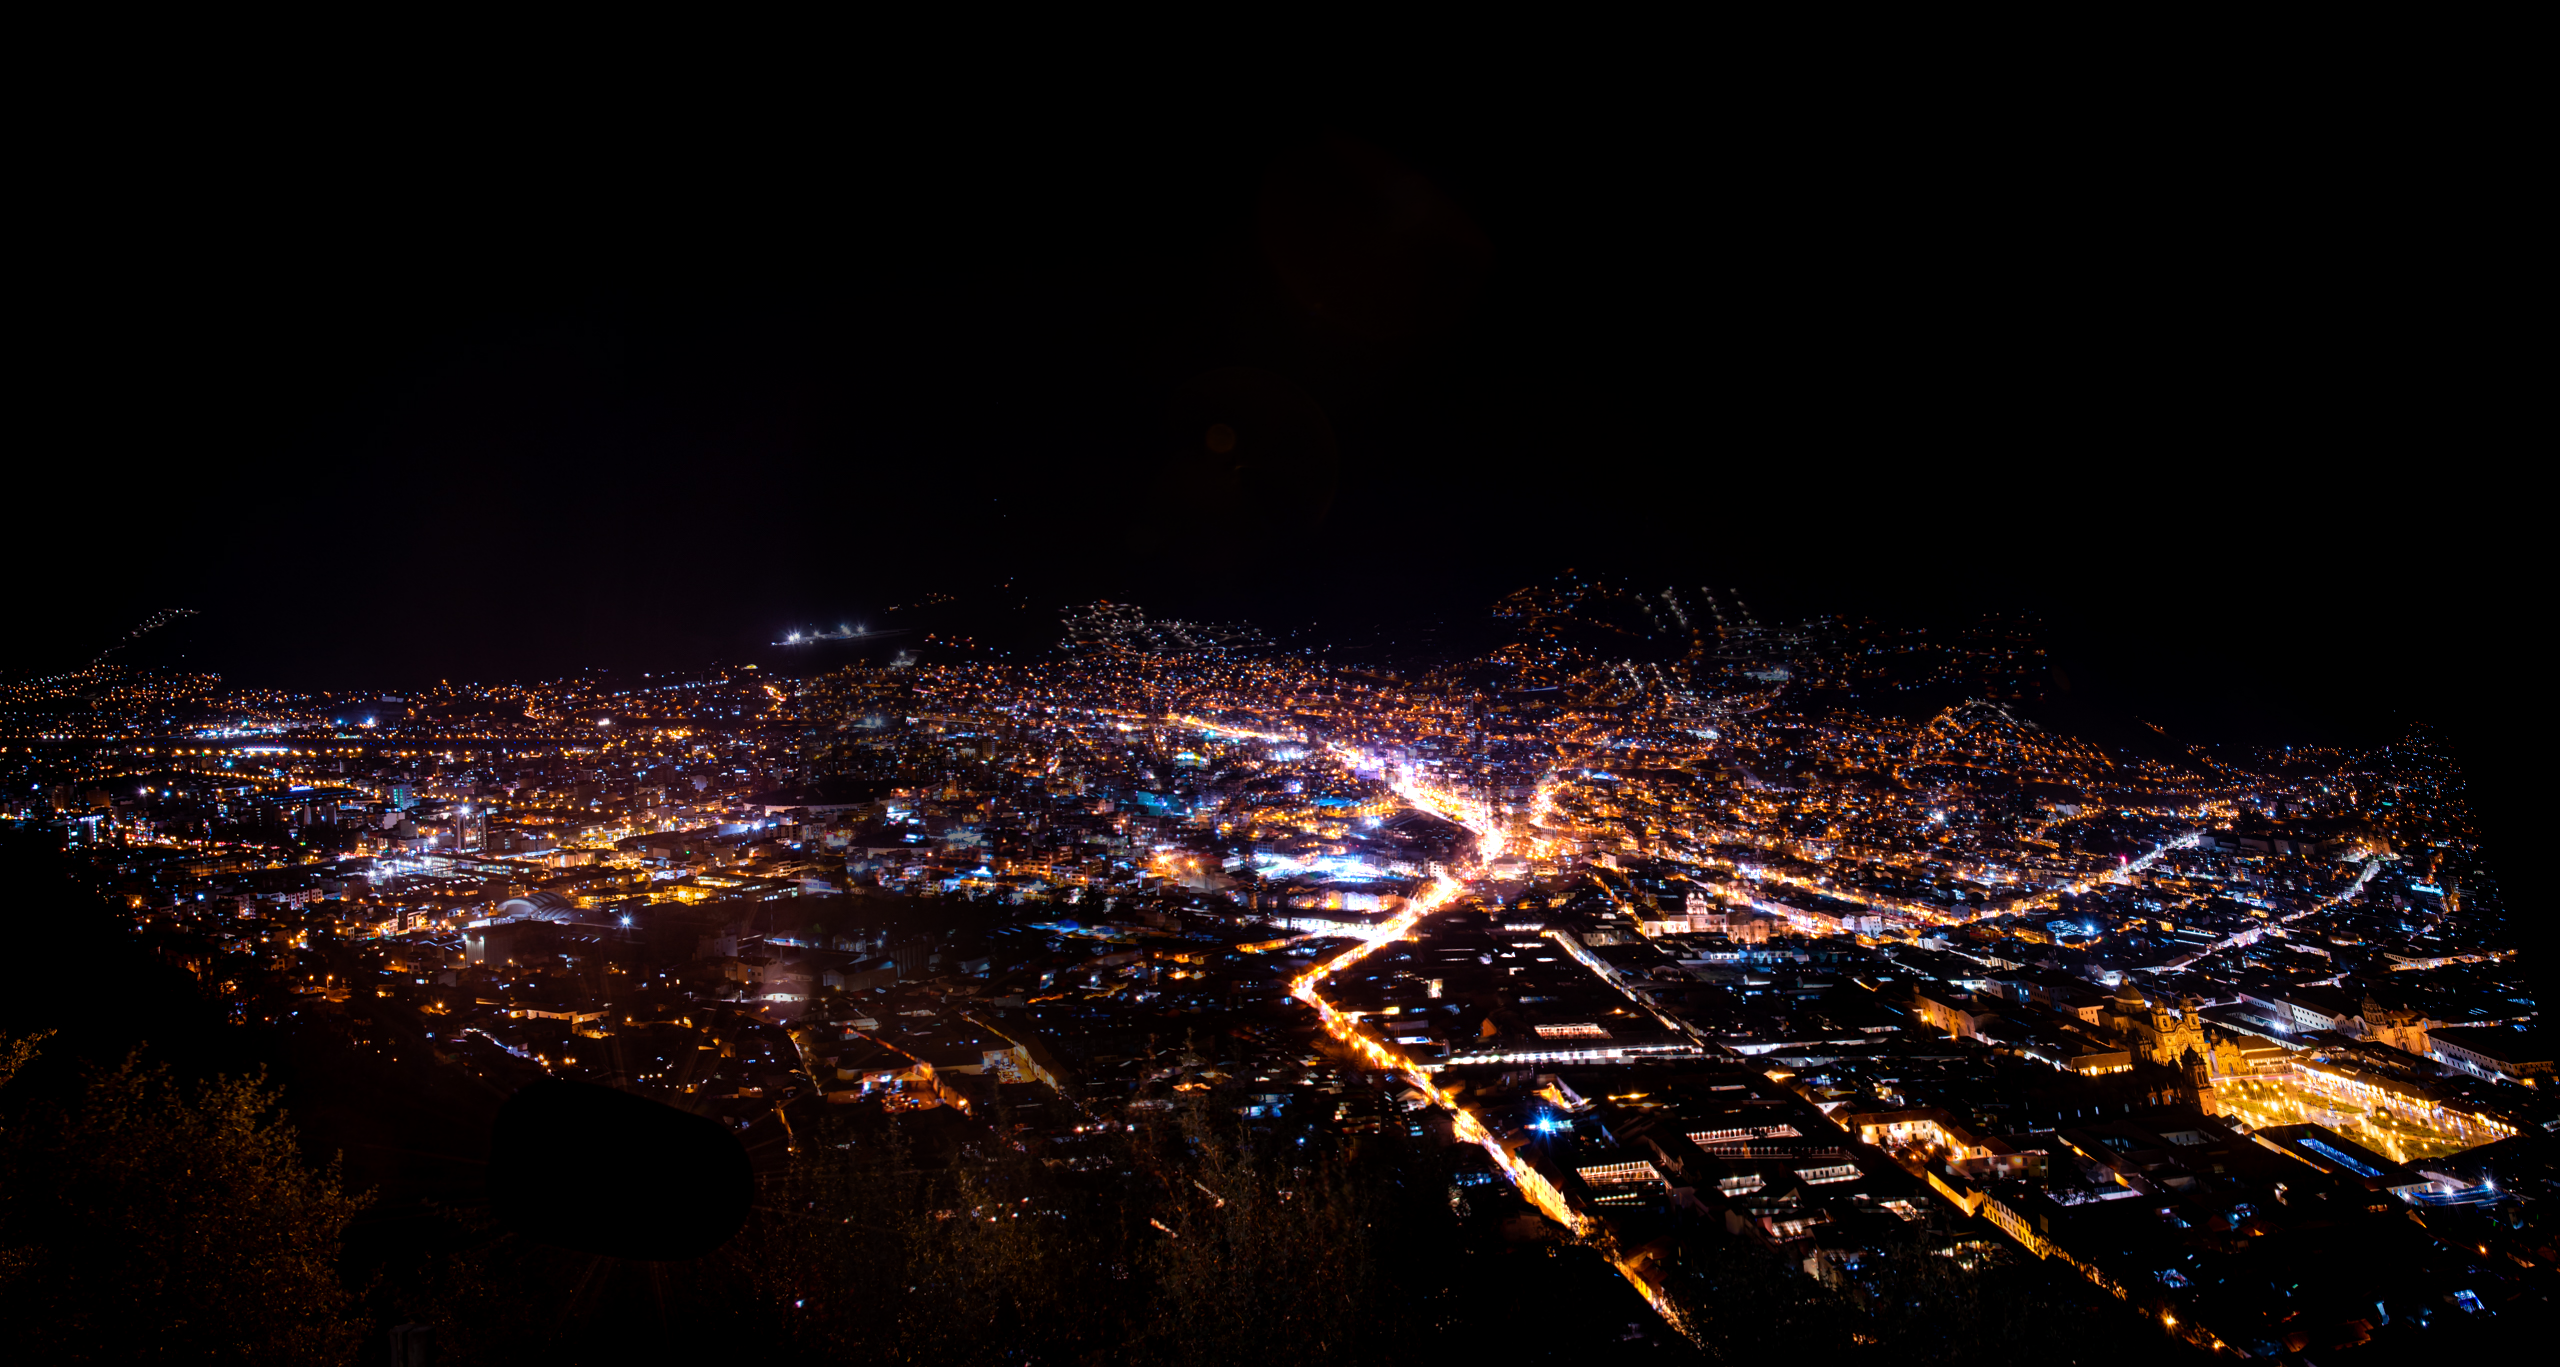
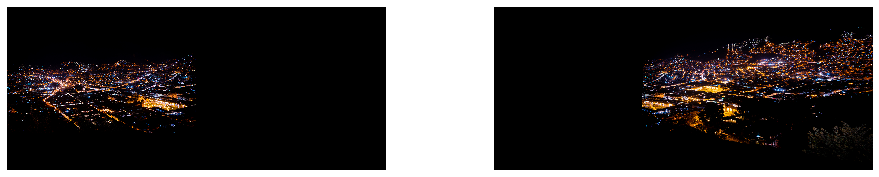
Before we could stich images and do a photo panaroma, we need to take some source images. Here are two pictures I took last year in Cusco, Peru. I actually took four images like these two but I will save that to part B. :)
In order to do a successful photo mosaic, we need to take projective pictures of a scene, meaning that all pictures were taken on a "tripod", a fixed center. Otherwise, we will not be able to stich them perfectly.
In this part, we will compute the transformation matrix between one image to the other. This matrix is called the homography. In order to find the homographies matrix, I labeled 6 pair of correspondance points on two images. Then based on these characteristic point, I am able to find the homographies matrix. Finally, I can warp the image using the homographies matrix to the desired final location. Note that the warped image is 1.25 times wider than the original image; this is to account for the extra width of the mosaic image.
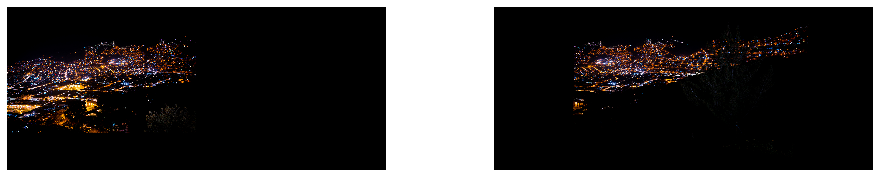
Images with corresponding points

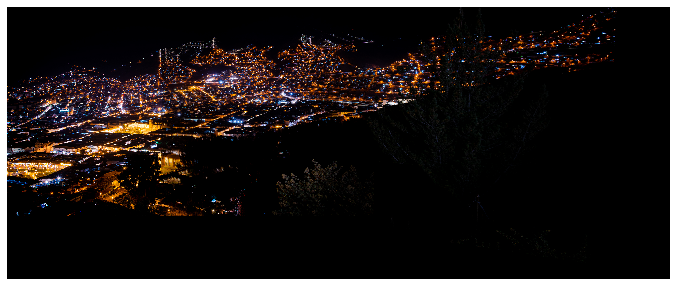
Image warping

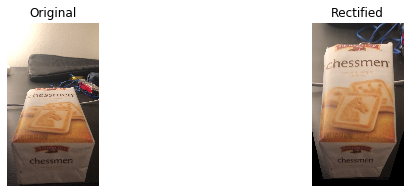
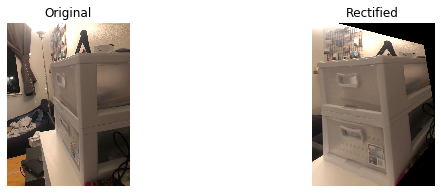
We could use the homographies matrix to see the object in a different perspective! Here I took some random pictures of different objects and rectified them to a perspective other than I took.
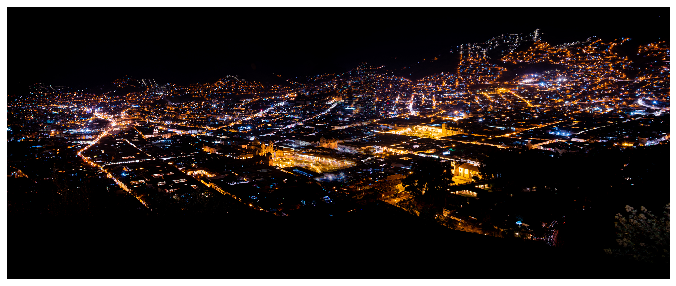
With all above, we could stich the image to form a good mosaic! However one problem in the stiching is the sharp color/edge differece between two images. In order to smooth this edge transition, I used image pyramid to blur and darken the part where two images connect. There are some blurry on the final mosaics due to the correspondence point issue, but overall the mosaic looks good!
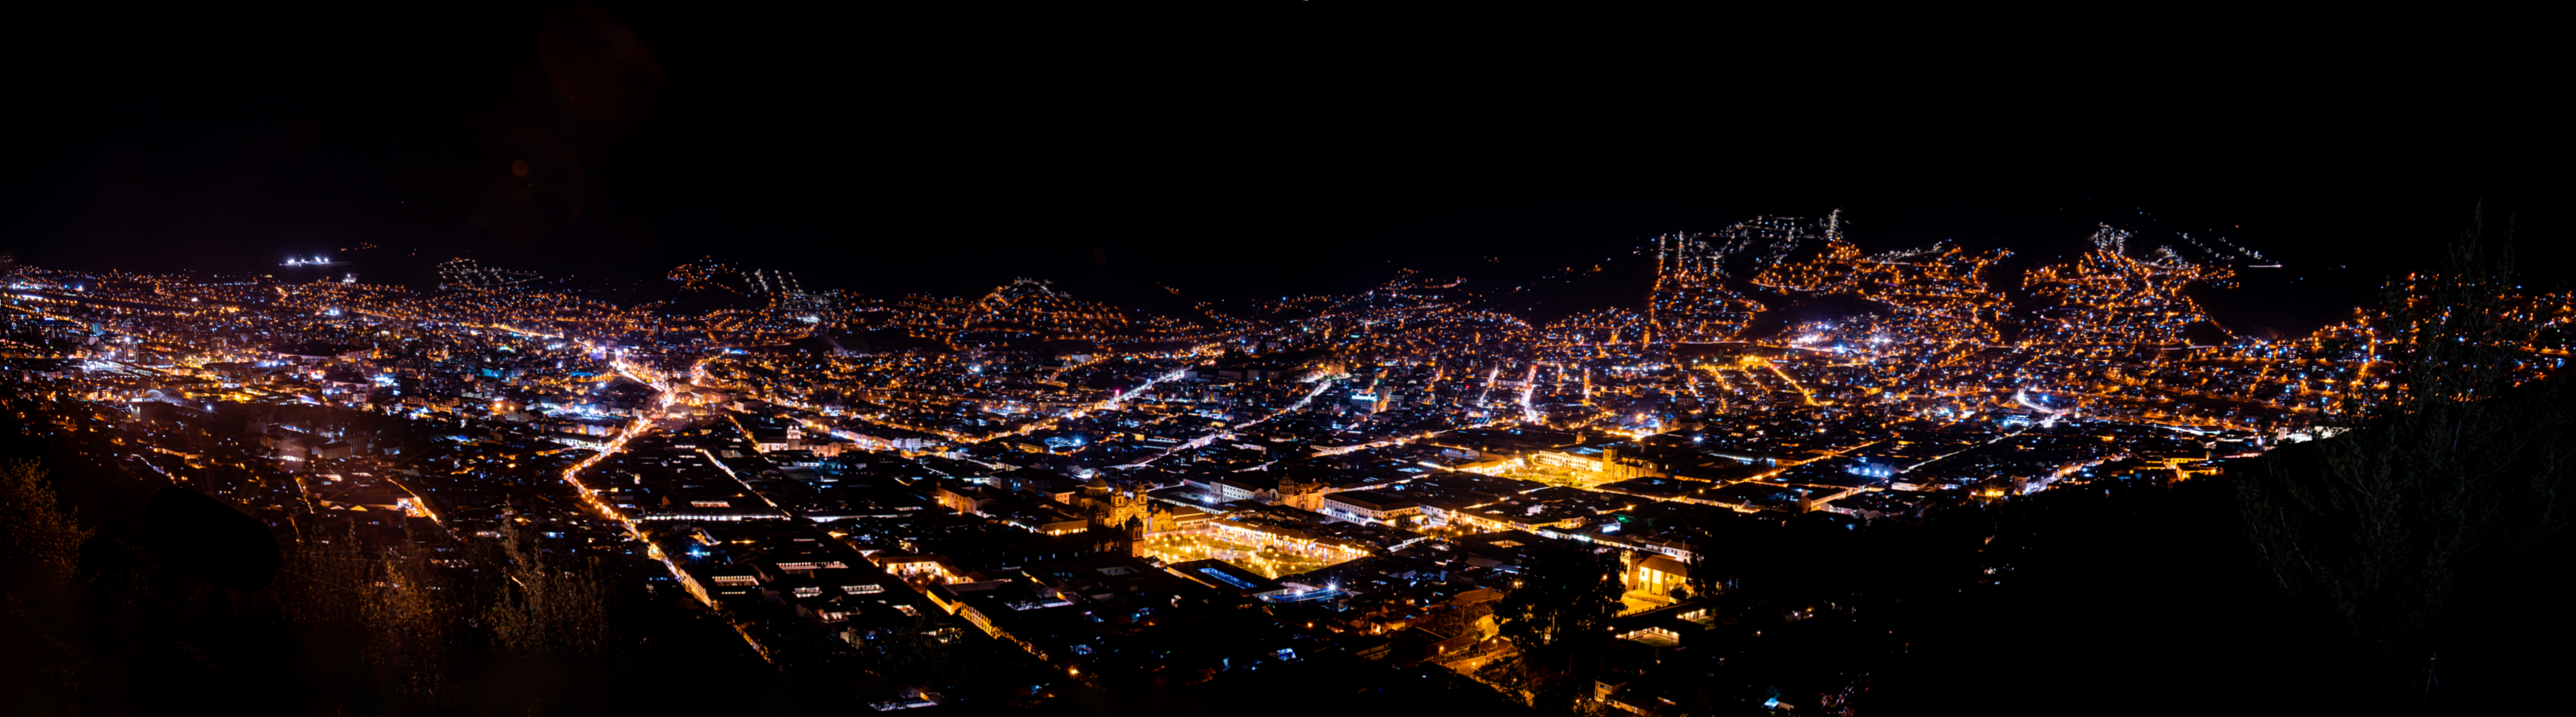
Full Mosaic
In this part, we will create a system that automatically finds the corresponding interest points and stichs the iamges. I will use four pictures I took from the same place, and try to create a final majestic panorama.
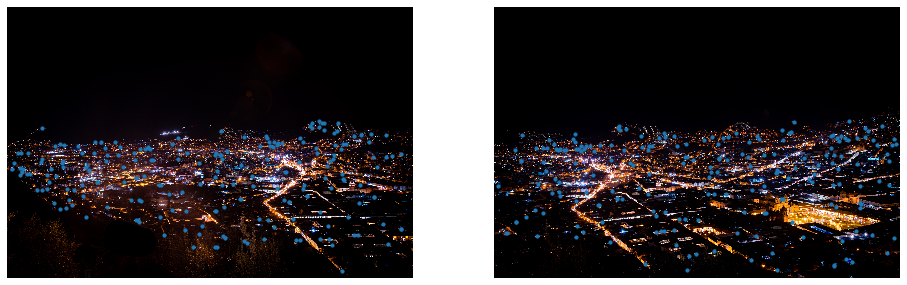
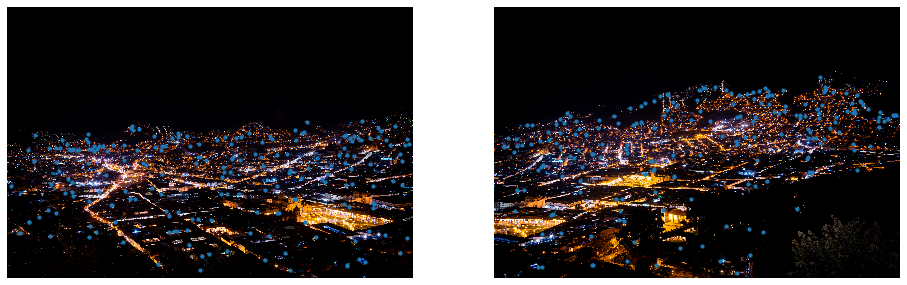
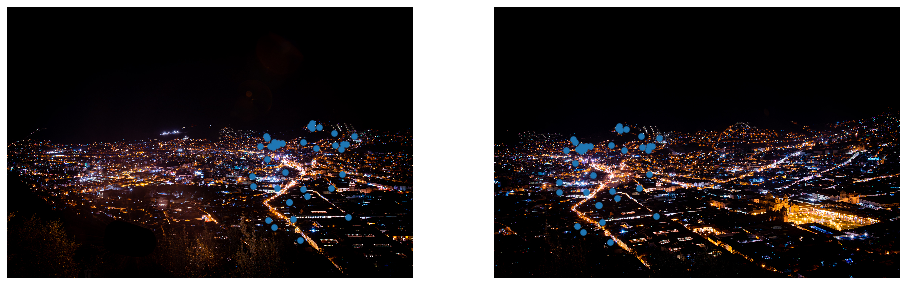
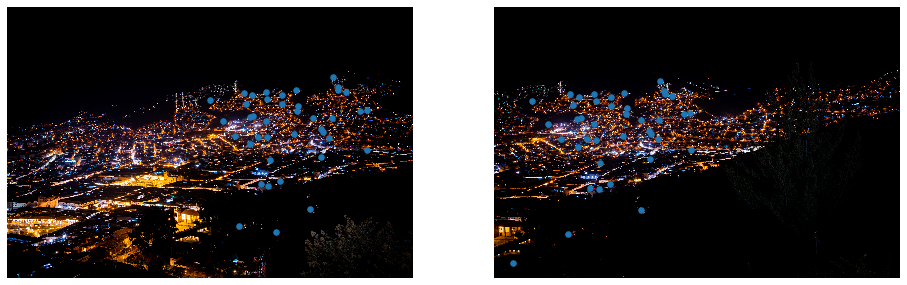
The interest points we use are multi-scale Harris corners. Here are the results (code from Professor Efros).
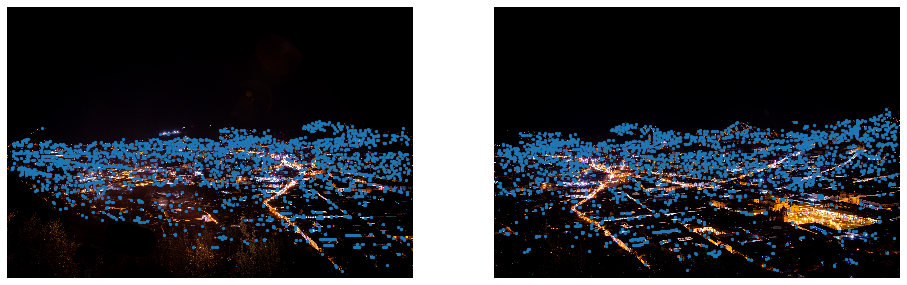
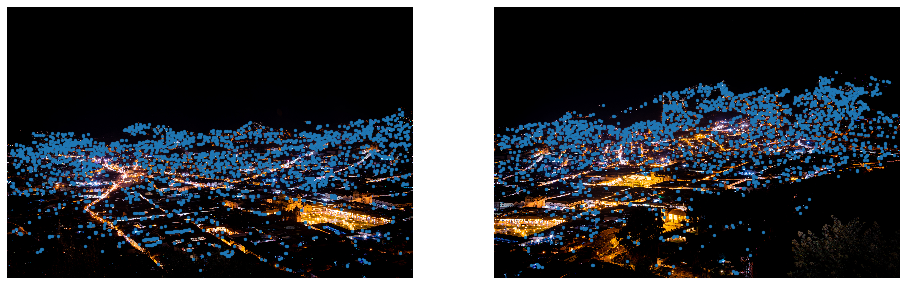
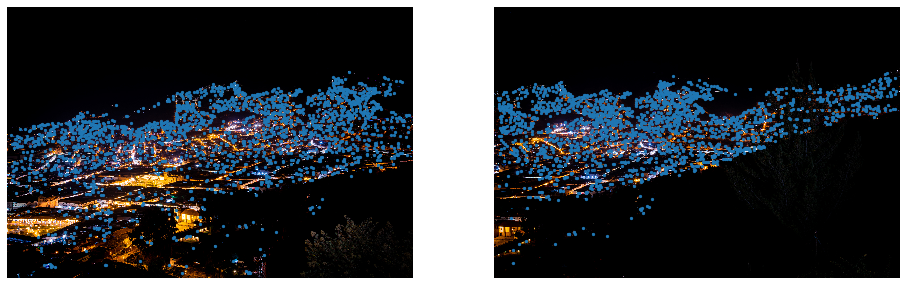
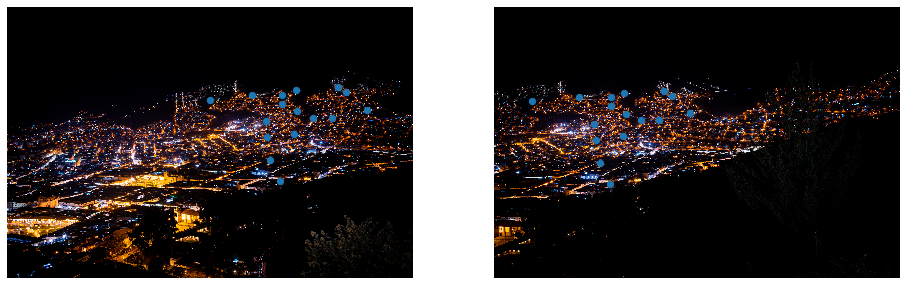
Since the computational cost of matching is superlinear in the number of interest points, it is essential to restrict the maximum number of interest points extracted from each image. Therefore, we applied Adaptive Non-Maximal Suppression to all the interest points to reduce the pool of feature points.
Once we have determined where to place our interest points, we need to extract a description of the local image structure that will support reliable and efficient matching of features across images.

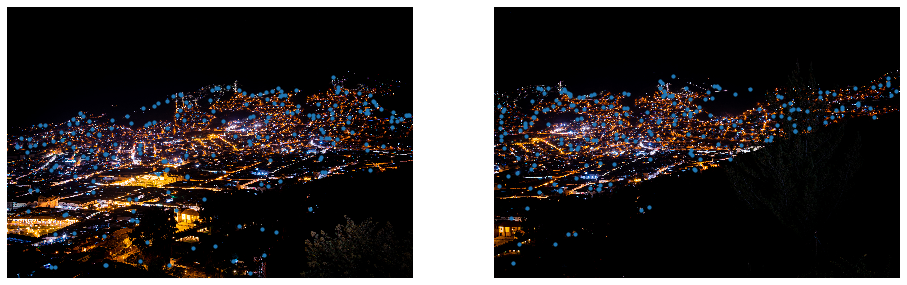
This step is to make sure that outliers are removed. For this part, I implemented RANSAC. In each iteration, 4 pairs of matching feature points are sampled randomly, and their homography matrix were calculated by the computing homography function. Then I compared the transformed points difference with its original points, and remove the points where their squared difference is larger than 0.5.

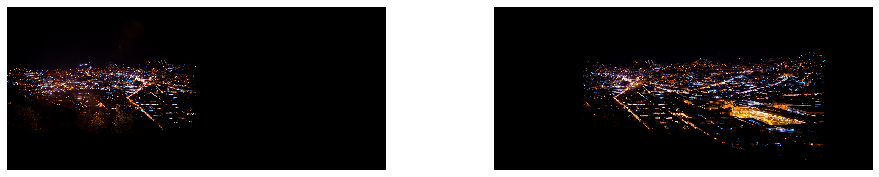
Use the same function from part A again, we could compute the warped images.
p1 - p2

p2 - p3
p3 - p4
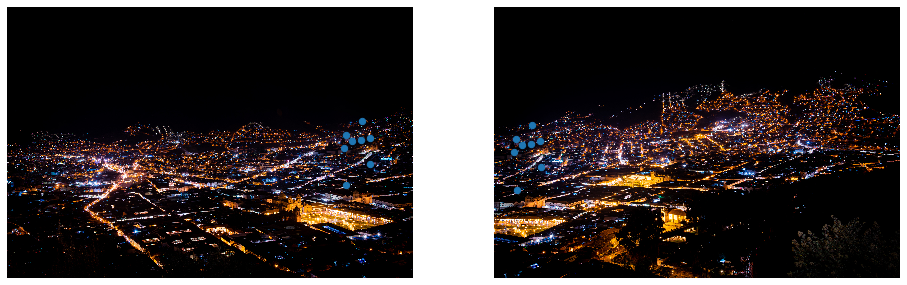
This final piece is done by stiching four pictures one by one. Although it is blurry in some part (blending is not perfect), it is very cool!
I have used the automatic panorama function on my phone many times, but untill now I understand how it (potentially) works!