Image warping and panoramas and getting rid of excessive clicking! Thou shalt soon realize the homely beauty of my residence, in which I hast been confined in for ere weeks past.
Part 1: Image Warping and Mosaicing
1.1: Shooting Pictures
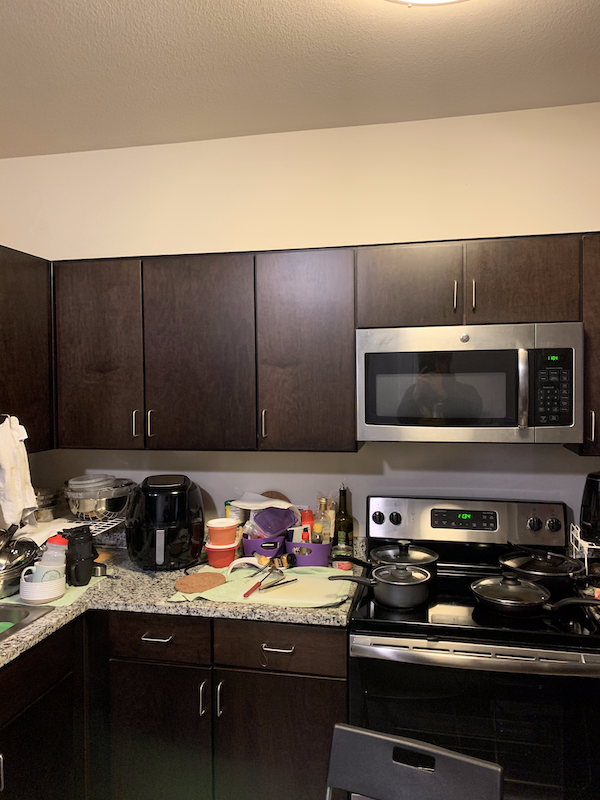
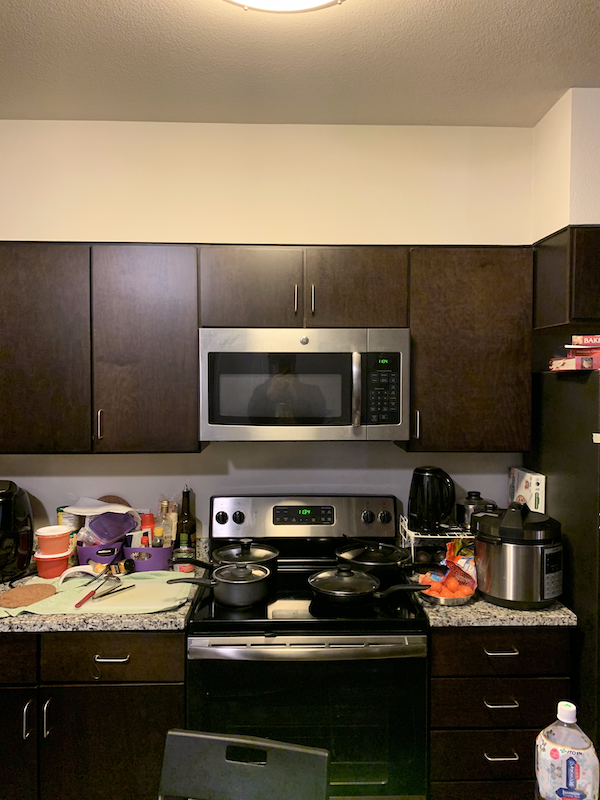
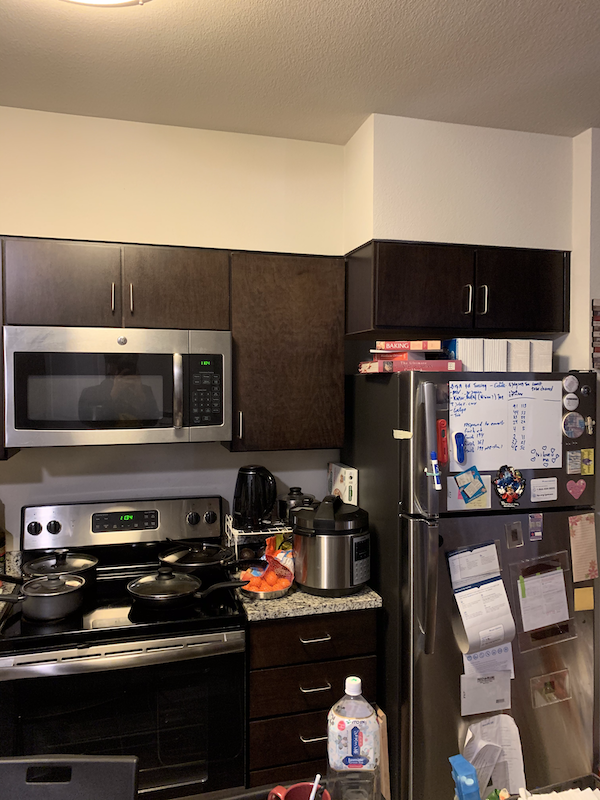
I shot images to be used throughout this project on my phone, and will display them side by side the results when appropriate for comparison. To make sure results were consistent throughout images, I made sure to lock my exposure and focus.
1.2: Recovering Homographies
I first had to find the 3x3 homography that relates one image to the next, in order to warp it. To do this, I used least squares to recover 8 values from several points that I recorded between both images (an equal number per image). The 9th part of the homography is a scaling factor that I set to 1.
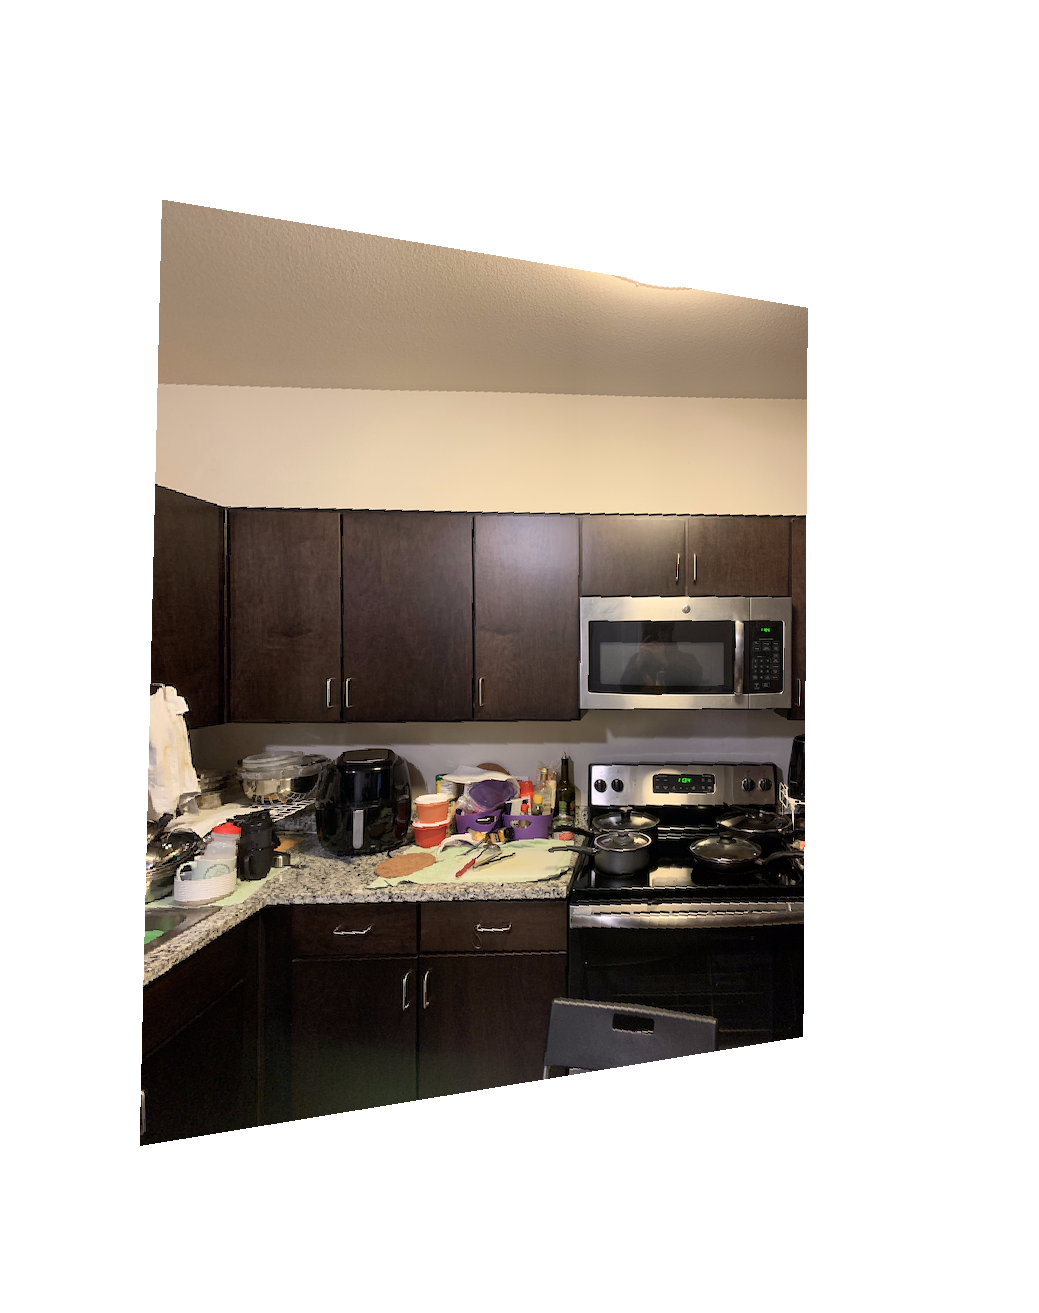
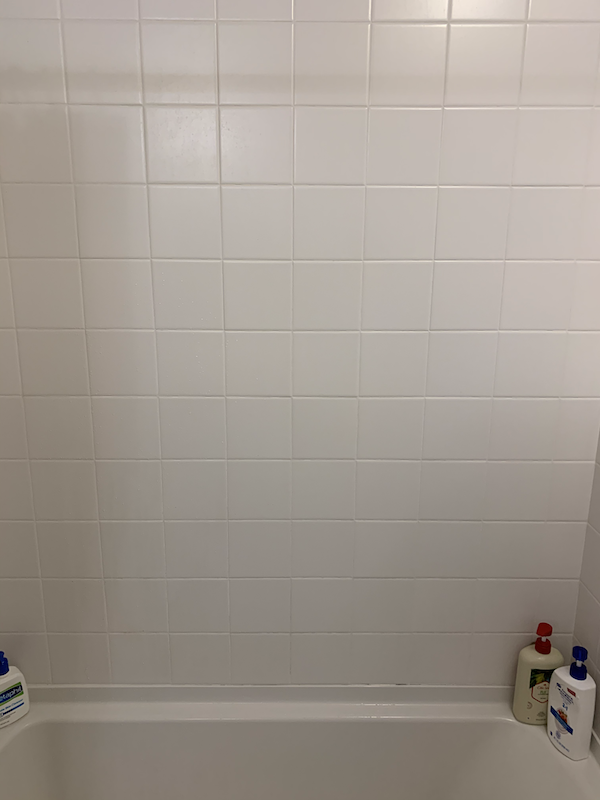
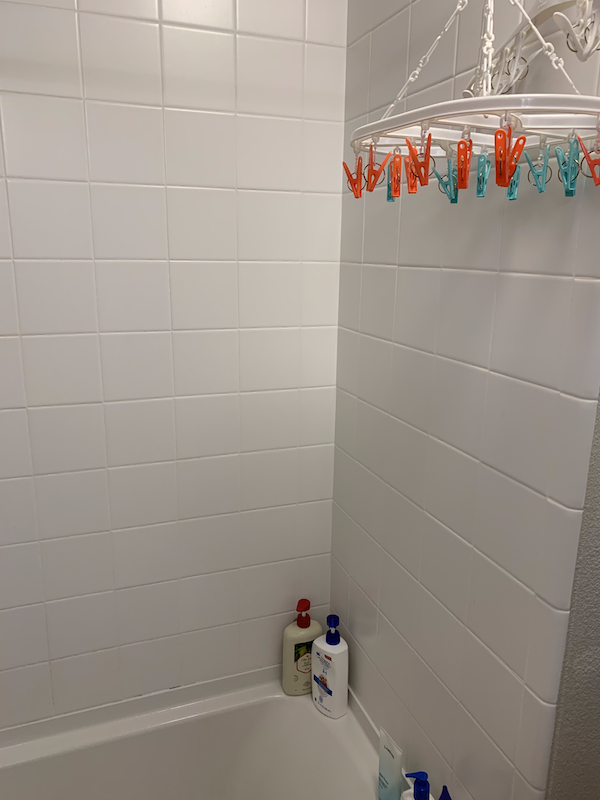
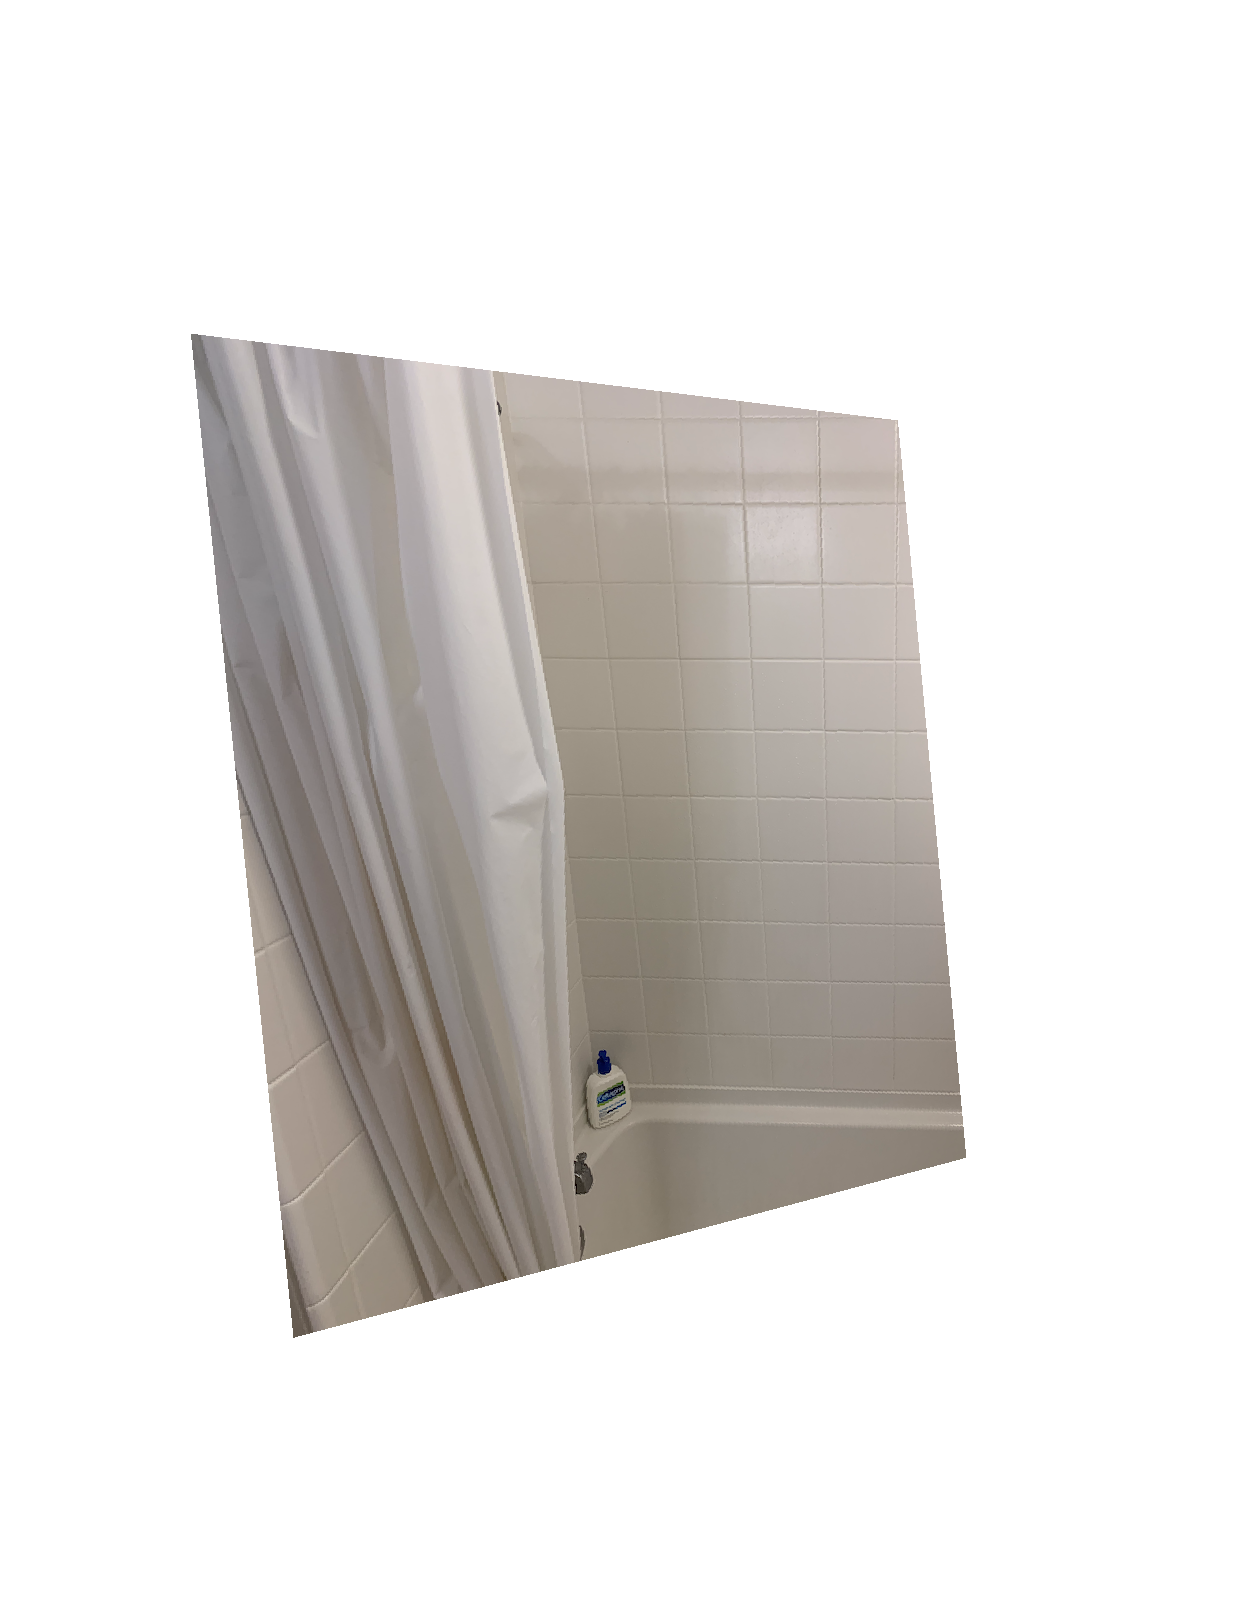
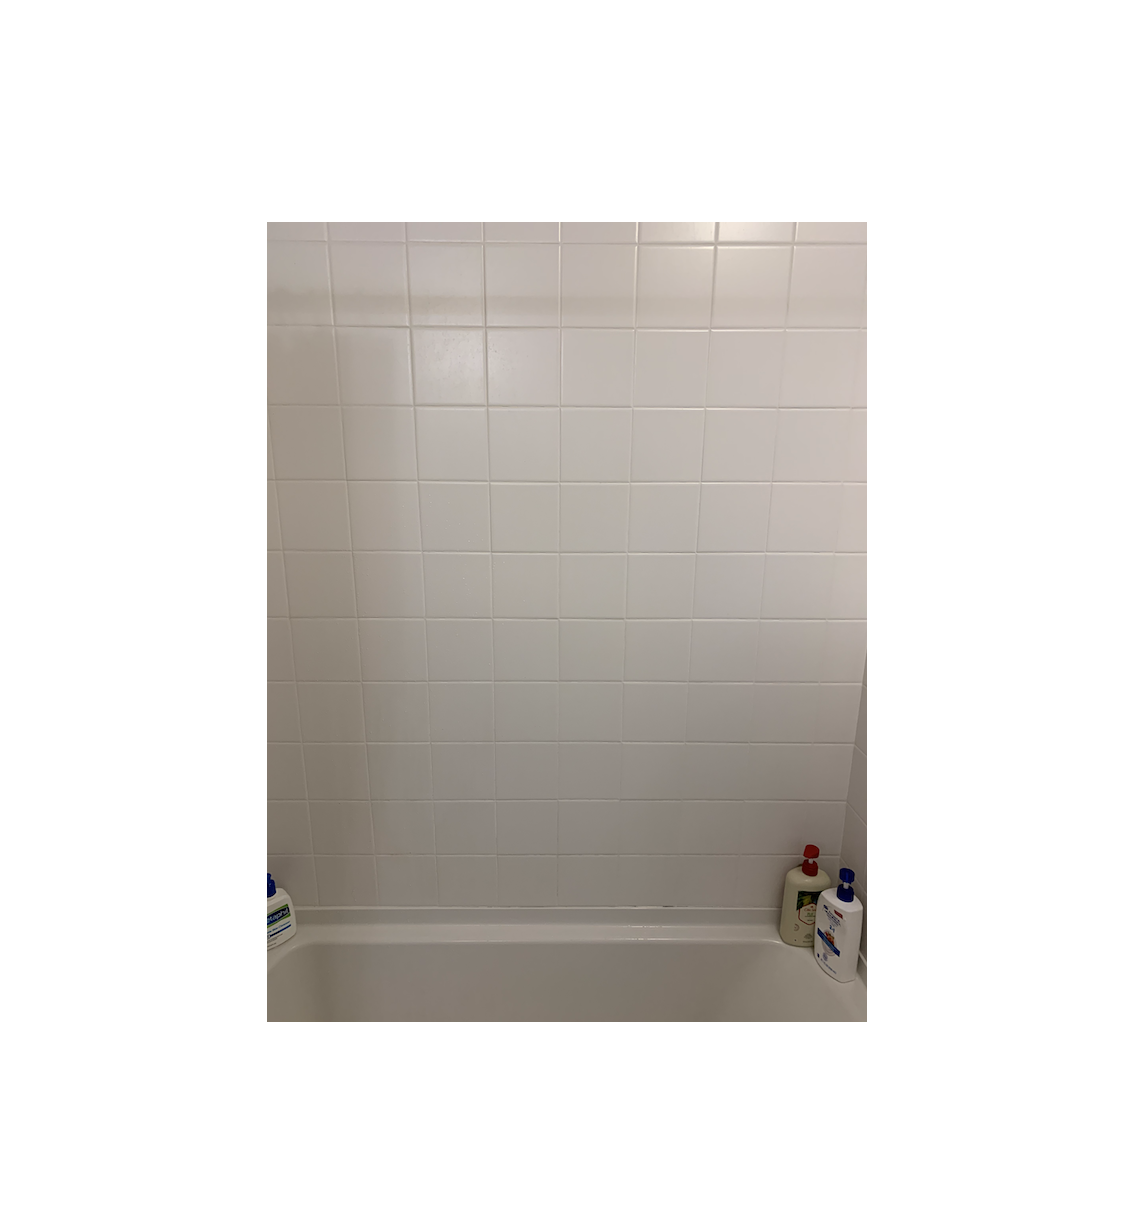
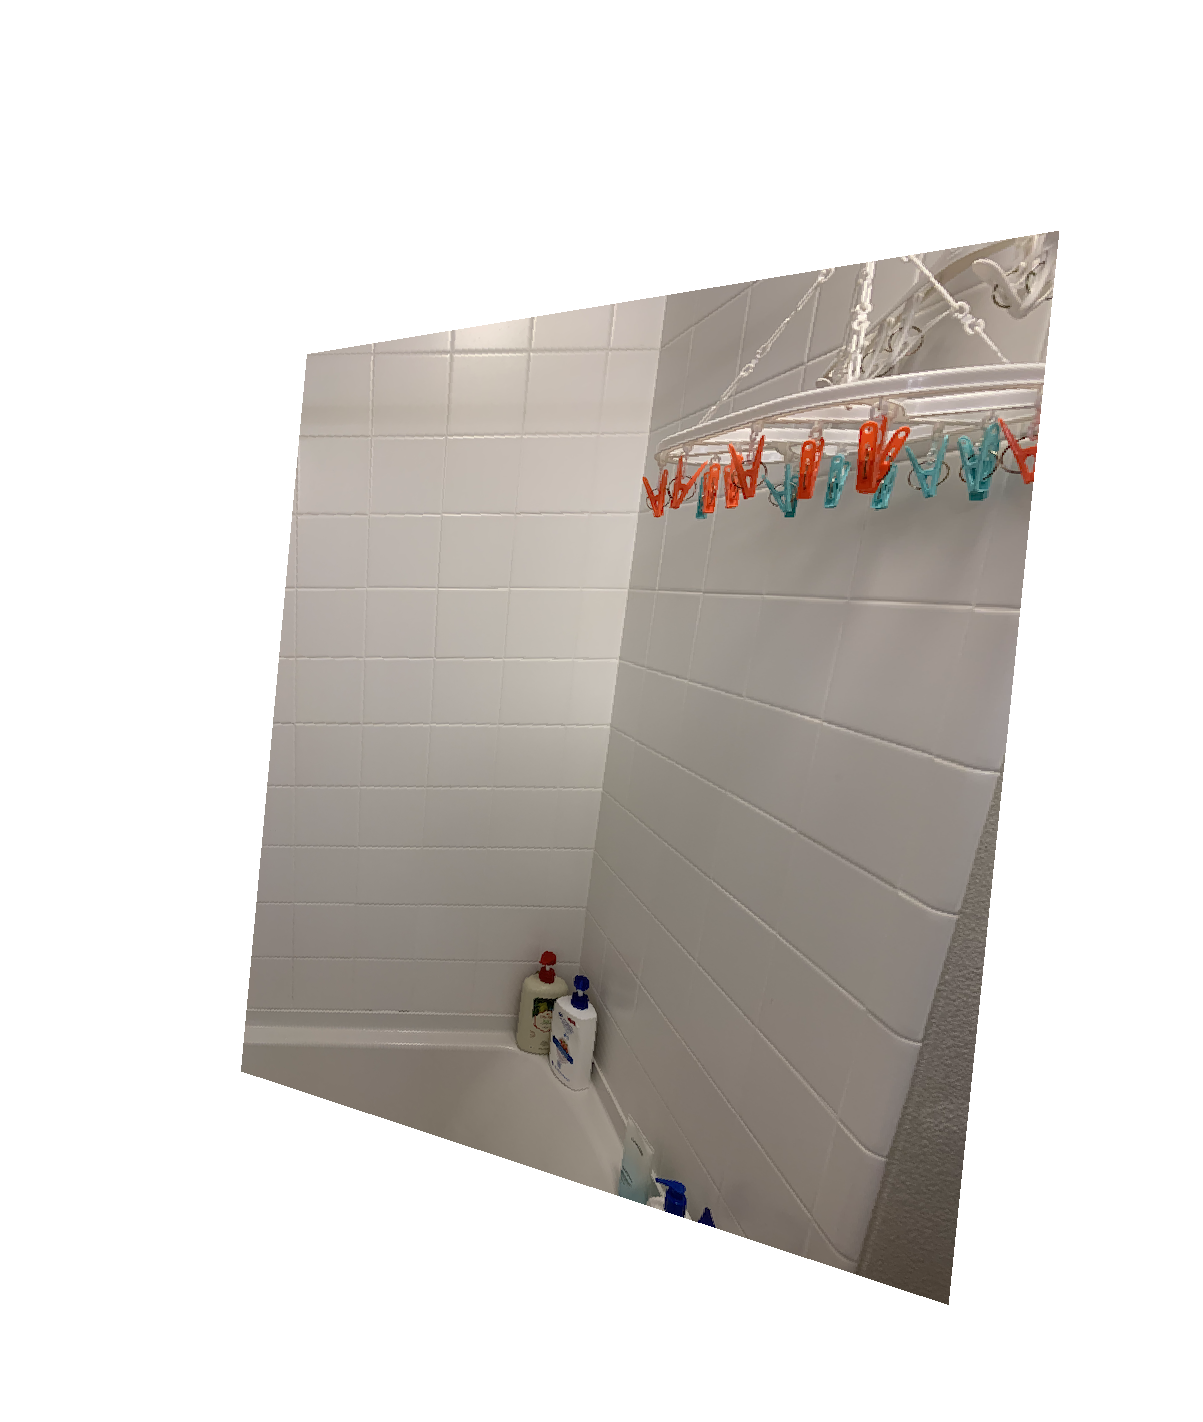
1.3-1.4: Image Warping and Rectification
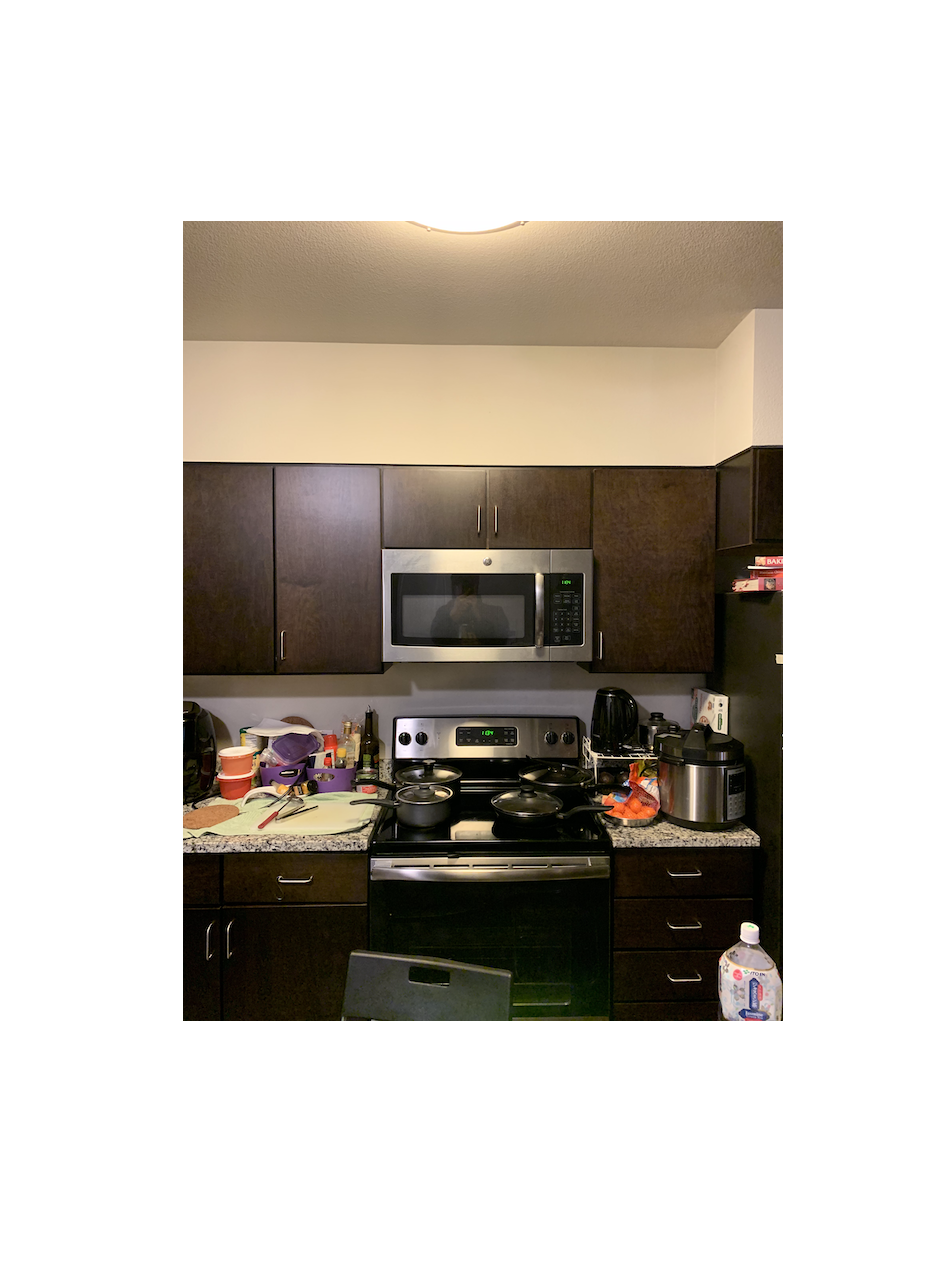
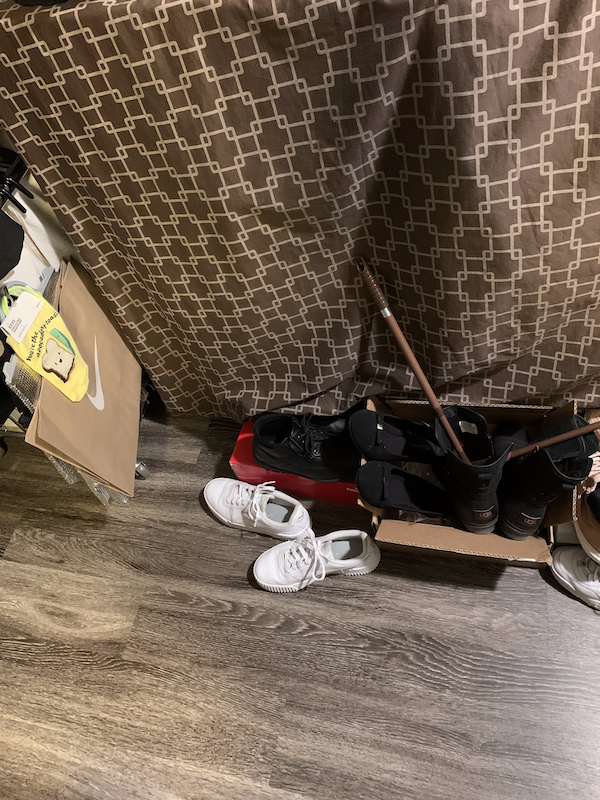
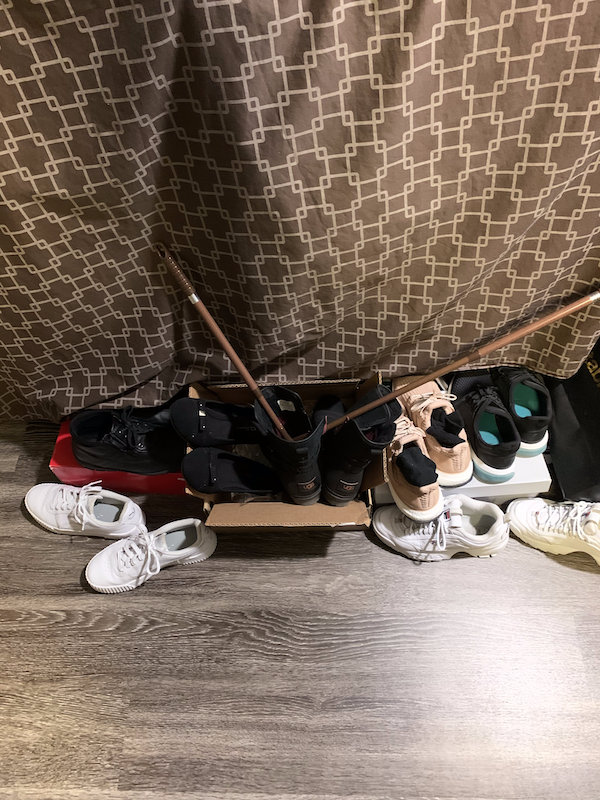
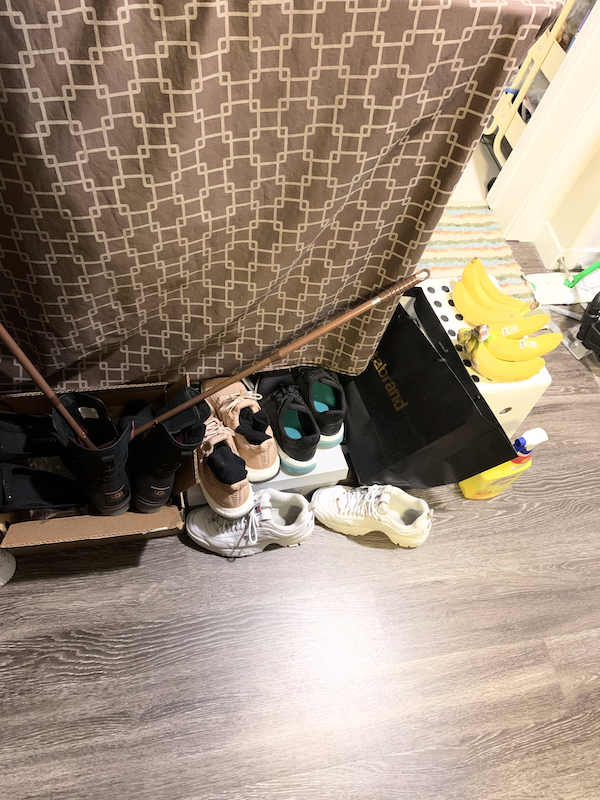
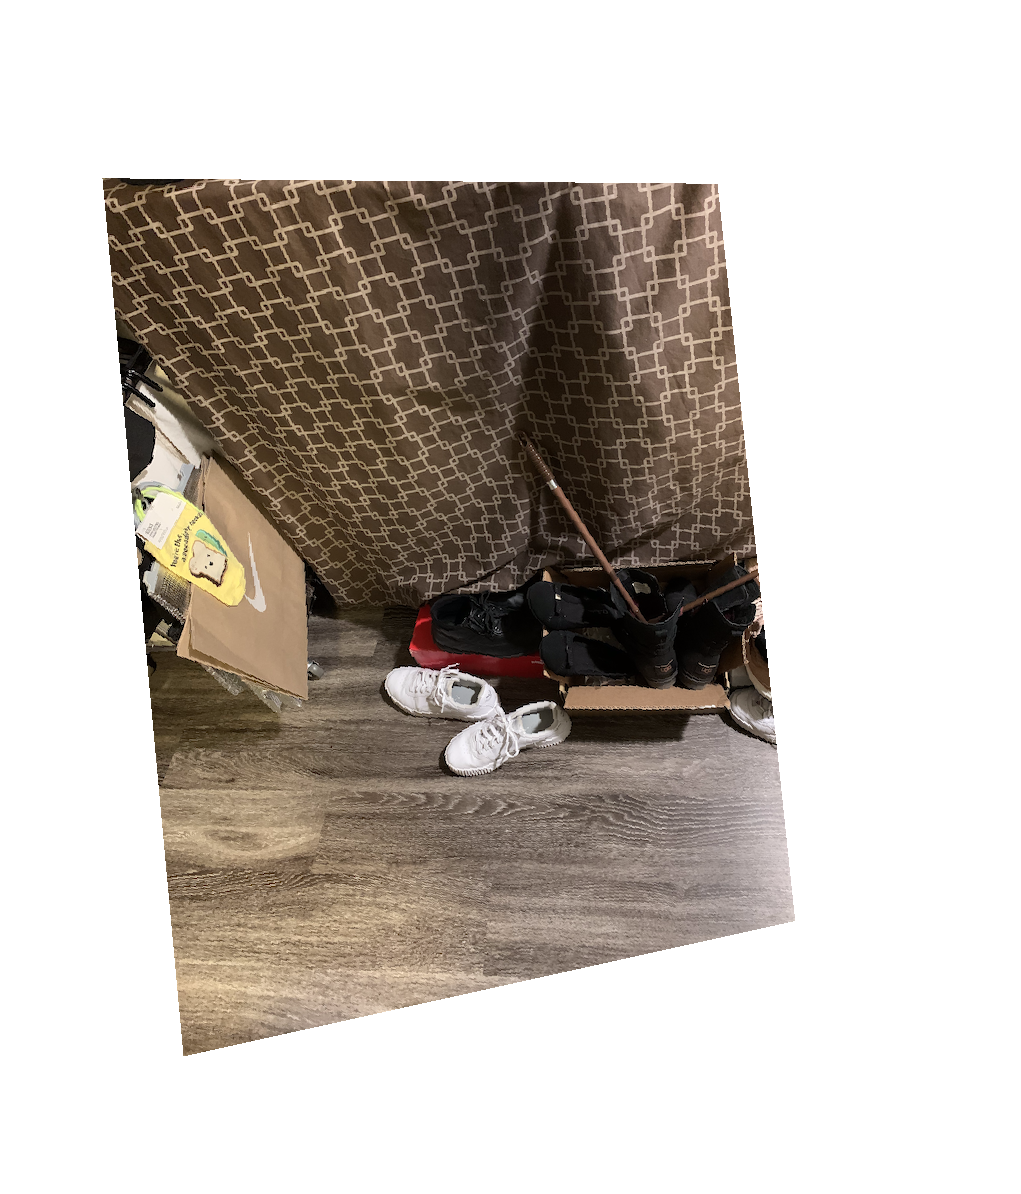
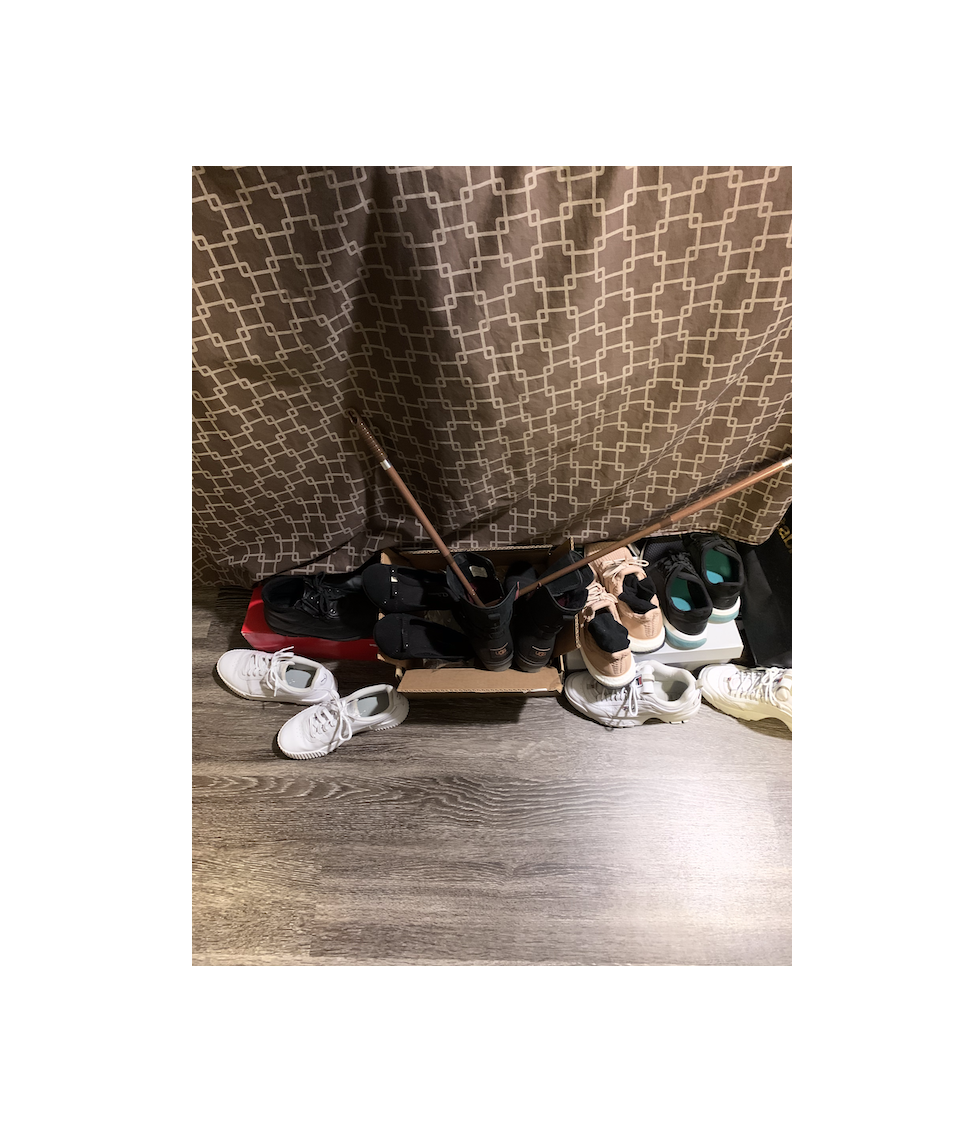
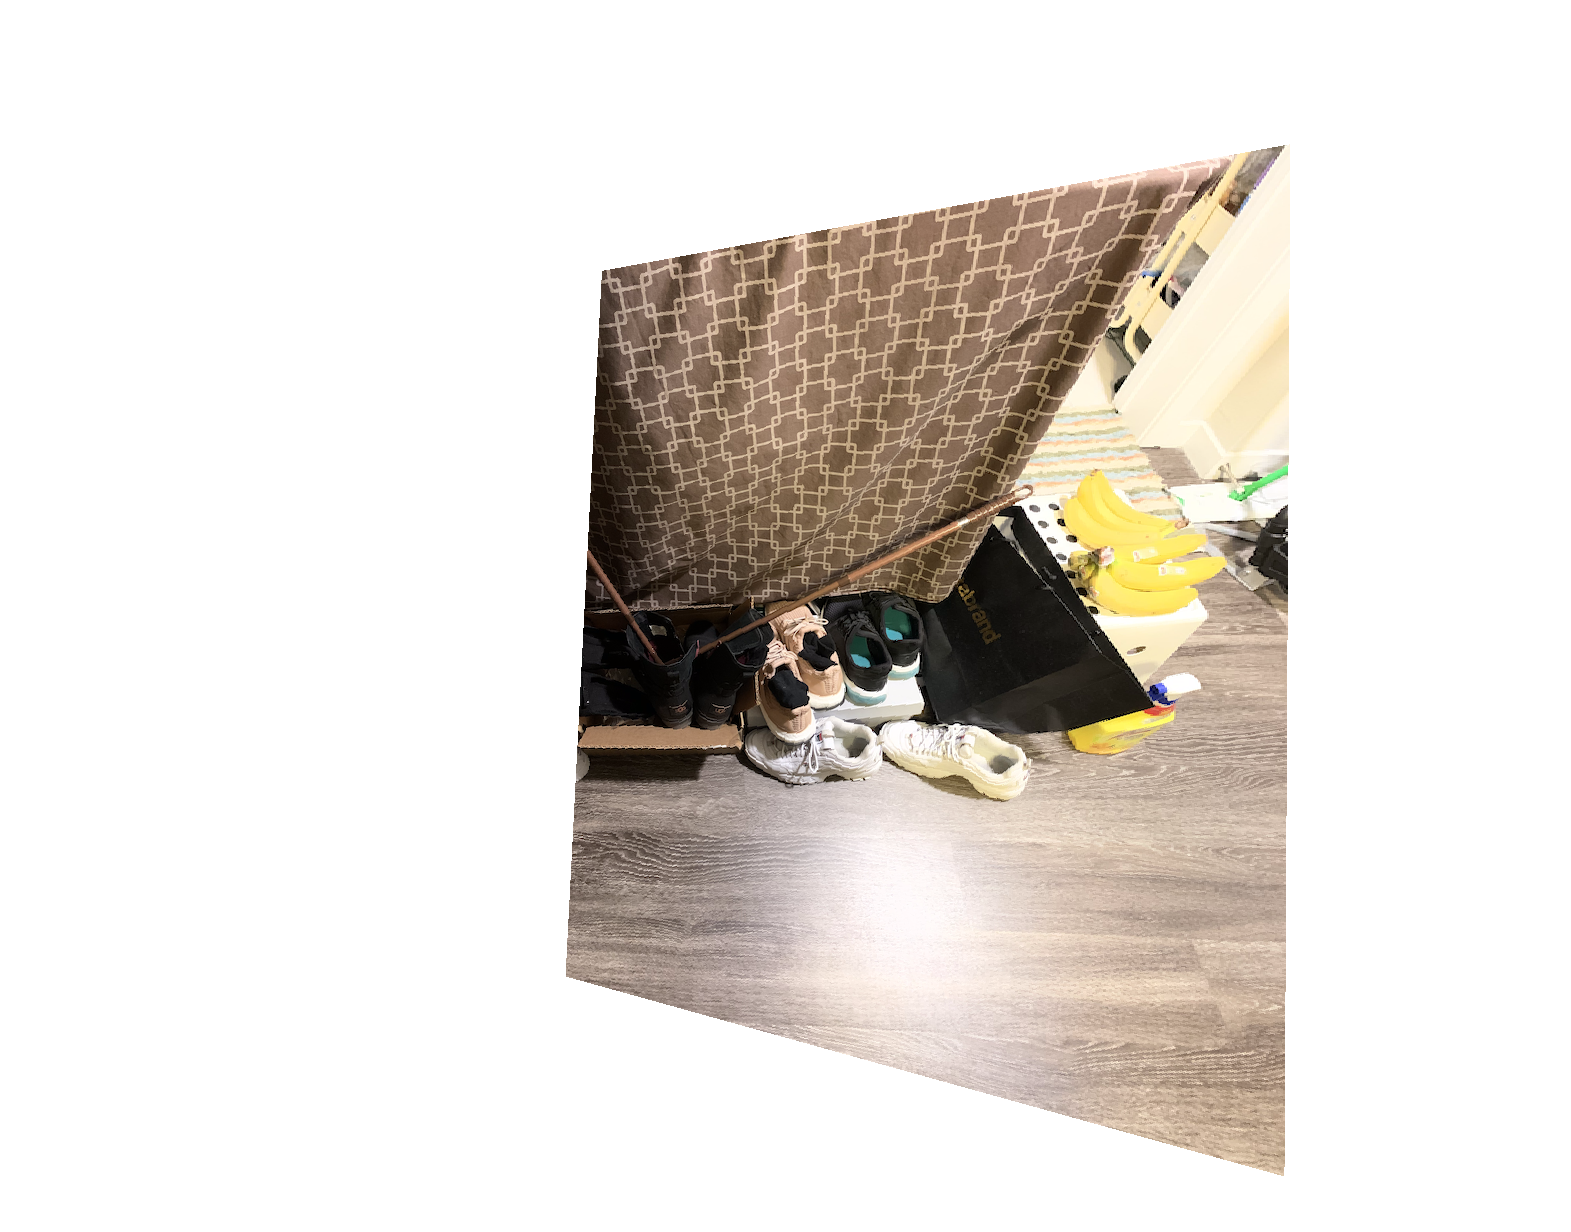
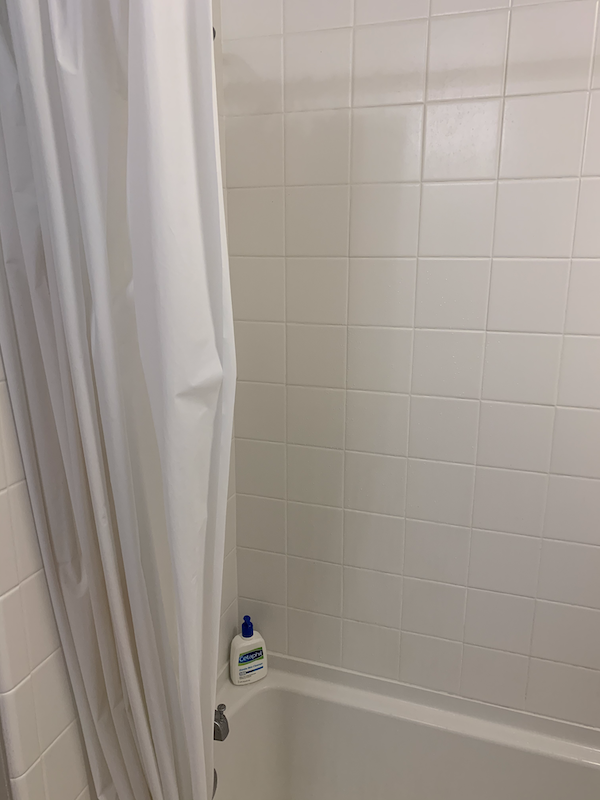
Let's set some images right. I take the inverse of the homography matrix and apply it to the coordinates of my image in order to receive new coordinates corresponding to the warped image. I then sample the old image for color values in order to reconstruct it. Here are my results! (I found everything in my kitchen because I haven't left this place in a week).
|
|
|
|
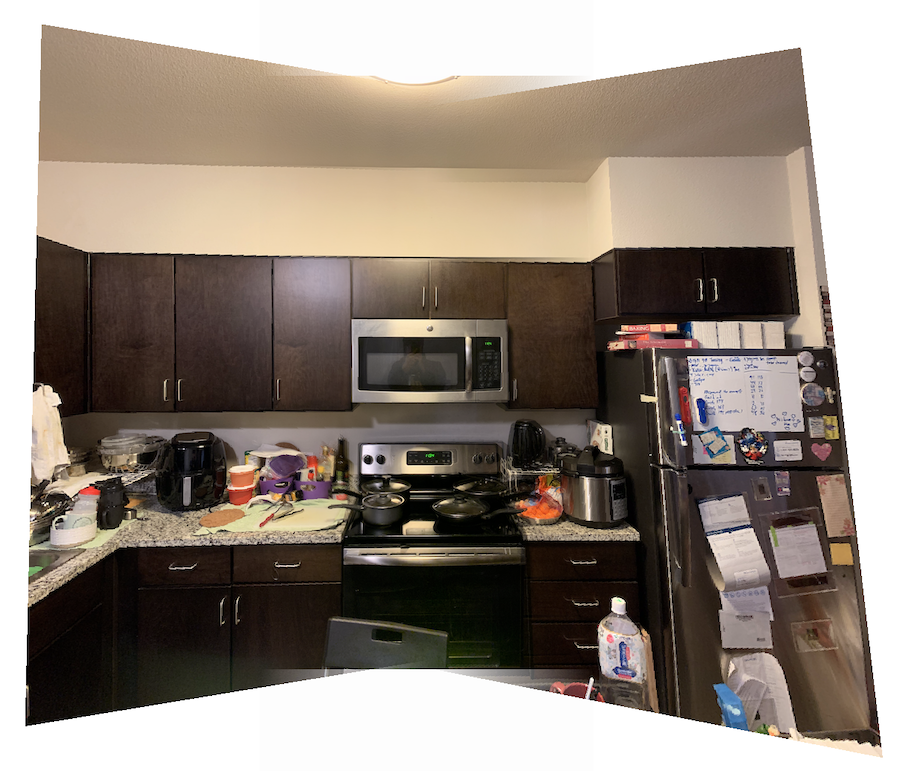
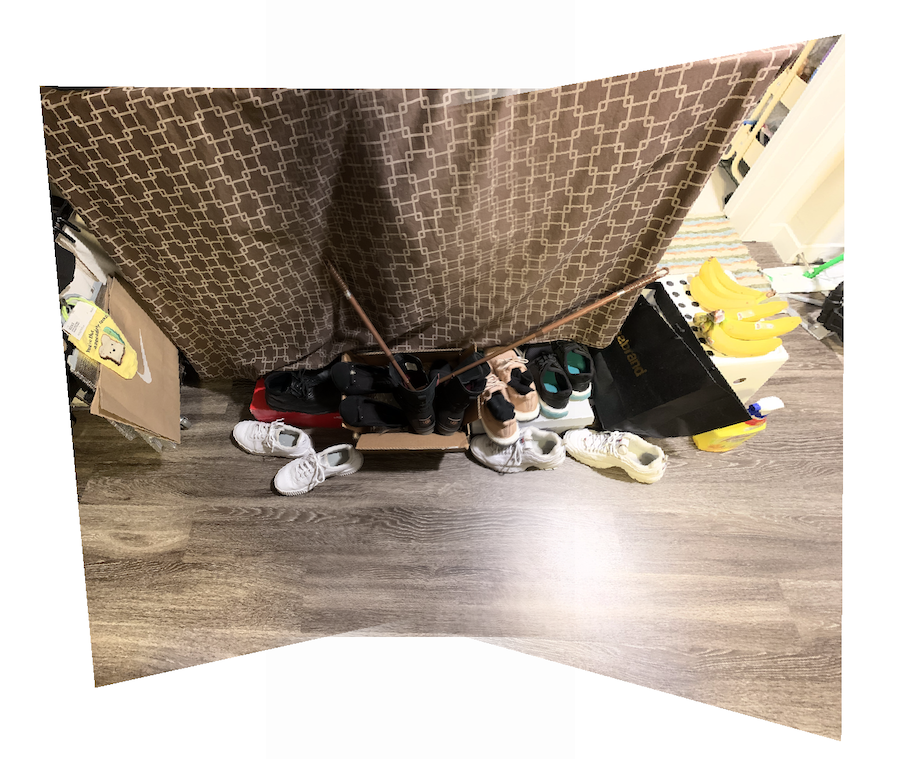
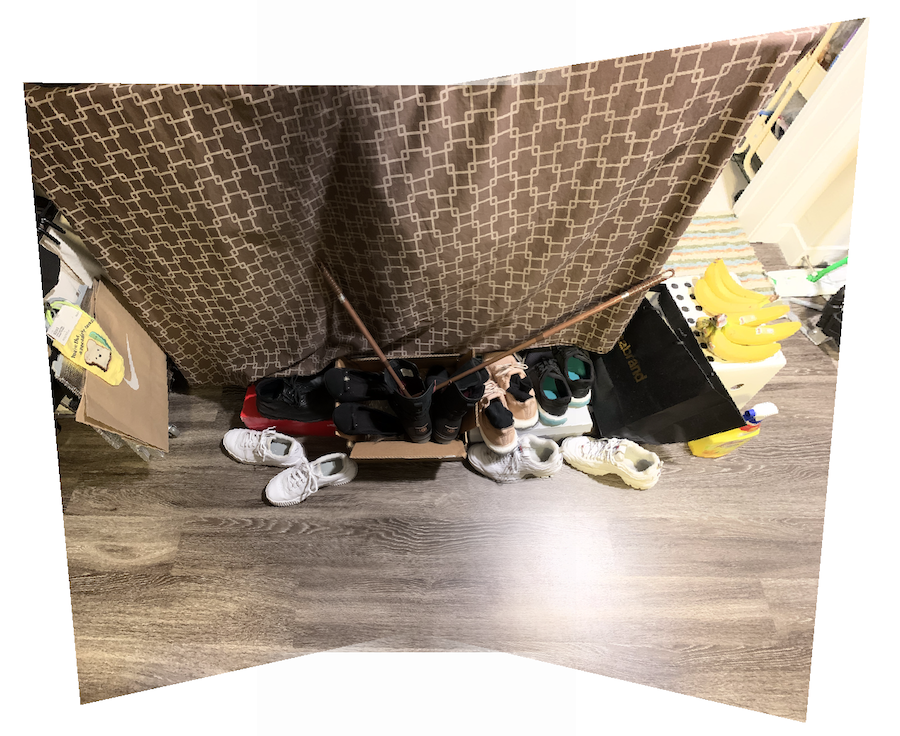
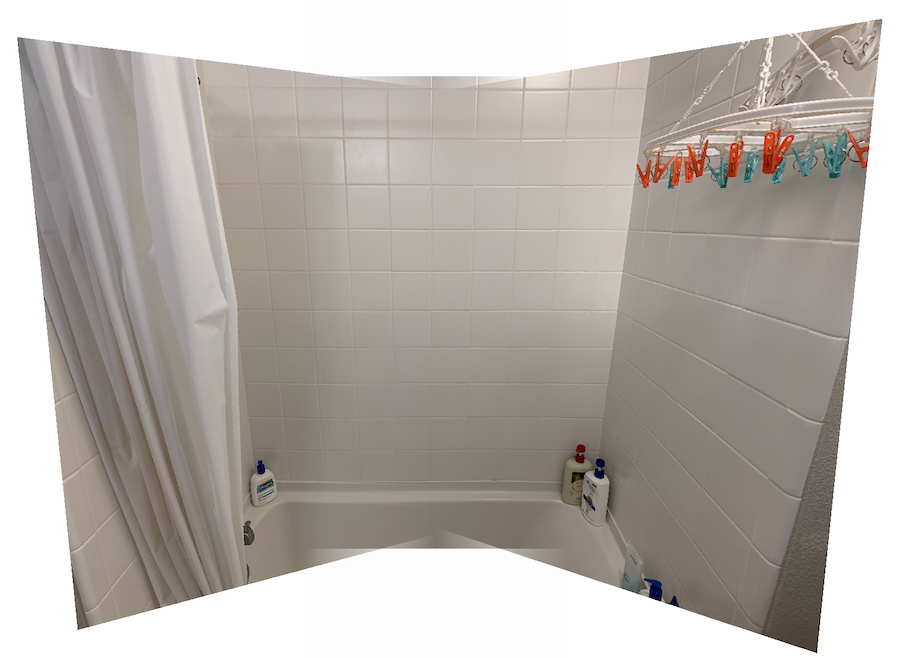
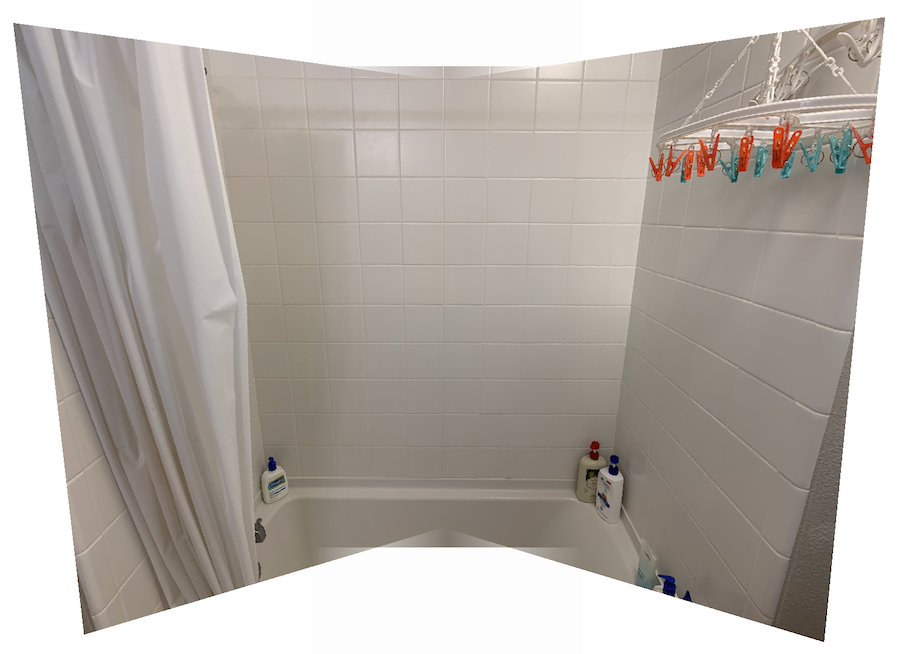
1.5: Mosaicing
By applying the rectification on multiple images, we can recreate fun panorama pictures that I can never take properly on my phone! (I have shaky hands.) I use a mask to compute a weighted average for the colors at each pixel to create a smoother blend in between images. Below are my results.
|
|
|
|
|

|
|
|
|
|
|
|
|
|
|
|
|
|
Part 2: Feature Matching for Autostitching
Automation always feels better. So let's automate the point choosing process! The following steps have been implemented following the ideas of the paper “Multi-Image Matching using Multi-Scale Oriented Patches” by Brown et al.
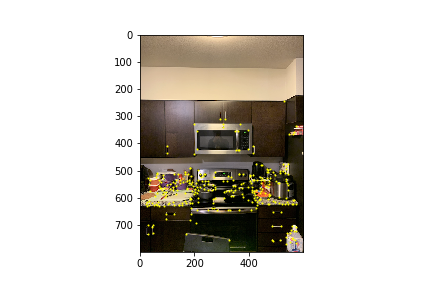
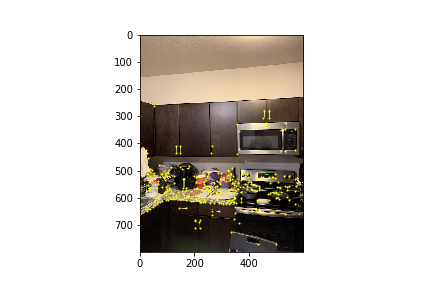
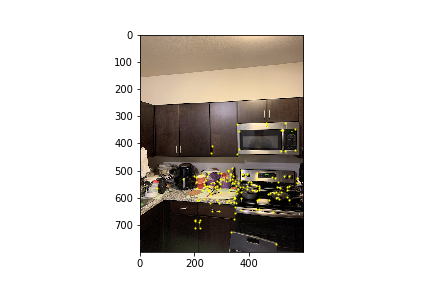
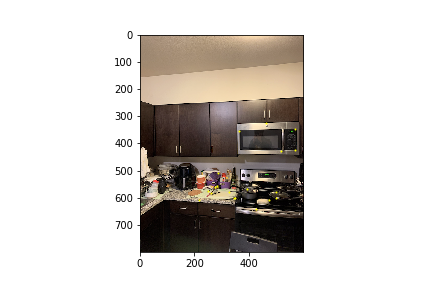
2.1: Harris Corners
First, we need to get some points that could potentially work as correspondences later on in the process. To do this, we use the Harris Corner Detector, with it's implementation being provided by the CS194 class. For images with many distinct edges, I changed the peak_local_max function to the corner_peaks function (peak_local_max was really overzealous and gave me a too many random points to deal with sometimes, slowing down the process). Below I plot the points on 2 of my images used from the last part!

|

|
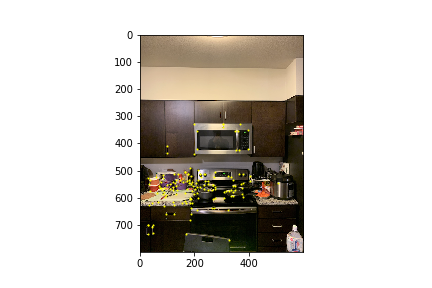
2.2: Adaptive Non-Maximal Suppression
To clean up the points a bit (since there are...a lot) and reduce the computational cost of this algorithm, we employ ANMS to lessen the number of points. To filter out the points so that the rest are nicely distributed, we find points with the largest minimum suppression radius, fulfilling the condition that the response at the point in question is less than the response to the point on the other end of that radius (times a constant). We then took the top 300 points with the largest radius (because I already had roughly 500 points after the Harris corner step with this particular image, and I think 300 is a nice number).
|
|
2.3: Feature Descriptor Extraction
We then use our points to create feature descriptors, or basically tiny squares of the image that represent something interesting about it (like the stain I haven't been able to scrub off the wall). We start with a 40x40 square surrounding a point, and then downsample it using scikit's rescale to an 8x8 patch. We also subtract the mean and divide by the standard deviation of the patch values, to normalize for bias/gain. We do this for all the points we currently have, resulting in 300 features.
2.4: Feature Matching
Now we match features! The goal is to
get two features to swipe on each other find the squared
distance between a feature in image 1 and a feature in image 2, and keep
all the points that satisfy a certain threshold. Basically, we check if
the closest feature, divided by the second closest feature, is smaller
than some ratio (I played with values between 0.4-0.6). If it's under
this ratio, we can be pretty sure the feature matches, and we keep that
point. Shown below are the images after going through feature matching:
|
|
2.5: RANSAC
This is the coolest sounding algorithm. There are still some points that don't necessarily match between the two images. To account for this, we actually find a homography again between 4 random point pairs, 4 from the interest points in image 1 and 4 from image 2. We then use this homography to warp all the interest points in image 1, and then proceed to compare these "predictions" with the actual interest points of image 2. I use the distance between a predicted point and its actual point to determine whether it is an outlier or not (large distances would mean it is an outlier). If it is under the max distance, I add that point to my list of good points. I repeat this process for all points, and do it again some hundred times, saving the largest set of good points at the end. The results are shown below (they are a bit hard to see, but the most noticeable points exist along the corners of the microwave and handles of the cupboard):

|
|
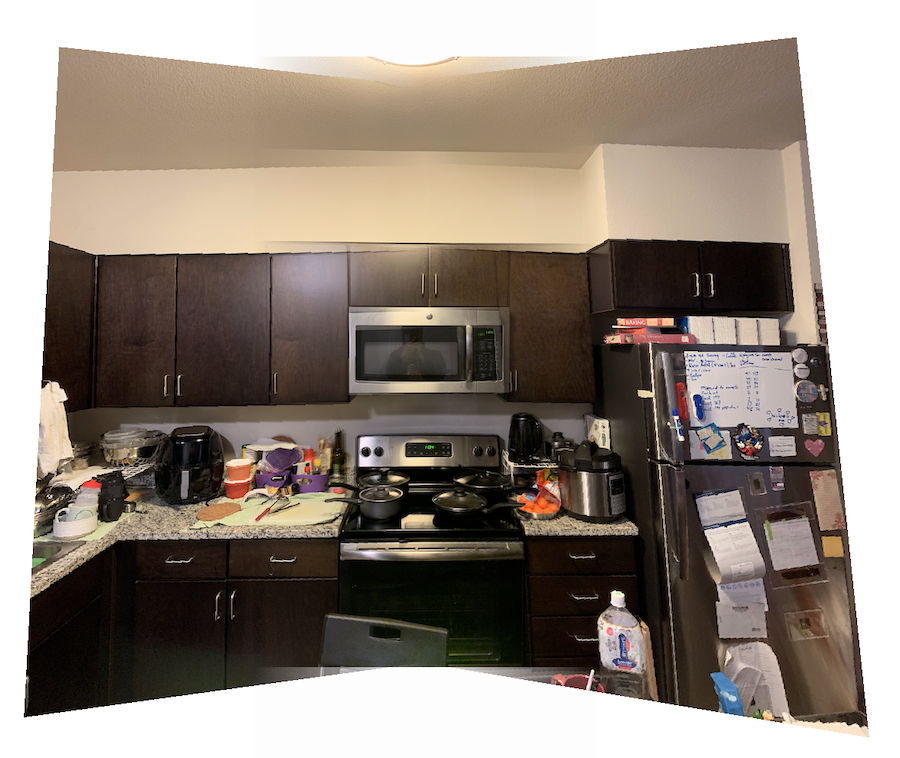
2.6: Results
On the left are the original panoramas with hand-chosen points, and on the right are the panoramas with points from the part 2 algorithm. Honestly, some of the automatic ones are a bit off, and sometimes the hand-crafted panoramas are slightly better (it's that artisanal quality). But the algoritm still performs comparably! below:
|
|
|
|
|
|