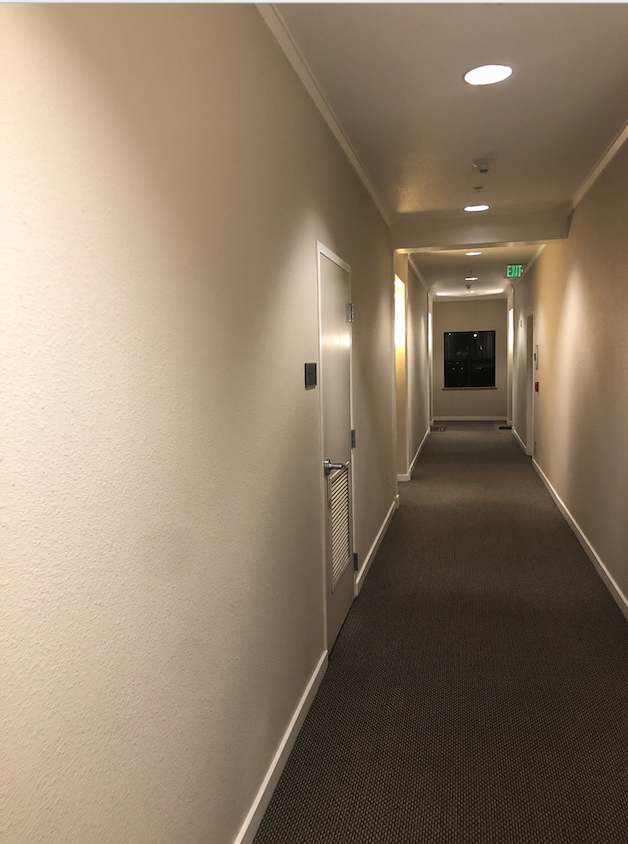
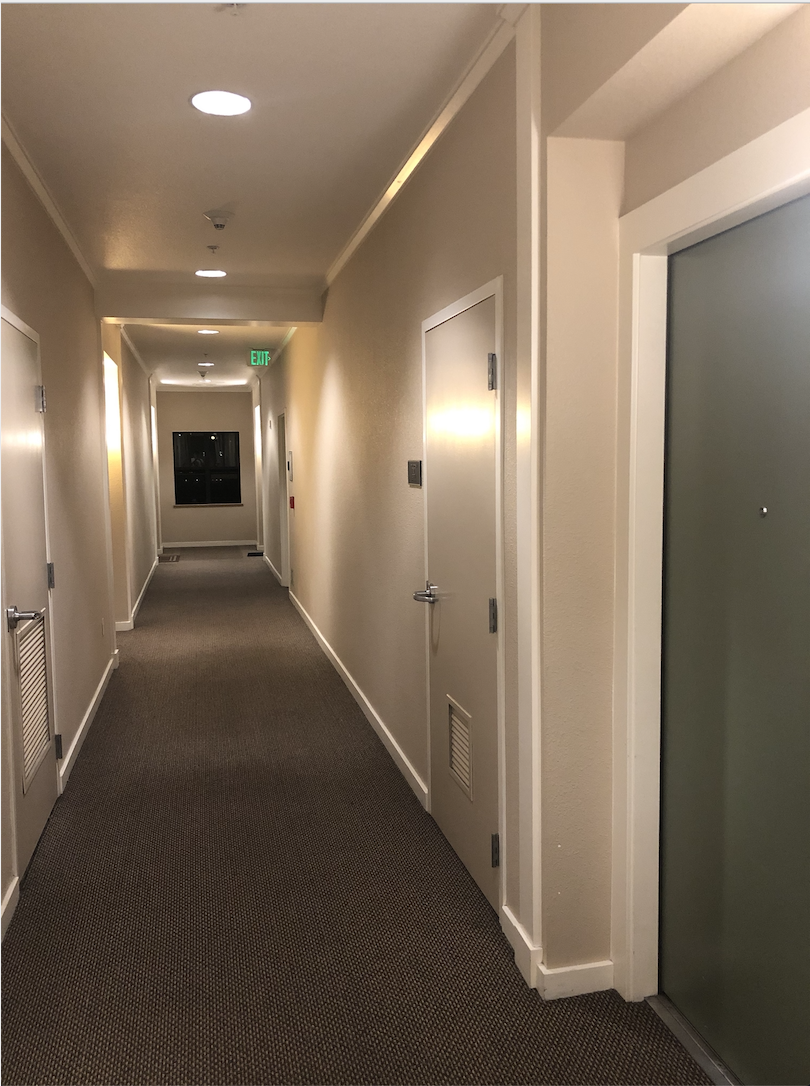
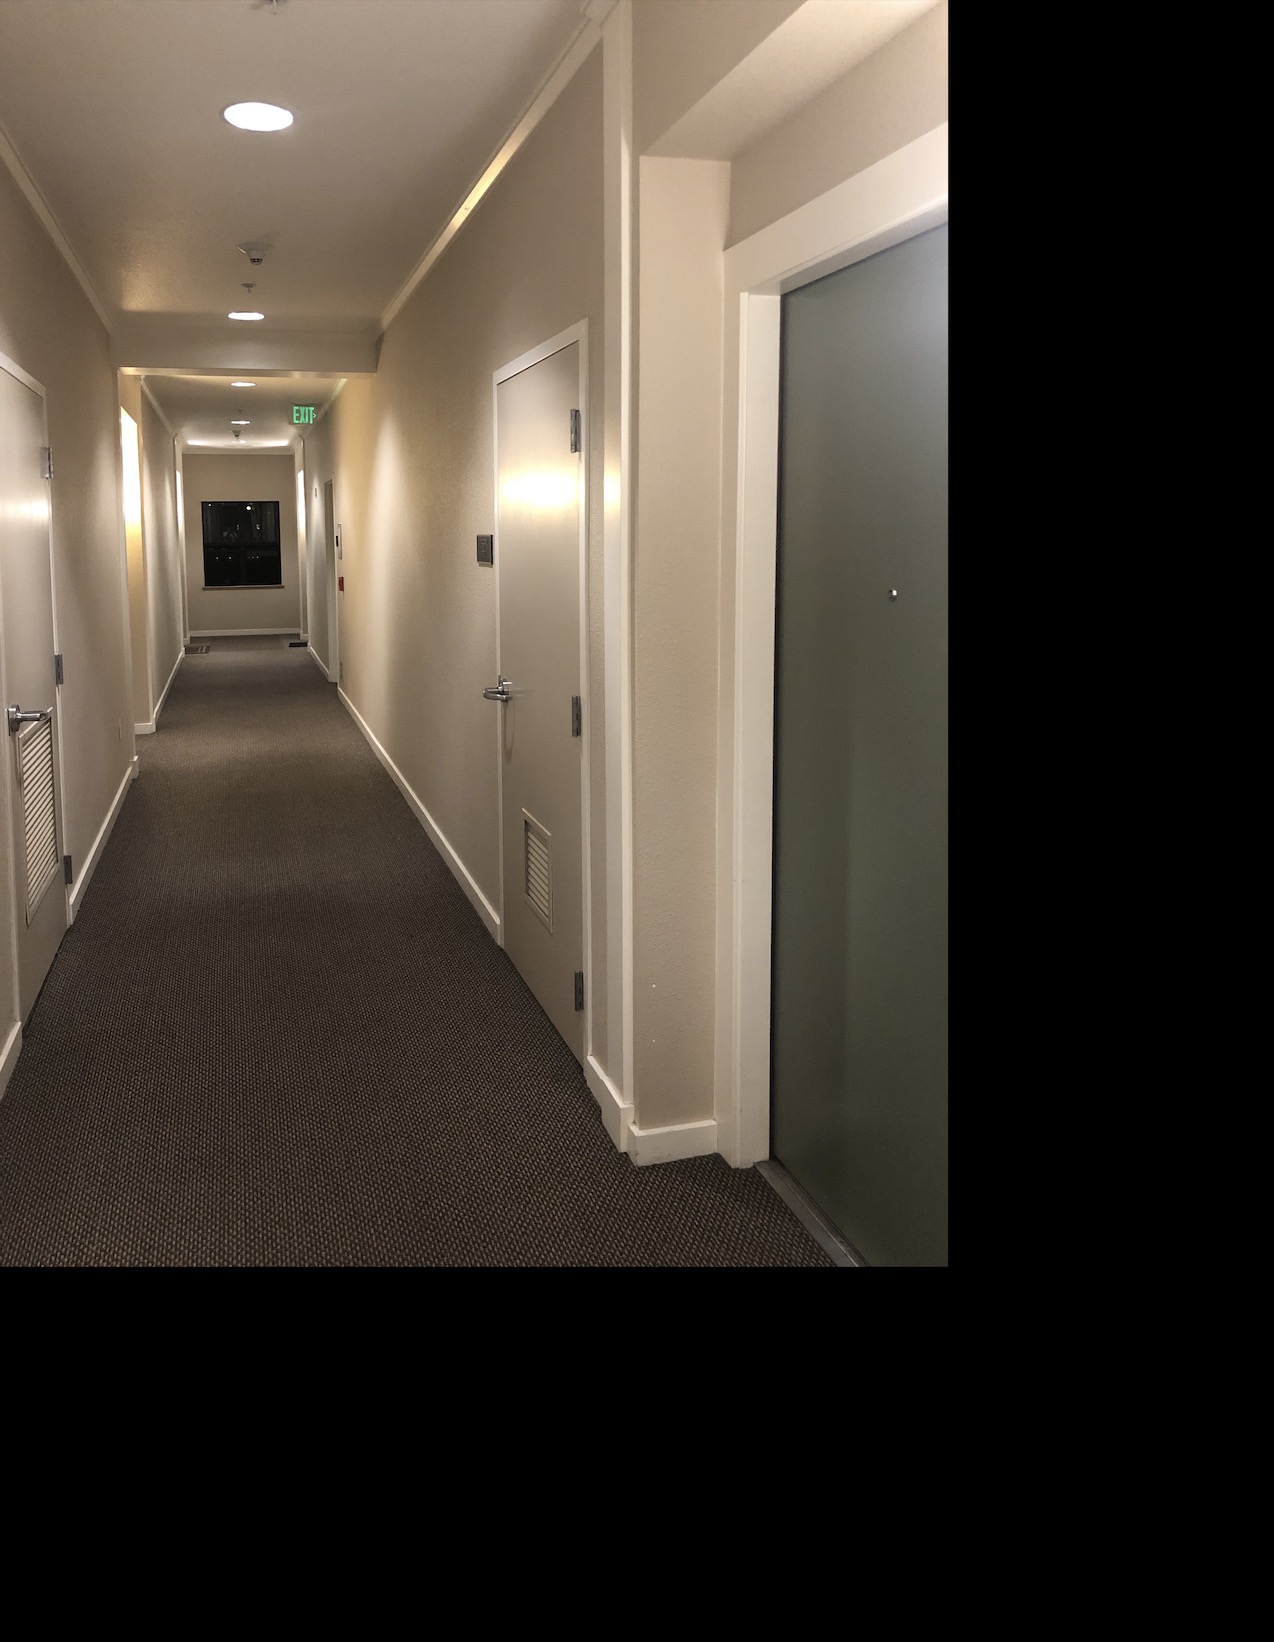
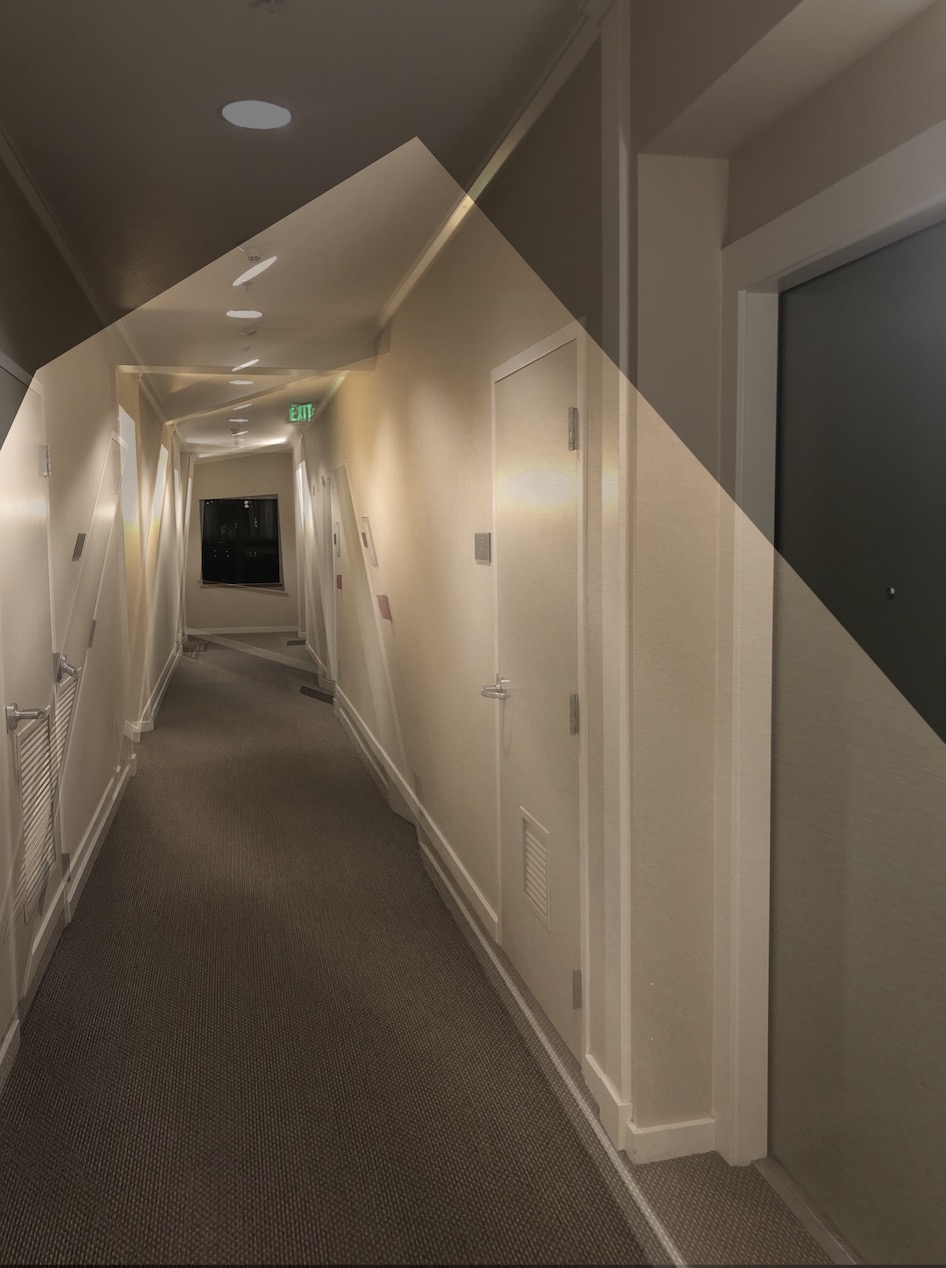
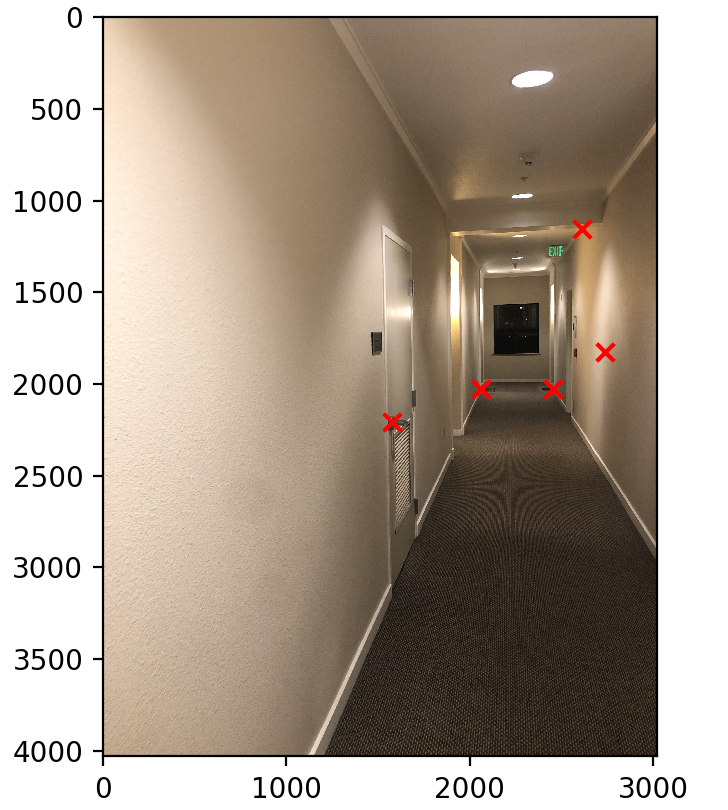
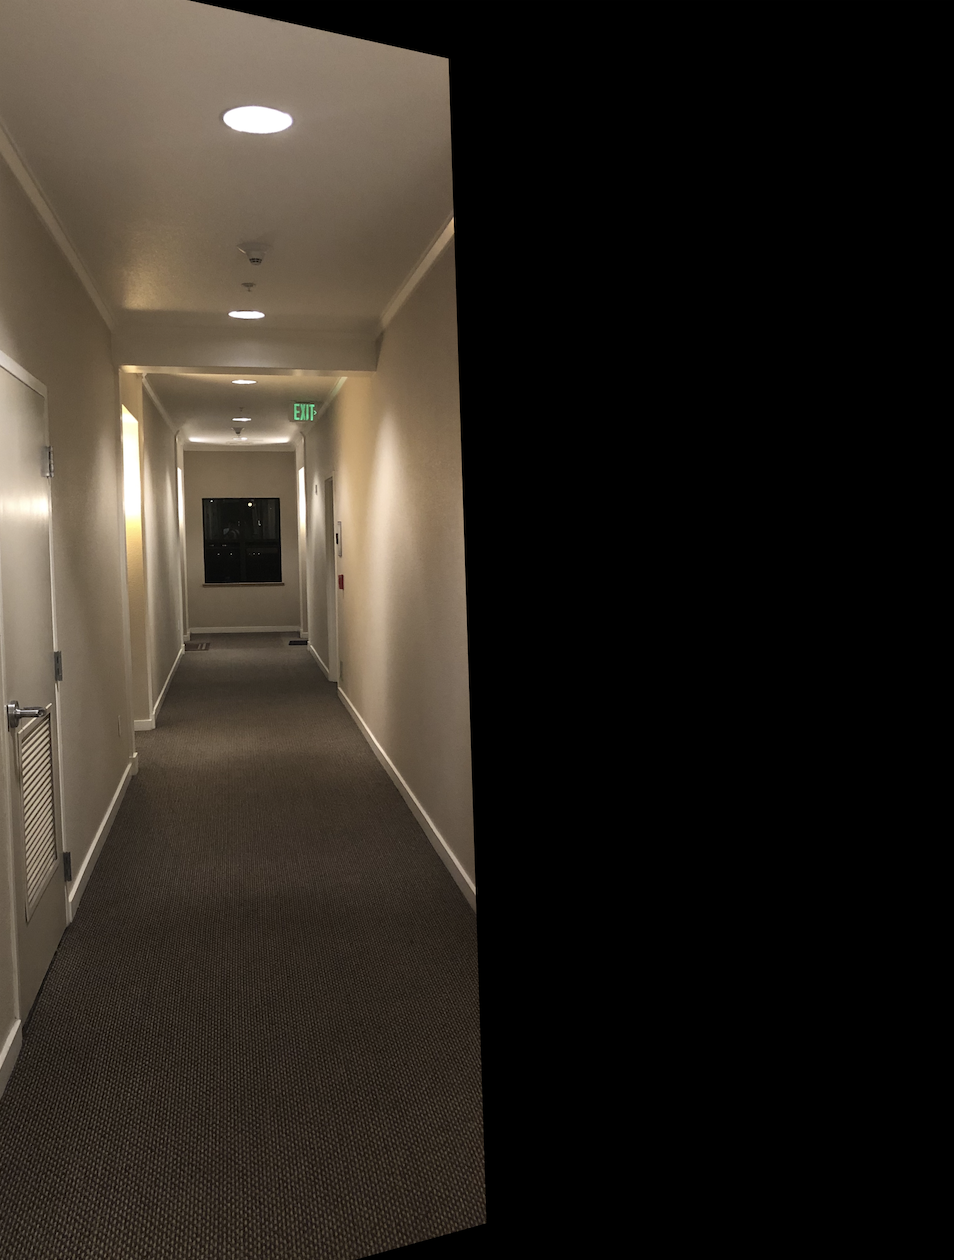
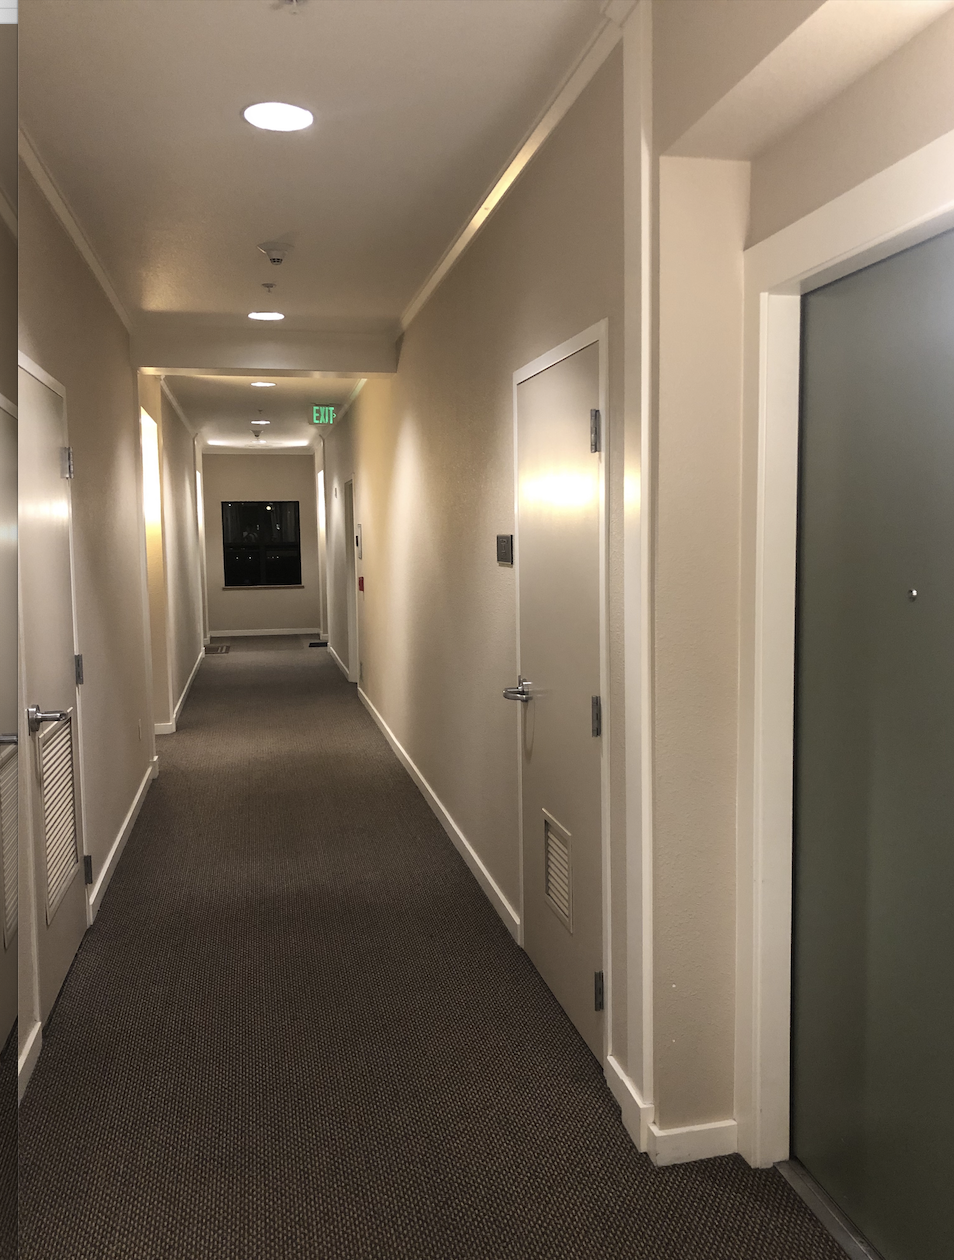
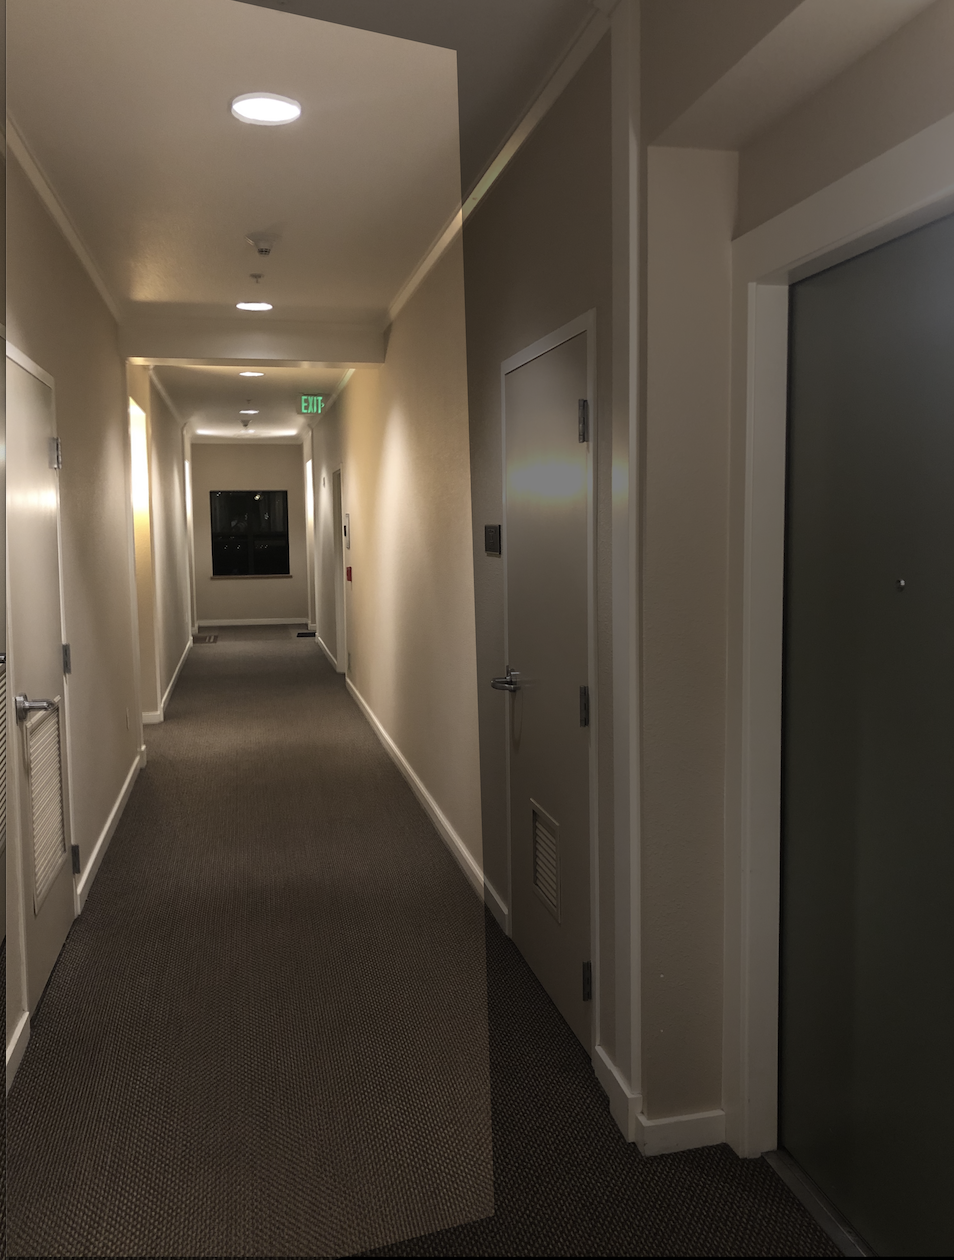
I shot two photos of my apartment hallway such that the transformation between them is projective.
|
|
Section 1.2: Warping and Rectifying Images
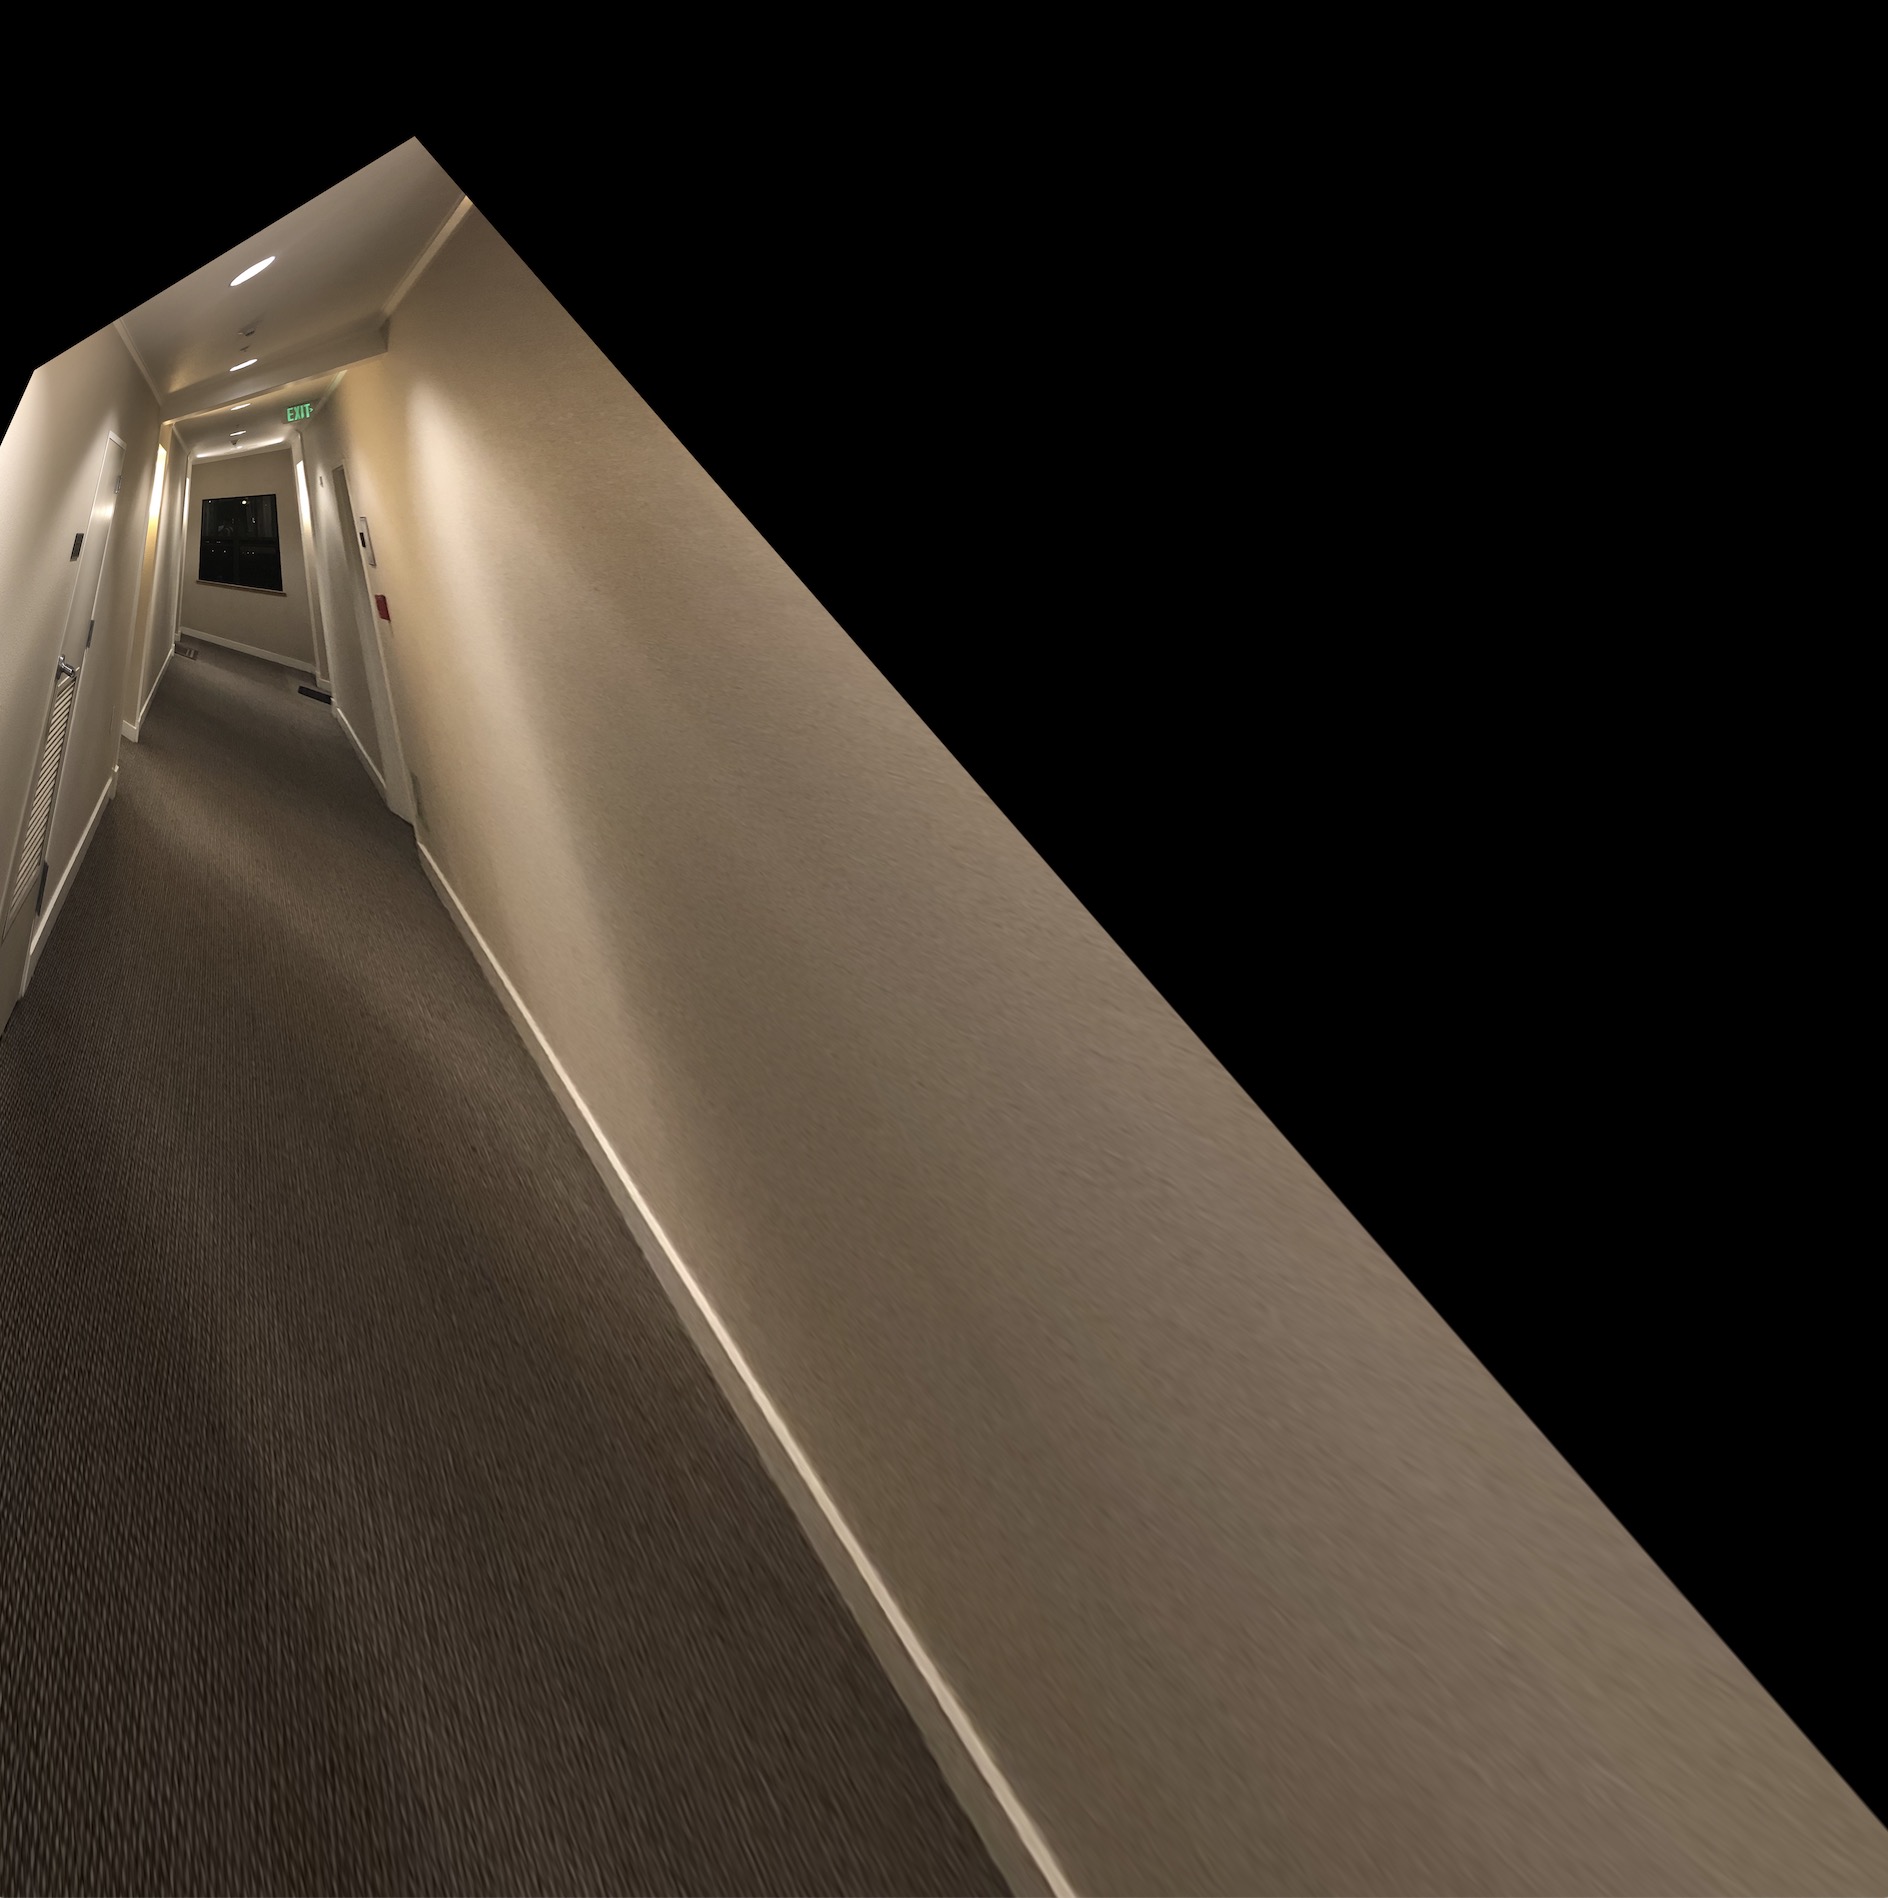
To perform rectification, we need four correspondence point such that we can compute the Homographic matrix H. I used the four corners of the window at the end of the hallway as my points of correspondence.
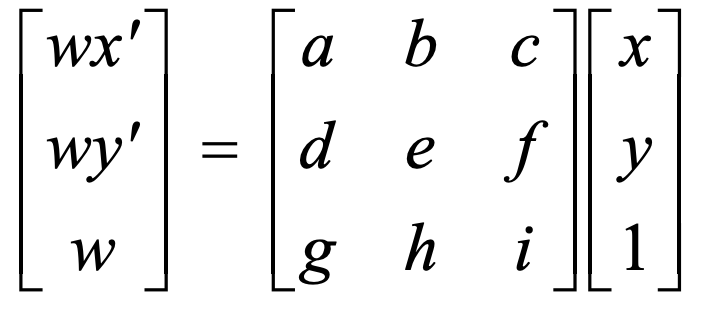
We warp the image by using inverse warping, utilizing the matrix which we just solved using the least square method.
|
Section 1.3: Image Mosaic
Now we can use our result to create an image mosaic.
First we warp to two source images
|
|
|
Then we put it together
|
The result does not look very good. This is probably due to the poor precision from hand-labeling points.
Part A: Warping and Mosaics
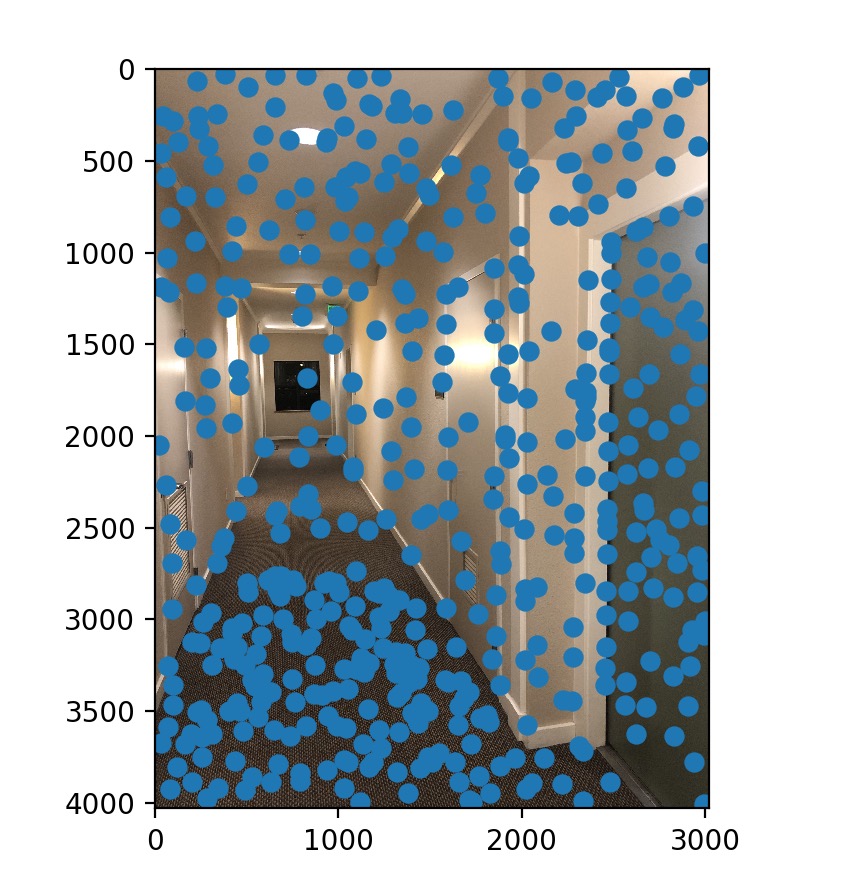
Section 1: Harris Corner Detector
I first apply the harris corner detection algorithm to generate interest point on the left image and the right image. The algorithm generated about 10000 points on each of the image, that's a lot of points!
|

|
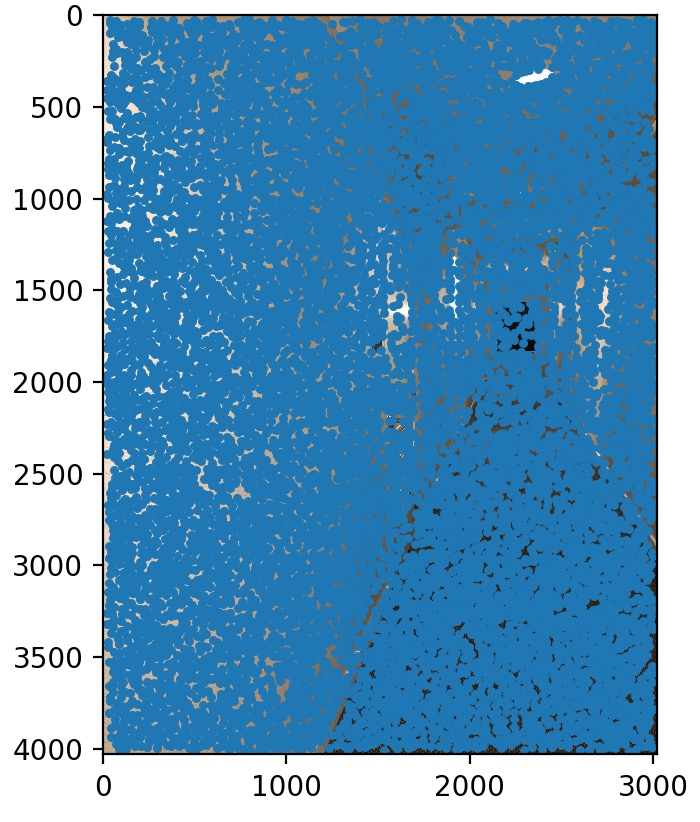
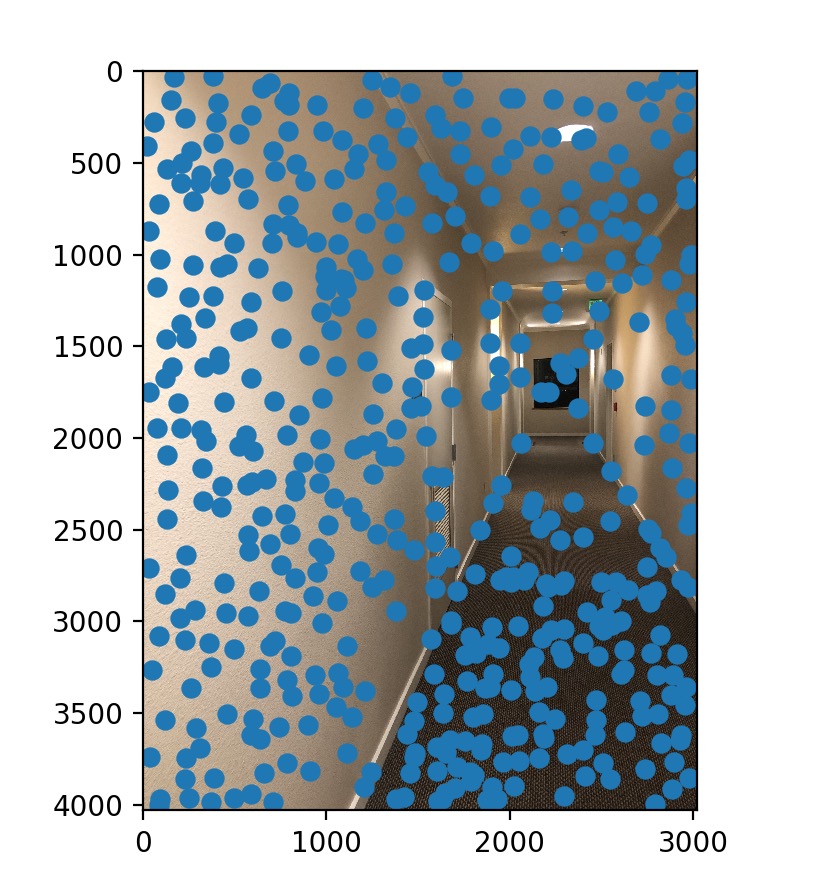
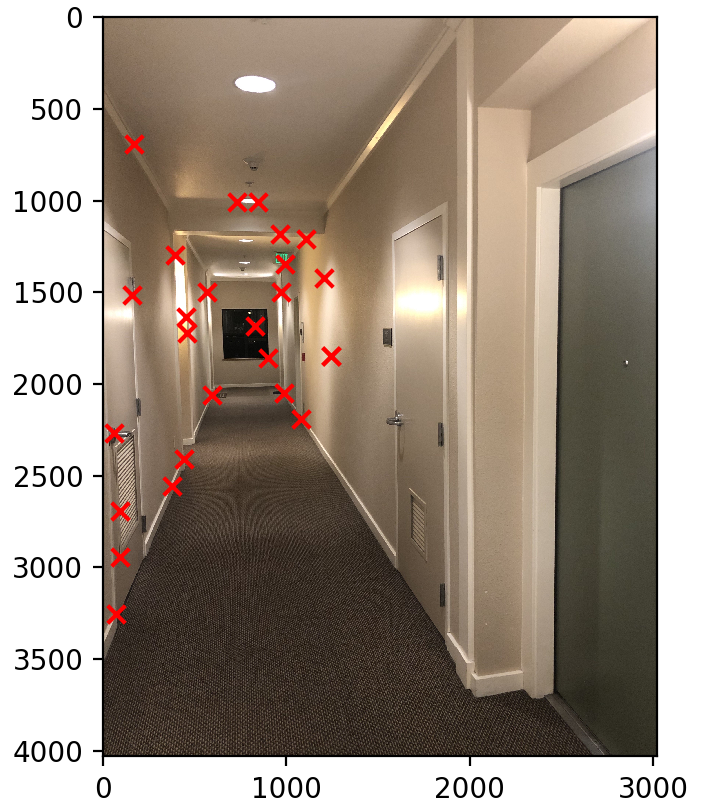
Section 2: Adaptive Non-Maximal Suppression
To choose points that are more uniformly distributed across the image, I used the ANMS algorithm to pick the top 500 points.
|
|
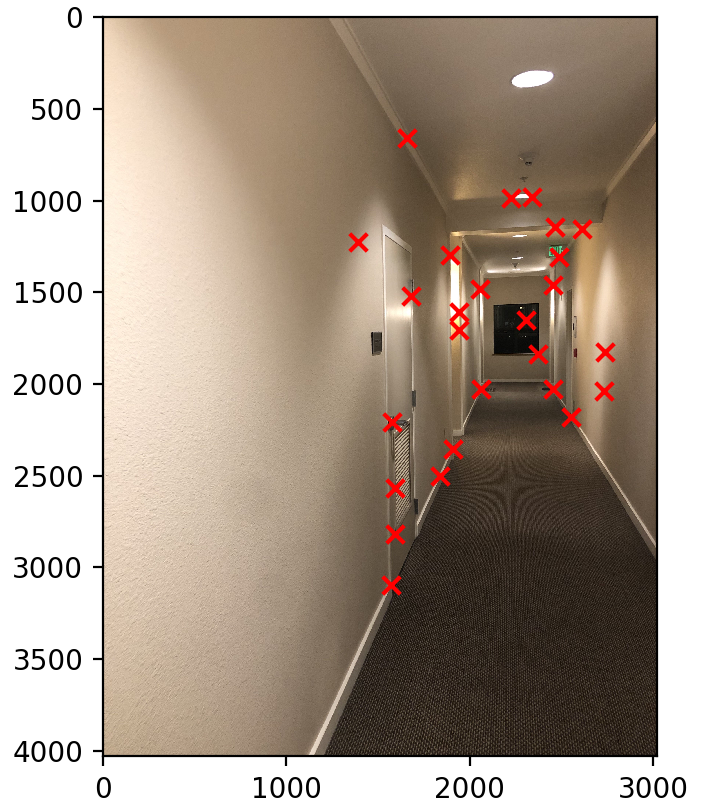
Section 3: Feature Descriptor and Feature Matching
Next I matched the features together based on their descriptor. I used the descriptor with patch size of 40. To make sure that the points we found are not false positive, I used a thershold of 0.3 for the 1NN/2NN ratio. As we can see these feature points look quite good. They are mostly corresponding points except for a few.
|
|
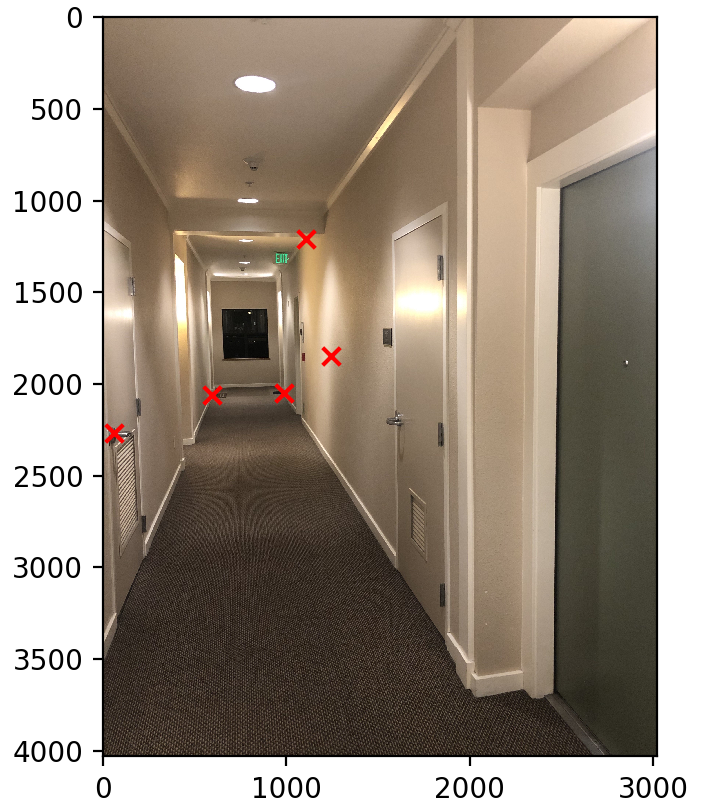
Section 4: RANSAC
Next to further pick out the coressponding points, I applied RANSAC with the following procedure:
- randomly sample 4 points
- compute the corresponding homography
- use the homography to transform all points
- calculate the ssd between actual points and transformed points.
- if the SSD is below 0.4, we count it as an inlier
- pick the set of 4 points with the most inliers.
Here is our result.
|
|
Section 5: Warping and Blending
Finally, we used the inlier points produced by the RANSAC to warp images and stitch them automatically.
|
| 
|
As we can see, the result is much better than manual point labeling.
What have I learned from this project?
This project was quite difficult for me. I spent a lot of time understanding the ANMS algorithm and feature-matching. I think I learned a lot from this project in terms of how to match pixel between two images. The method of a feature descriptor, and the 1NN/2NN ratio is very rigorous and is an eye-opening idea for me when I first read about it on paper. Overall, I really enjoy this project. I also gained more intuition in fine-tuning the thresholds.